When you click on links to various merchants on this site and make a purchase, this can result in this site earning a commission. Affiliate programs and affiliations include, but are not limited to, the eBay Partner Network.
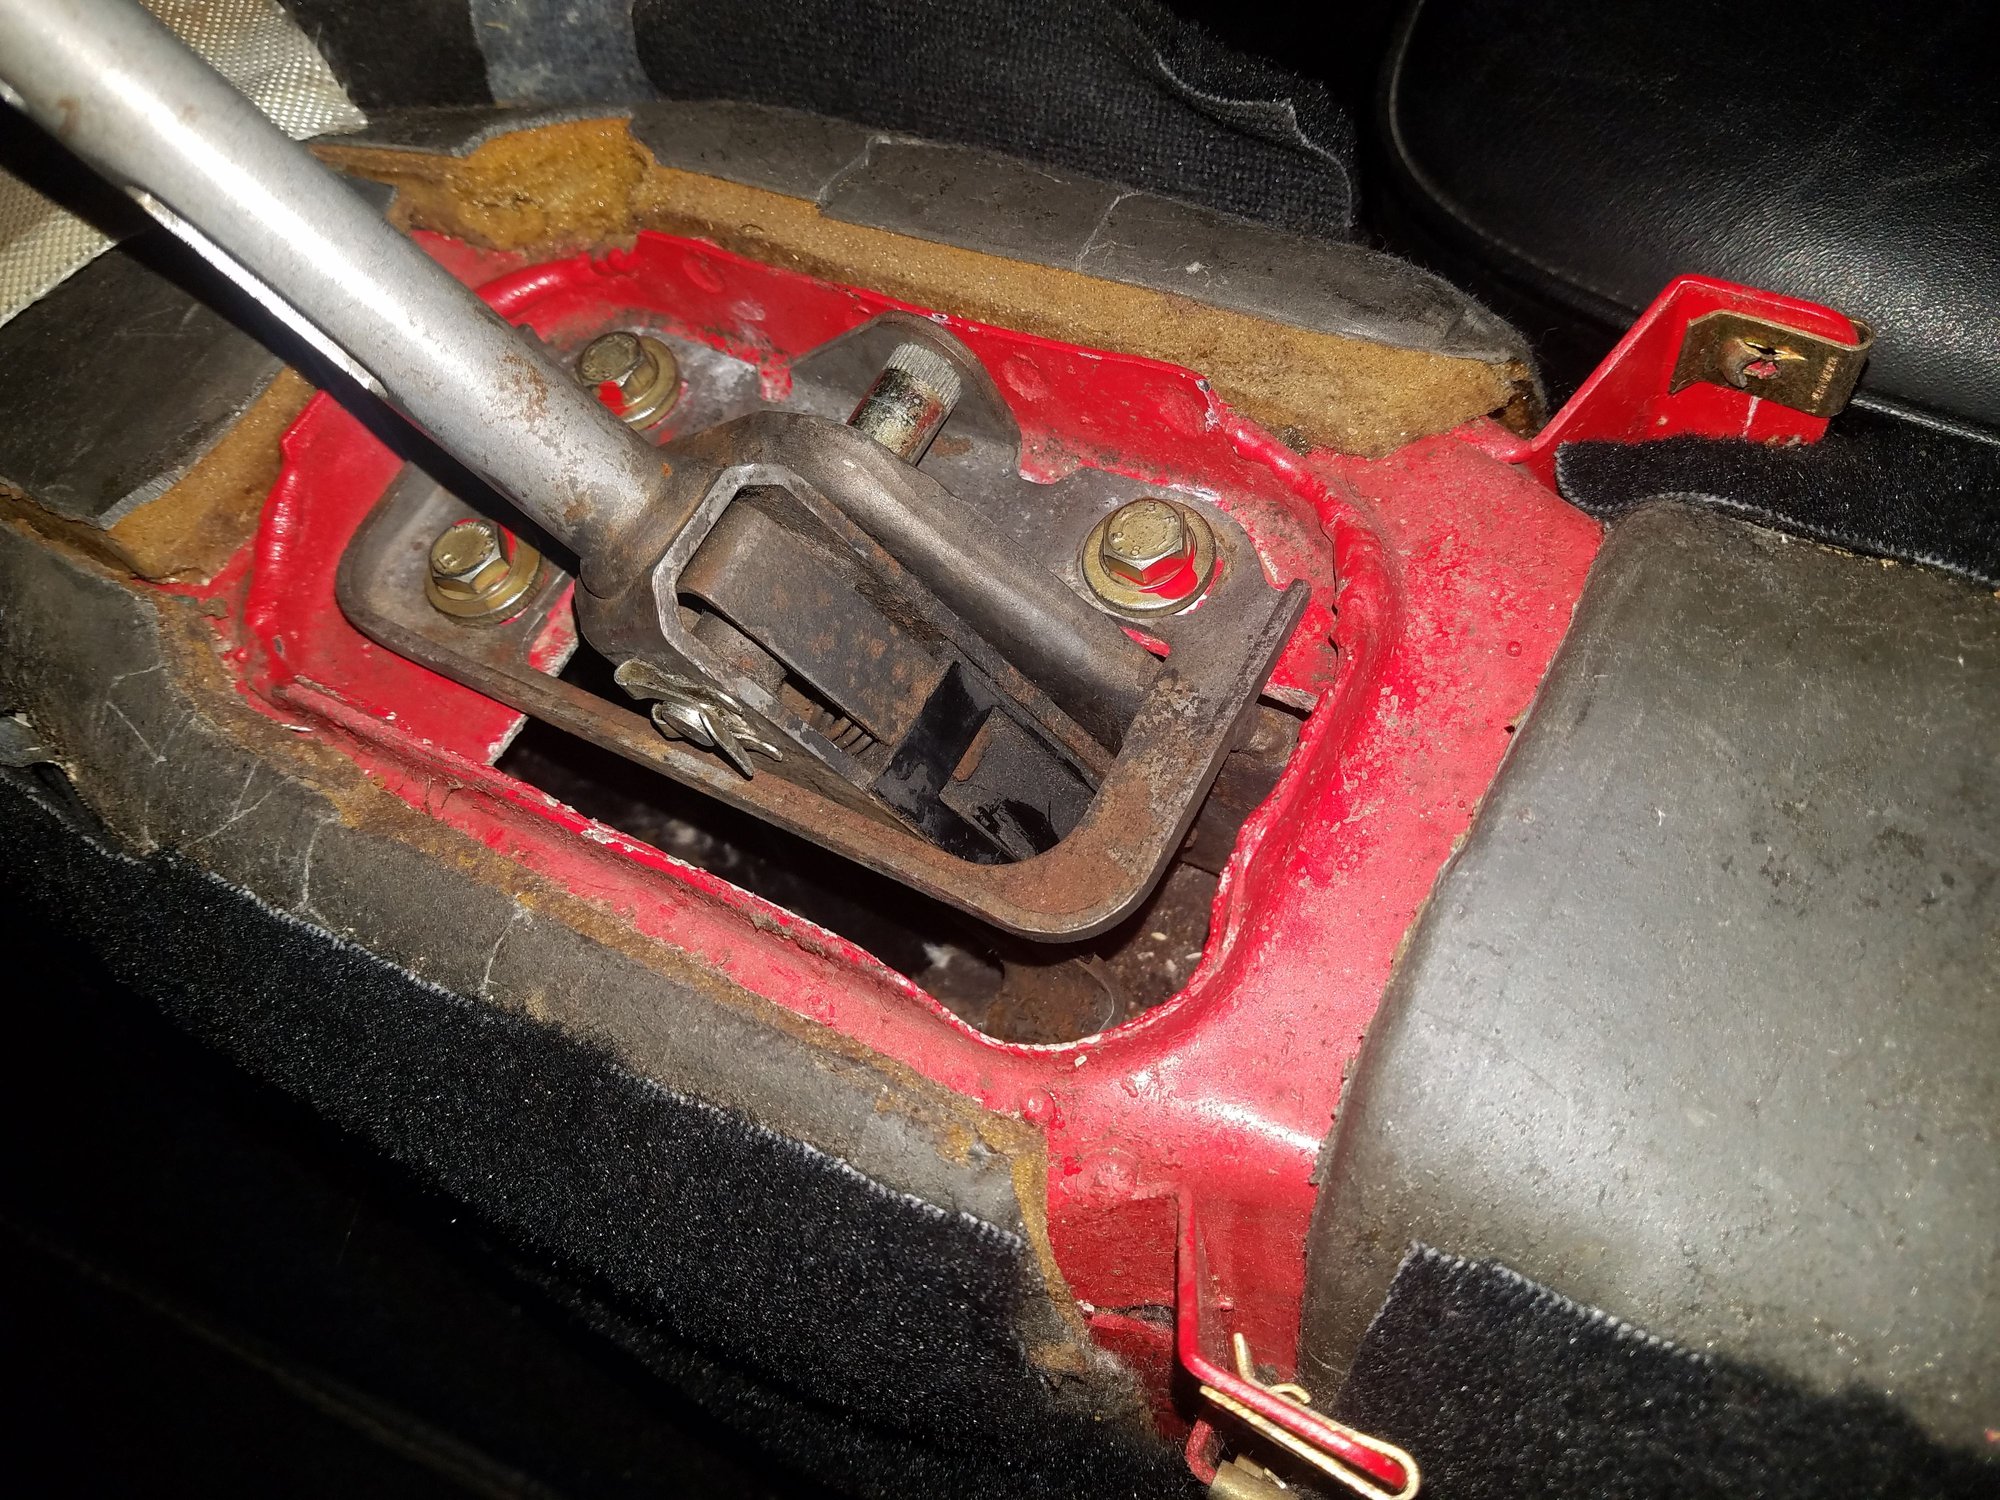
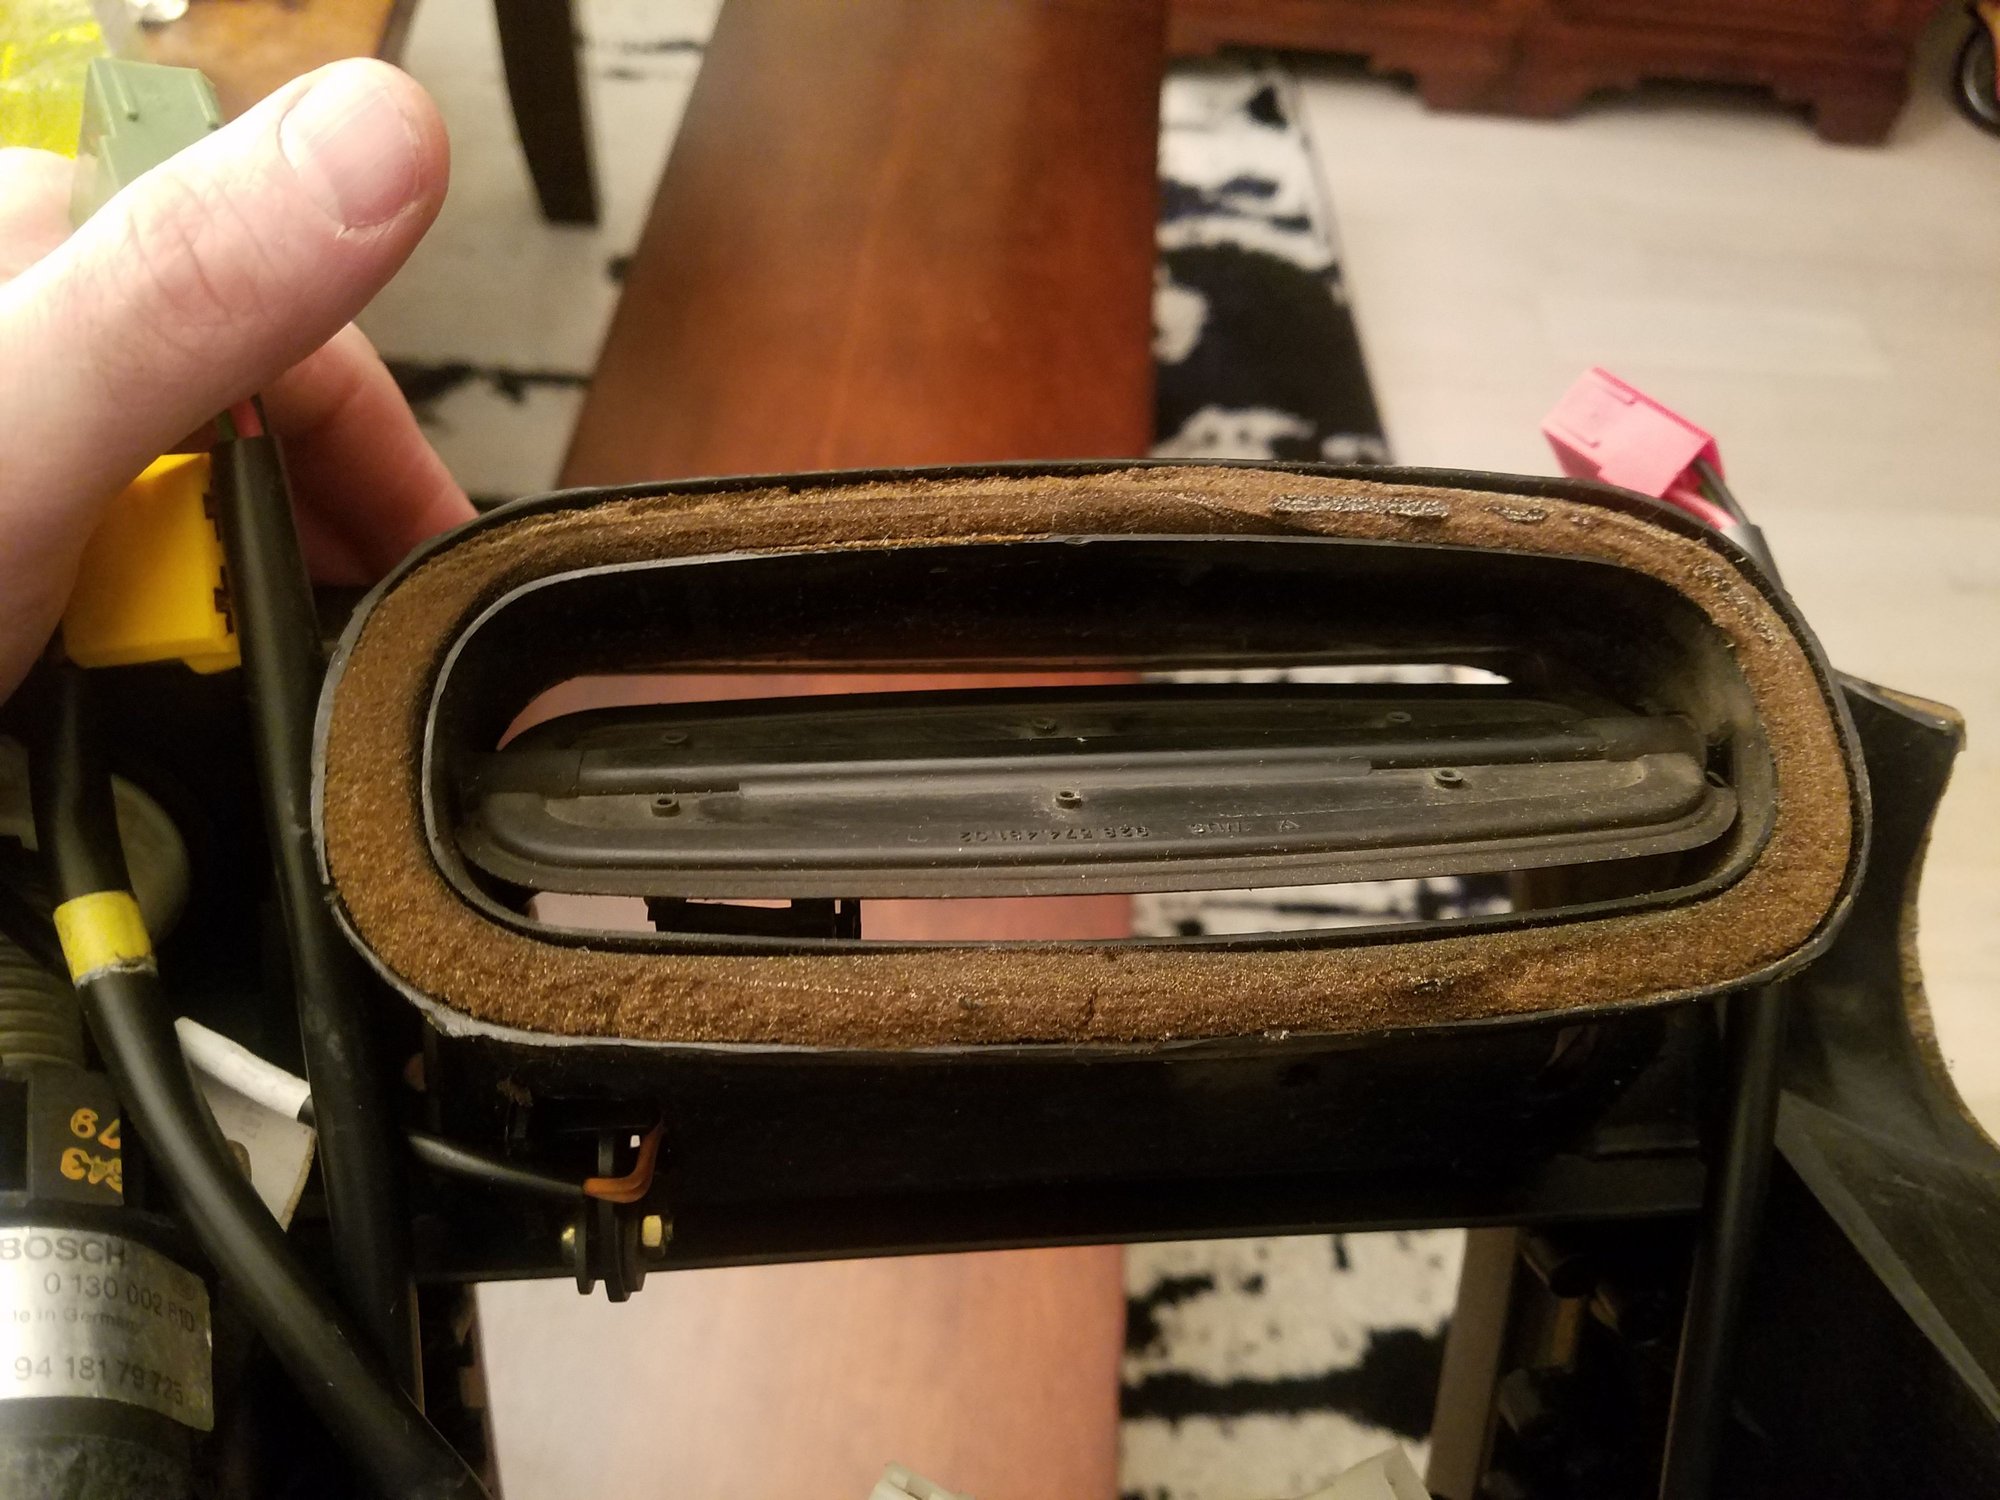
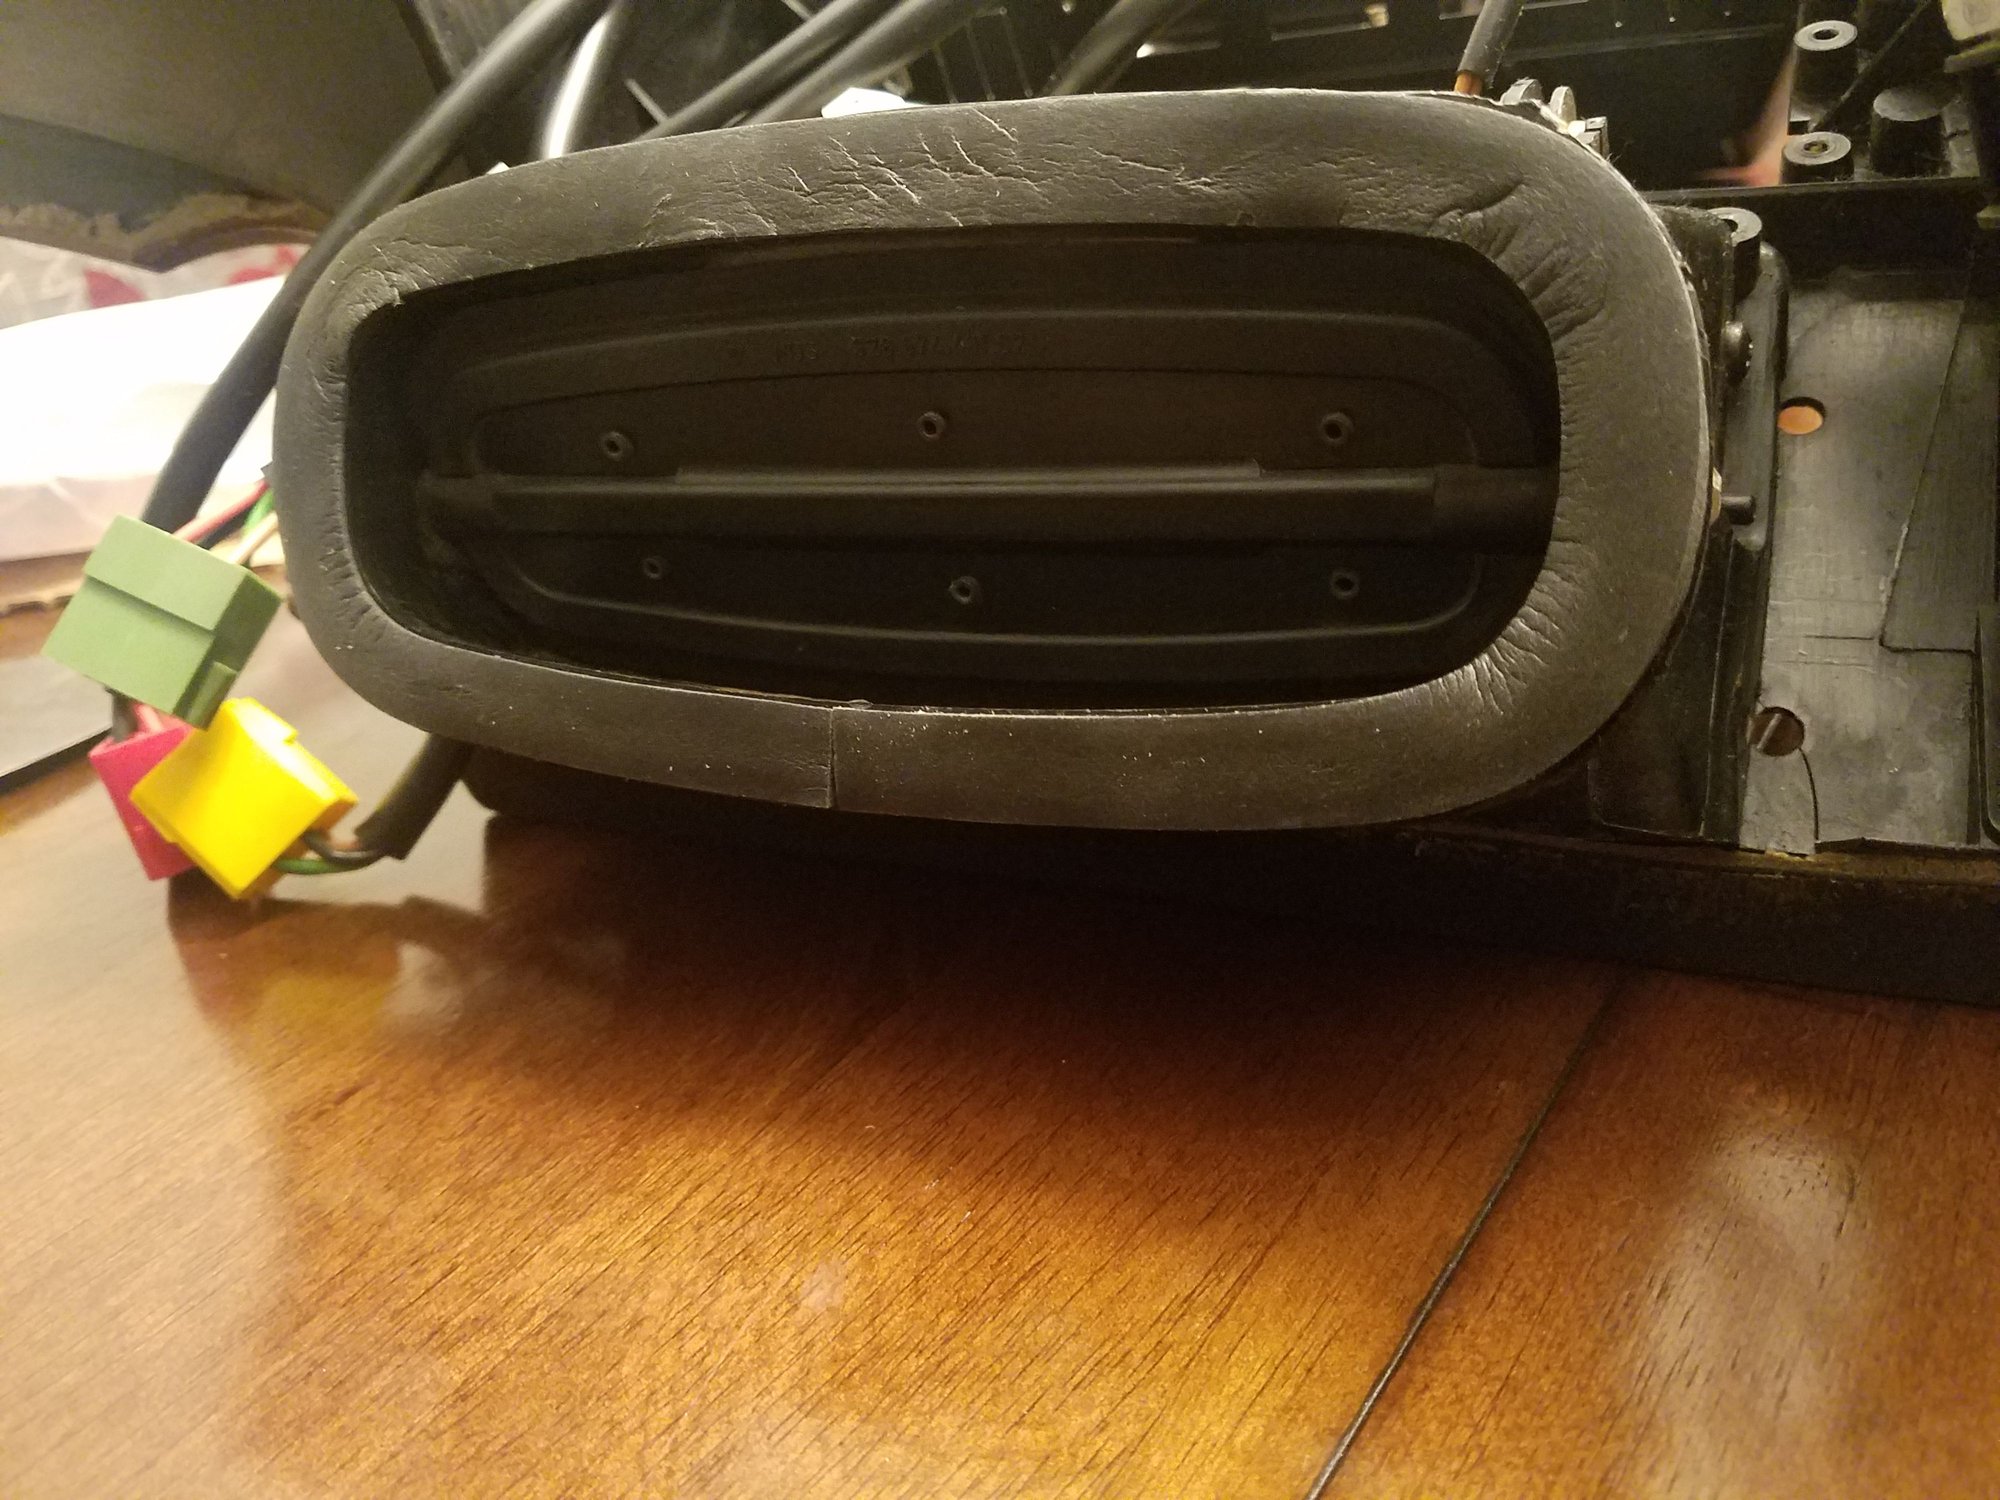
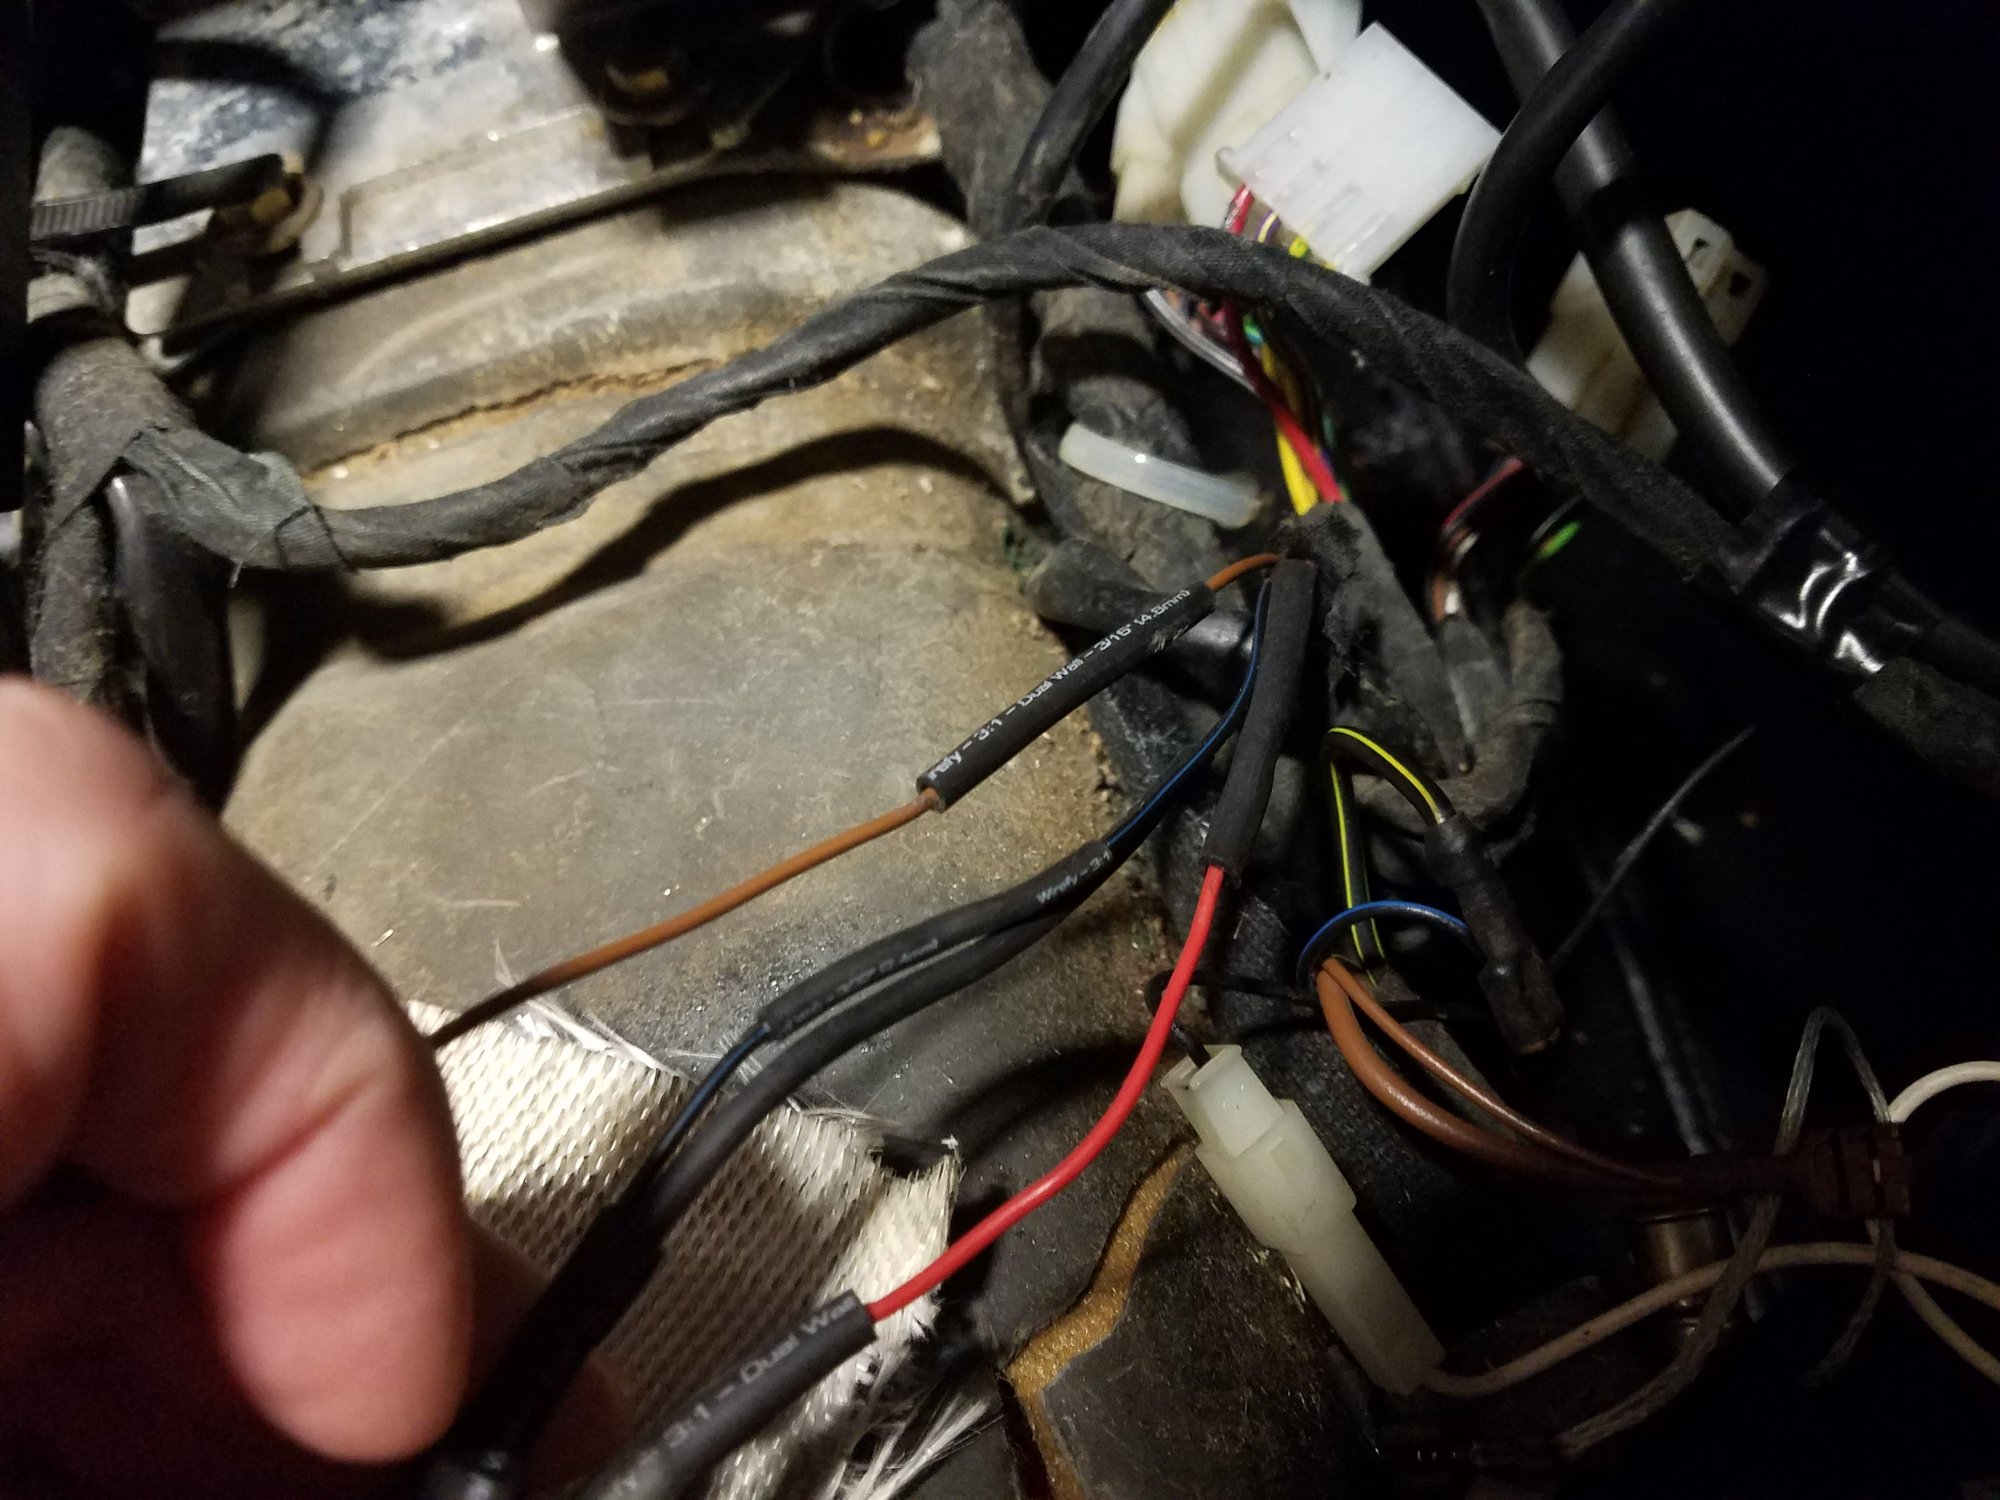
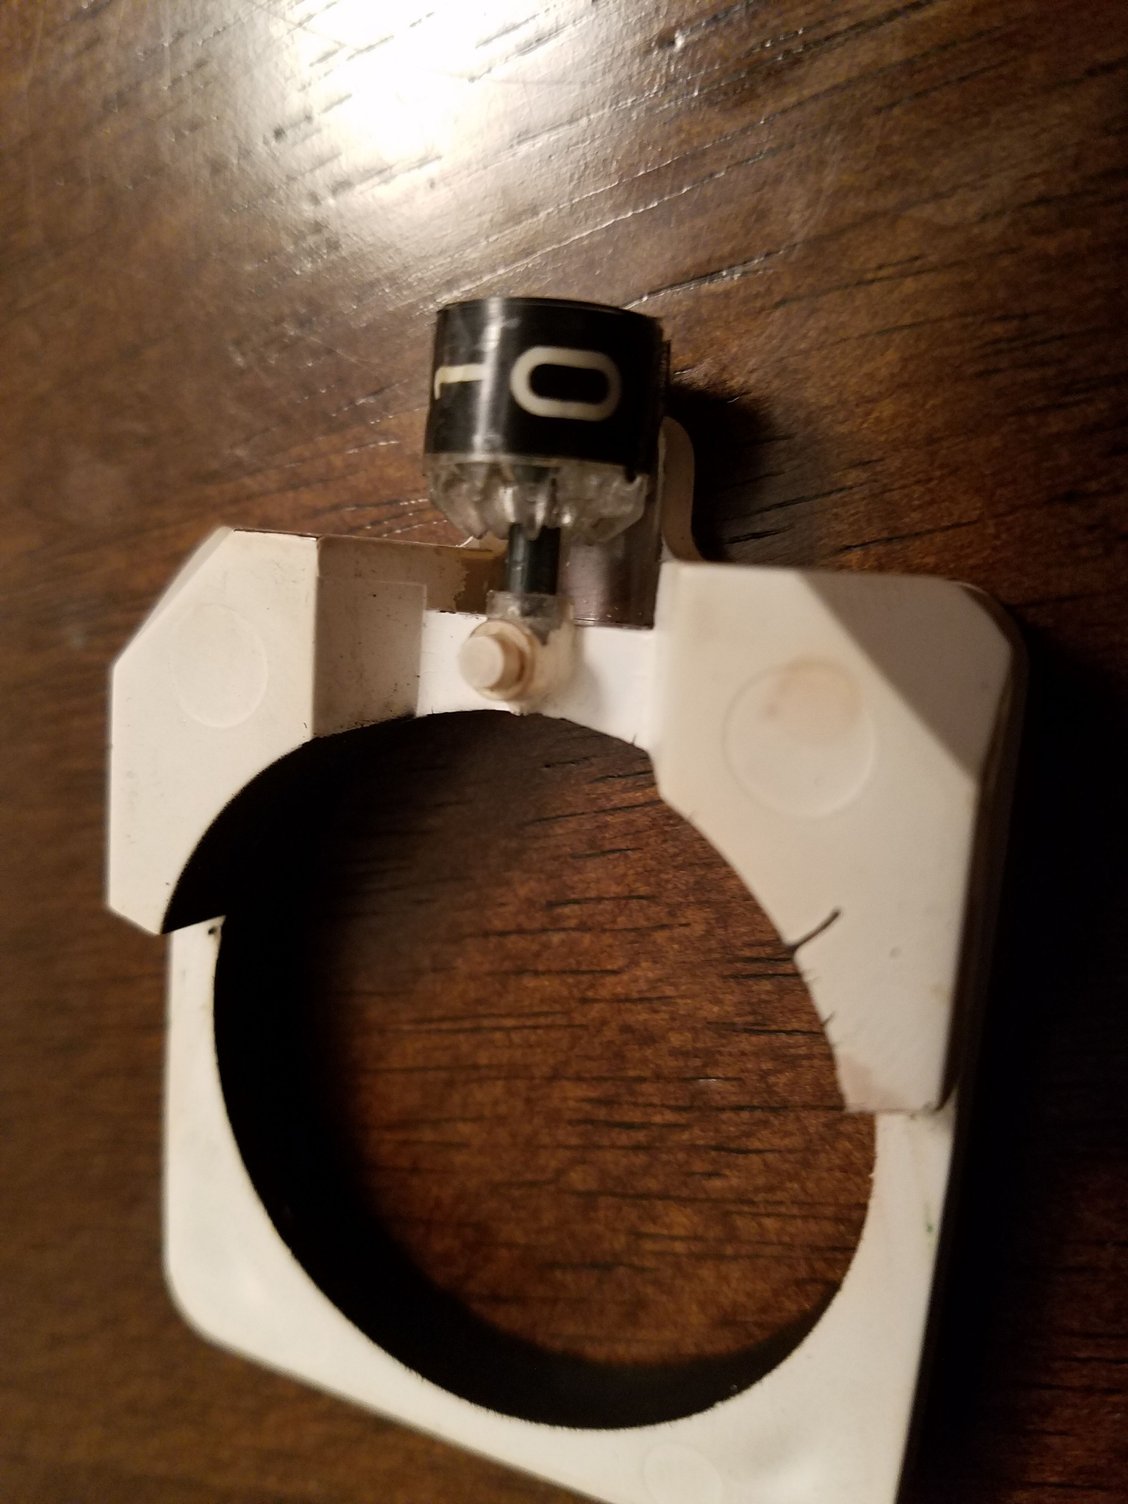
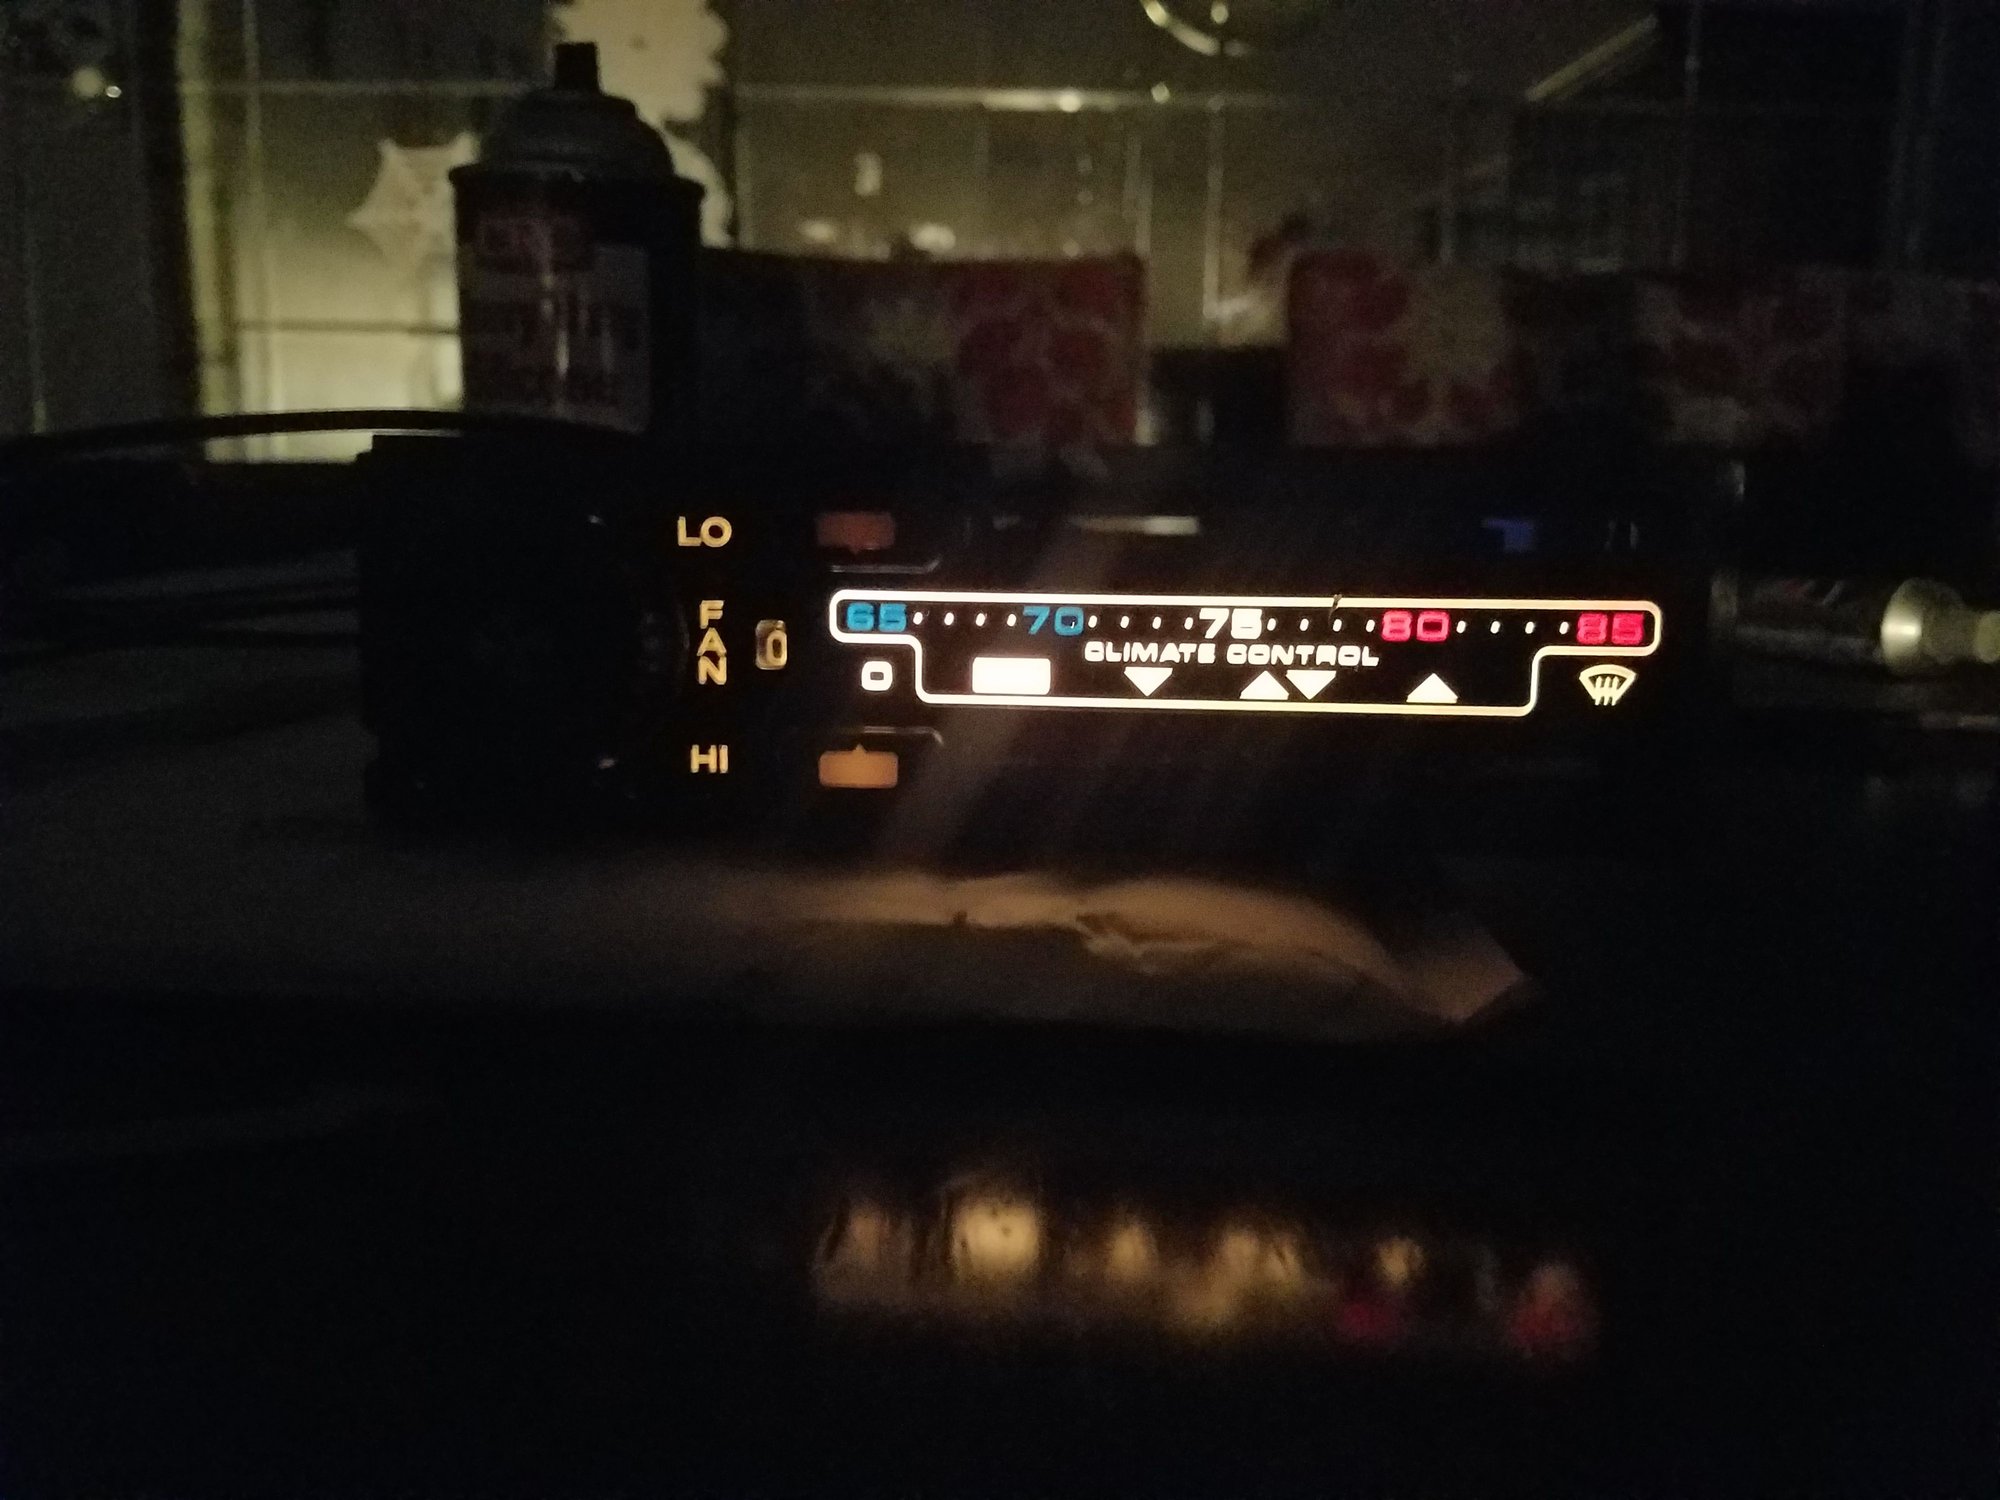
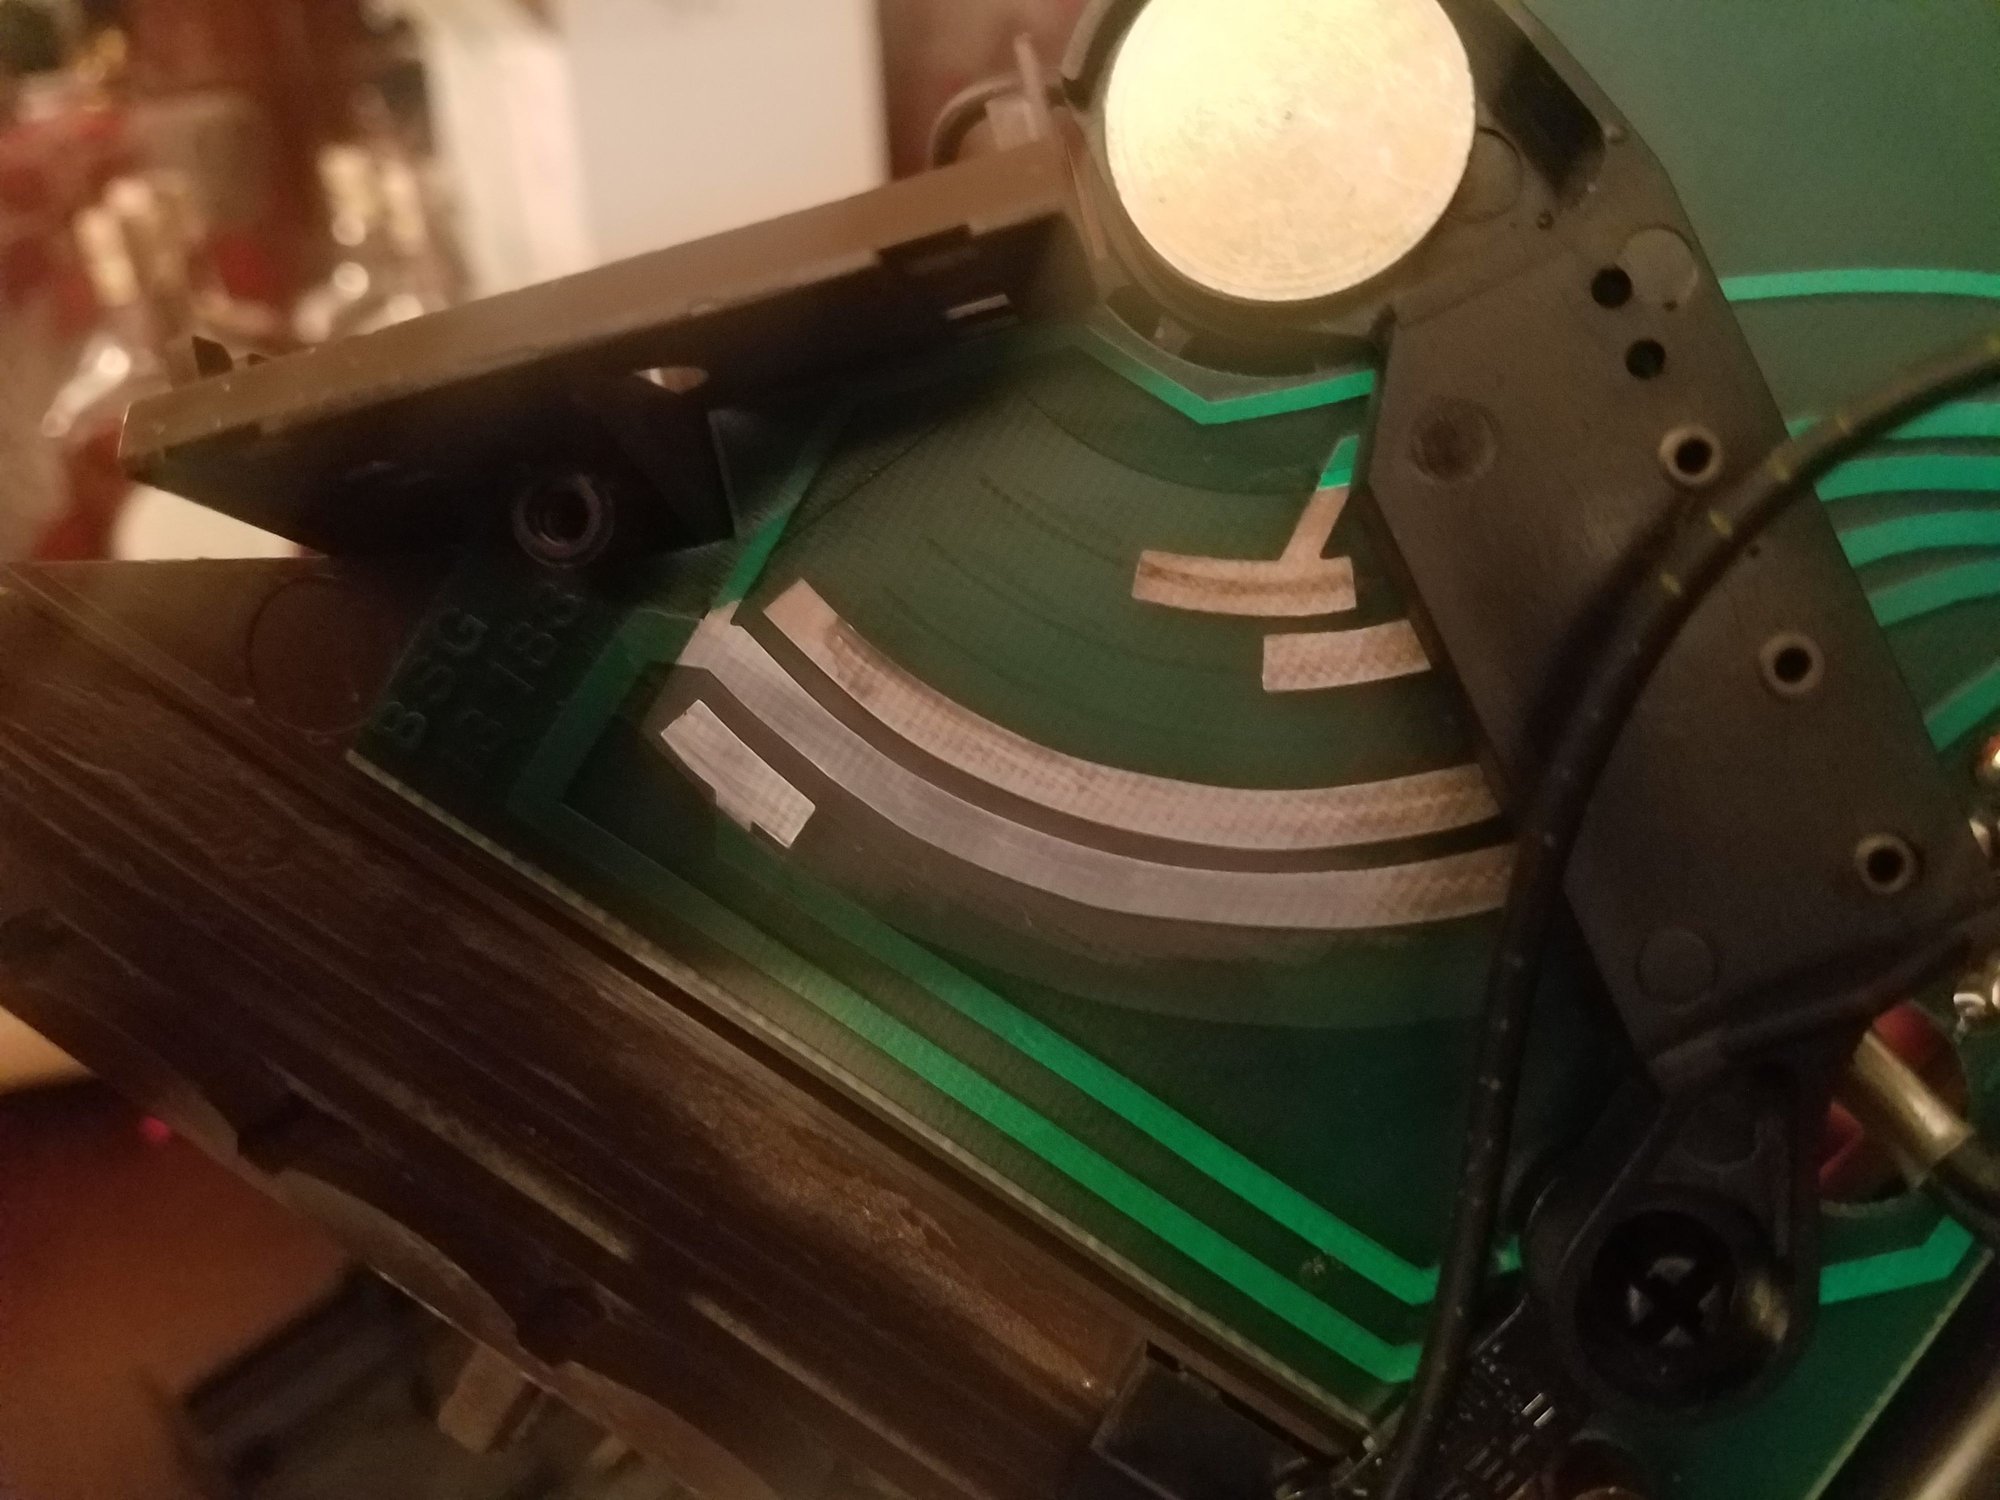
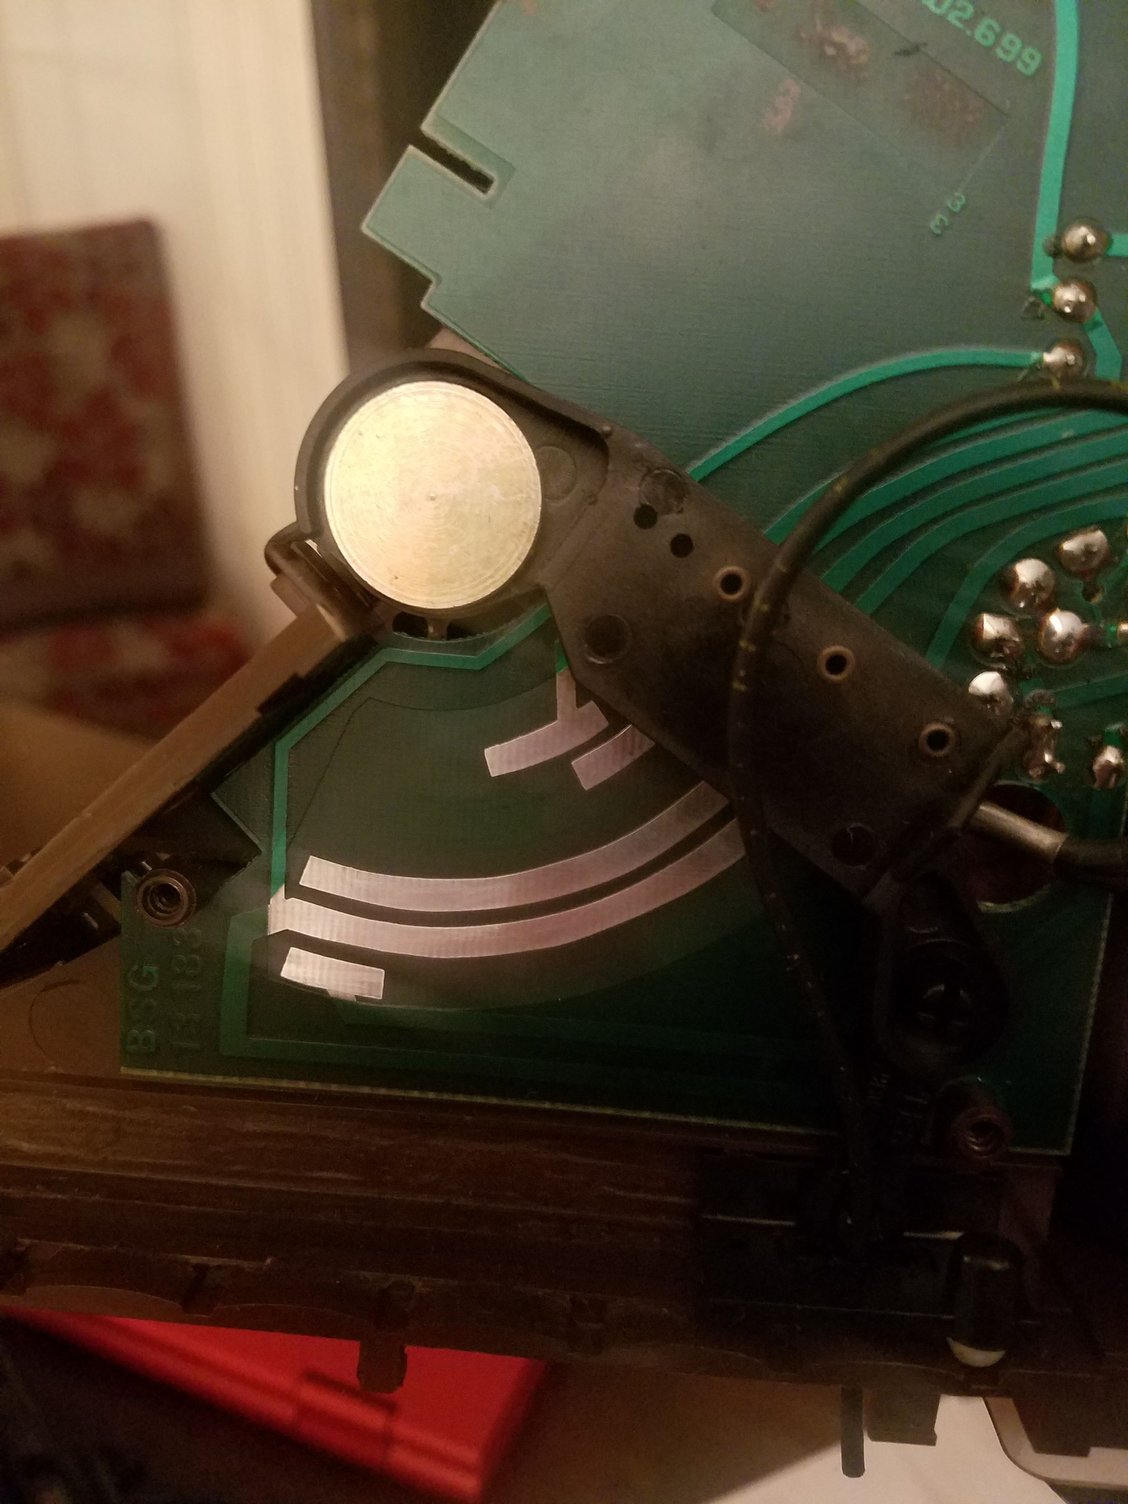
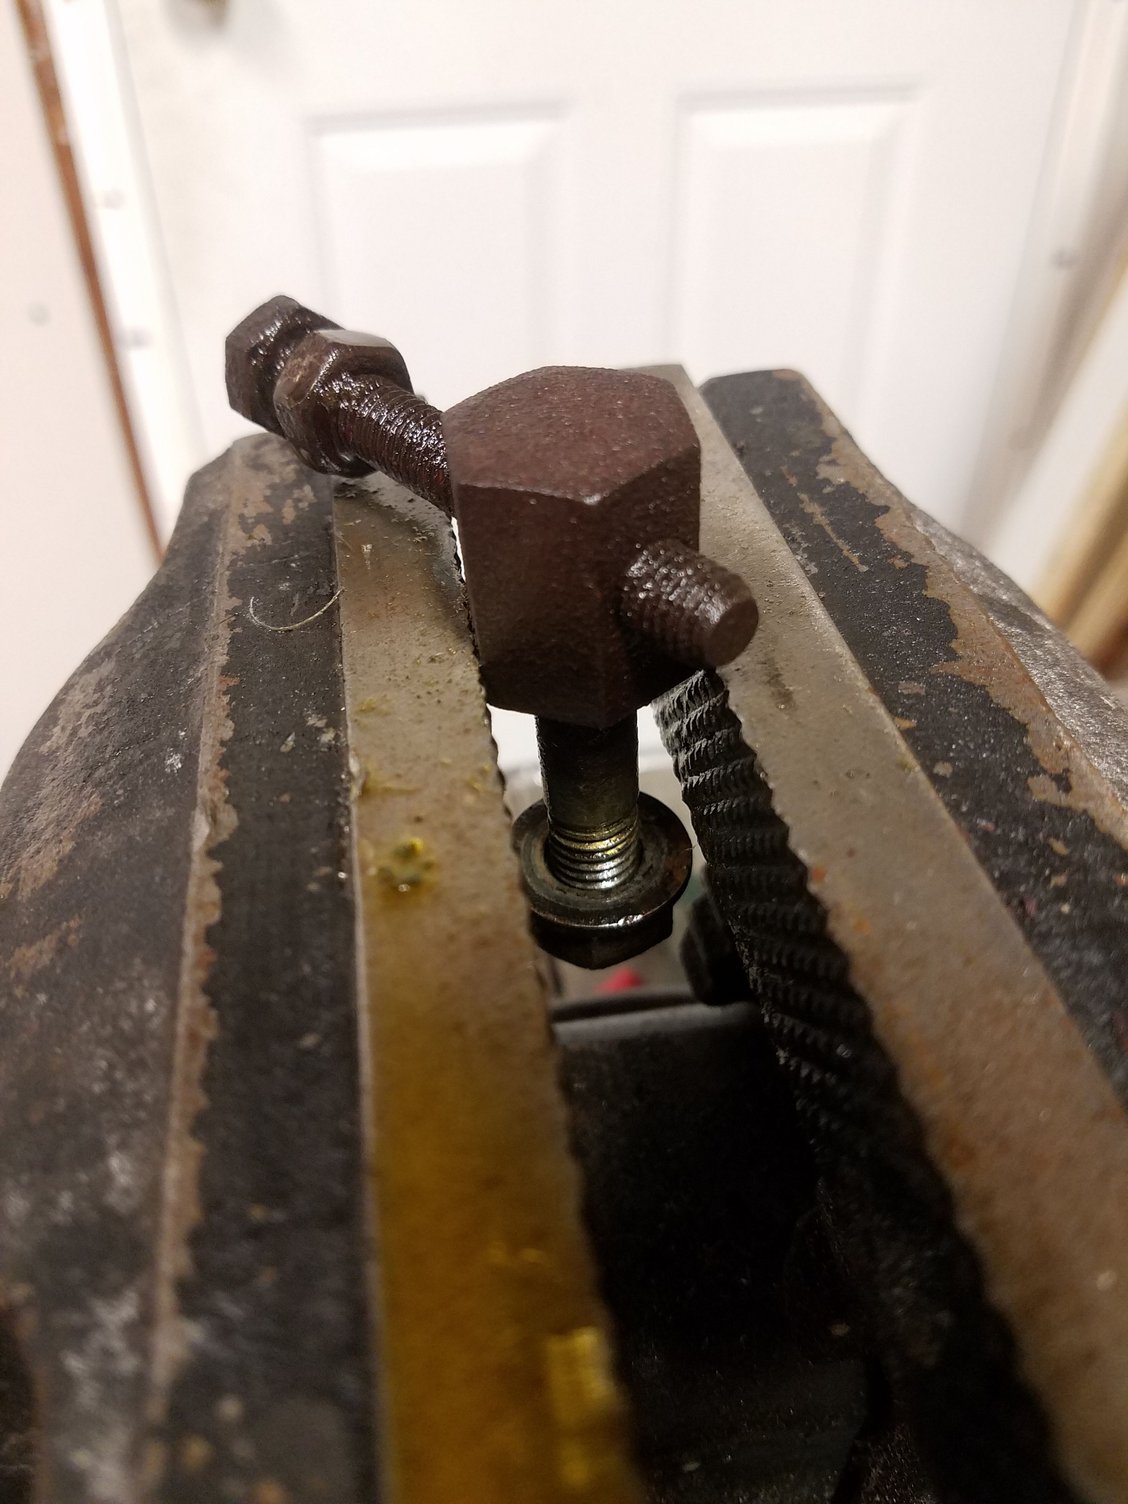
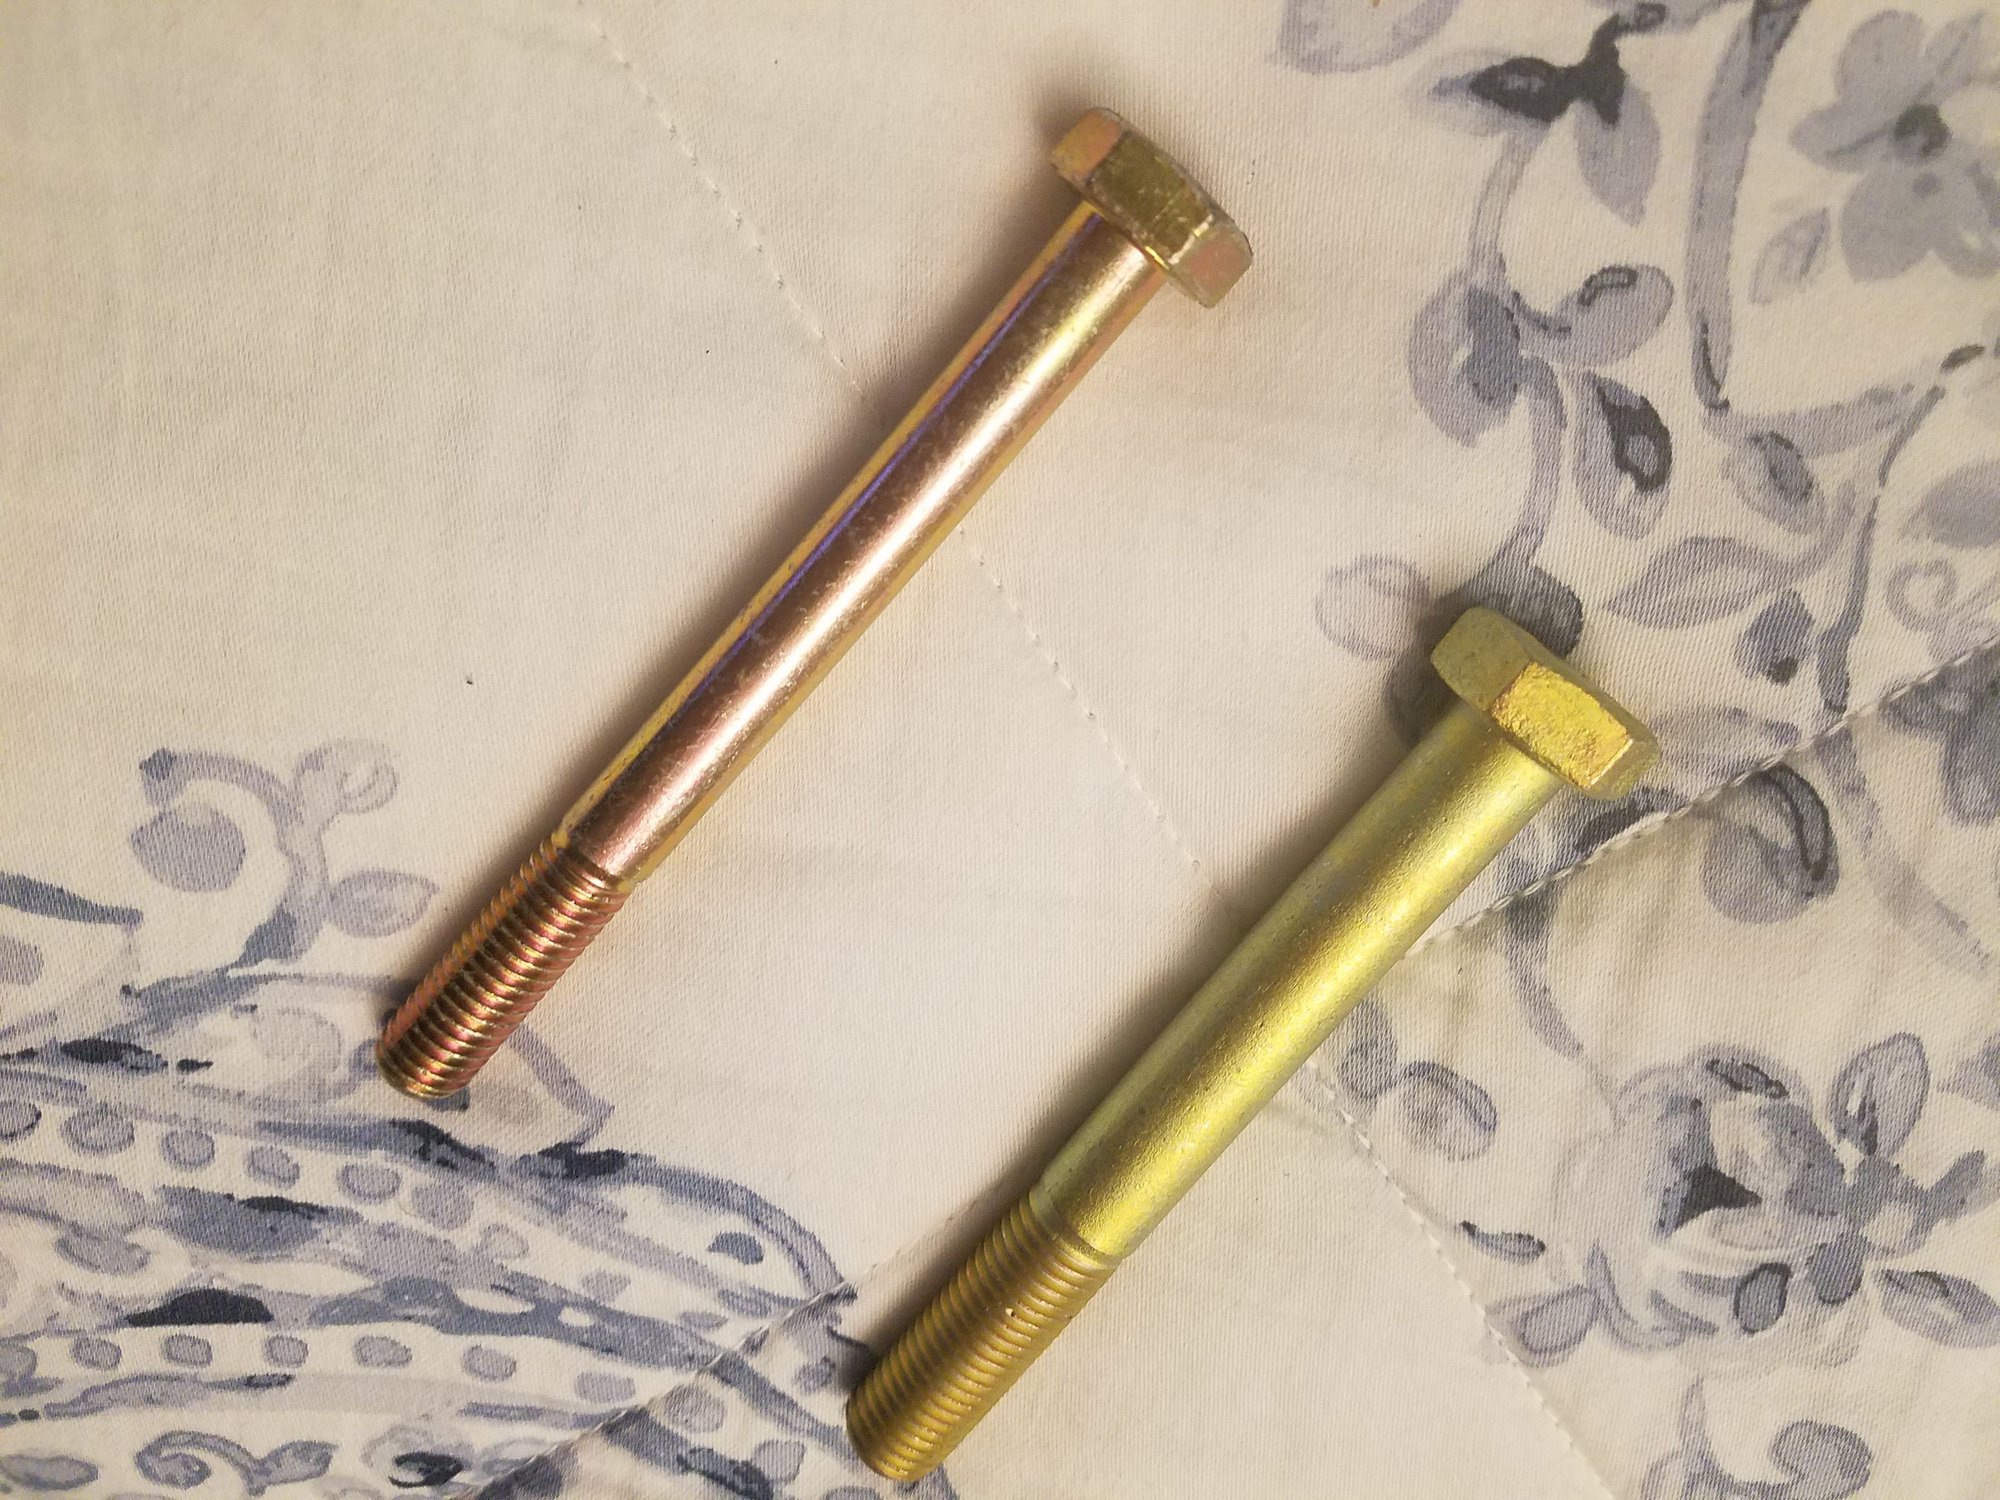
Next up fixing everything that needed attention that came out with the center console. Ash tray needed a refresh and hvac module had broken fiber optic wires and fan speed indicator spindle, amongst other odds and ends. Shifter bolts after zinc plating. After plating these and the trans pan bolts, i had everything else professionally plated. Plated bolts back in the car. Foam surrounding defrost flap also needed replacing Nee foam ready to go Mouse chewed wires repaired The plastic splindle had broken. A bit of time with a mill to make a press hole for a metal shaft and all is good again Fan soeed label ready to be reglued. Hvac after repairing the fiber optics. Upper was a little dim but acceptable and much better than before. New retaining clips were also installed on the sliders as the old ones had cracked.
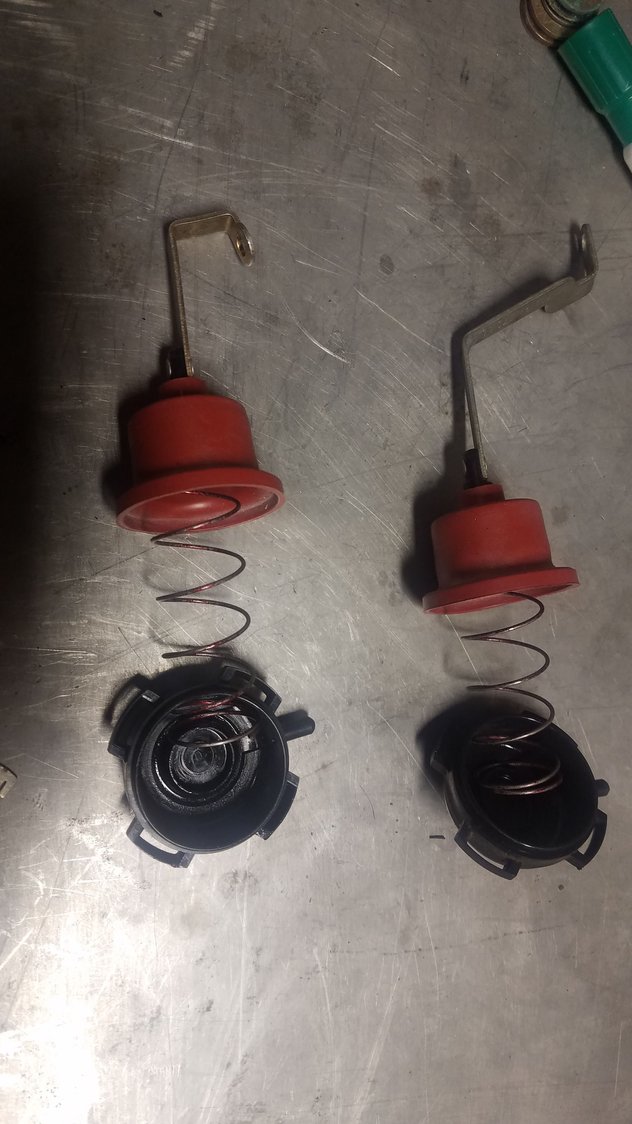
Just a few more picture of tidying up the hvac diaphragms and controller. Of course I didn't take any pictures once it was all back in. I'll have to leave you in suspense until all the recent pictures with all work completed get posted. Another detail was that there were numerous screws and bolts missing holding all the center console bits together. Anything missing was replaced with new fasteners of the original specs. Tracks before cleaning After cleaning Before Cleaned Actuators ready for the new diaphragms
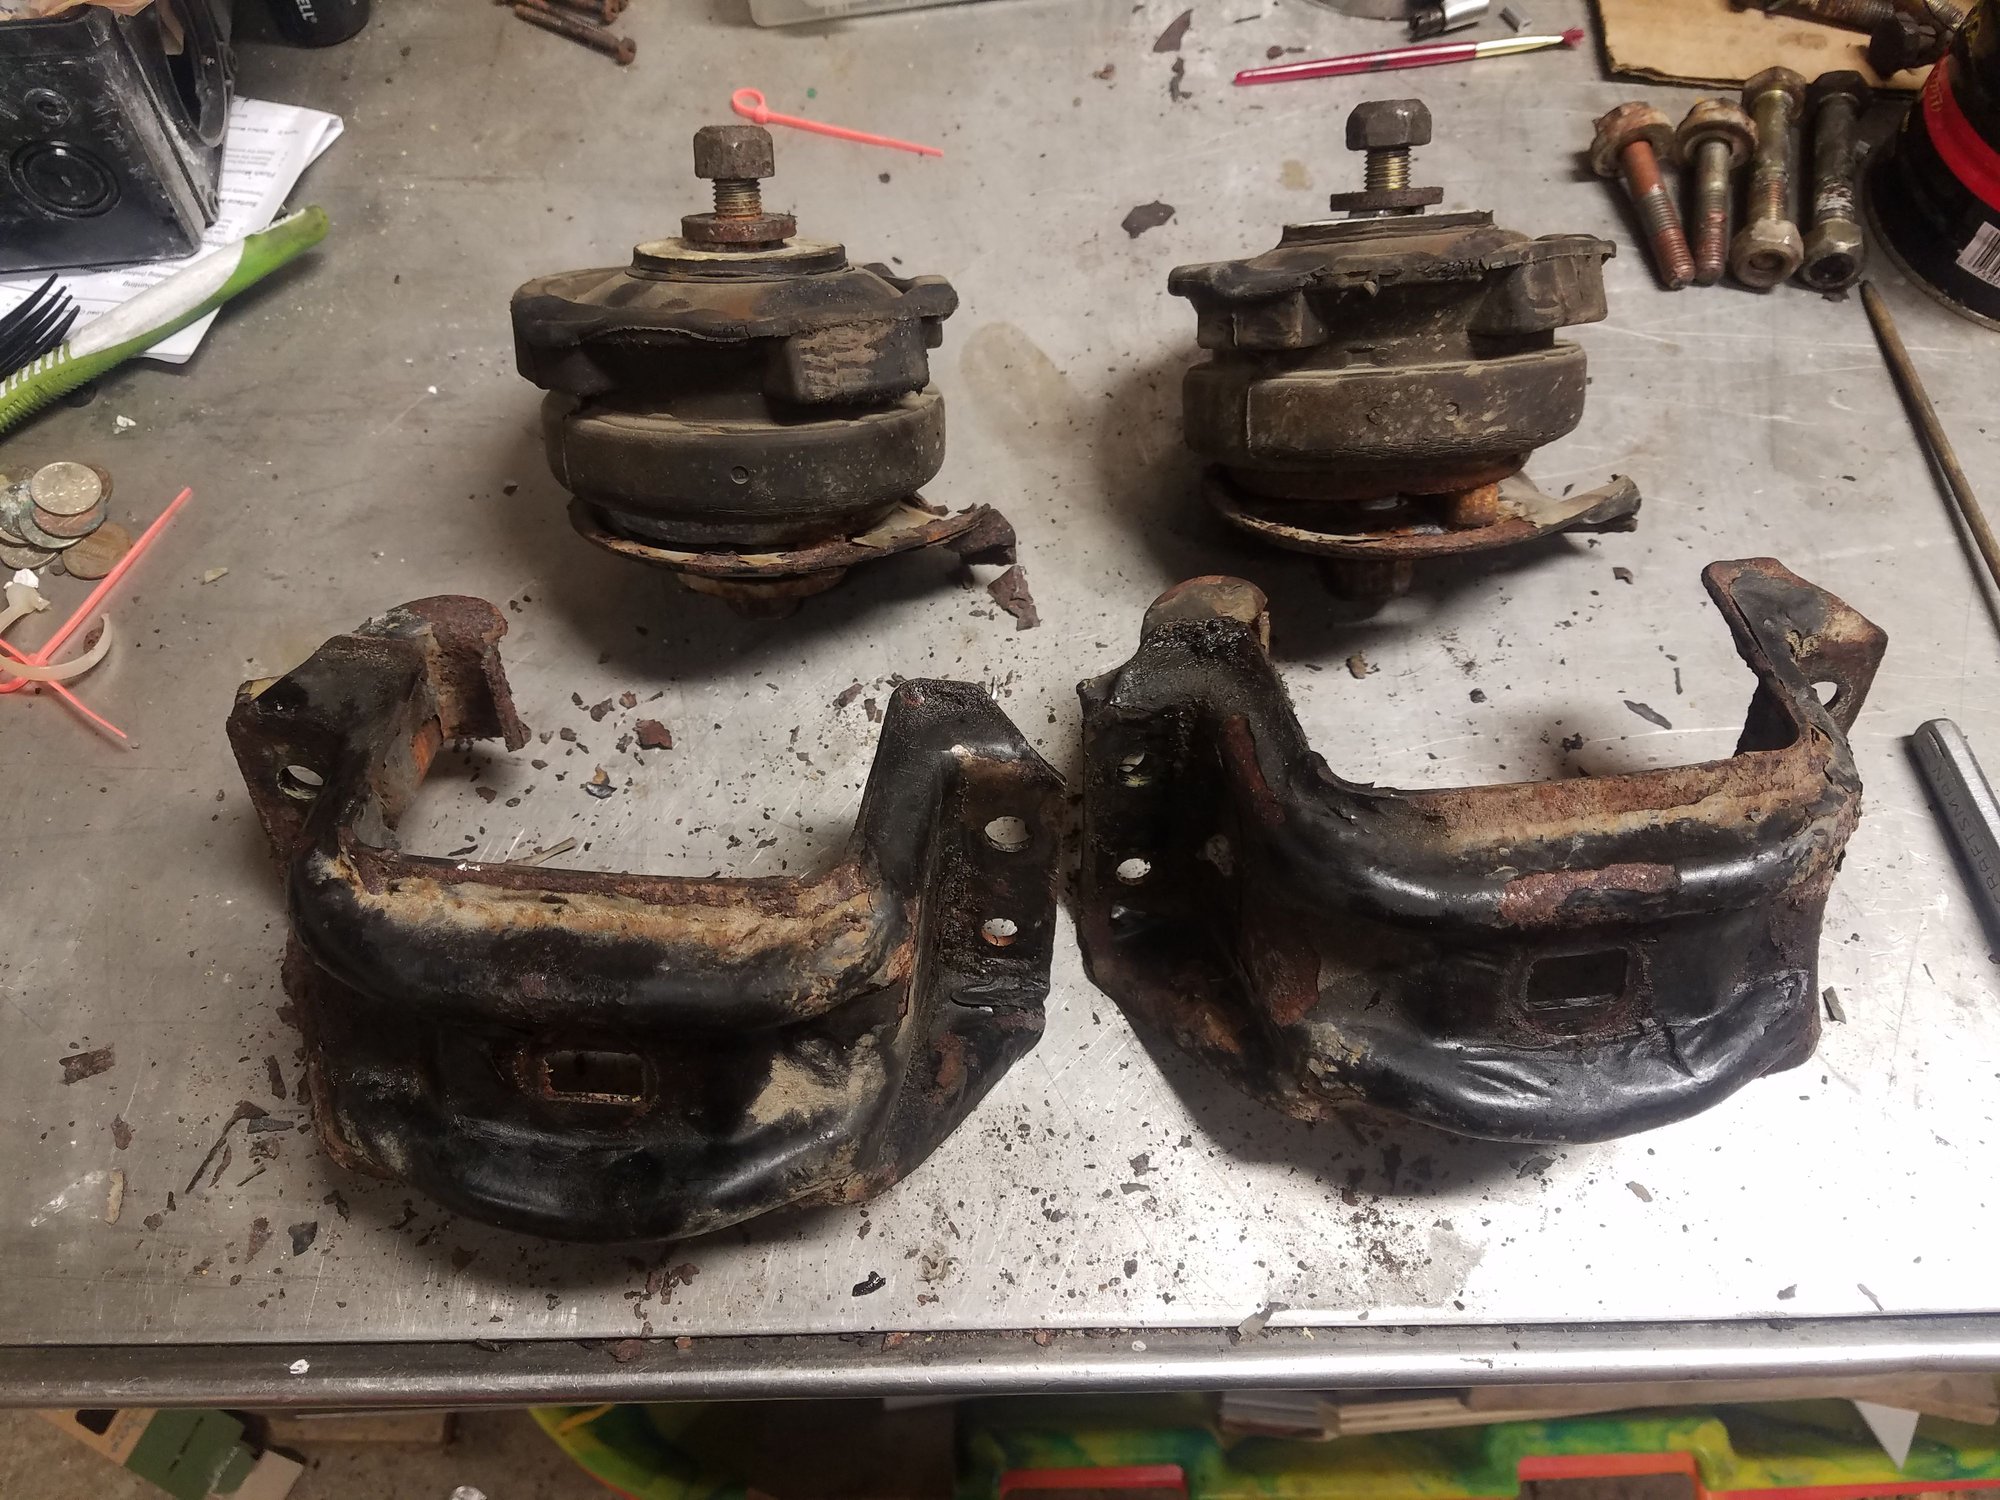
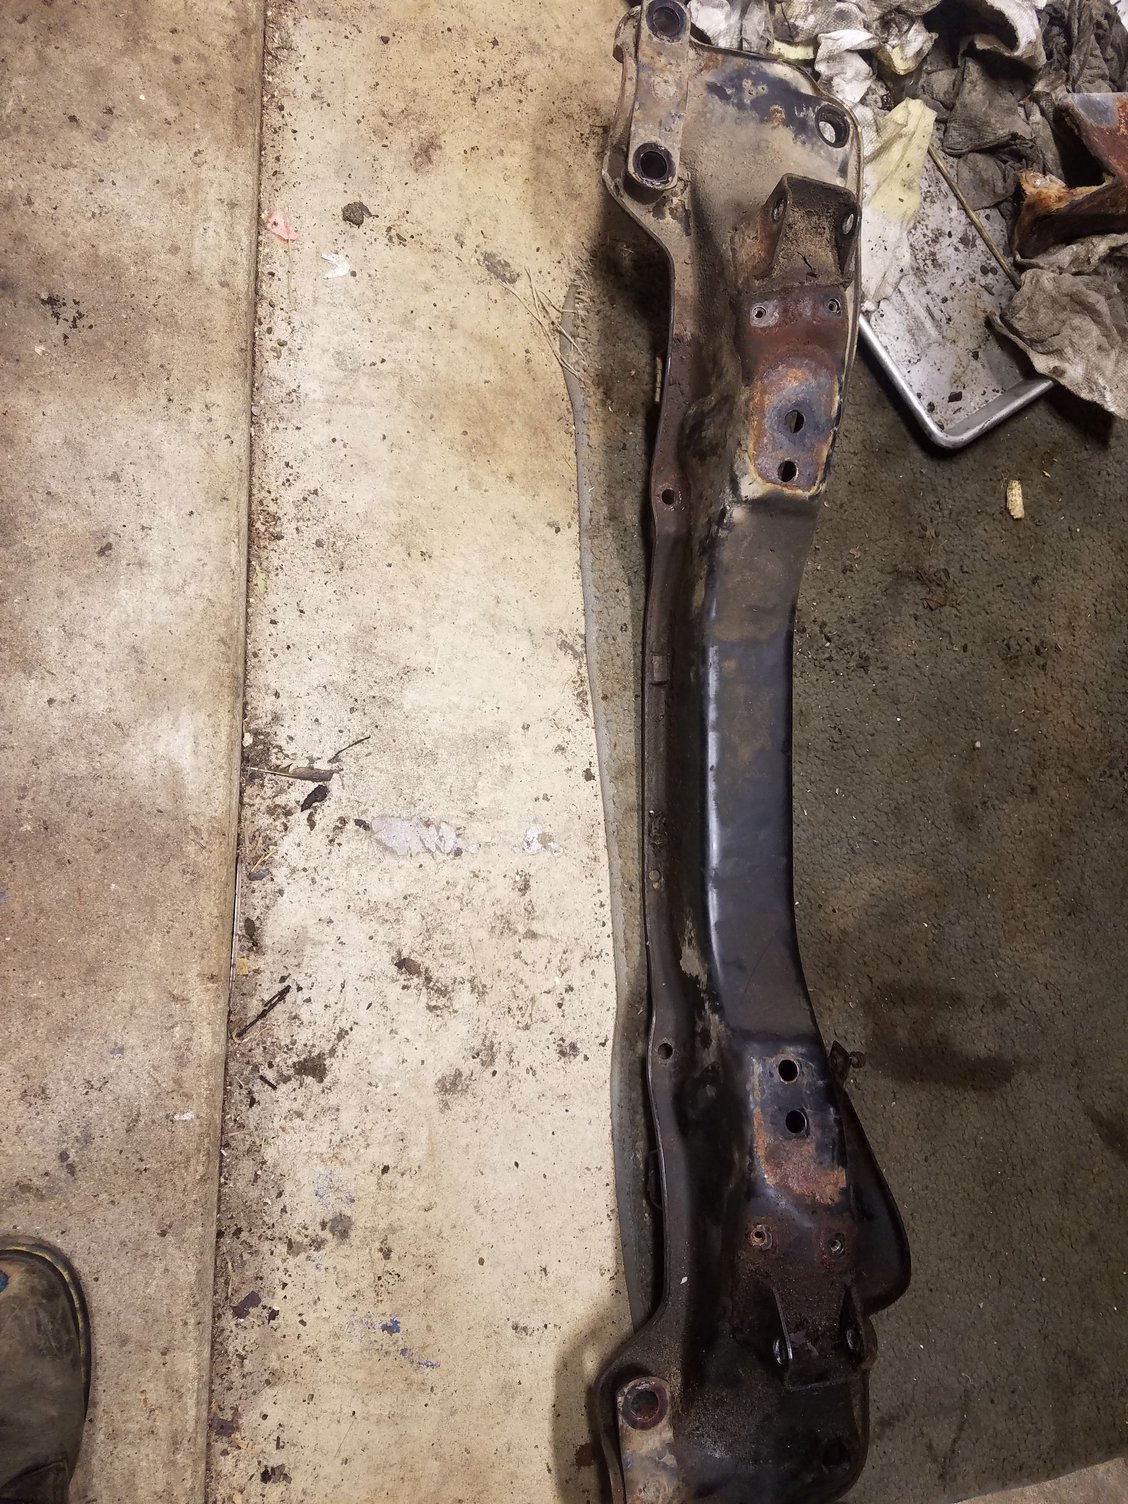
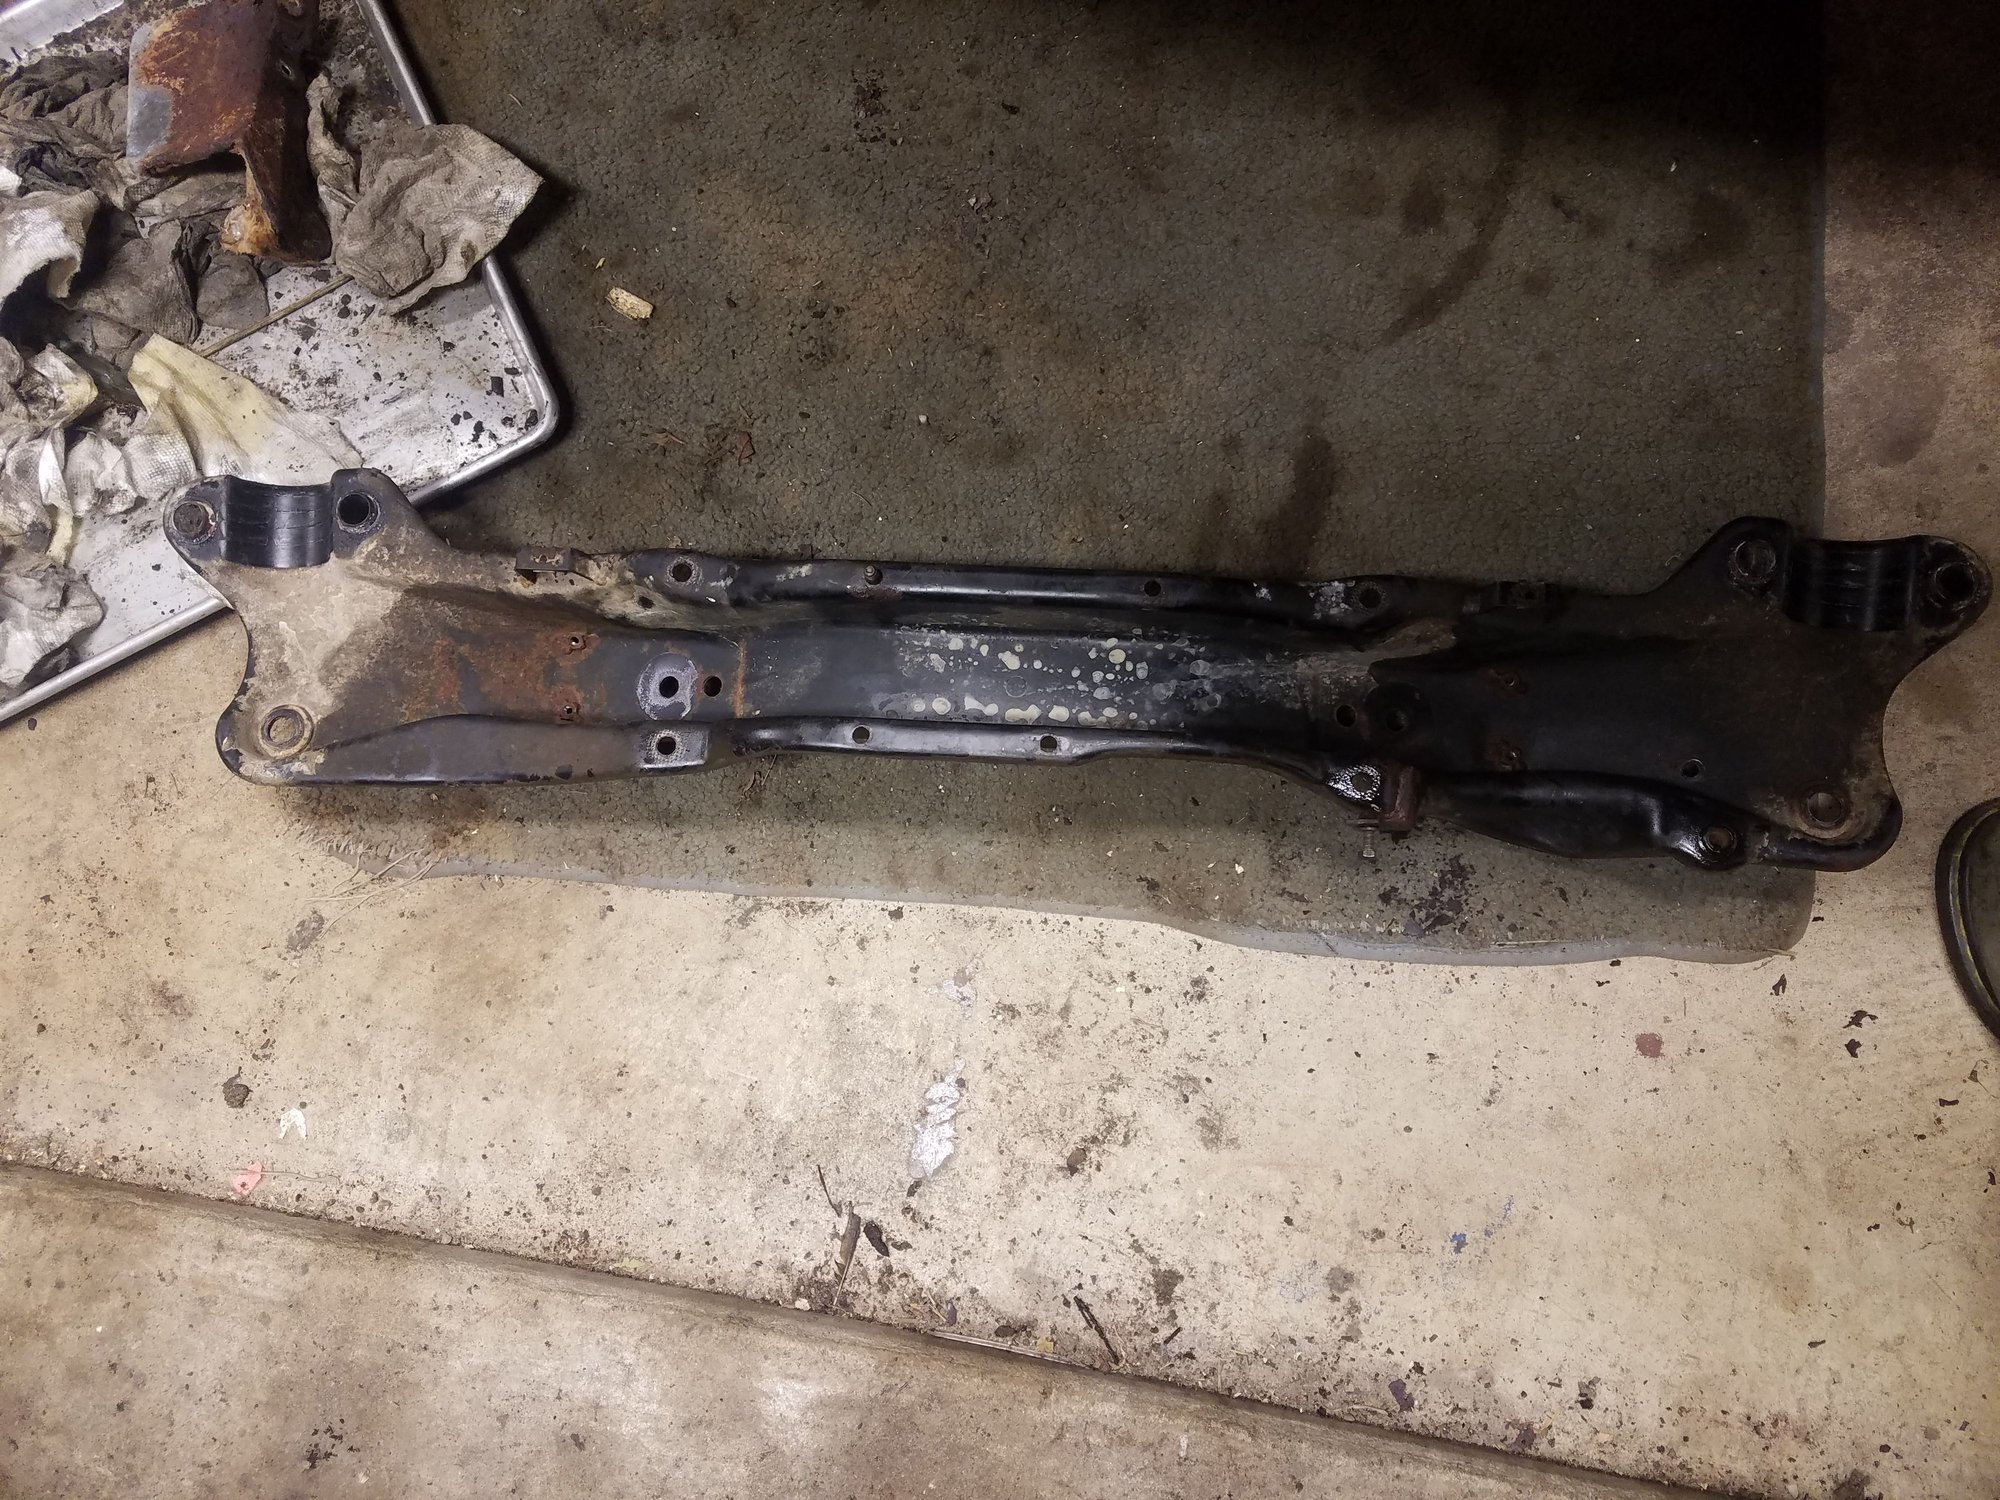
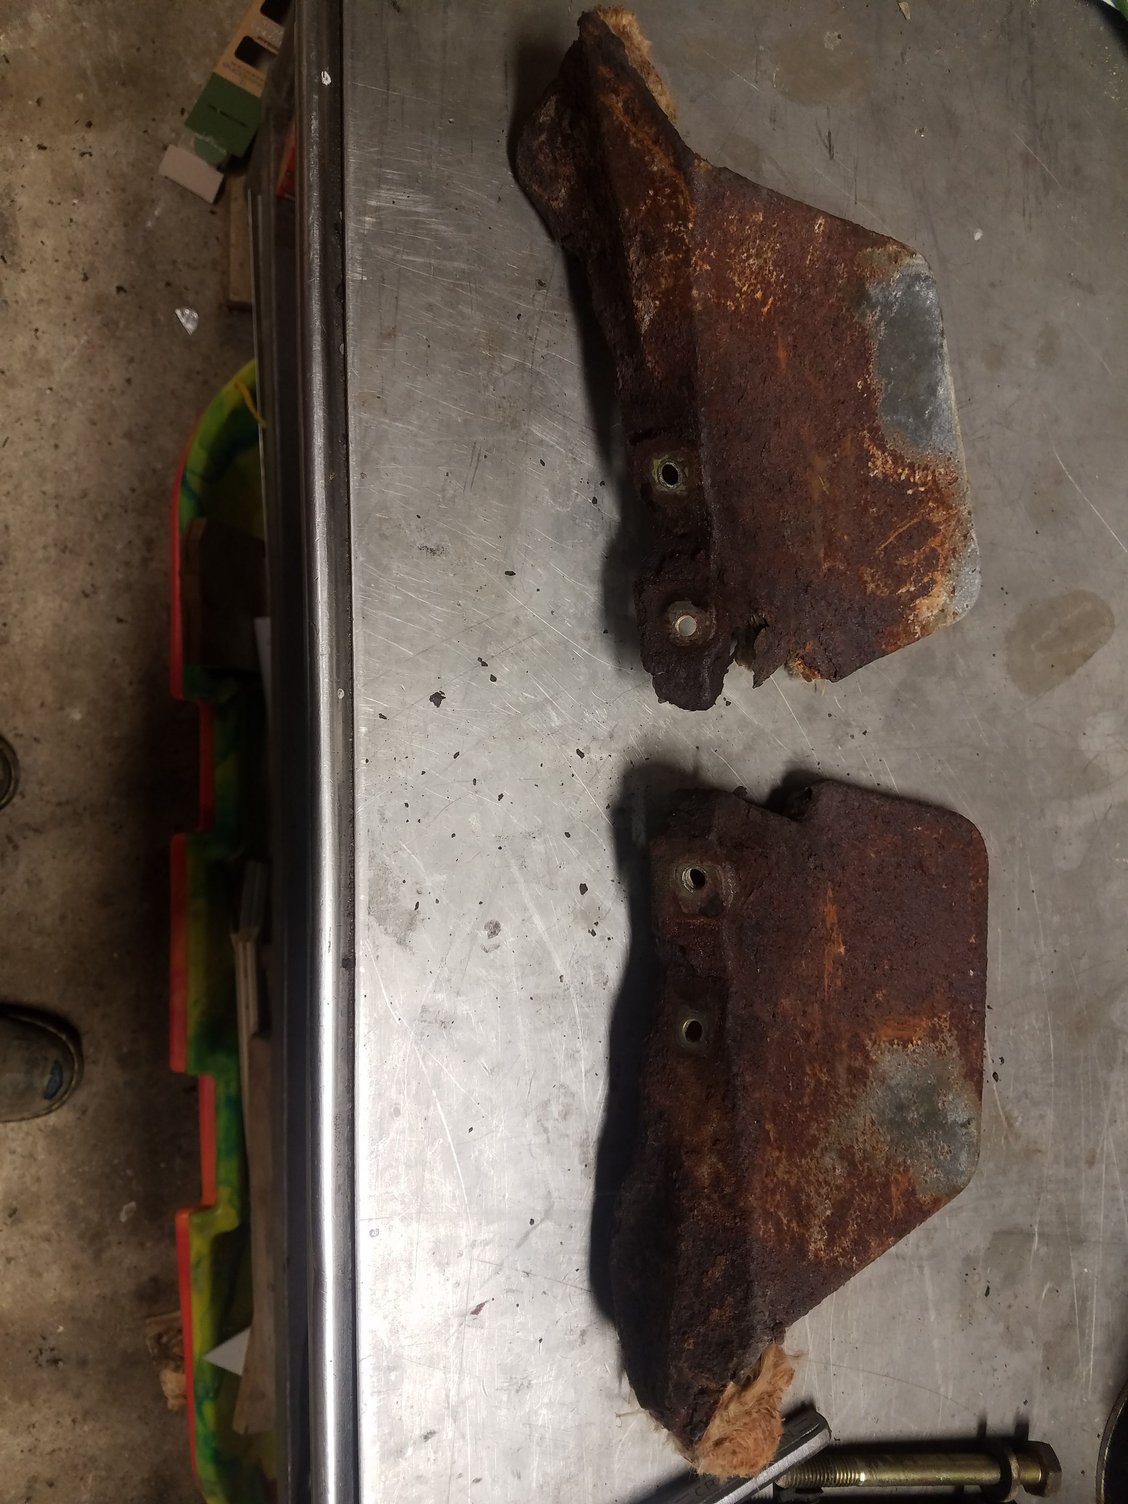
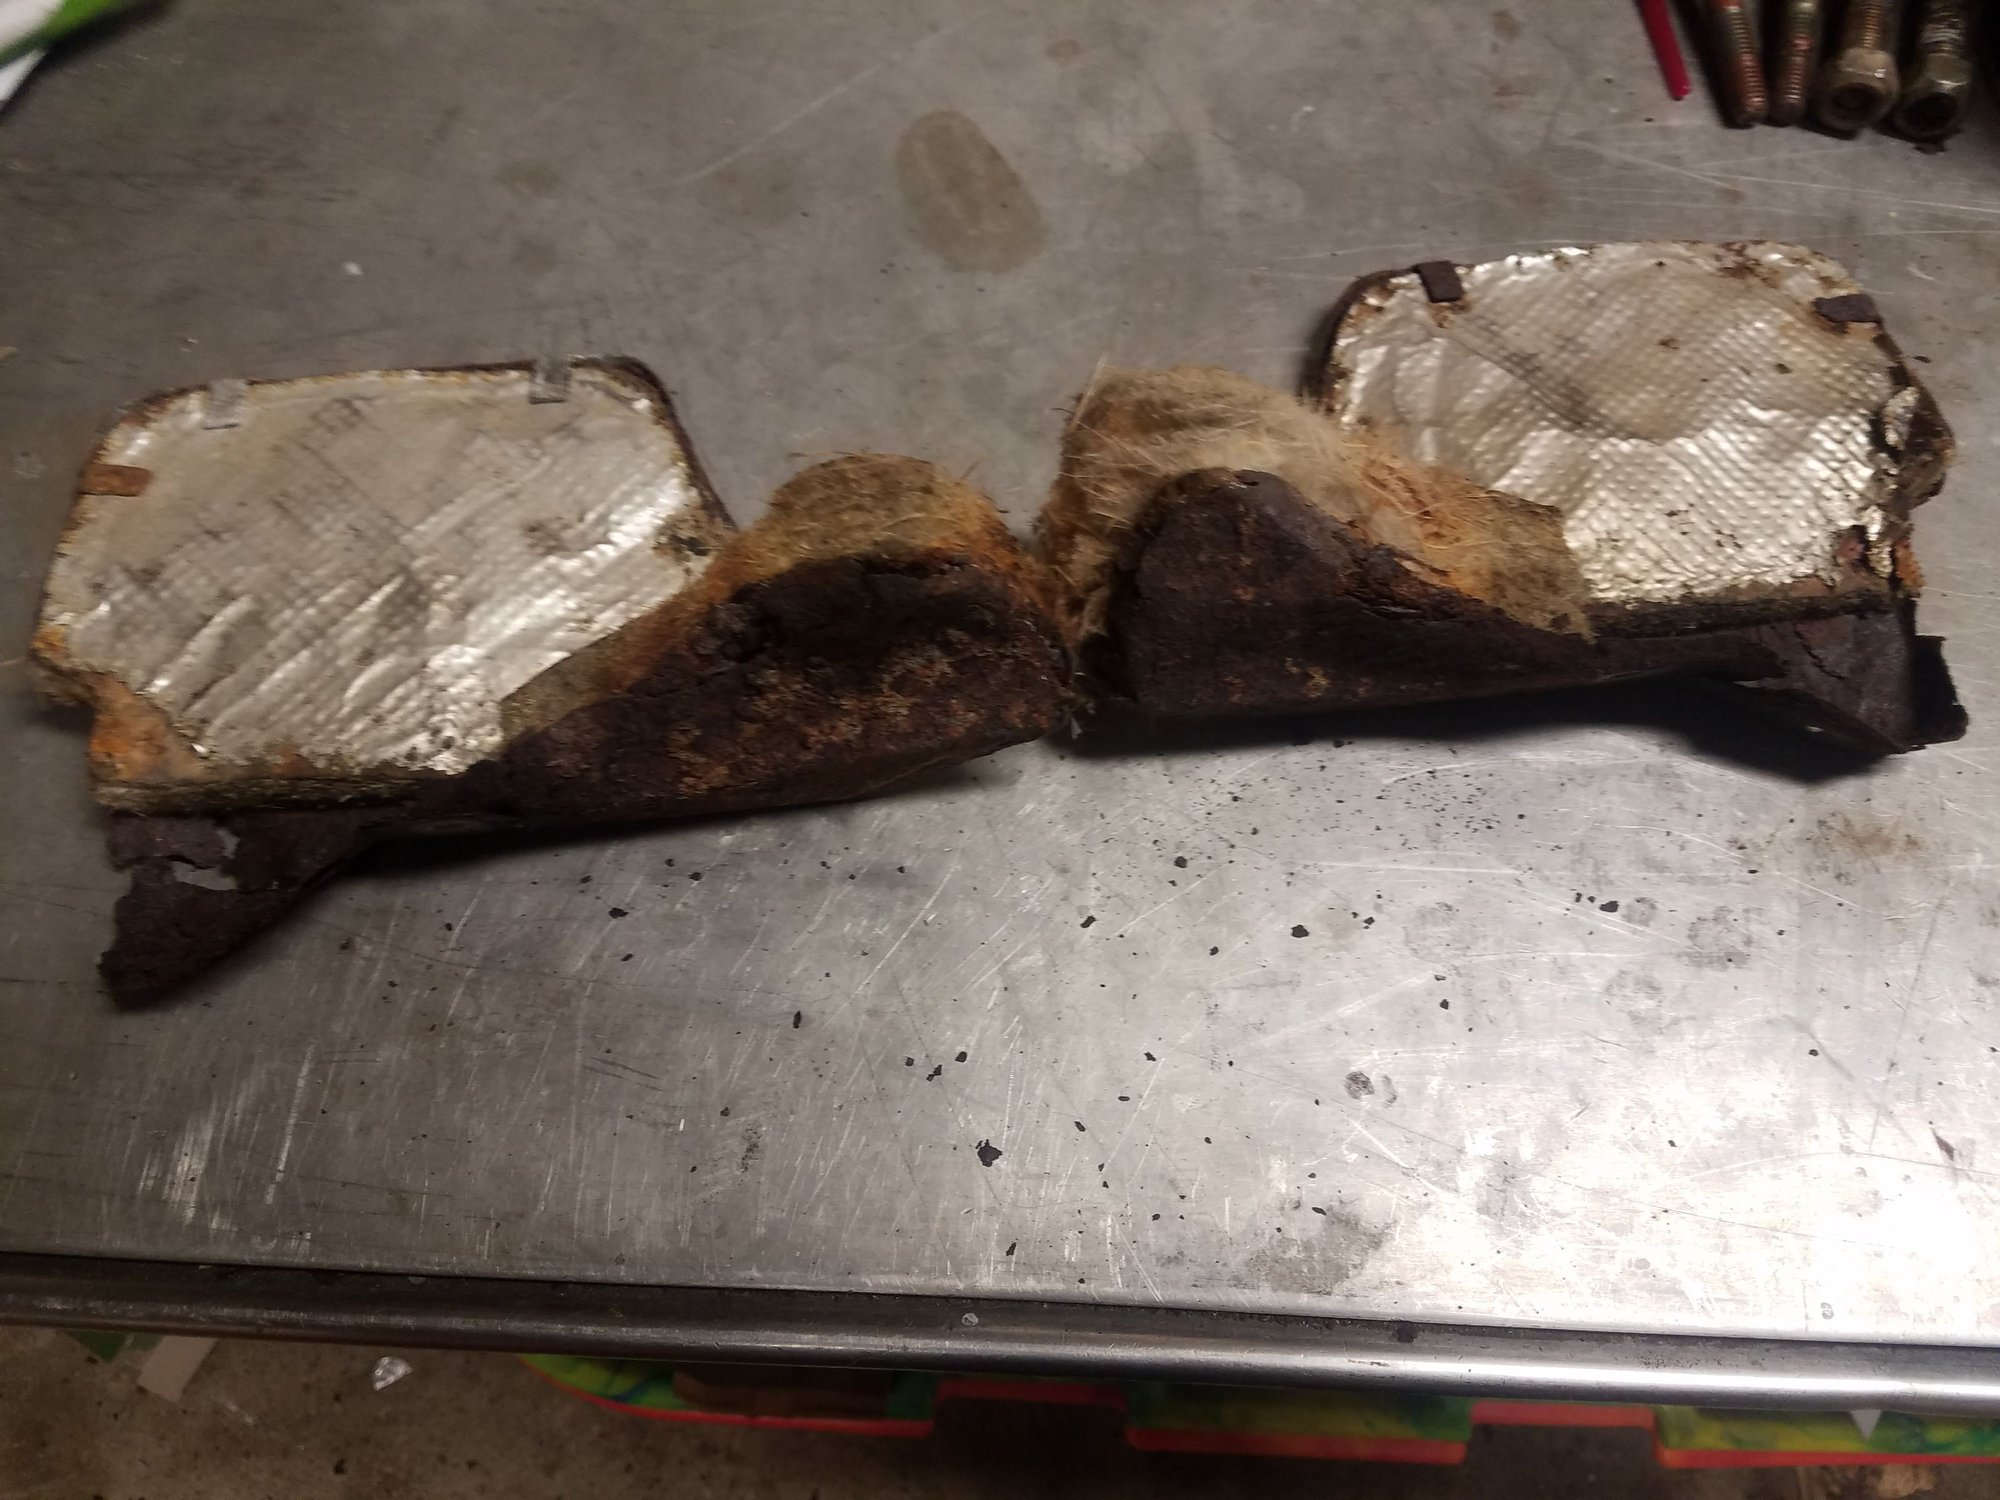
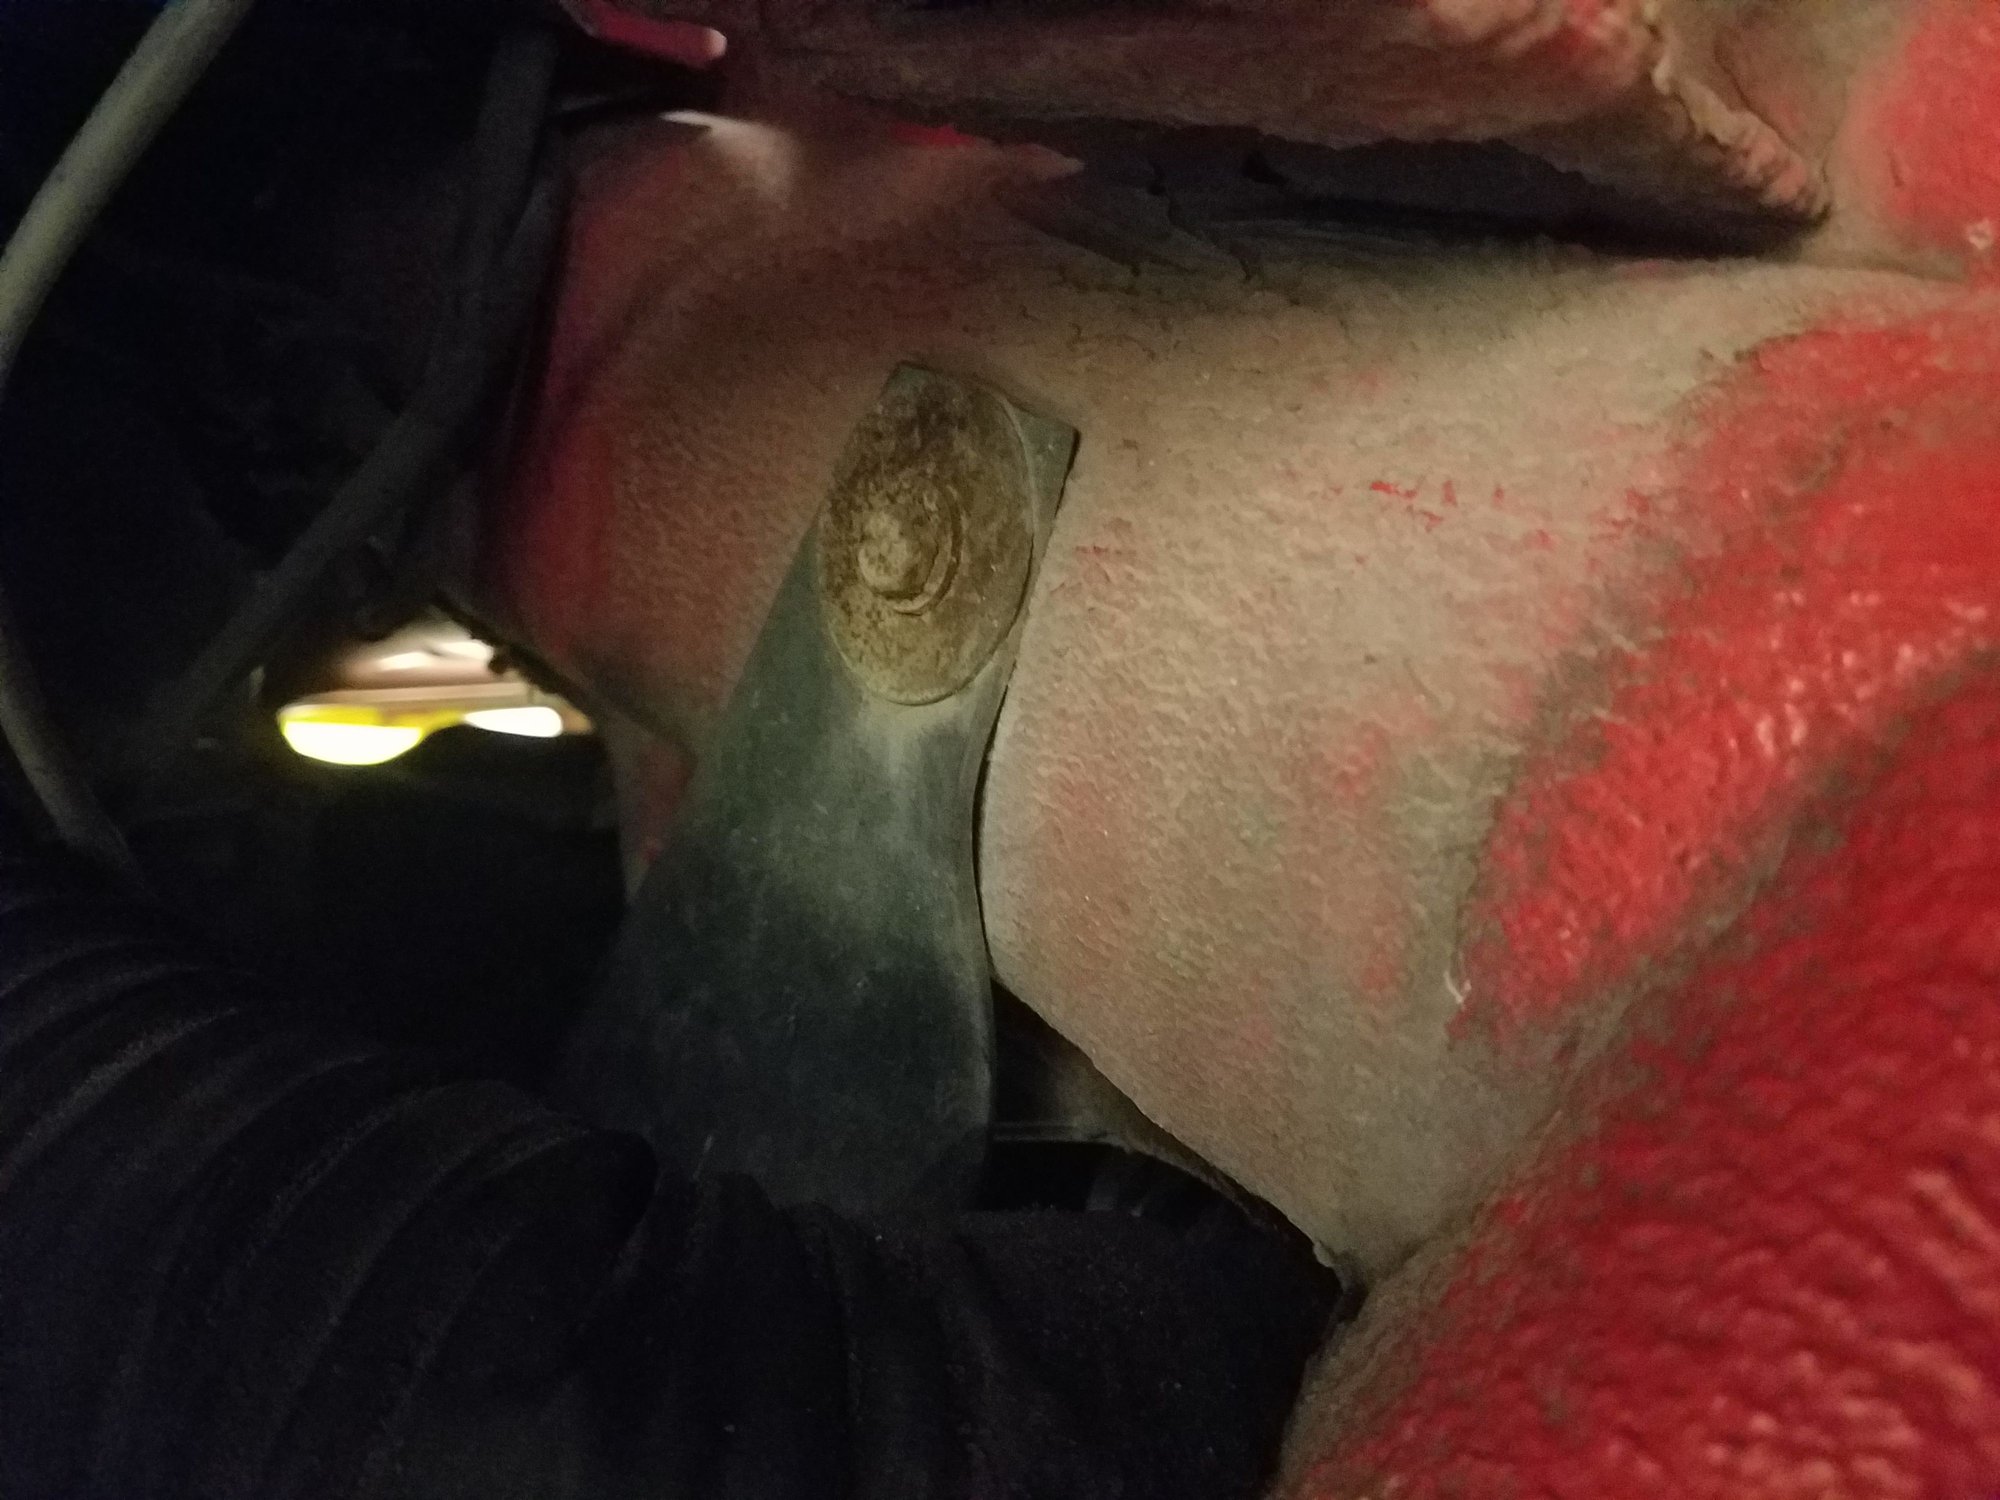
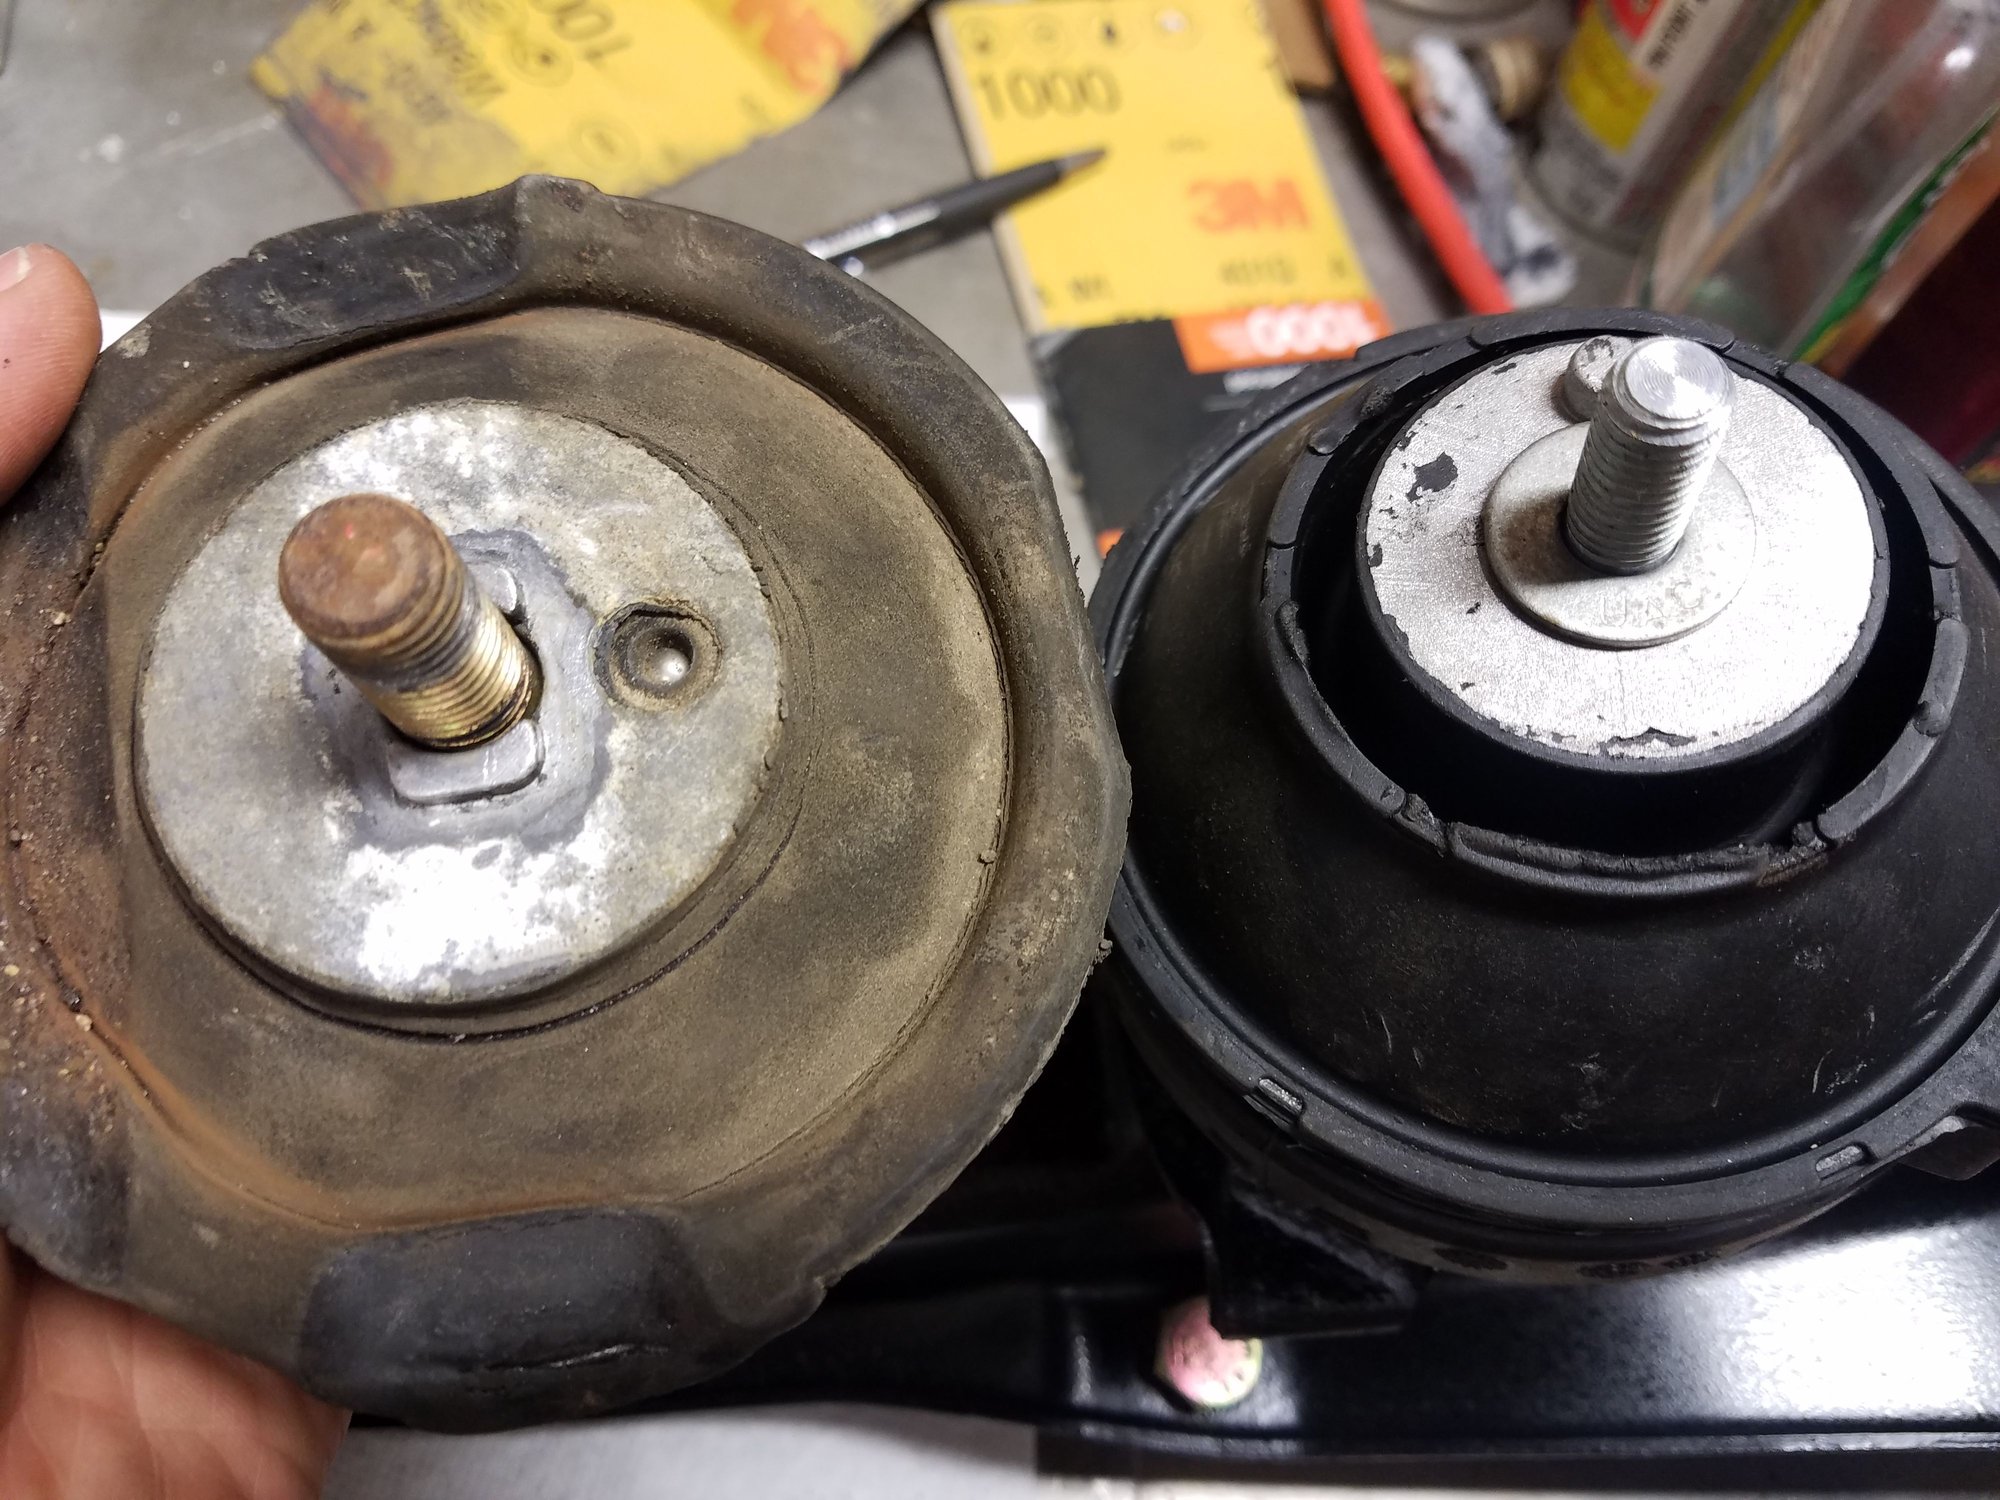
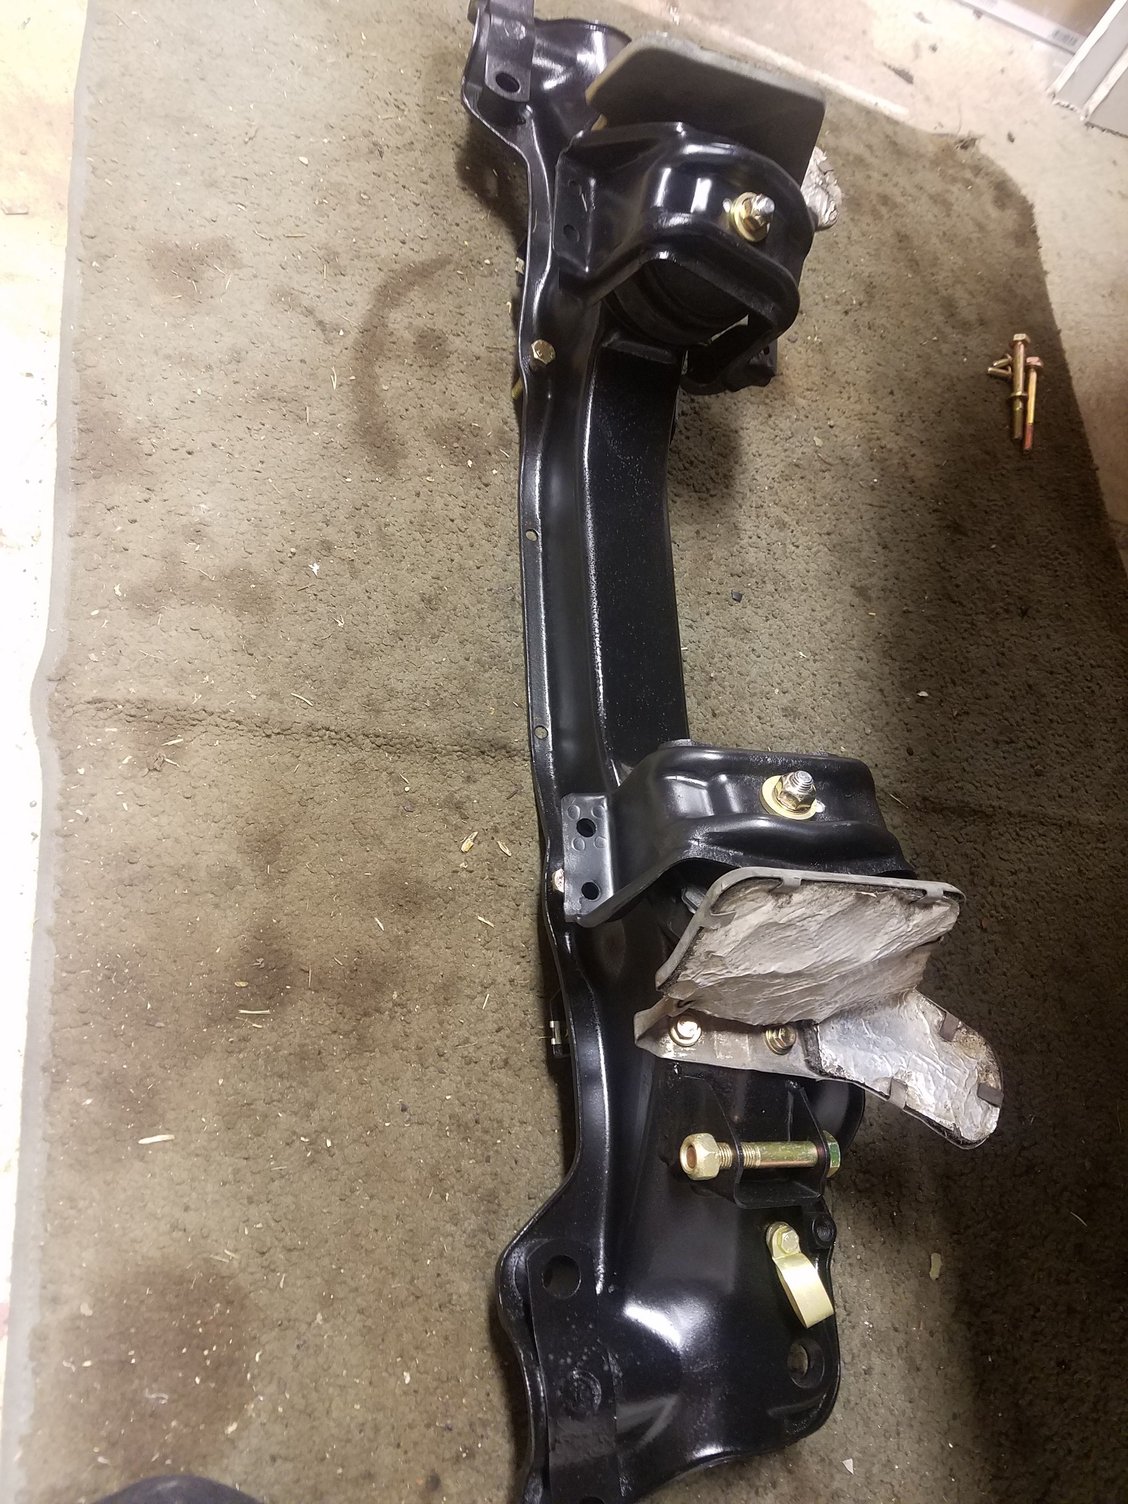
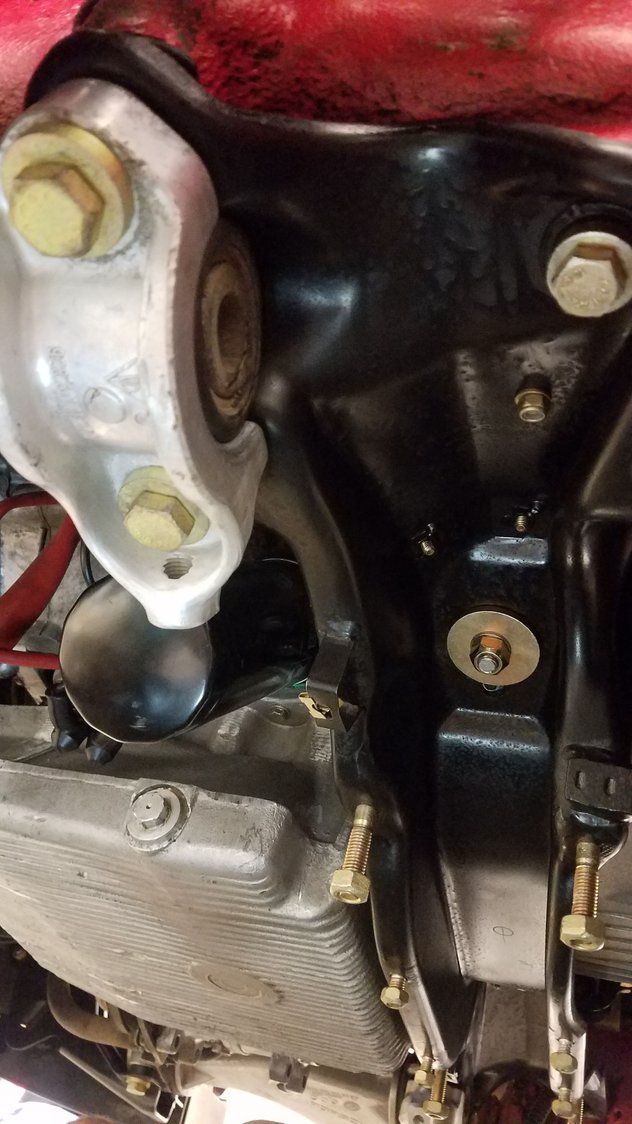
Original motor mounts didnt feel terrible, but had settled a bit and it just seemd like it was time new ones go in. Cross member in pretty good shape but in jeed of some ckeaning and painting. Heat shields were toast. A used set in much better condition was sourced from 928s international
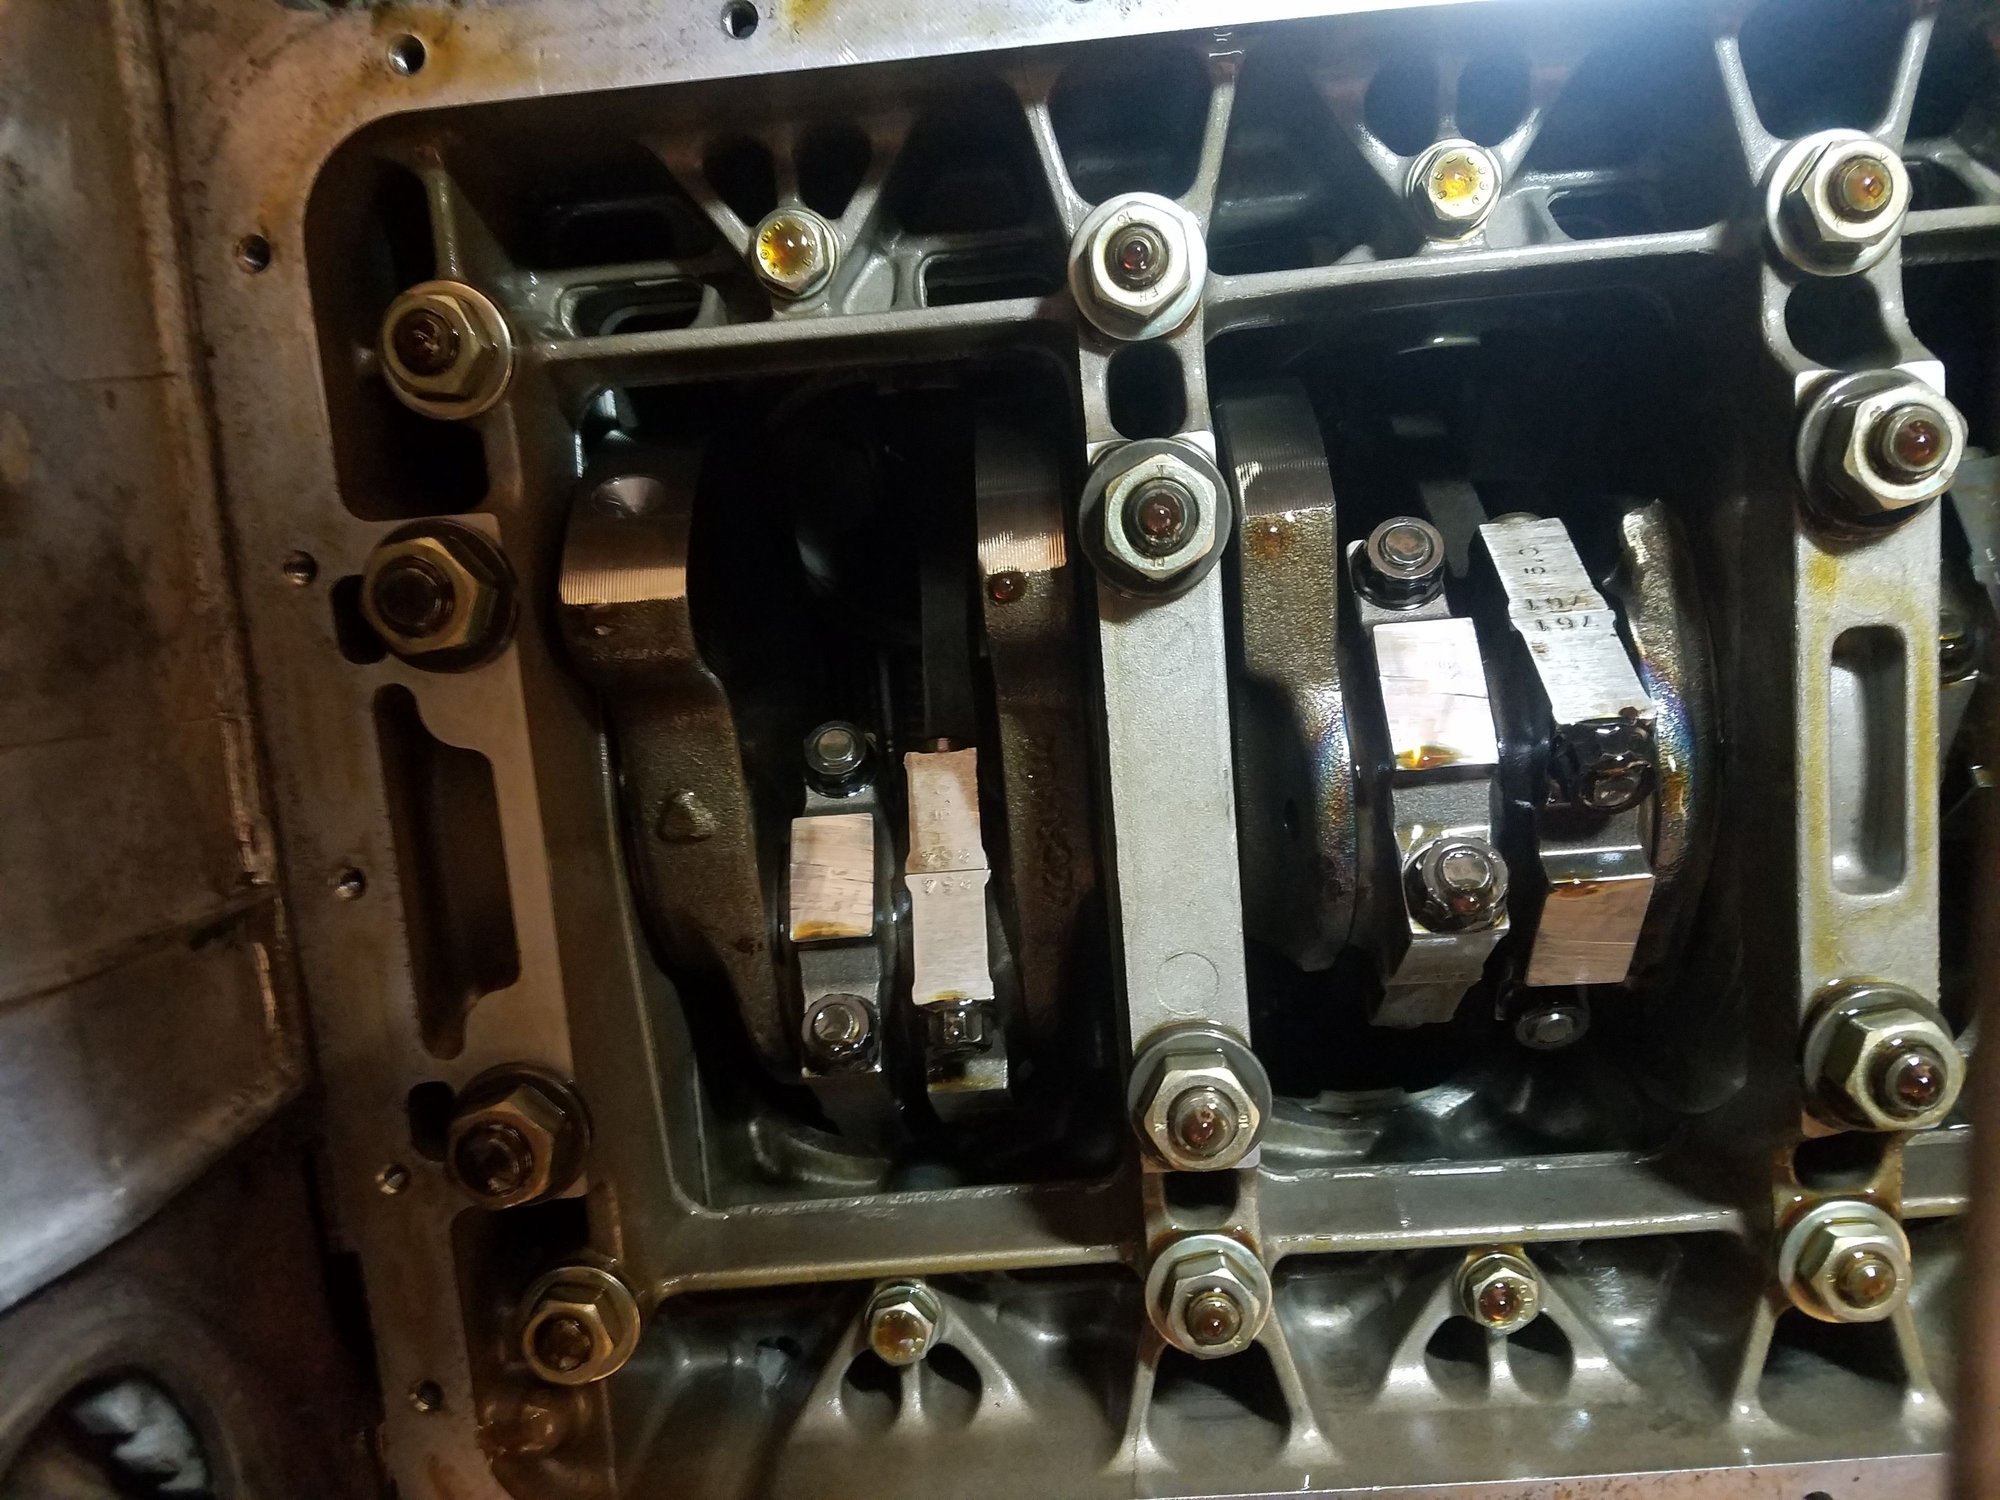
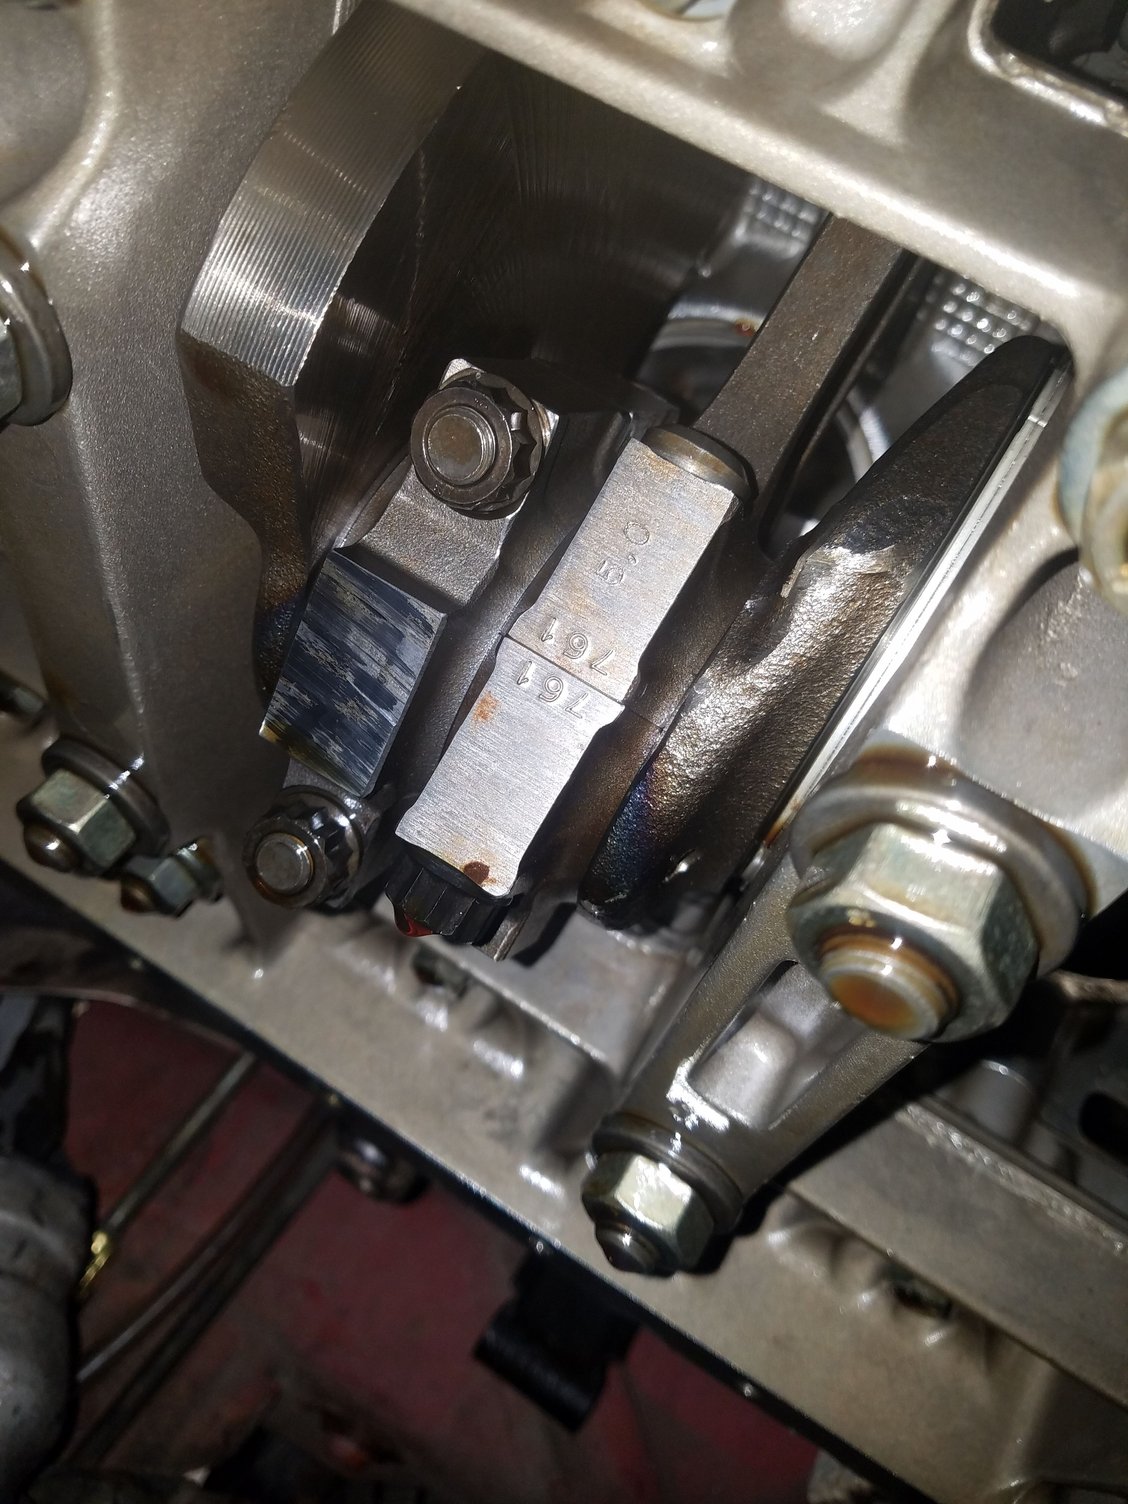
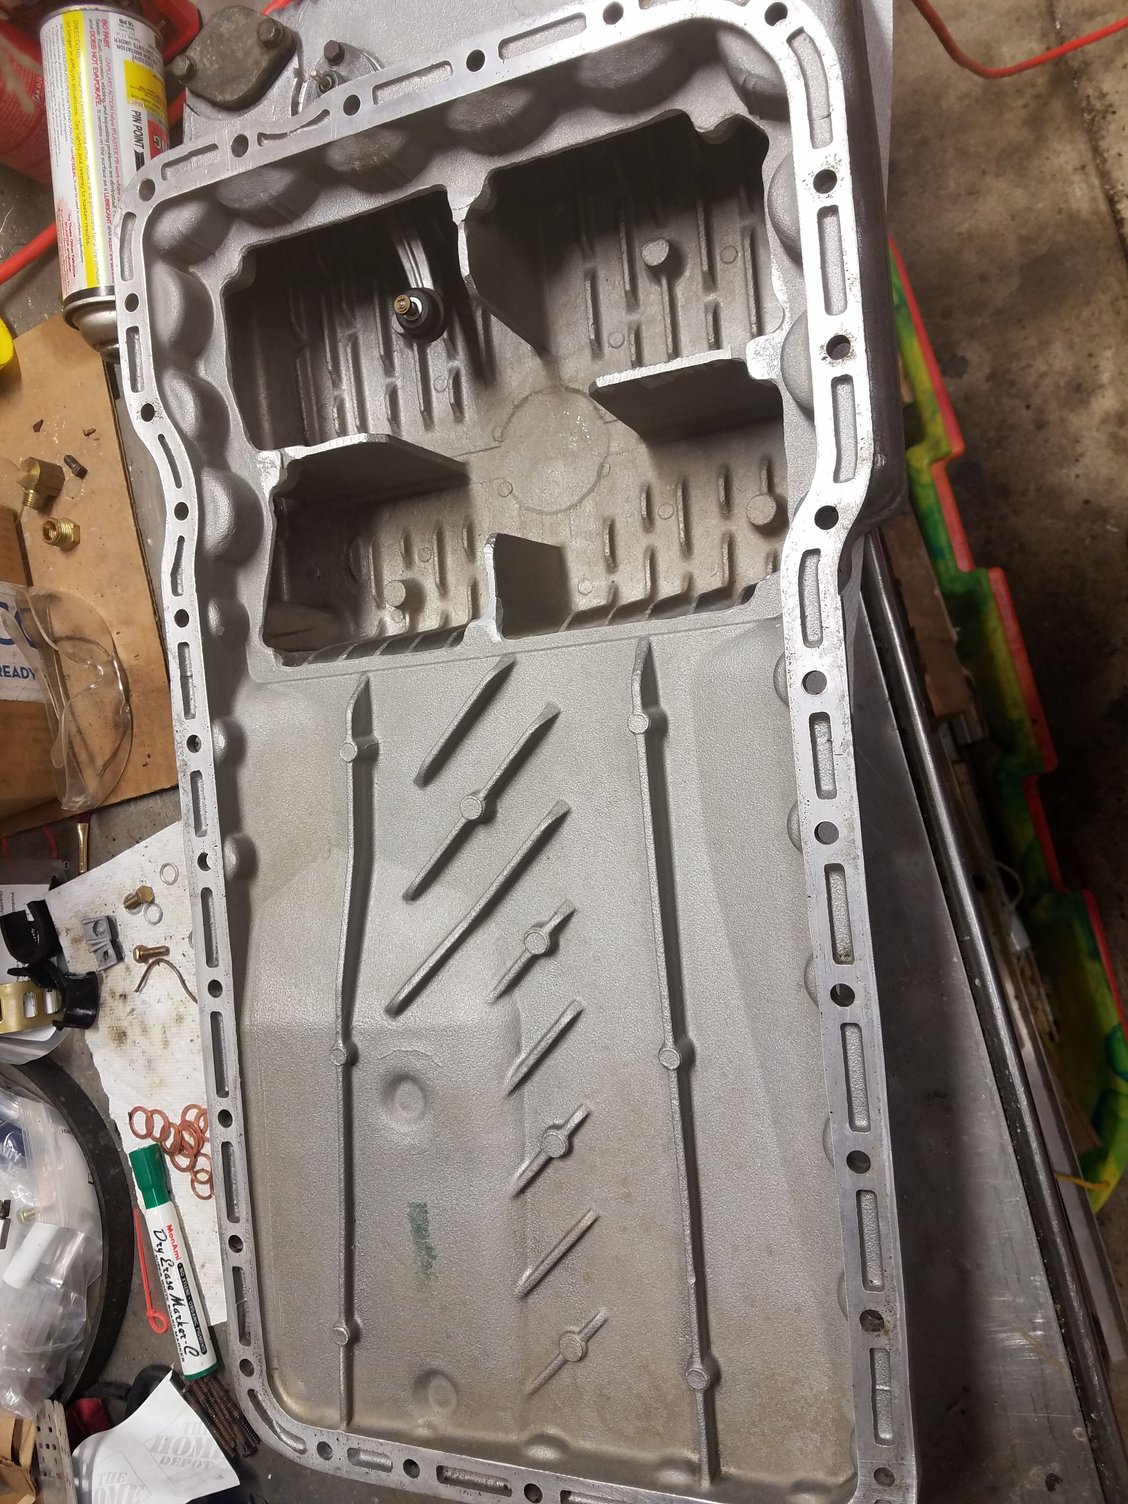
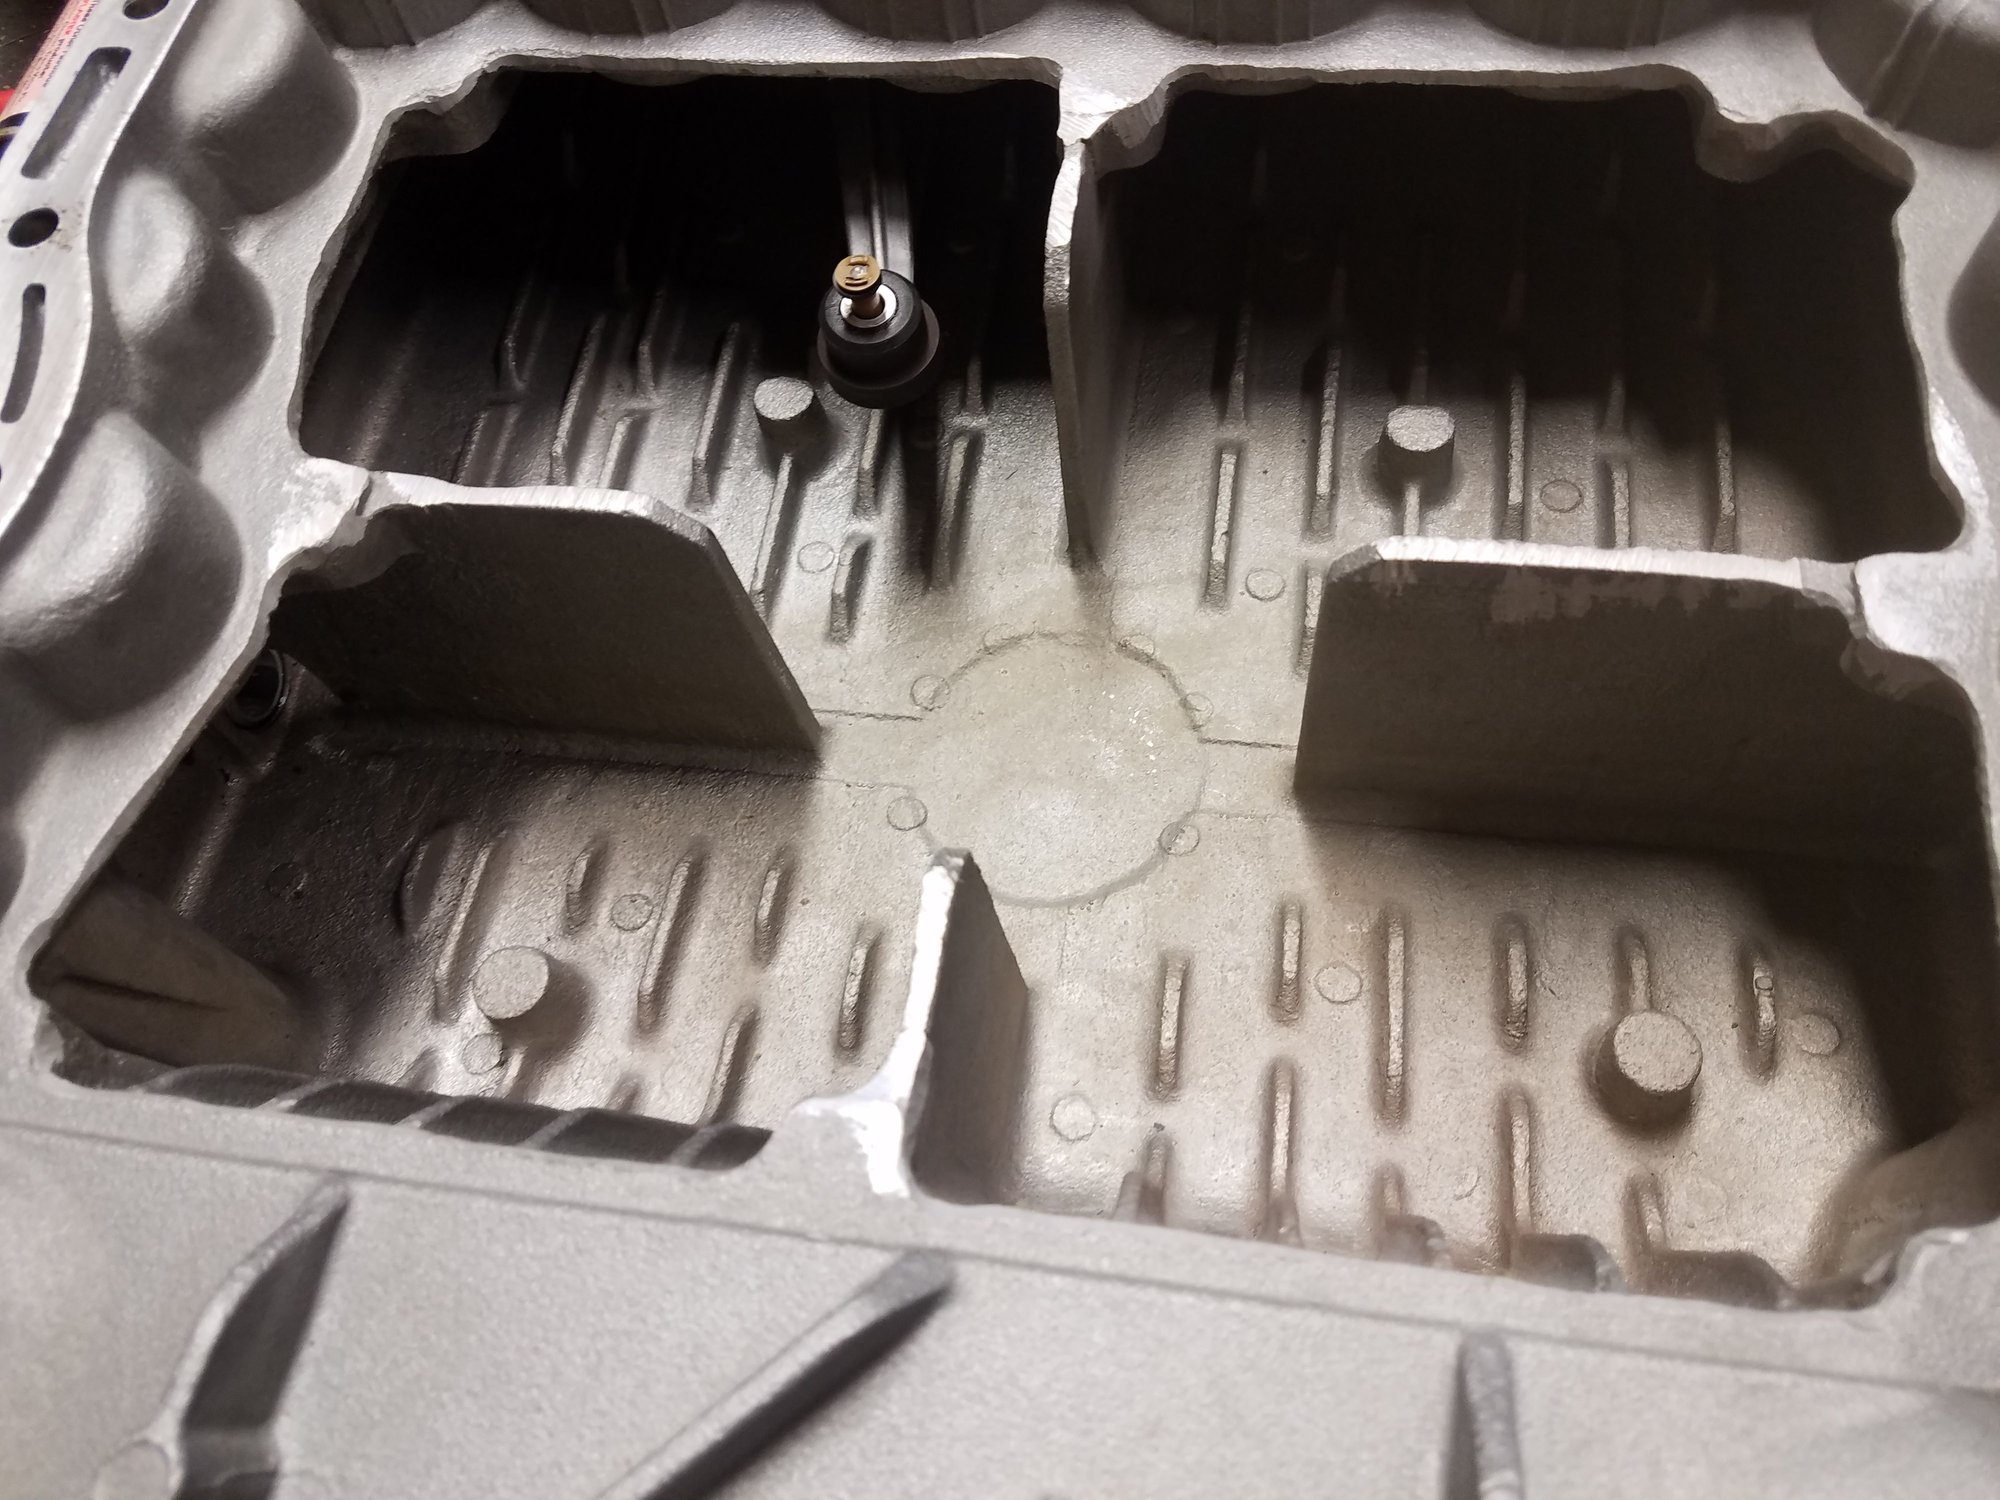
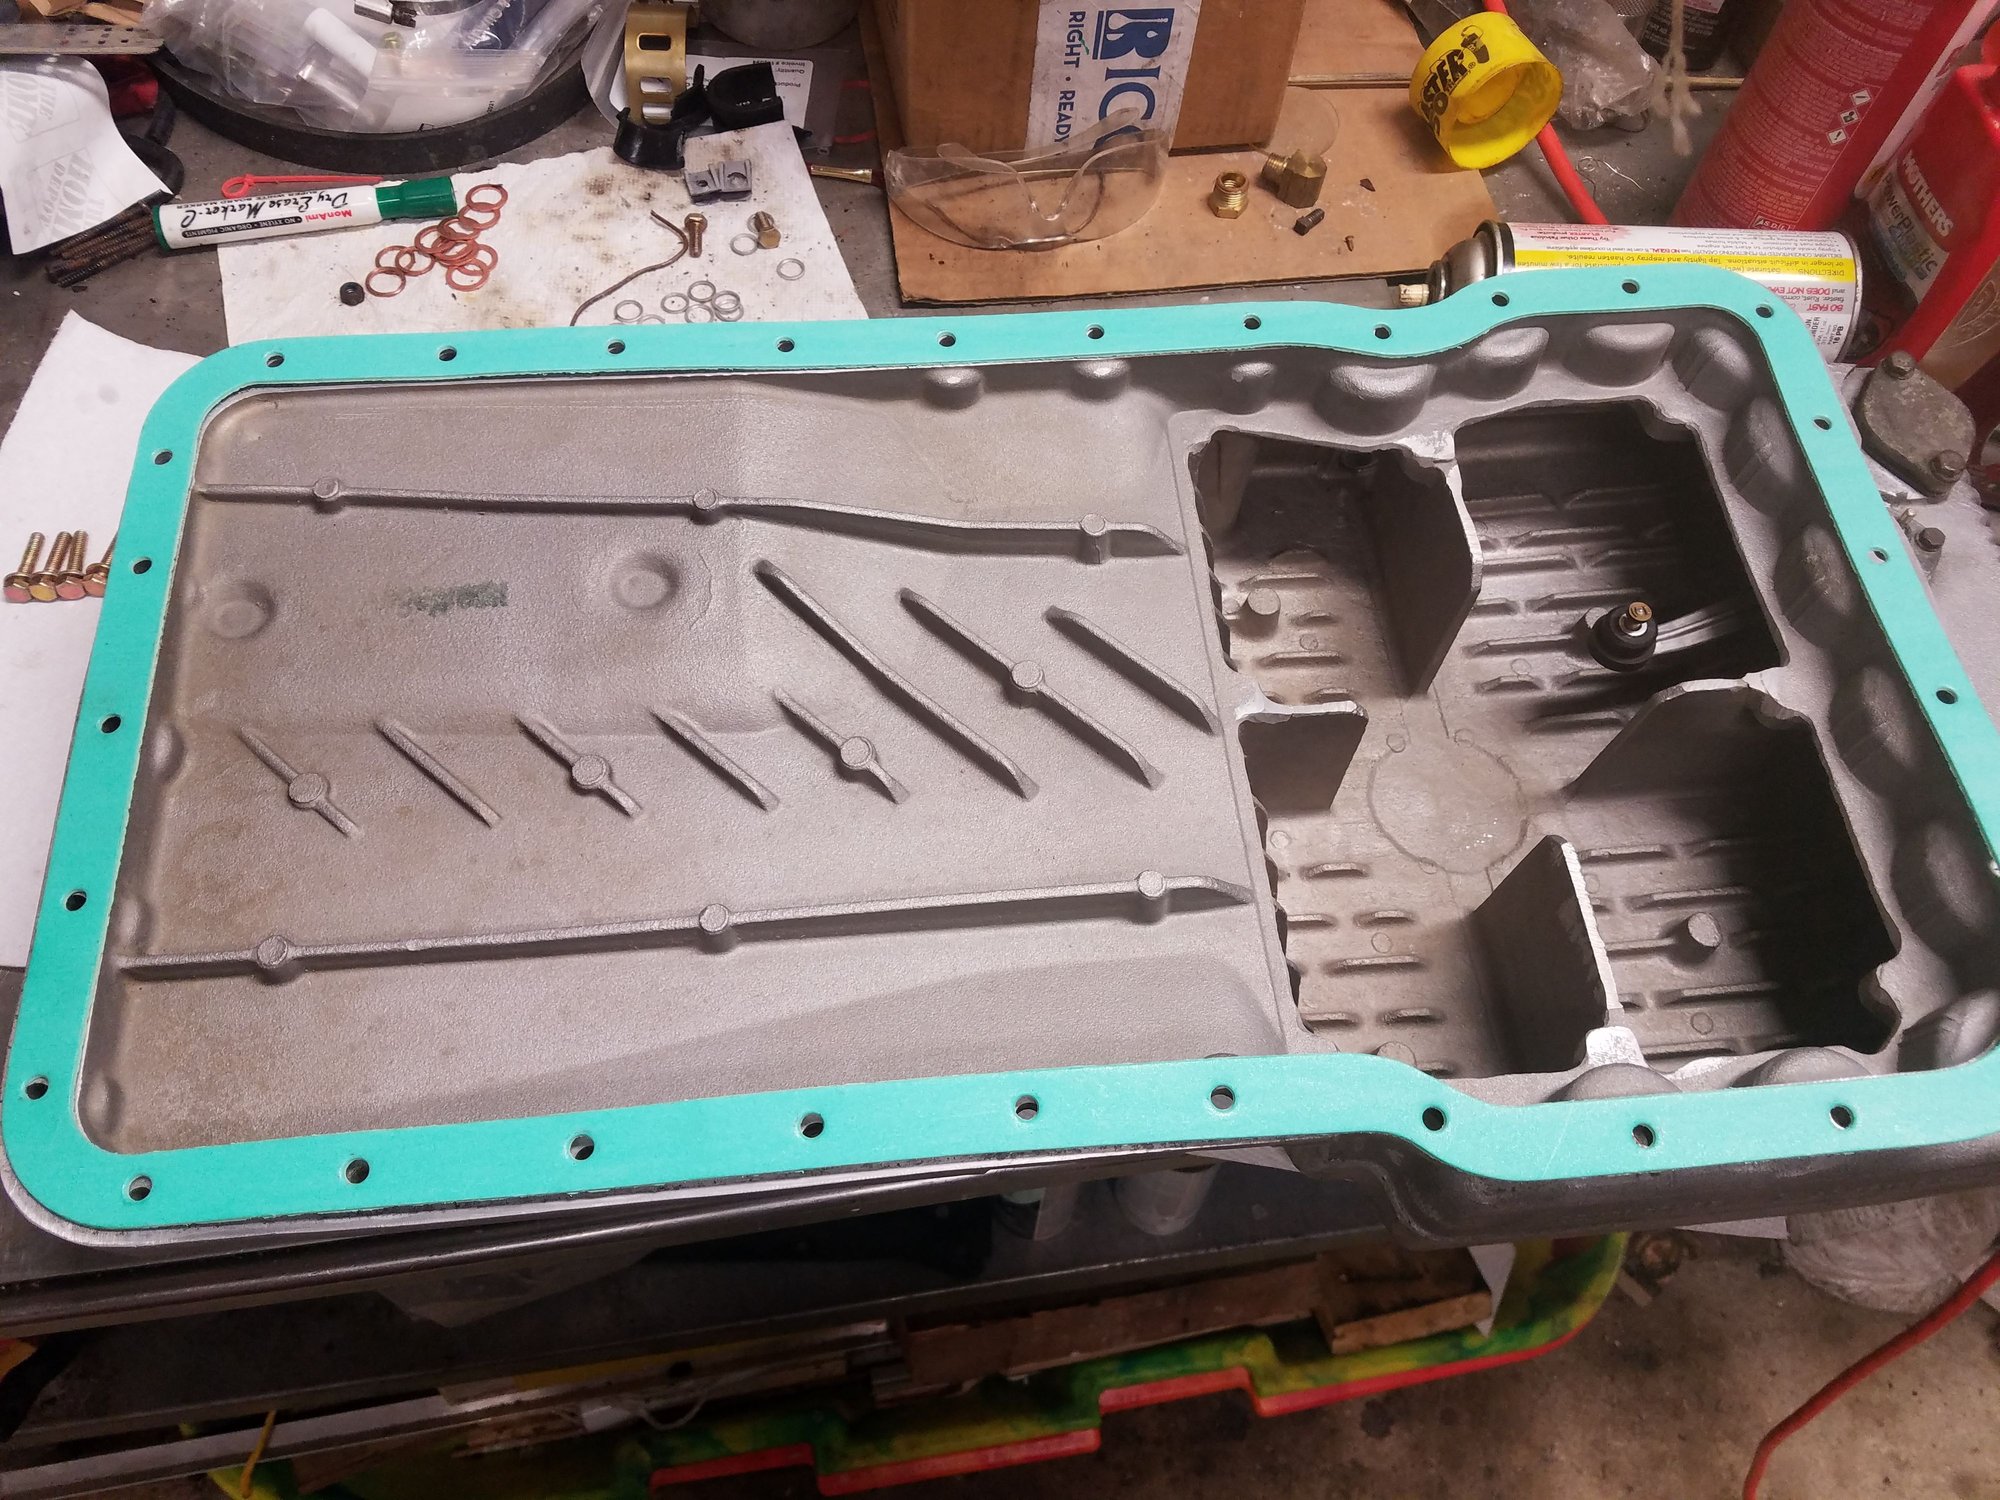
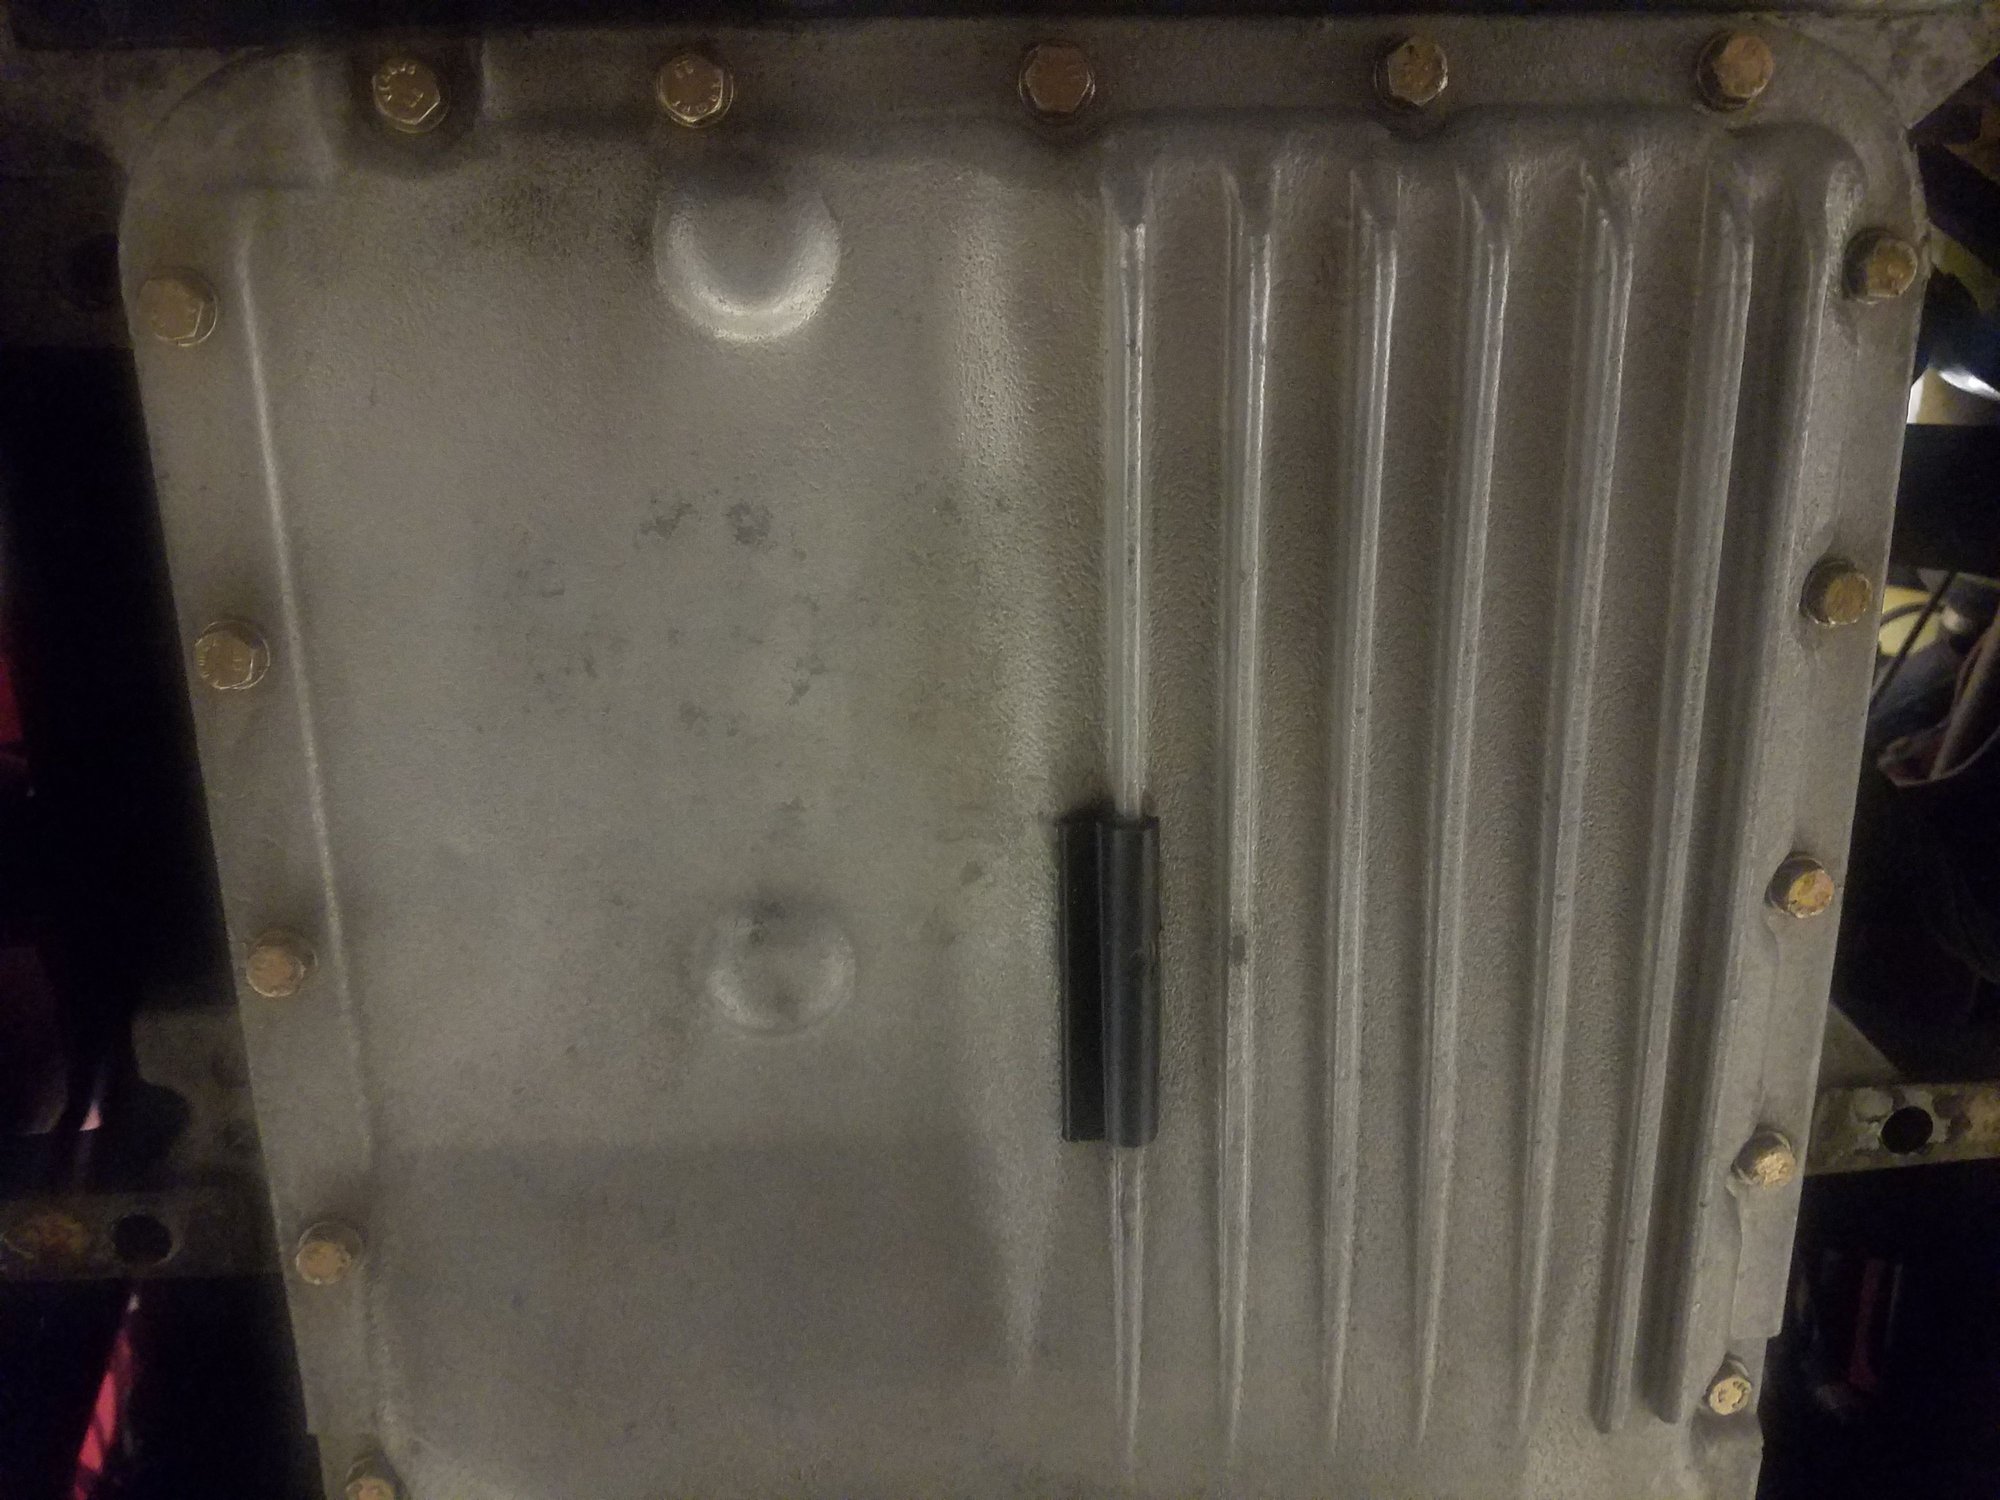
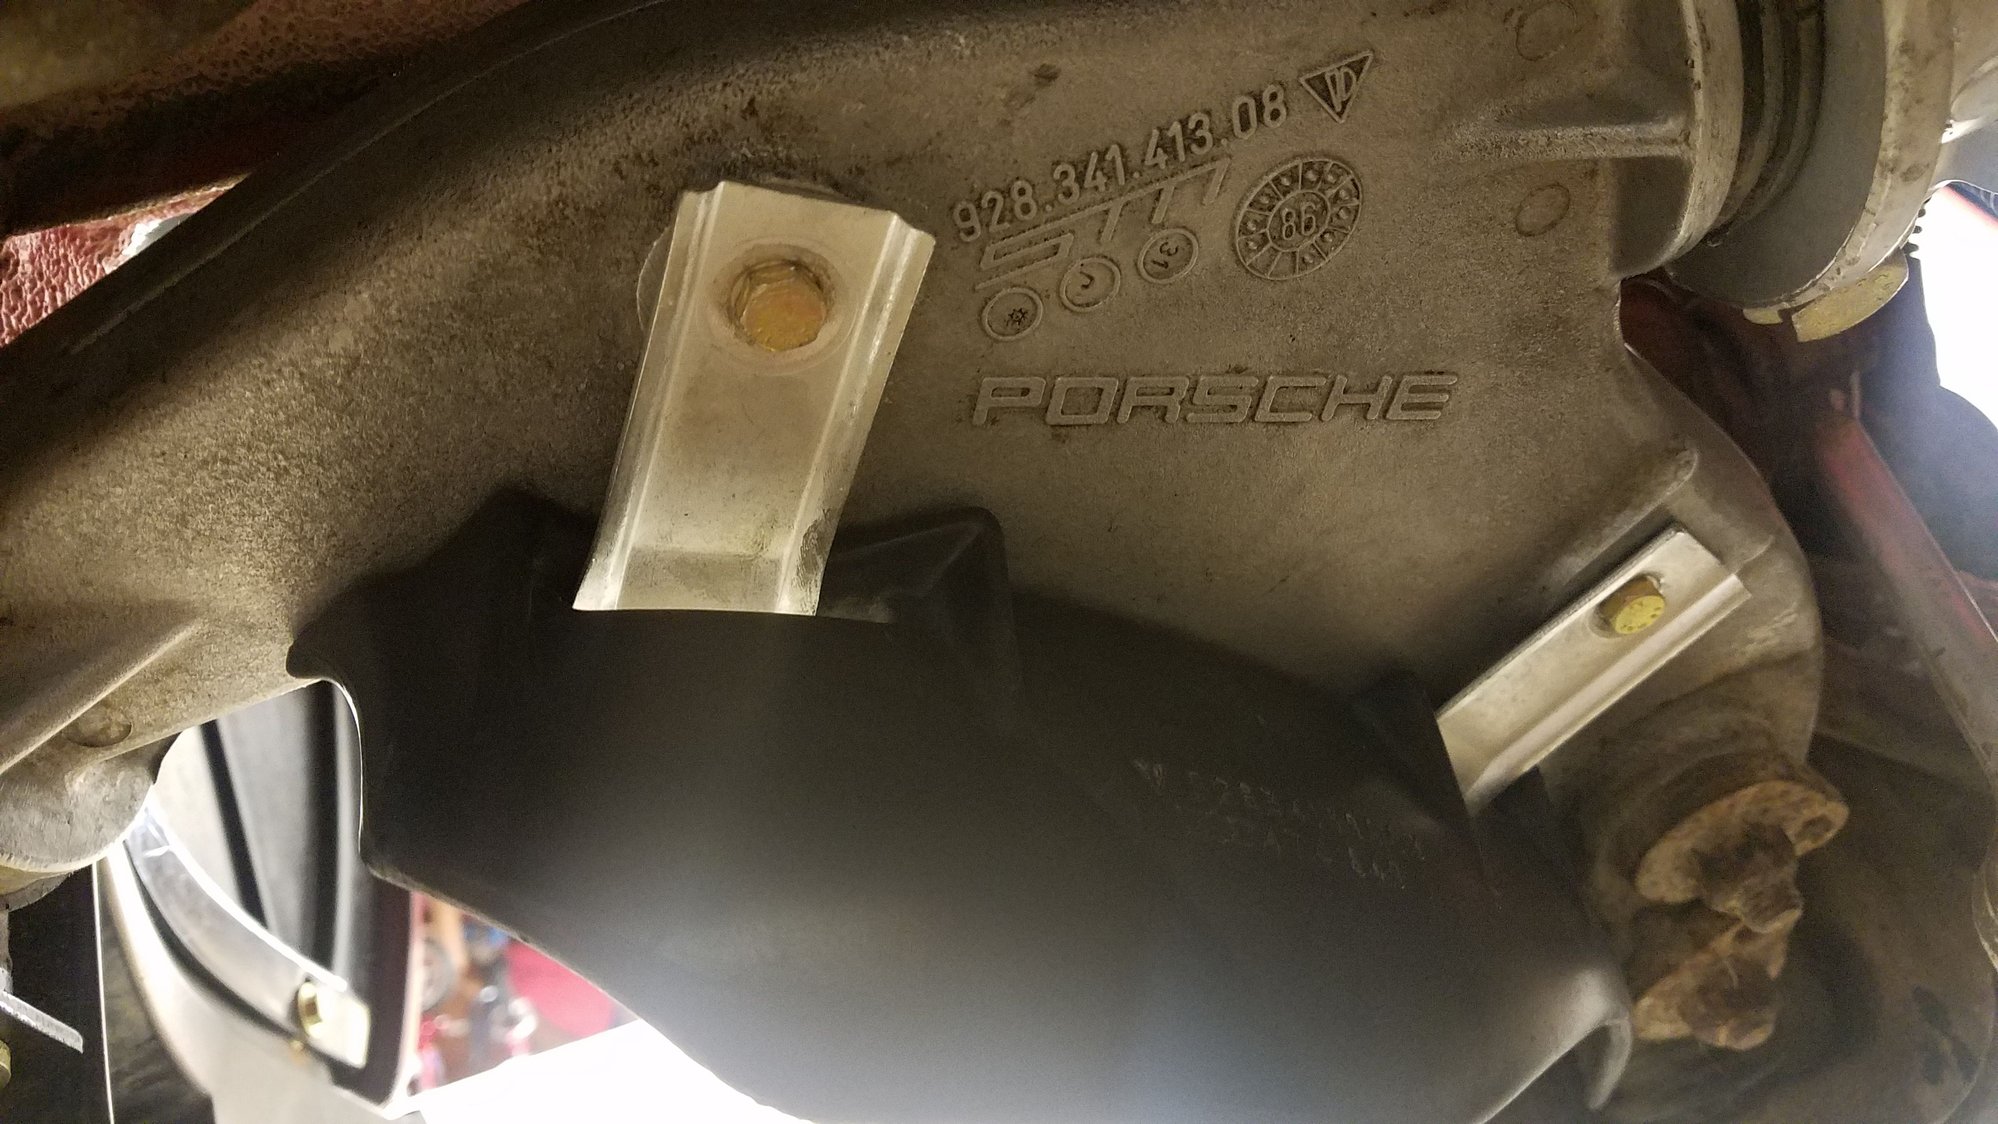
Some pictures after pulling the oil pan of the bottom end. Everything looked really good in here. Based on the block serial# this should have oil squirters, although i didnt some uo with a way to see with with the pan off.
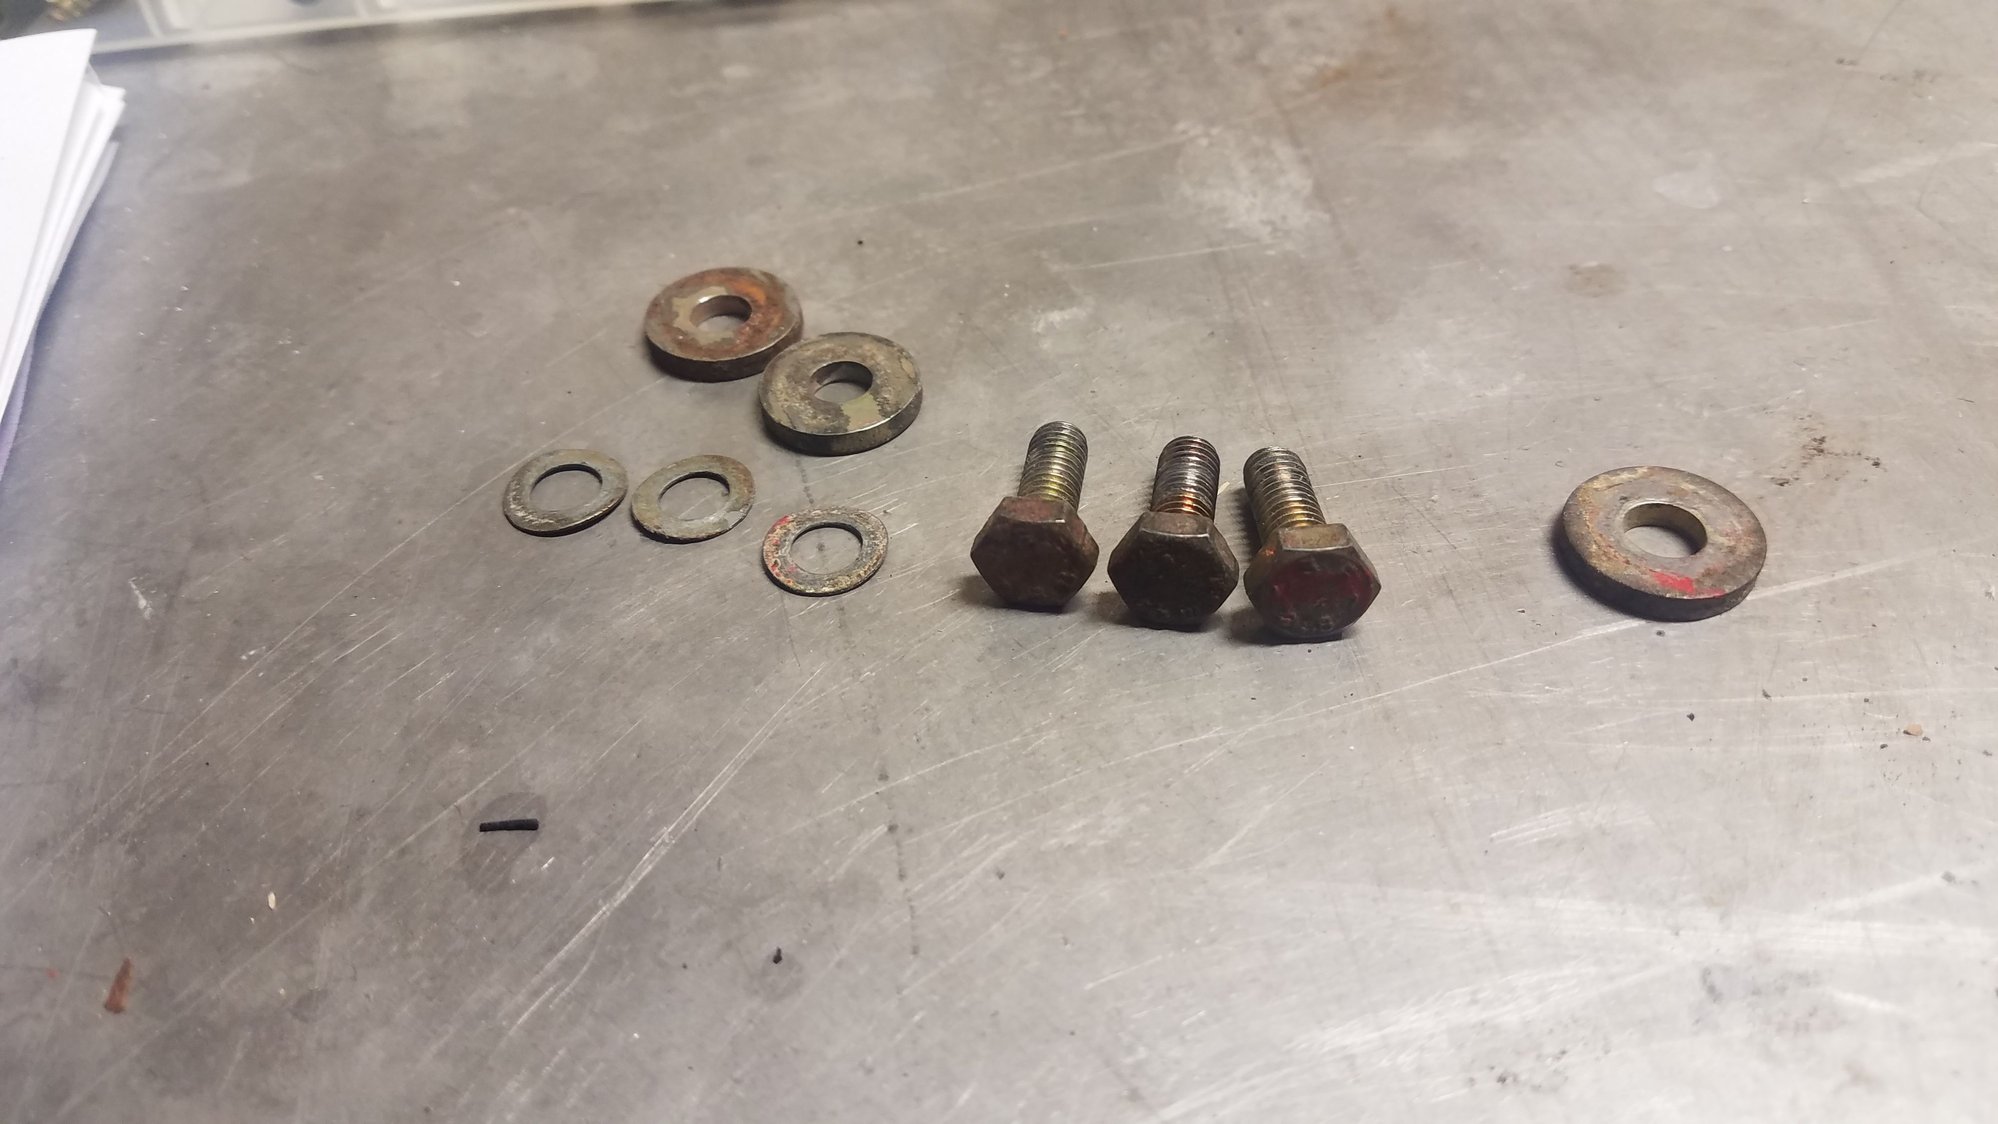
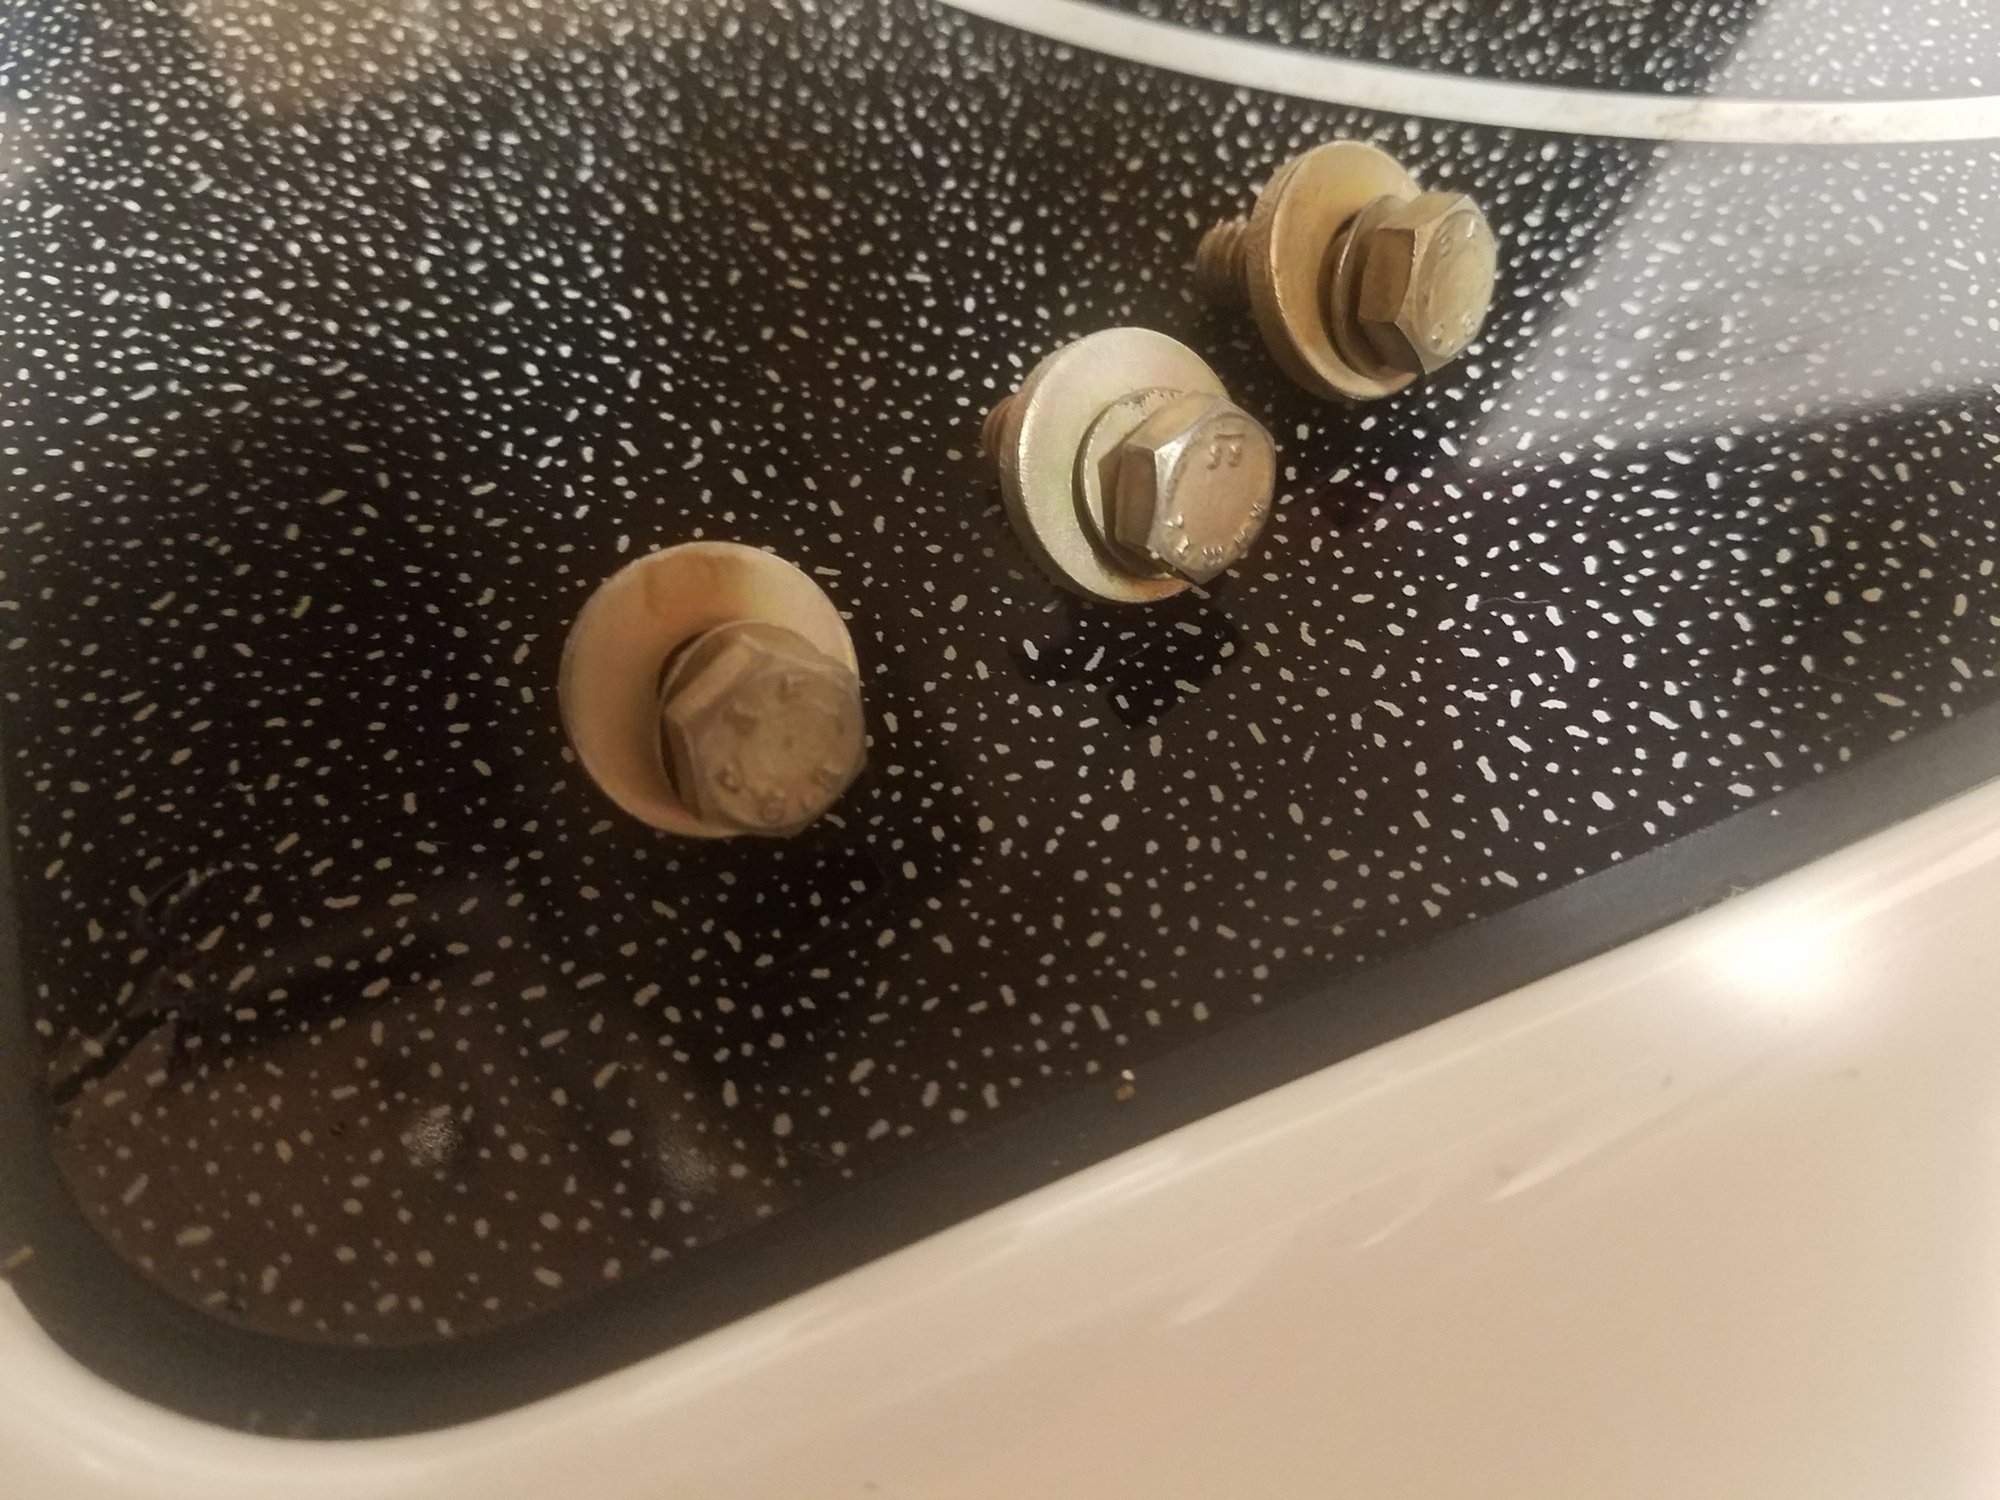
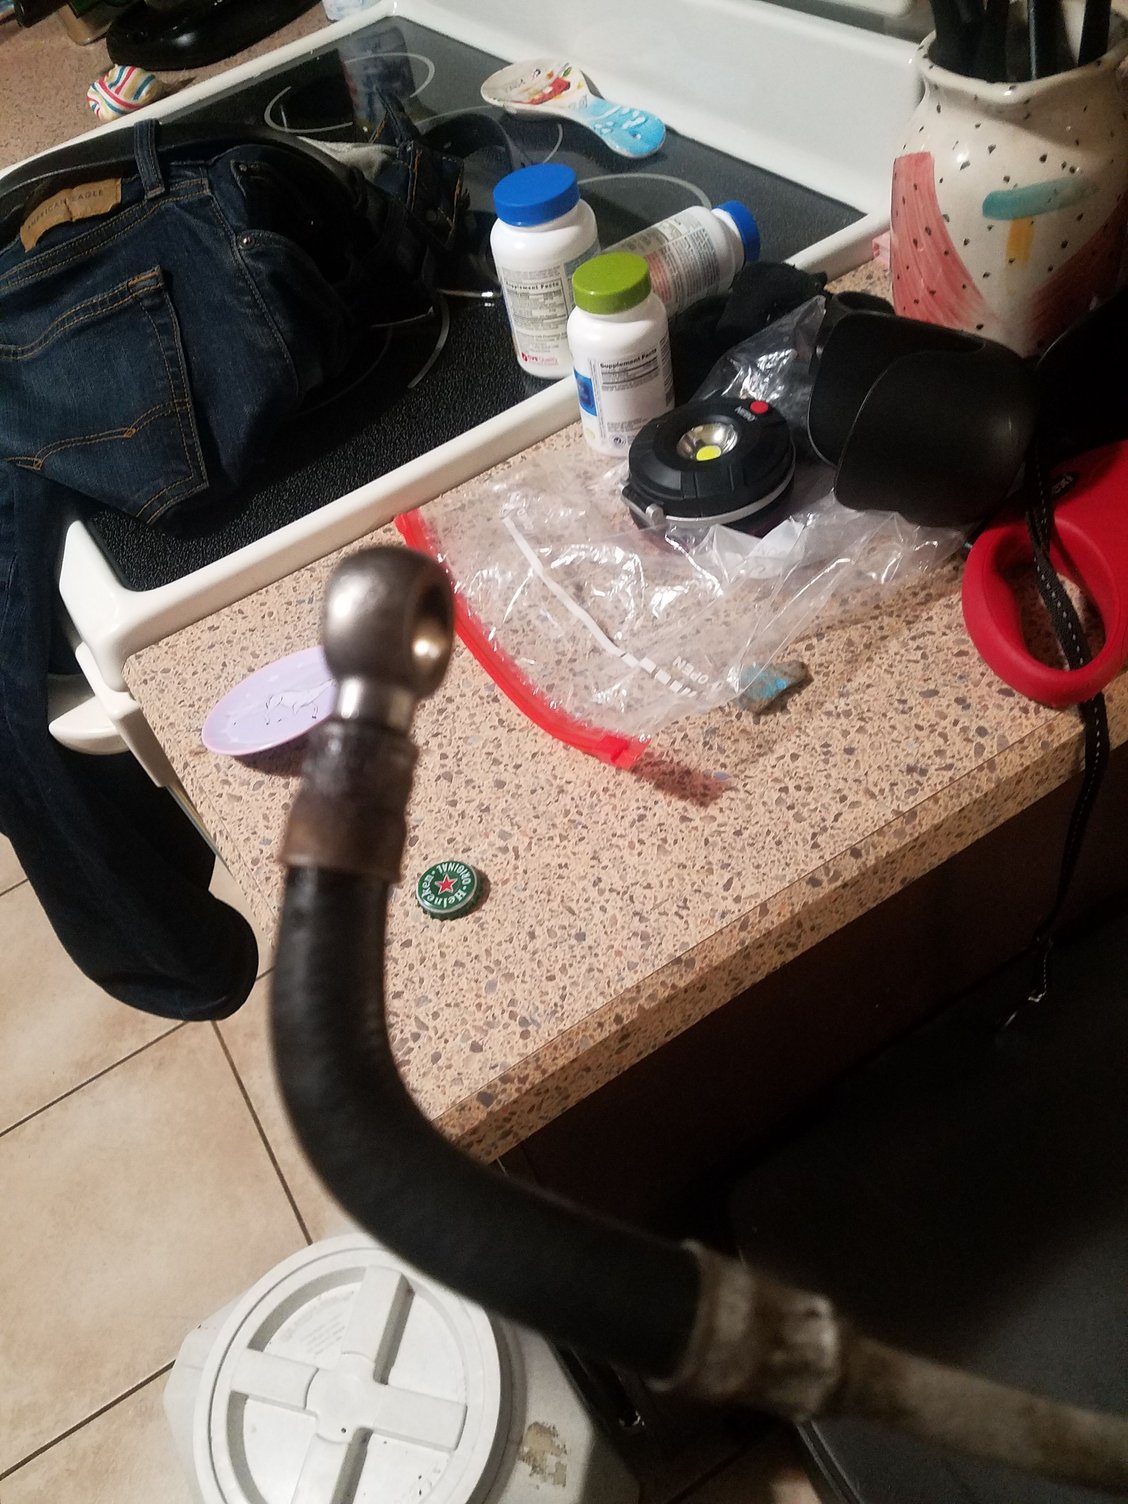
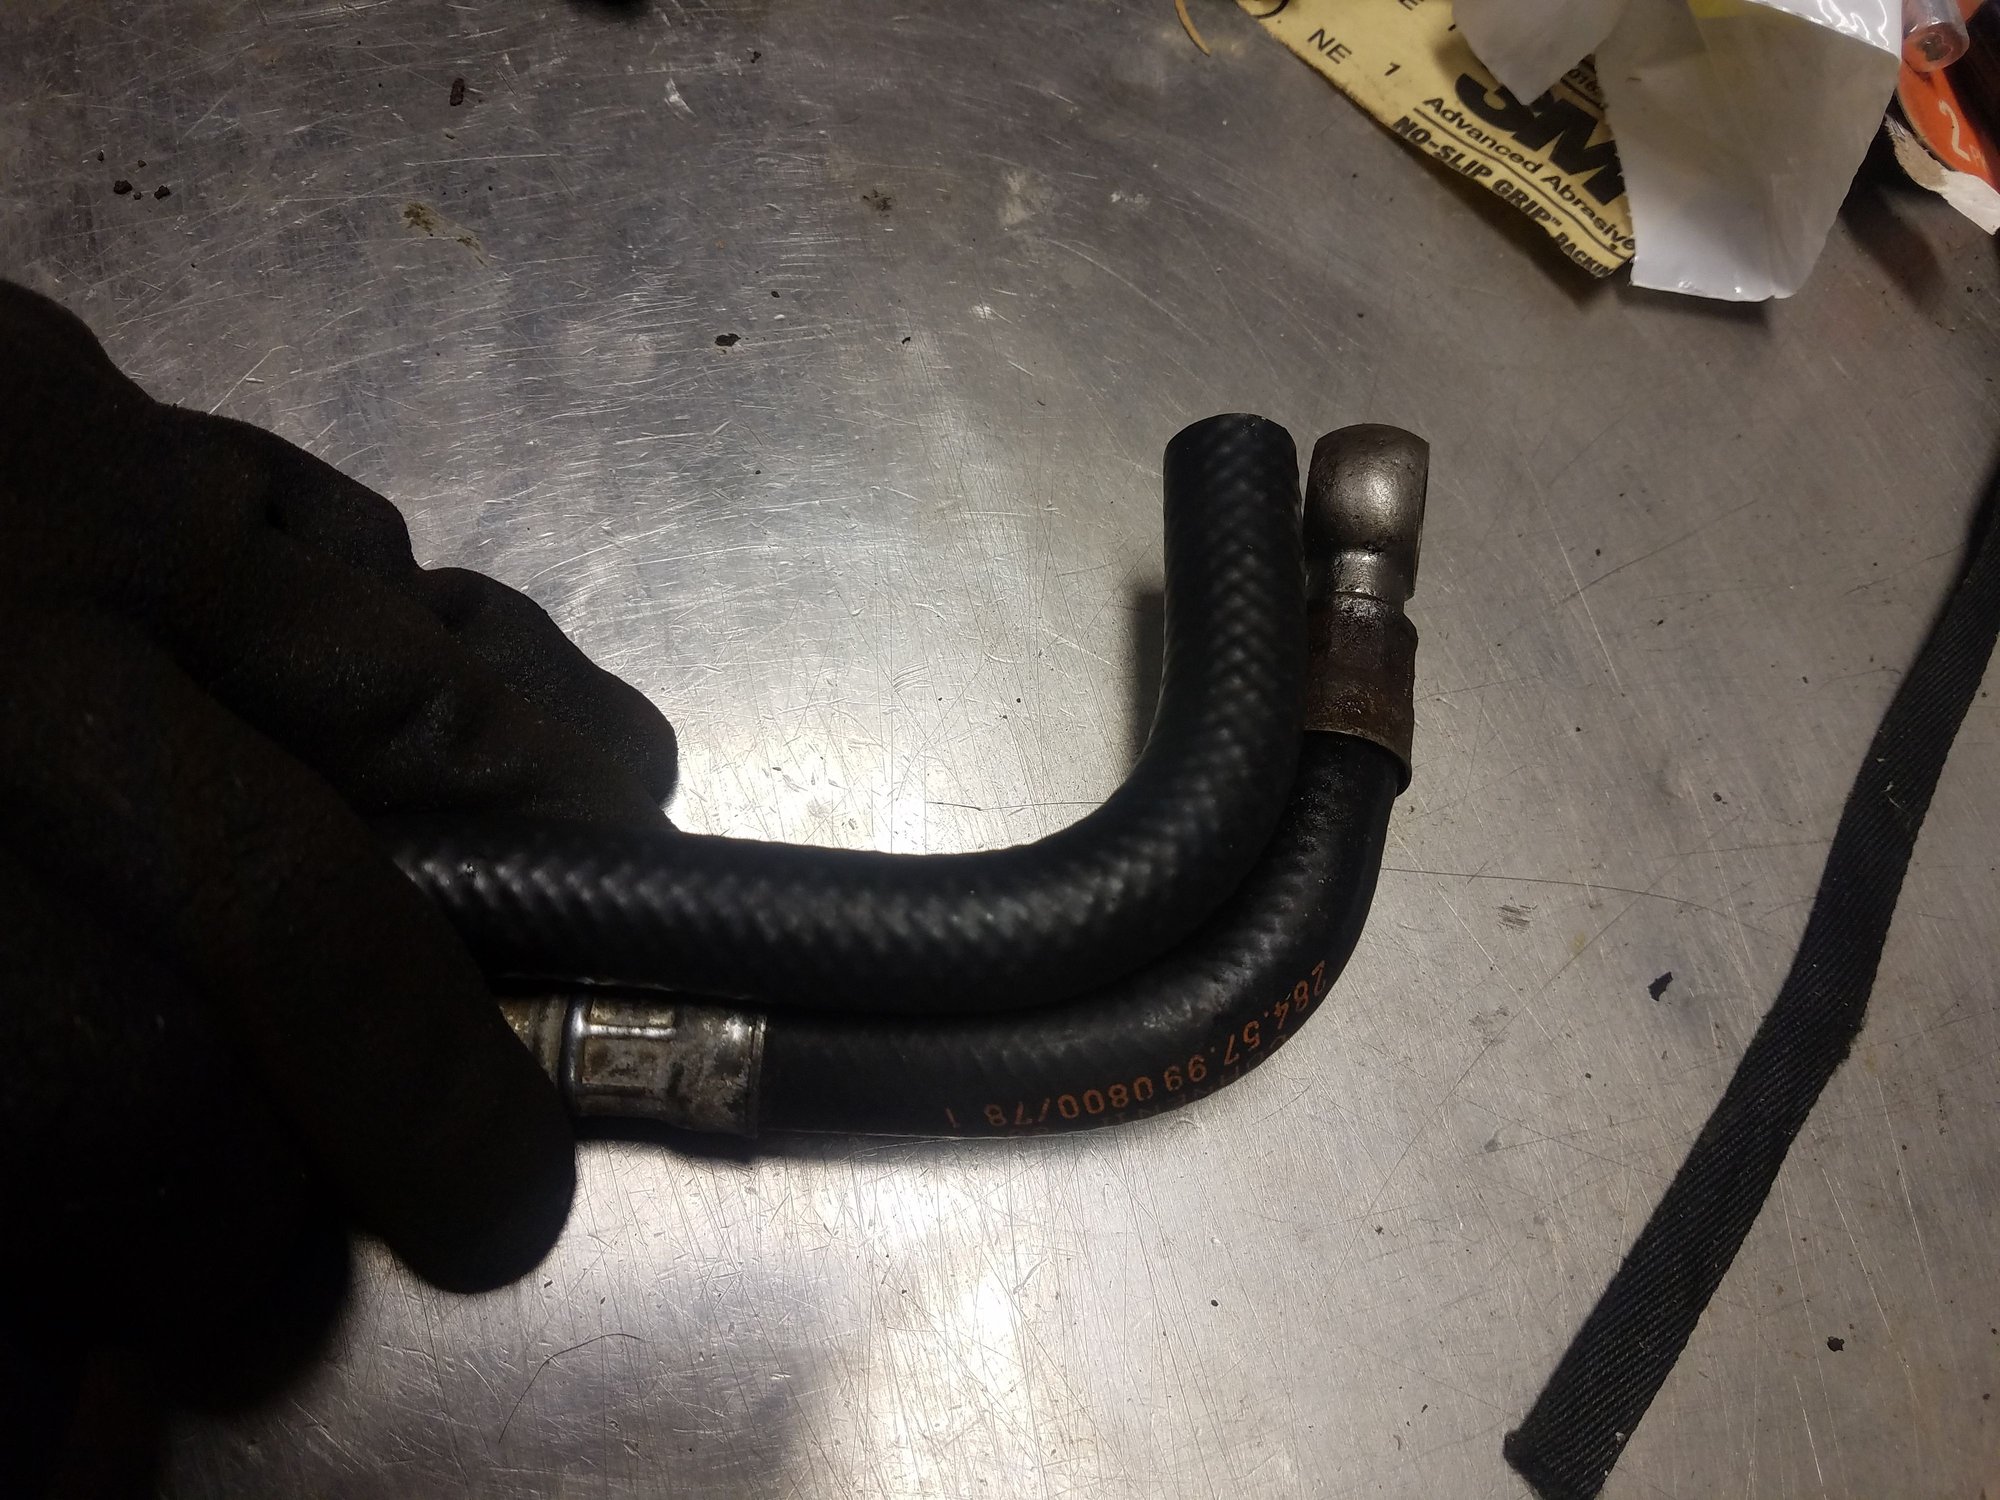
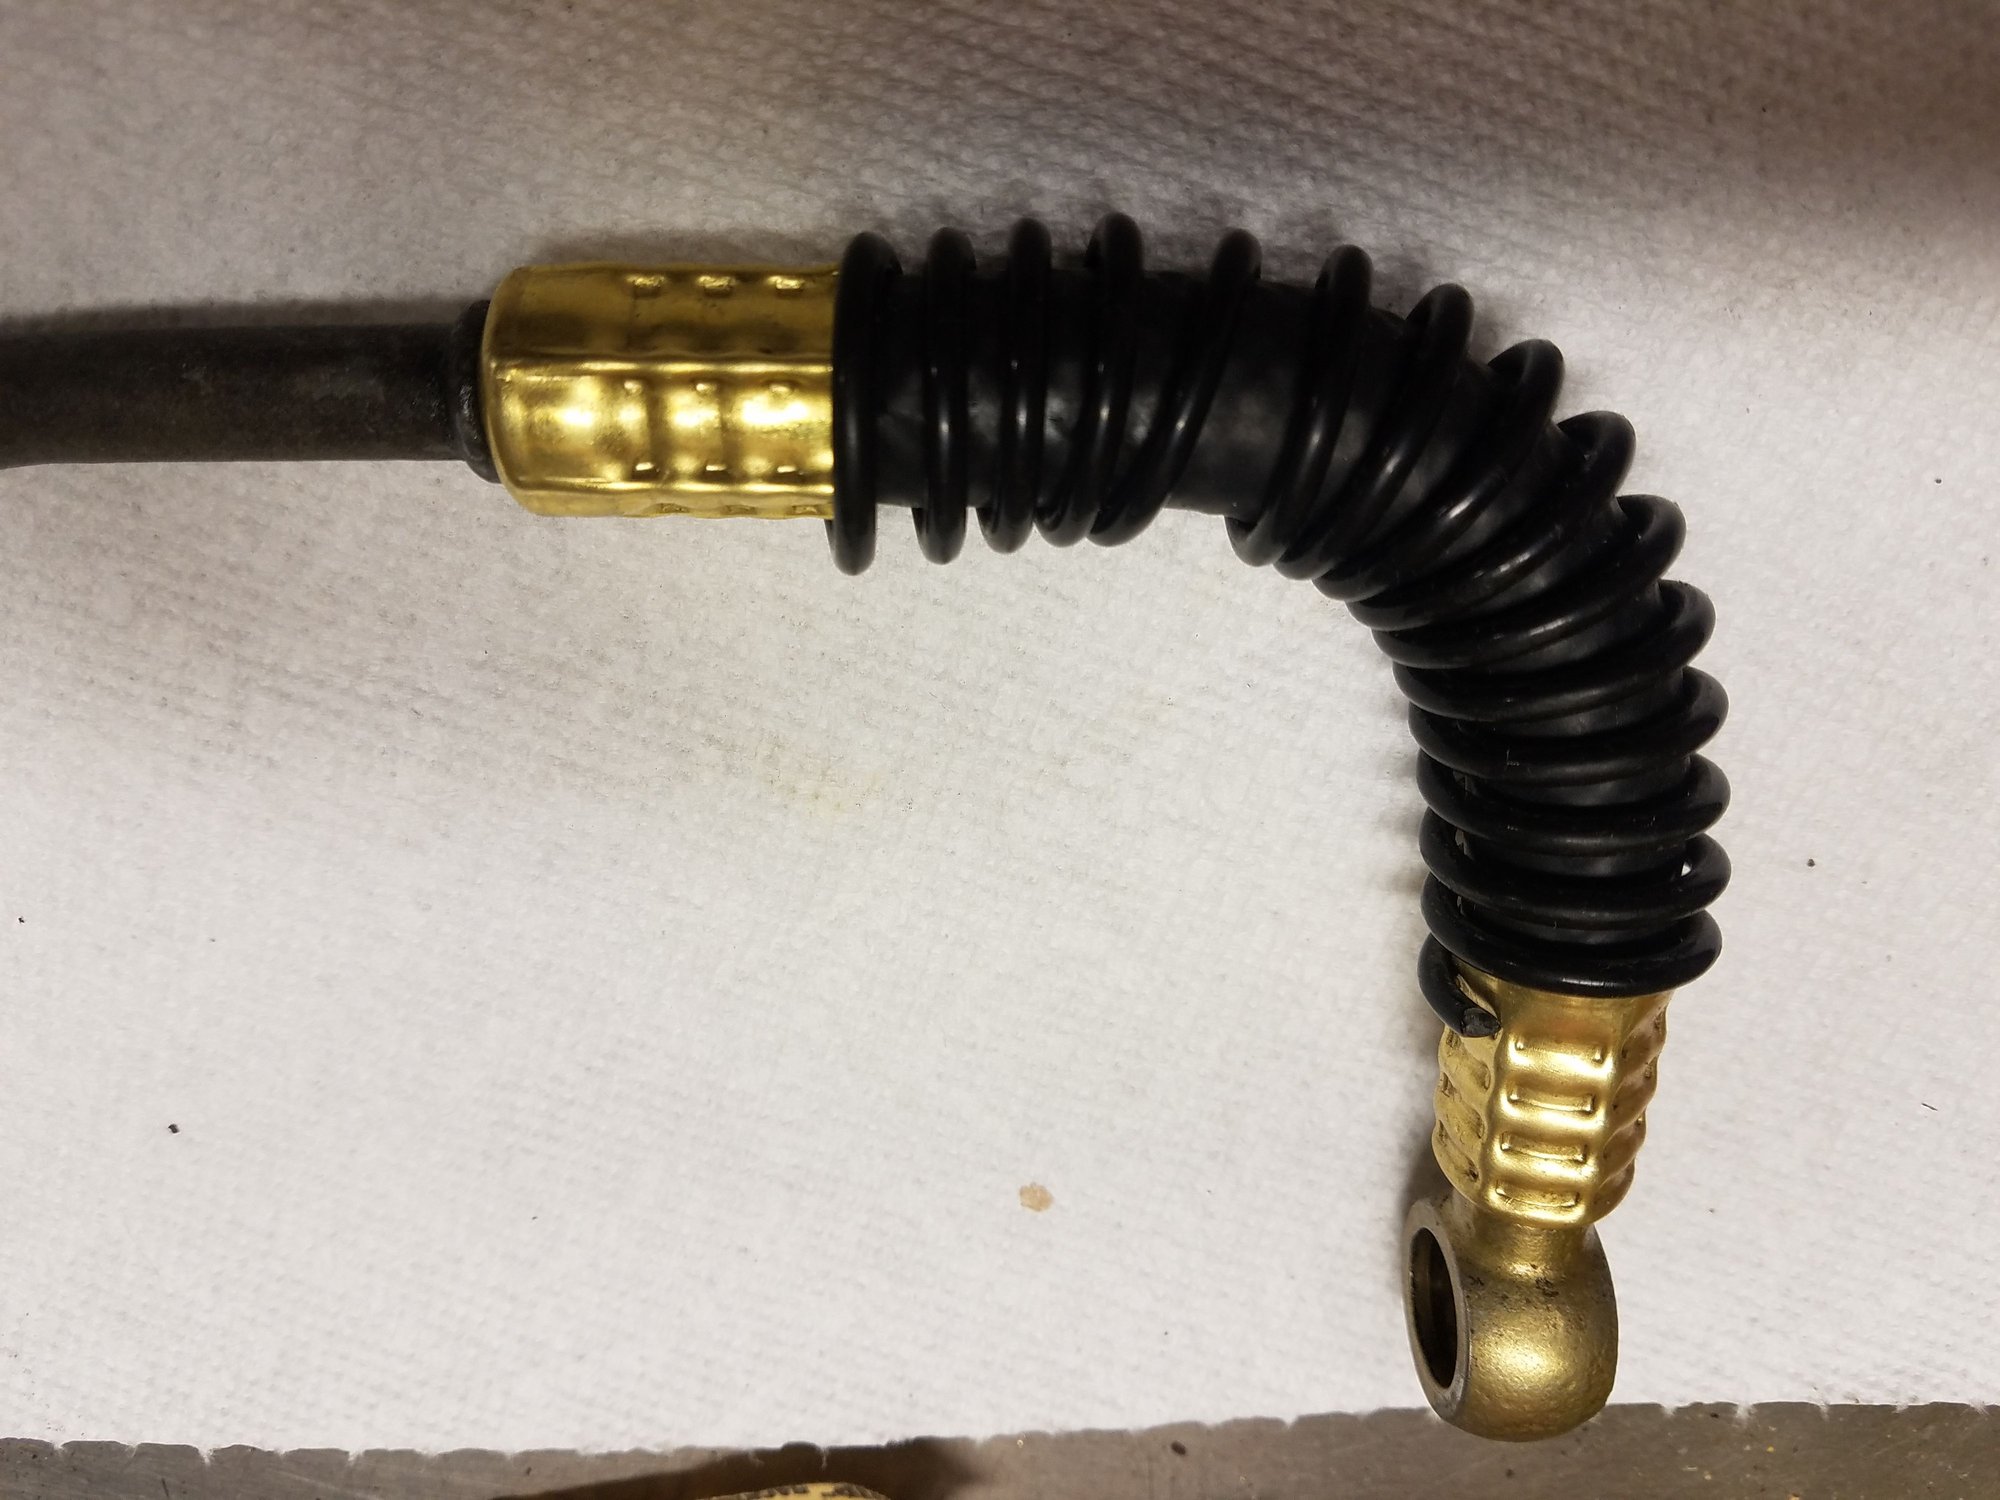
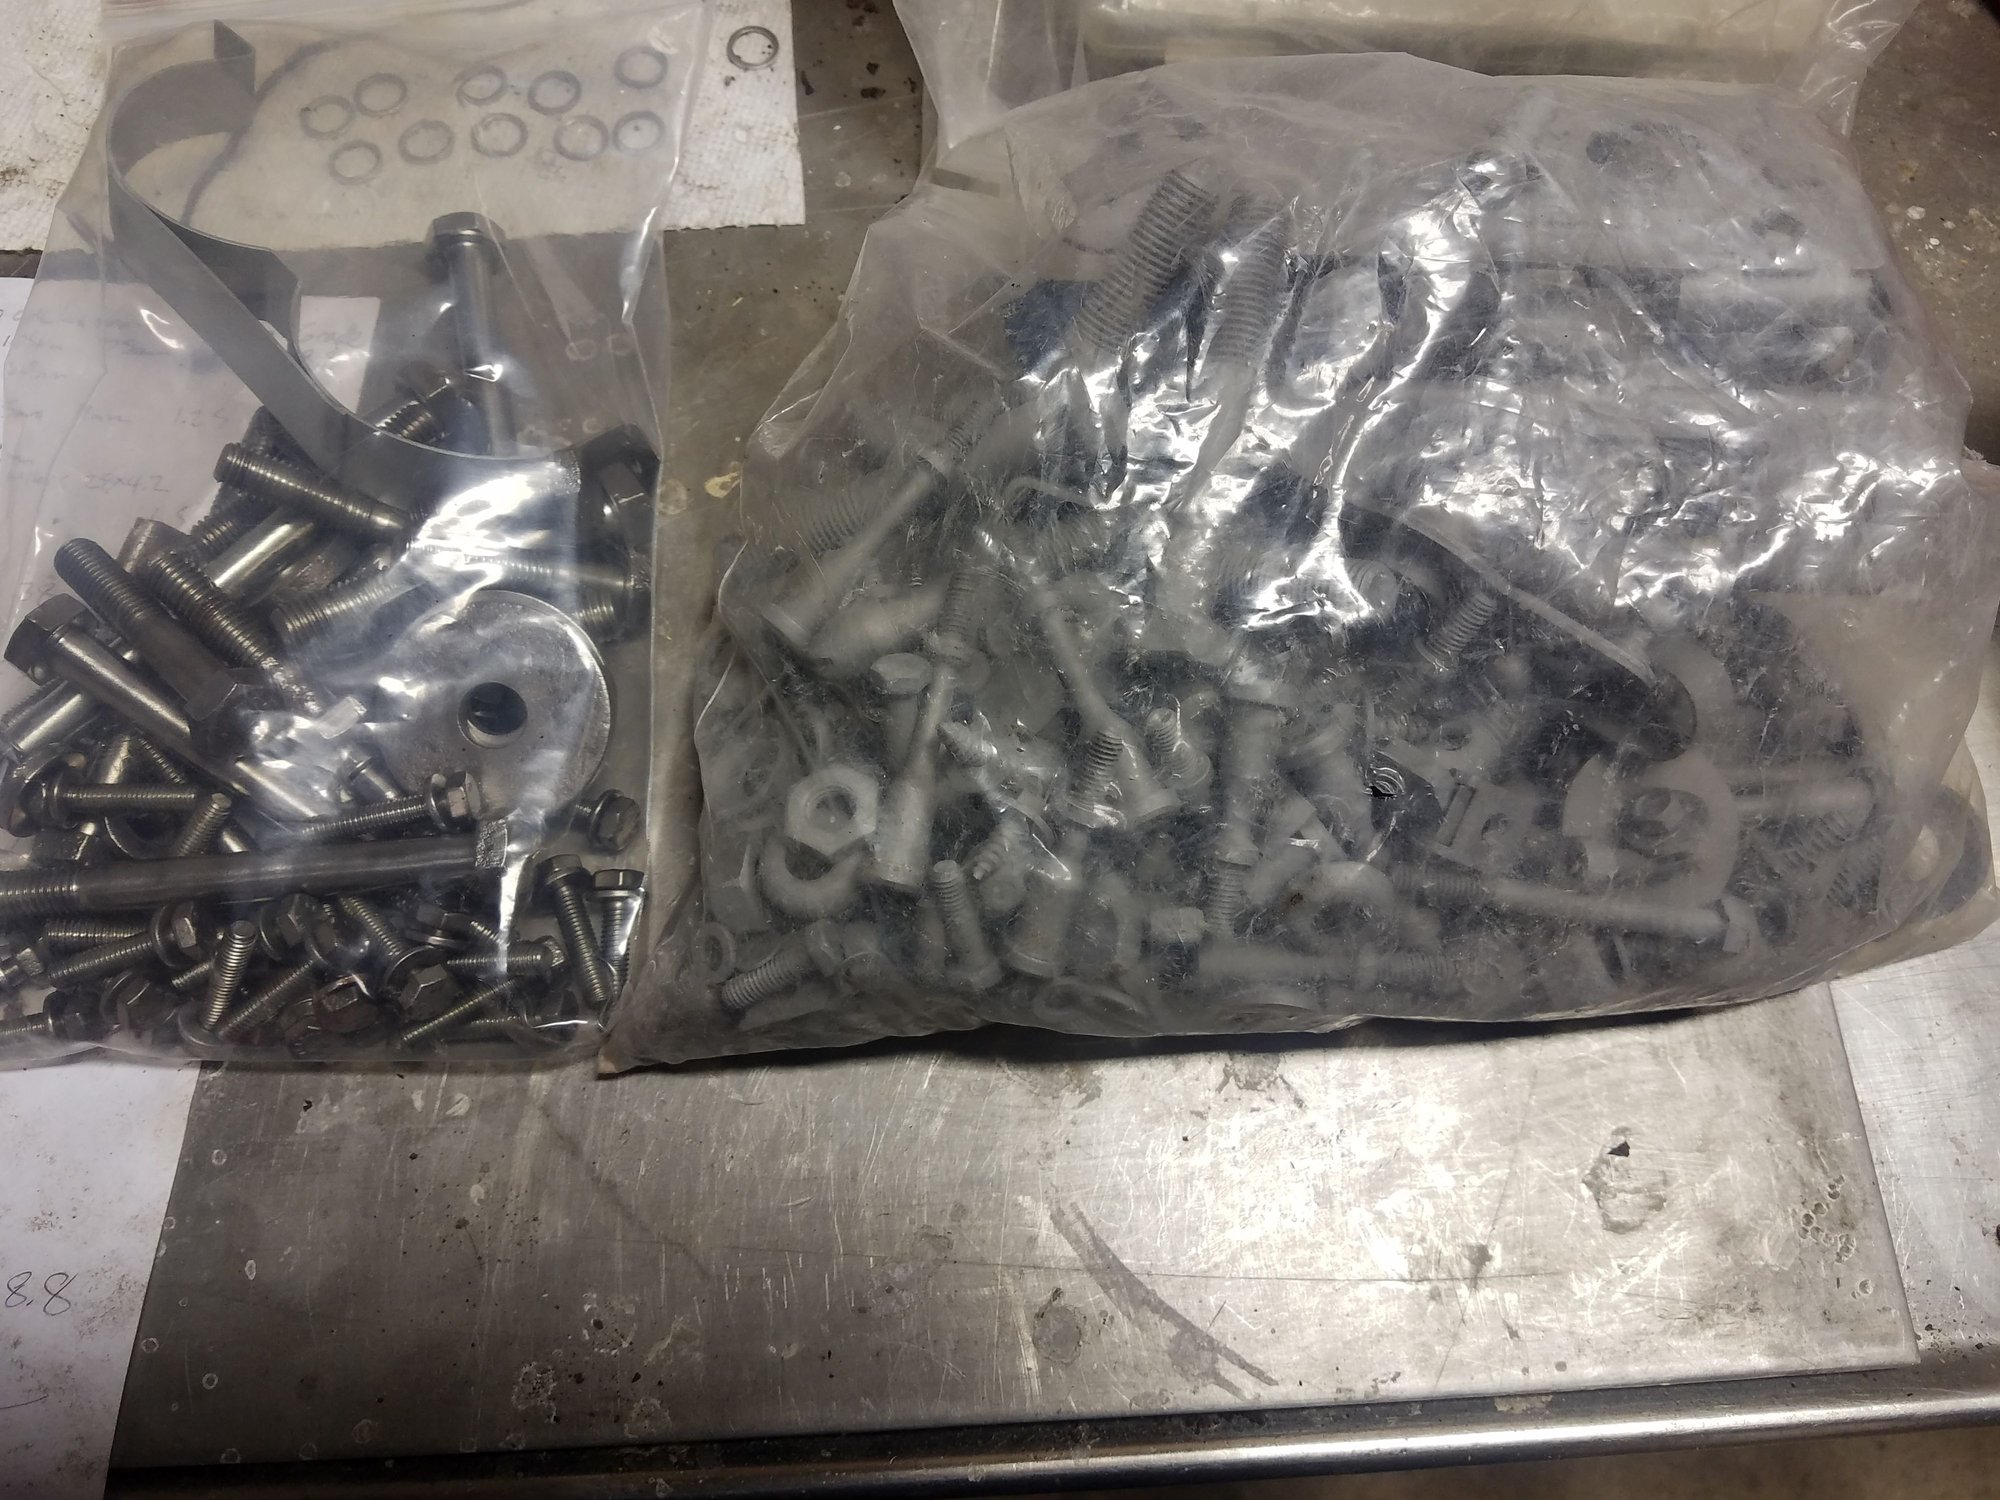
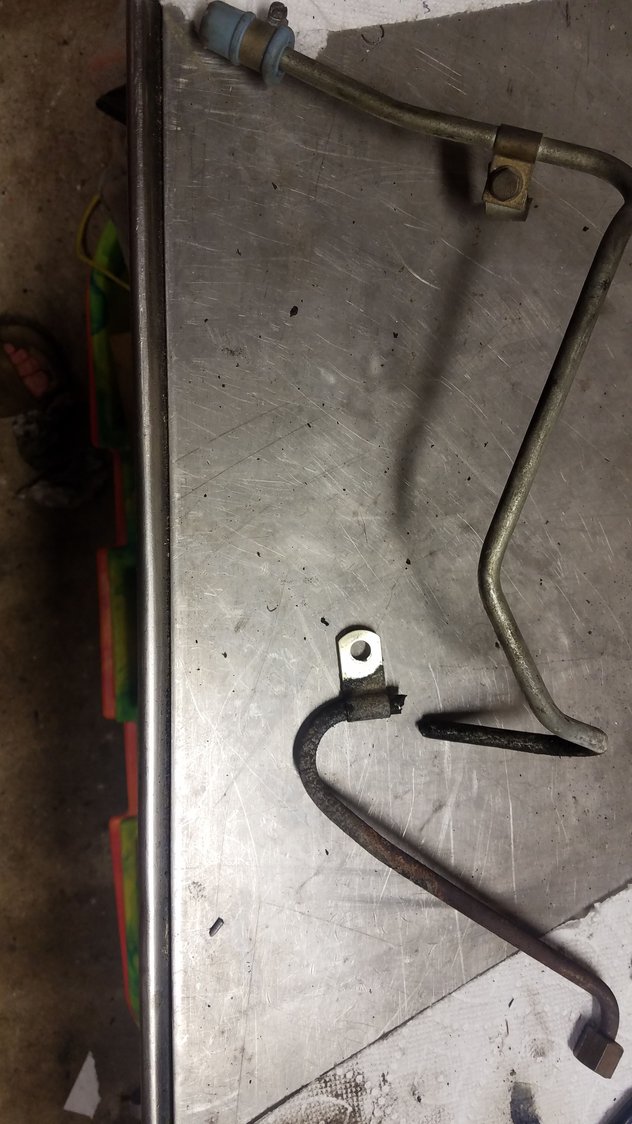
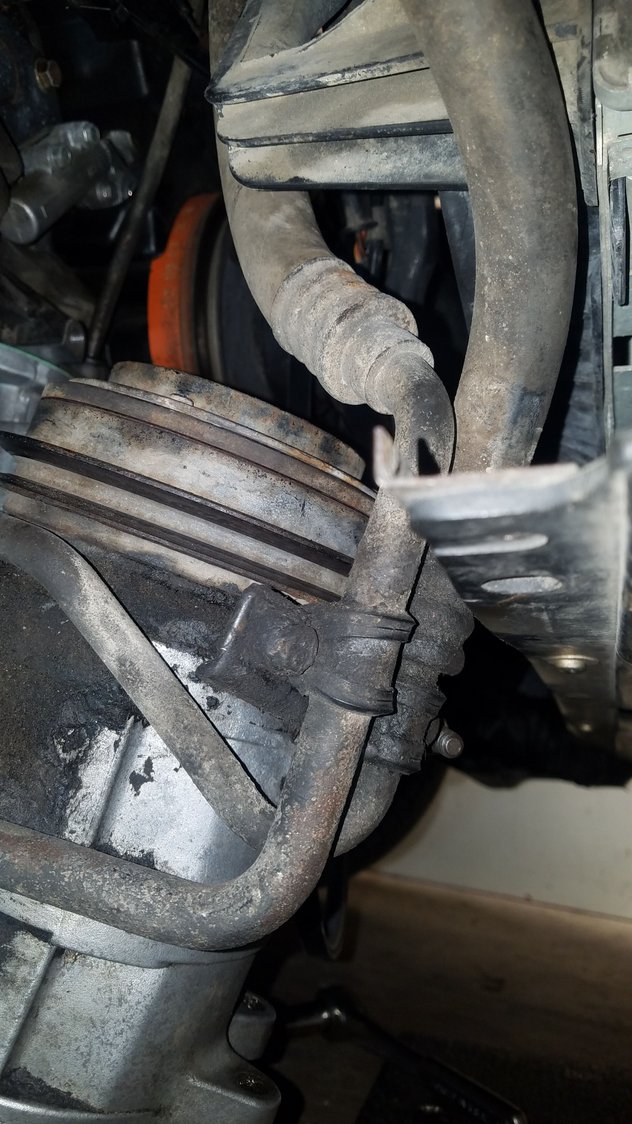
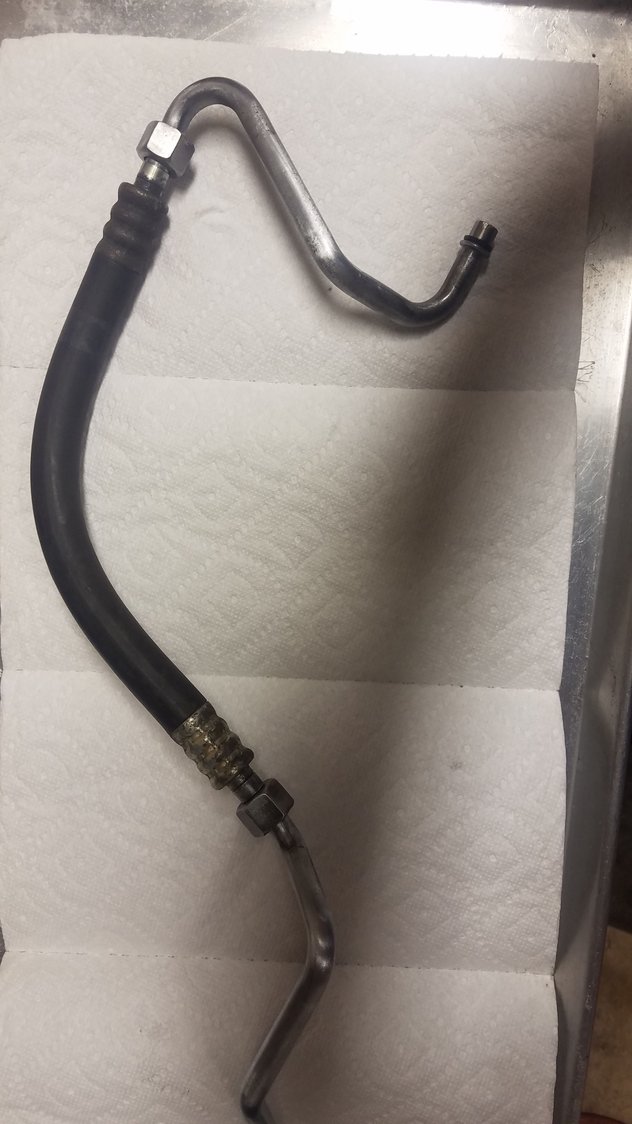
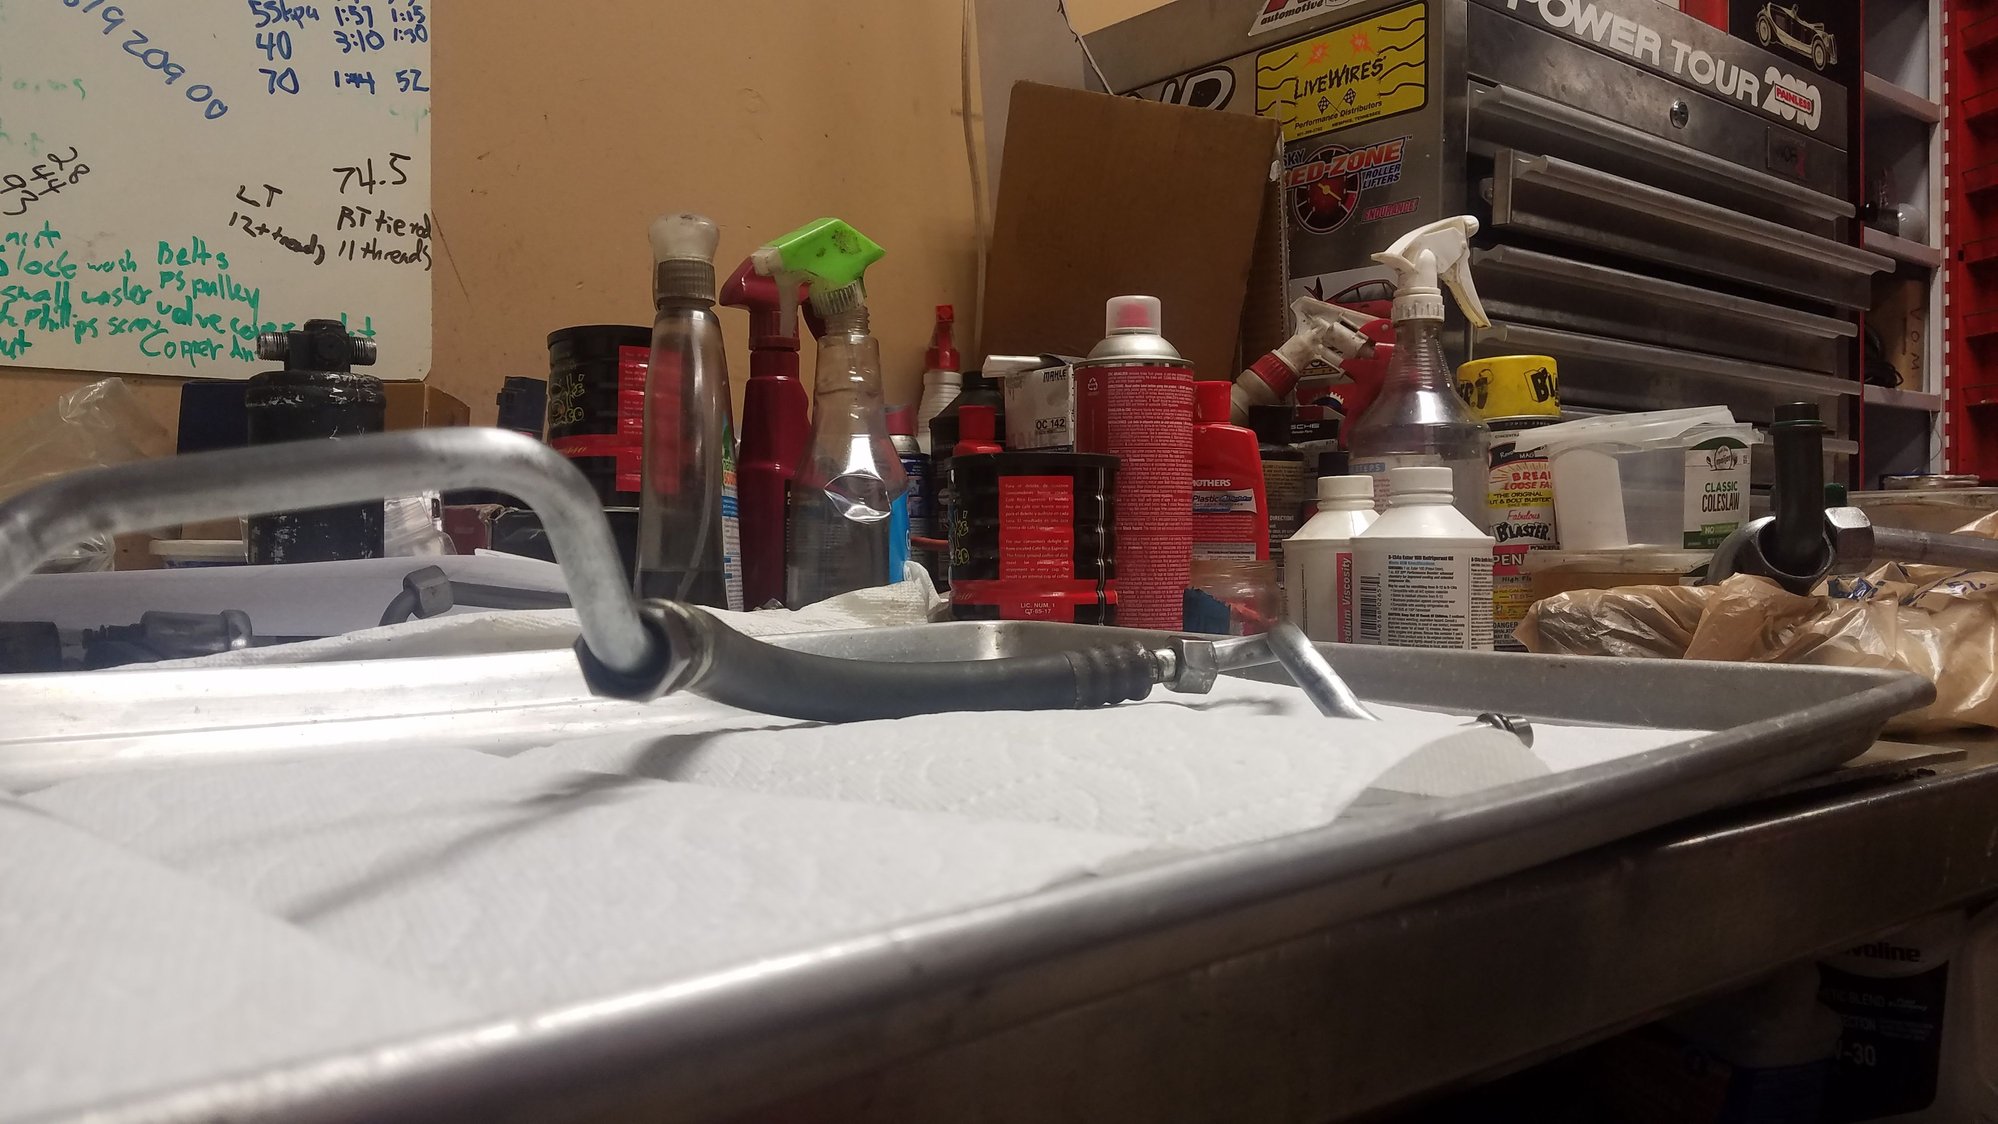
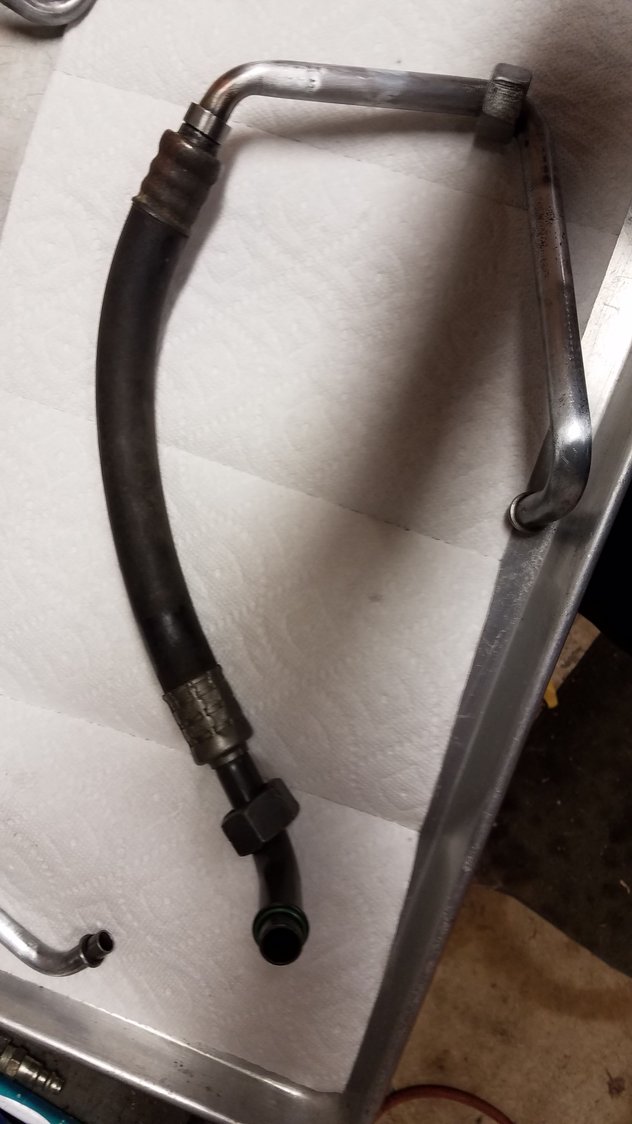
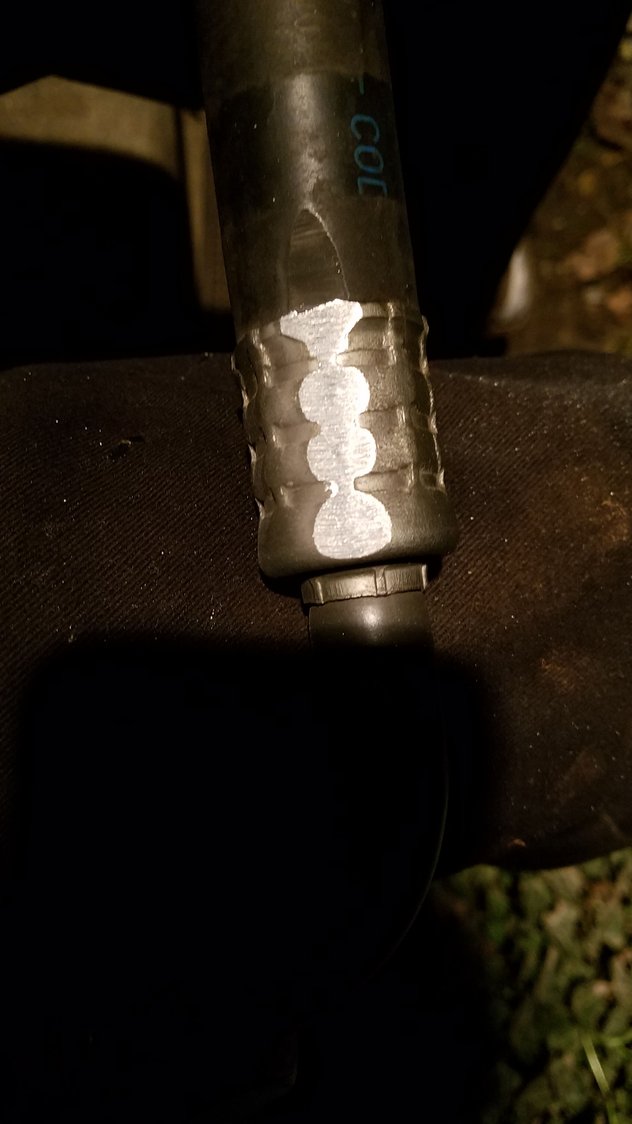
While removing the crossmember one of the hoses to the power steering rack ruptured from the jostling. Definitely too brittle and time to replace. I found a preformed hose that matched what I needed and had it crimped on. The rest of the pictures in this post are of things that were pulled off to have plated along with all the fasteners from the oil pan and motor mount project. Mostly so I could put it all back together when it came back!. Found a few of the wrong fasteners holding spoiler in, these were replaced with correct pieces All of the fasteners stripped and ready for plating.
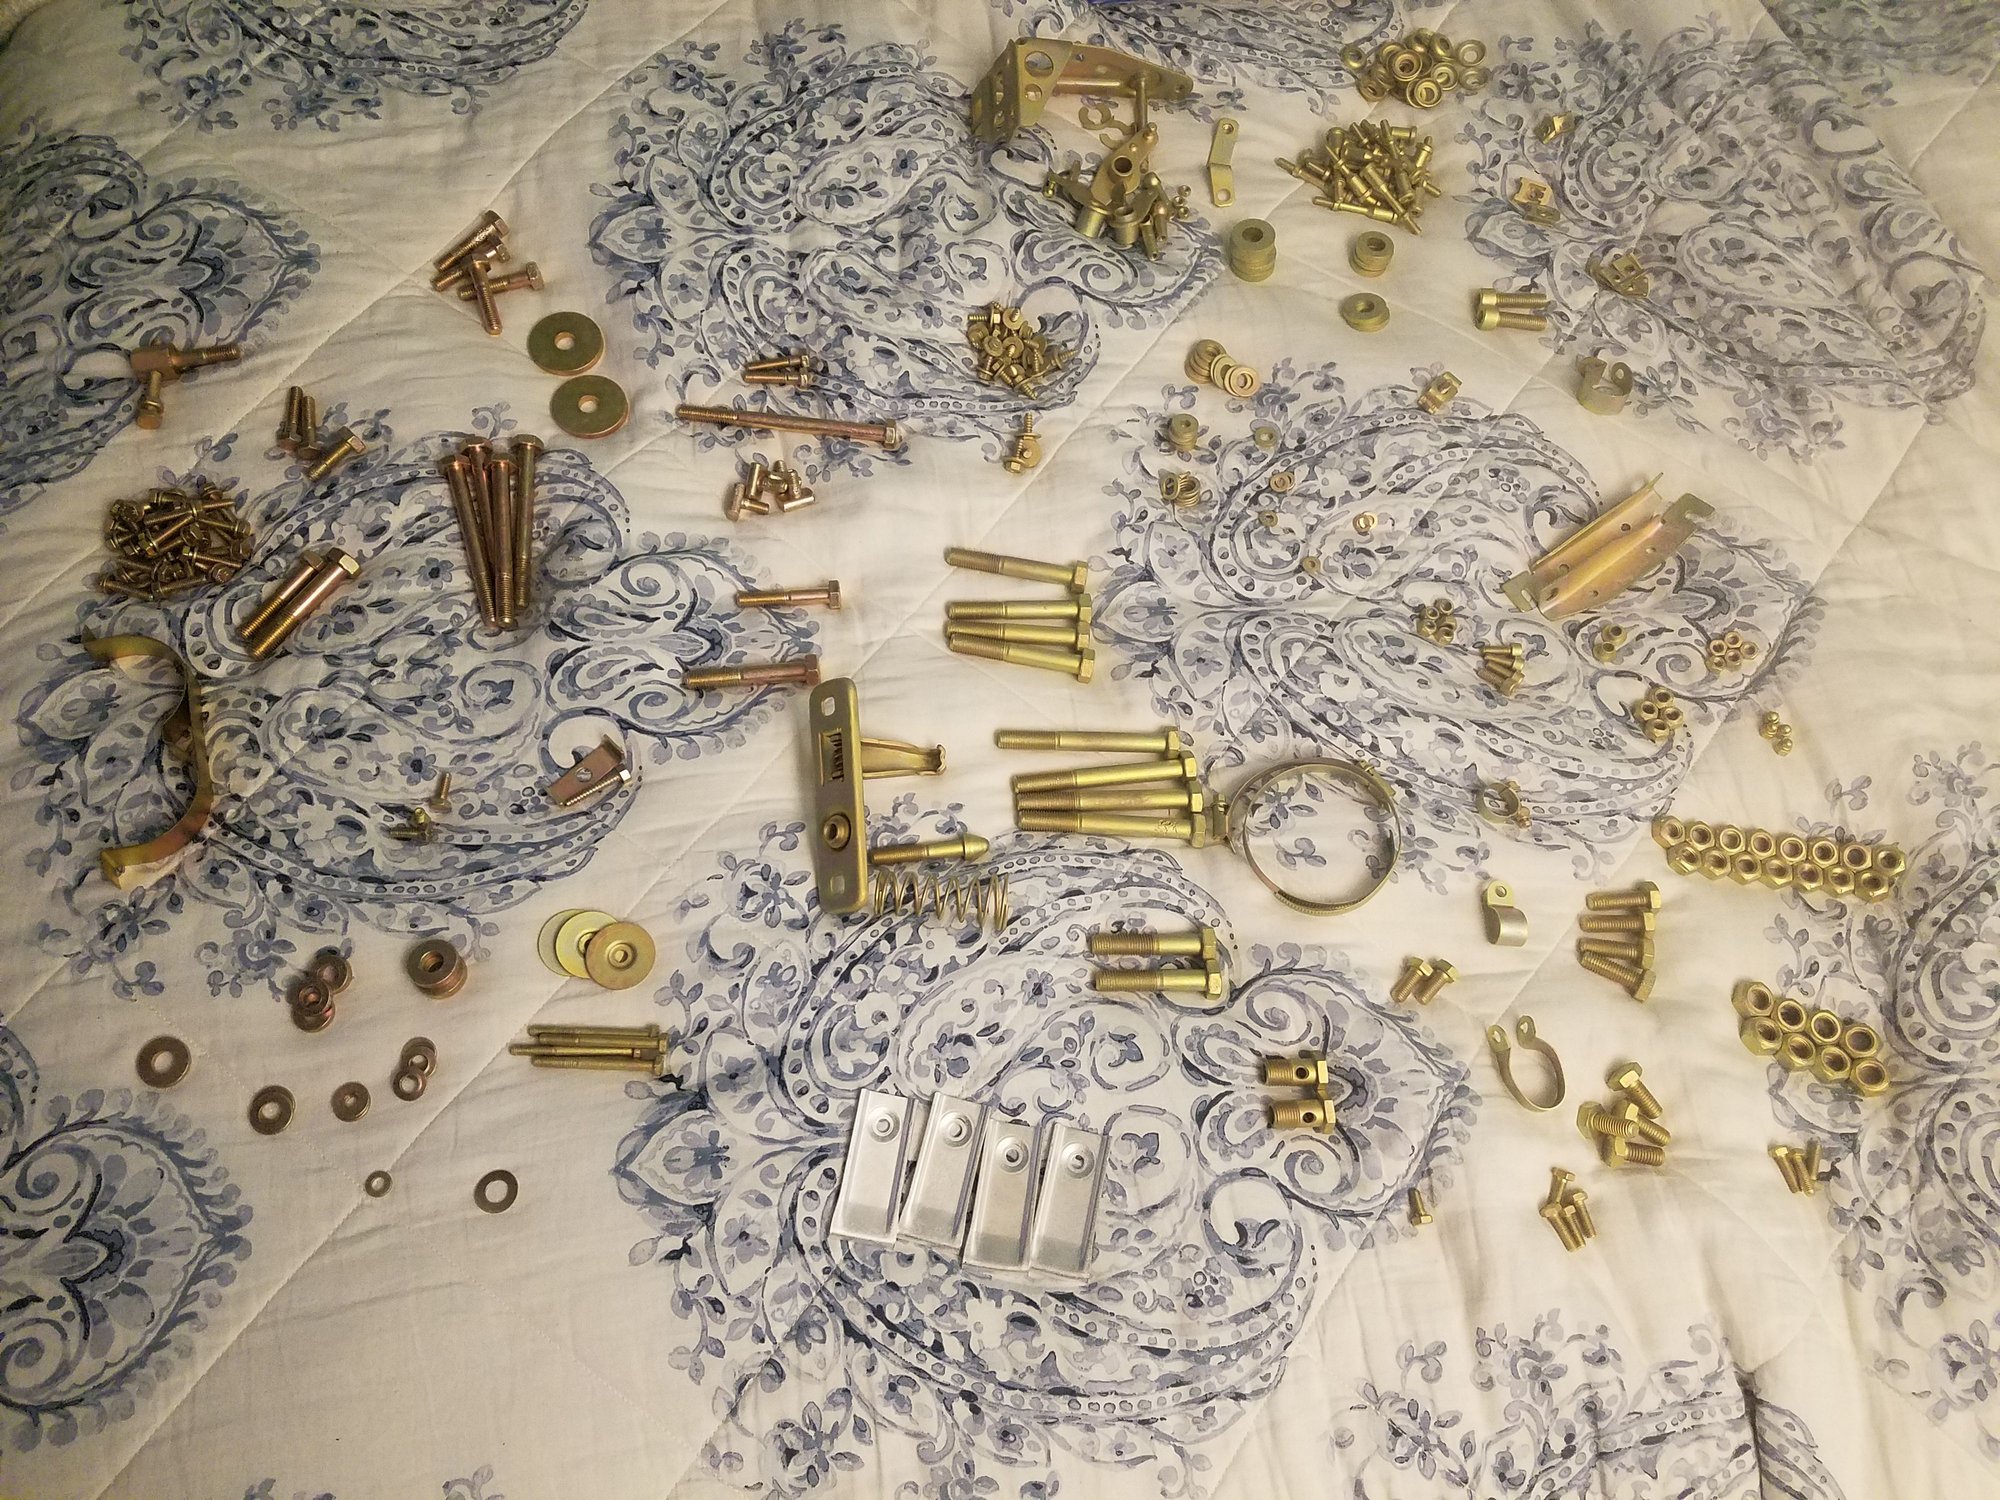
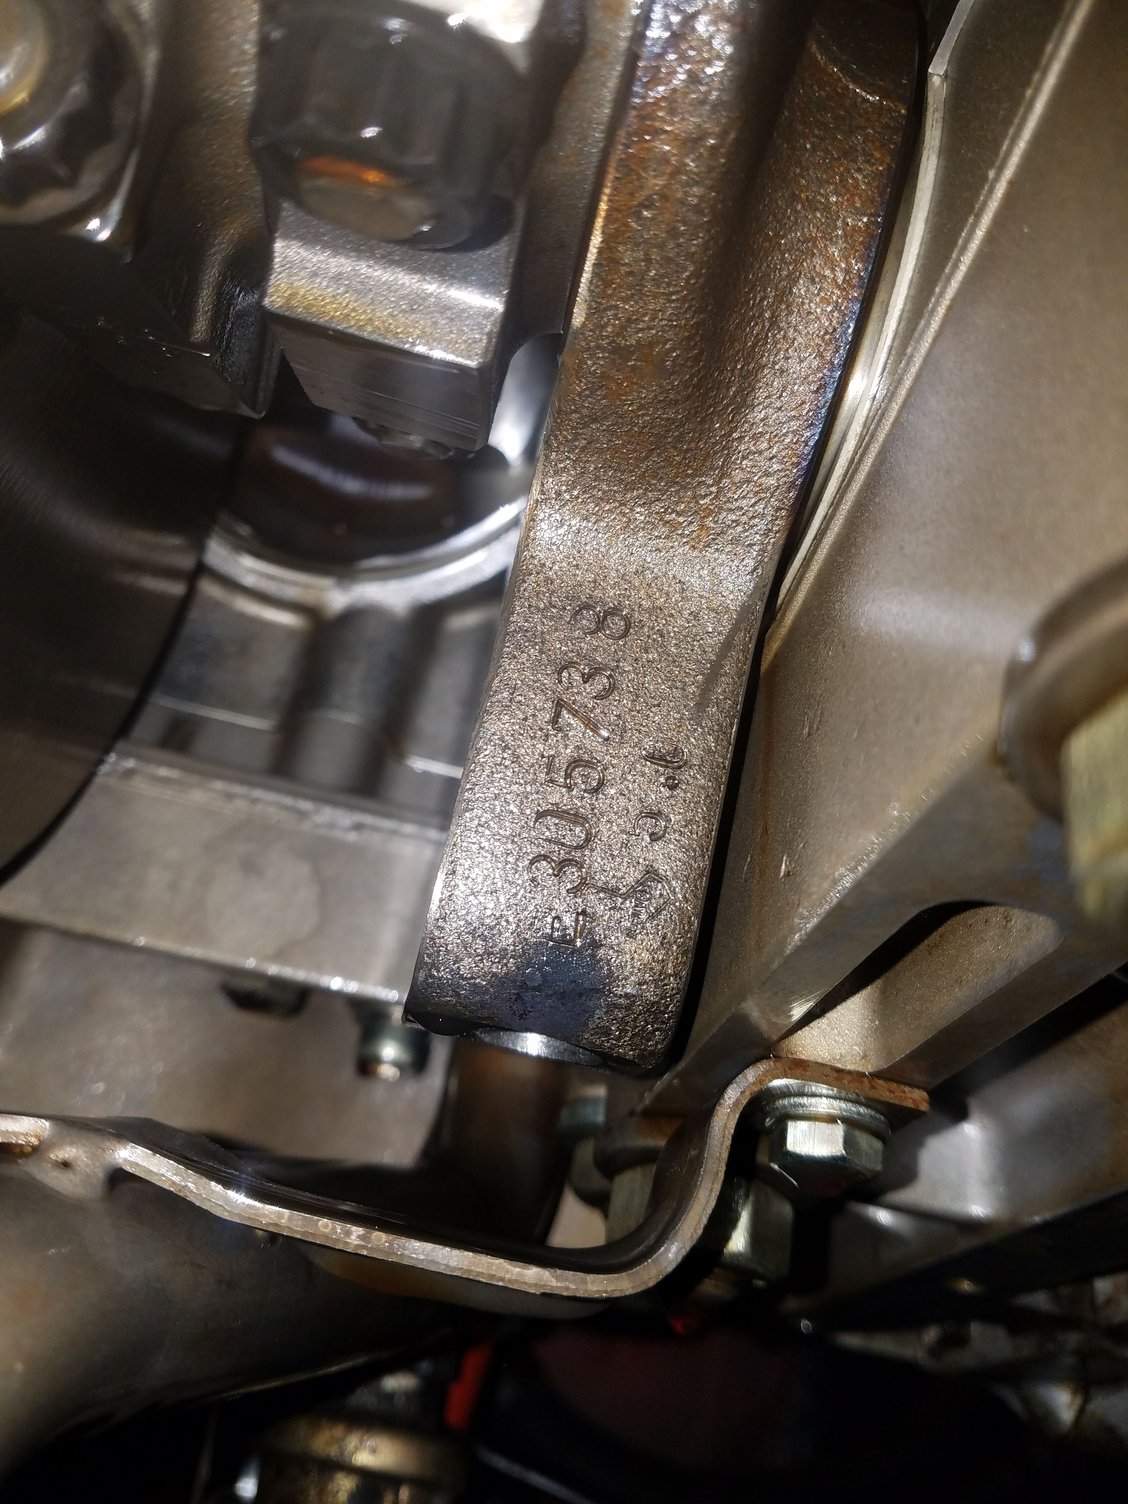
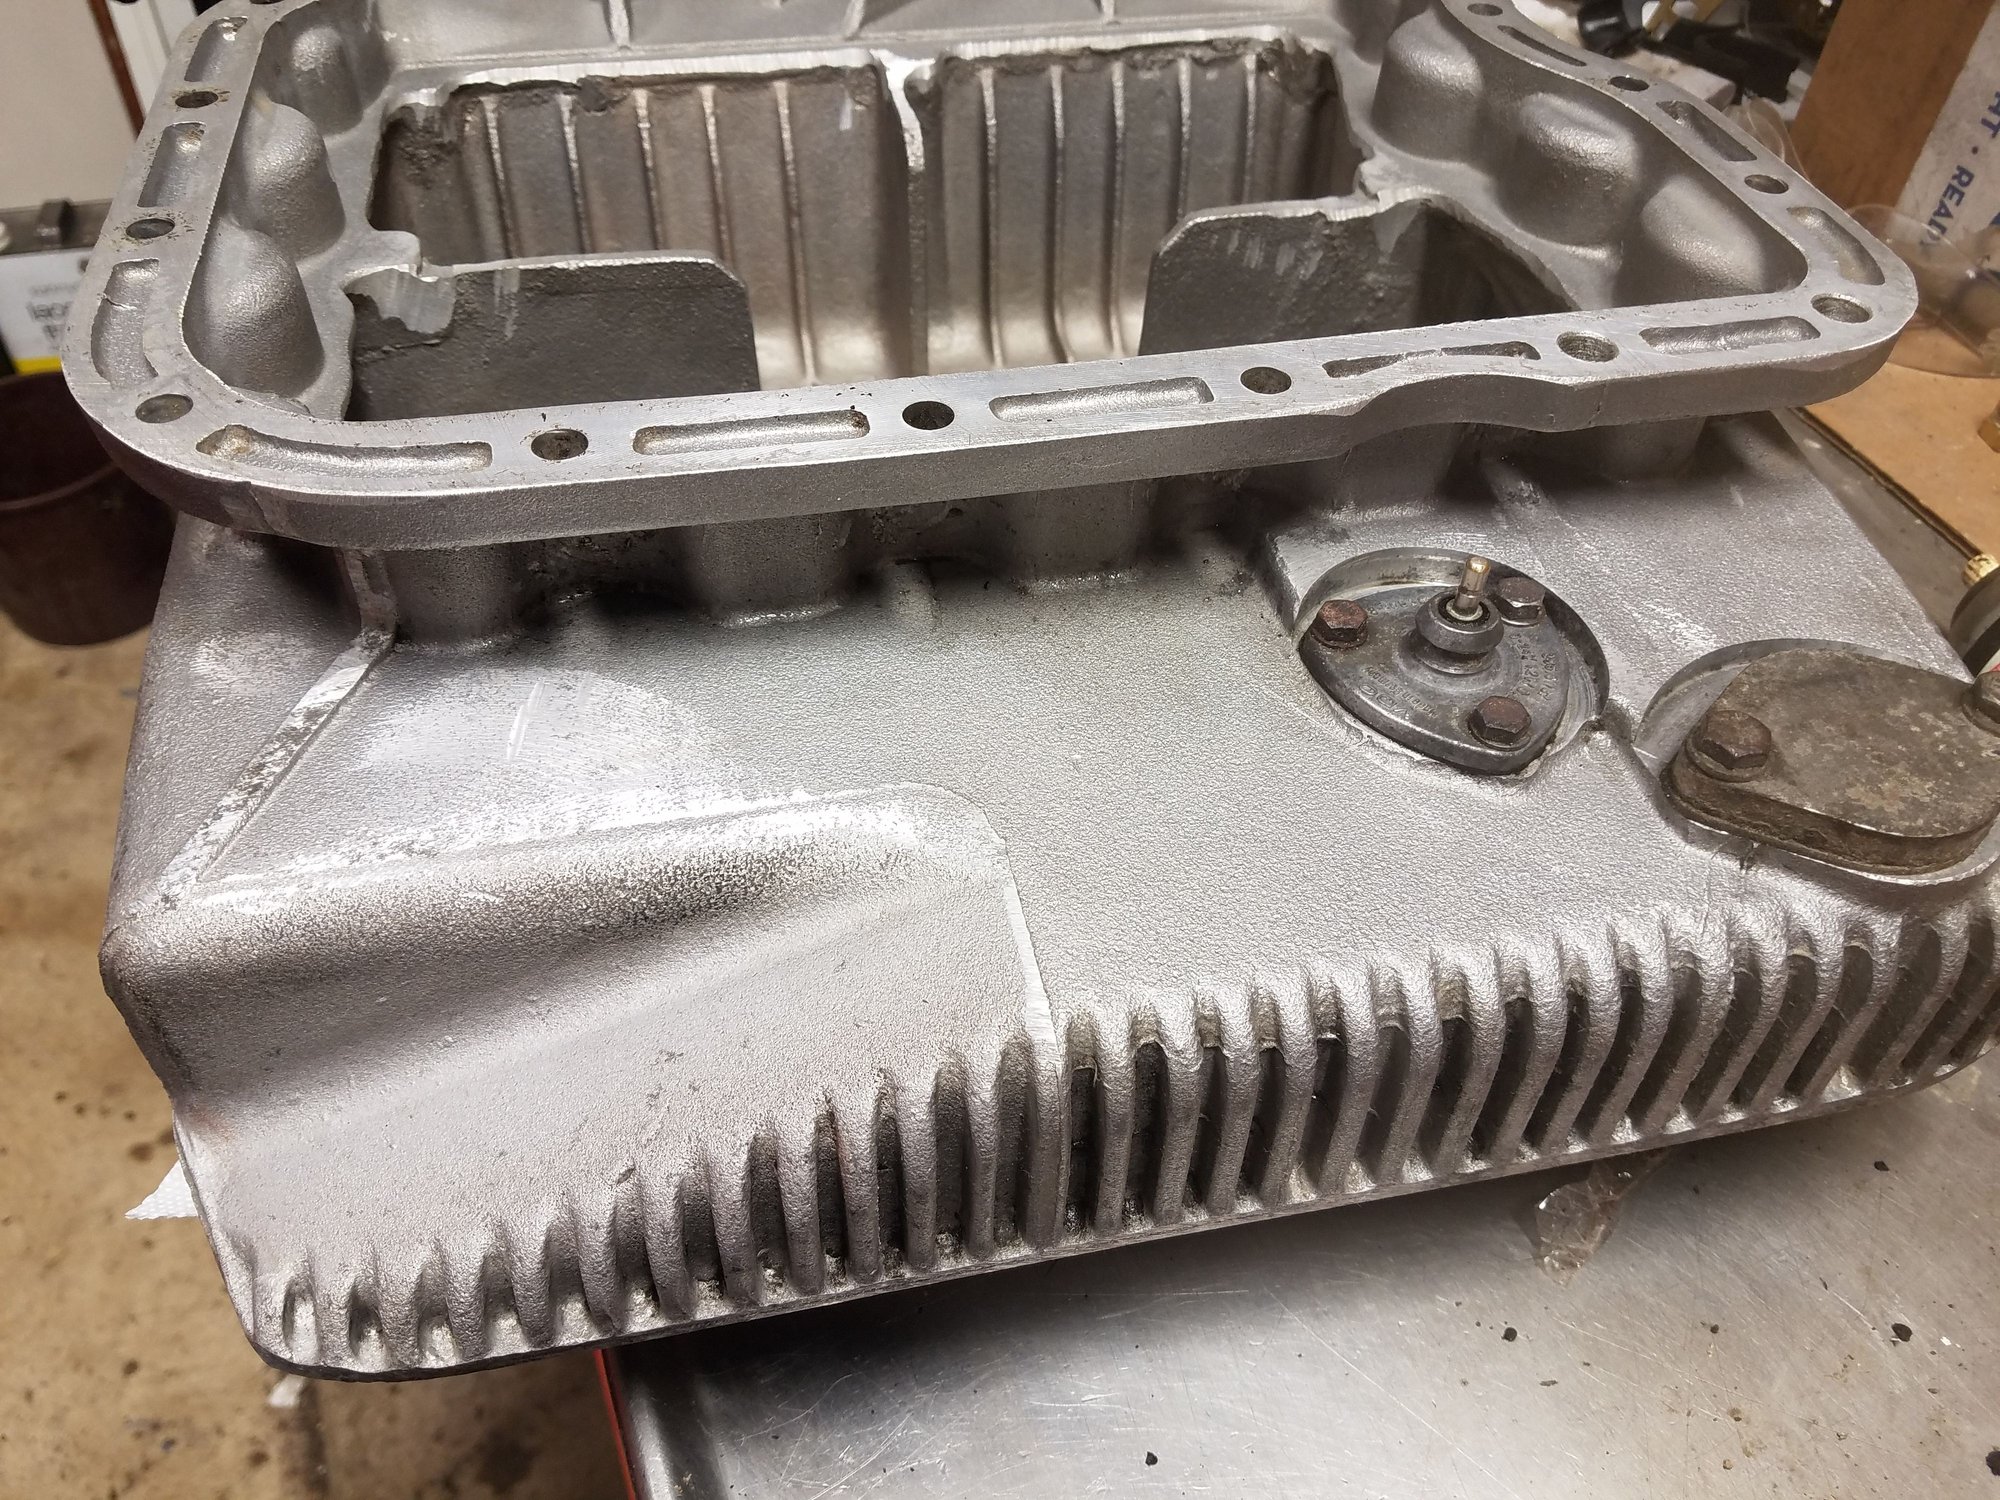
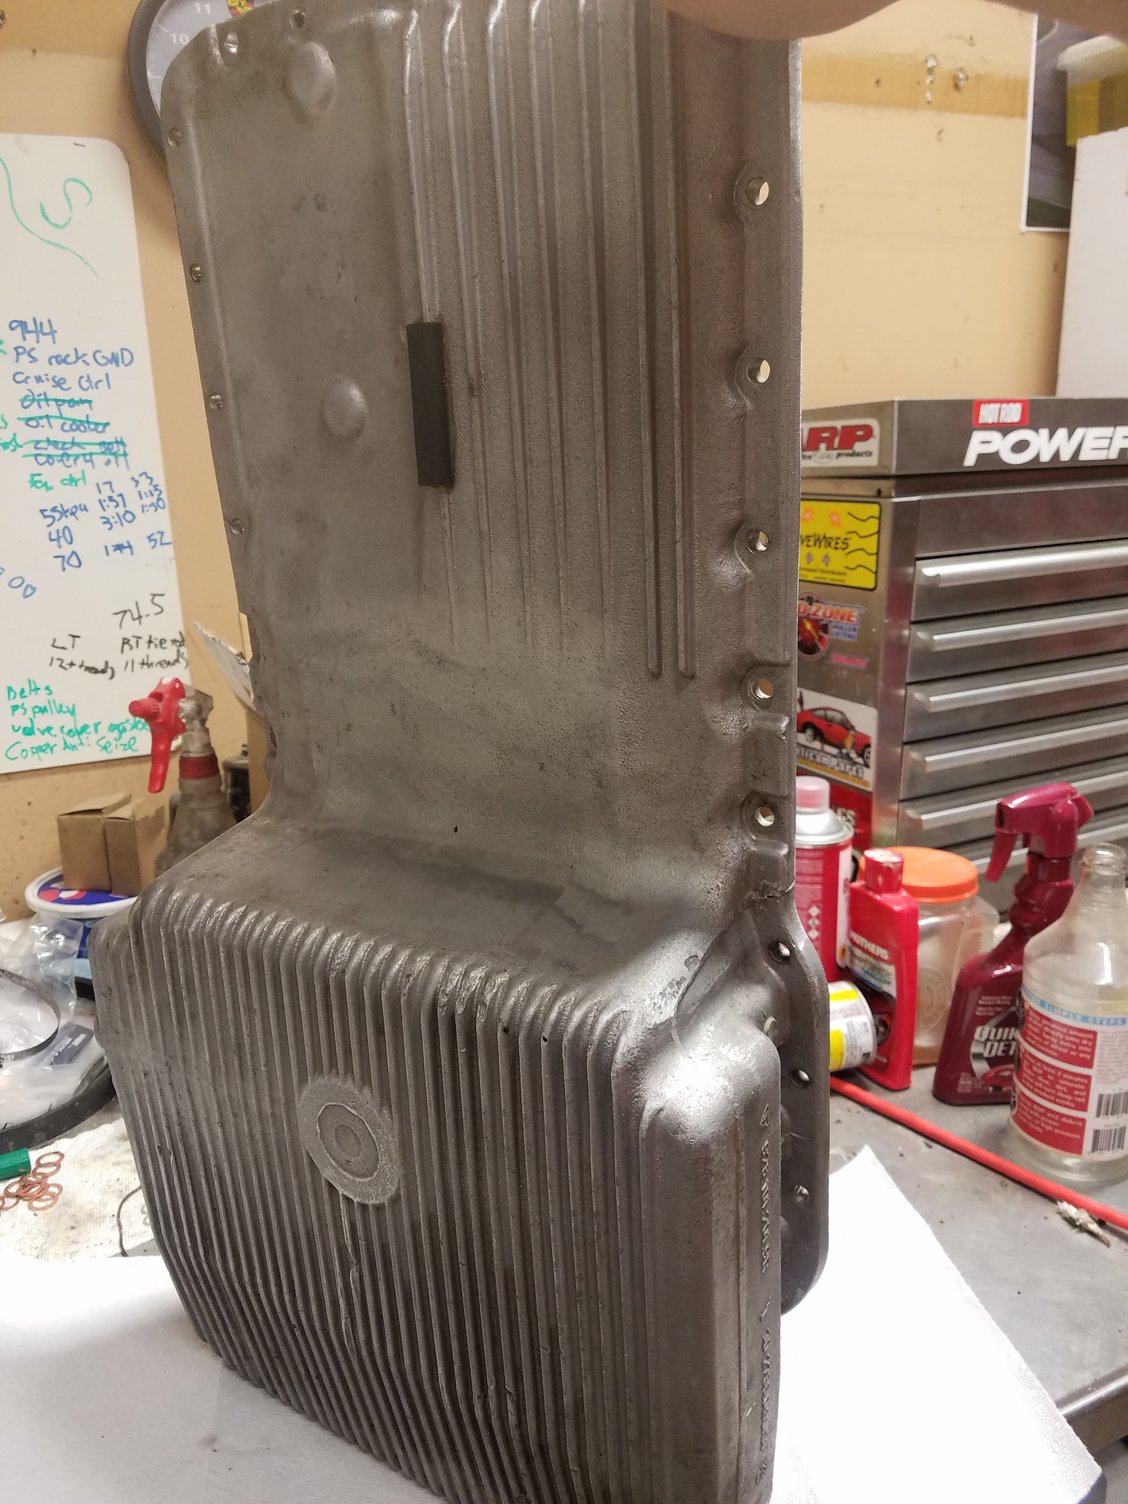
Ready to go back together. Everything back from the plater and oil pan after cleaning. Id markings on rods Found serial number on crank Uber material oil pan gasket from 928s r us!
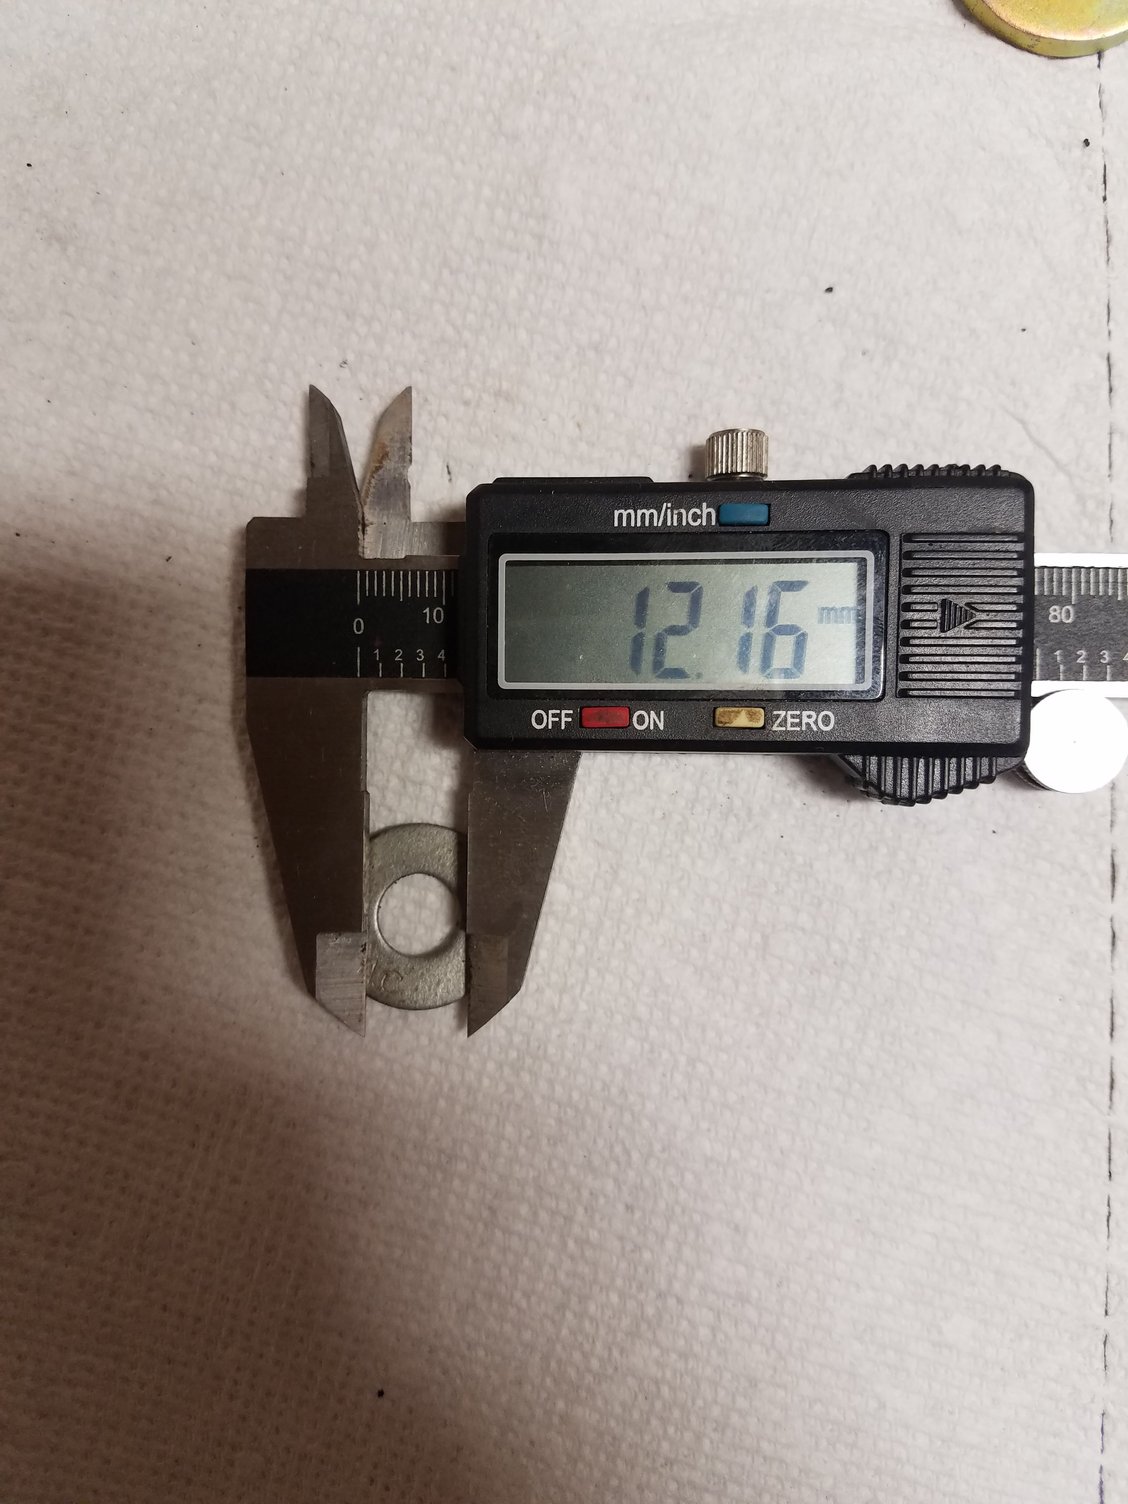
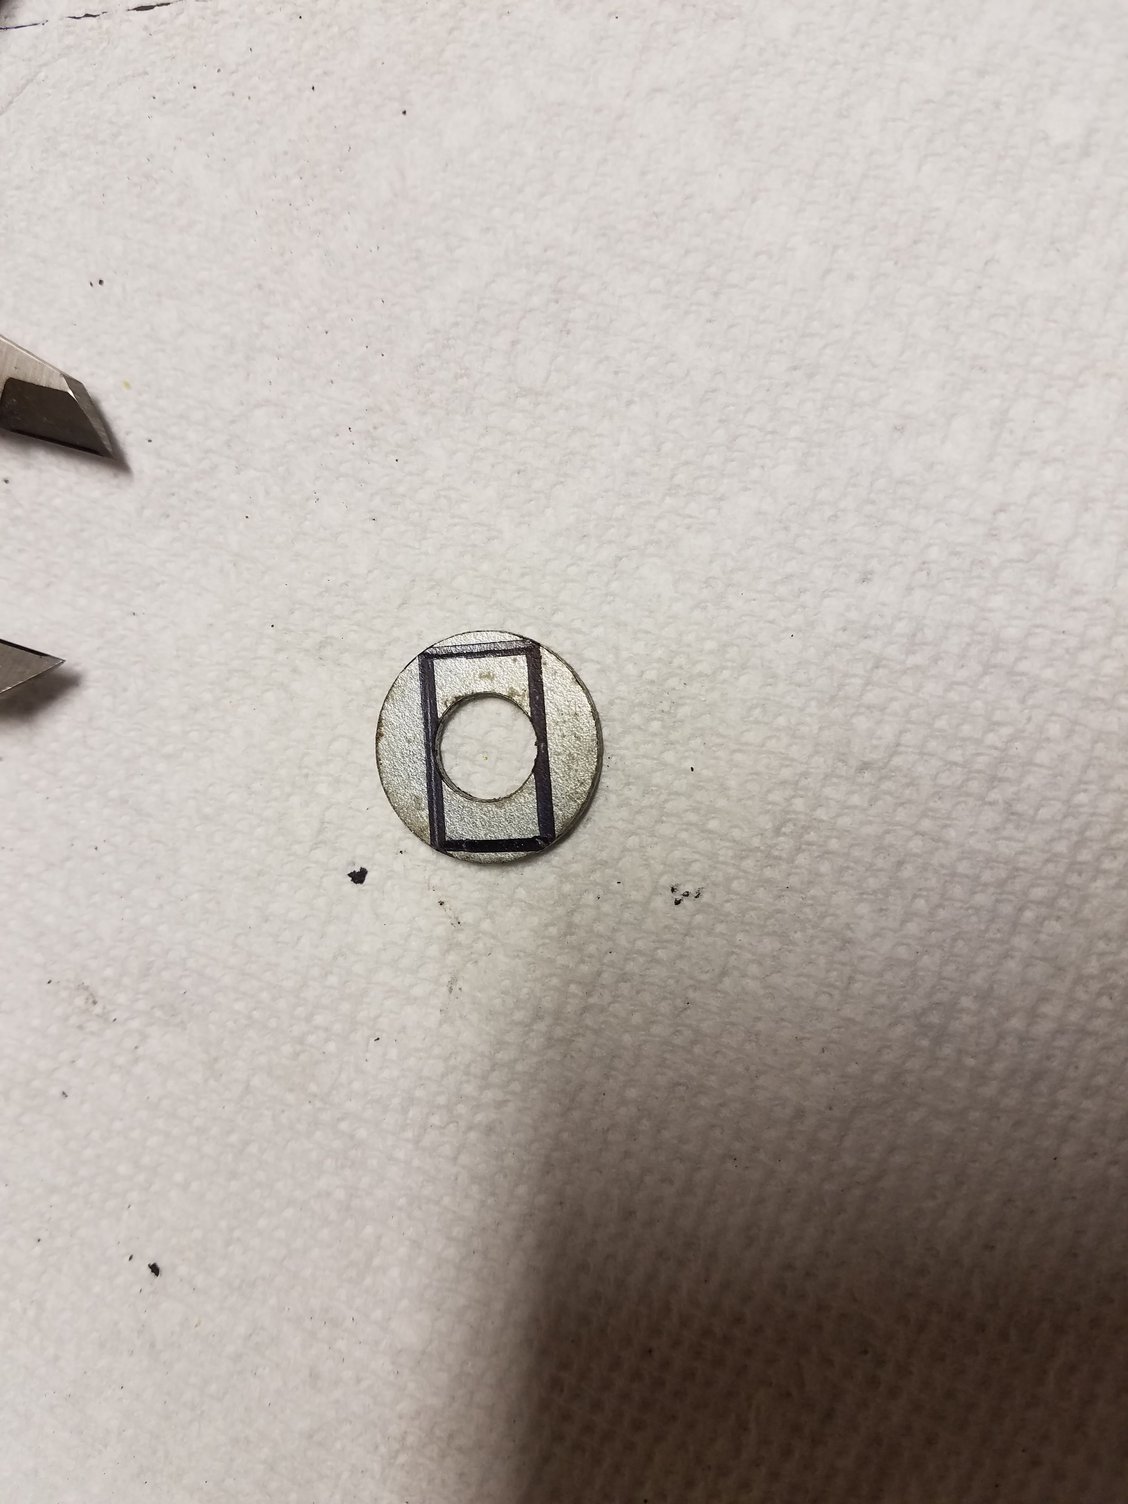
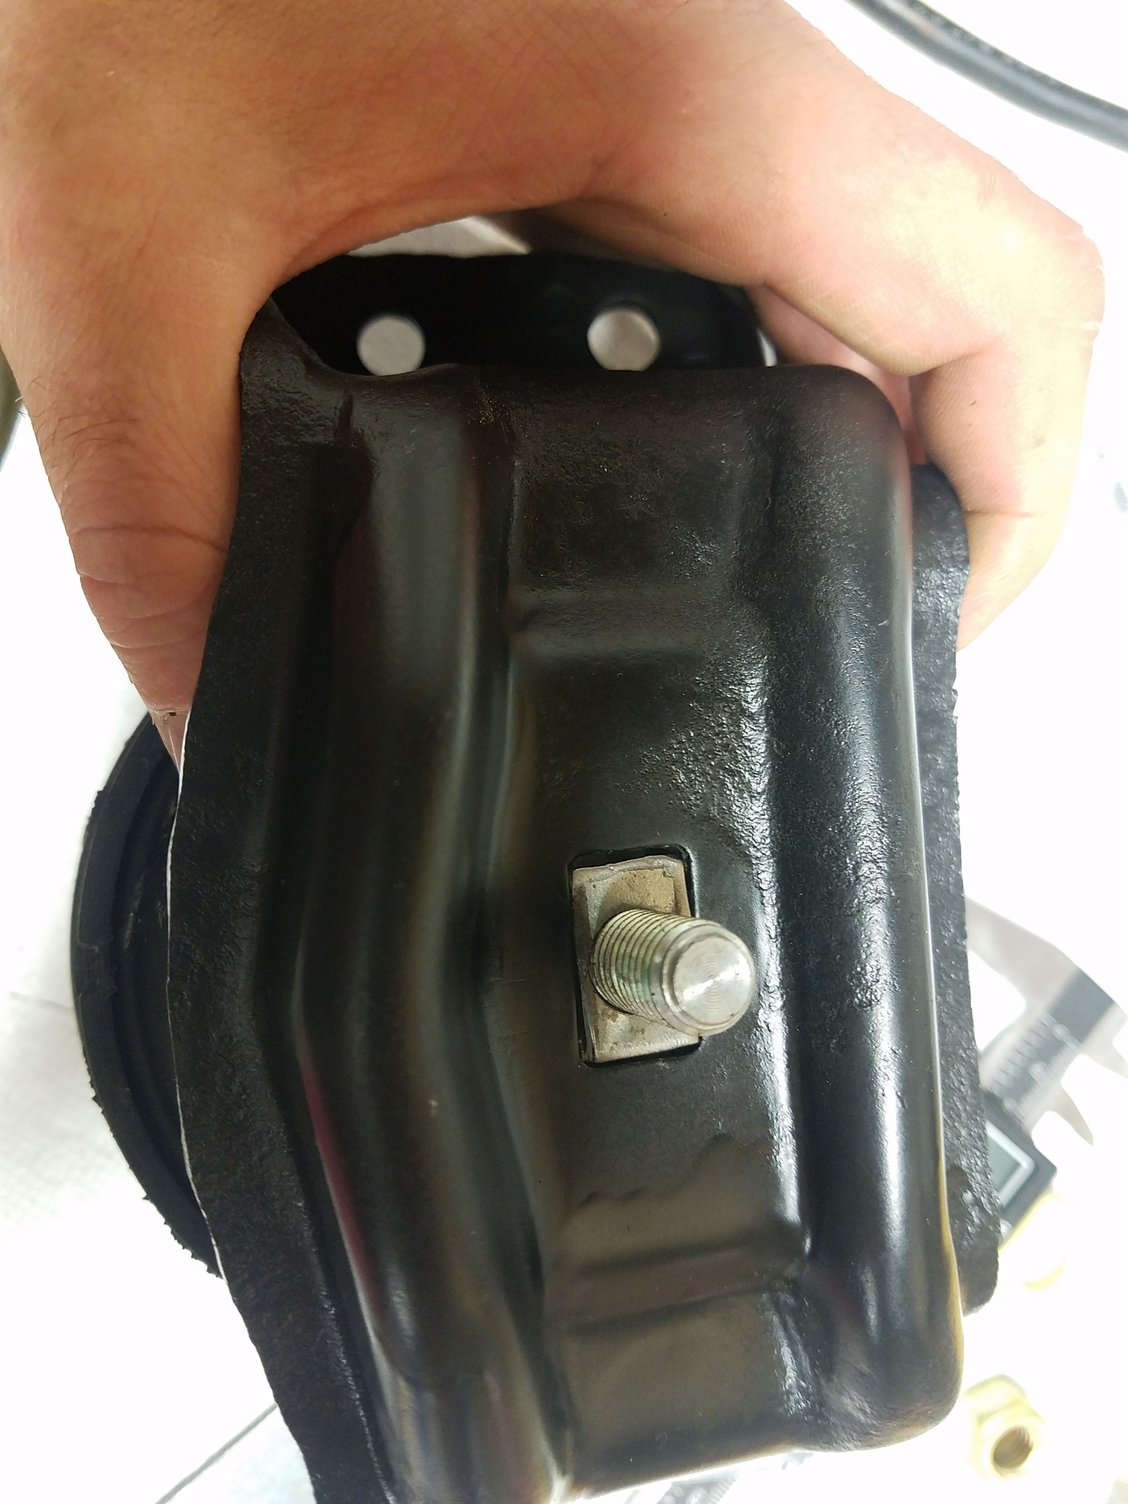
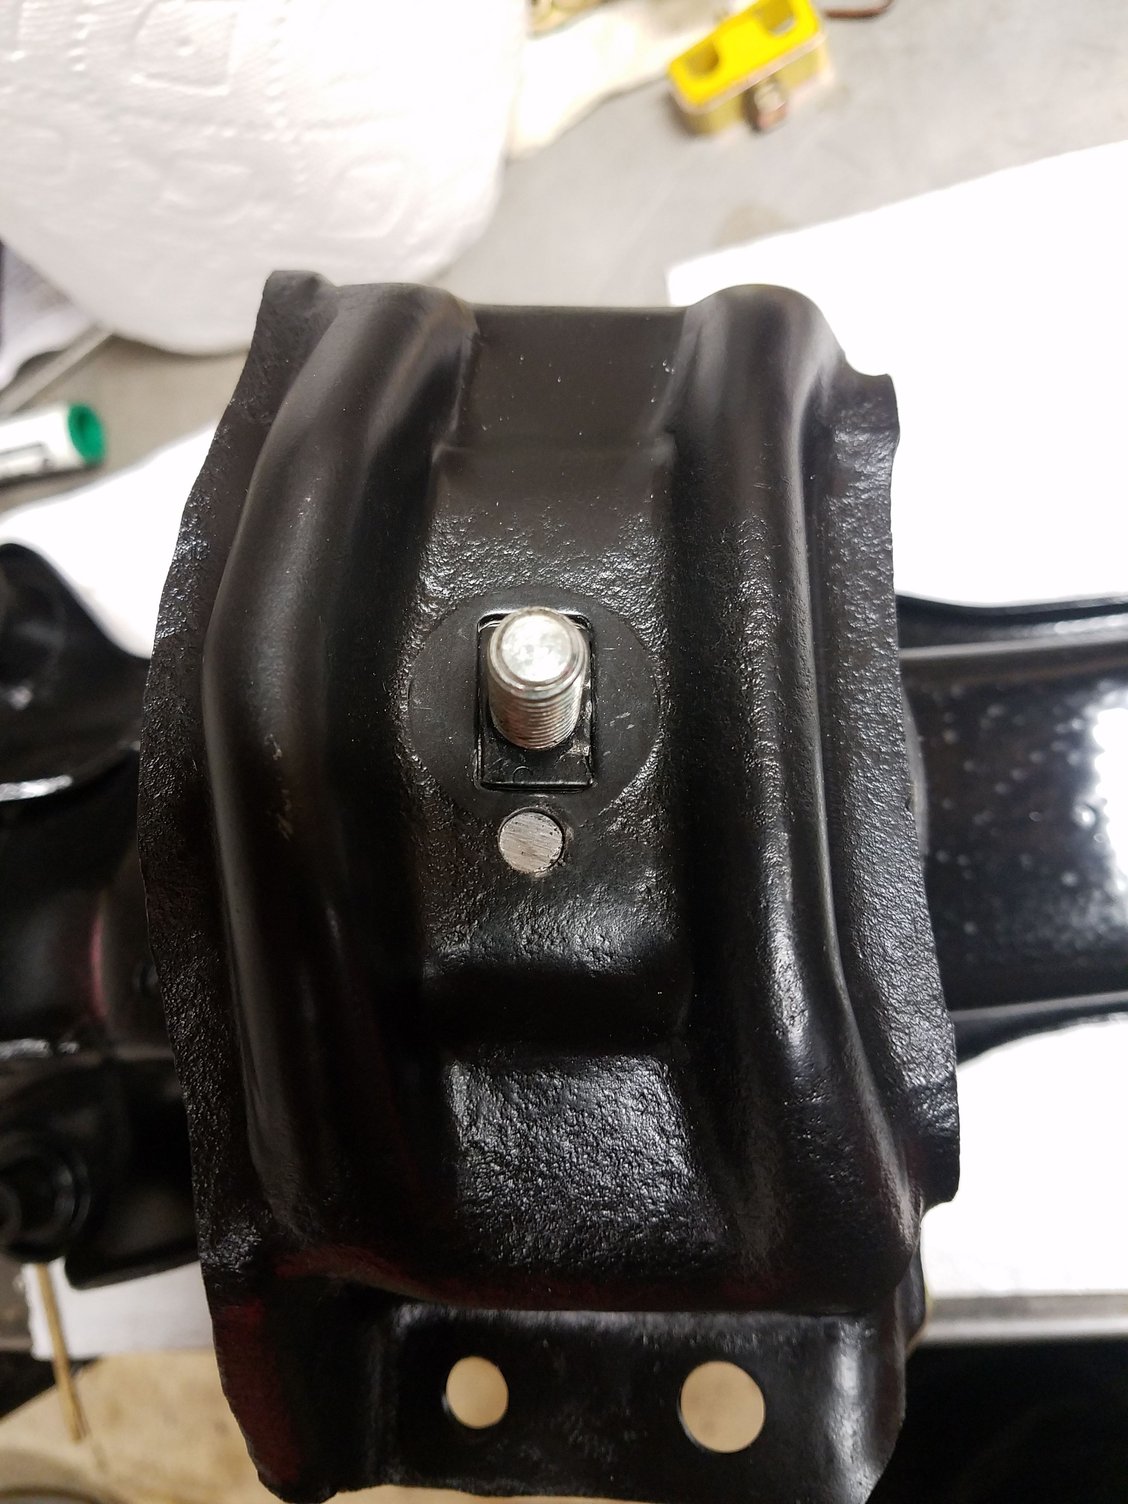
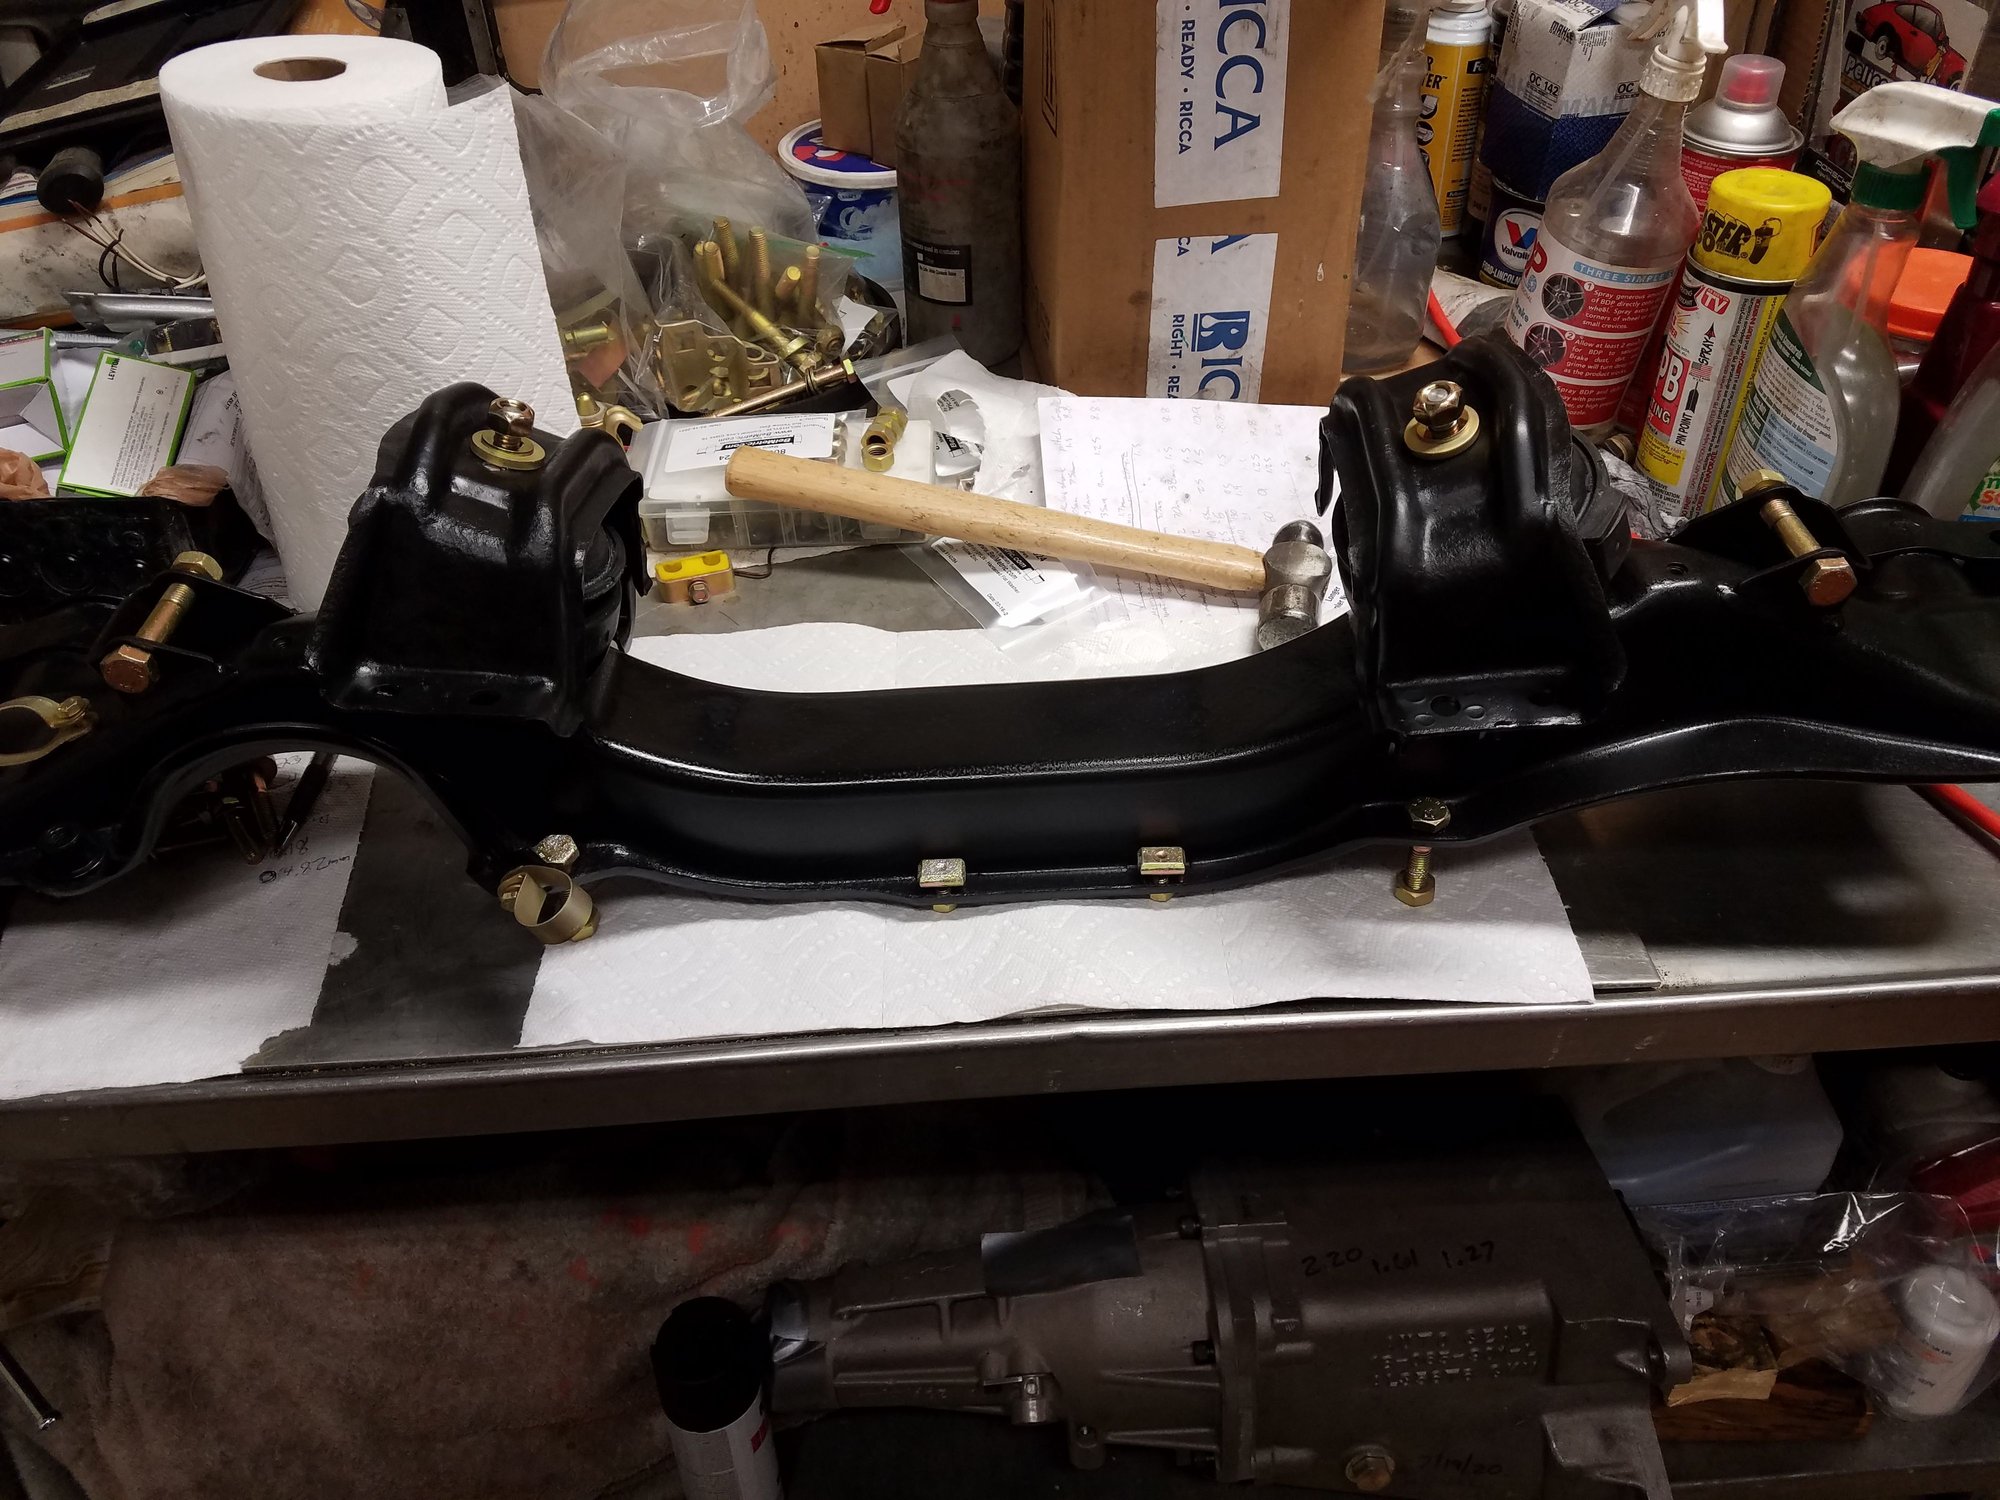
Oil pan bolted in with plated fasters, and Volvo motor mount conversion and crossmember build up. Commonly used volvo mount on the right has different indexing features. Making a rectangular spacer from a washer to catch the rectangular hole in the mount. Many people just align these mounts by sight but i decided to make this to properly center, then use volvo pin to index. Ready to cut Recangular spacer done and fitting in mount Fully aligned and indexed after drilling hole in bracket for indexing pin. Rectangular spacer painted for protection. Crossmember with mounts loose attached with all replated fasteners. With newly acquired heat shields in place
Last edited by Popoboy944; 03-30-2023 at 01:32 PM.
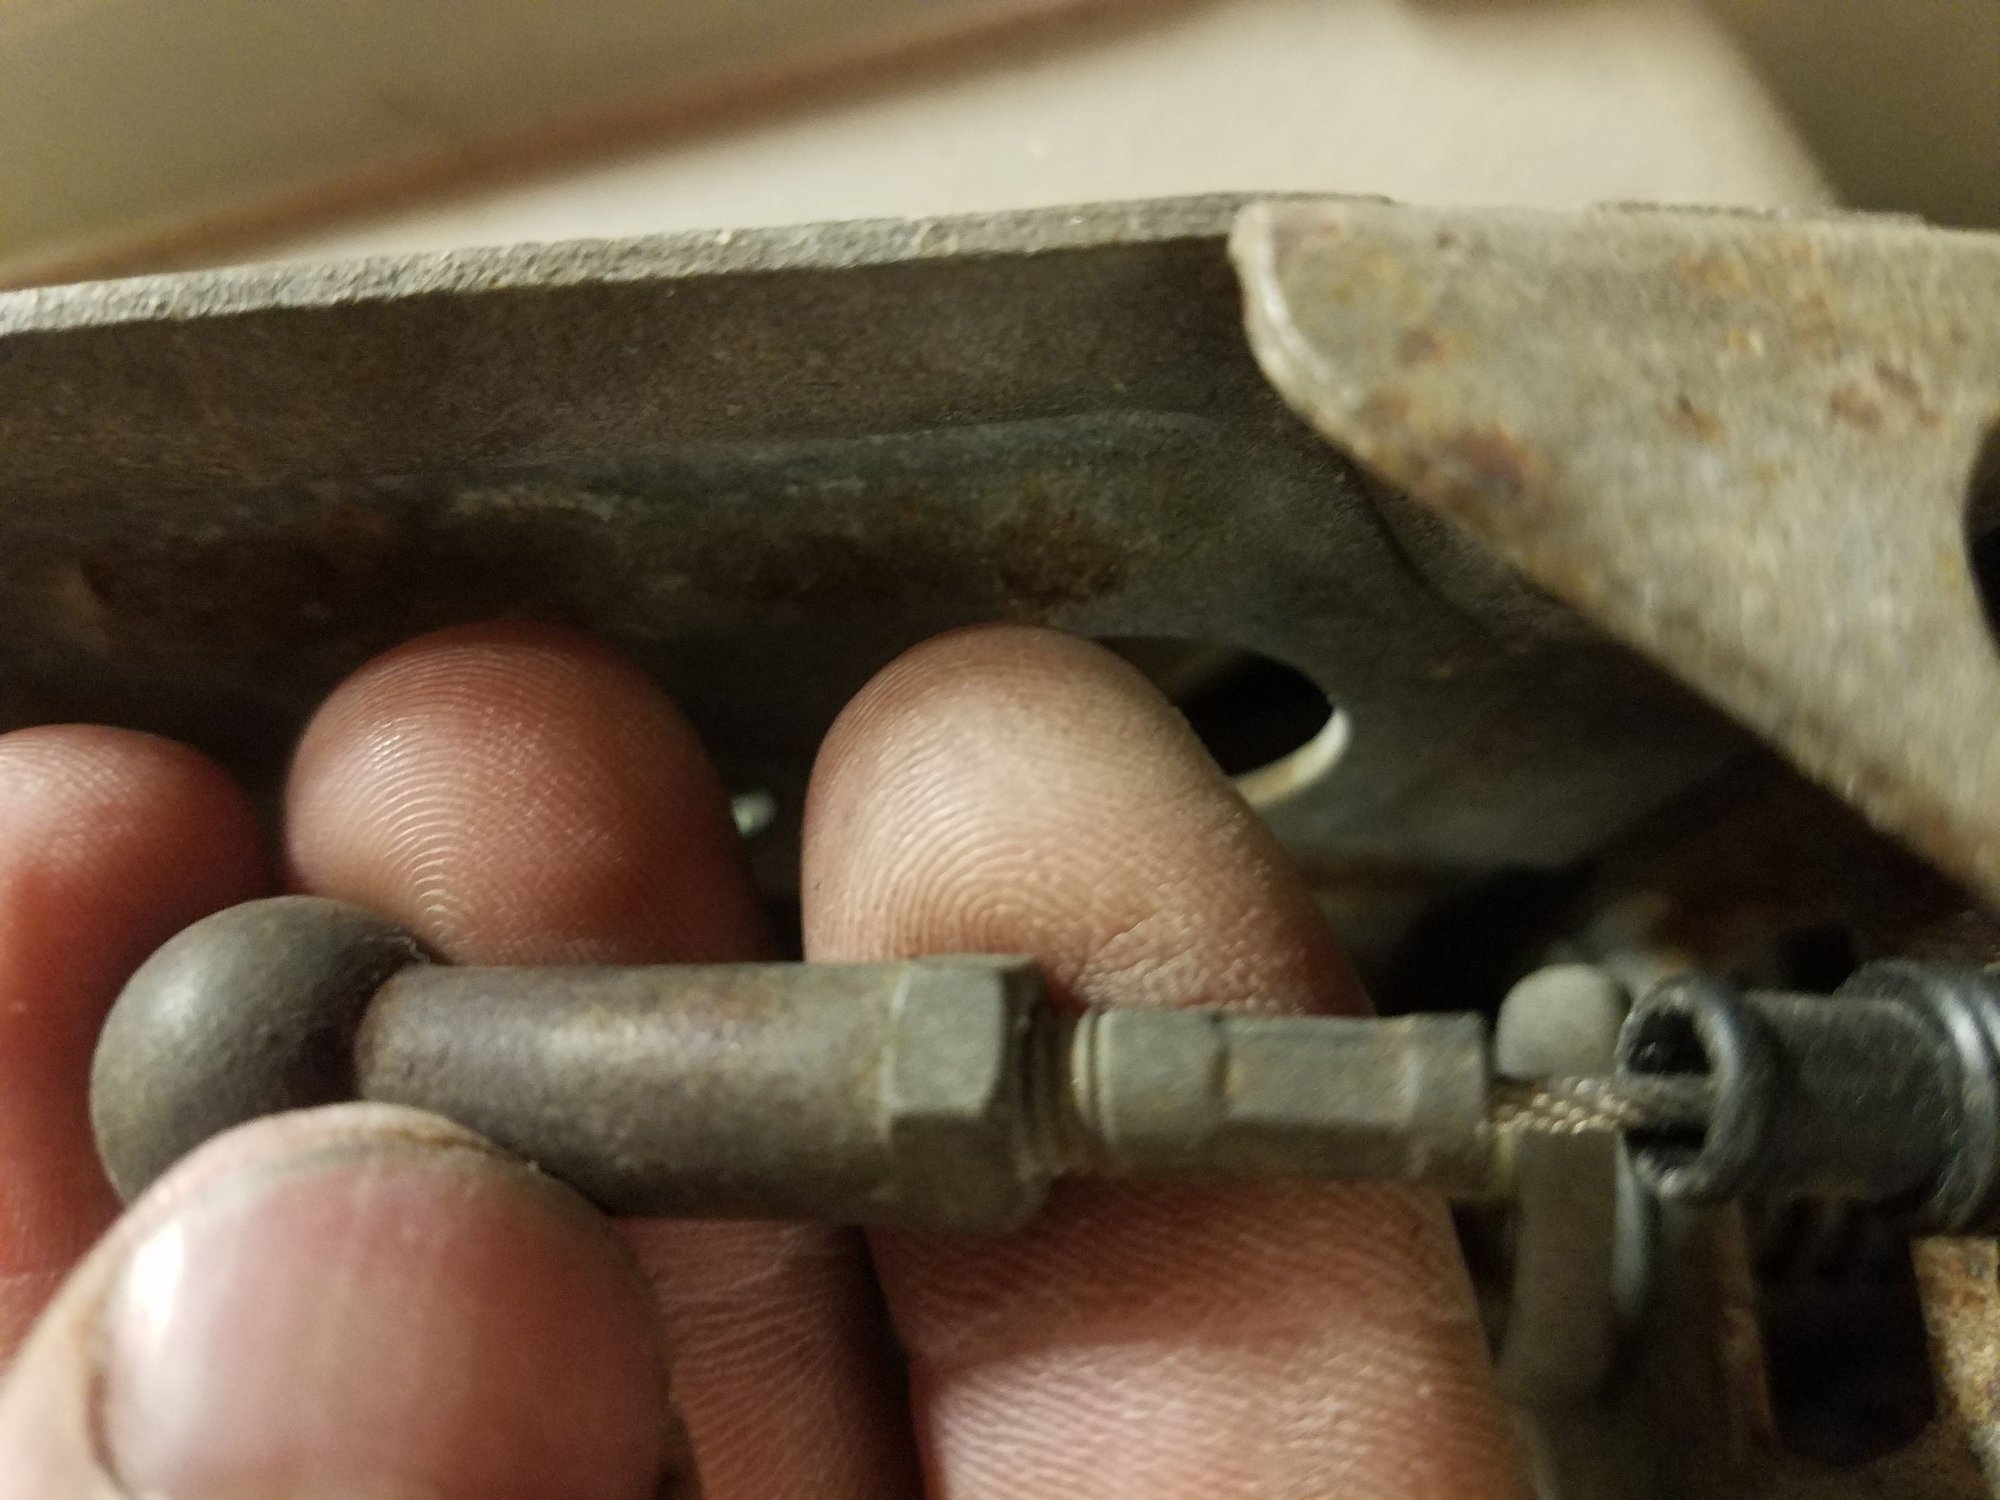
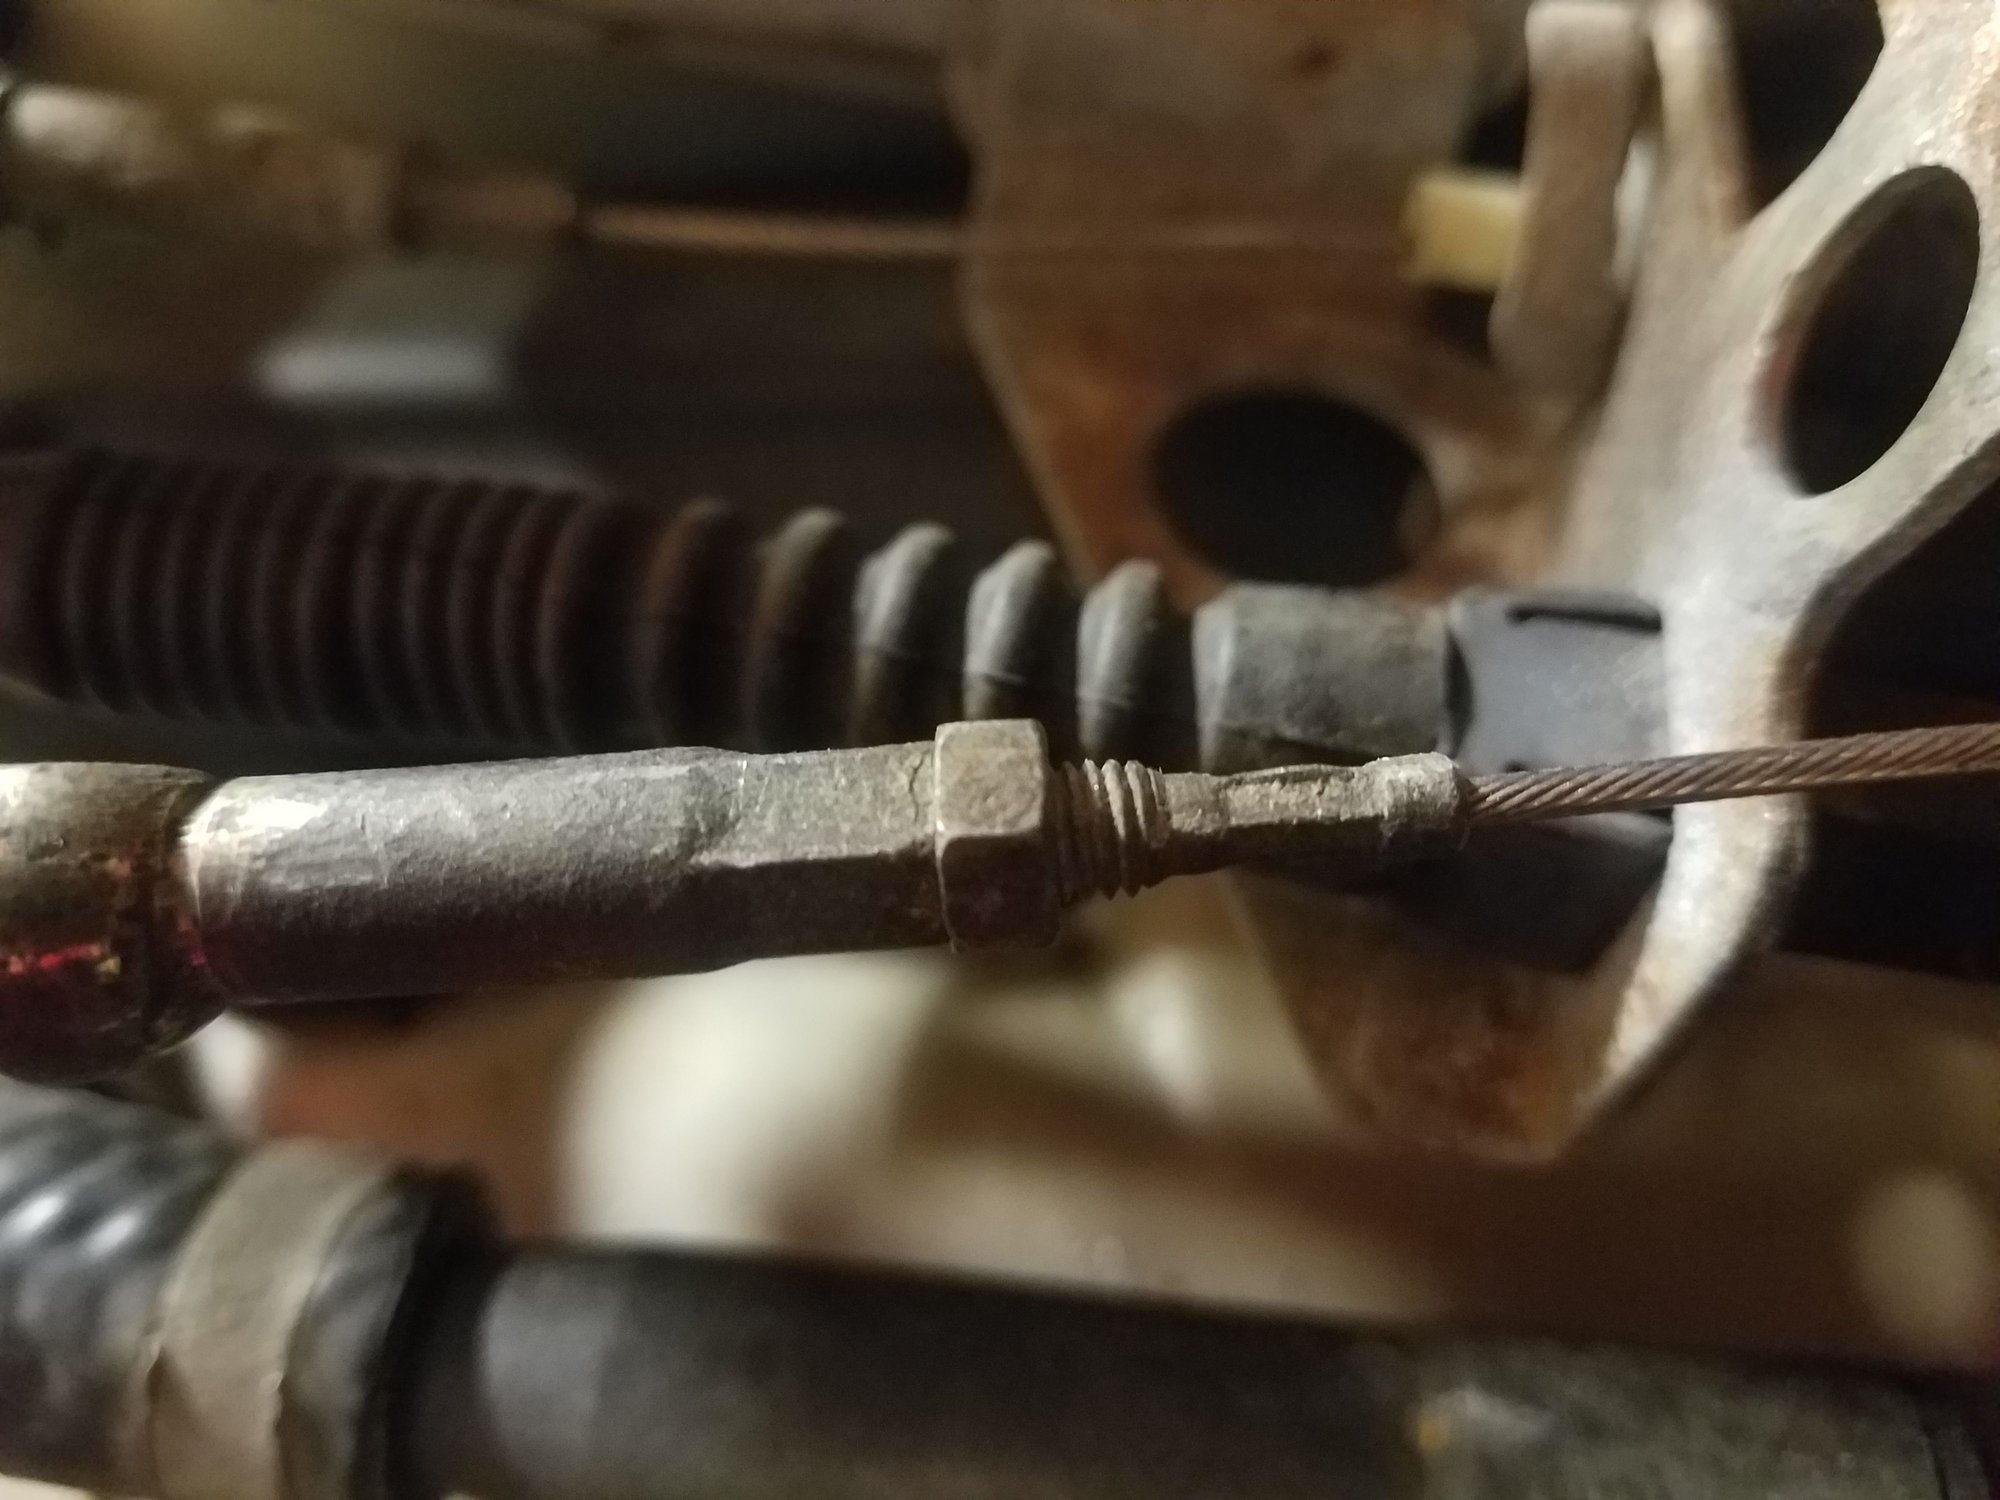
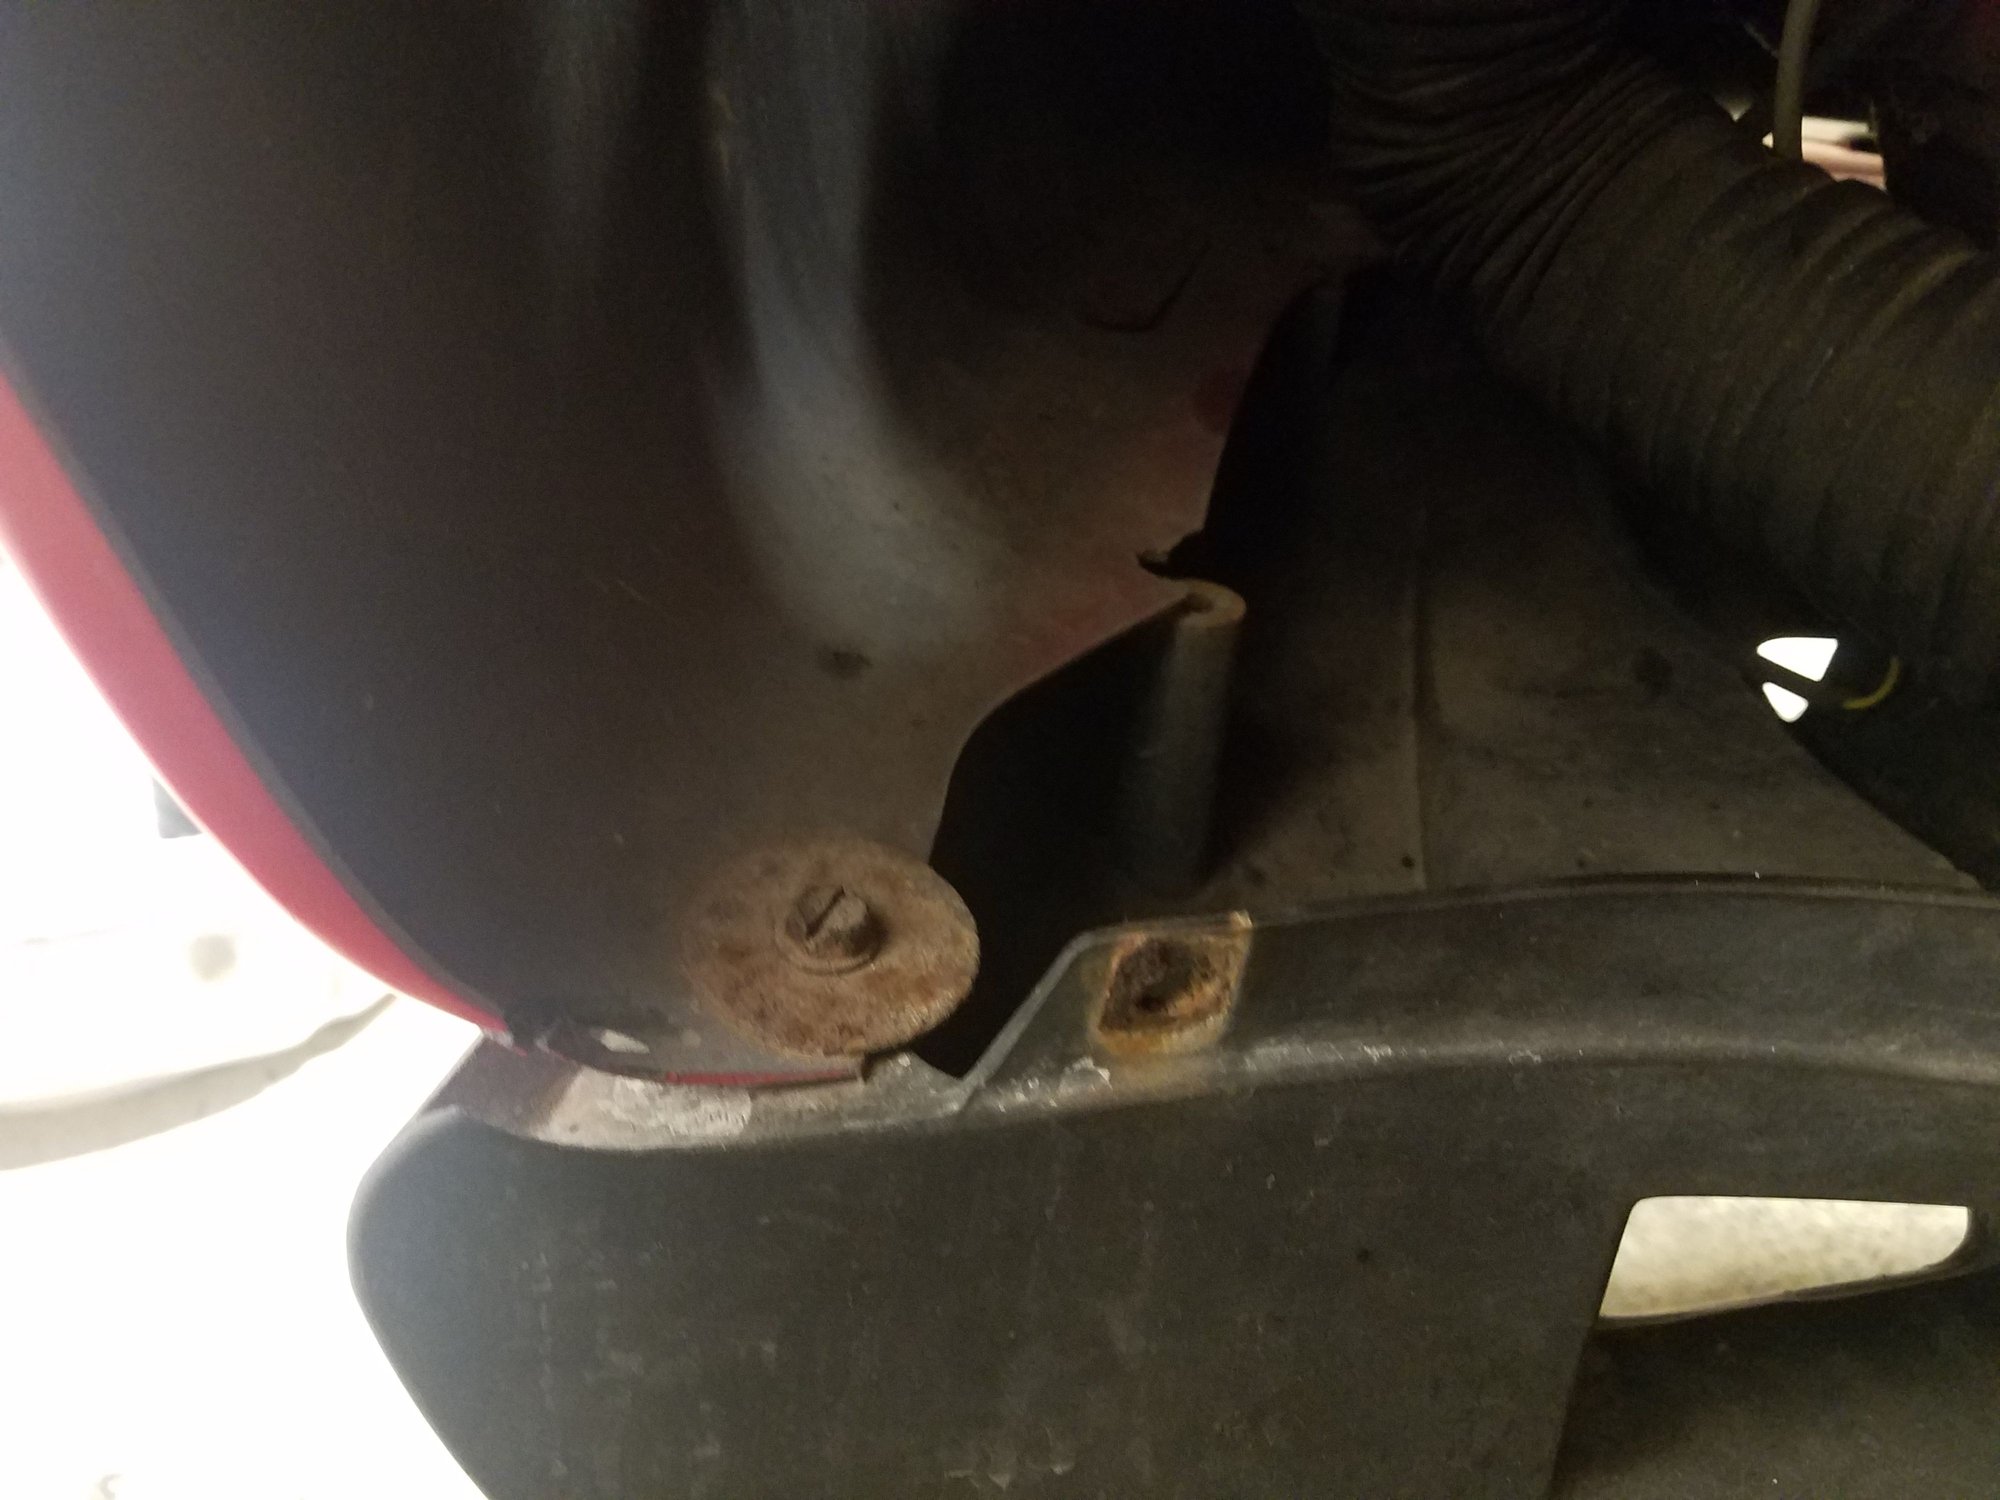
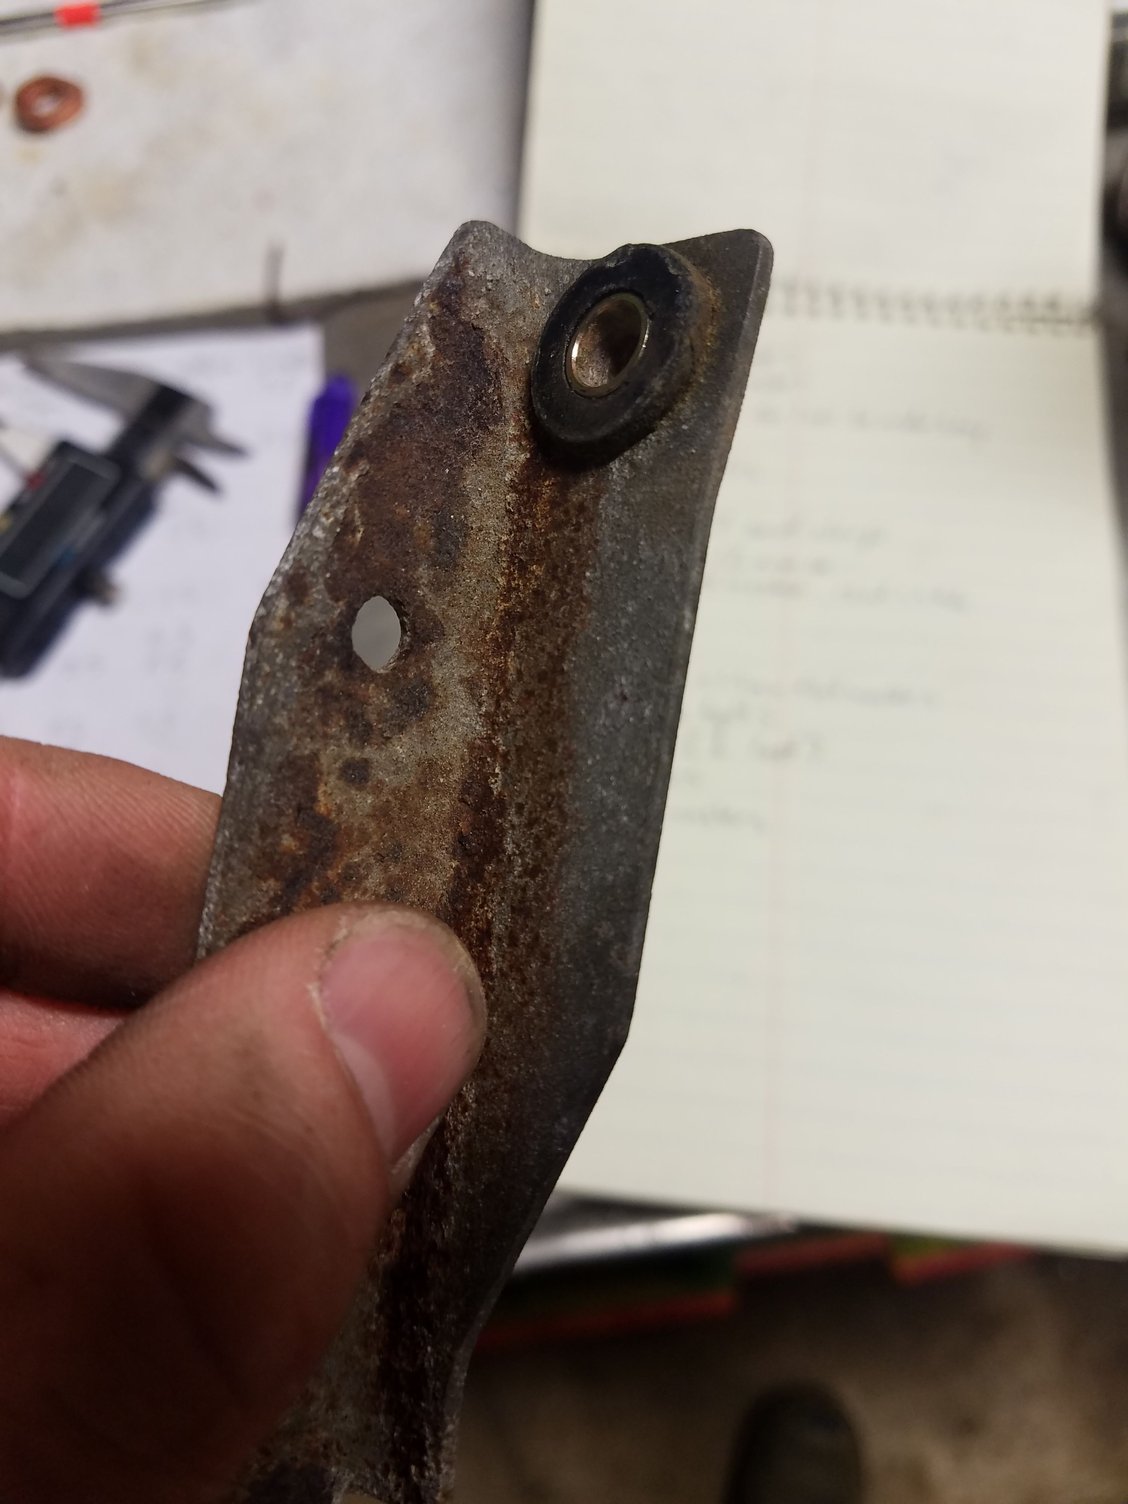
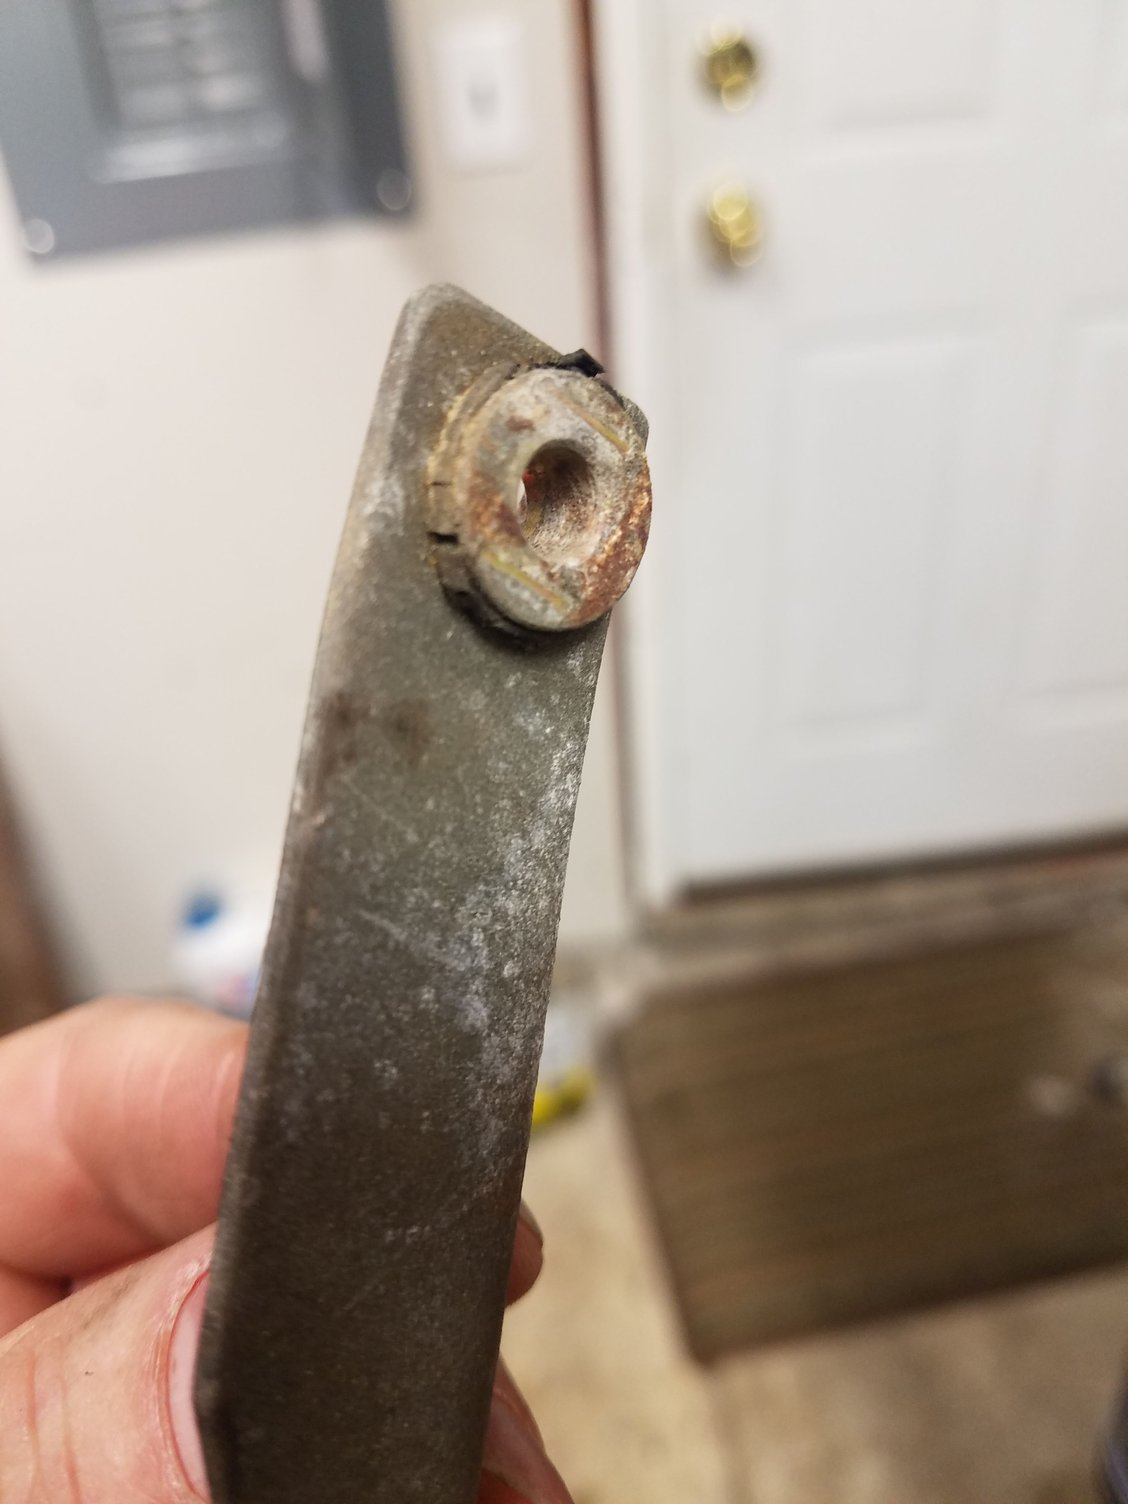
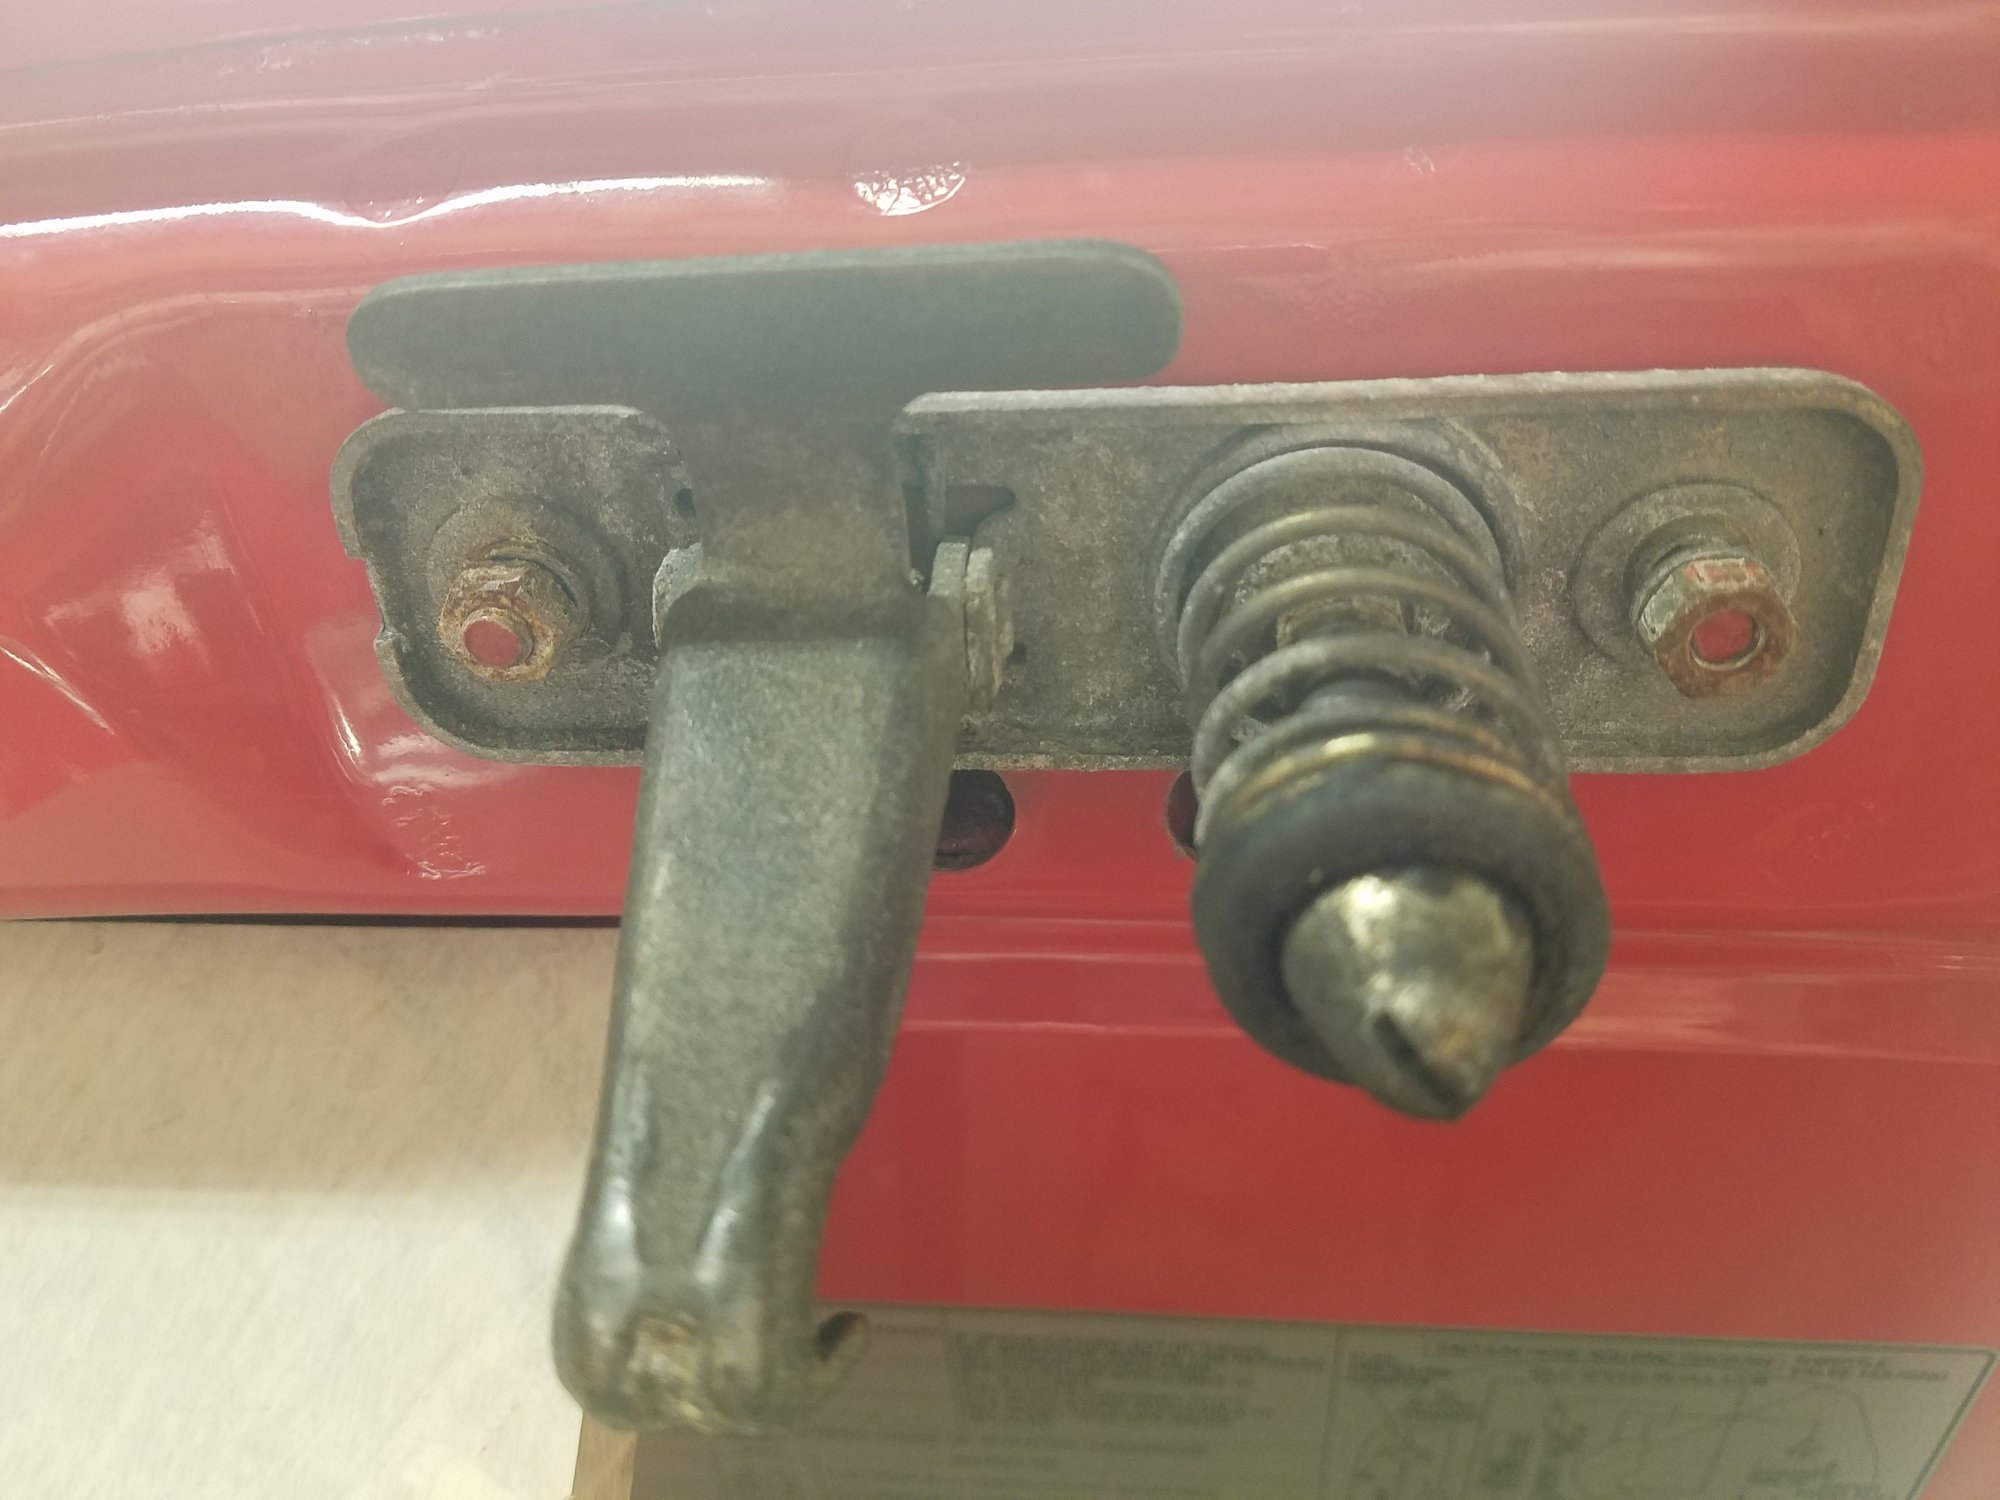
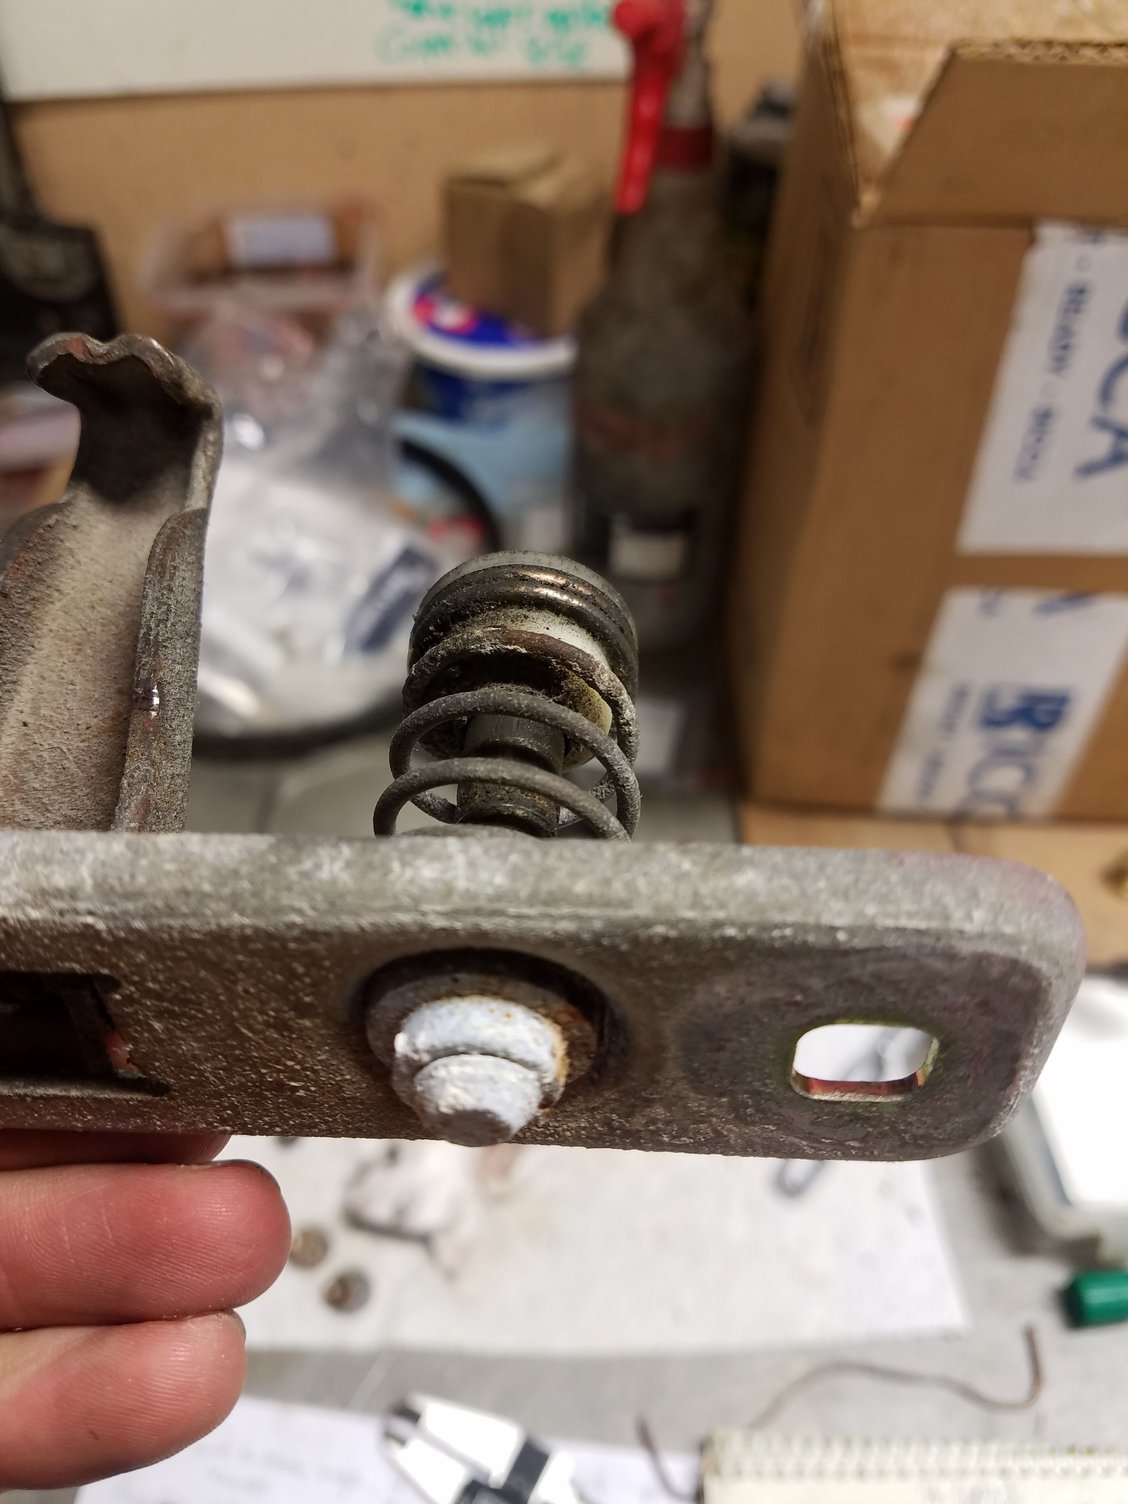
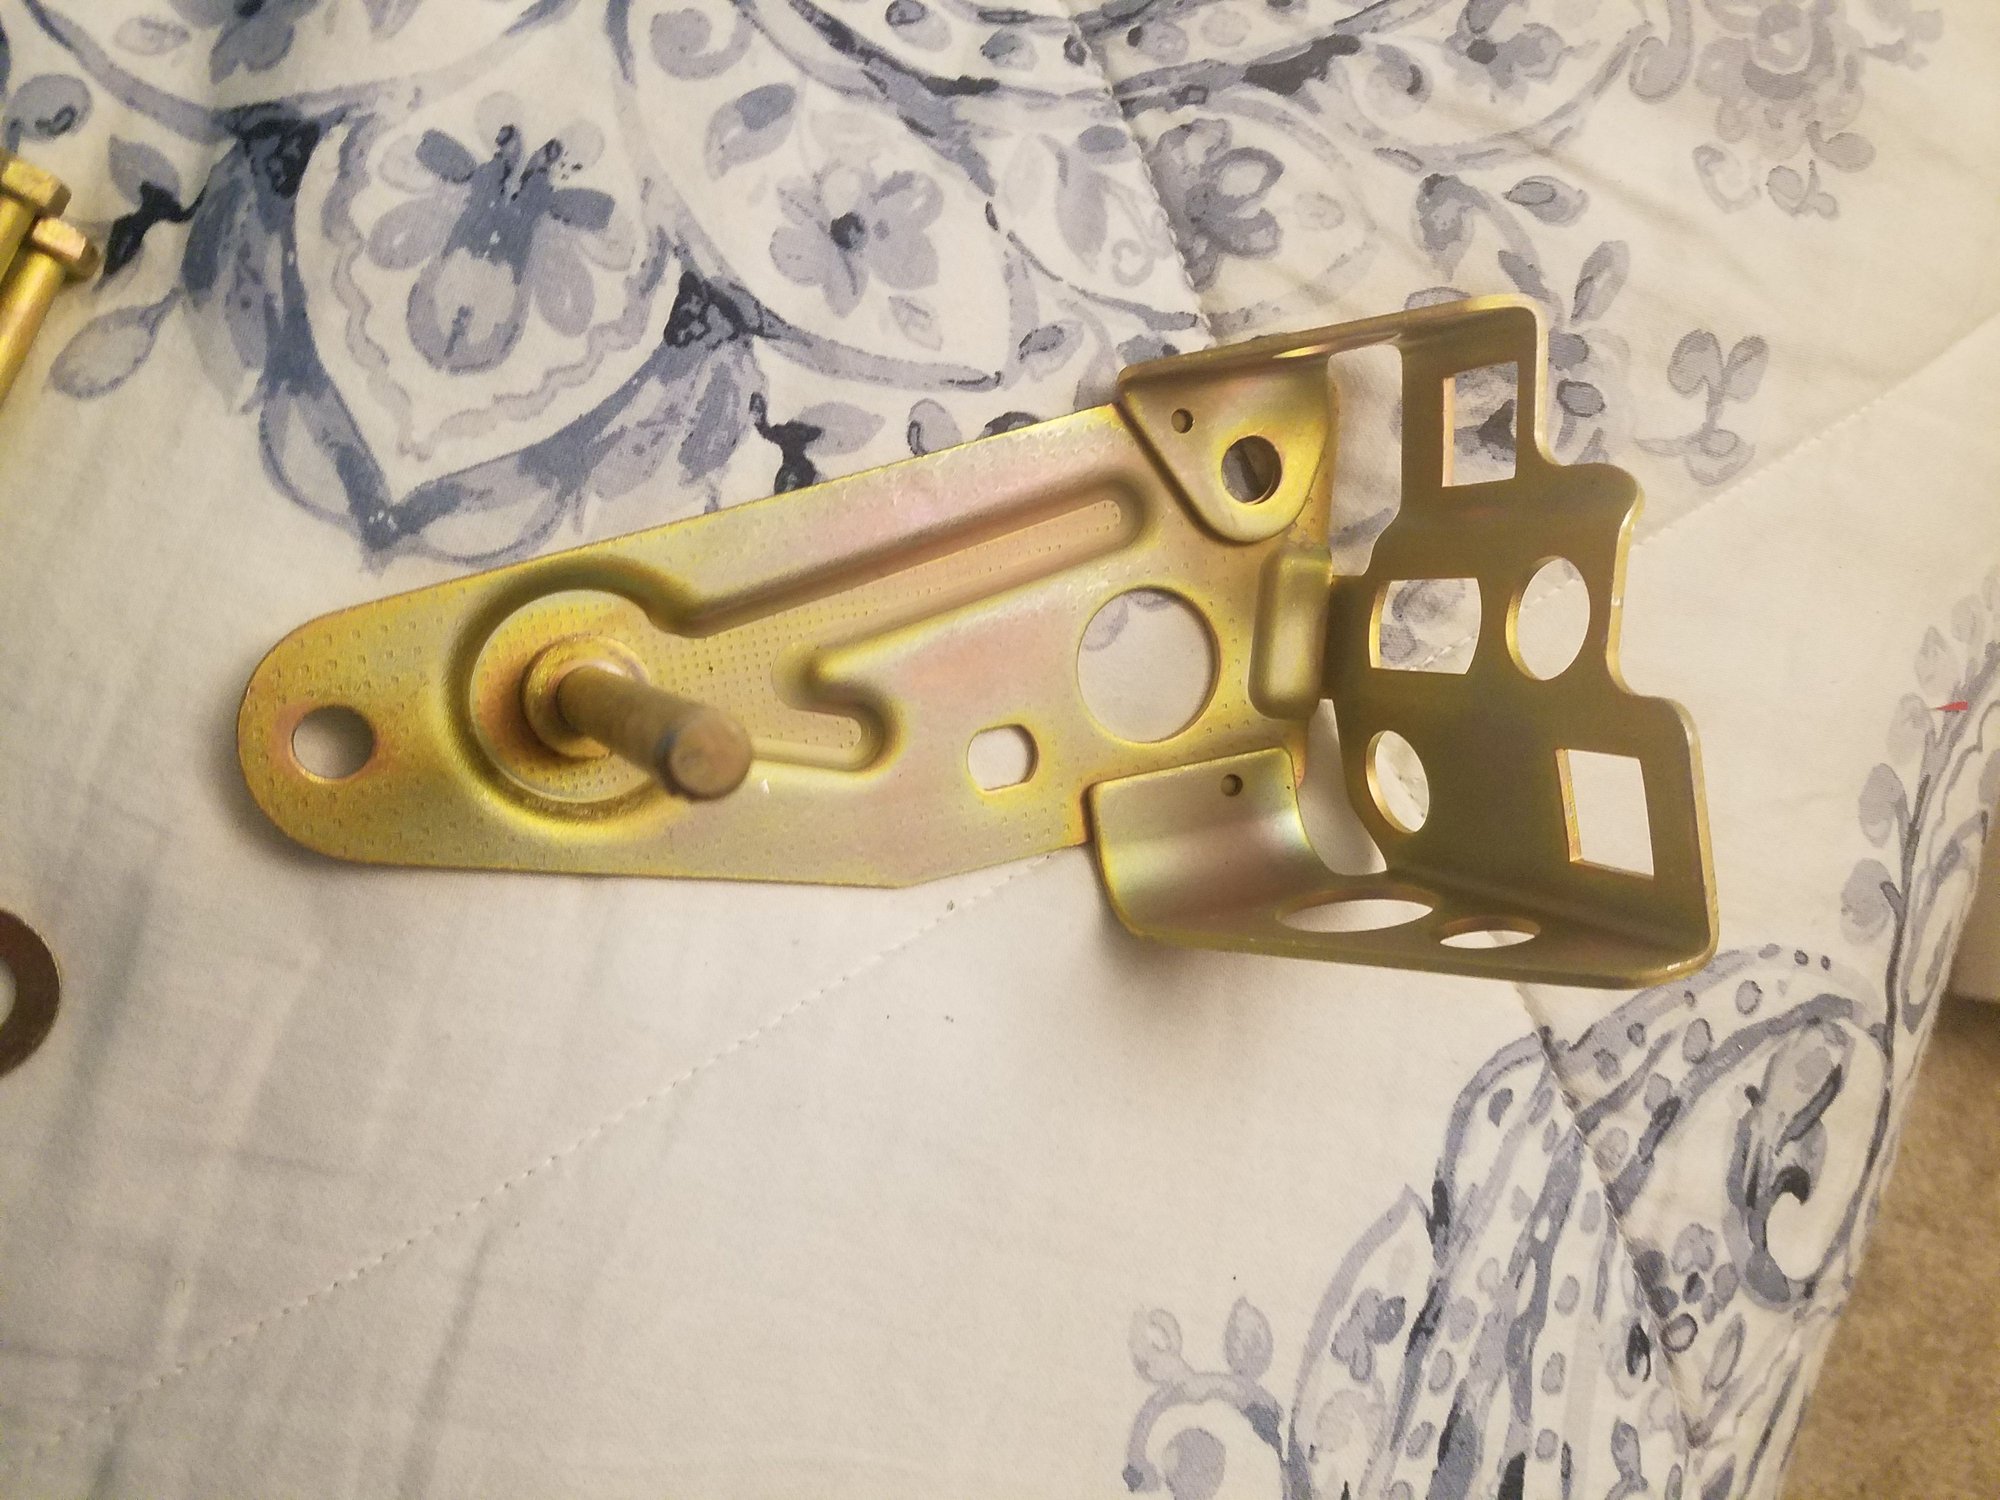
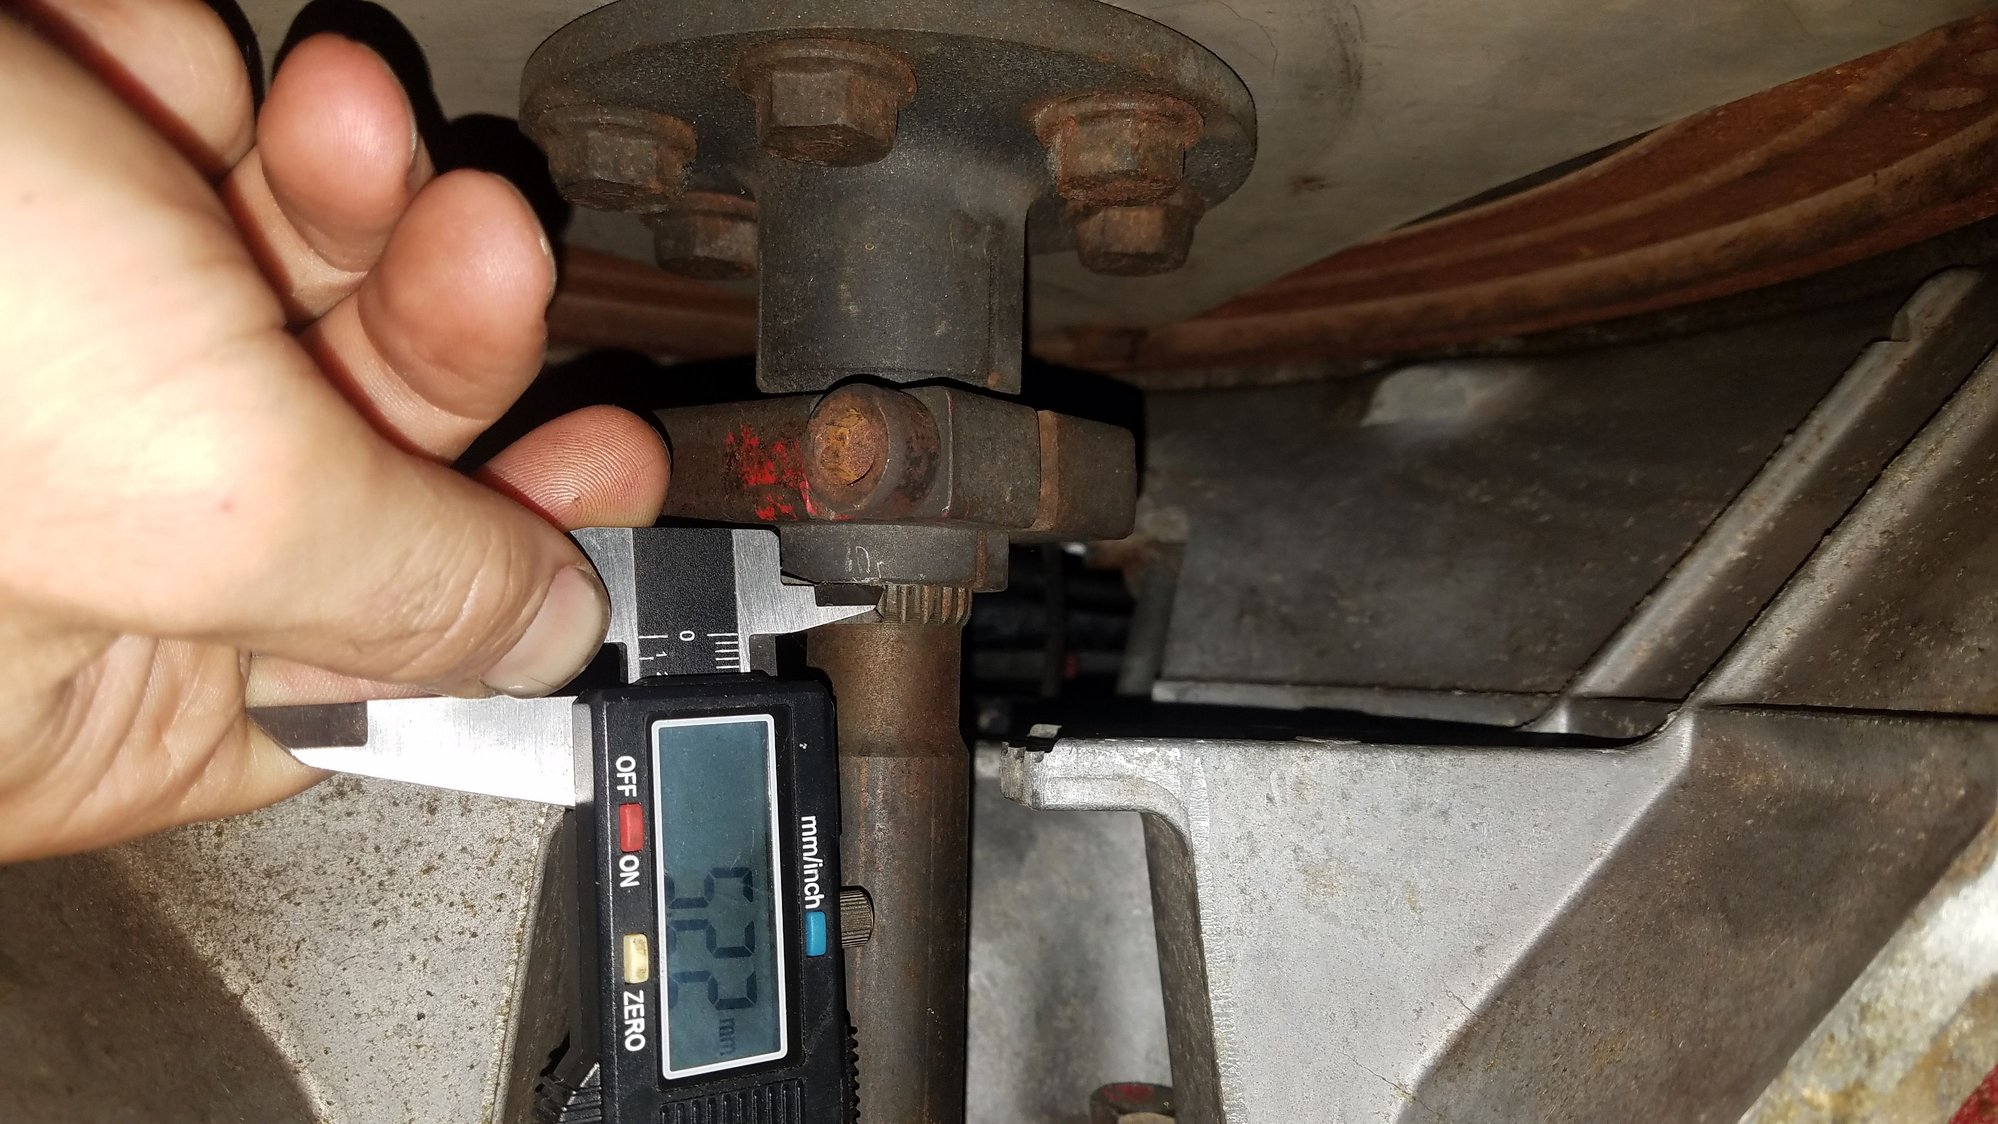
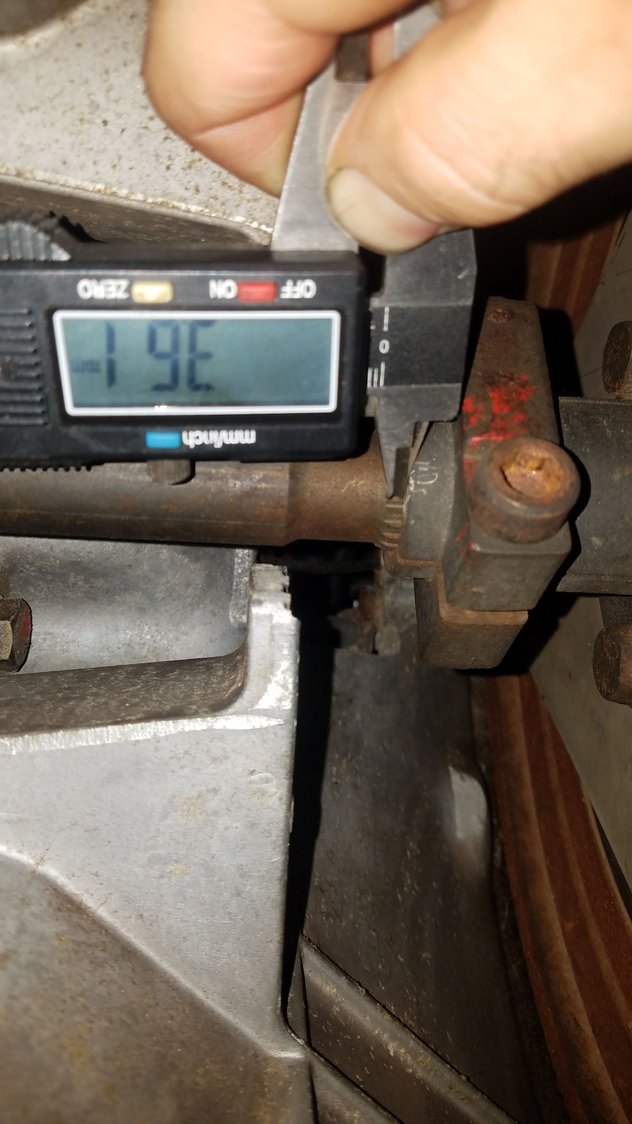
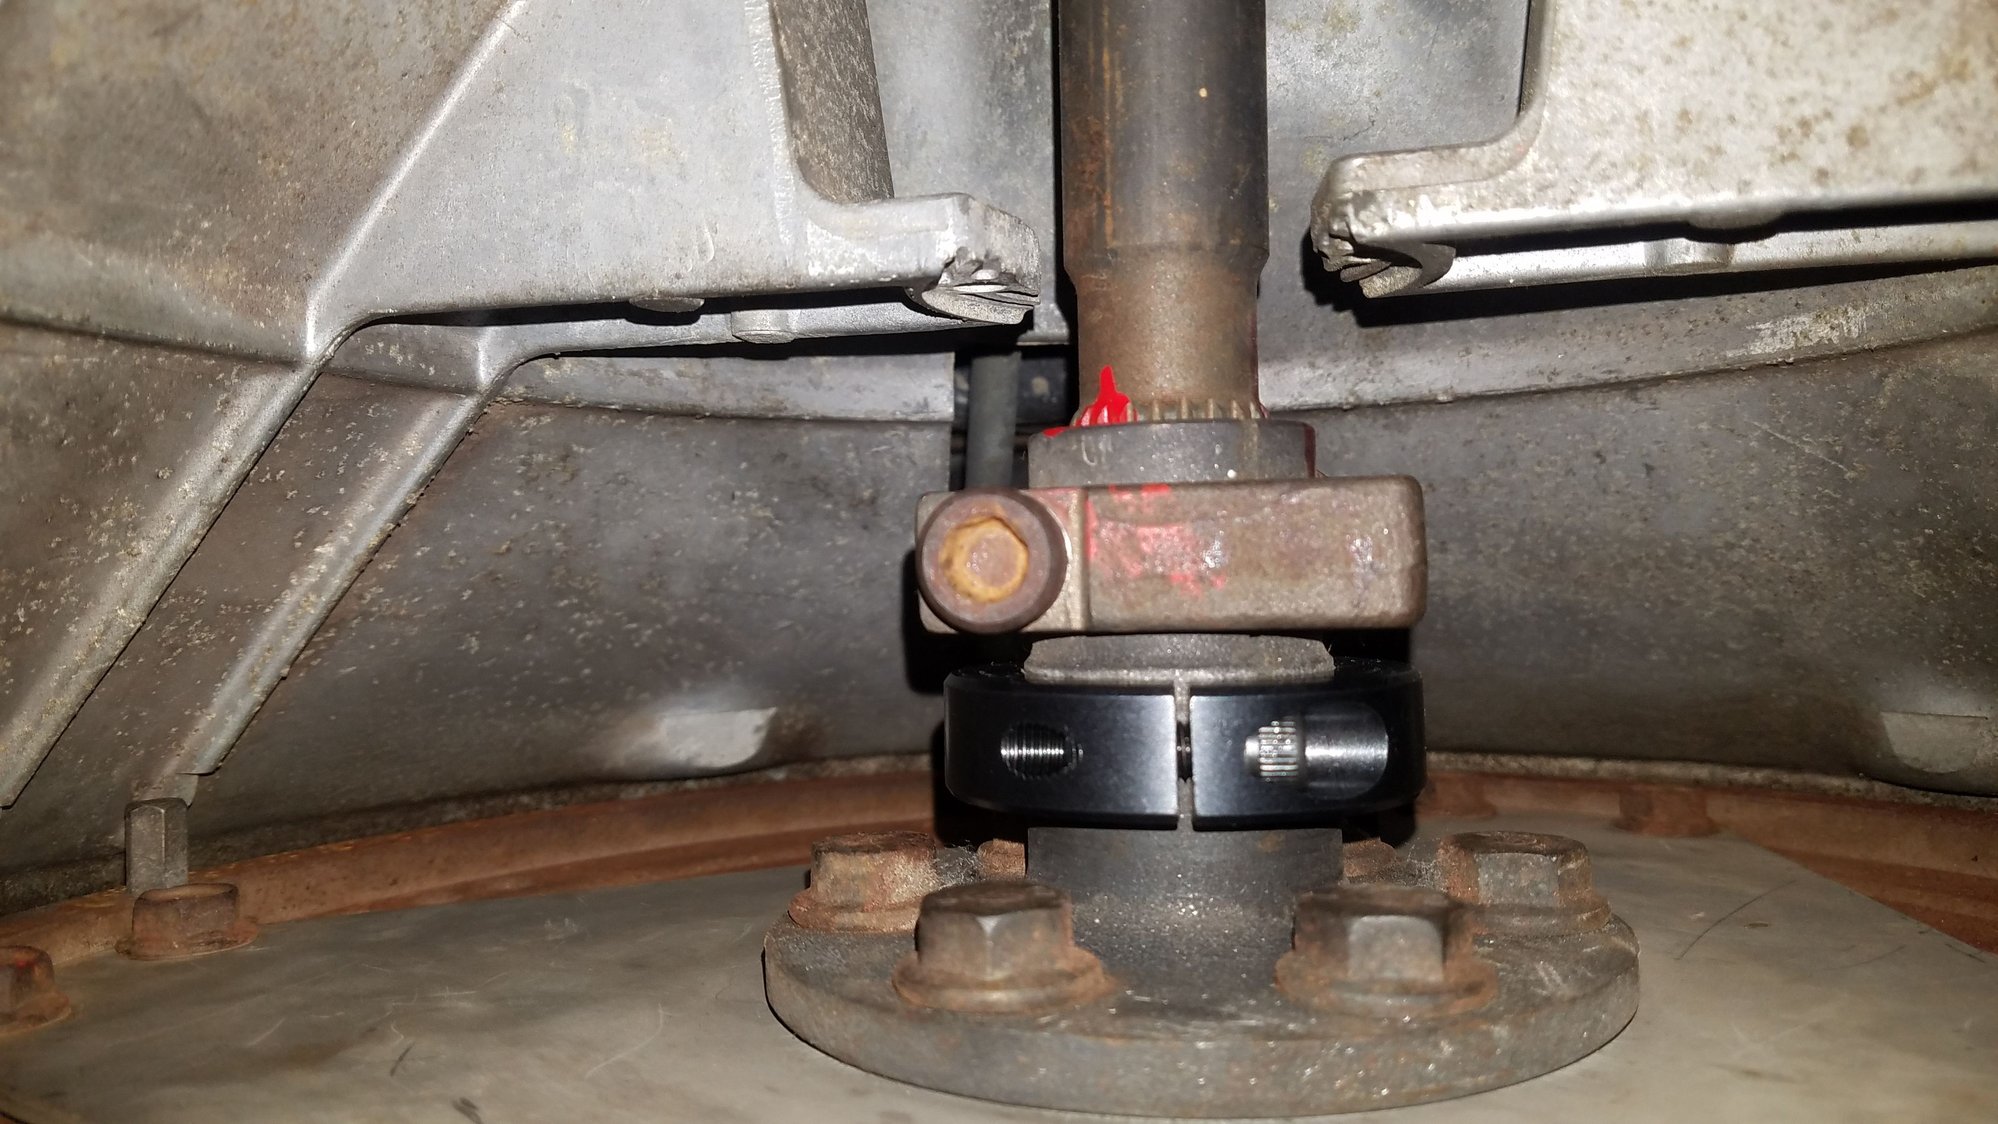
First time checking the front driveshaft clamp. Moved a little over a millimeter. Not sure if I took pictures, we'll find out, but I installed a collar clamp to help eliminate the movement. Last time I checked clamp had not moved since install of the additional clamp. I also measured crank endplay at this point but decided afterward I didnt like my method, so I'll spare those pictures. It has since been checked, that will be posted later, but no problems there. Front lower a arm bracket/shipping tie down hooks cleaned and repainted.
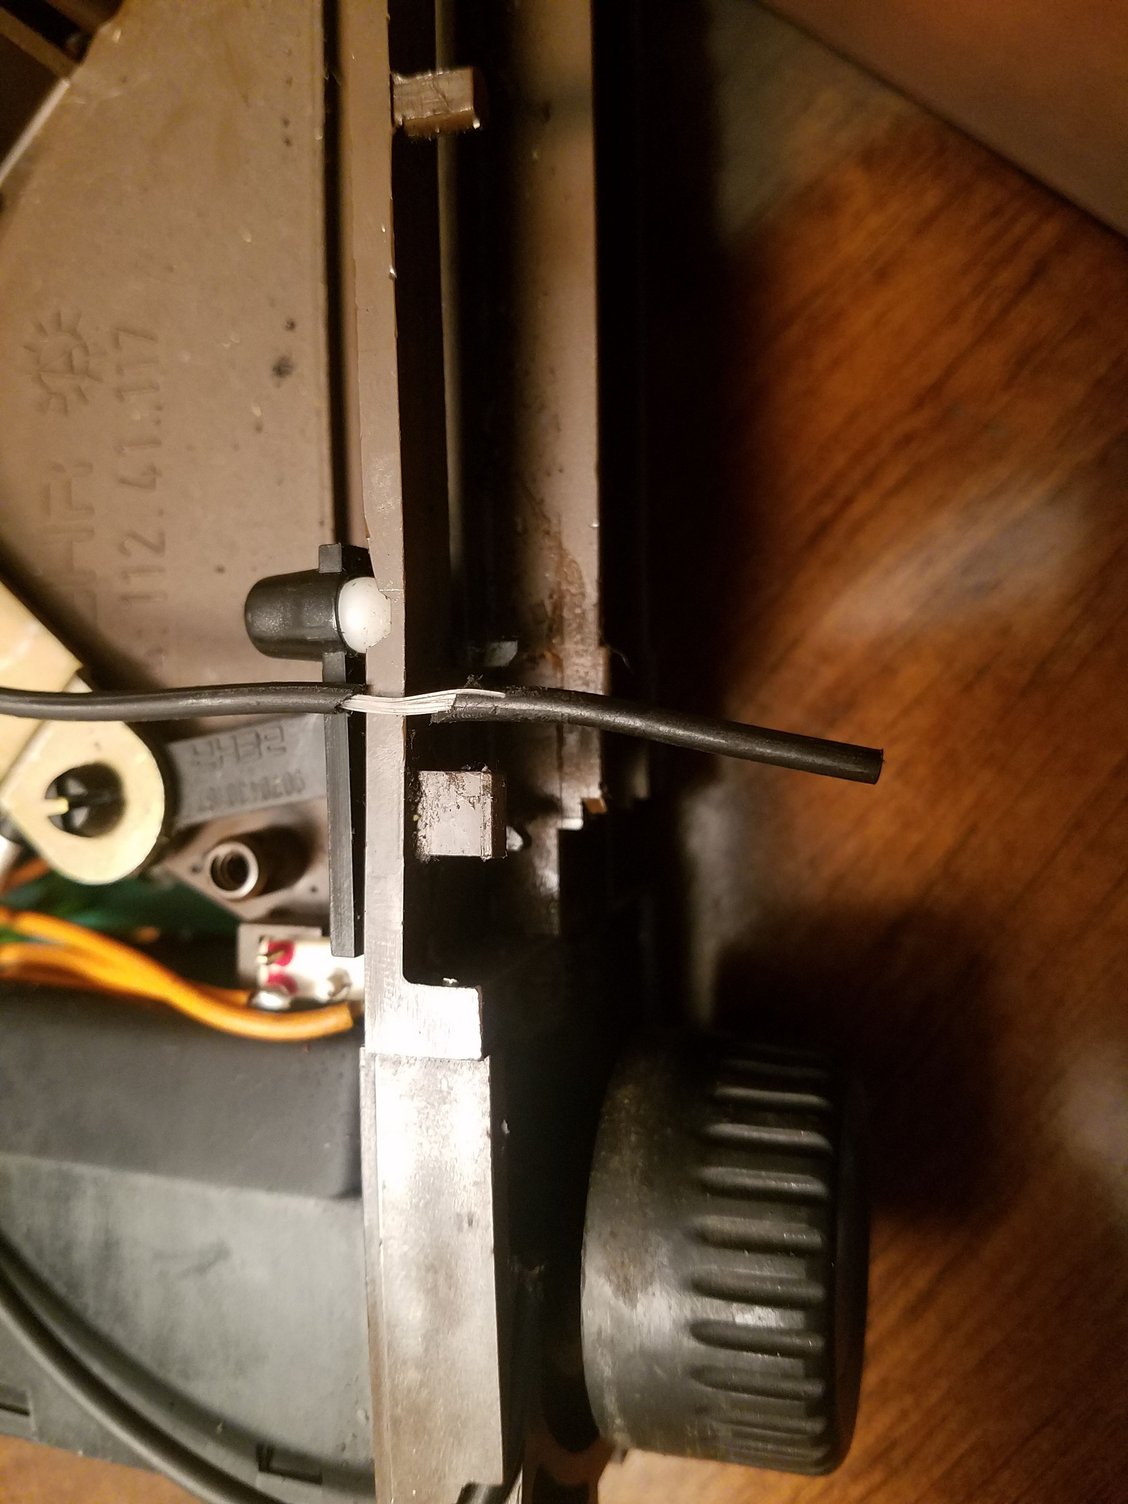
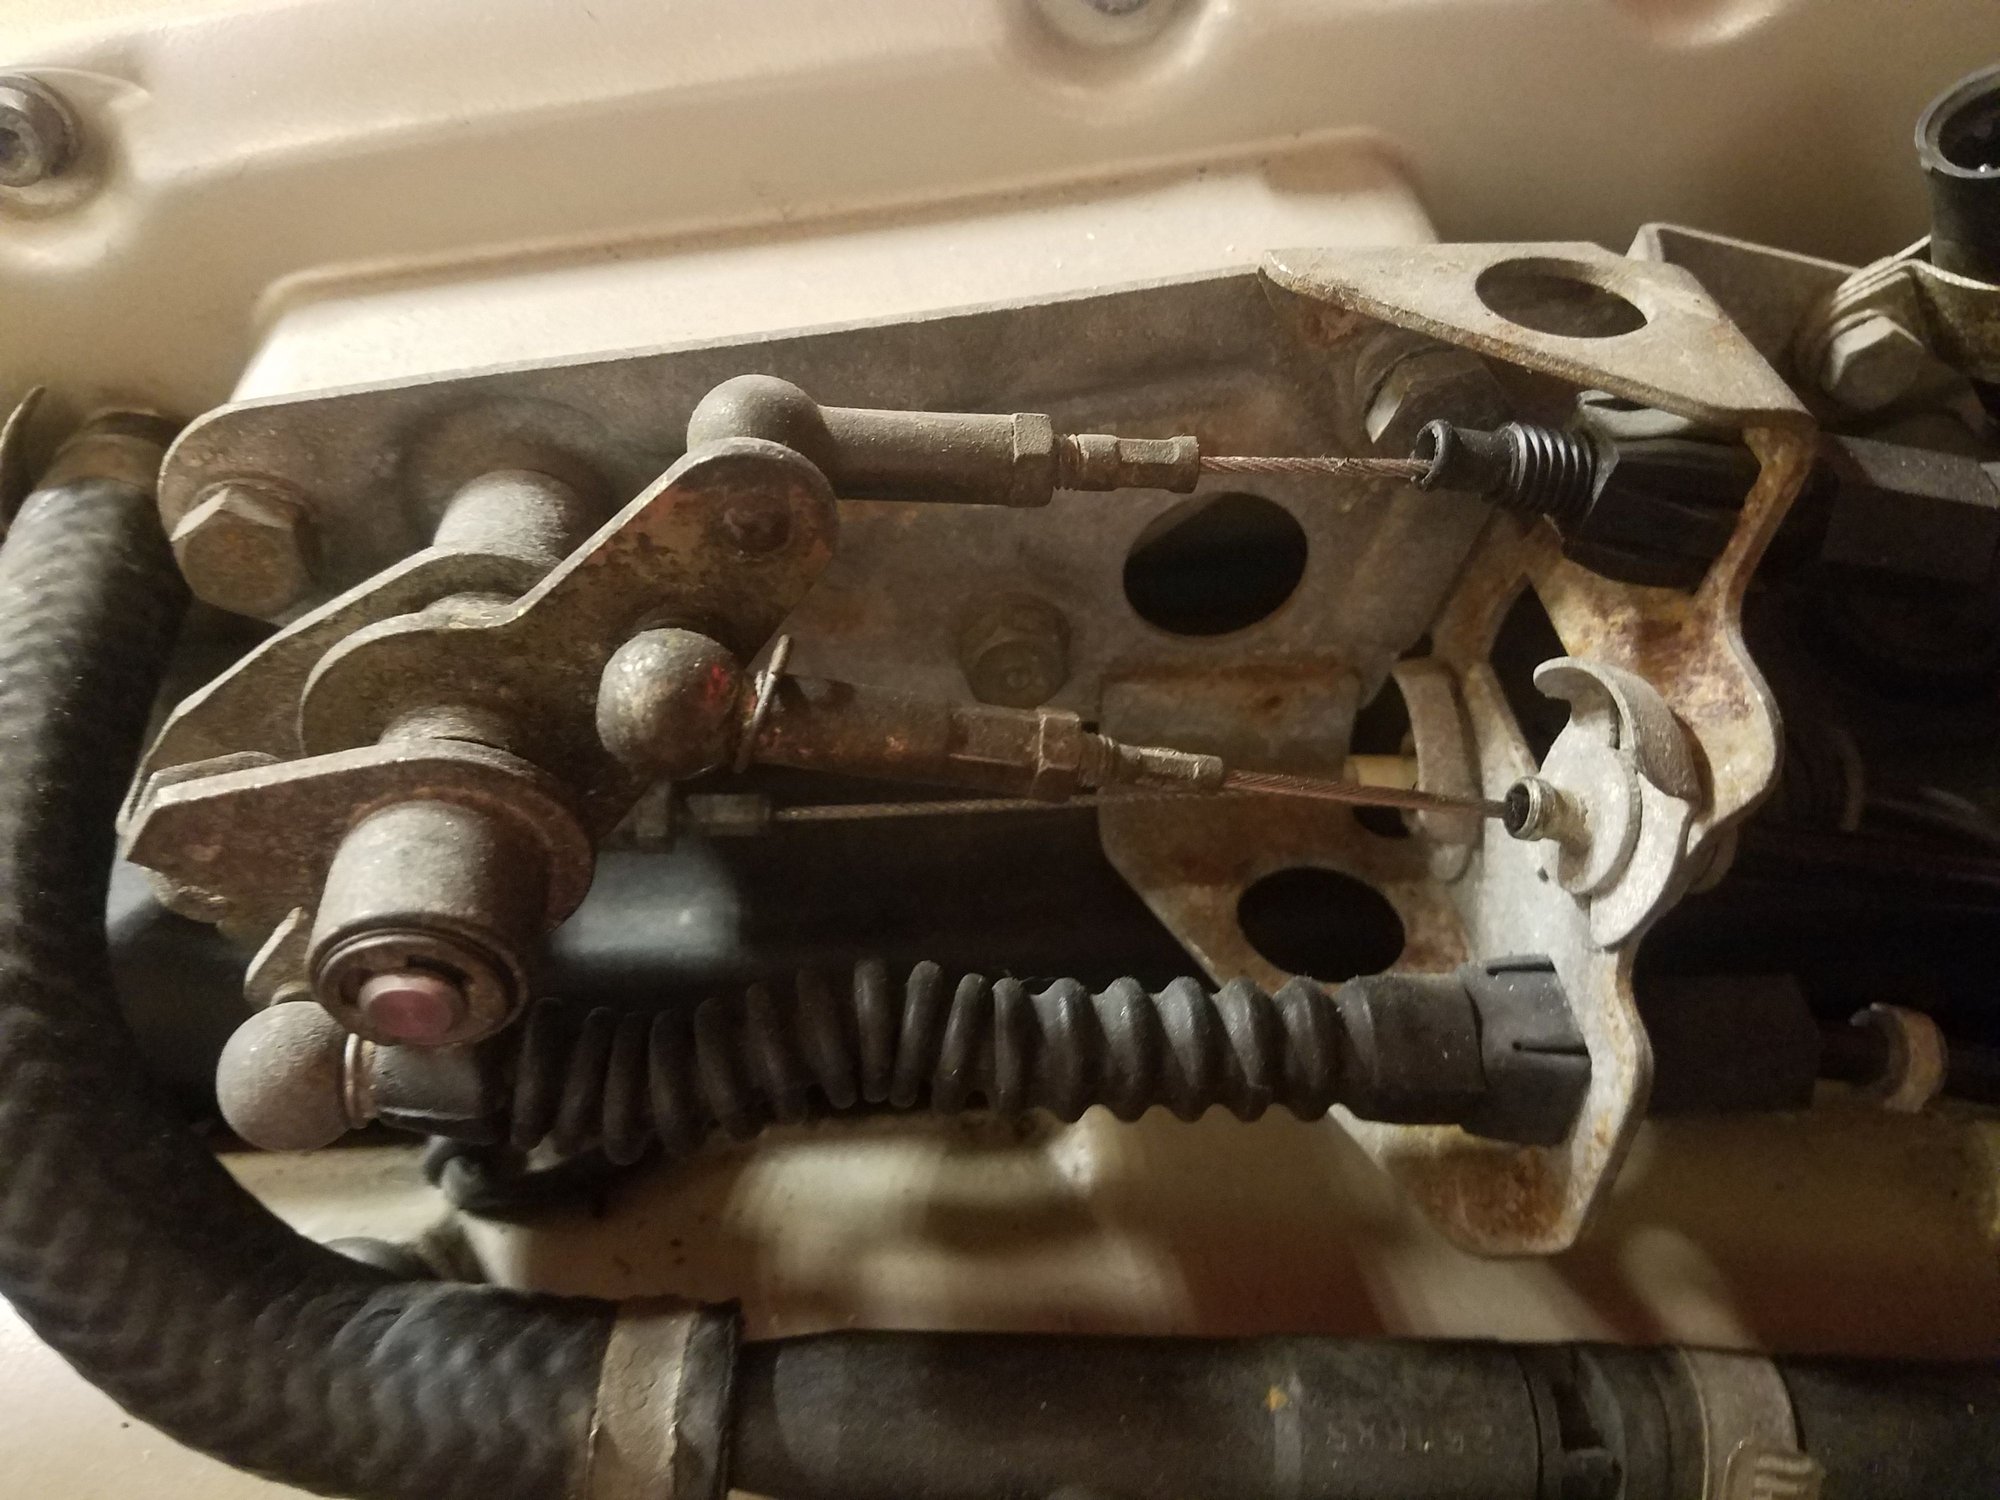
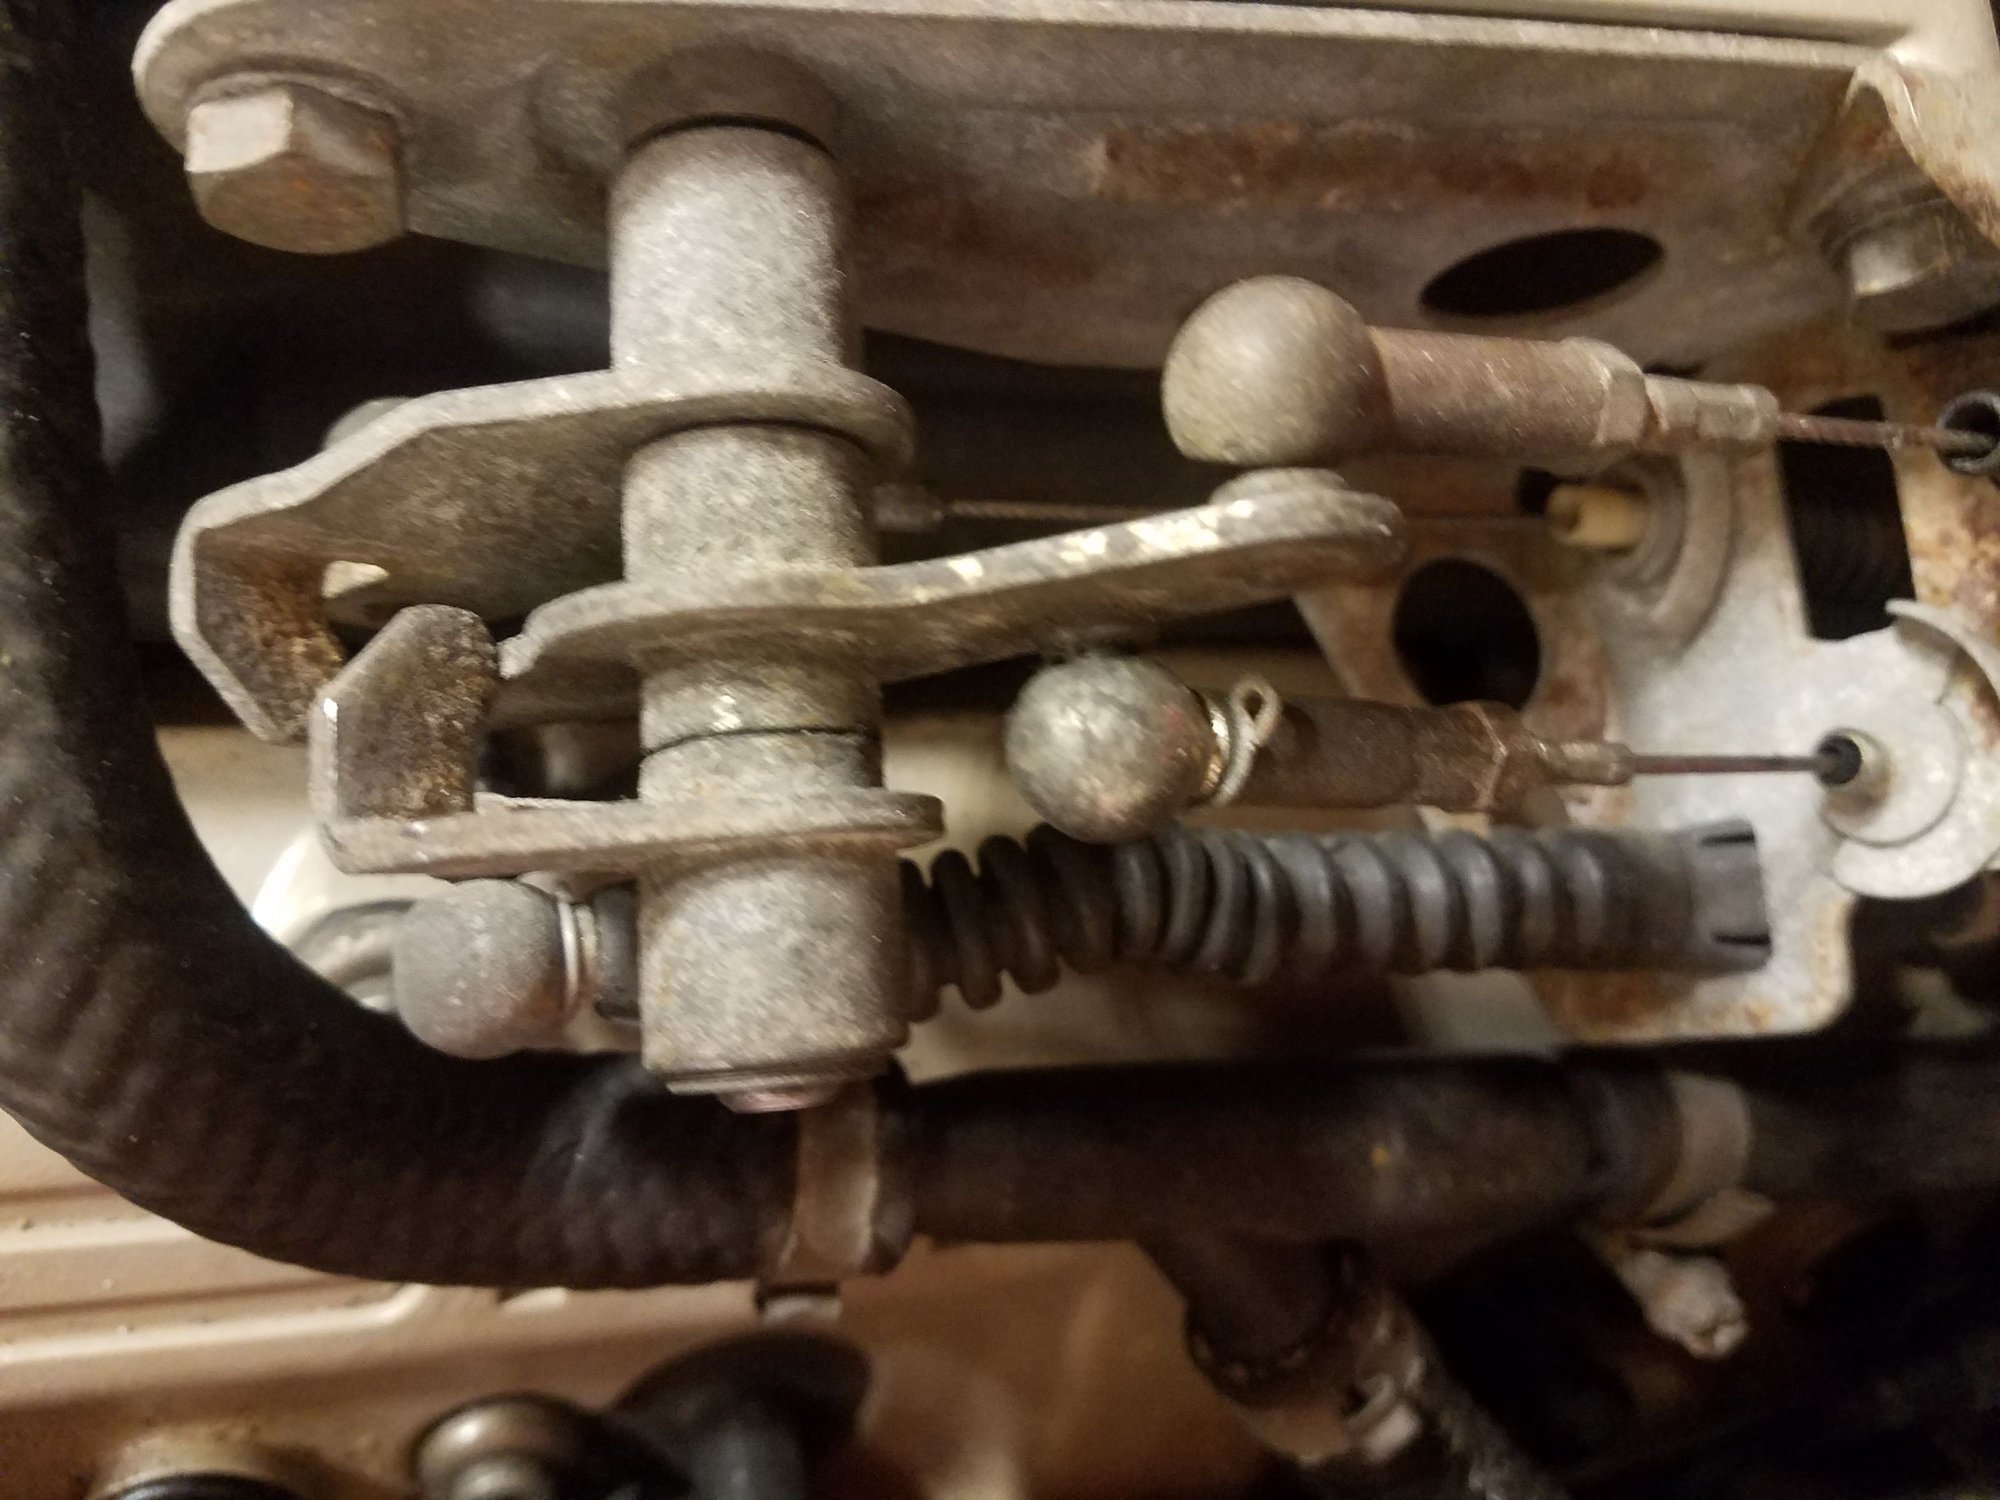
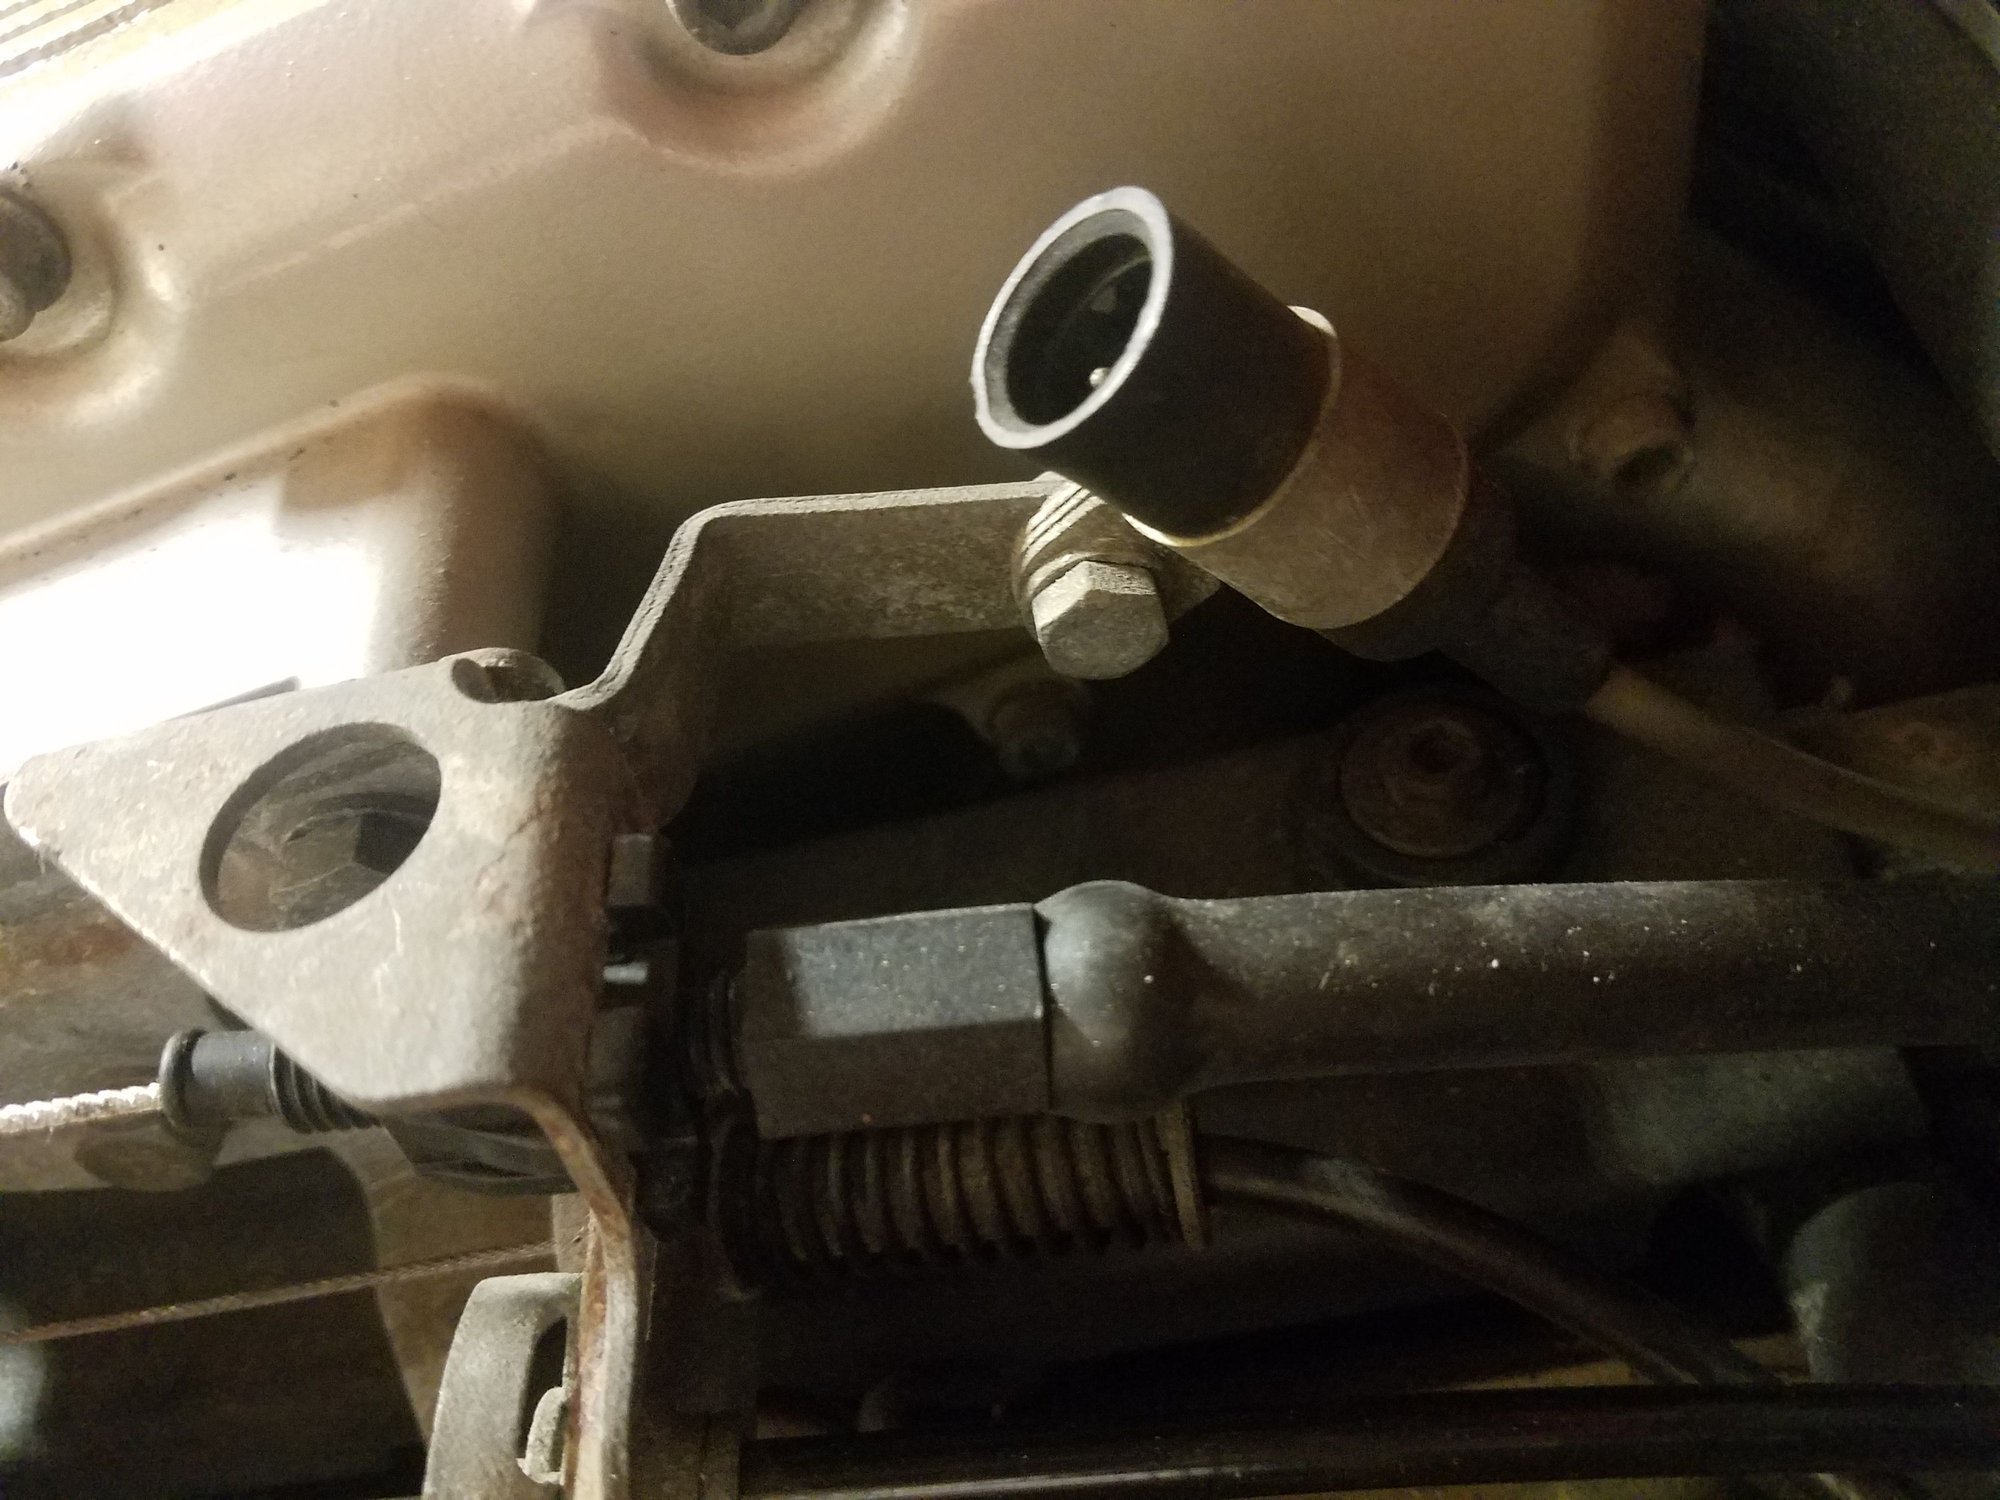
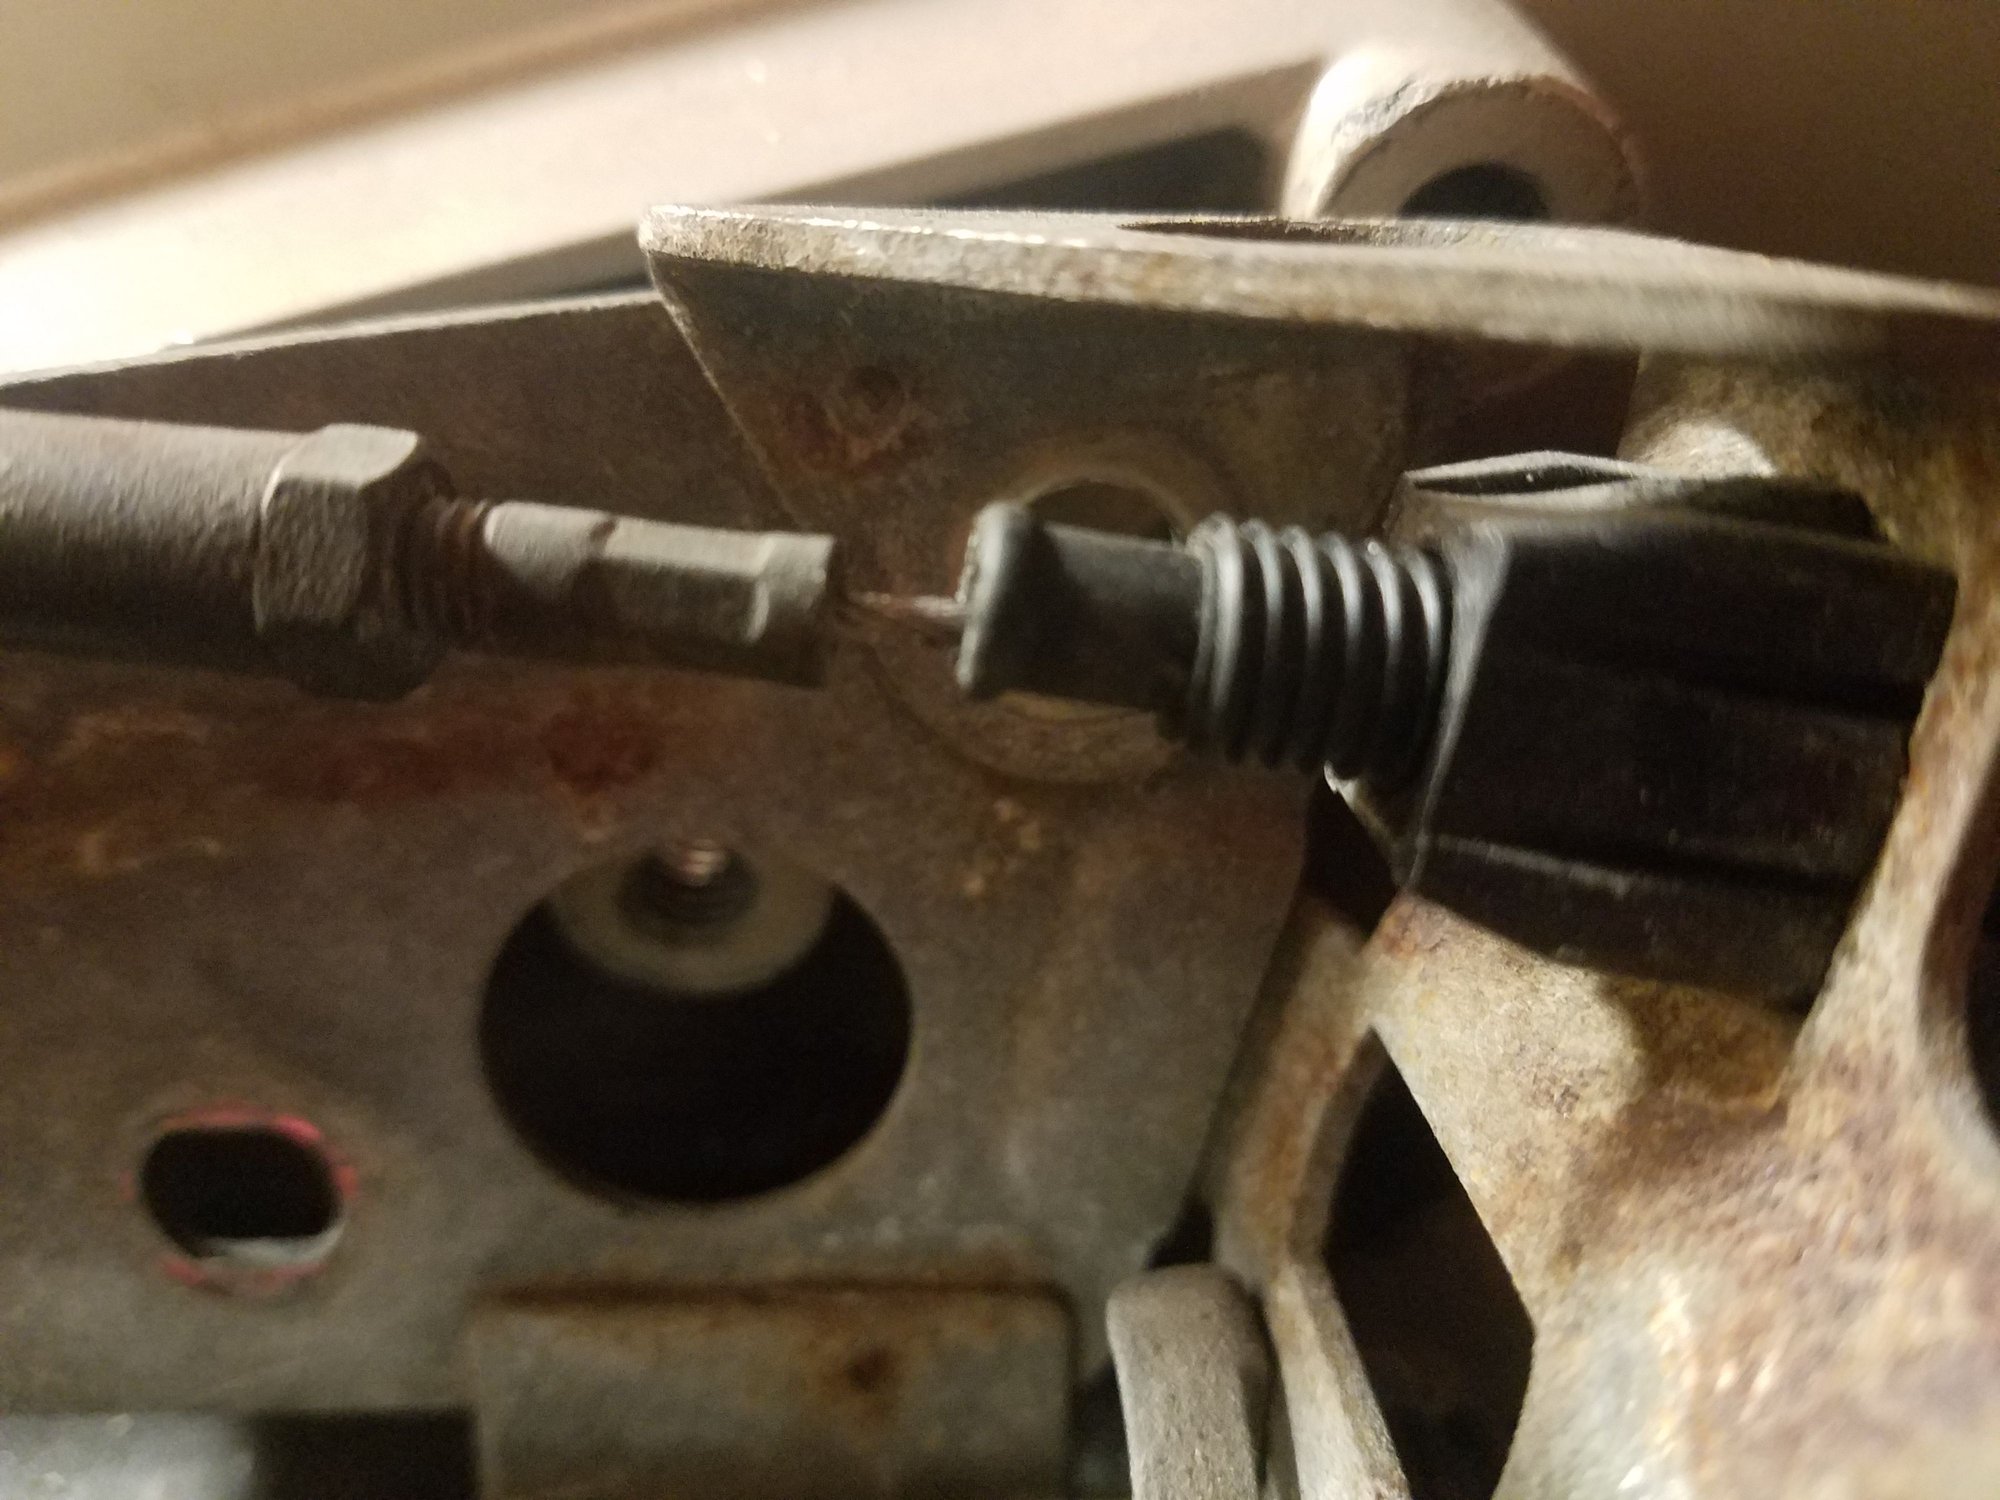
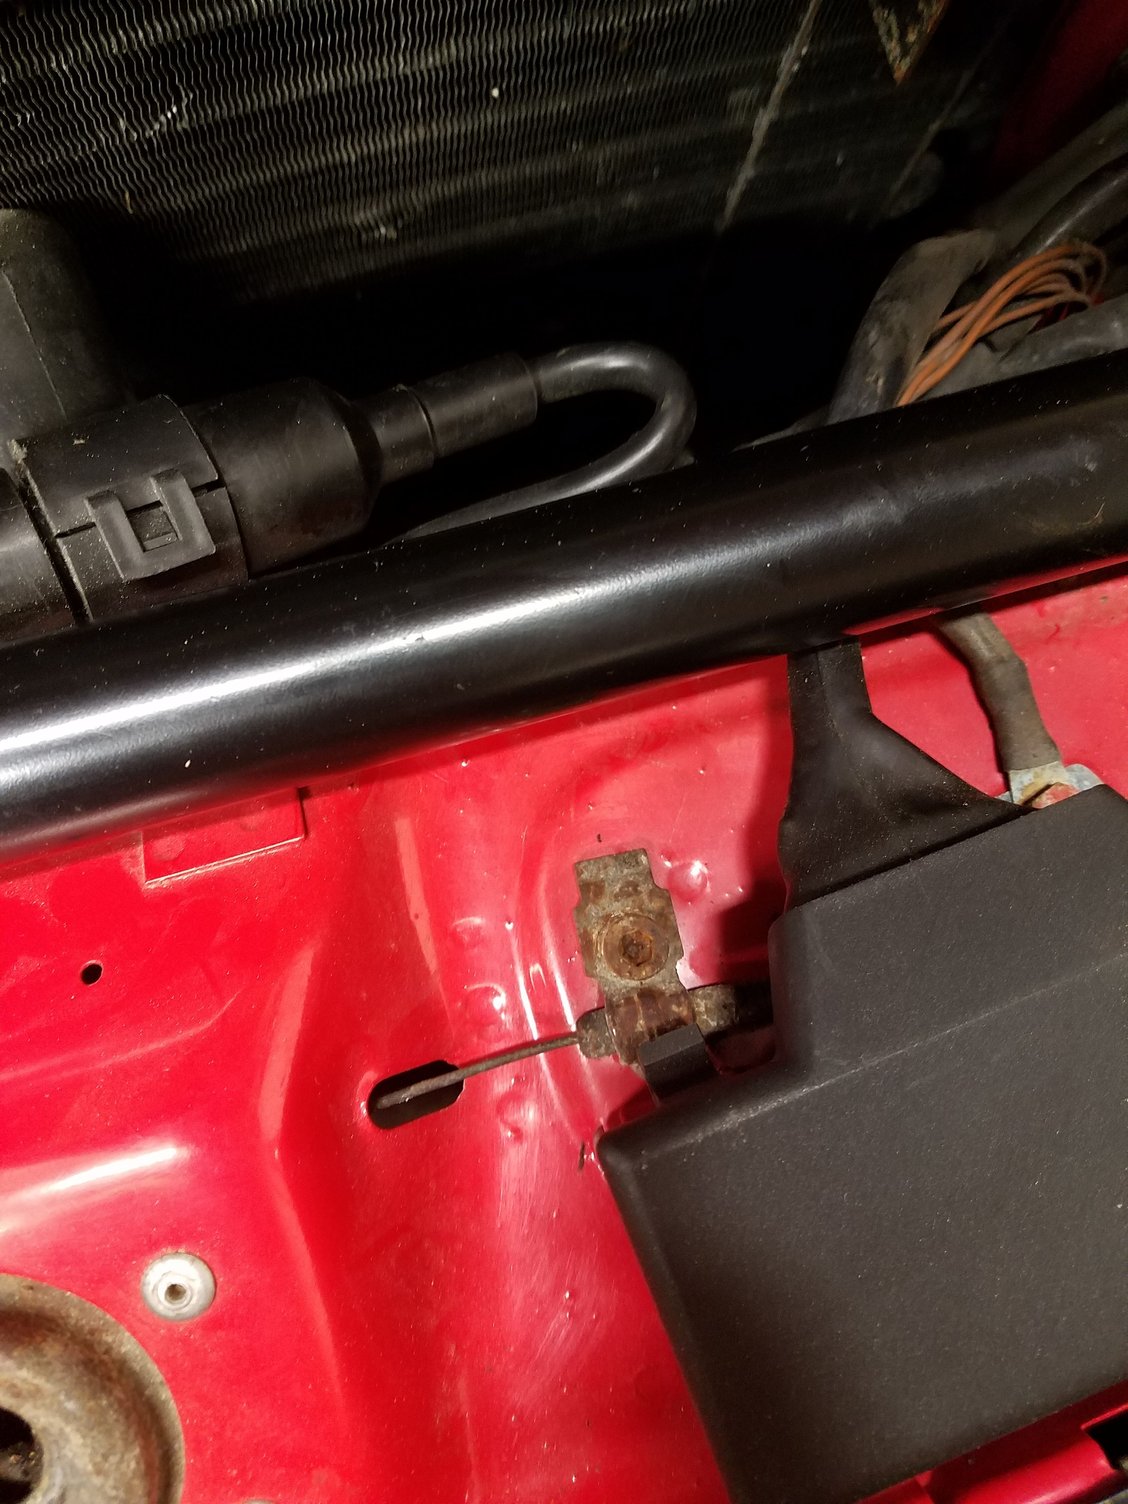
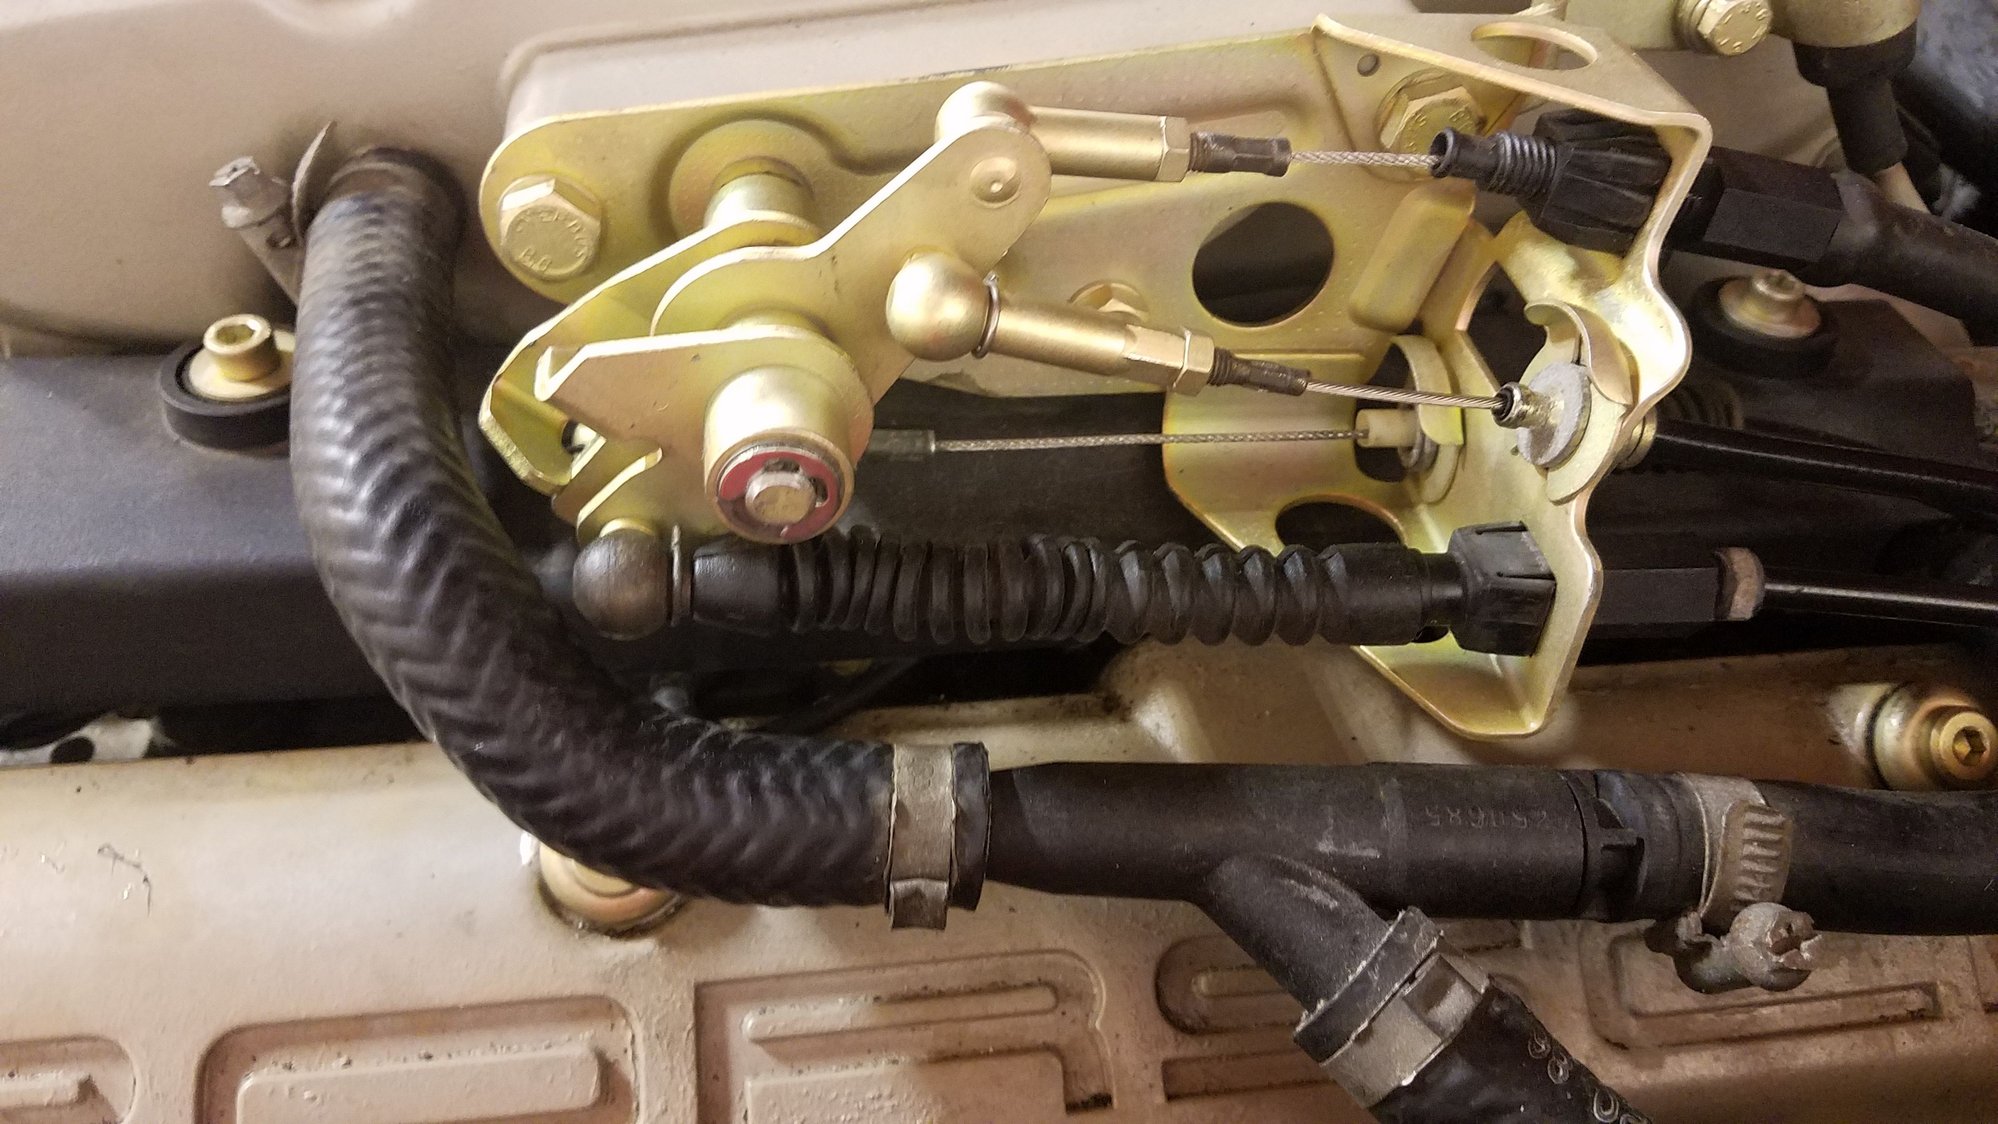
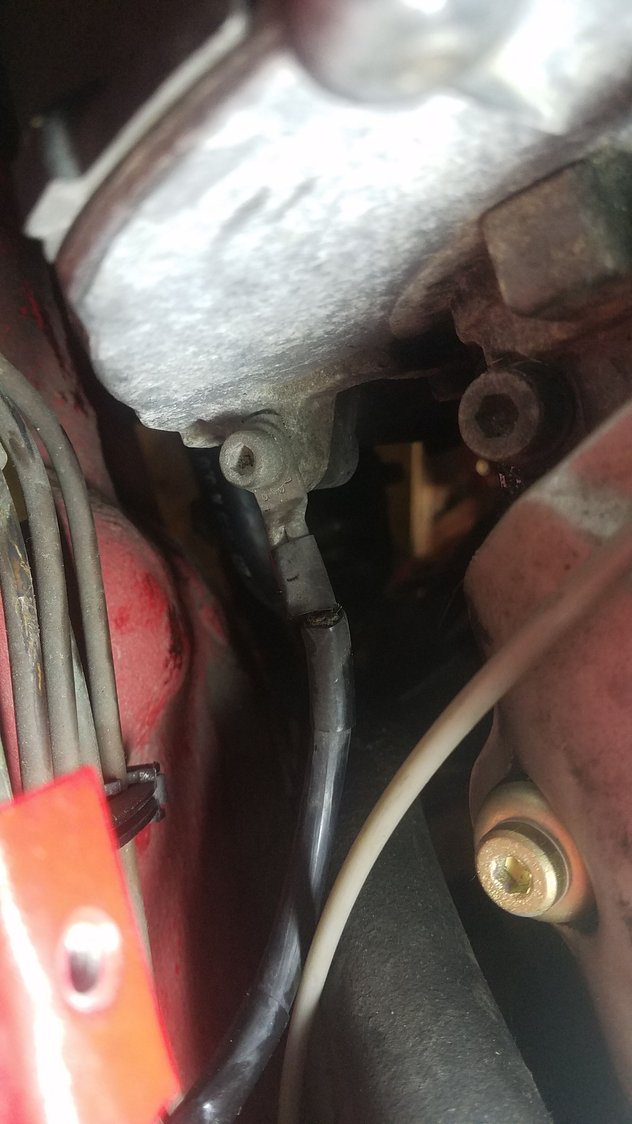
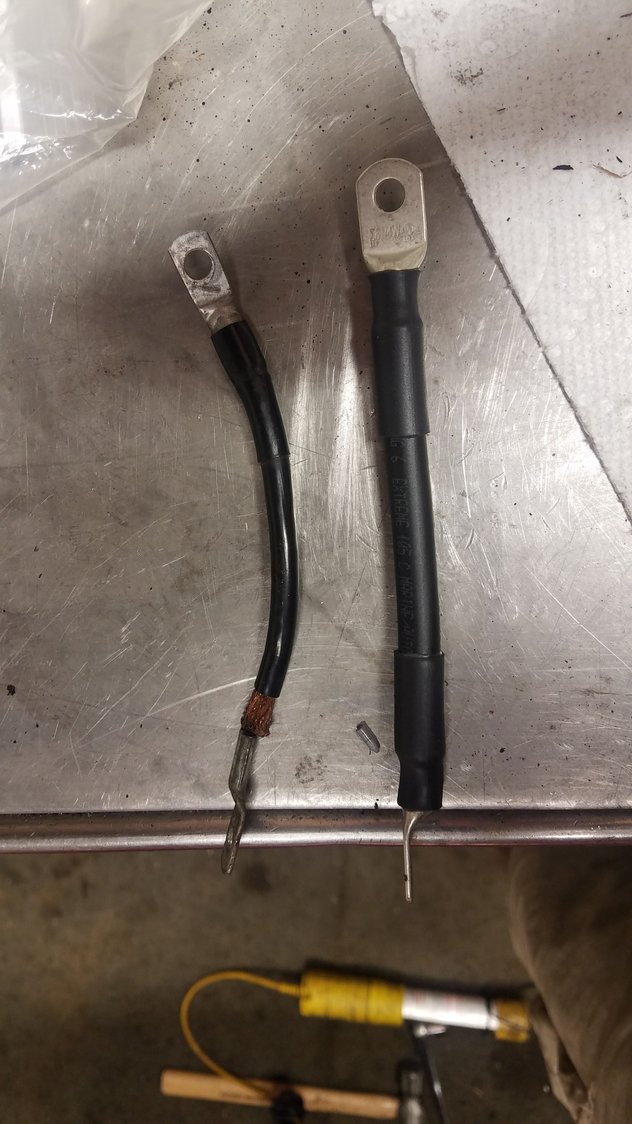
Throttle linkage and cables installed. Paint mark applied do the drivesgft an clamp. Drivers side ground strap from head found breaking. Also a deadhead hardline for the secondary air was found cracked, removed,and exhaust capped where it went. PO removed air pump so hardline was superfluous. I did take a picture with the clamp installed! Crossmember and lcas in, rack up next Wire almost completely cracked! New cable made by battery cables usa 1 size larger. Hard line removed.
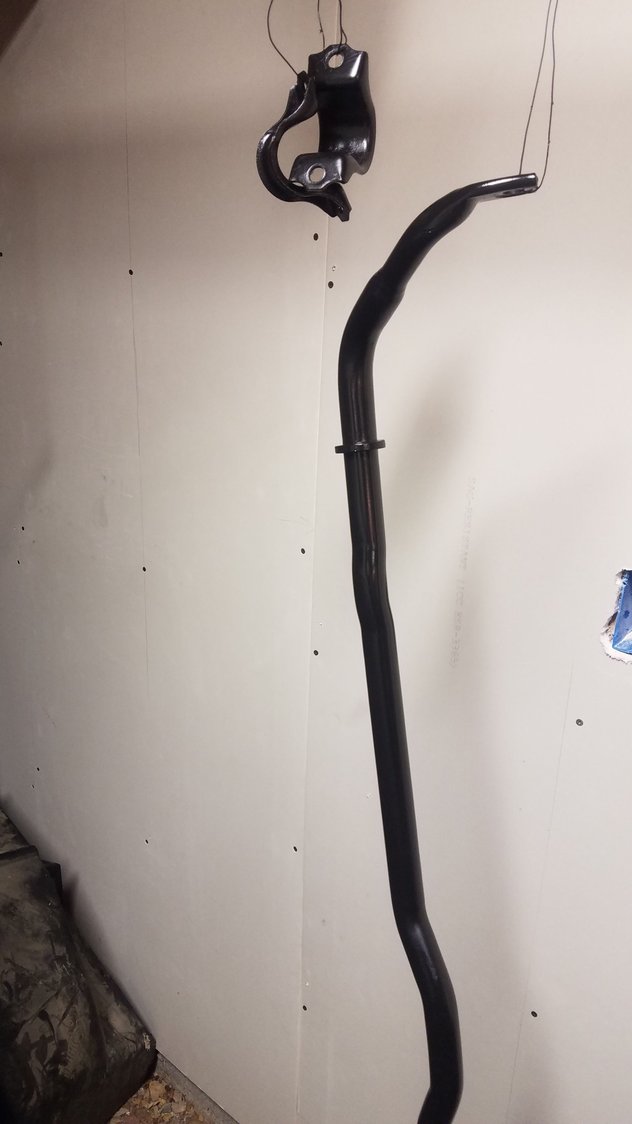
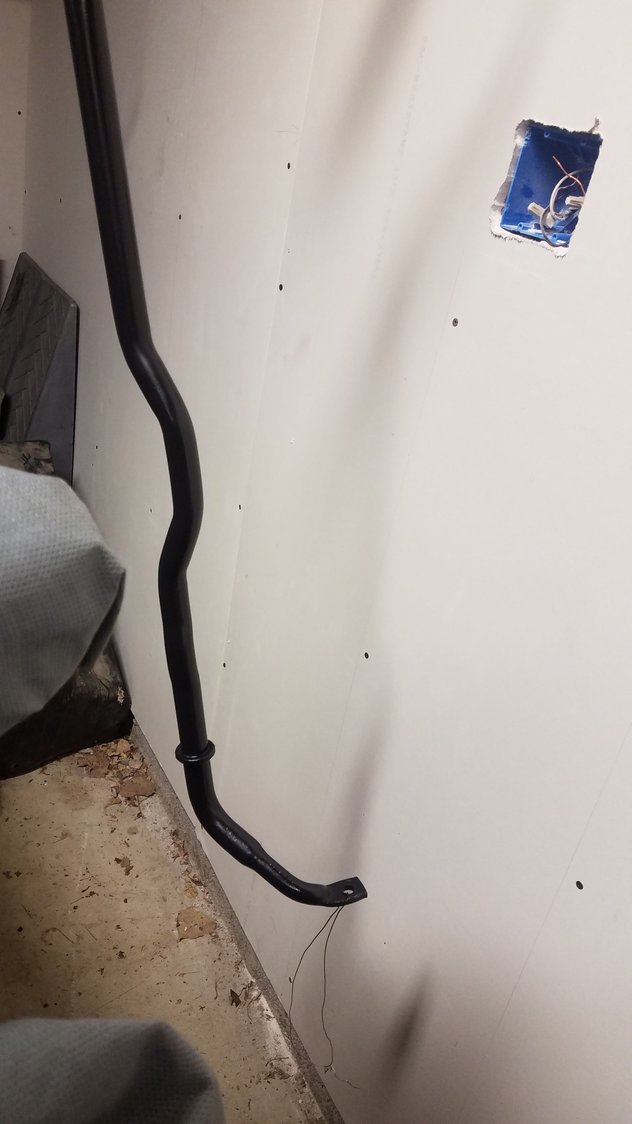
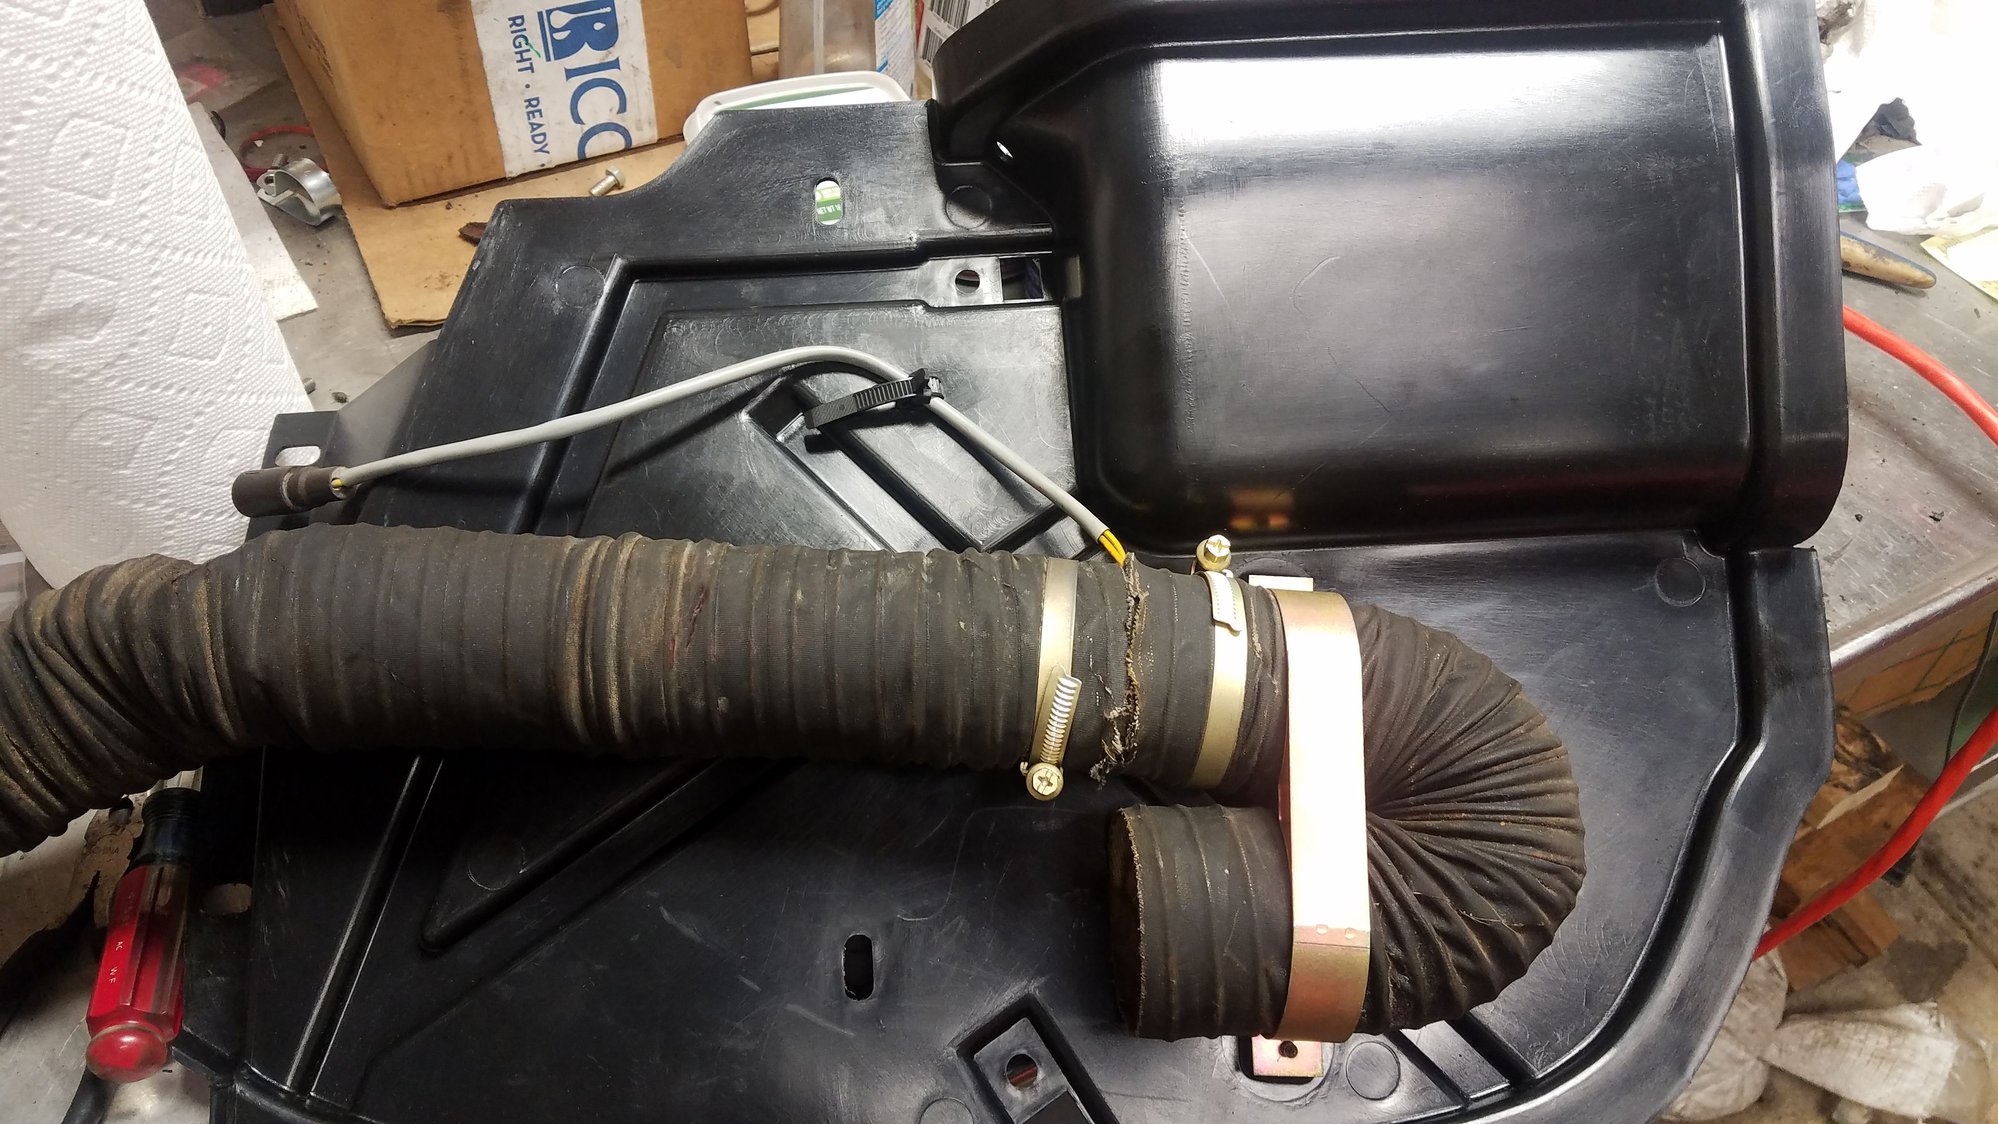
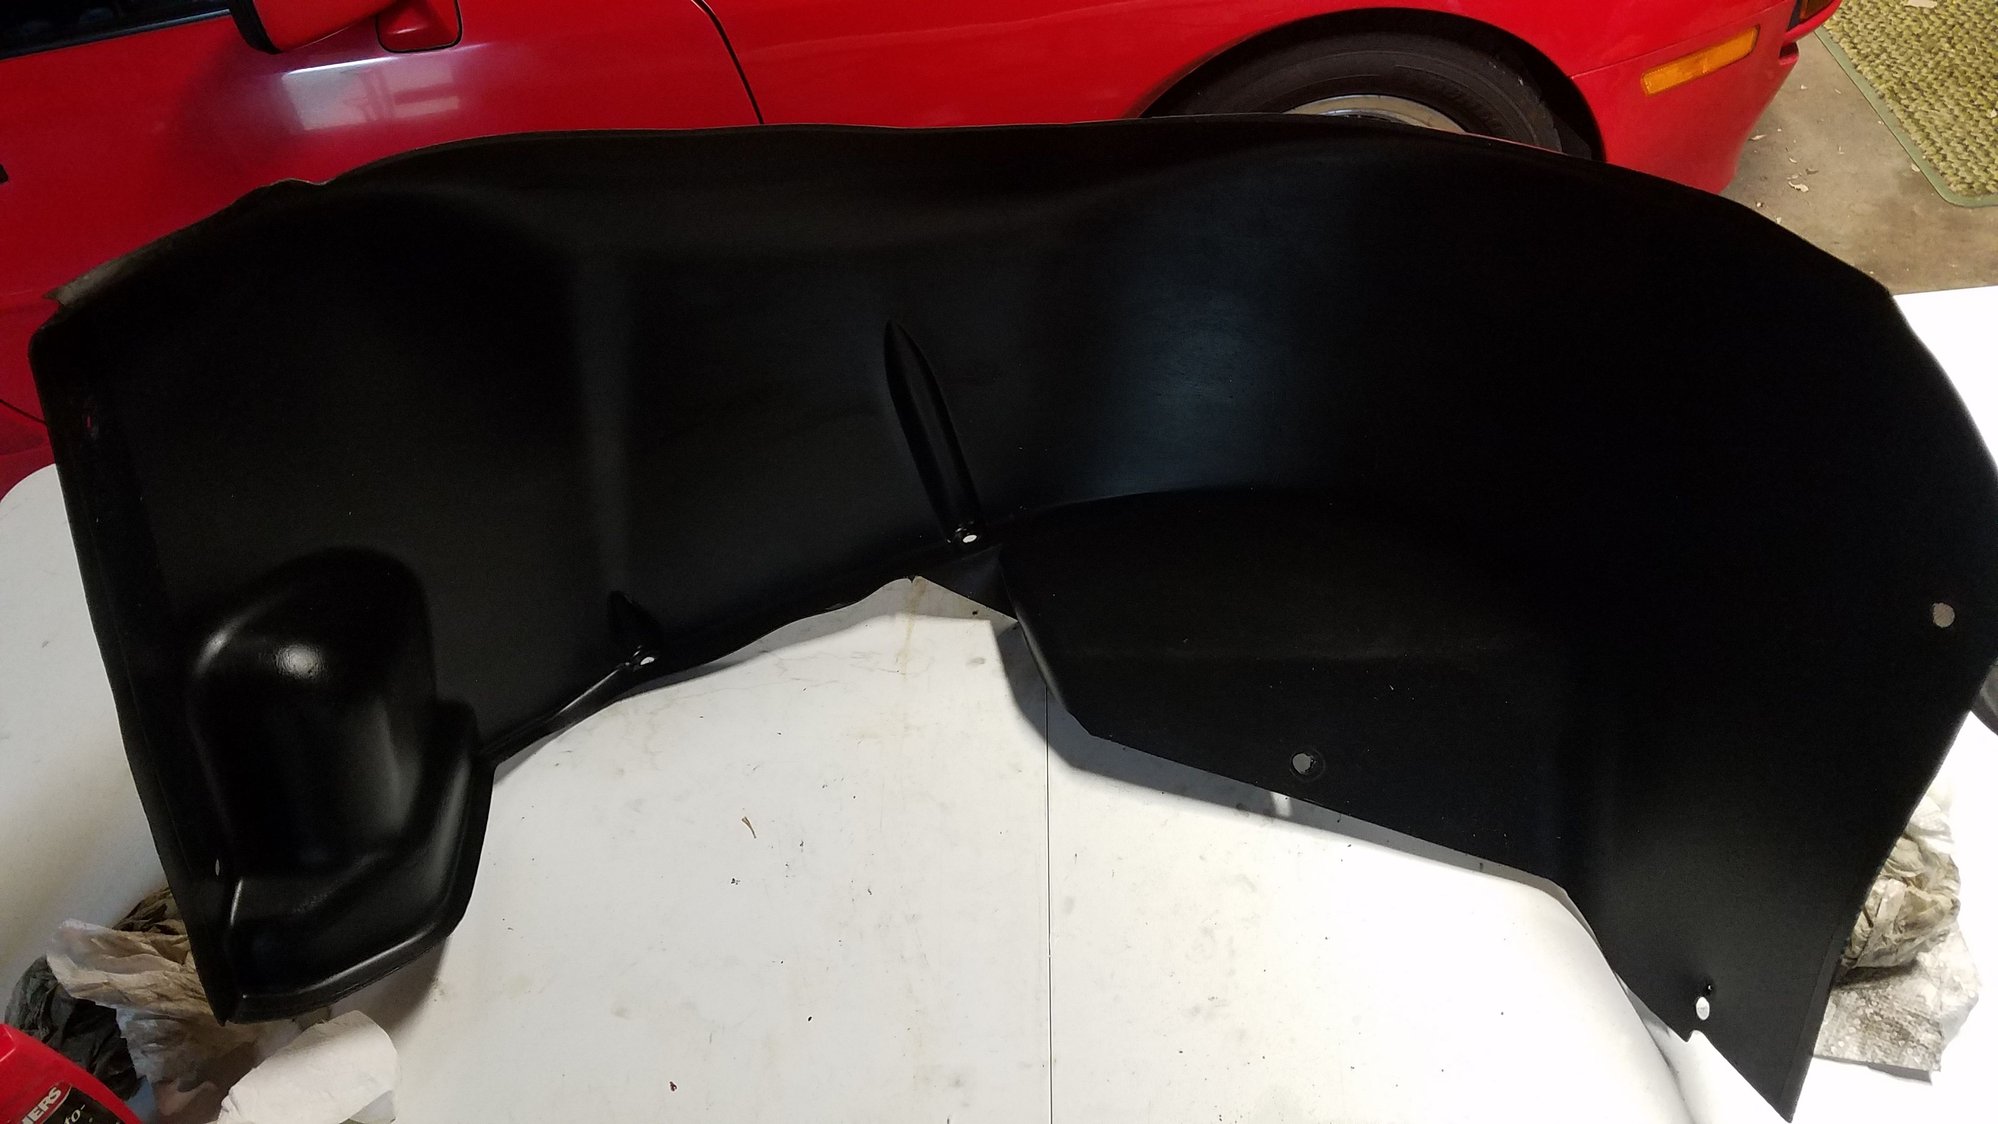
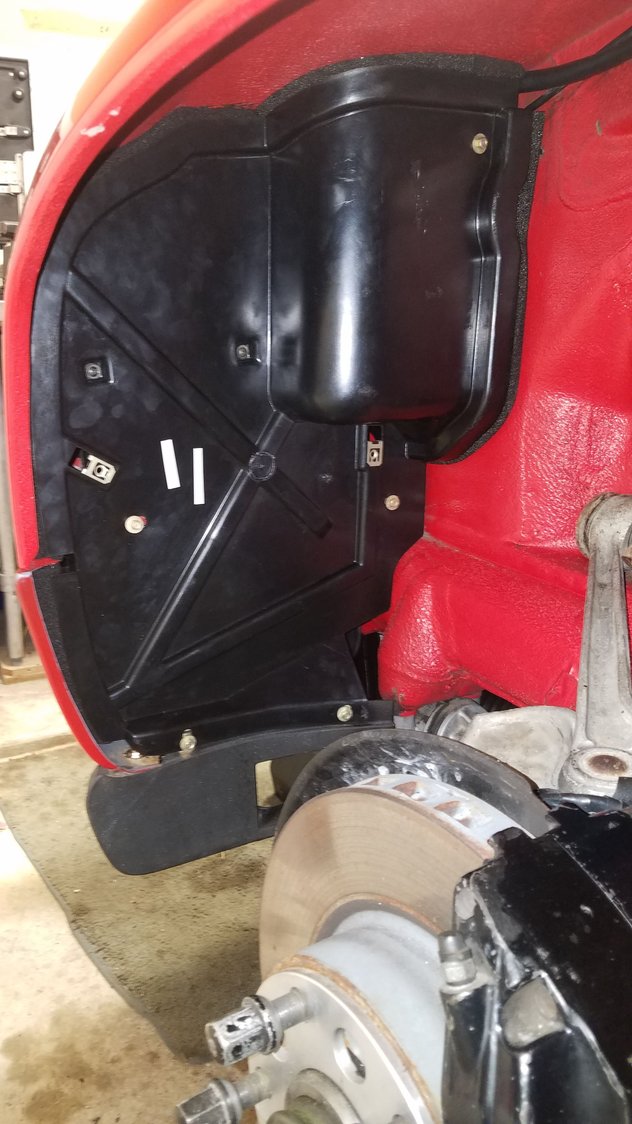
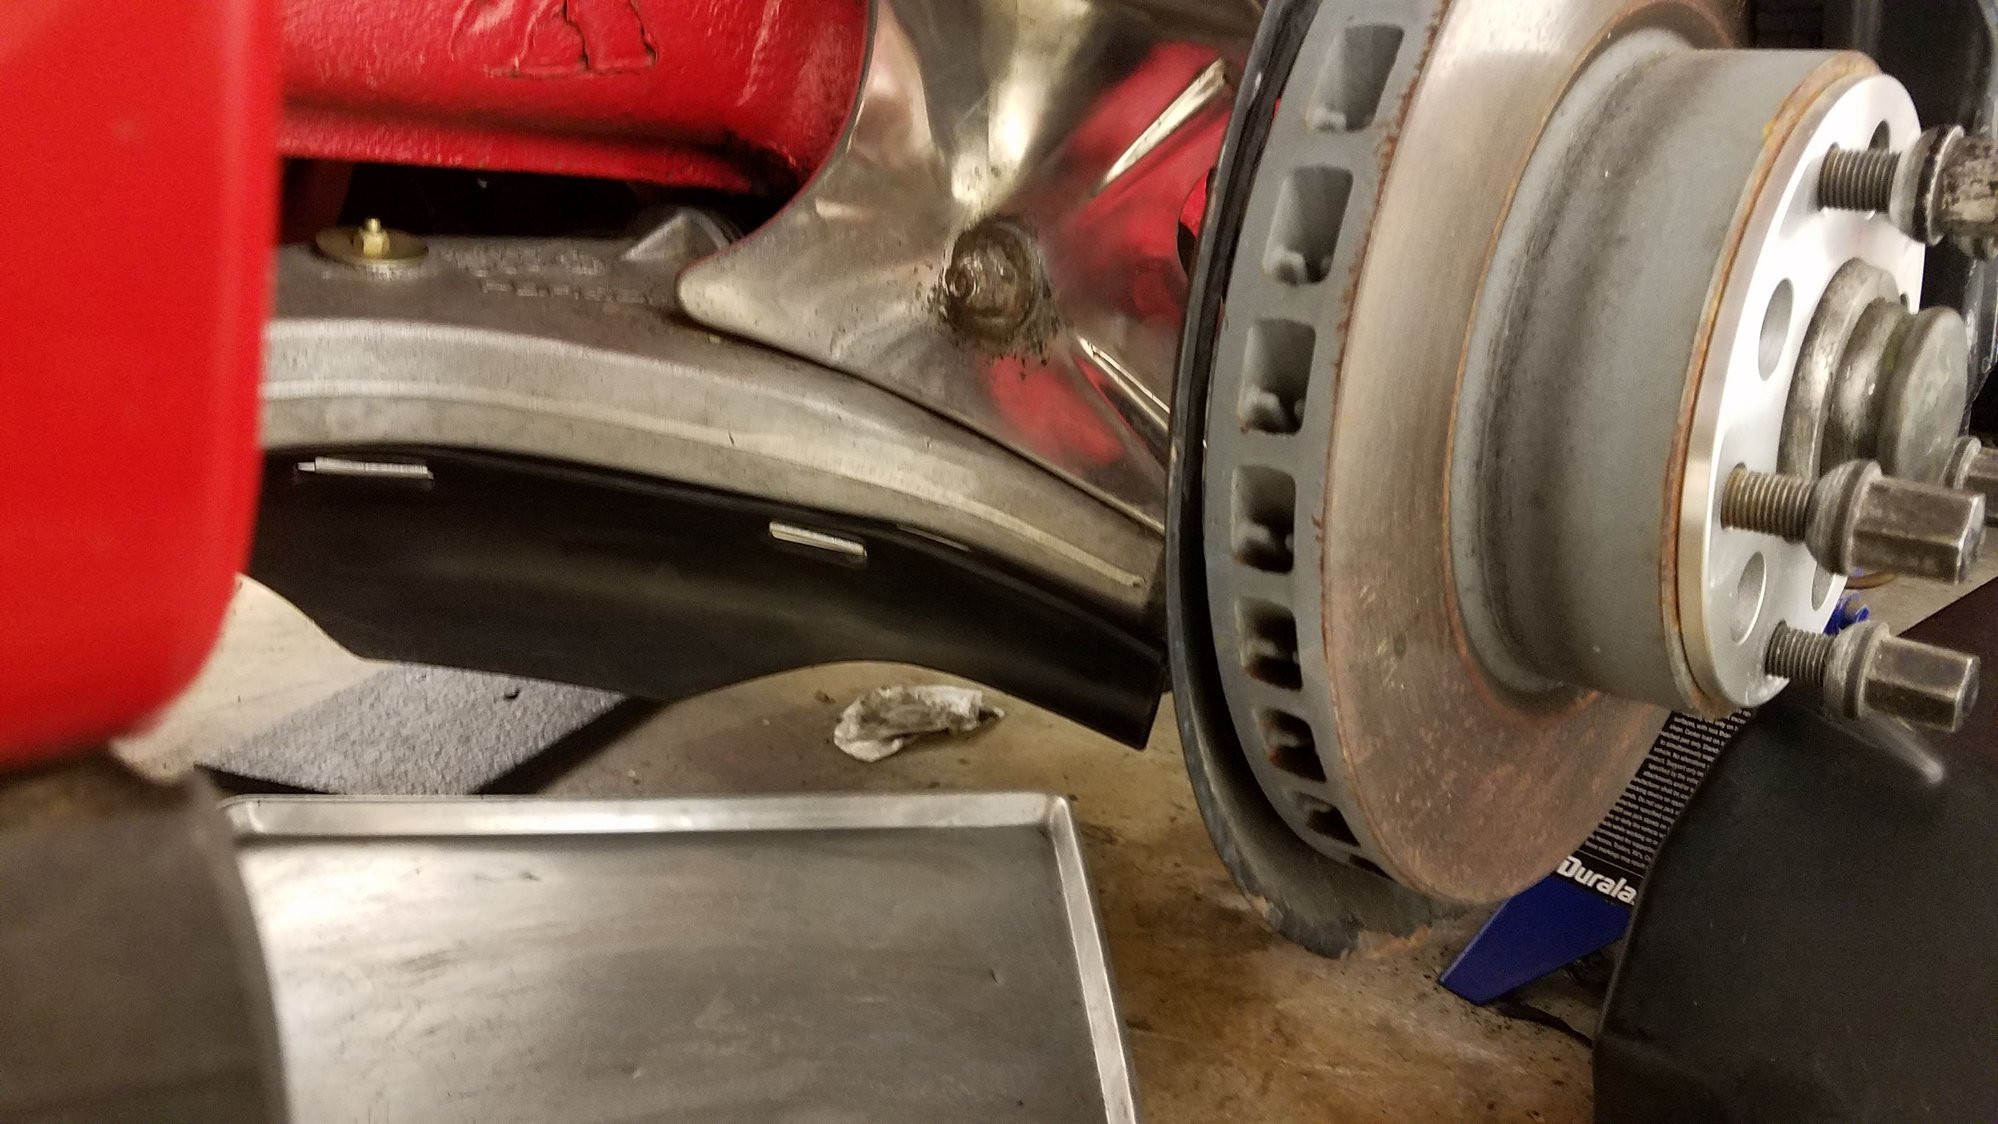
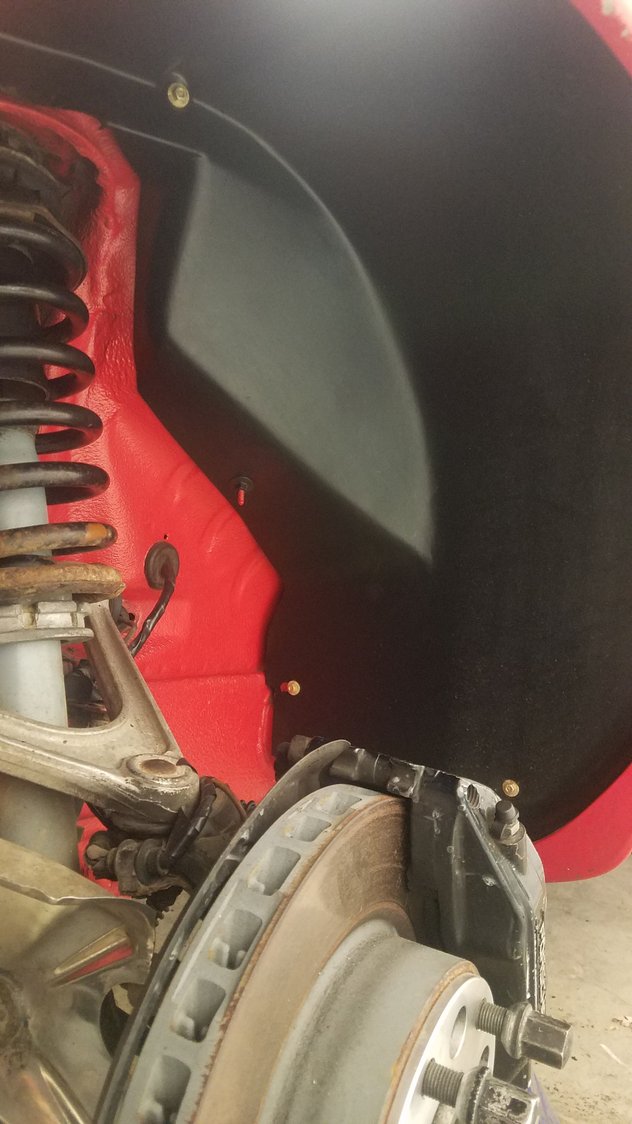
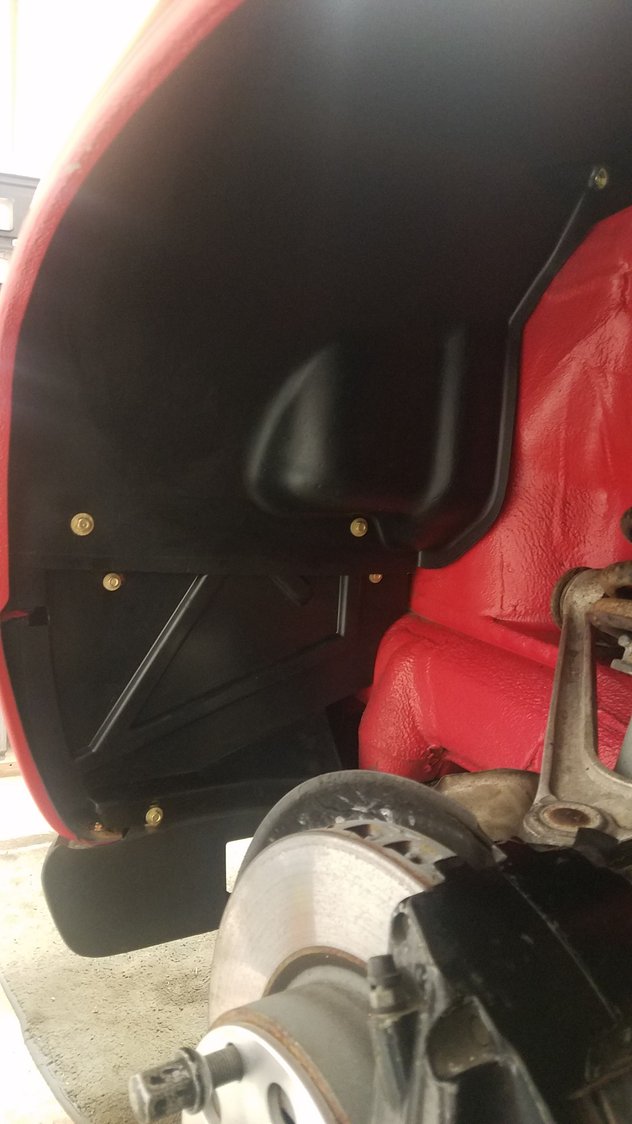
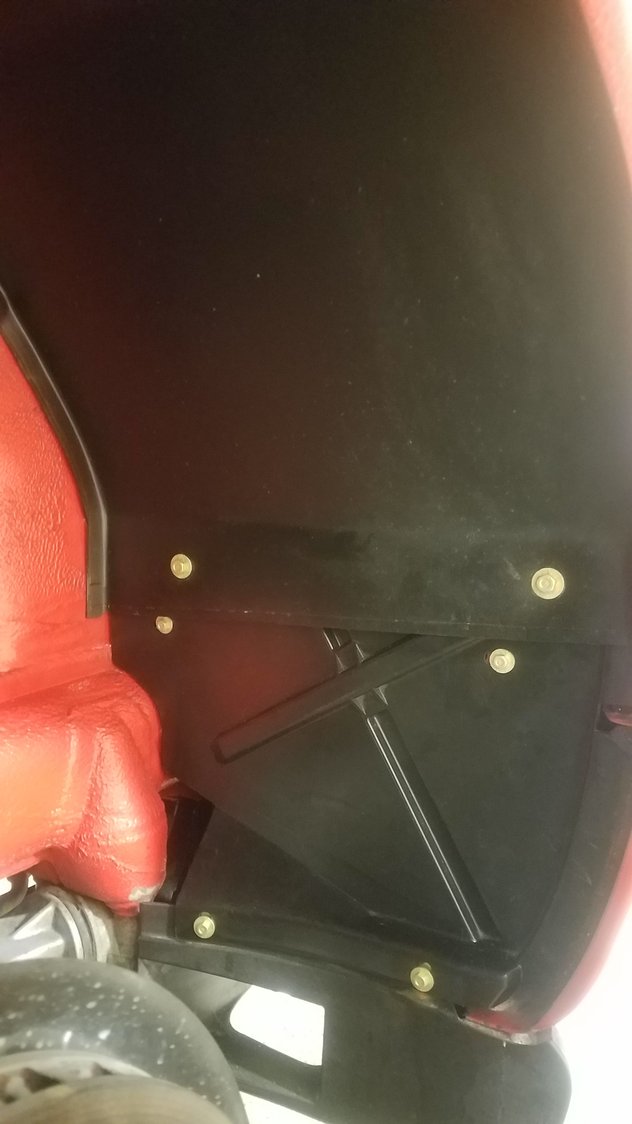
Sway bar painted up and alternator ducting installed in new splash panel. I got new ac ducting later. Also, no pictures to show, but at this point everything from motor mount job had been reinstalled and all the other plated bits installed as well. Wheel liner all cleaned, almost like new Air deflectors cleaned and polished. Passenger side Passenger new splash shield Deflector fasteners plated. Bolt were supposed to be silver so had them redone in the next batch of plating
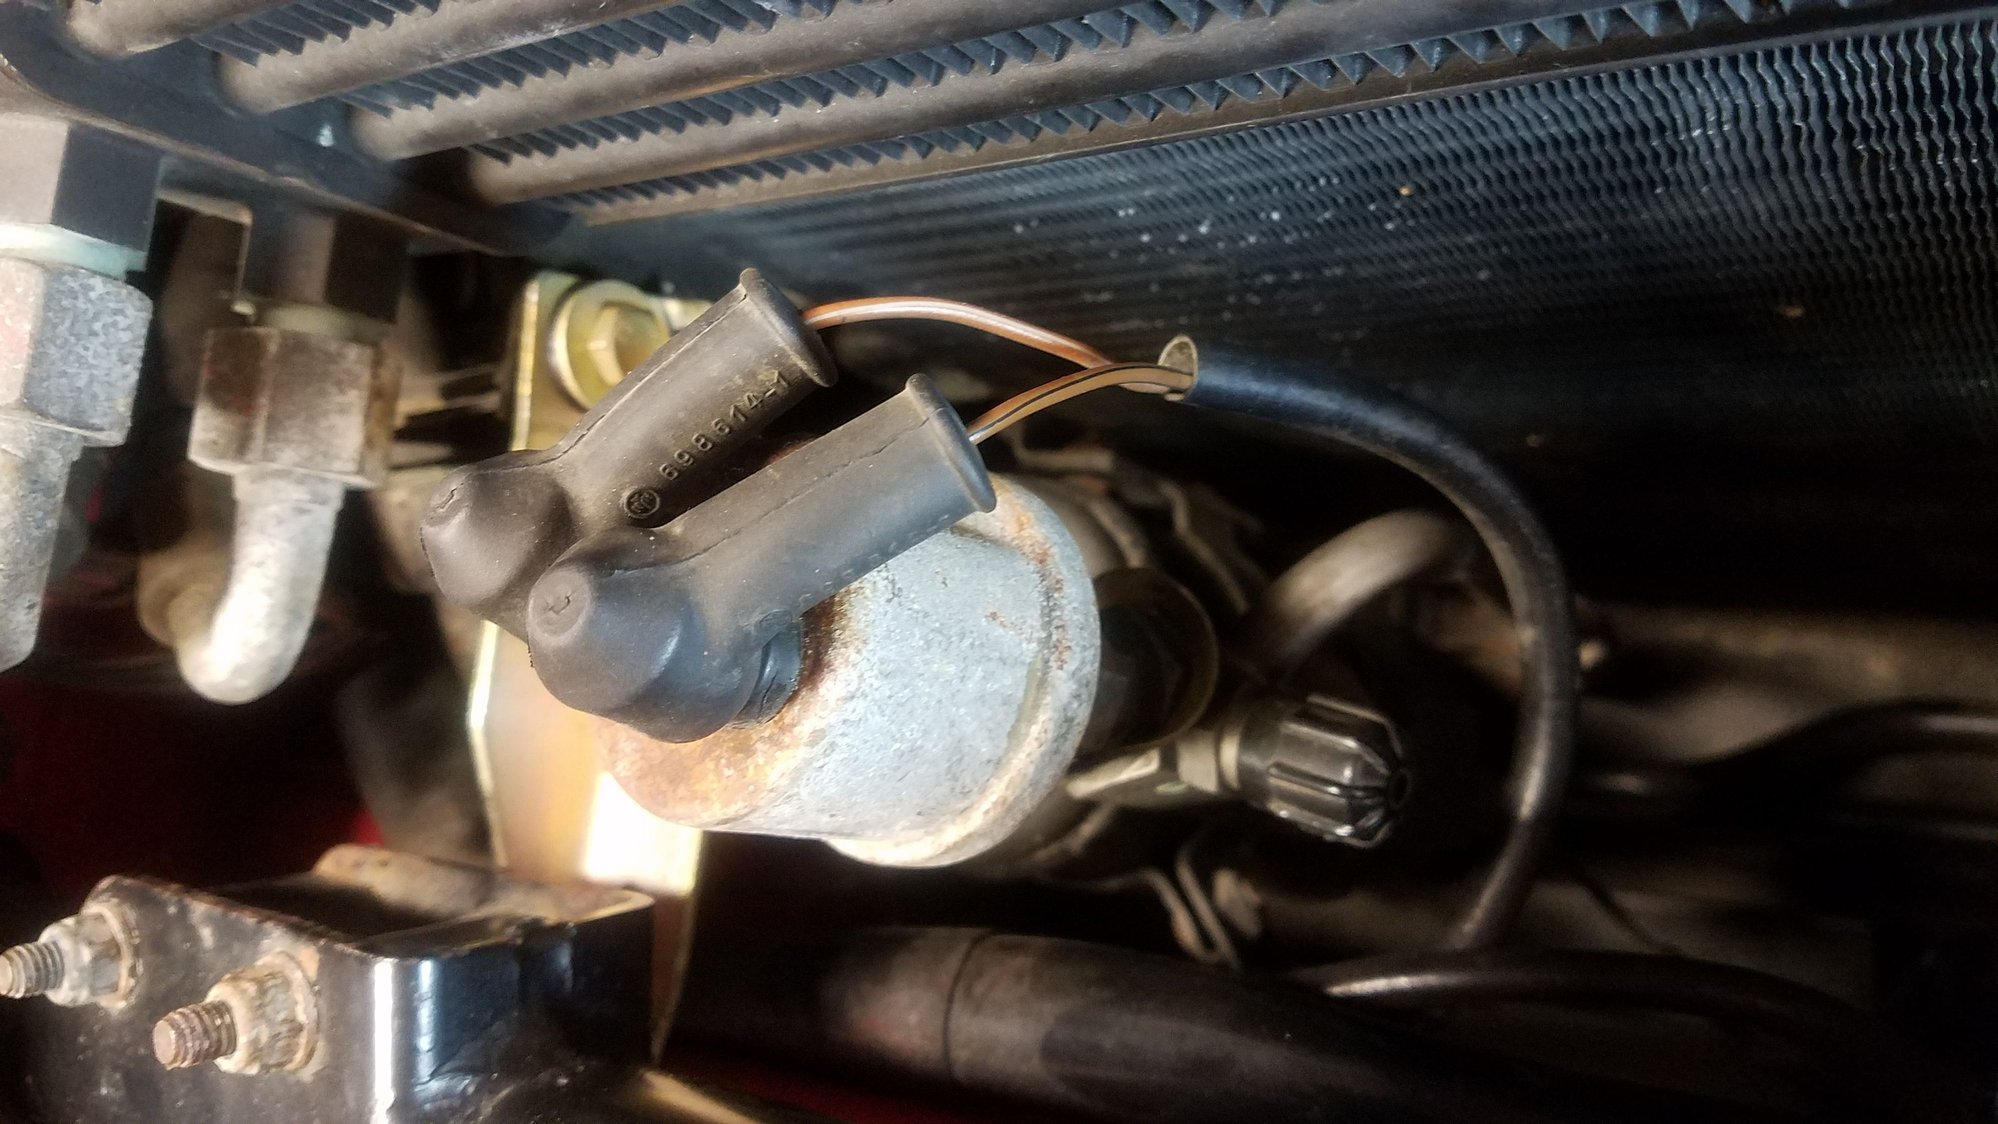
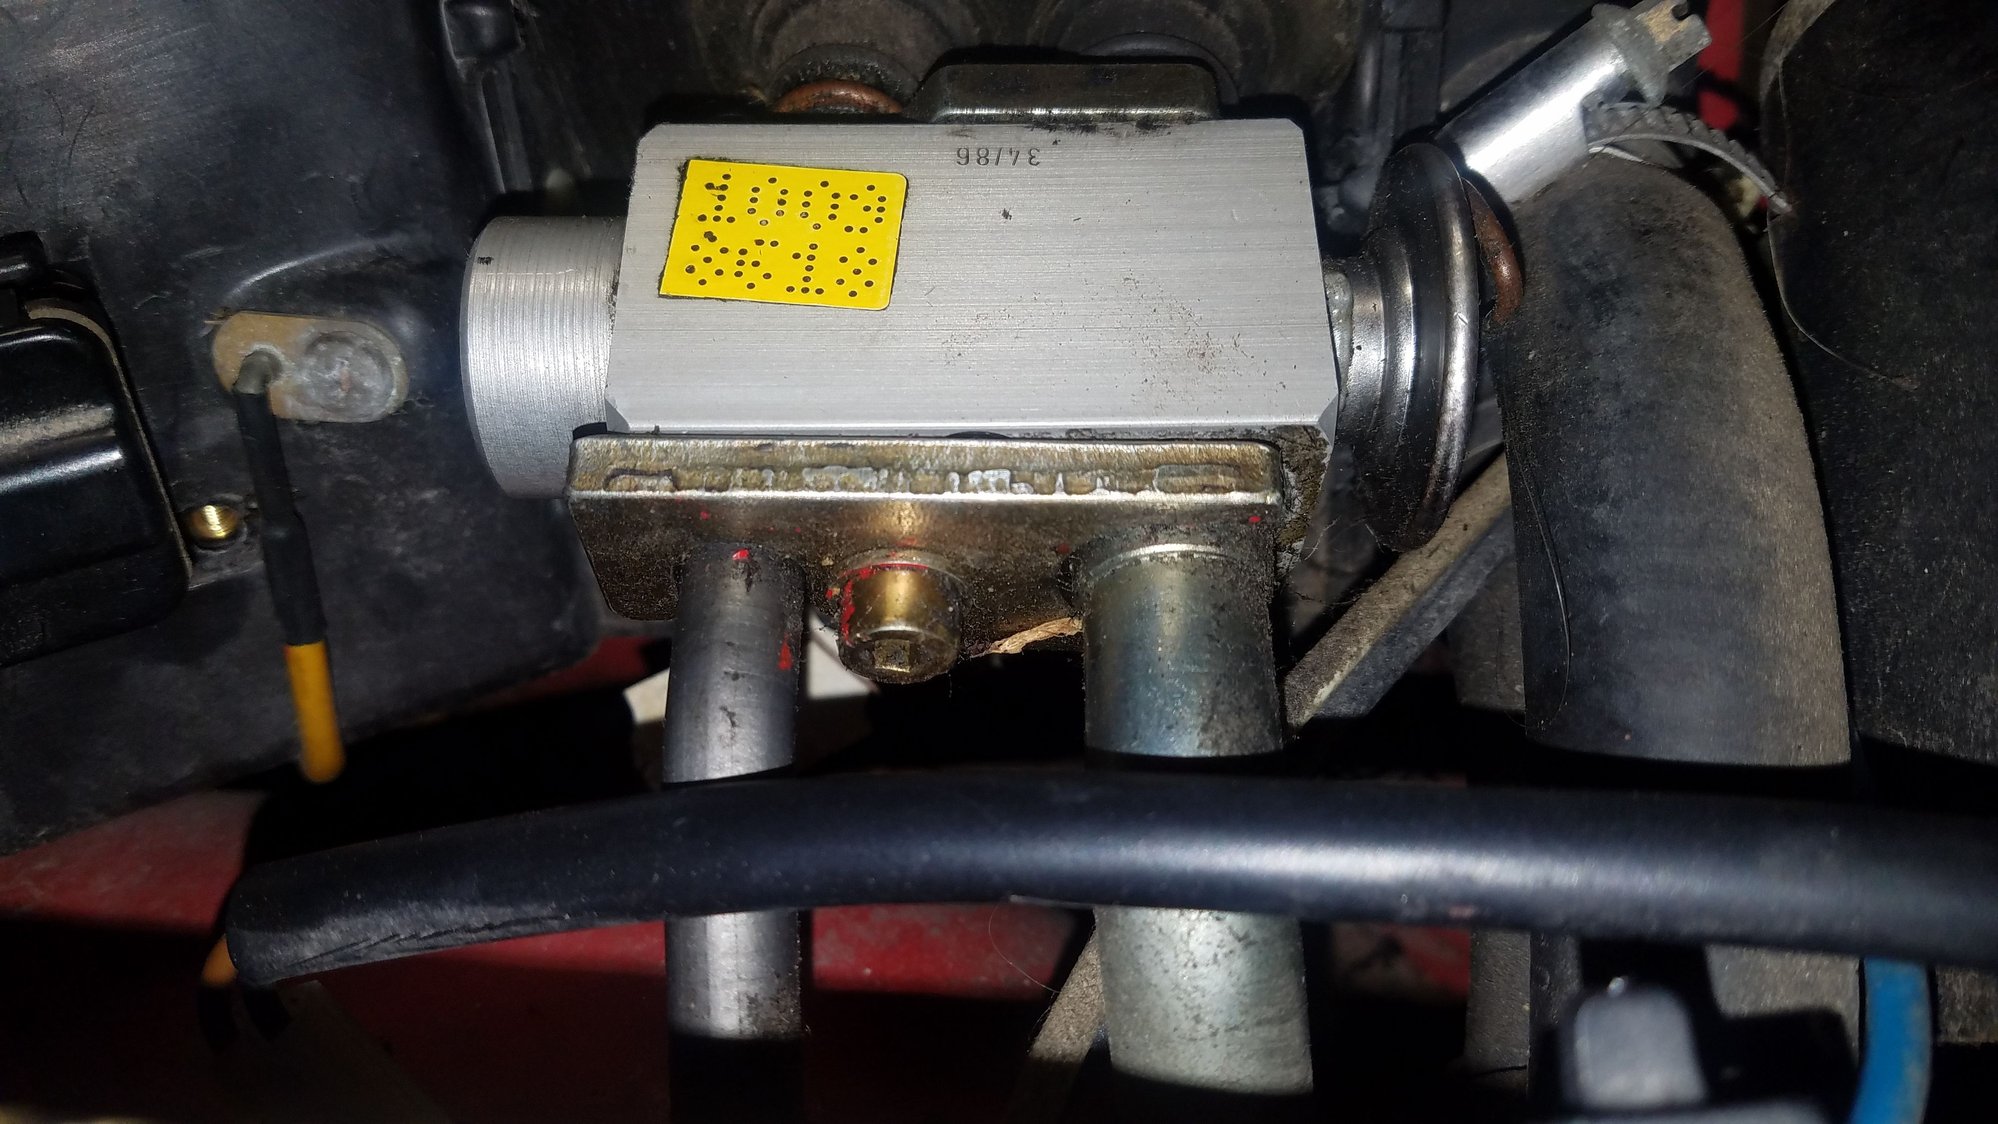
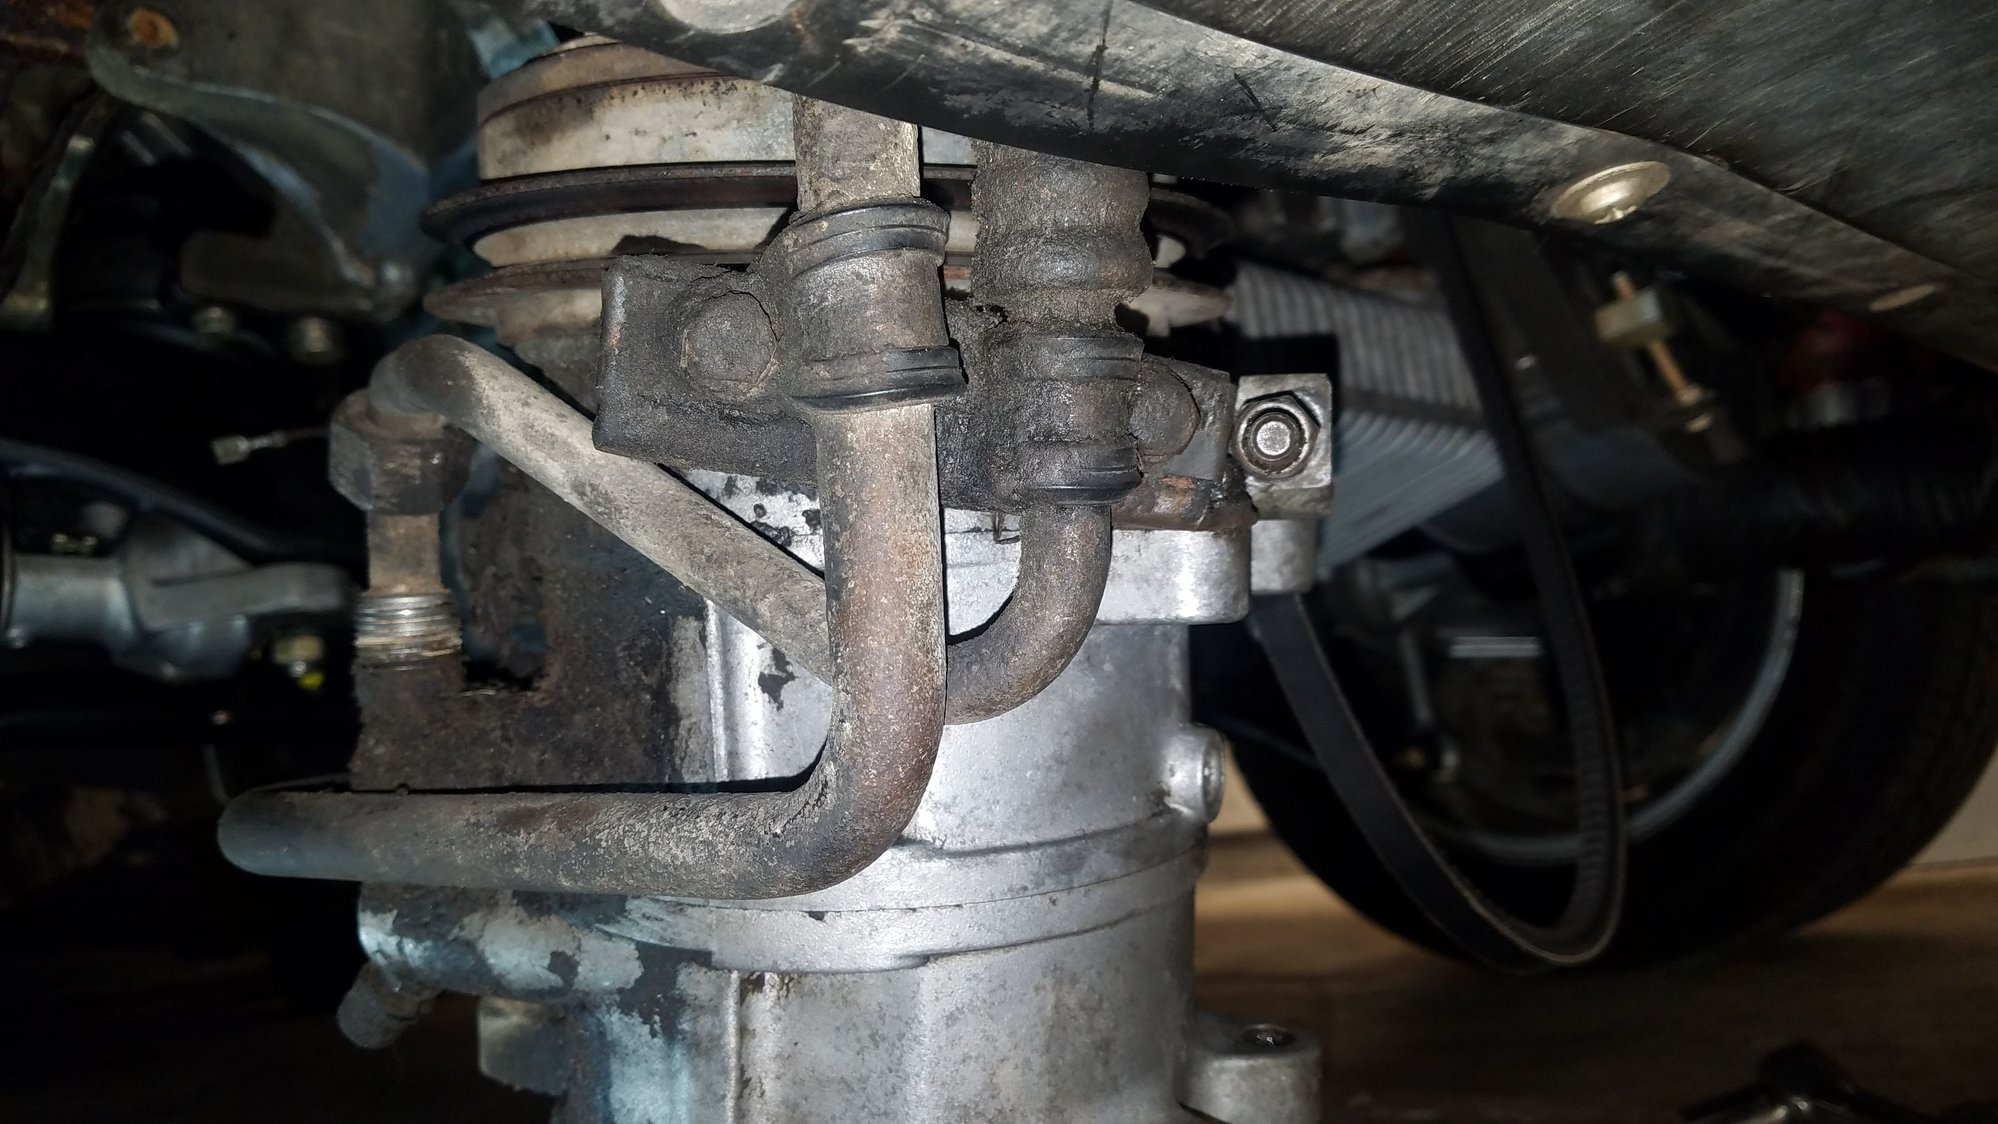
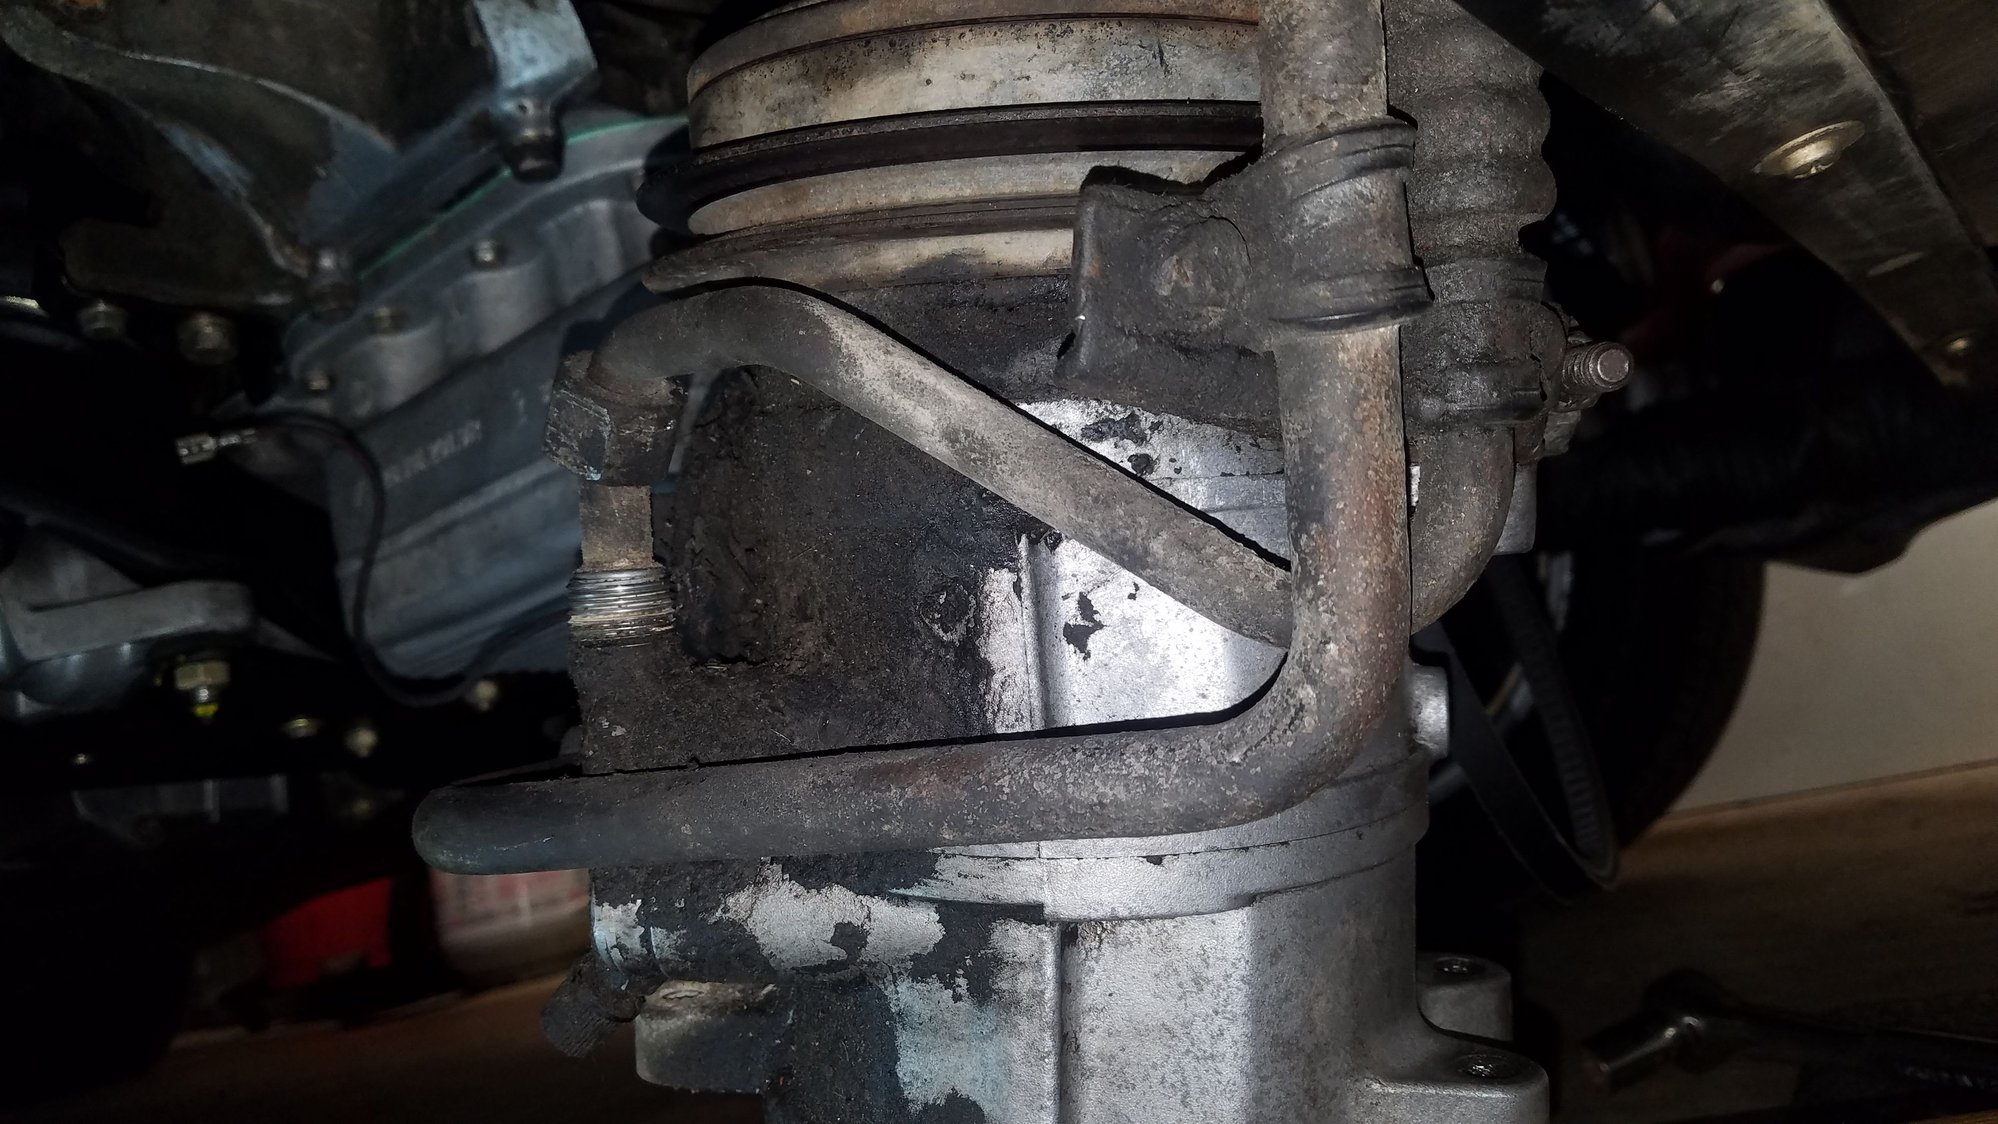
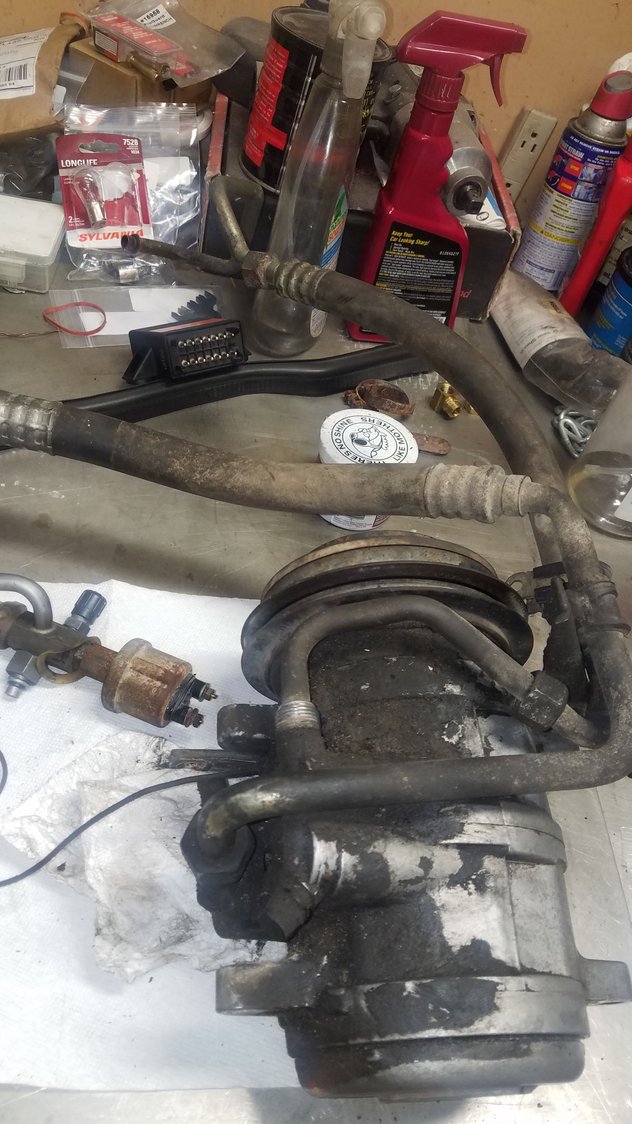
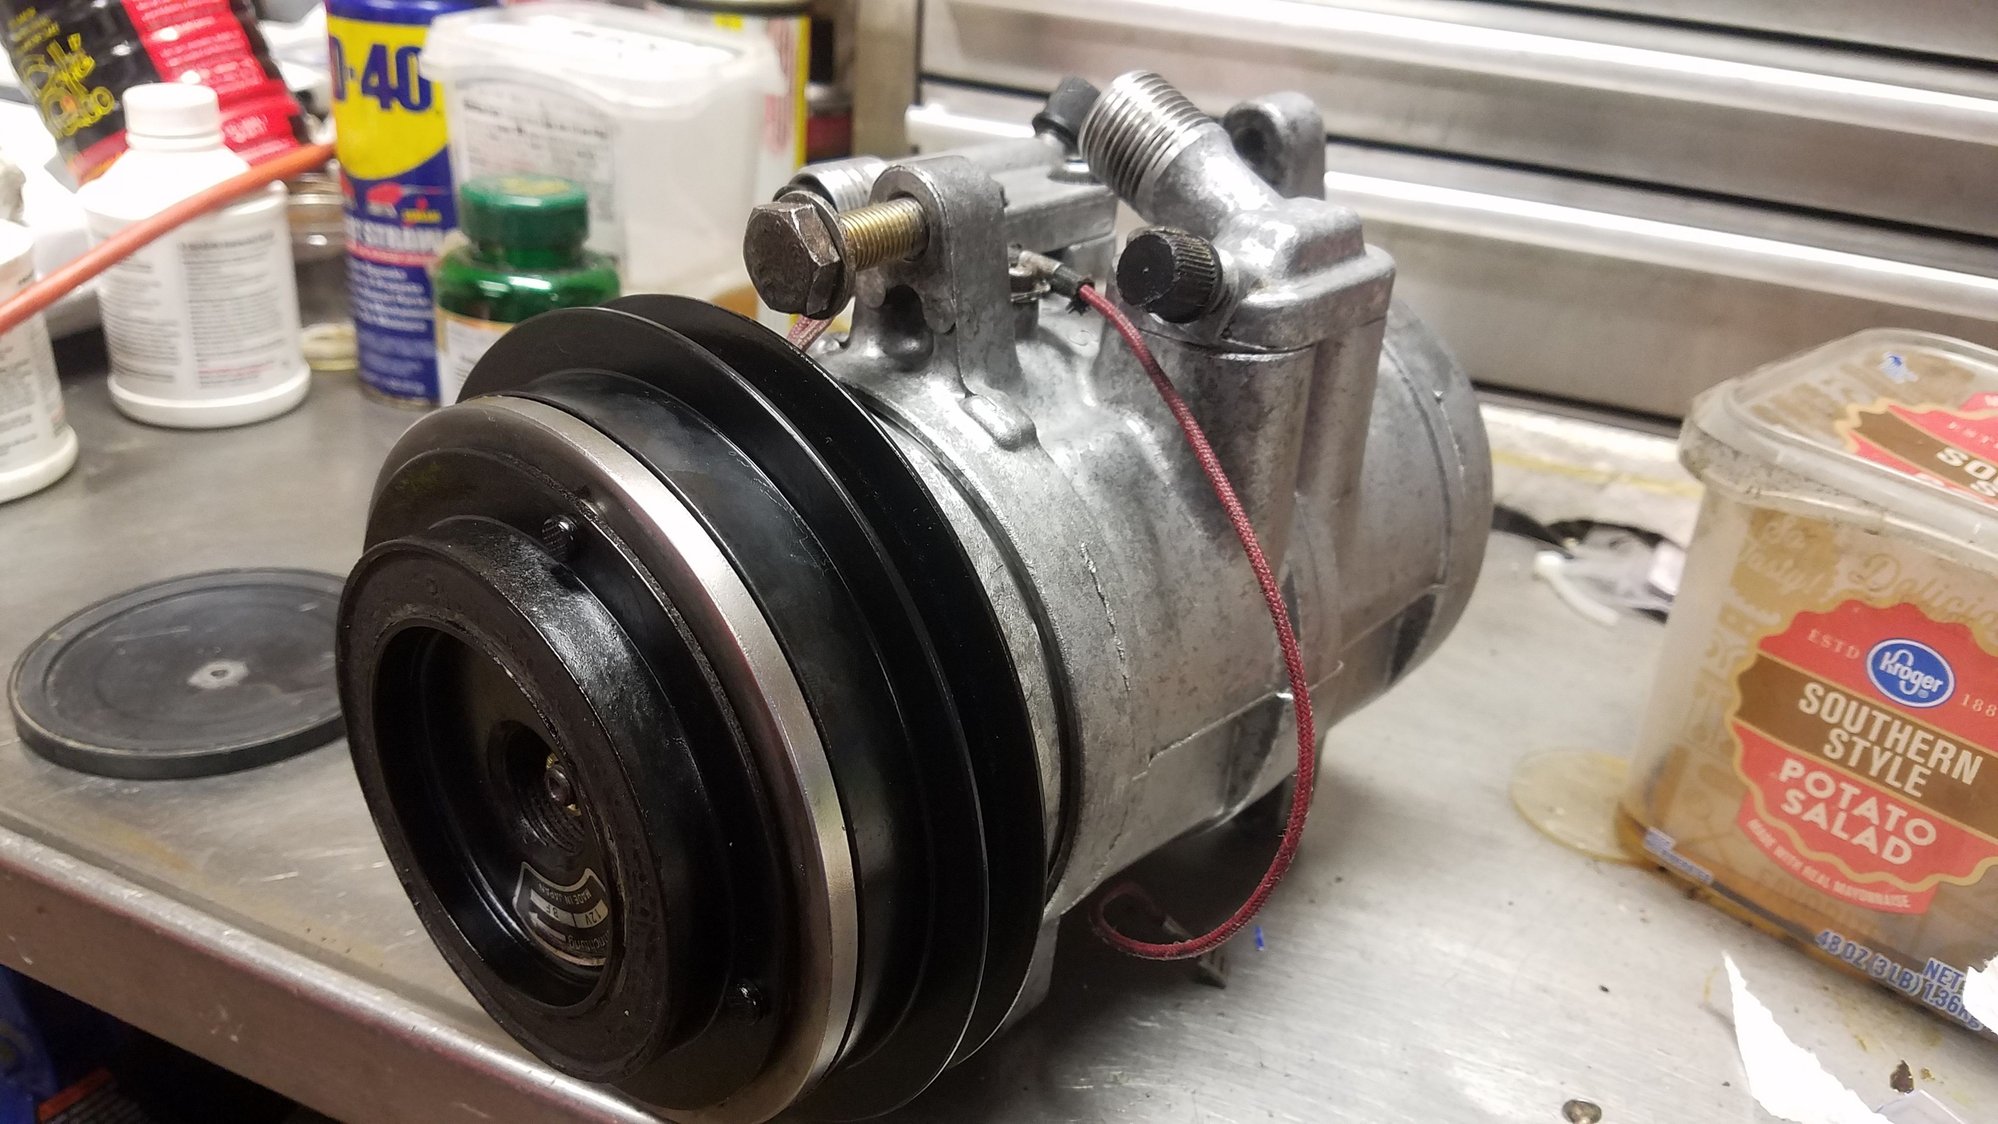
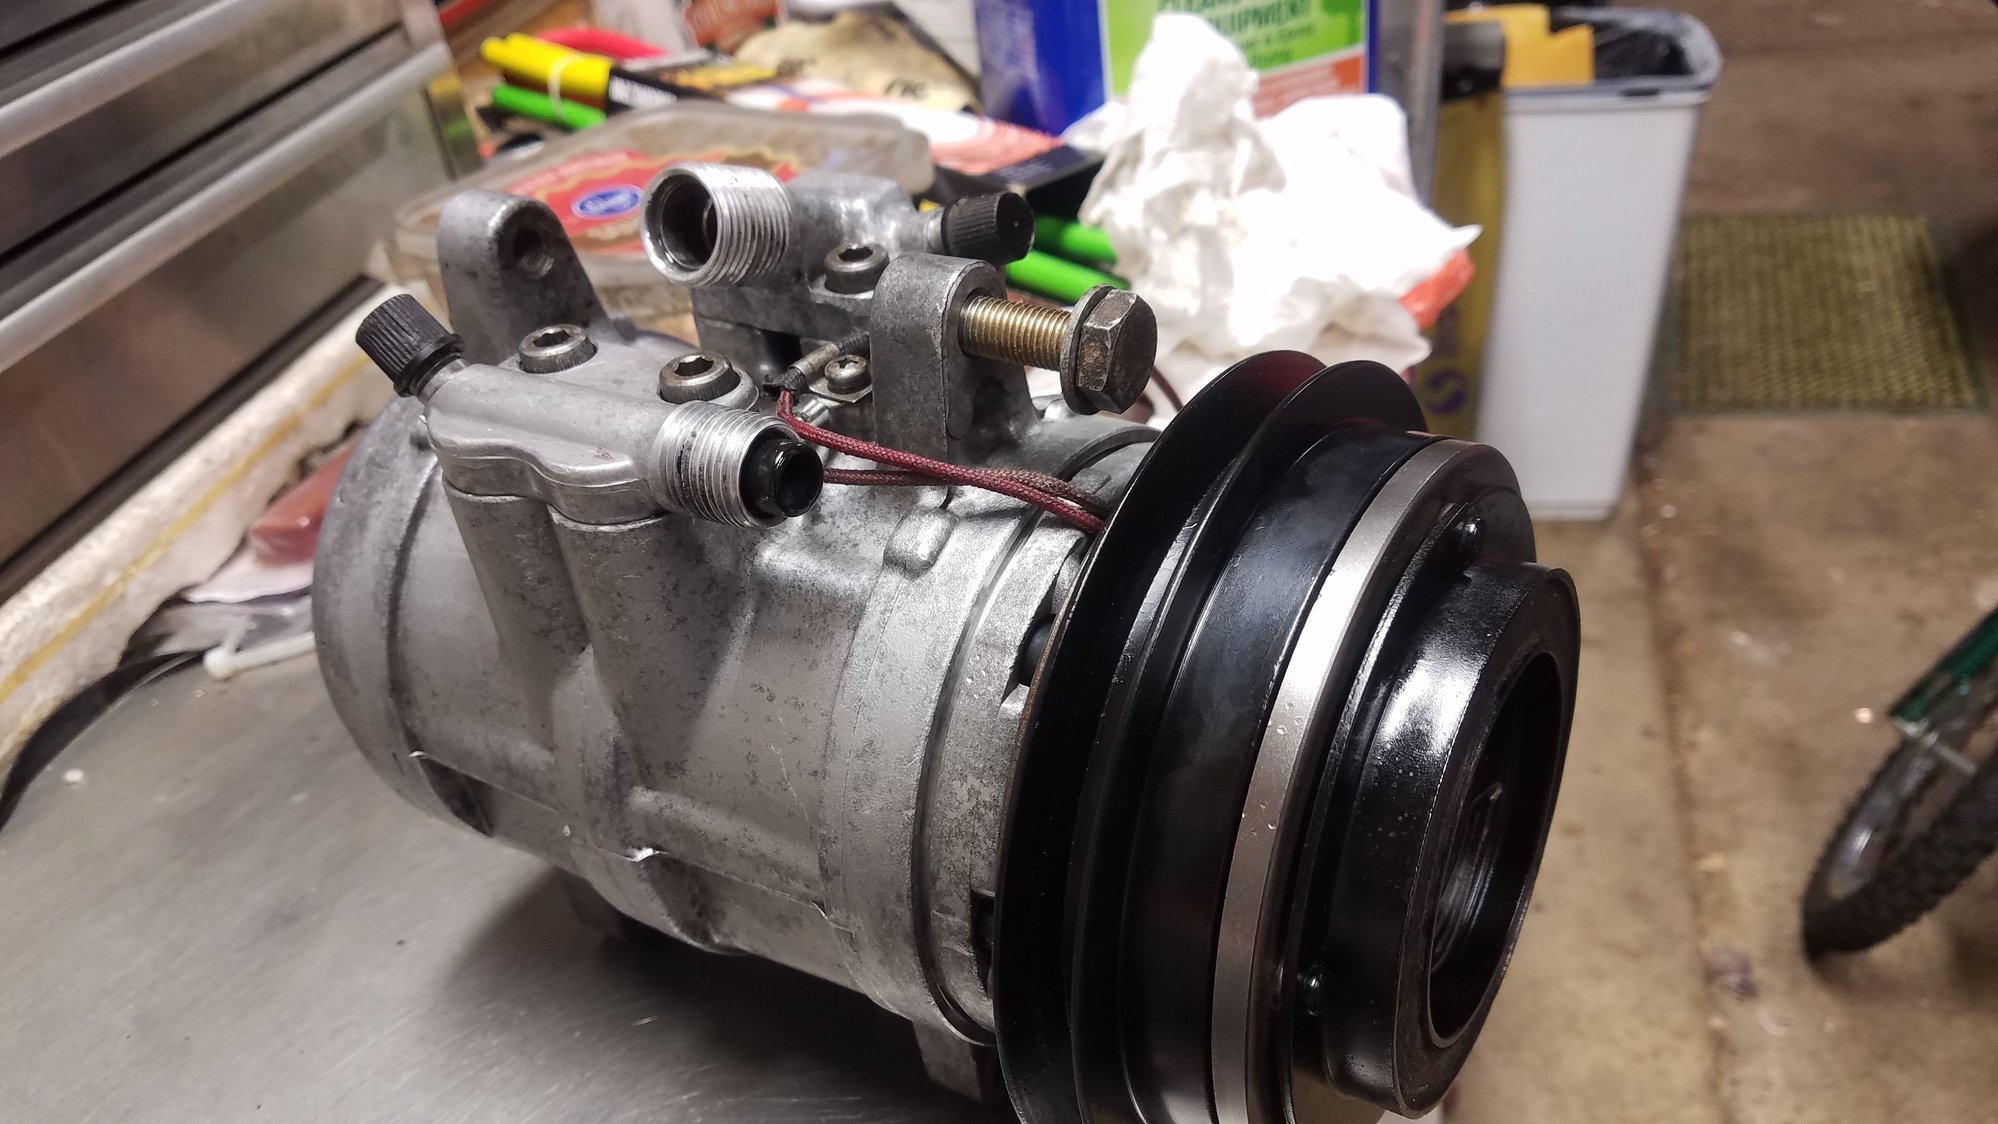
Next up was the ac system refresh. These are all as the ac system was found. I had been told it just needed a recharge but decided to just do a full system overhaul to have it good for a while.
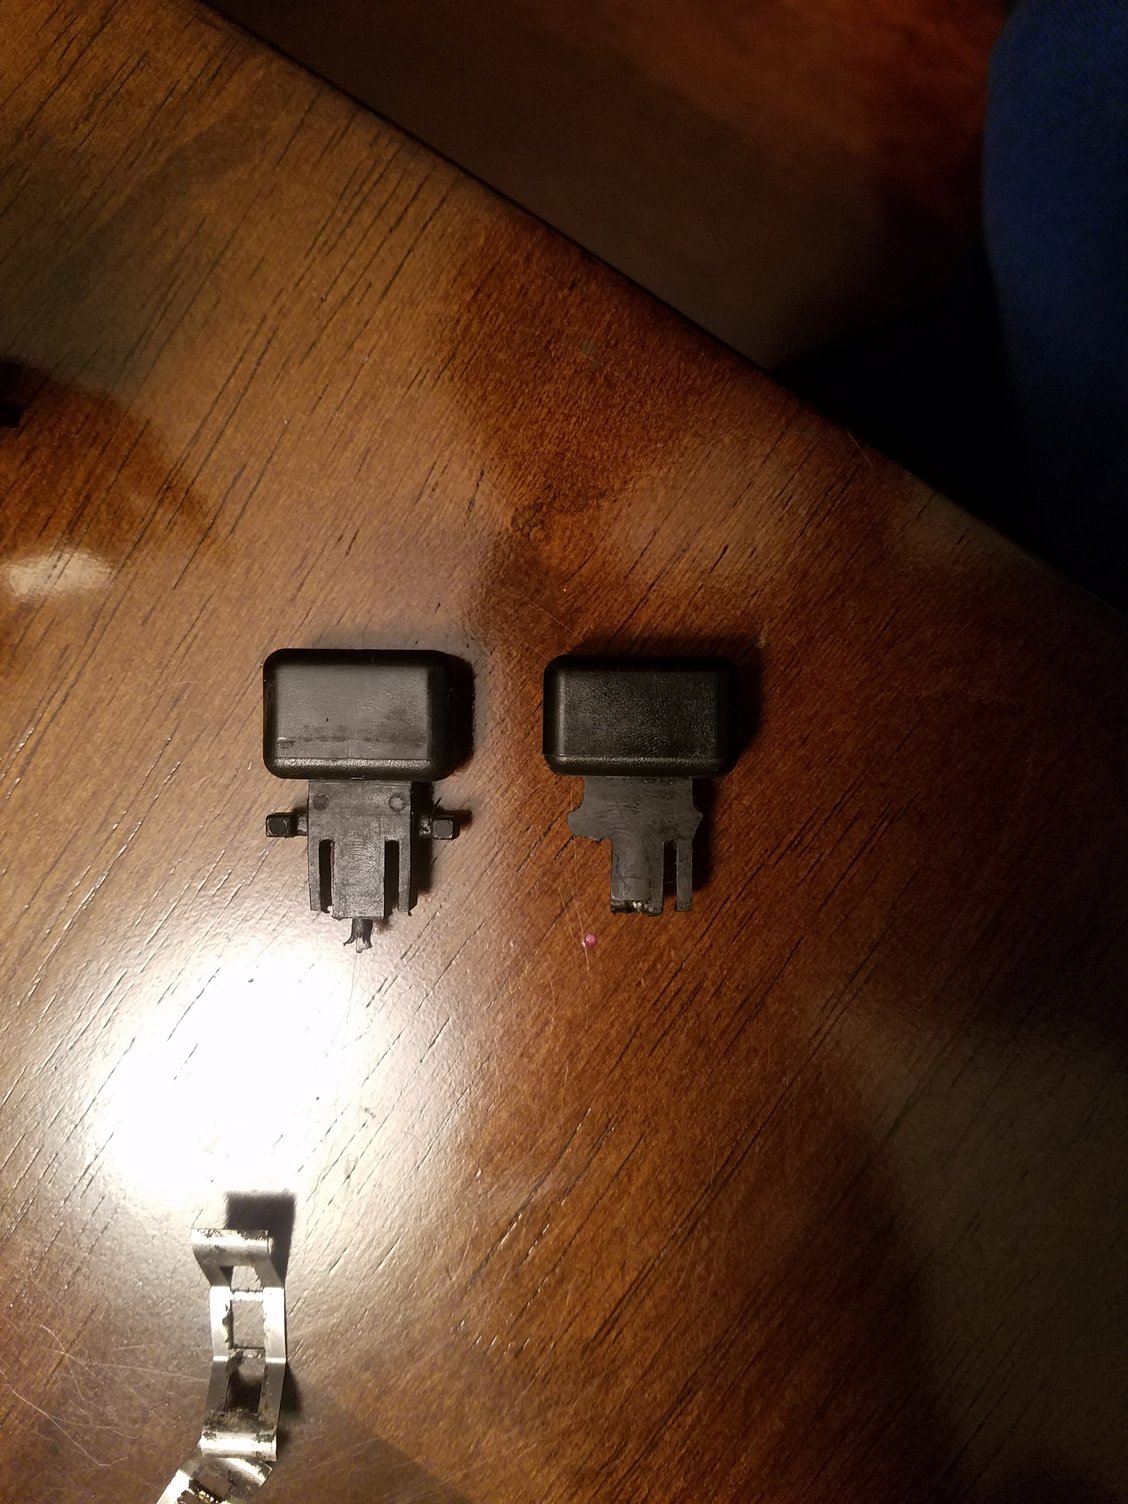
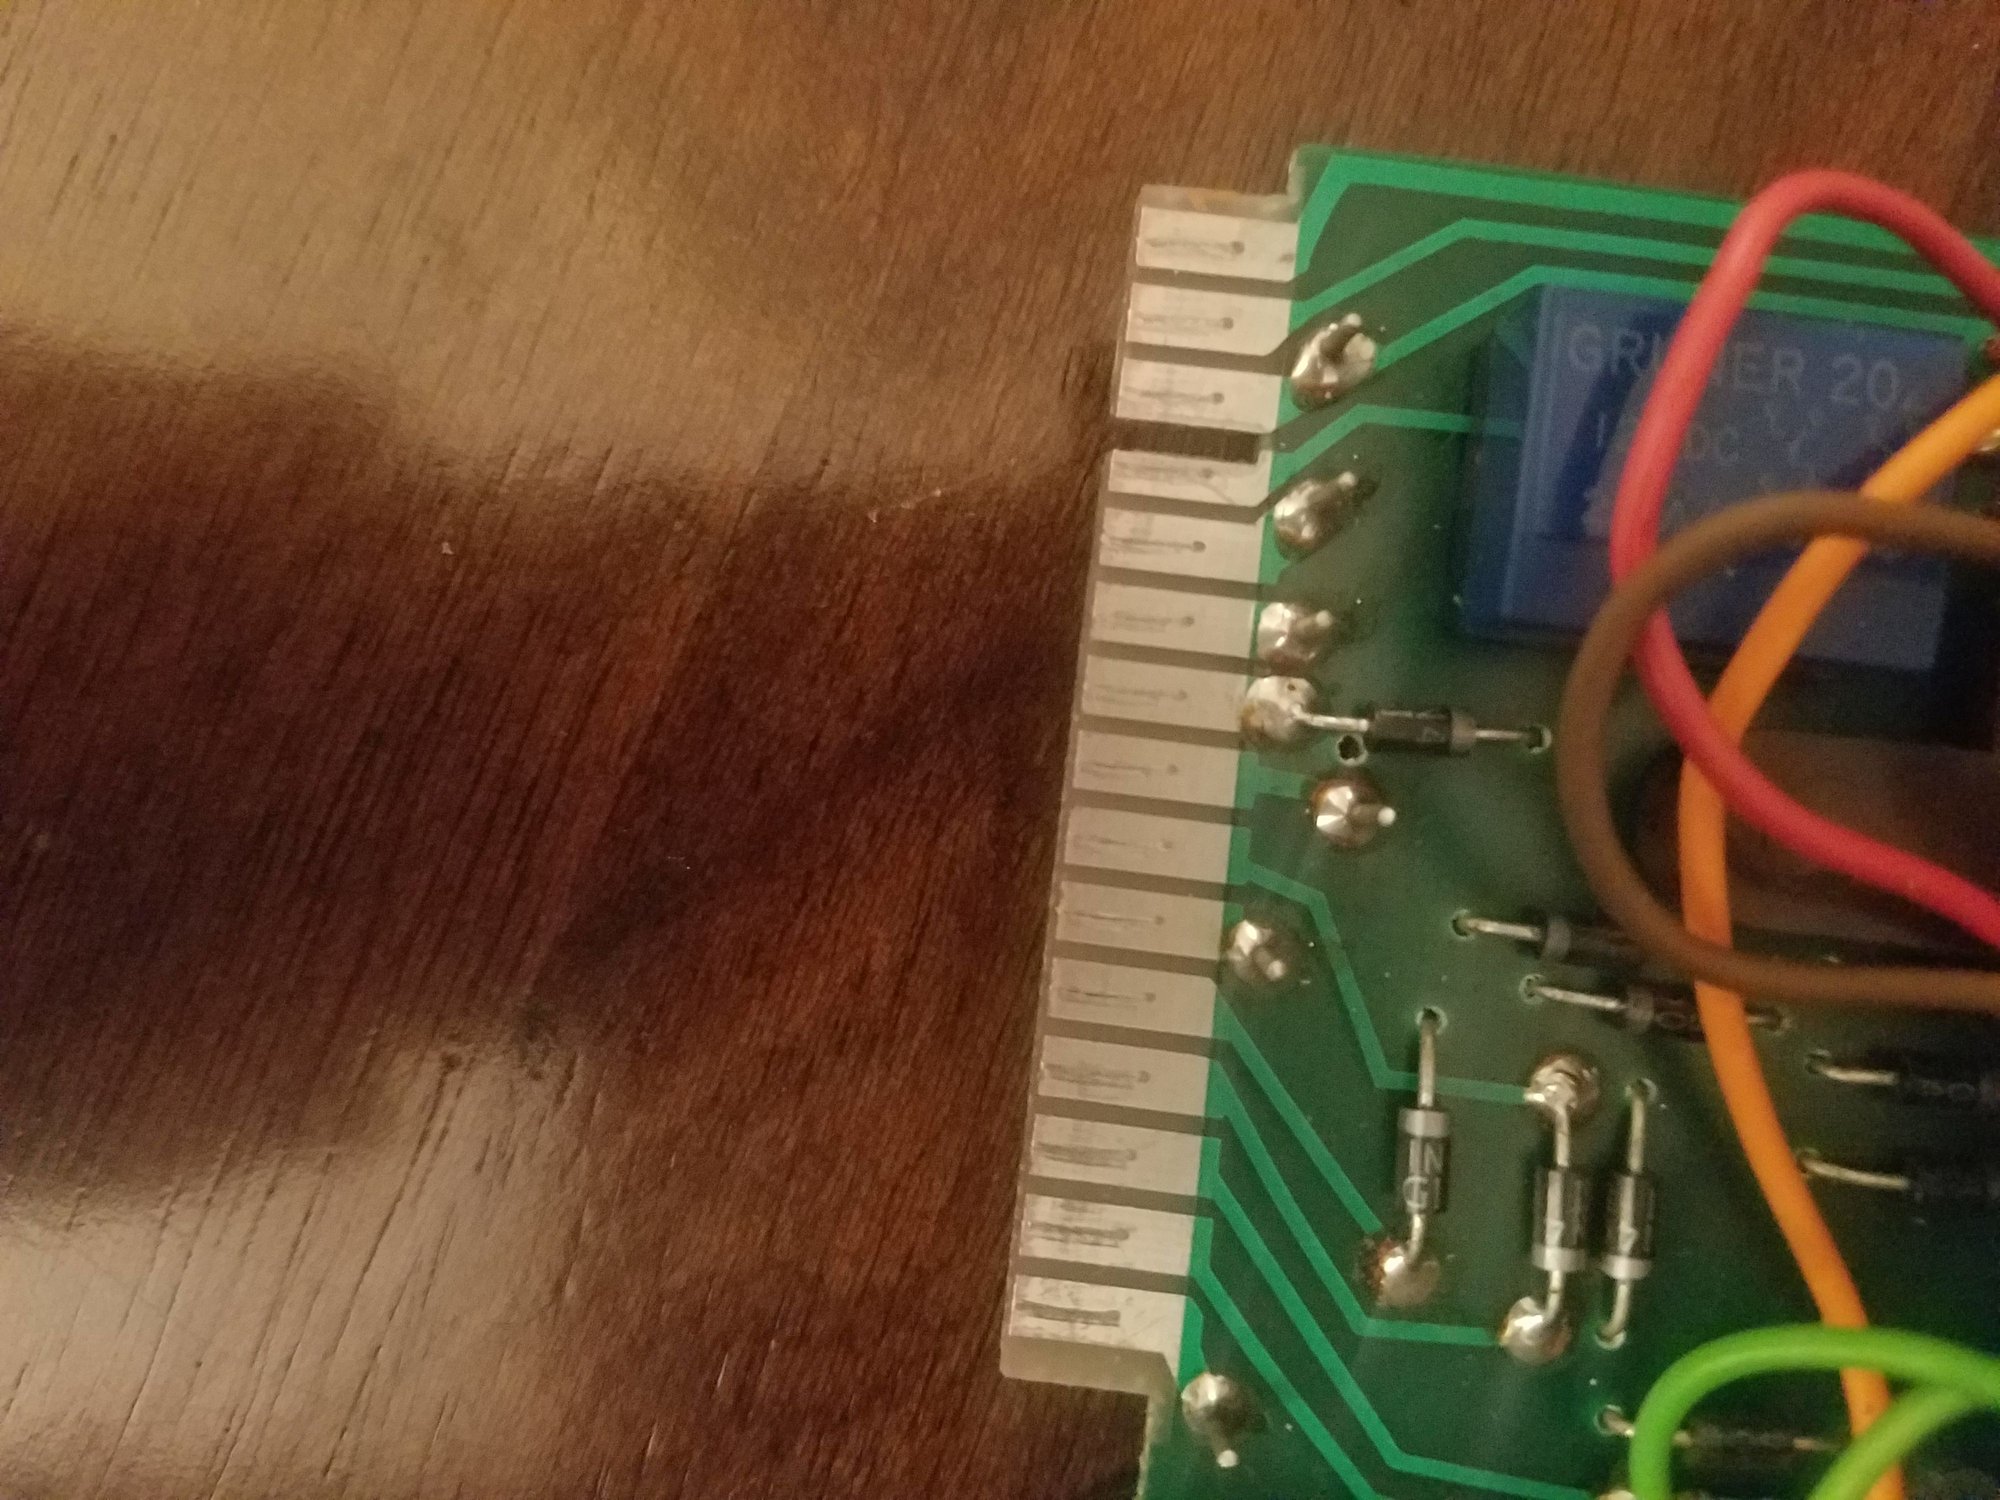
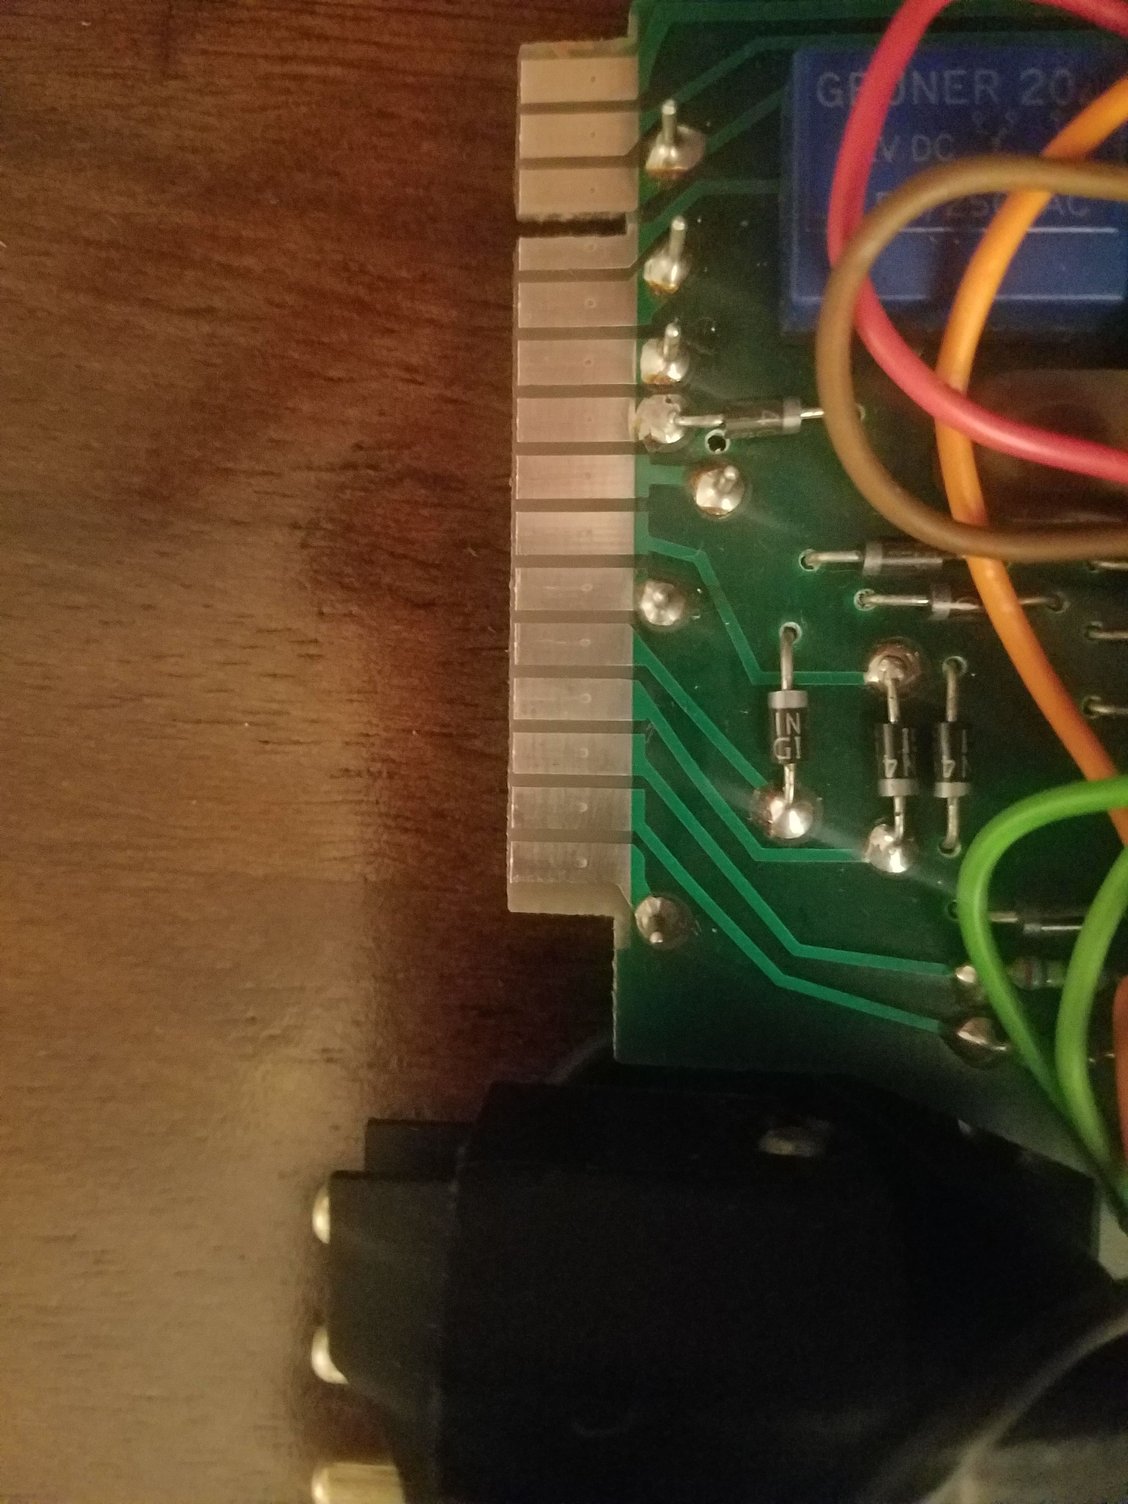
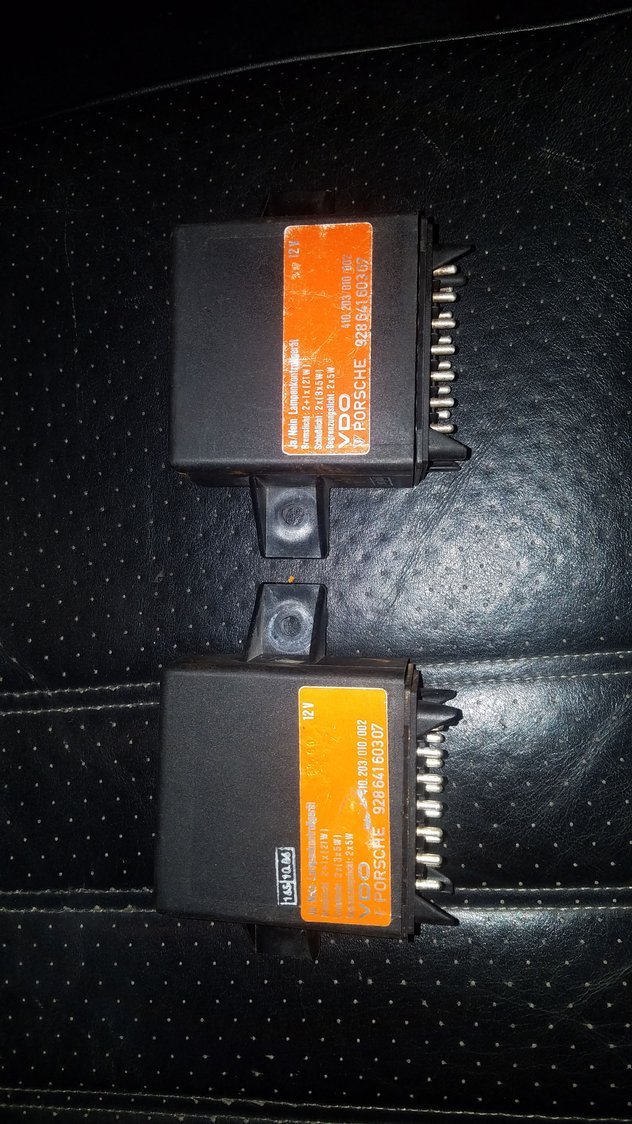
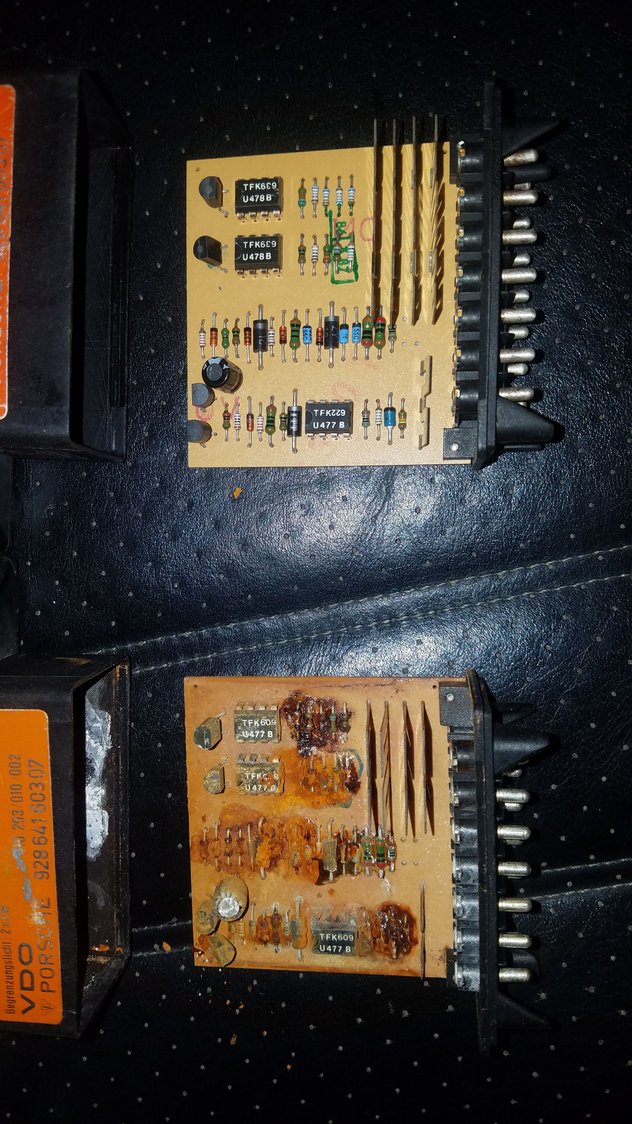
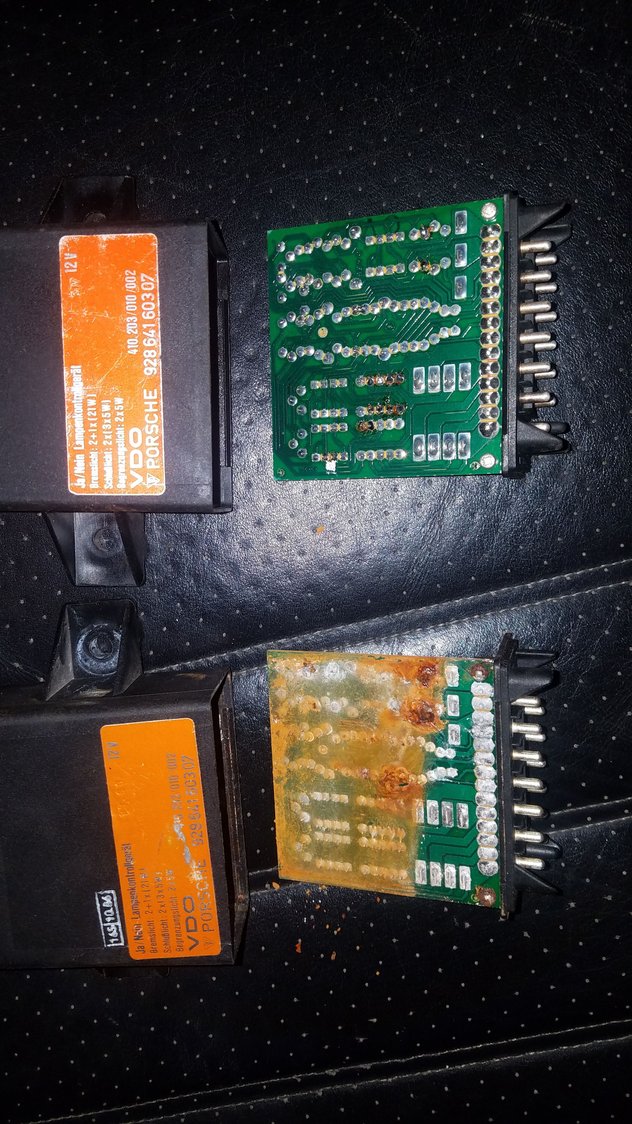
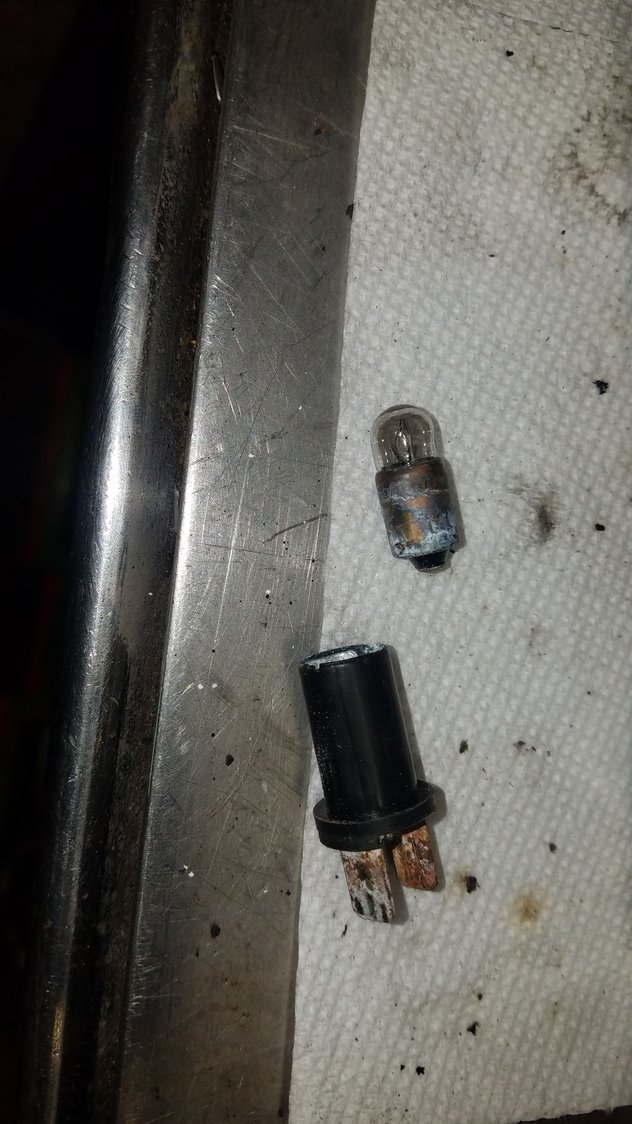
Concurrently to the ac I went about fixing the dash warning lights and red marker lights in the door ends. I found someone had pulled the tail lamp and stop lamp warning bulbs. After putting them in the warnings were on even before starting the vehicle. I pulled the bulb control module and found somehow a fair amount of water got in it. Interesting thing is that there isn't any other evidence of water in the footwell. Fuse panel and other computers are all good luckily. I got a replacement bulb control module and swapped some bulbs and everything worked properly with1 small exception. For some reason the stop lamp warning will come on again while the car is running if I open either door and have all 5 interior lamps set to the door switch. Turn any of them off and it doesn't happen. Still haven't figured that one out yet. Door light housing that got replaced.
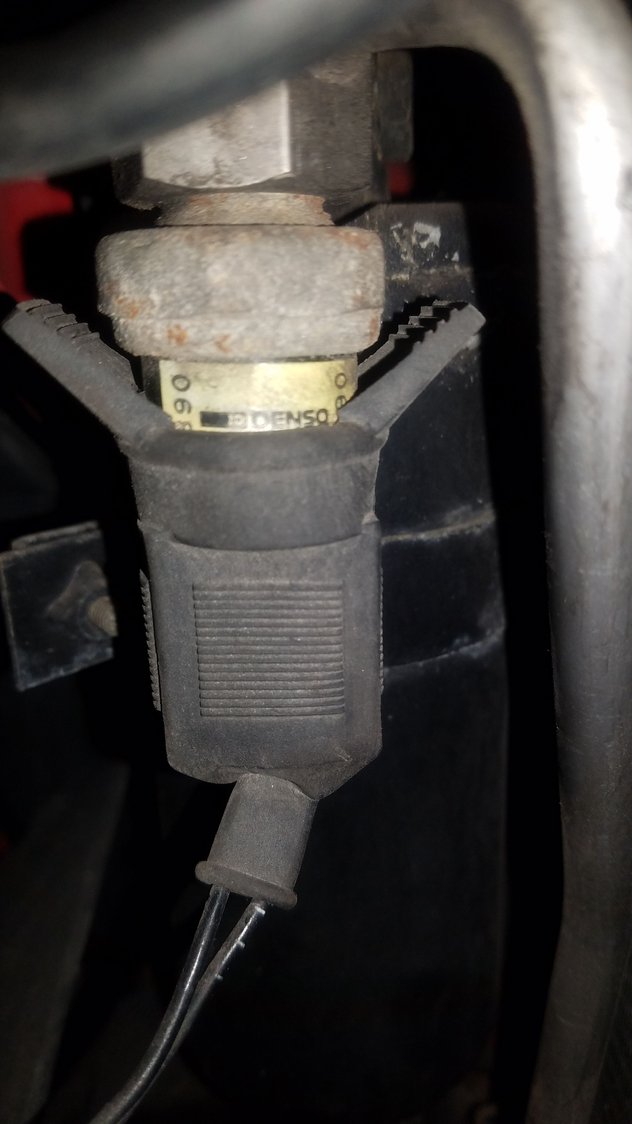
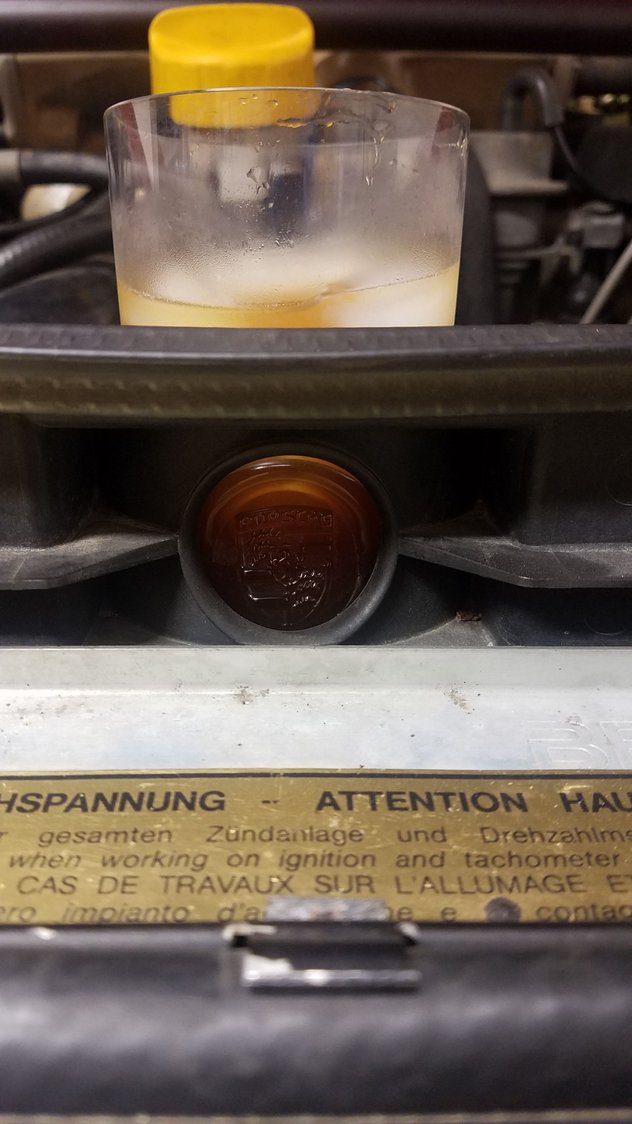
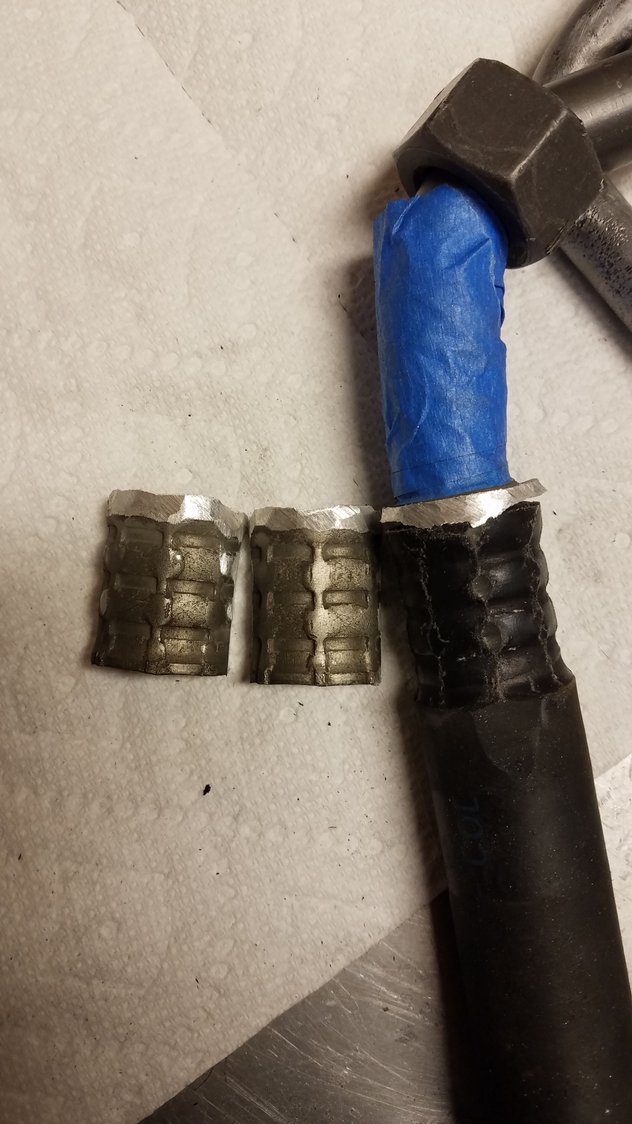
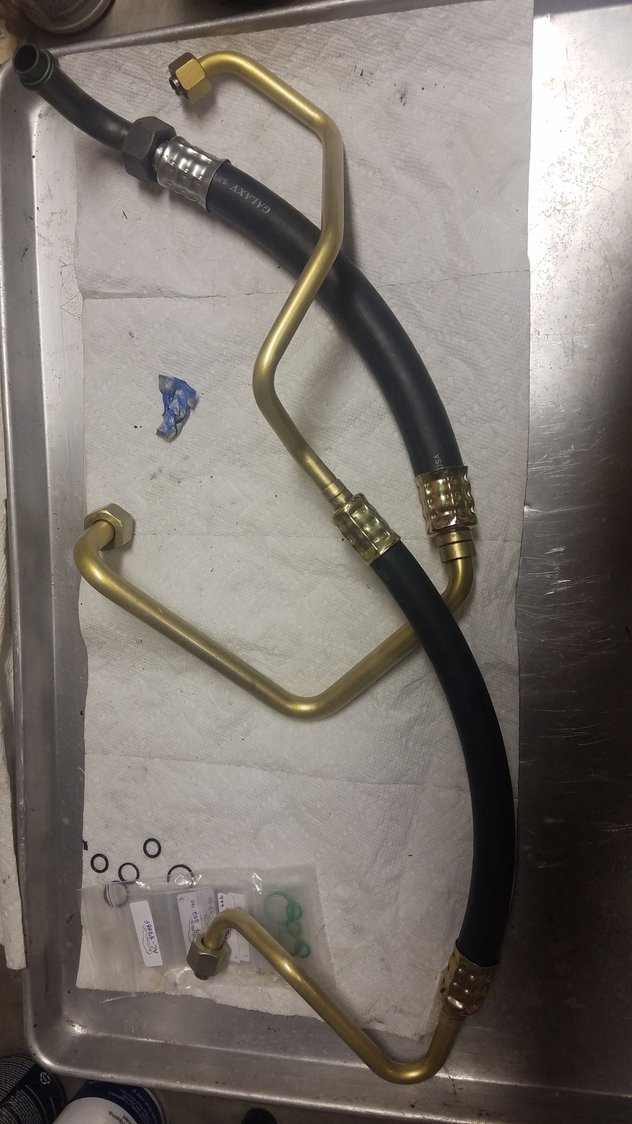
Rebuilt the compressor with all new seals. Unfortunately the carbon shaft seals in the rebuild kit did not hold up and leaks after short use. New denso compressor has since gone in. My father brought this cup back from a work trip to porsche in the late 80s. The logo placement now convinces me the secondary air filter was really meant to be a cup holder, and this was the cup designed to go there. Cleaning the compressor hard lines to prep for paint Decided to carfully cut off the crimp collar instead of cutting and then brazing on a whole new joint. Doing it this way eliminated adding exta joints to the lines. Finished hard lines painted gold and crimped with new barrier hose.

 03-28-2023, 07:26 PM