When you click on links to various merchants on this site and make a purchase, this can result in this site earning a commission. Affiliate programs and affiliations include, but are not limited to, the eBay Partner Network.
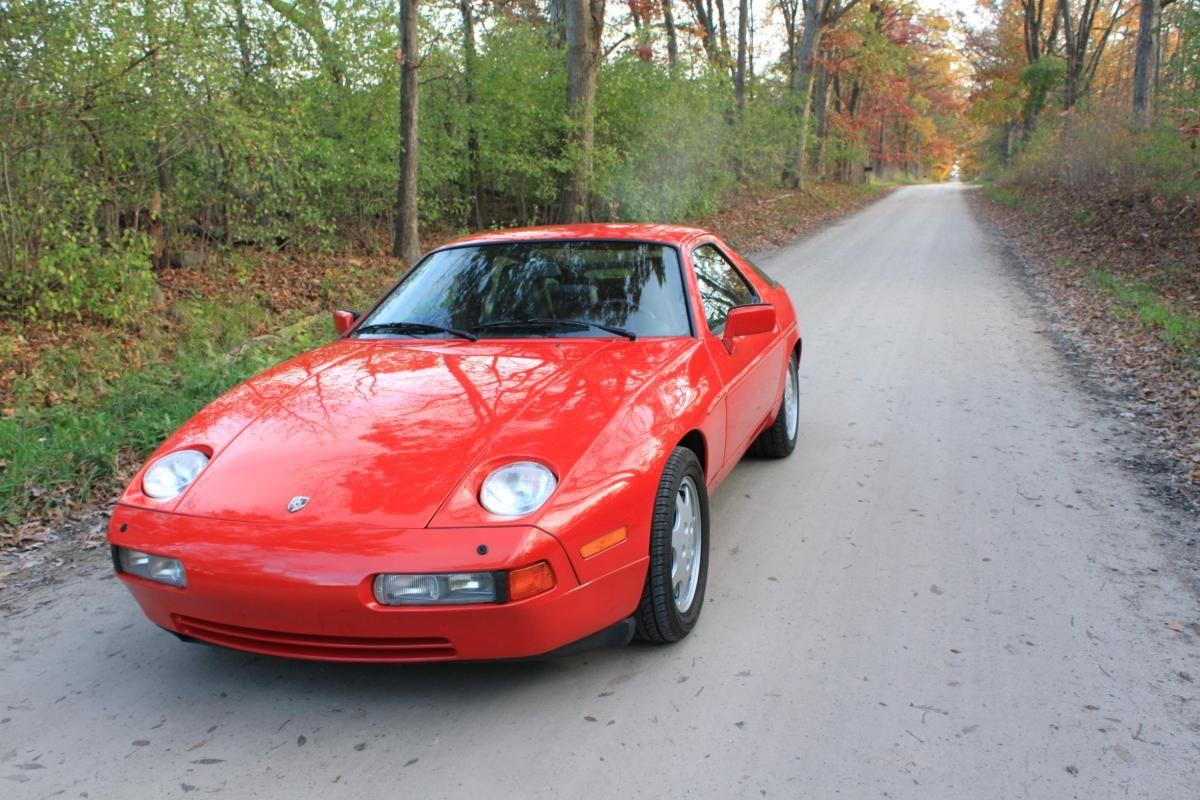
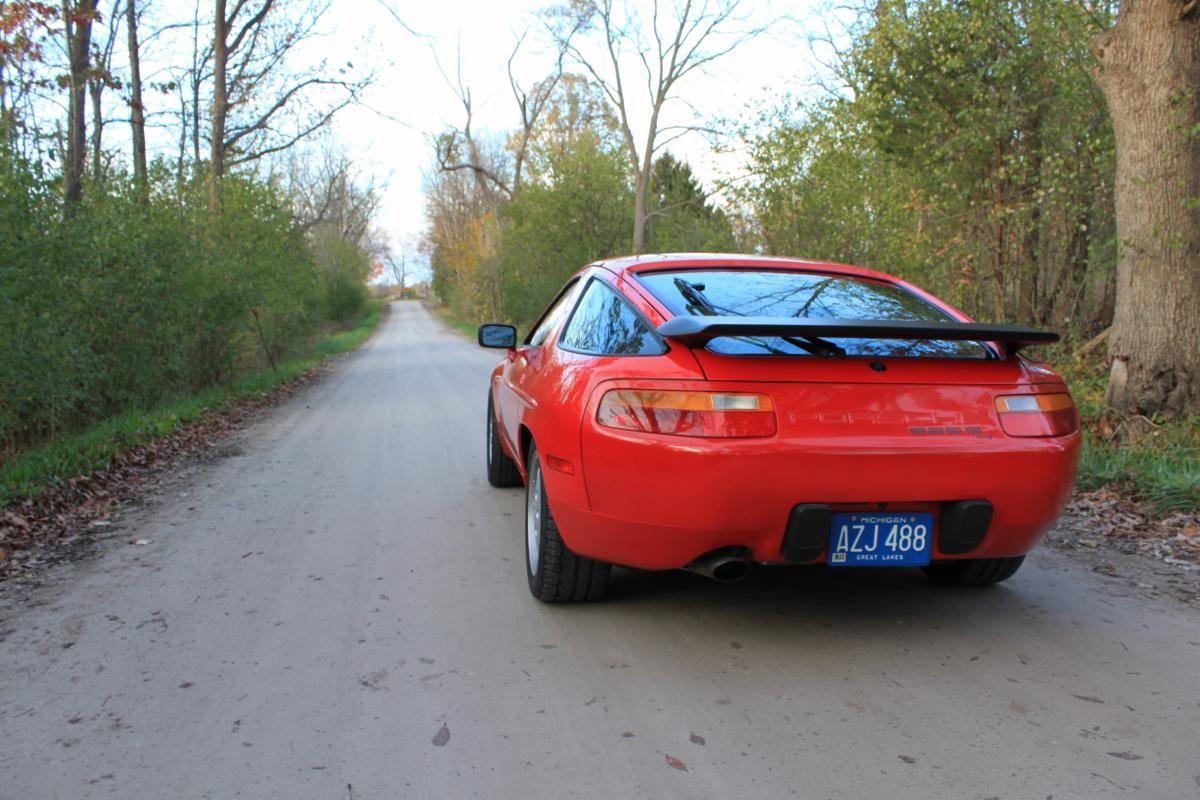
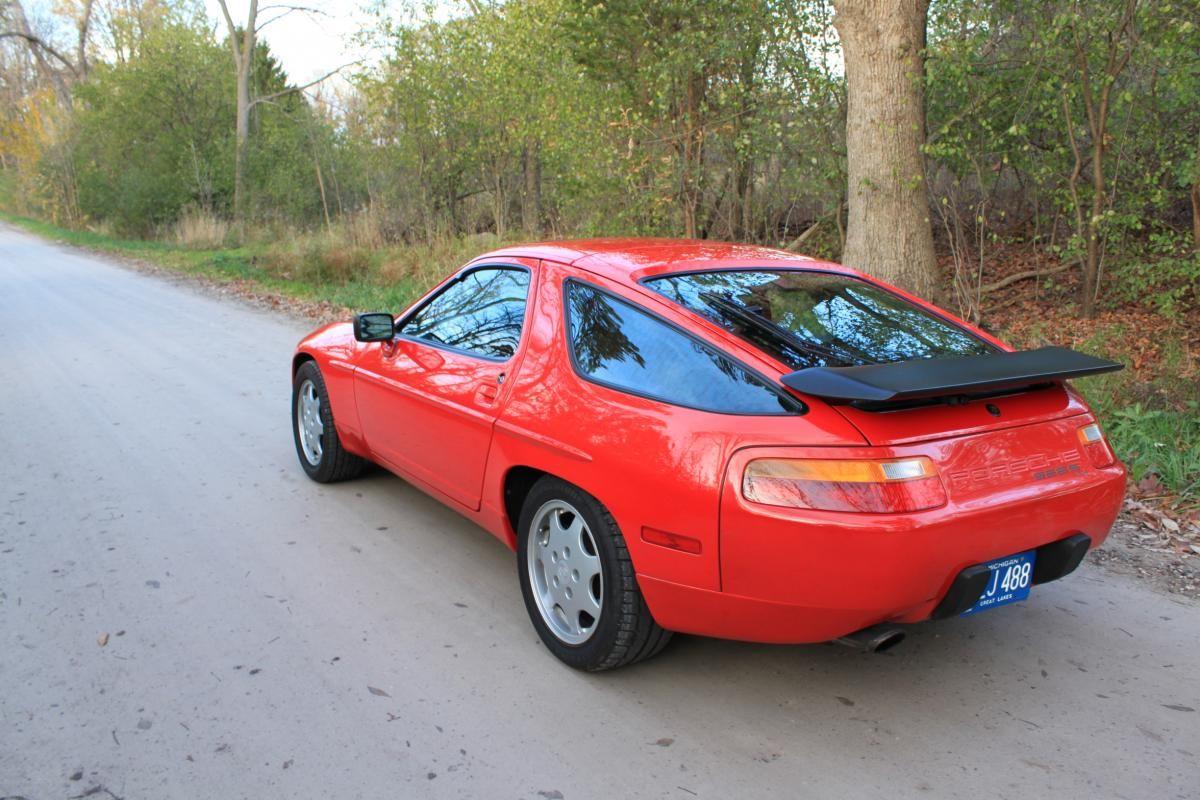
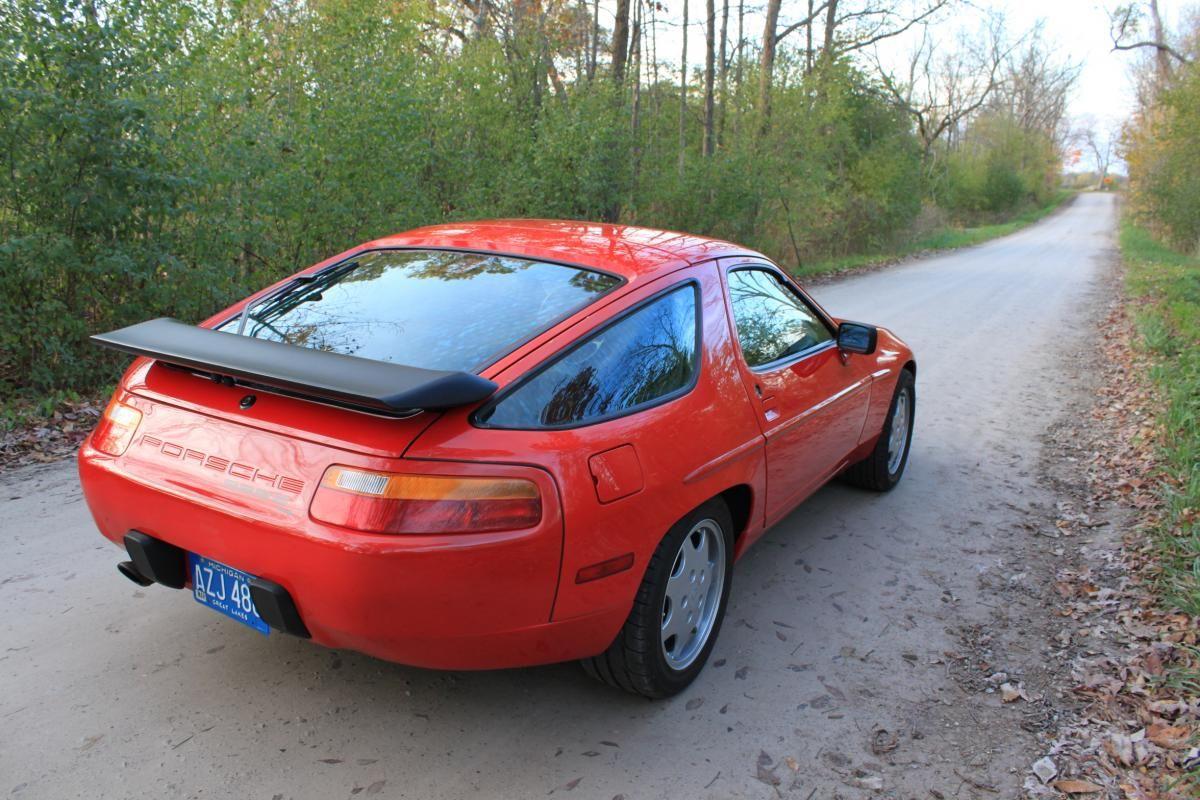
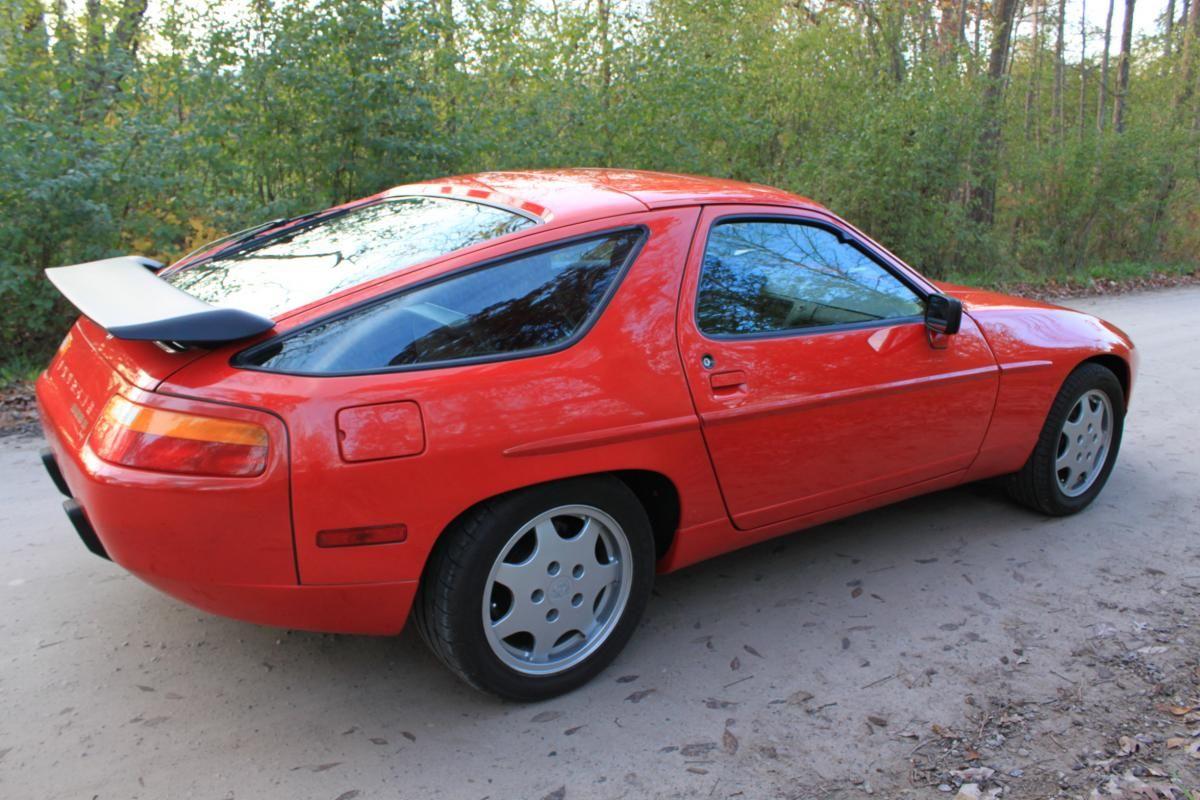
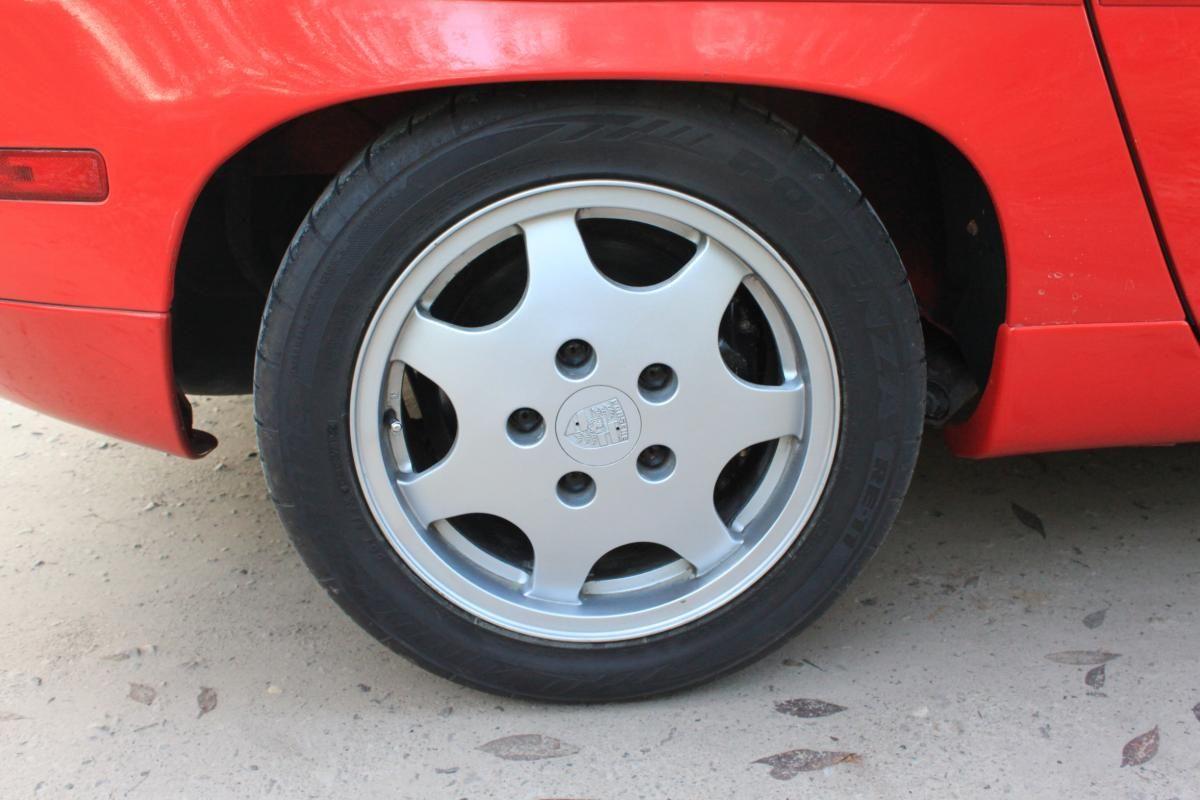
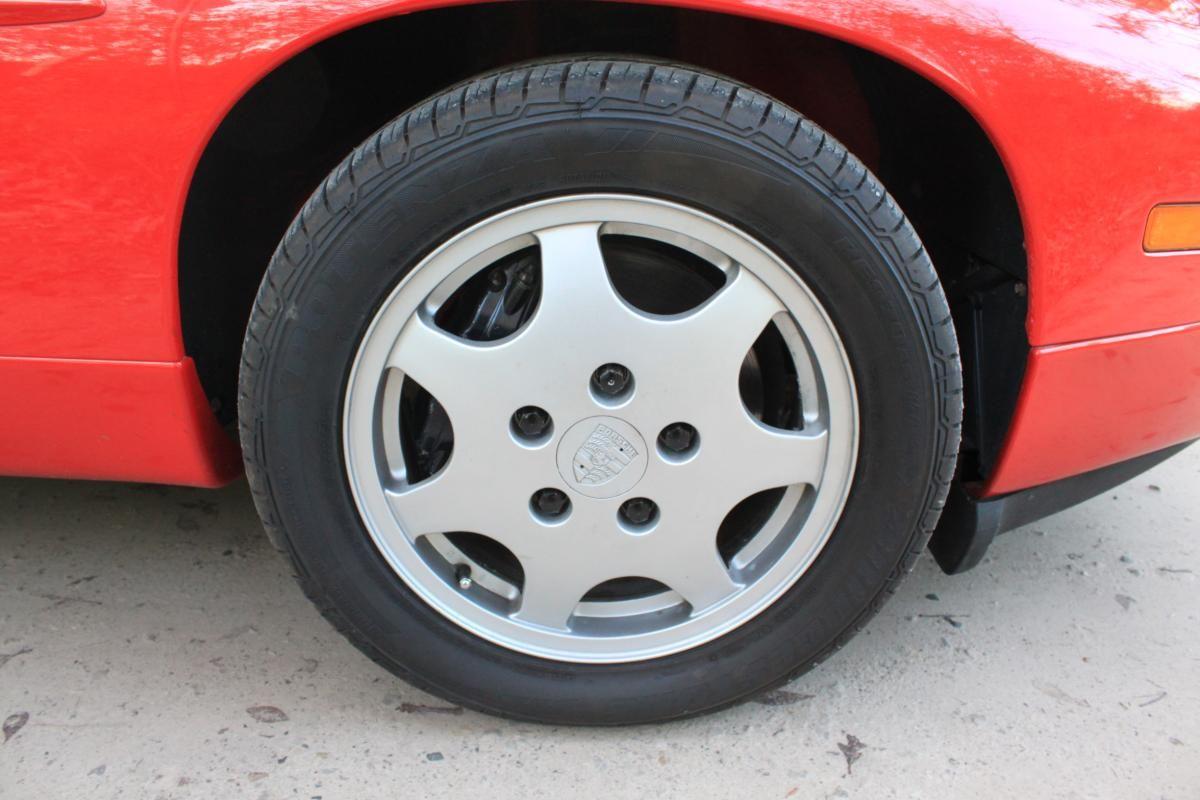
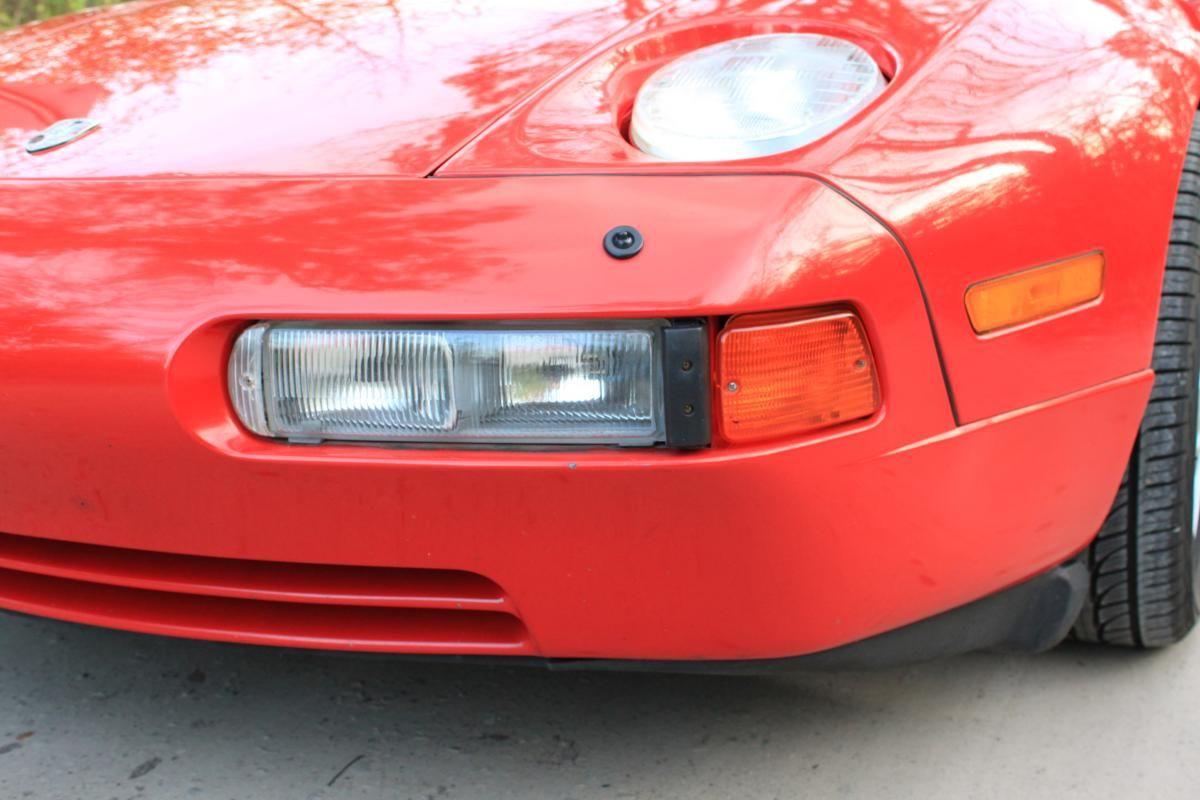
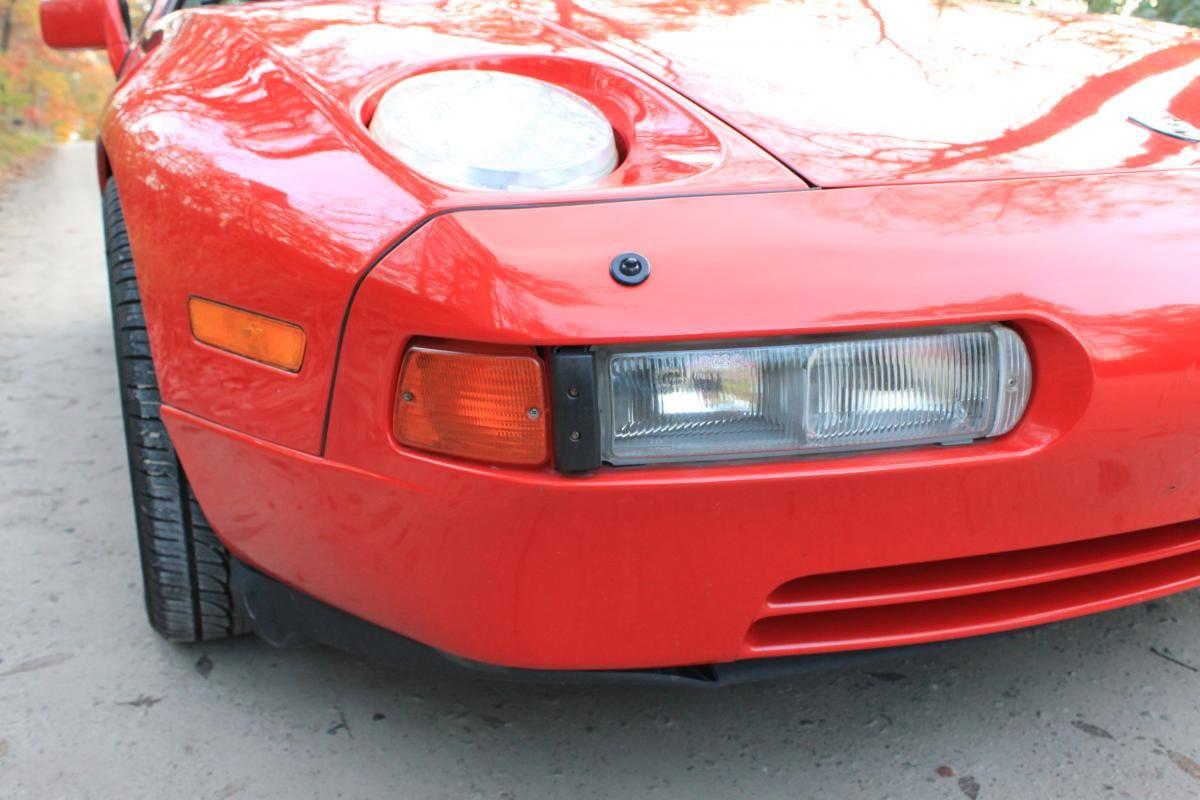
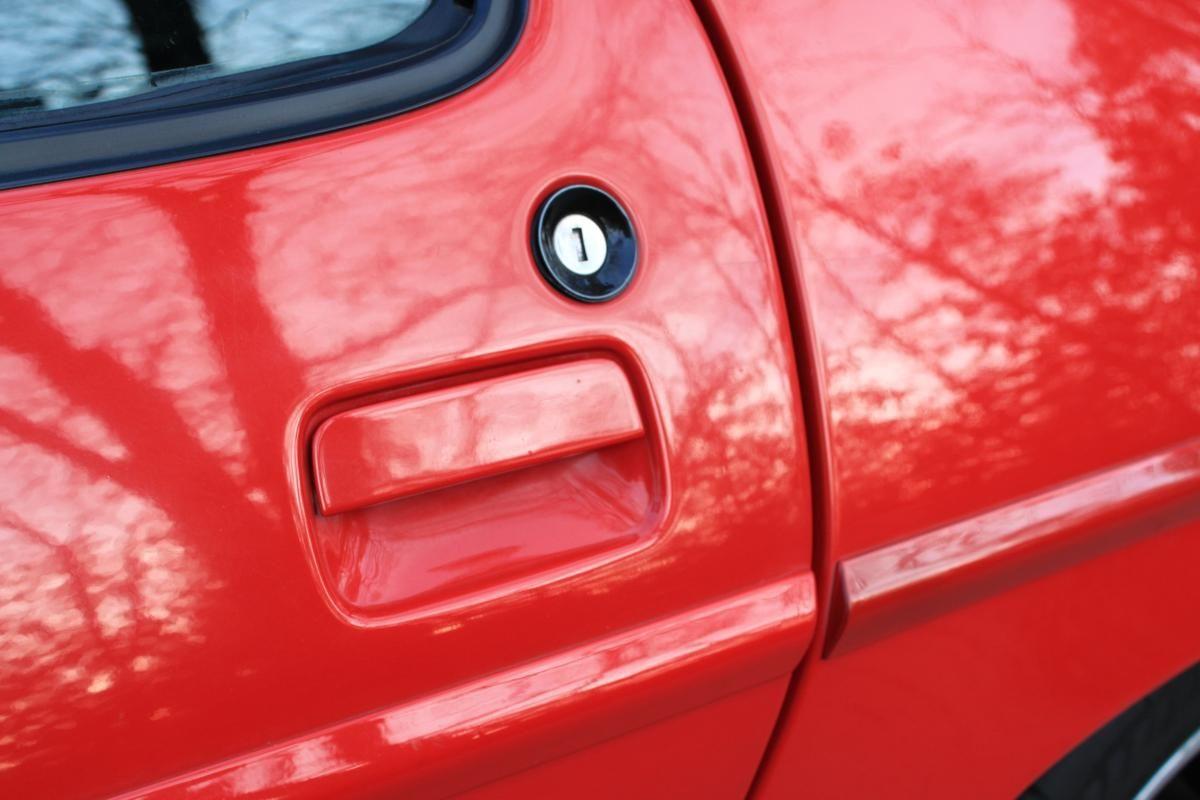
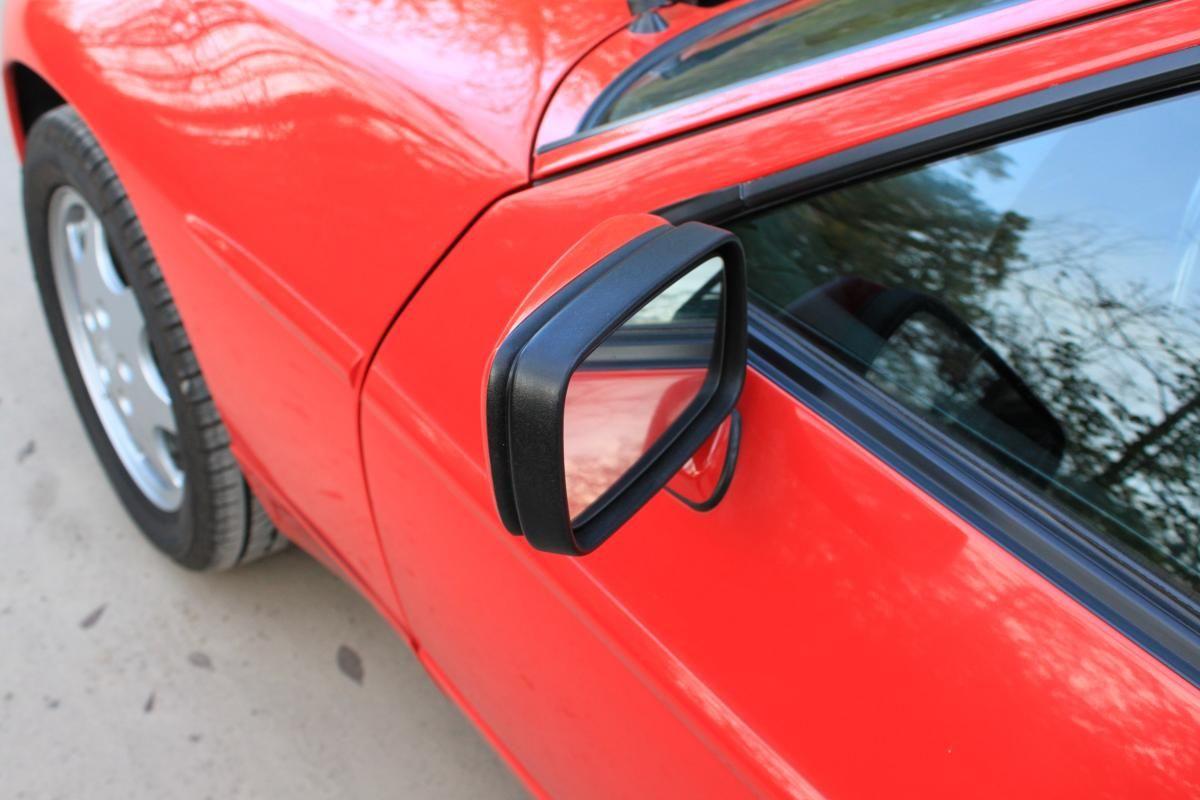
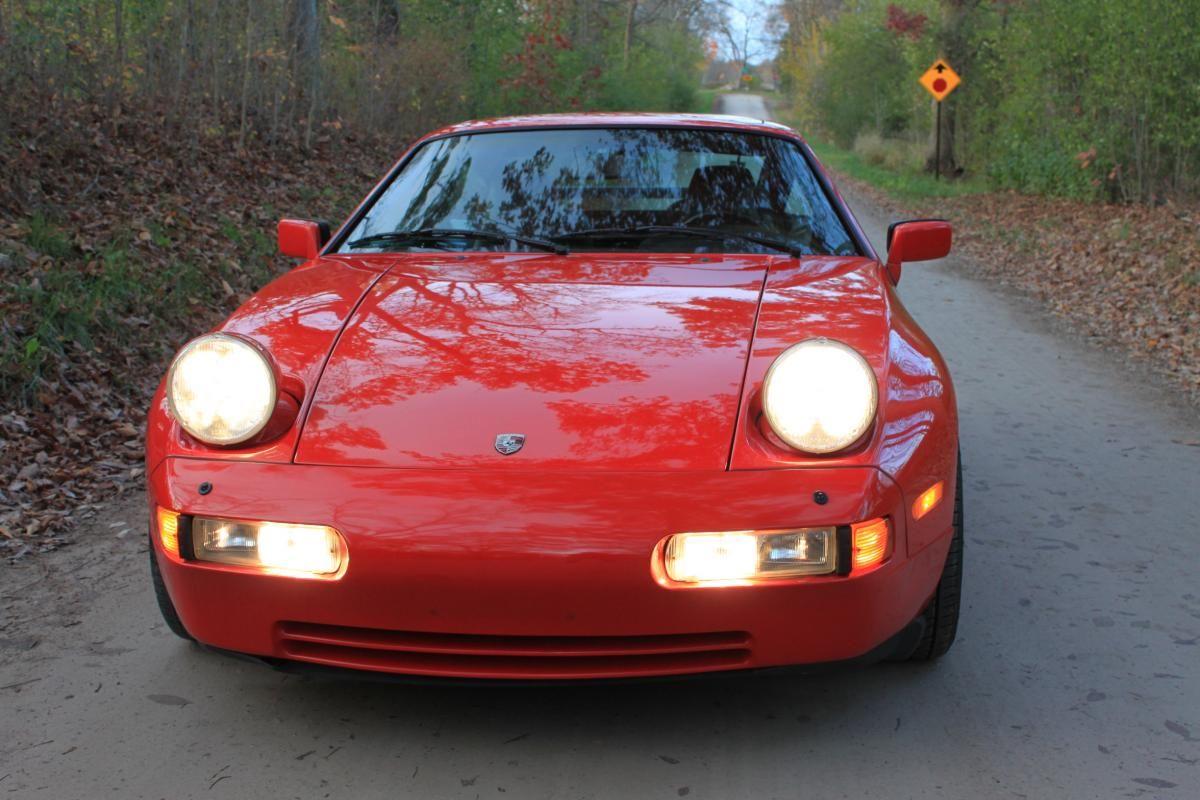
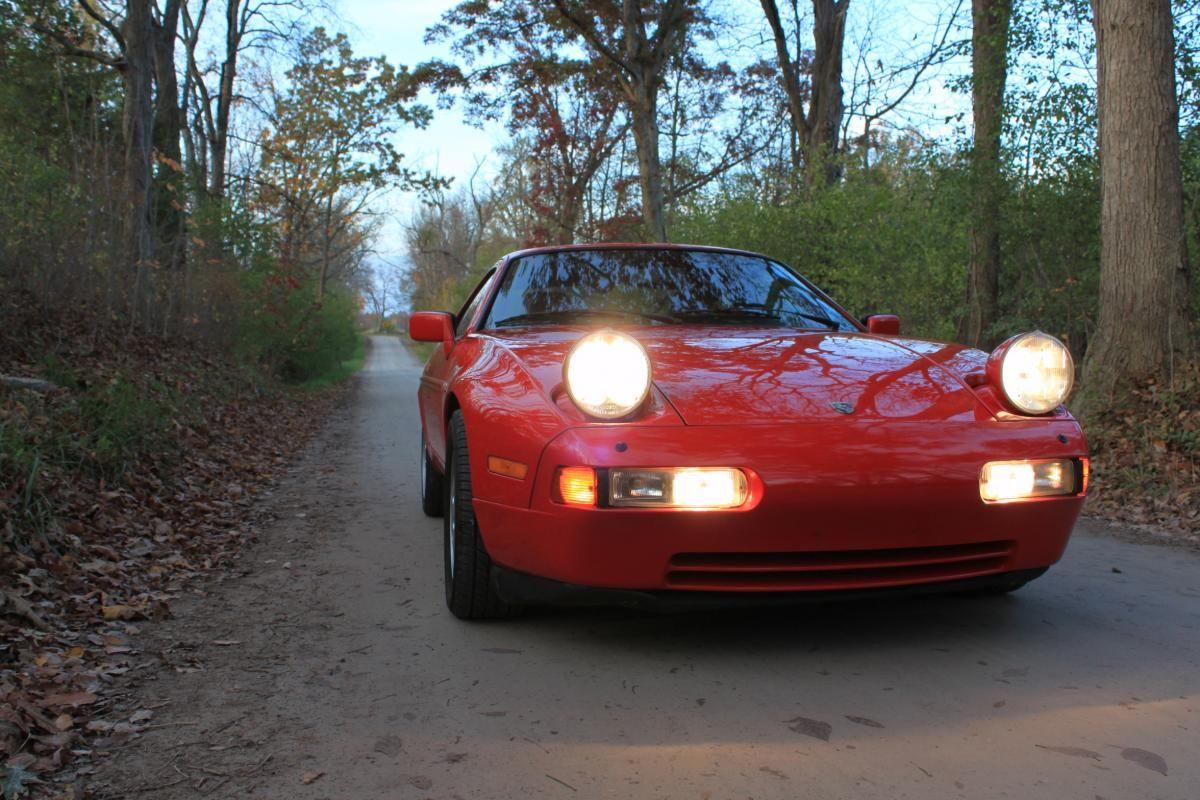
I have been meaning for a long time to start a thread documenting all the work done during my ownership of the car. Now that I have to prepare for selling it, its finally time to get to this thread. I wish i could keep this car, but the deal with my wife when we bought it is that we would only own it for 2 years. I has now been 3, and she's quite understanding, but ive got to keep my side of the bargain otherwise she might not let me buy anything else, so even though I love this car, its got to go........... I'll be putting up pictures through all of my work, but in this first post are pictures of the car by the PO in his sale ad when i bought it, and links to all the documentation of the work he did. Paul did a nice job of handling the majority of the common major problems when he had it, and set up a really nice website to show off his work. might as well plug it here!
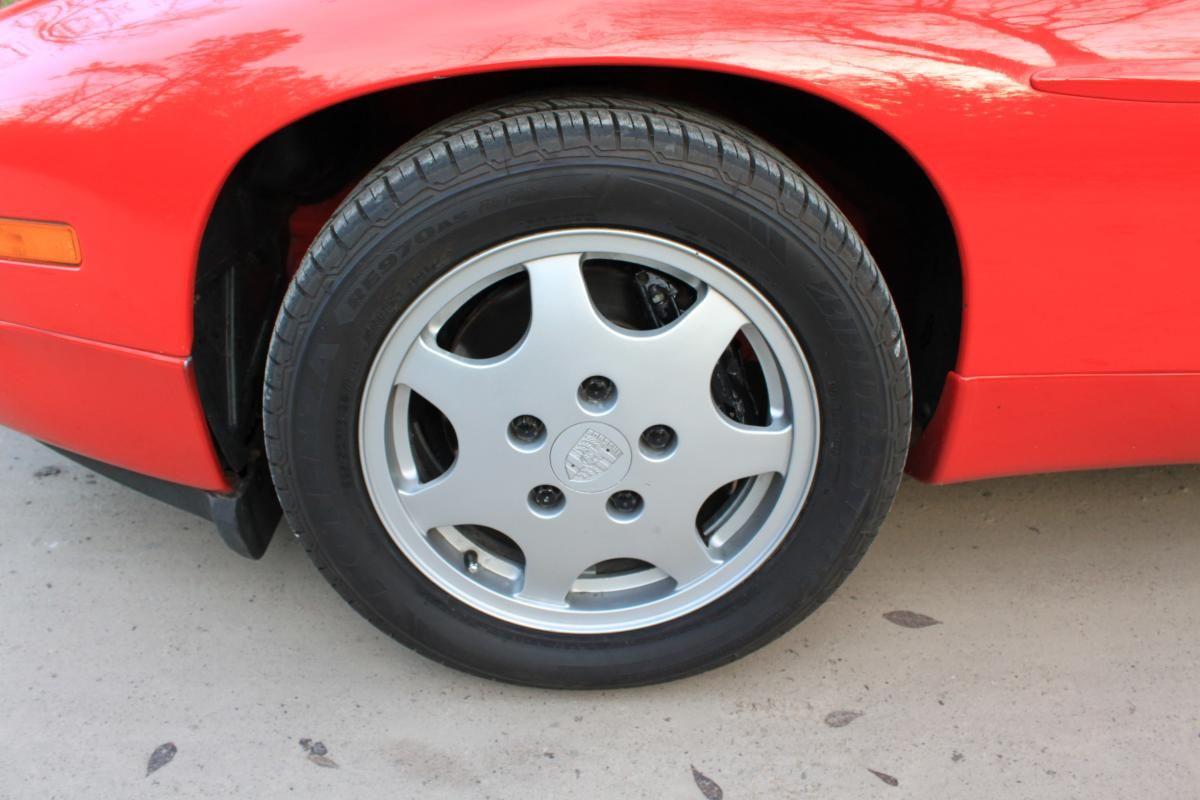
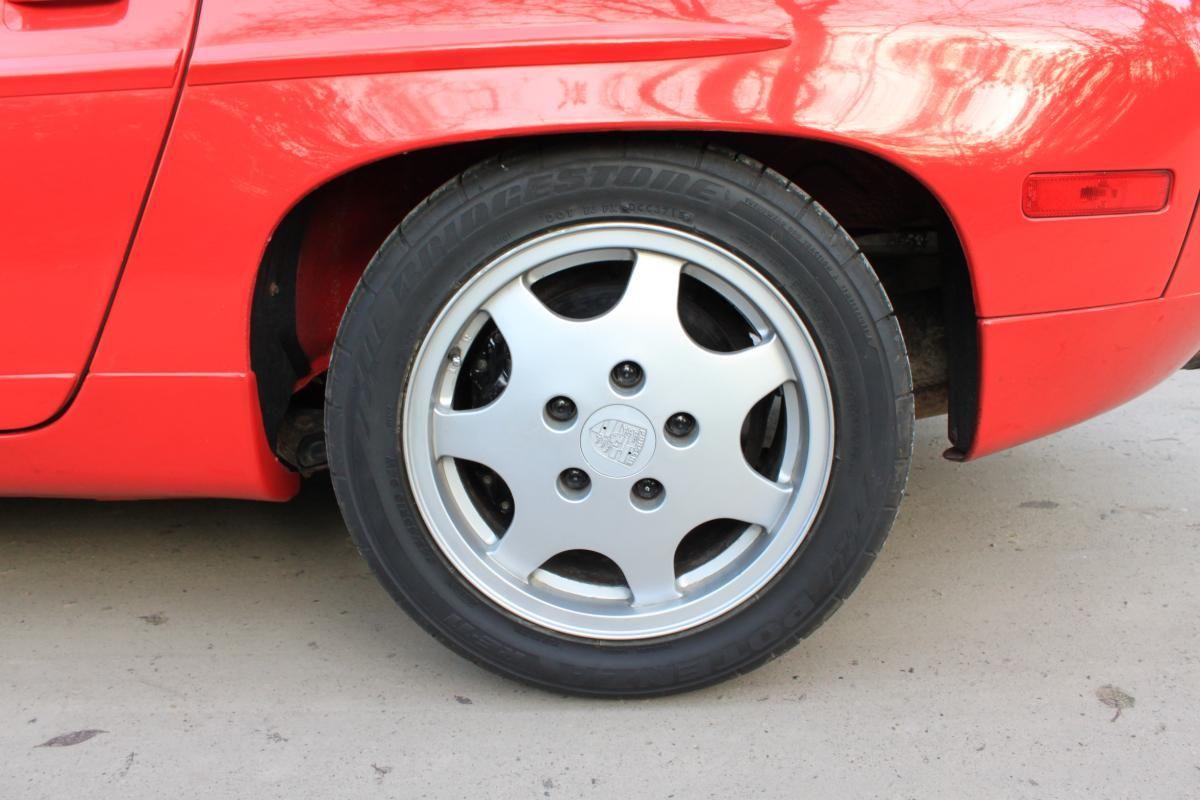
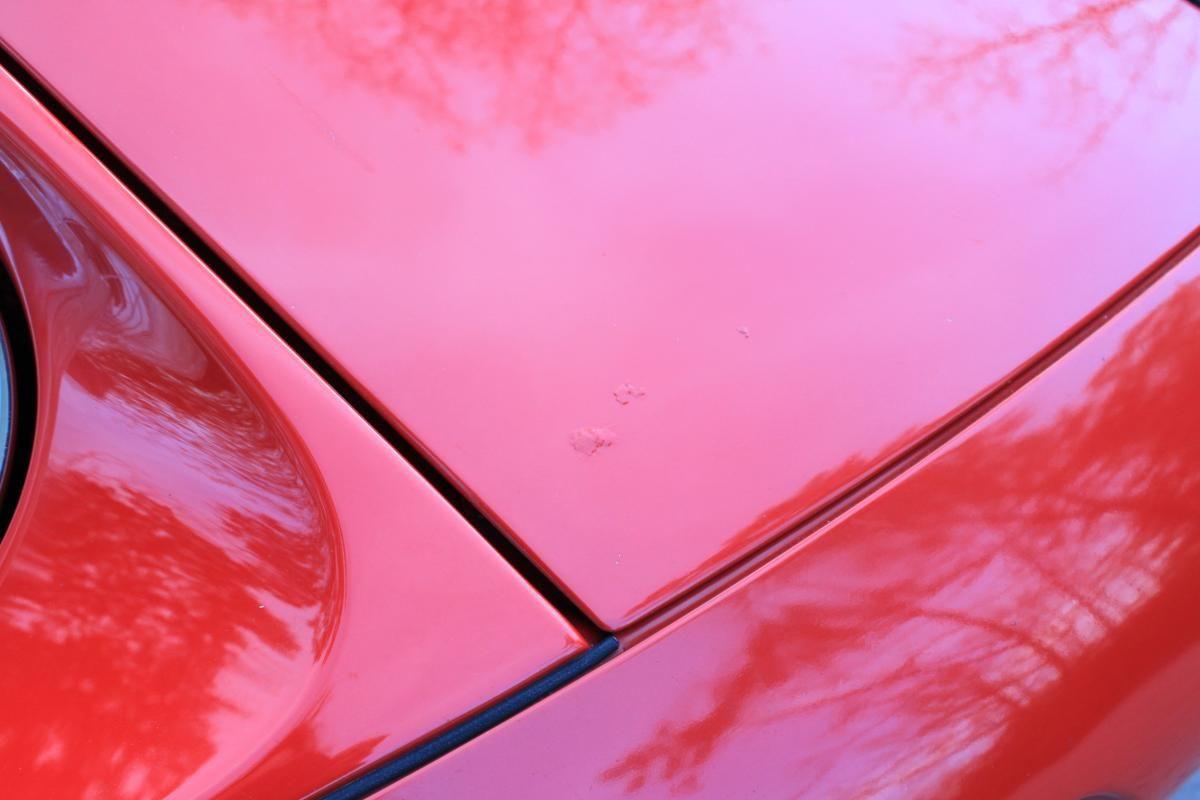
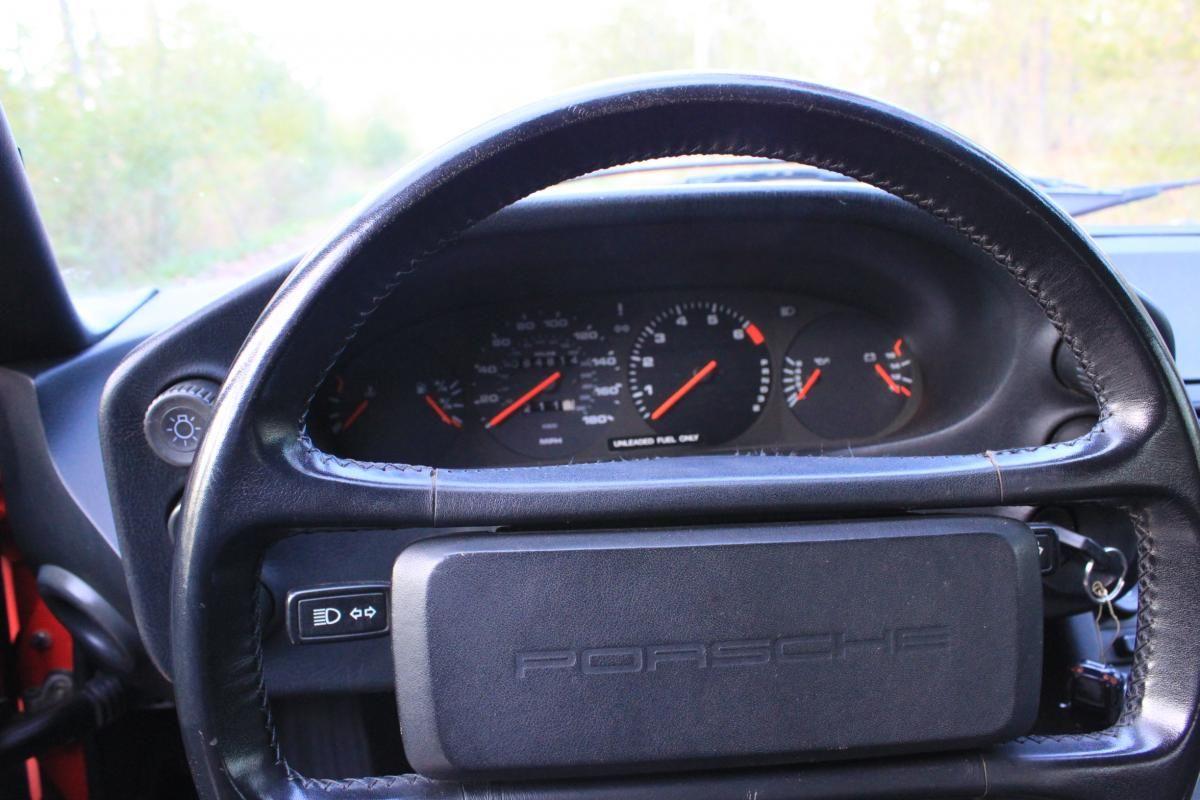
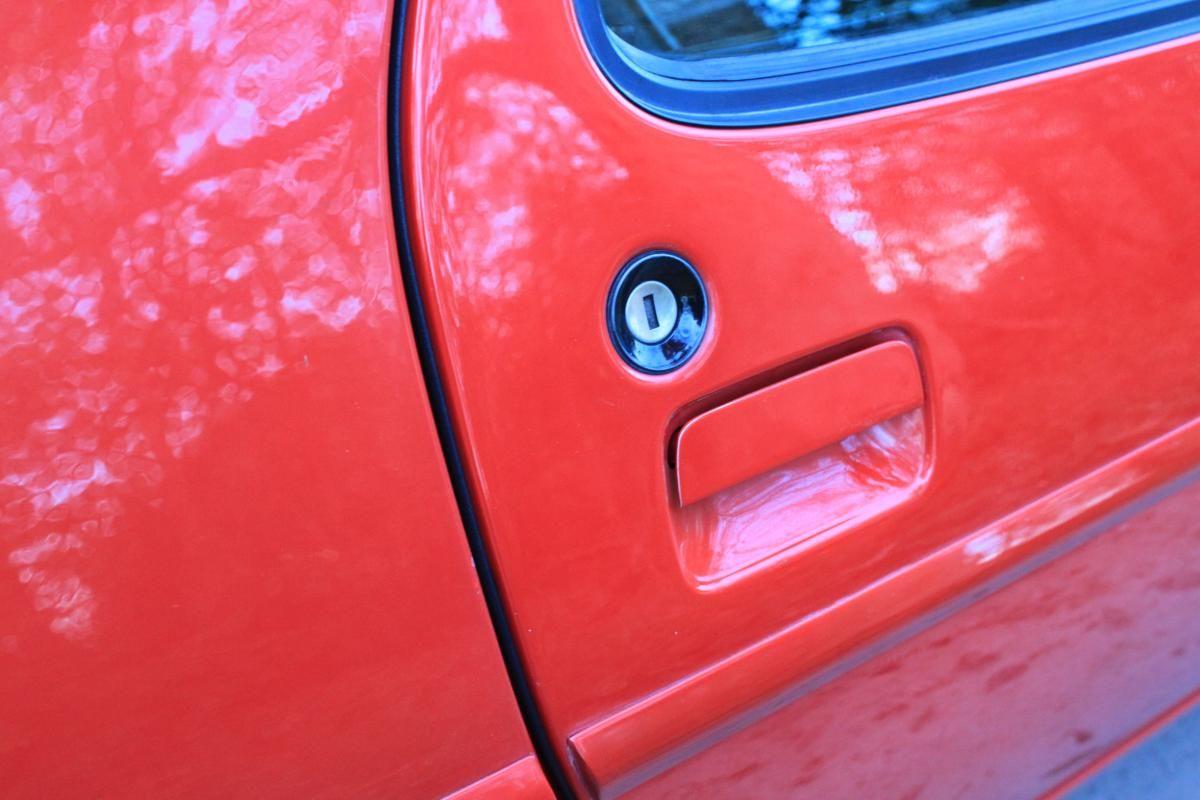
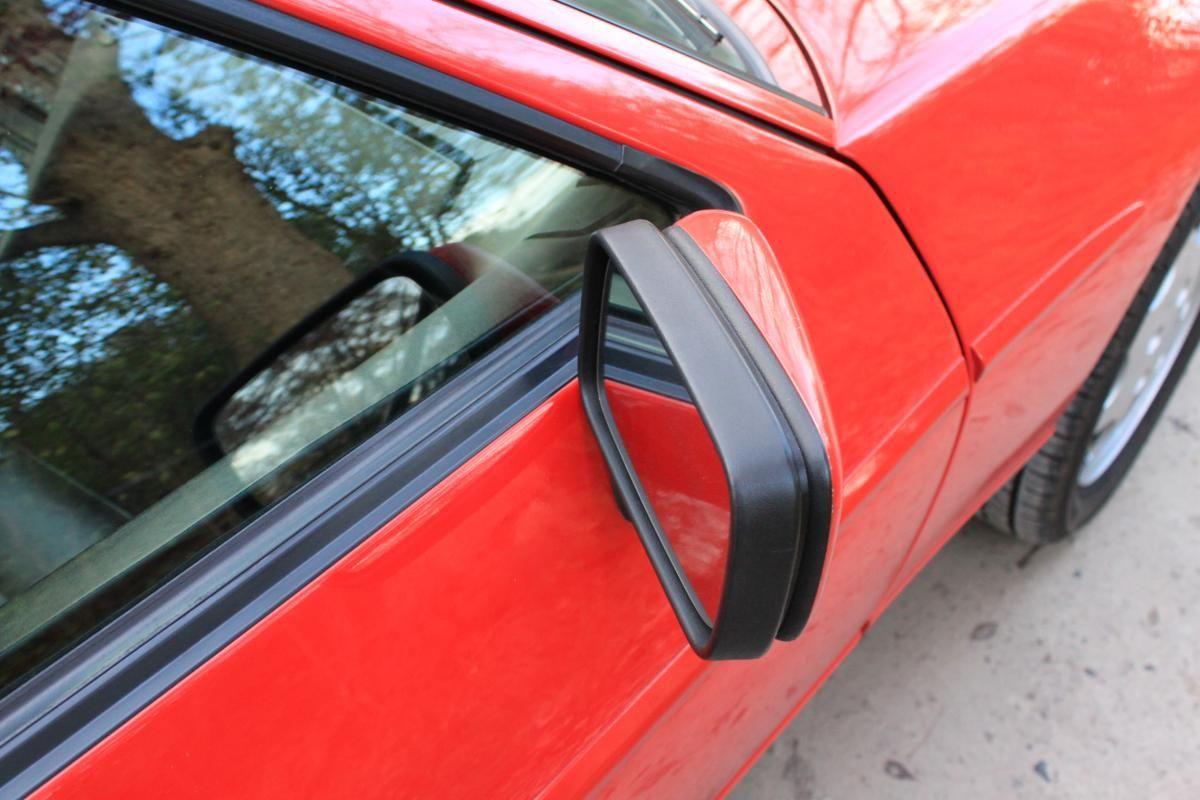
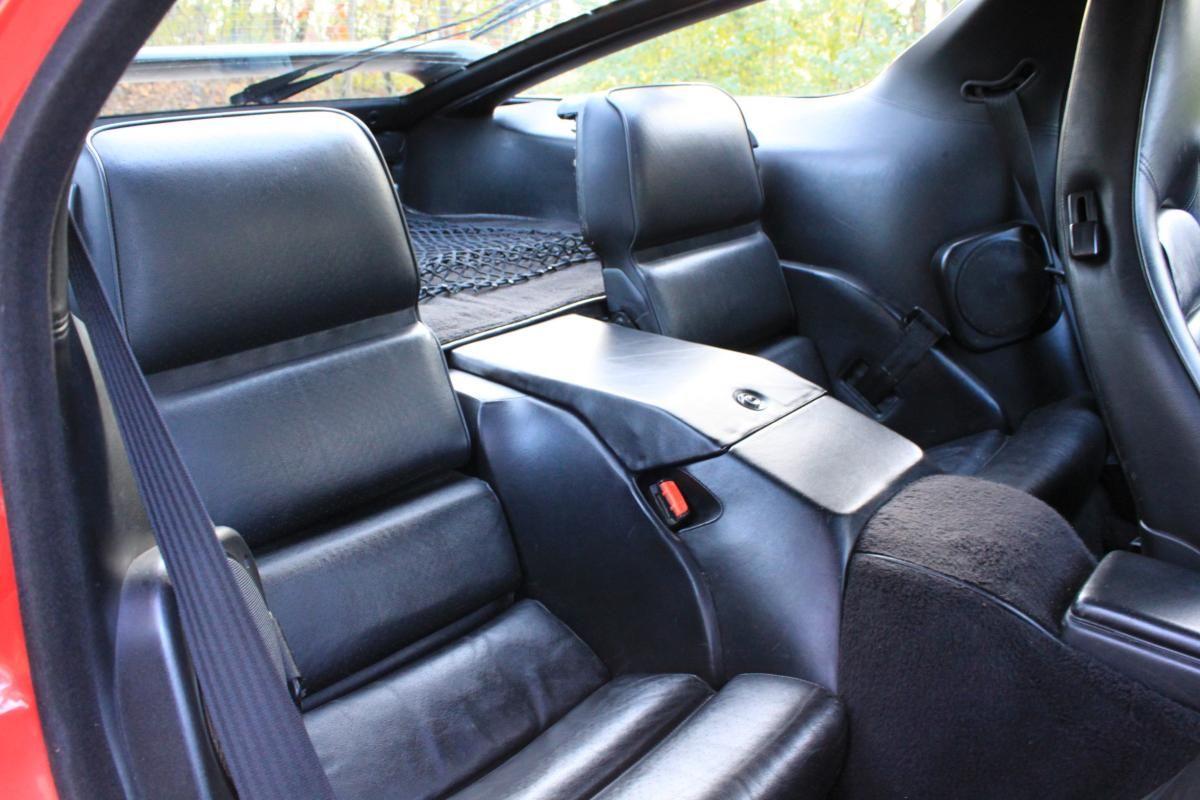
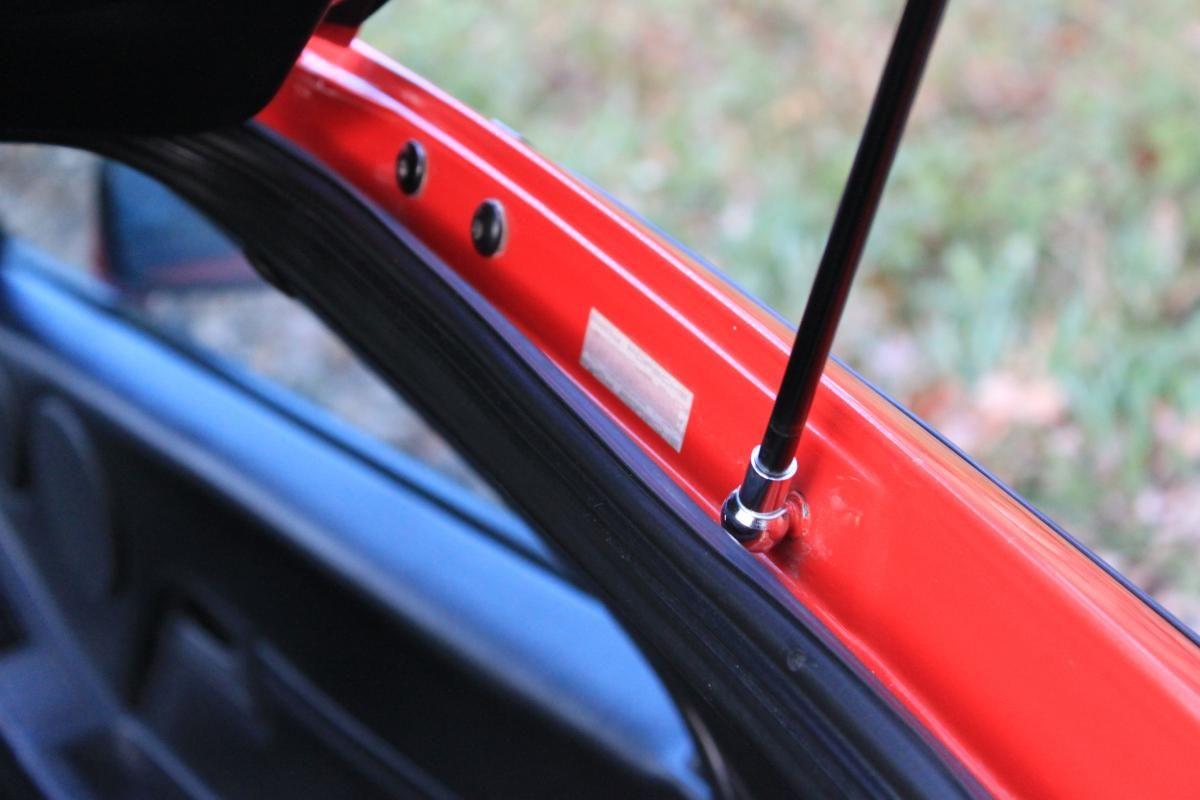
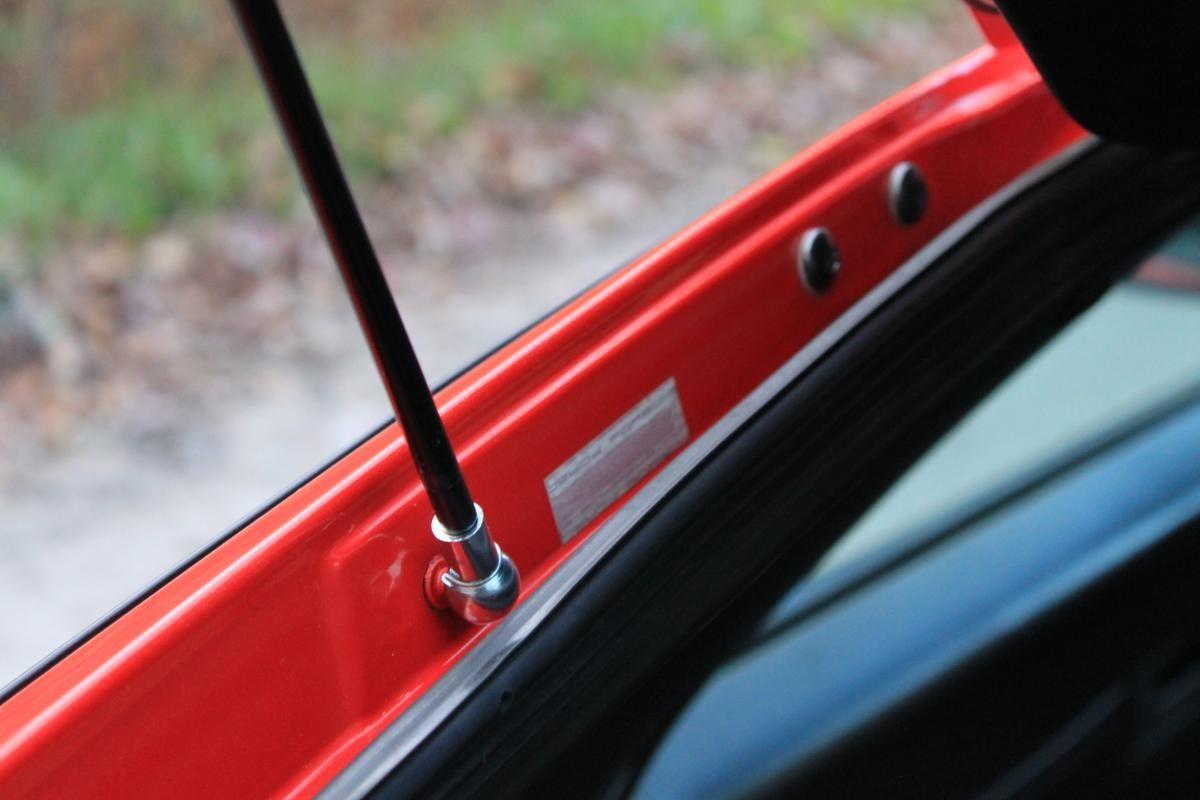
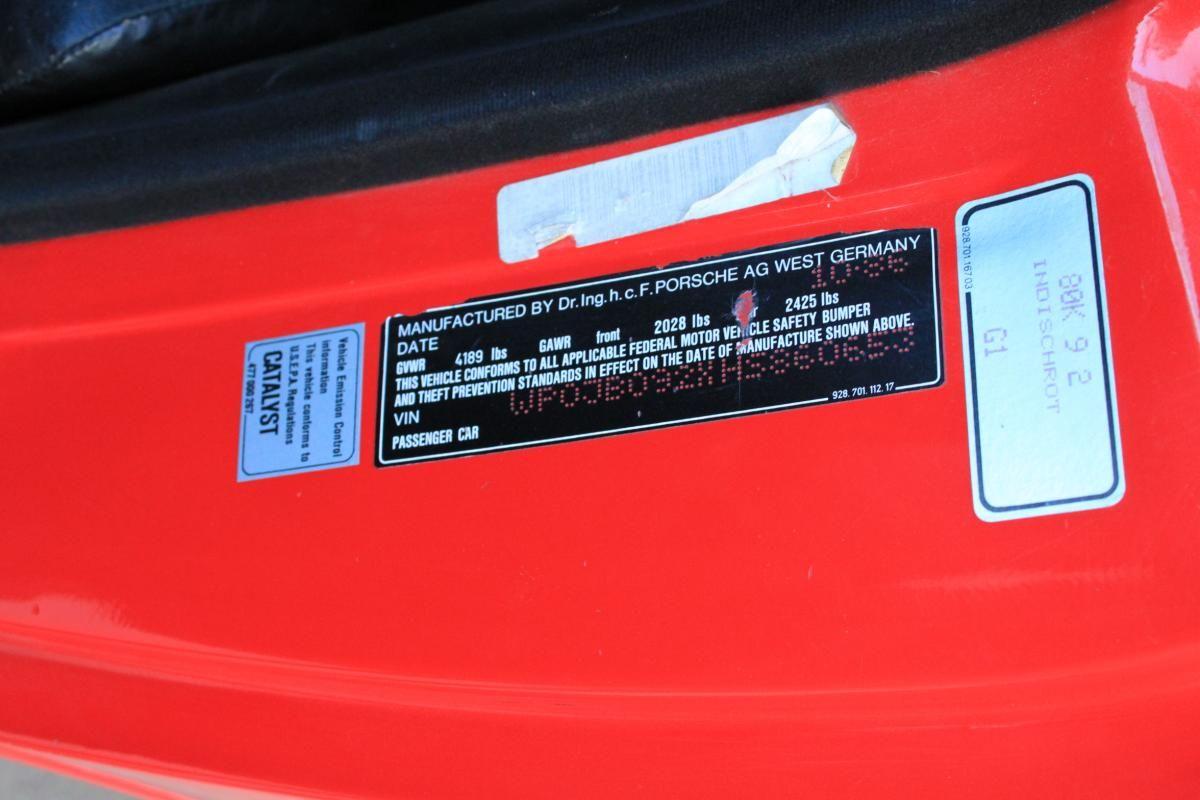
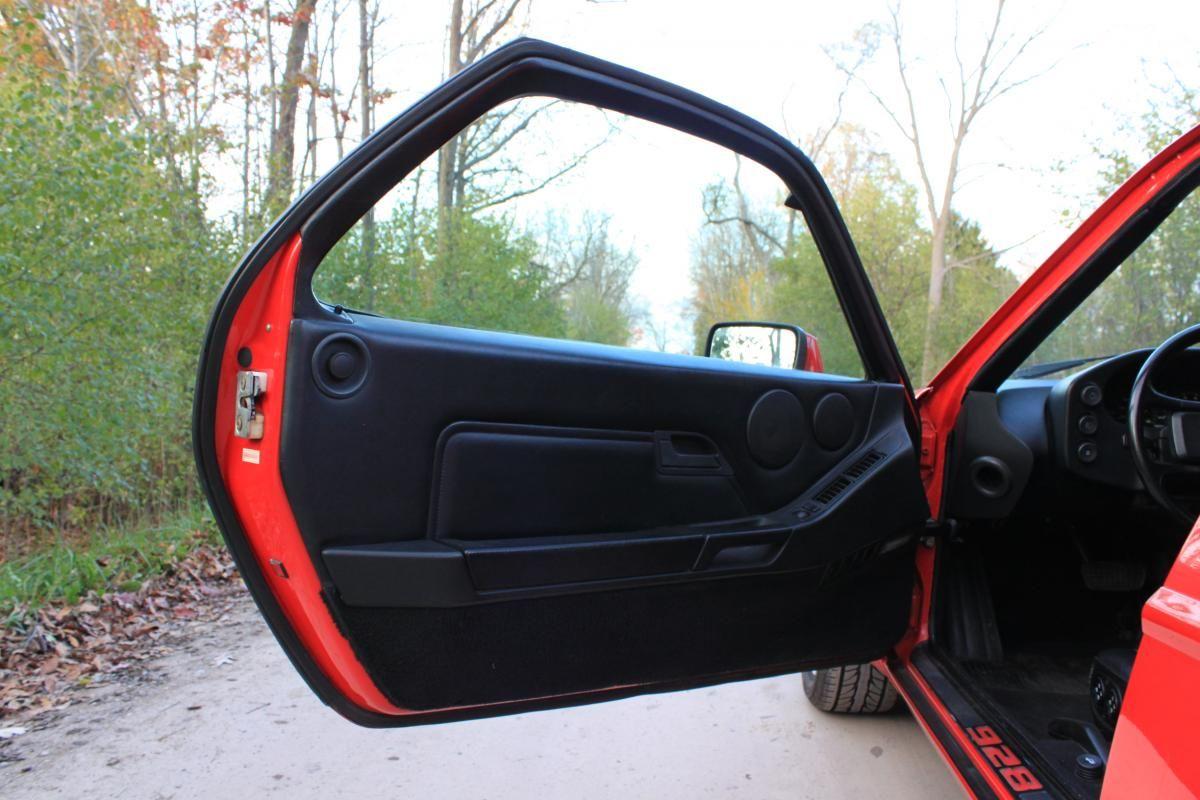
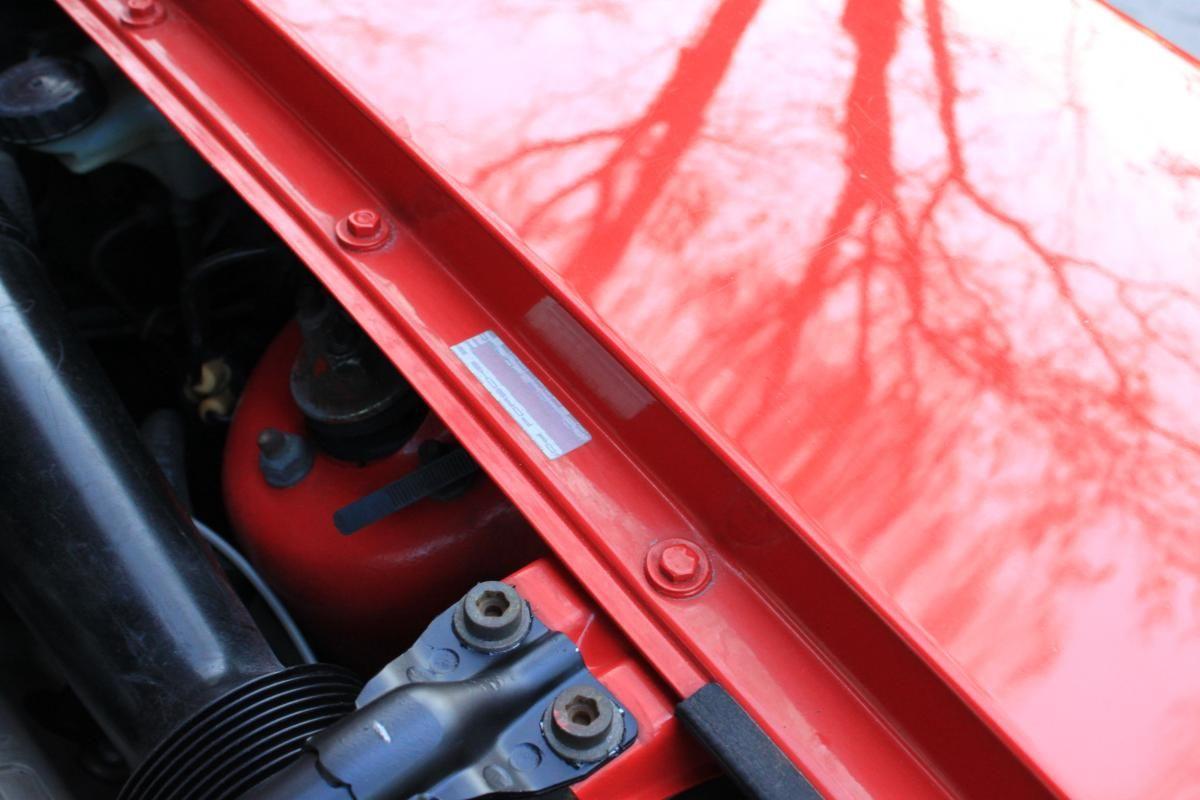
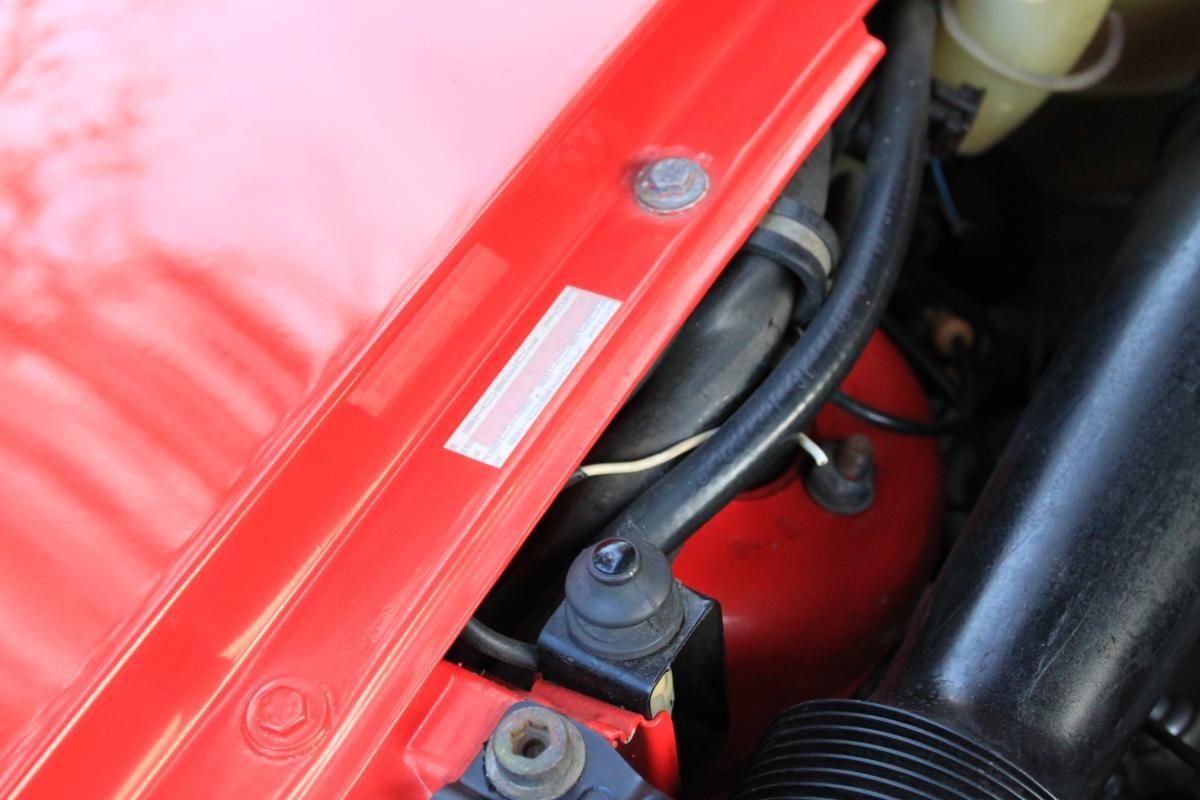
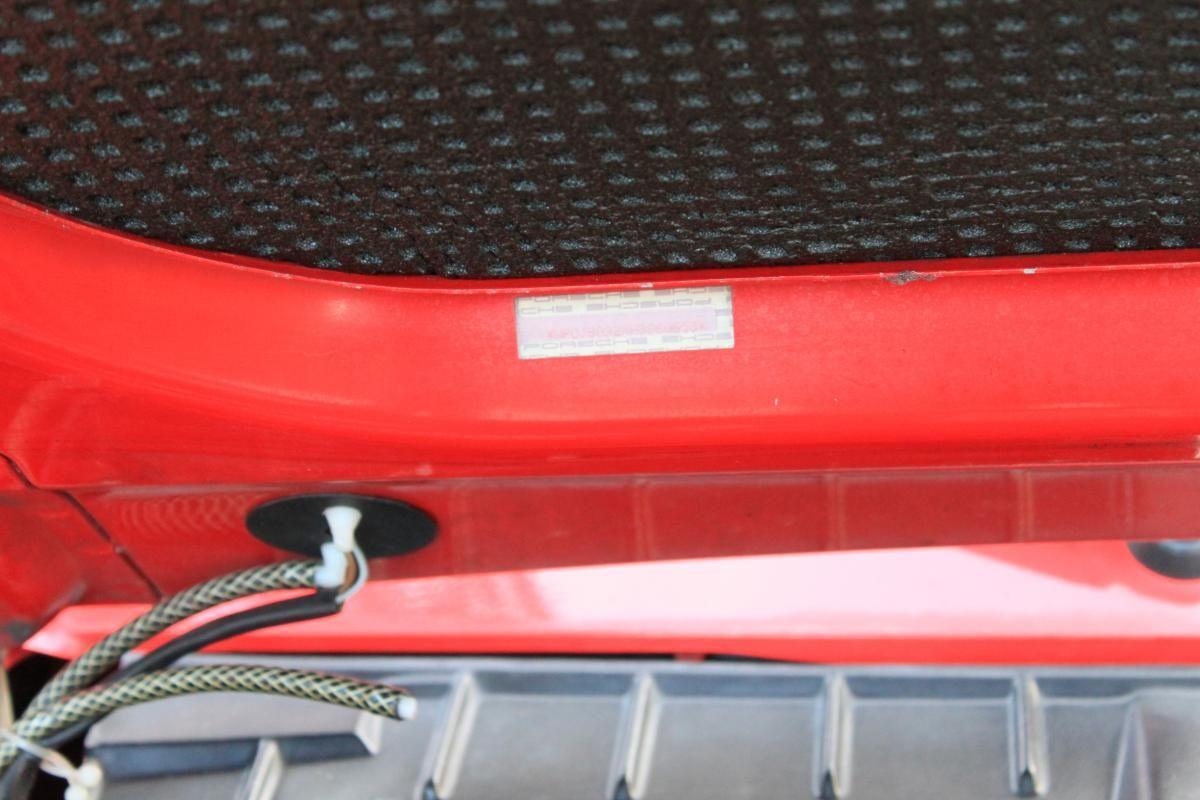
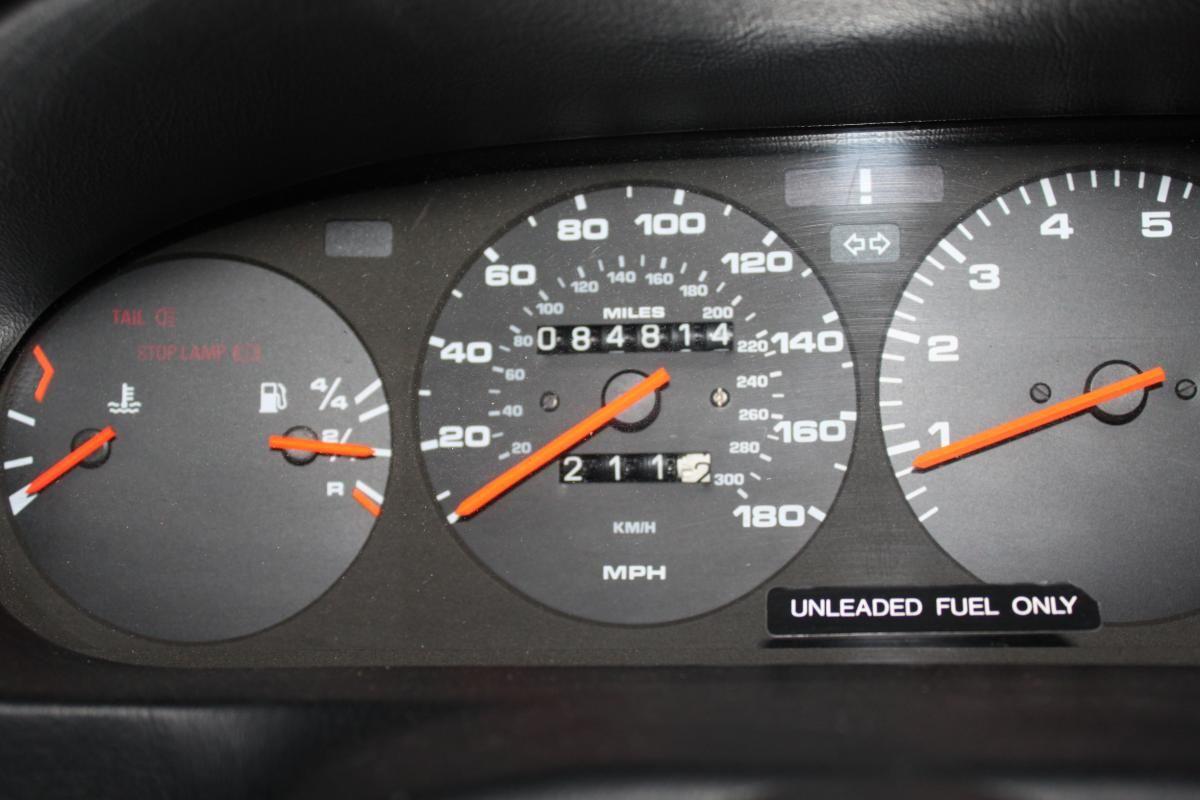
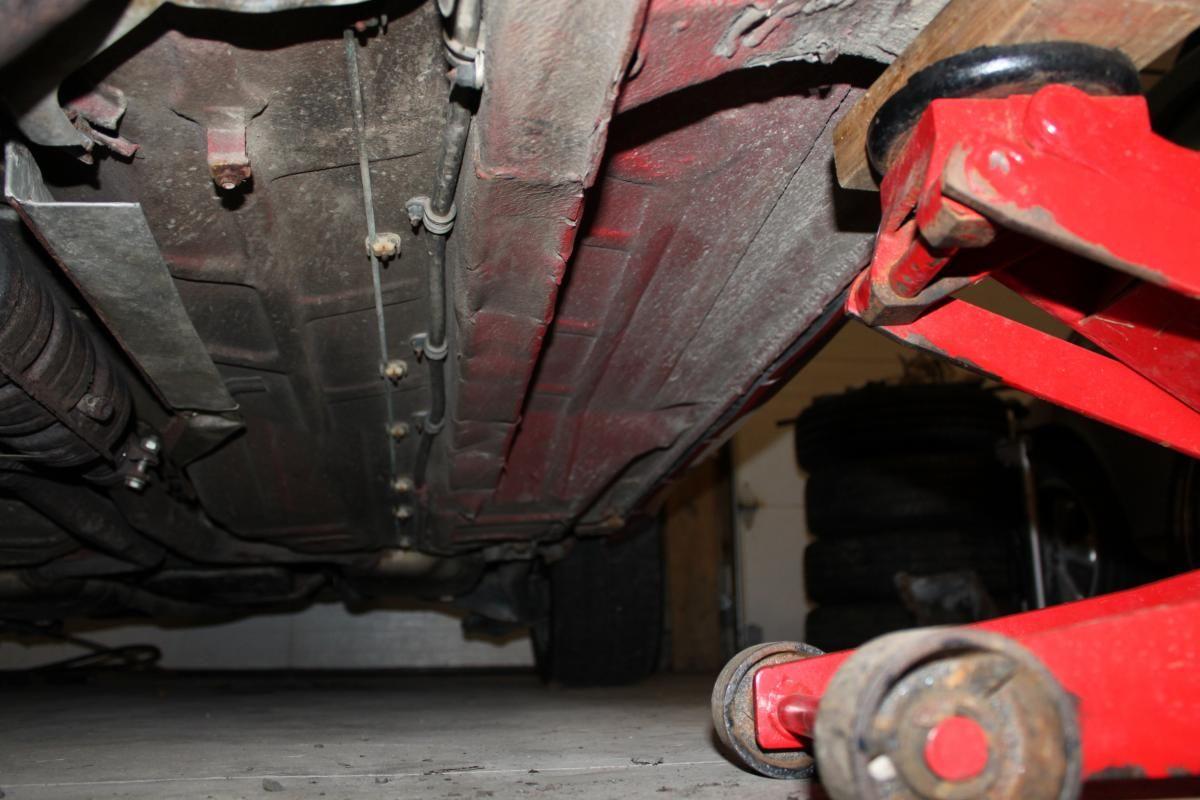
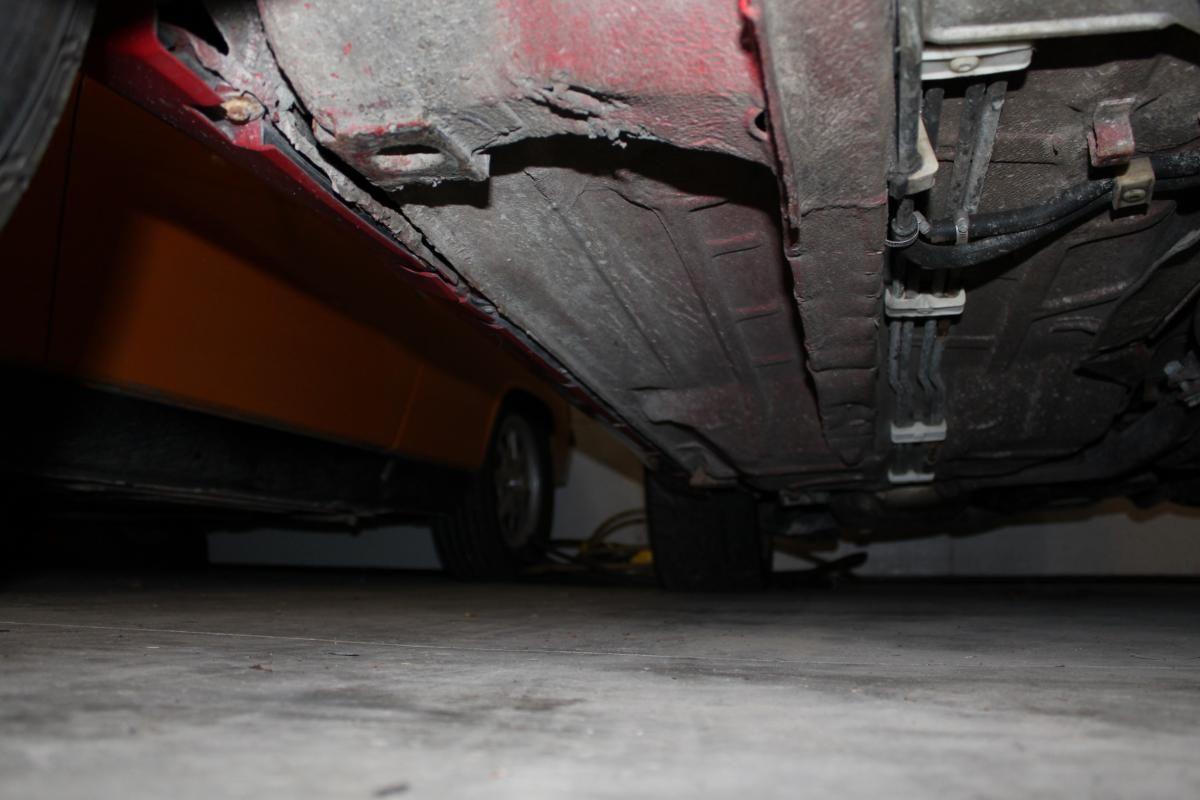
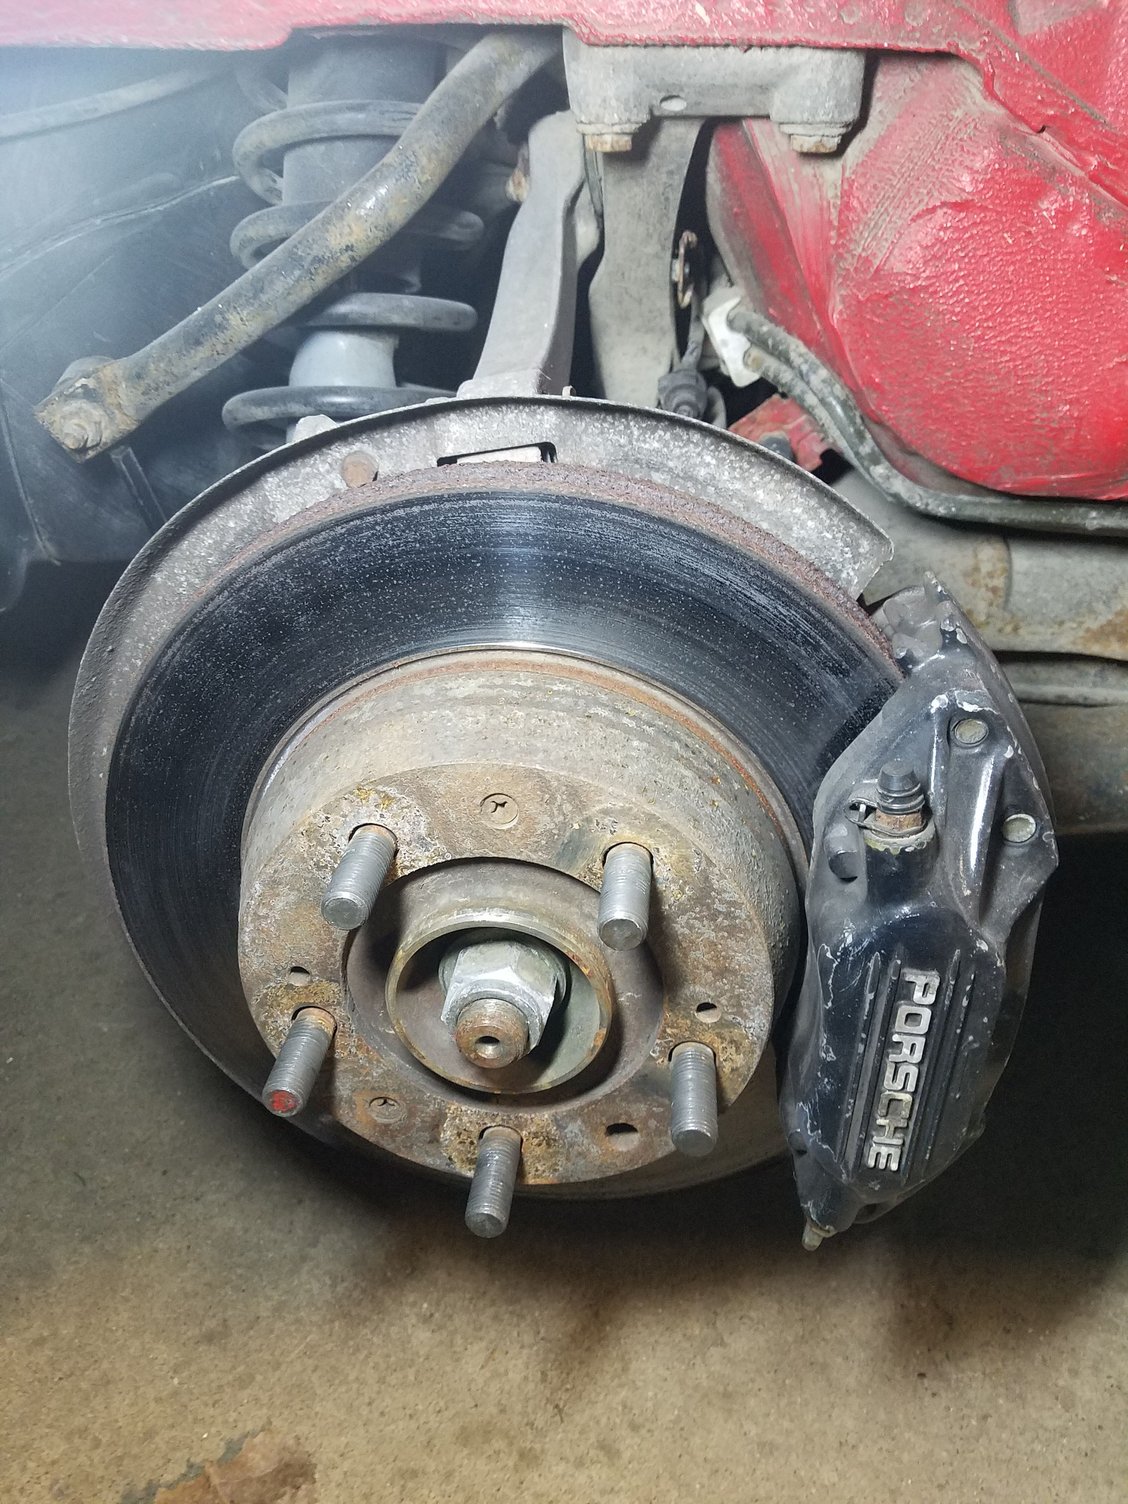
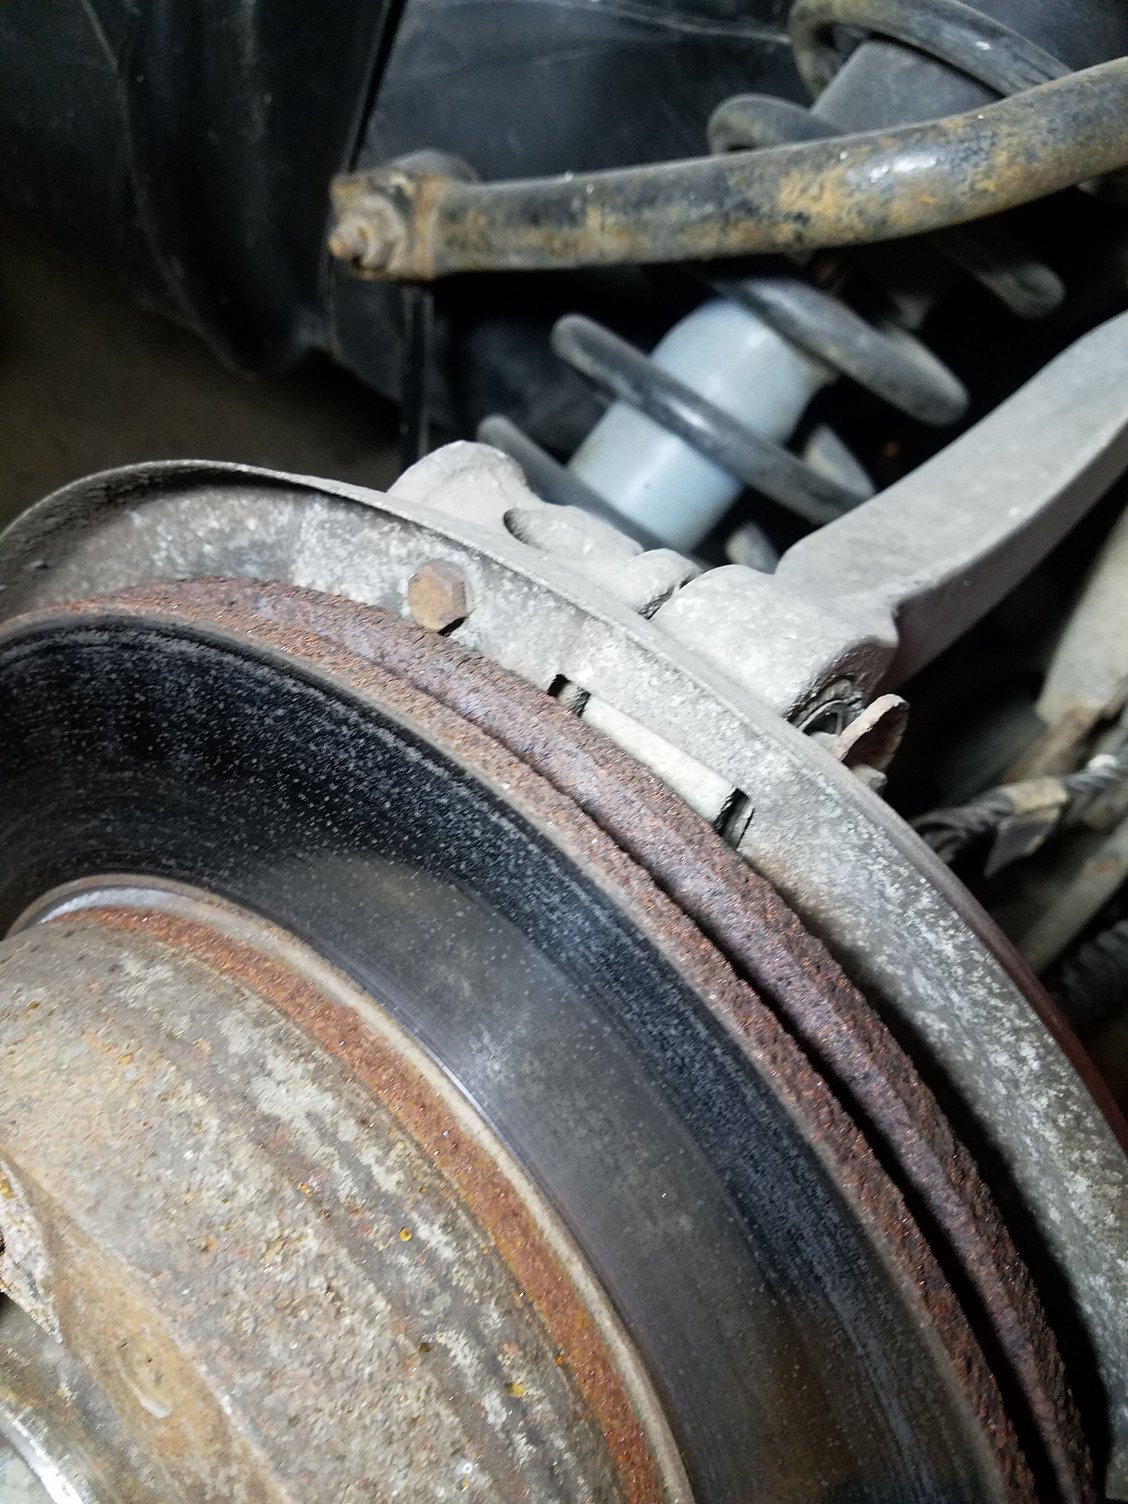
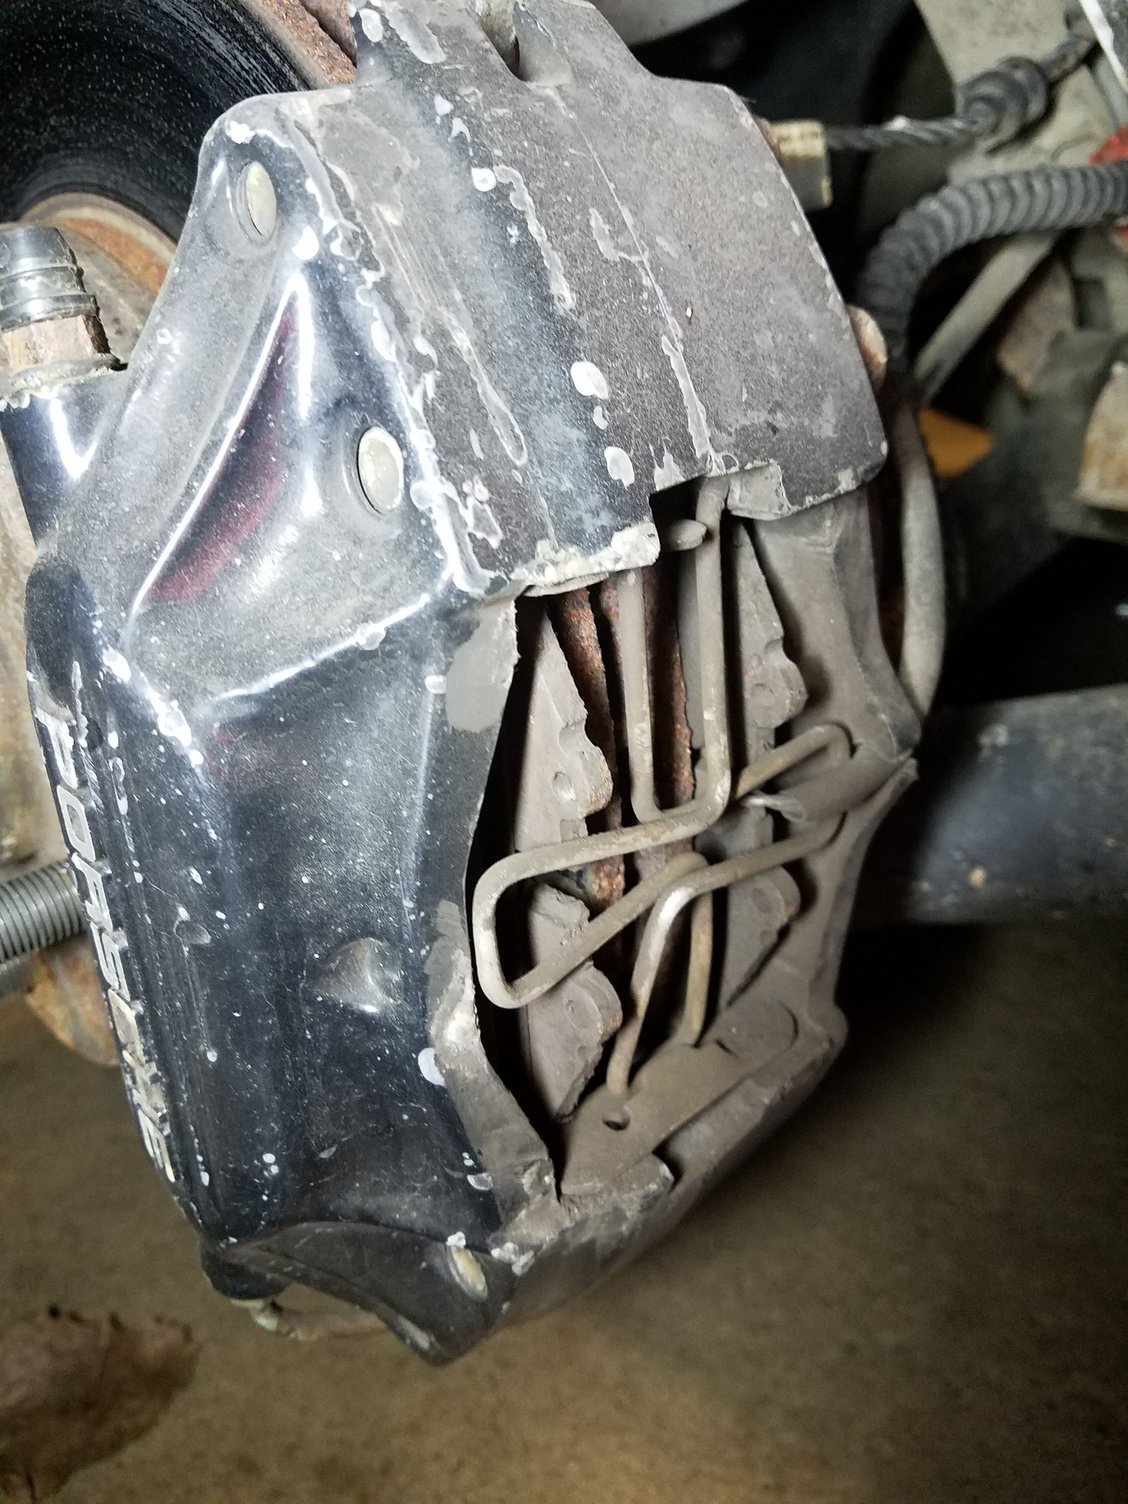
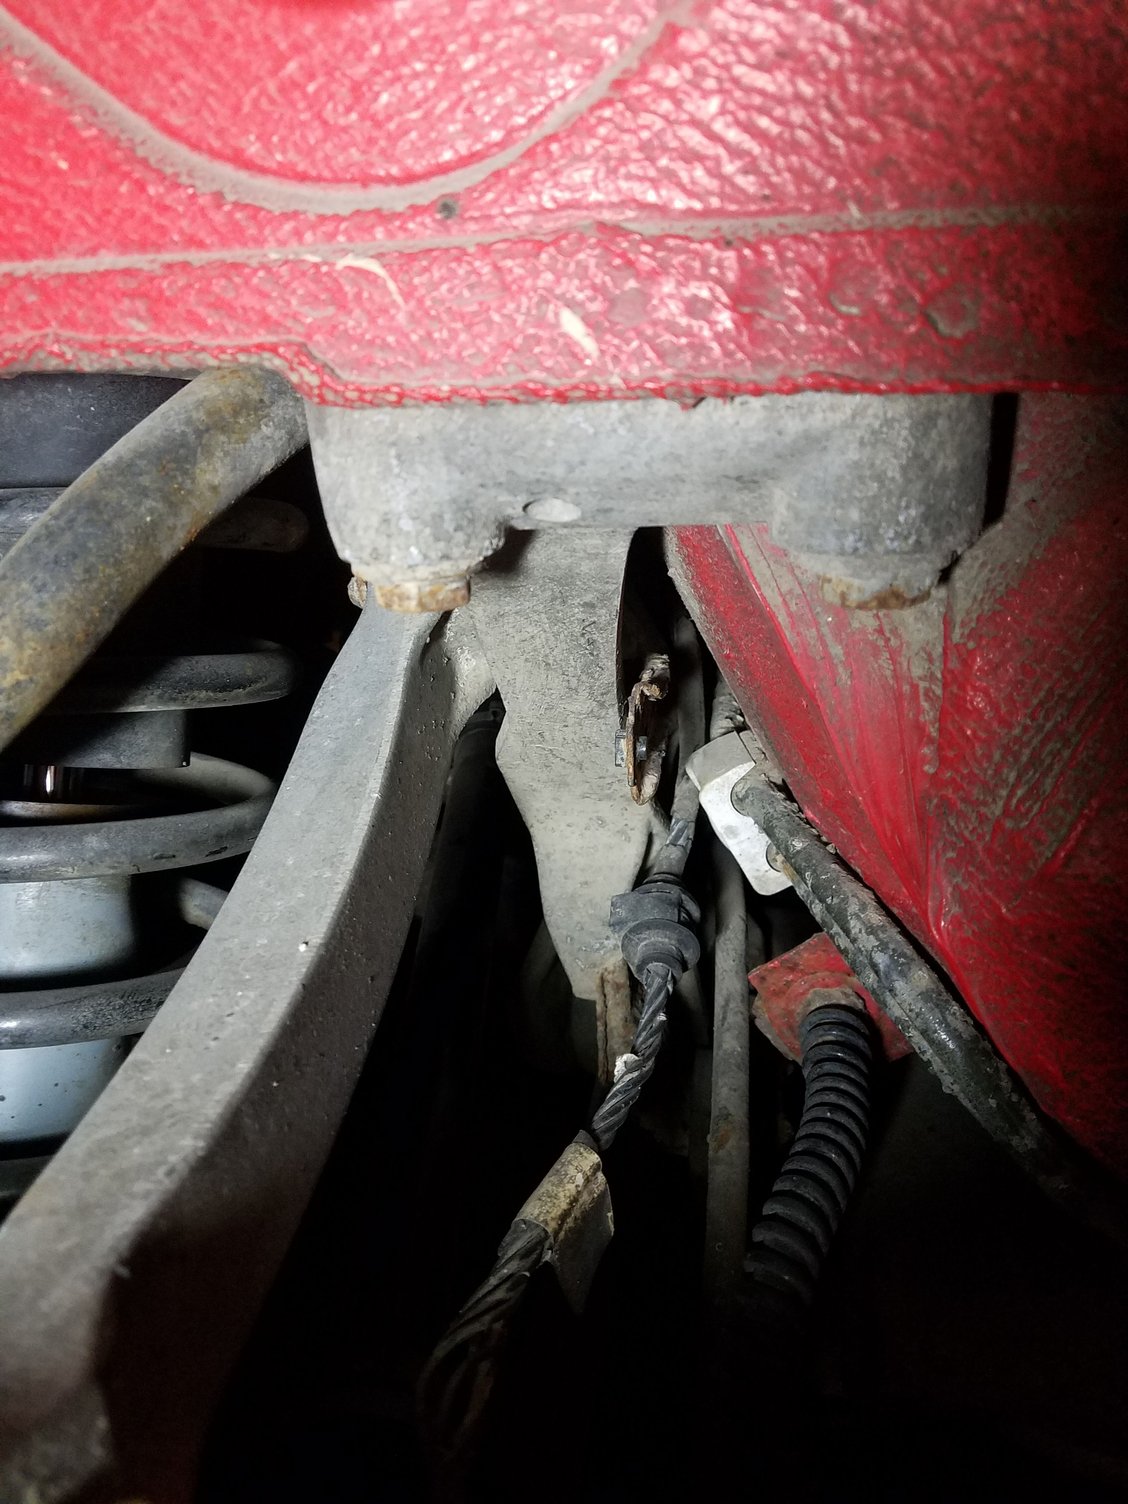
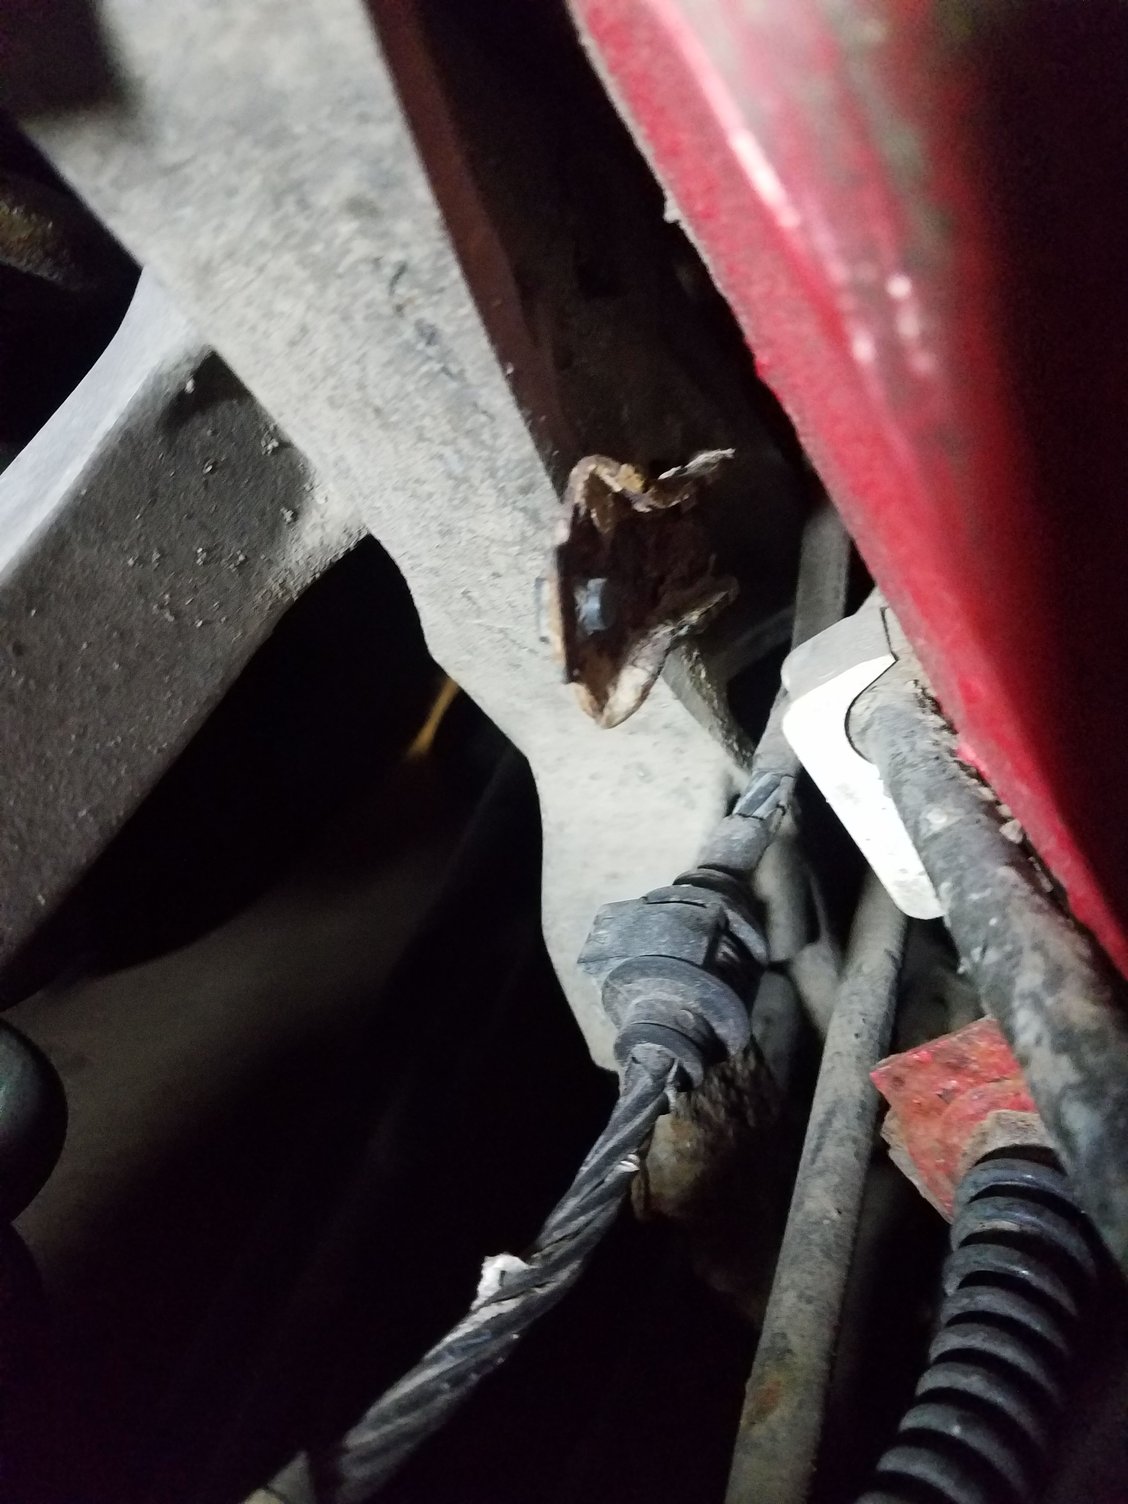
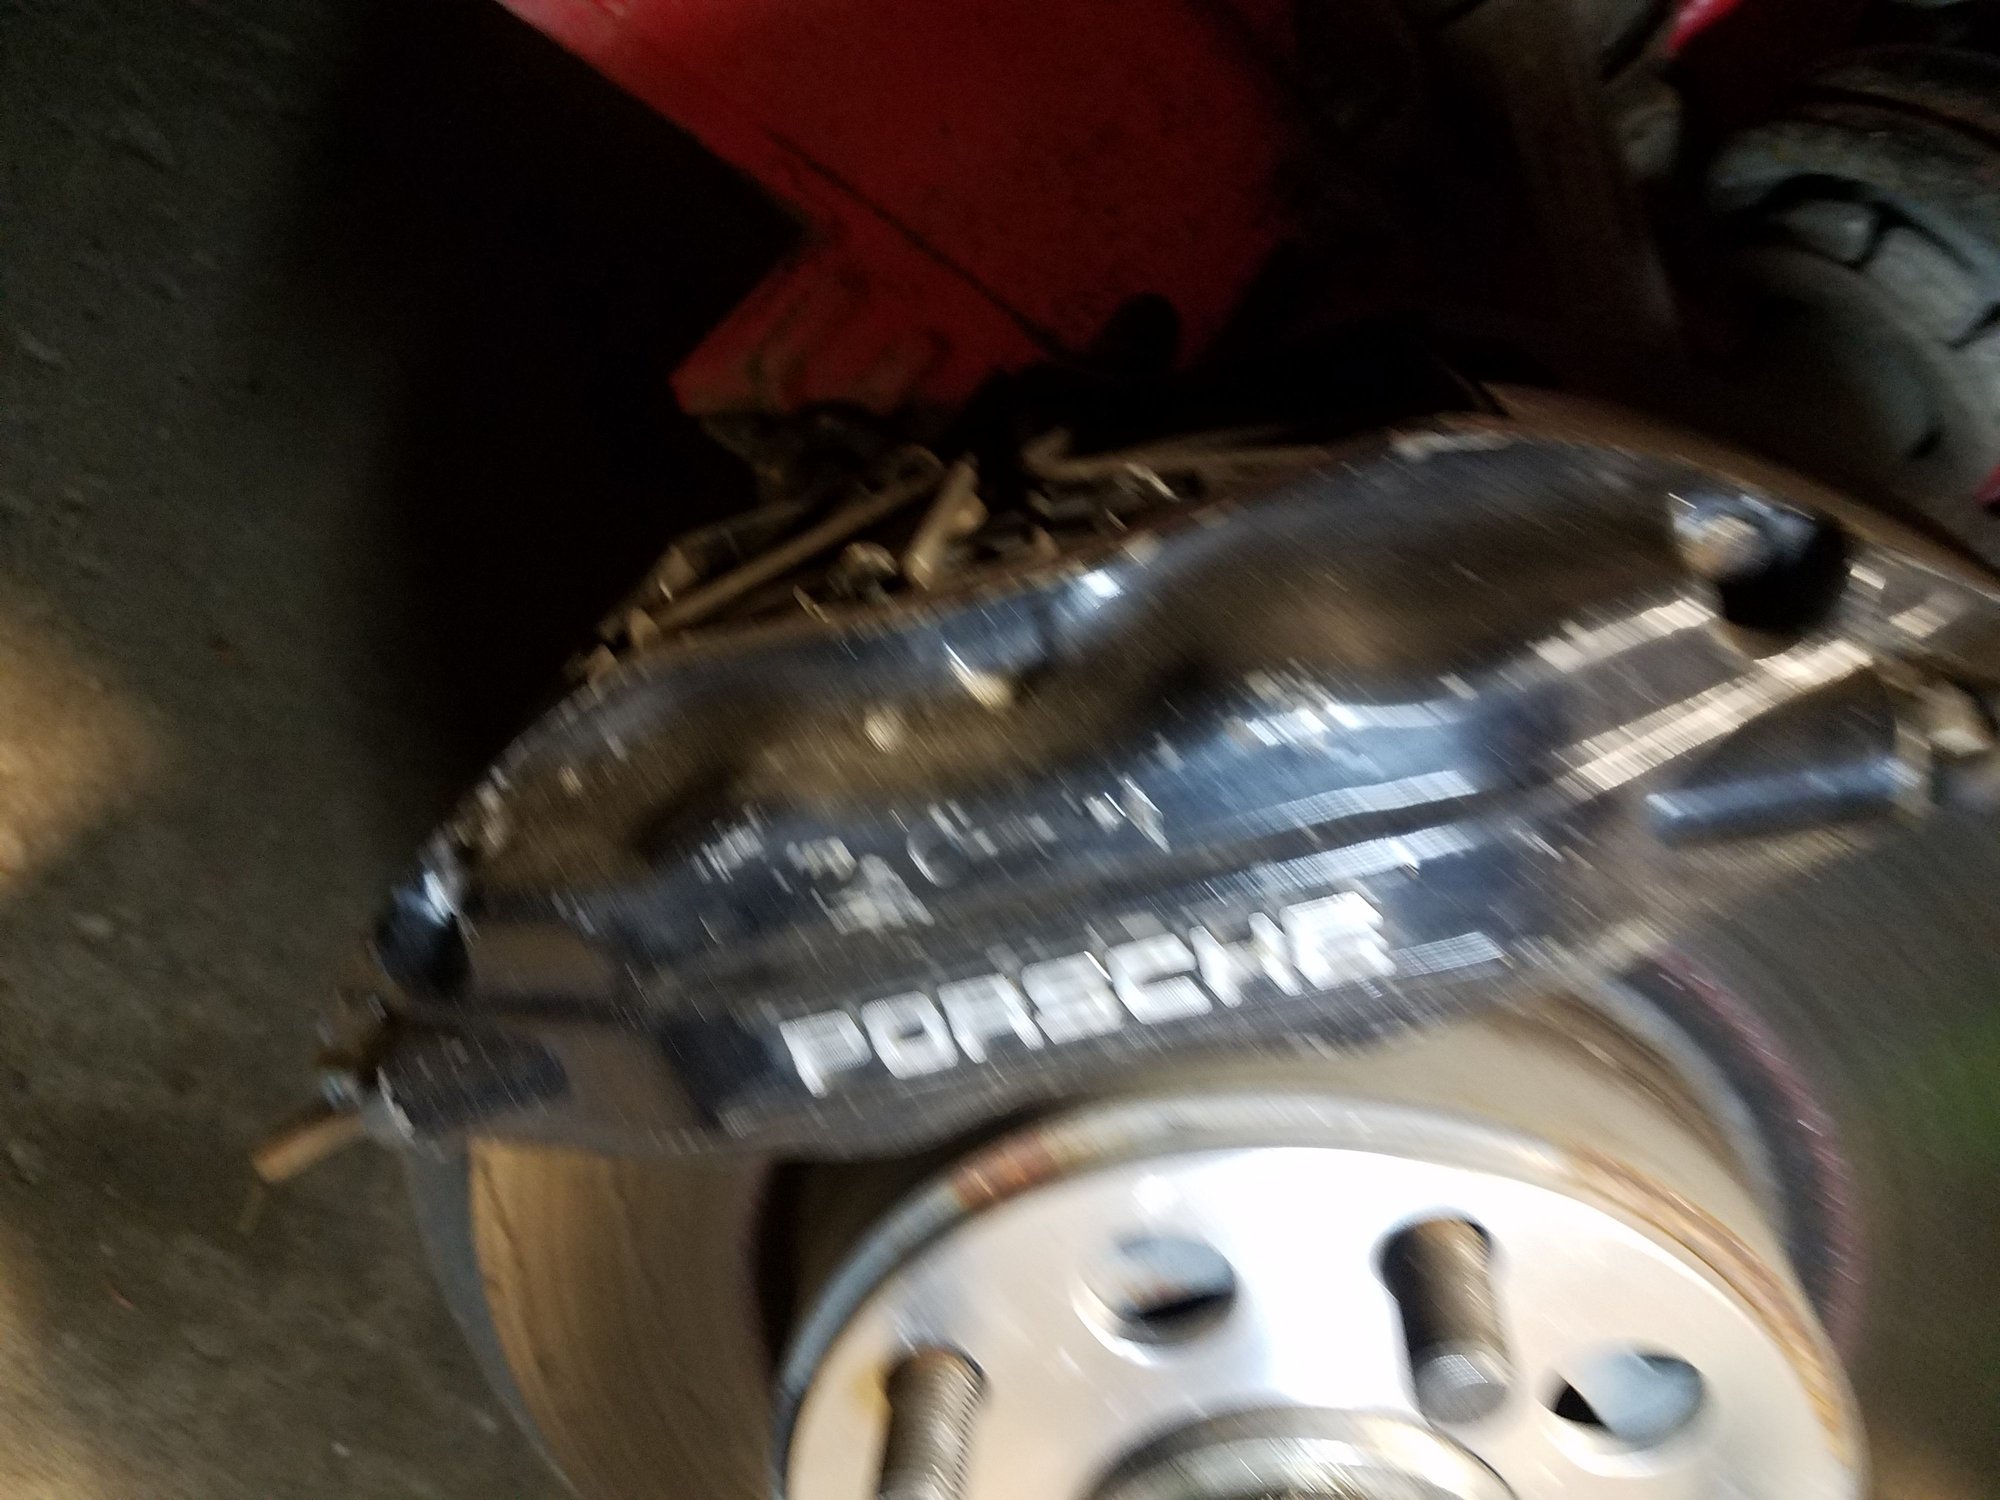
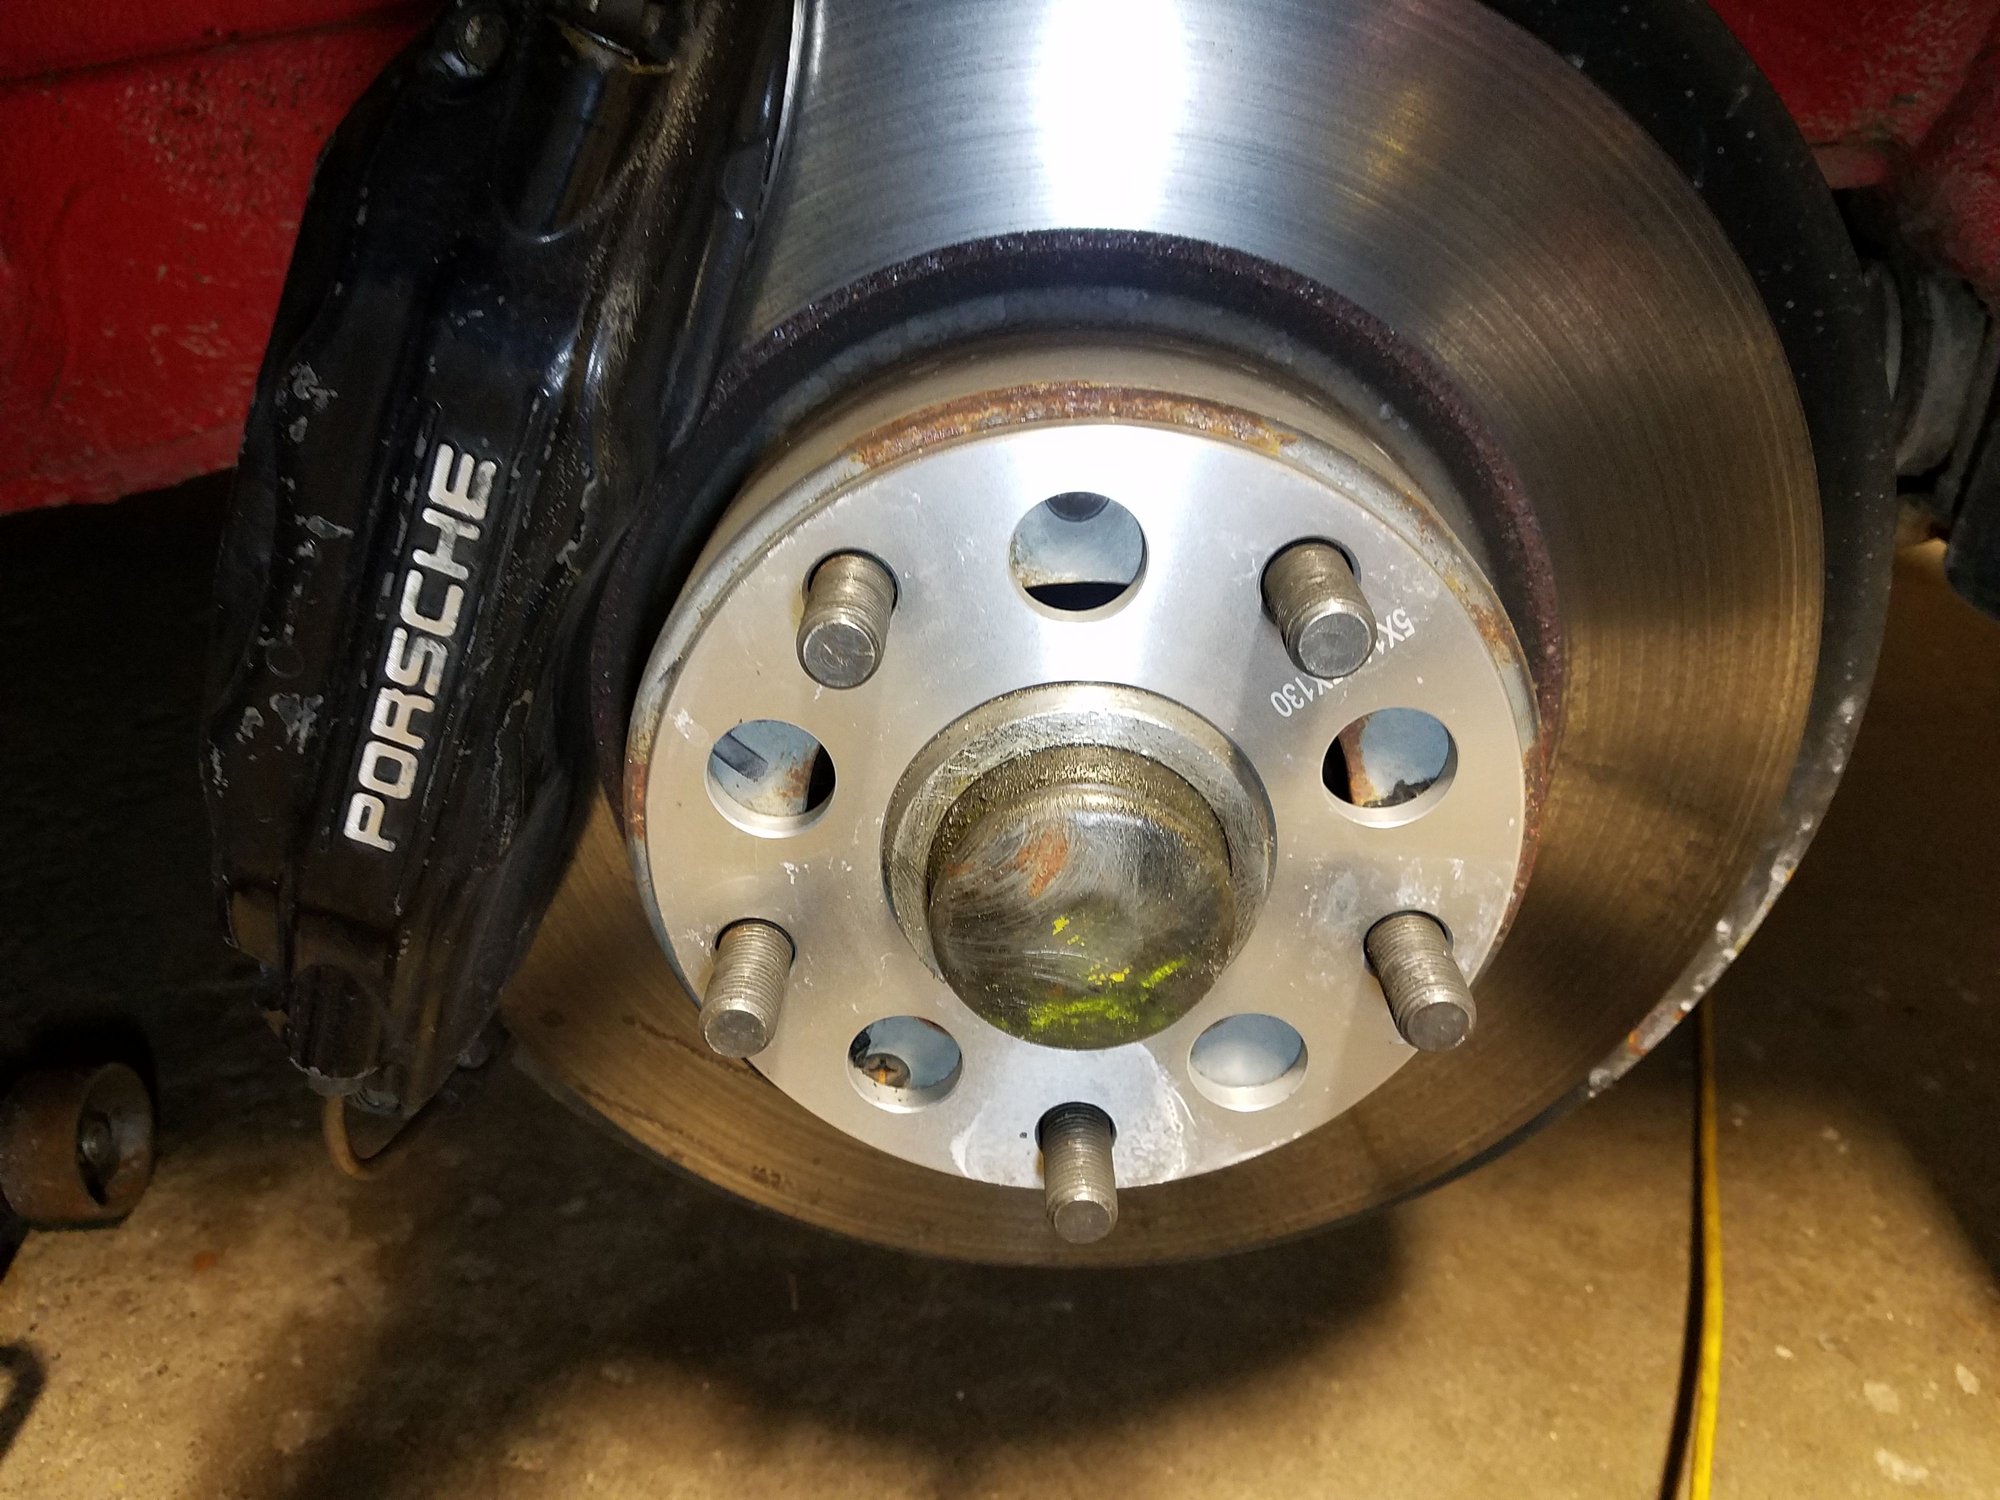
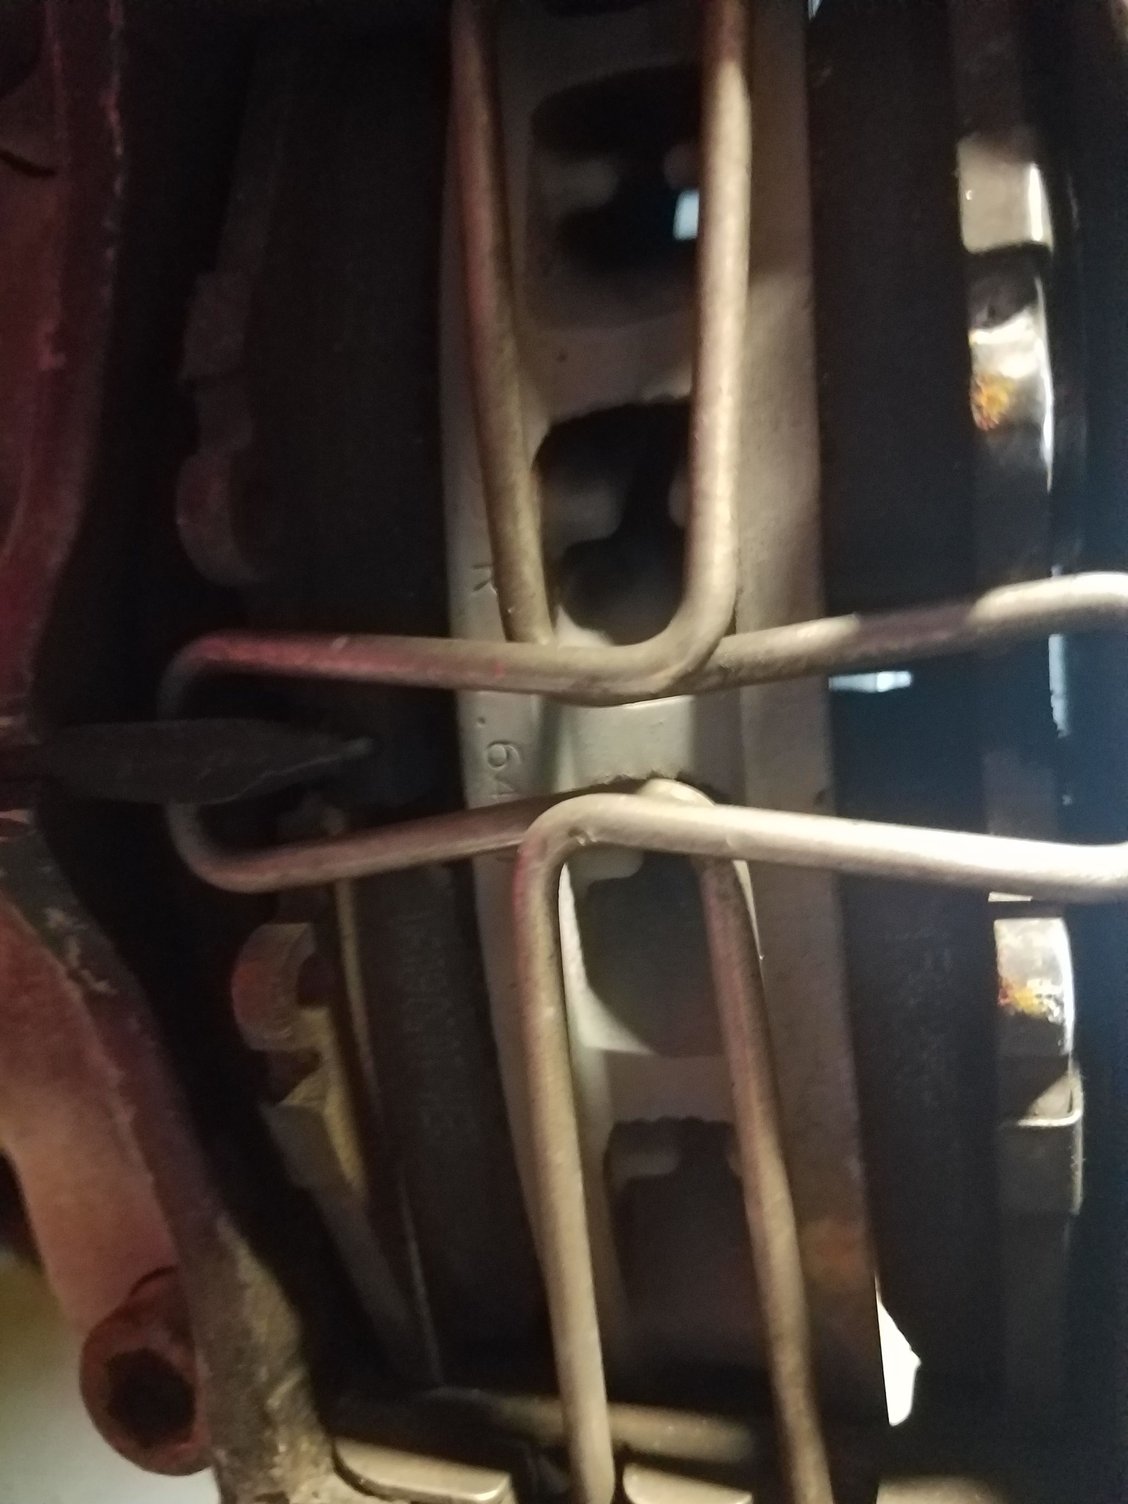
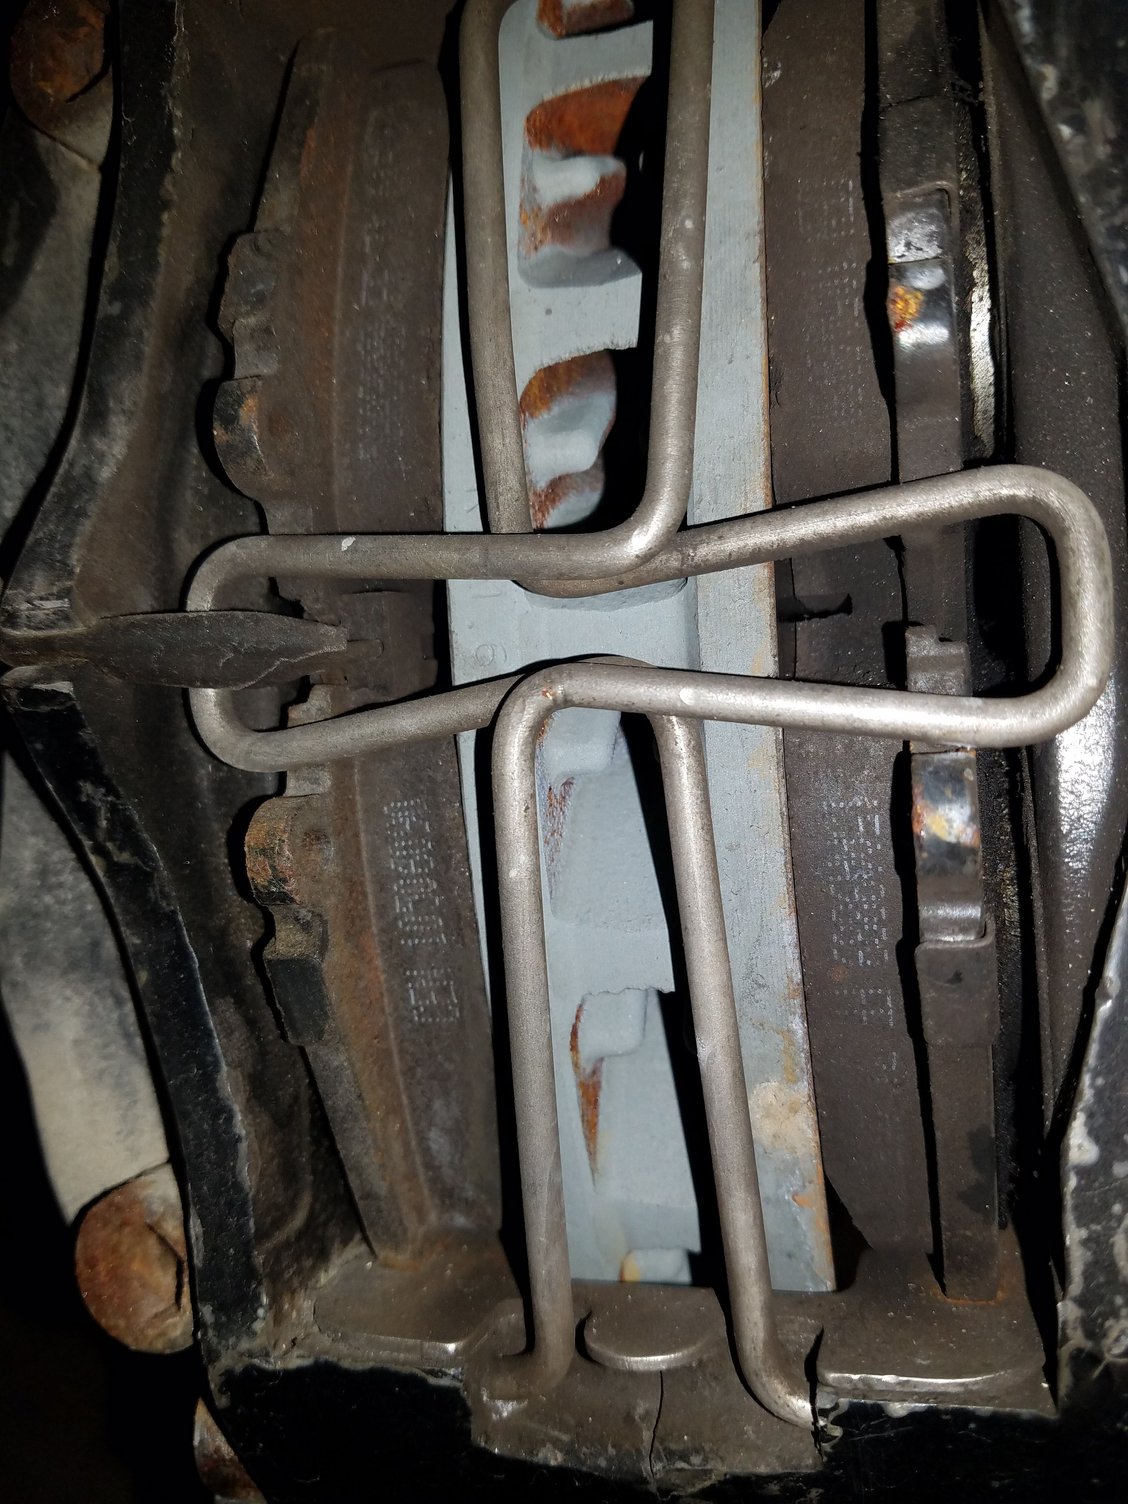
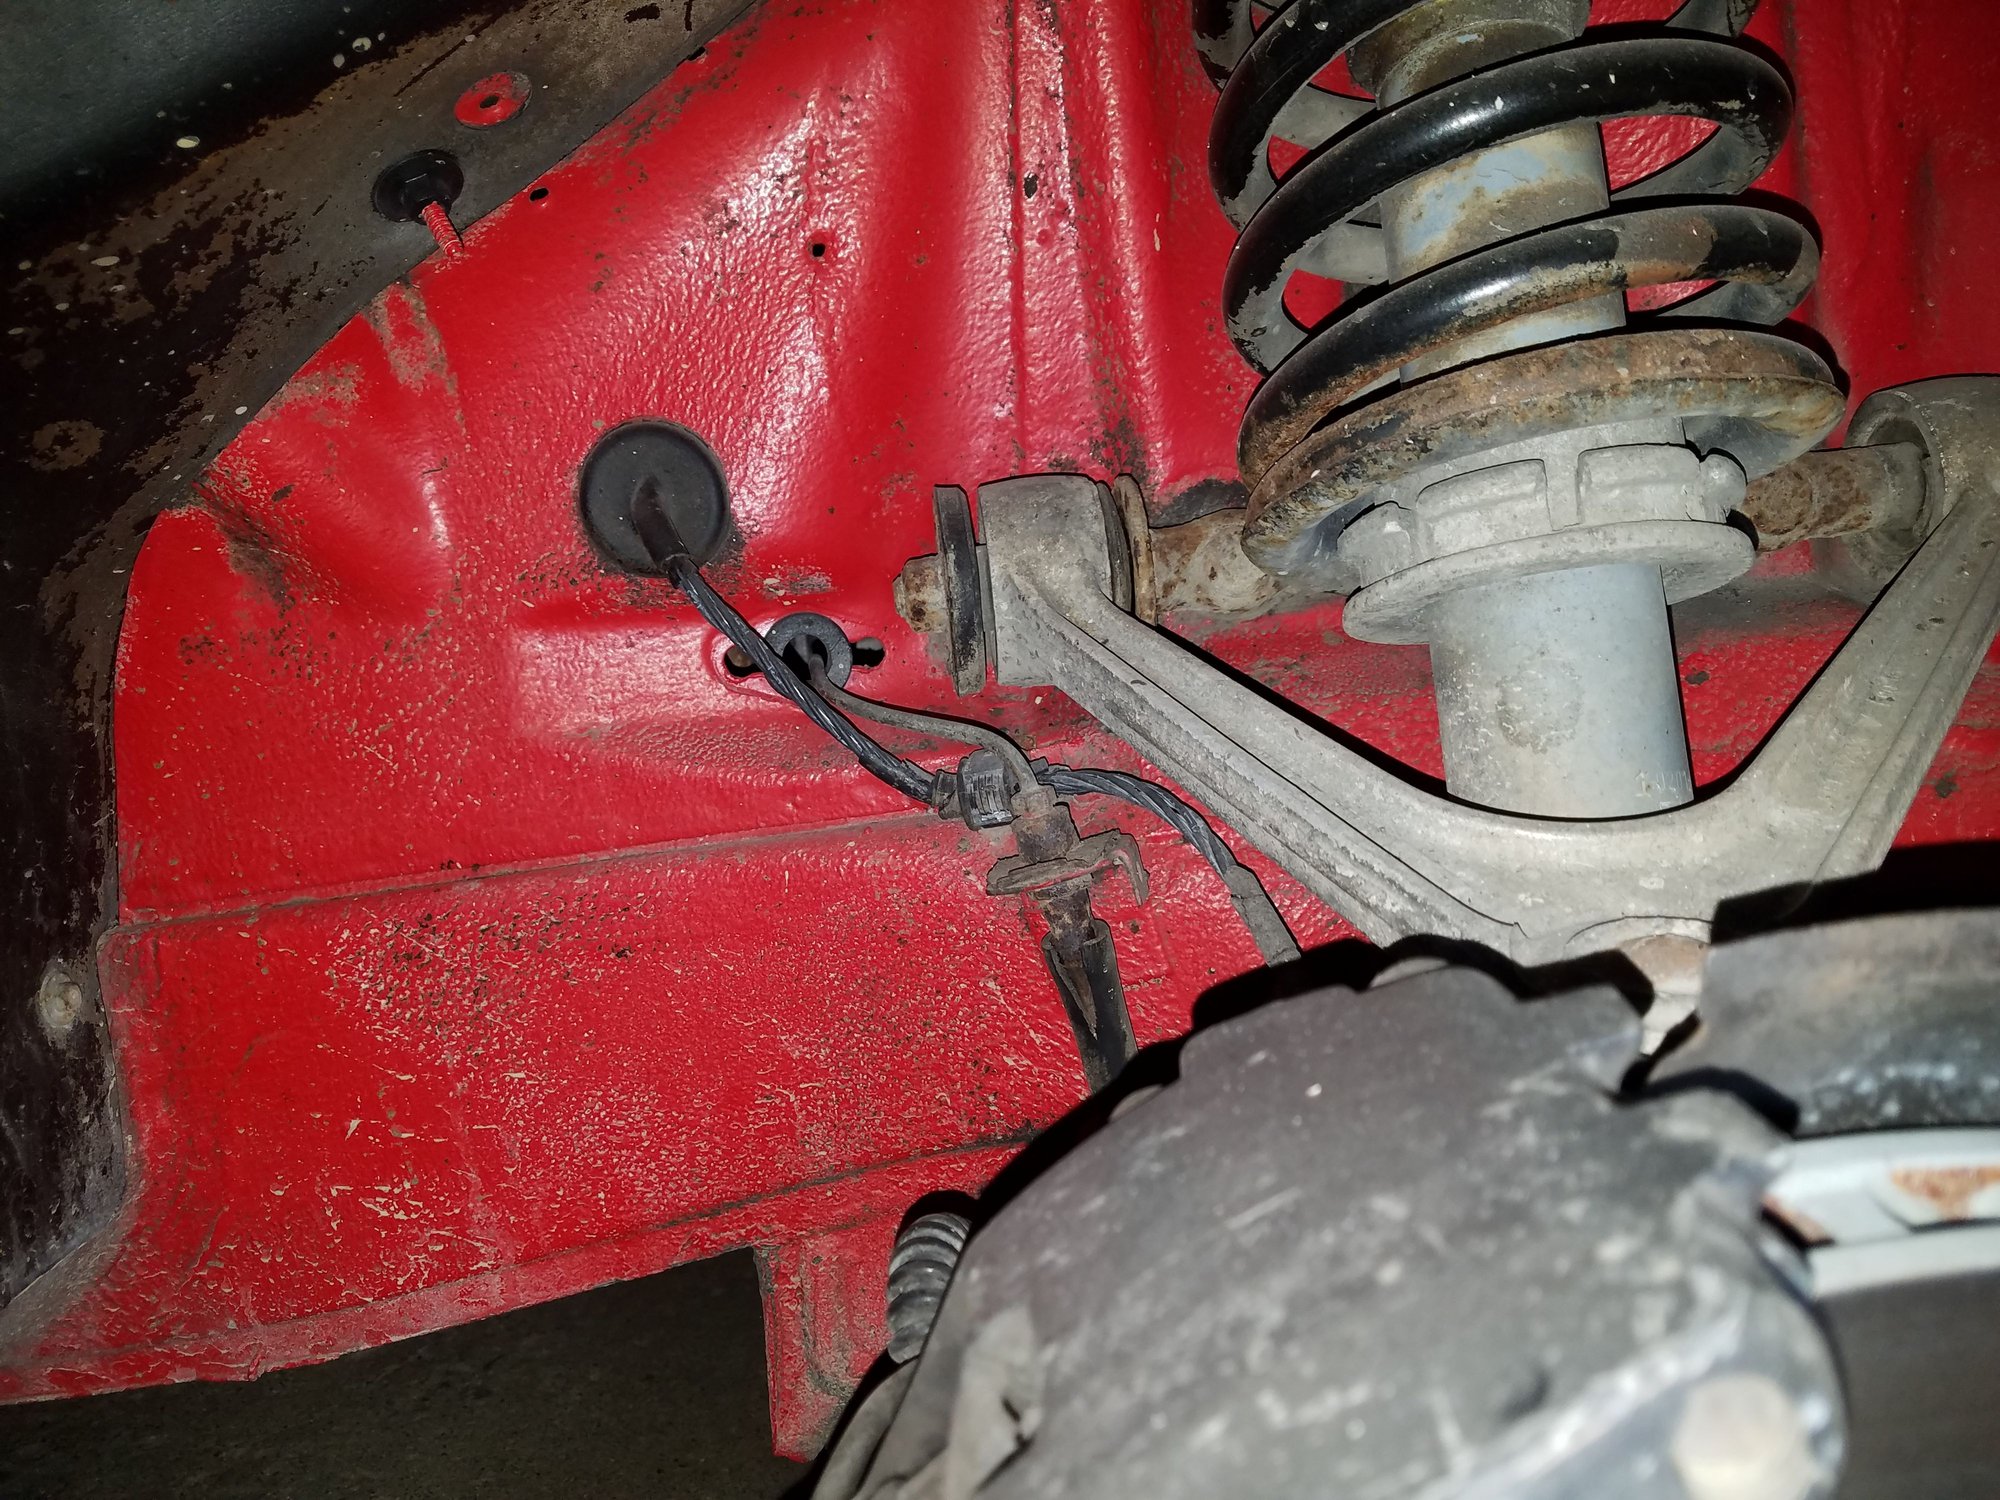
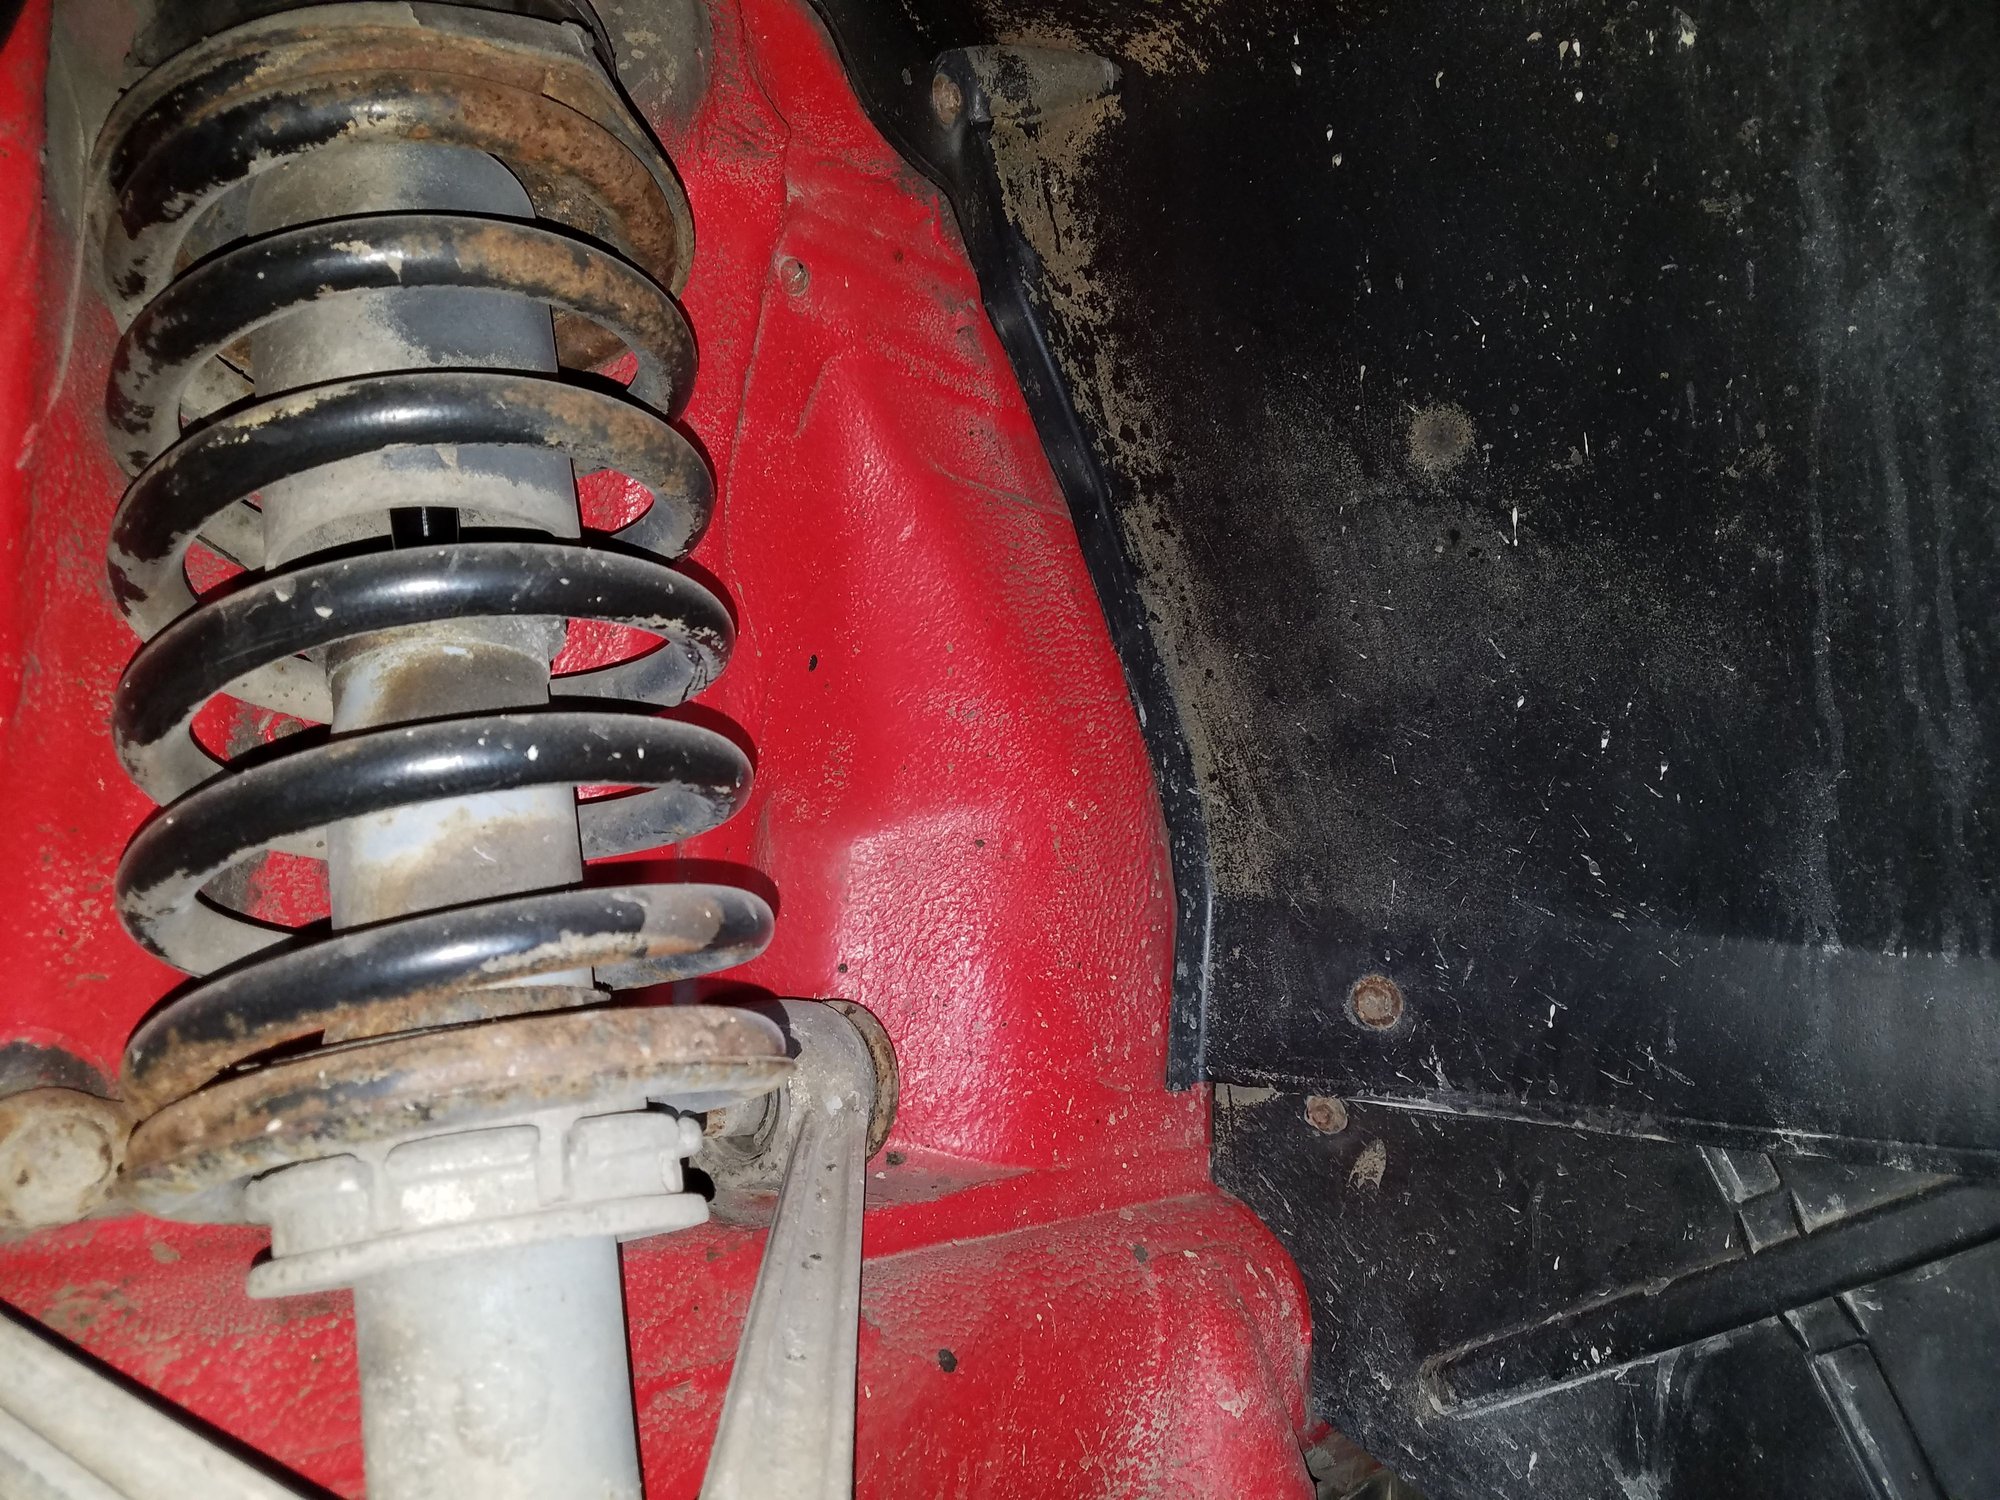
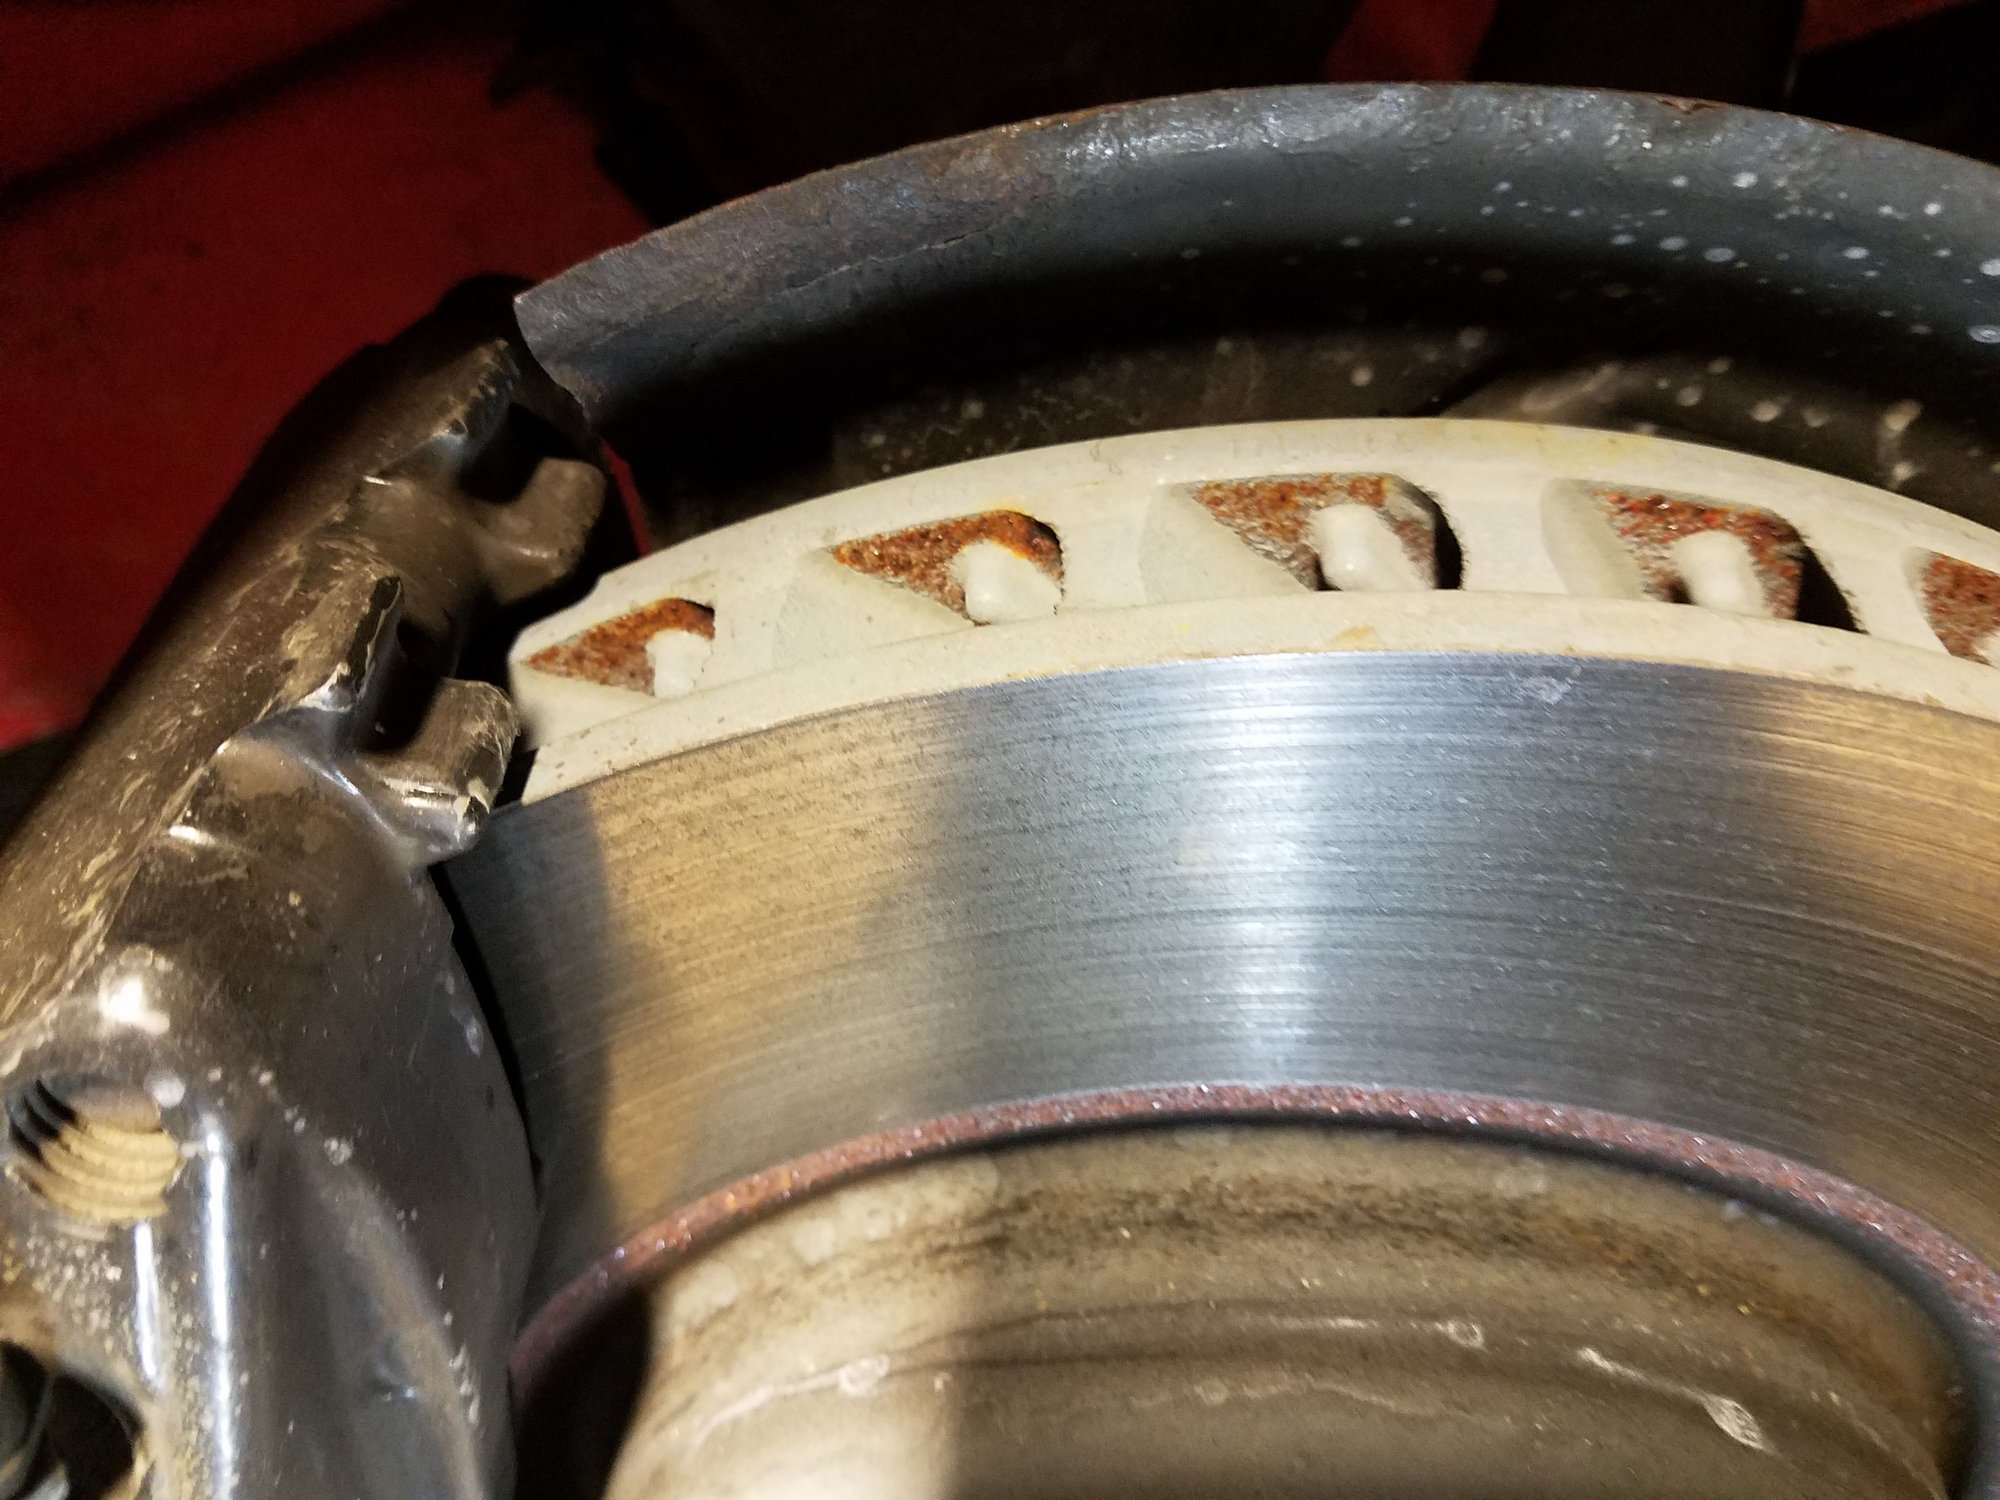
Now for some really poor quality photos, lol. These are a few close ups of how things looked and seemed noteworthy once I got it home. I thought the pictures were better than this.... but it's what I've got.
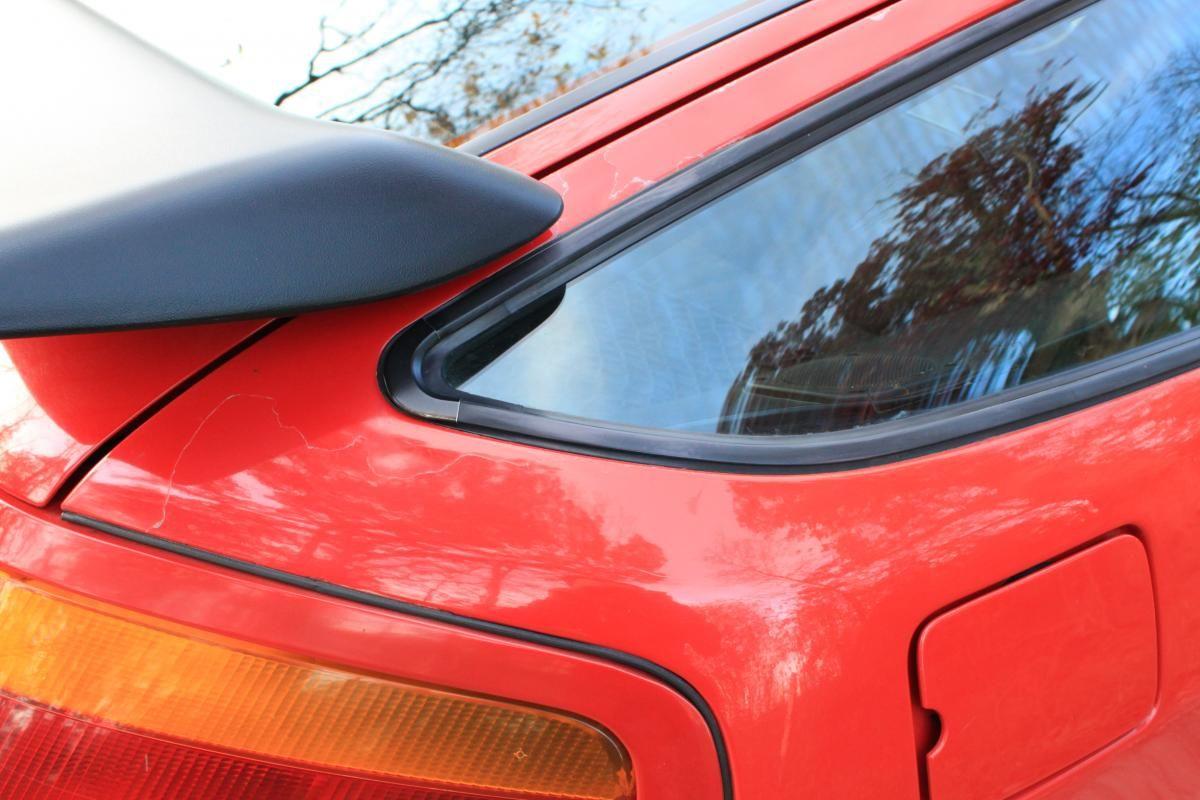
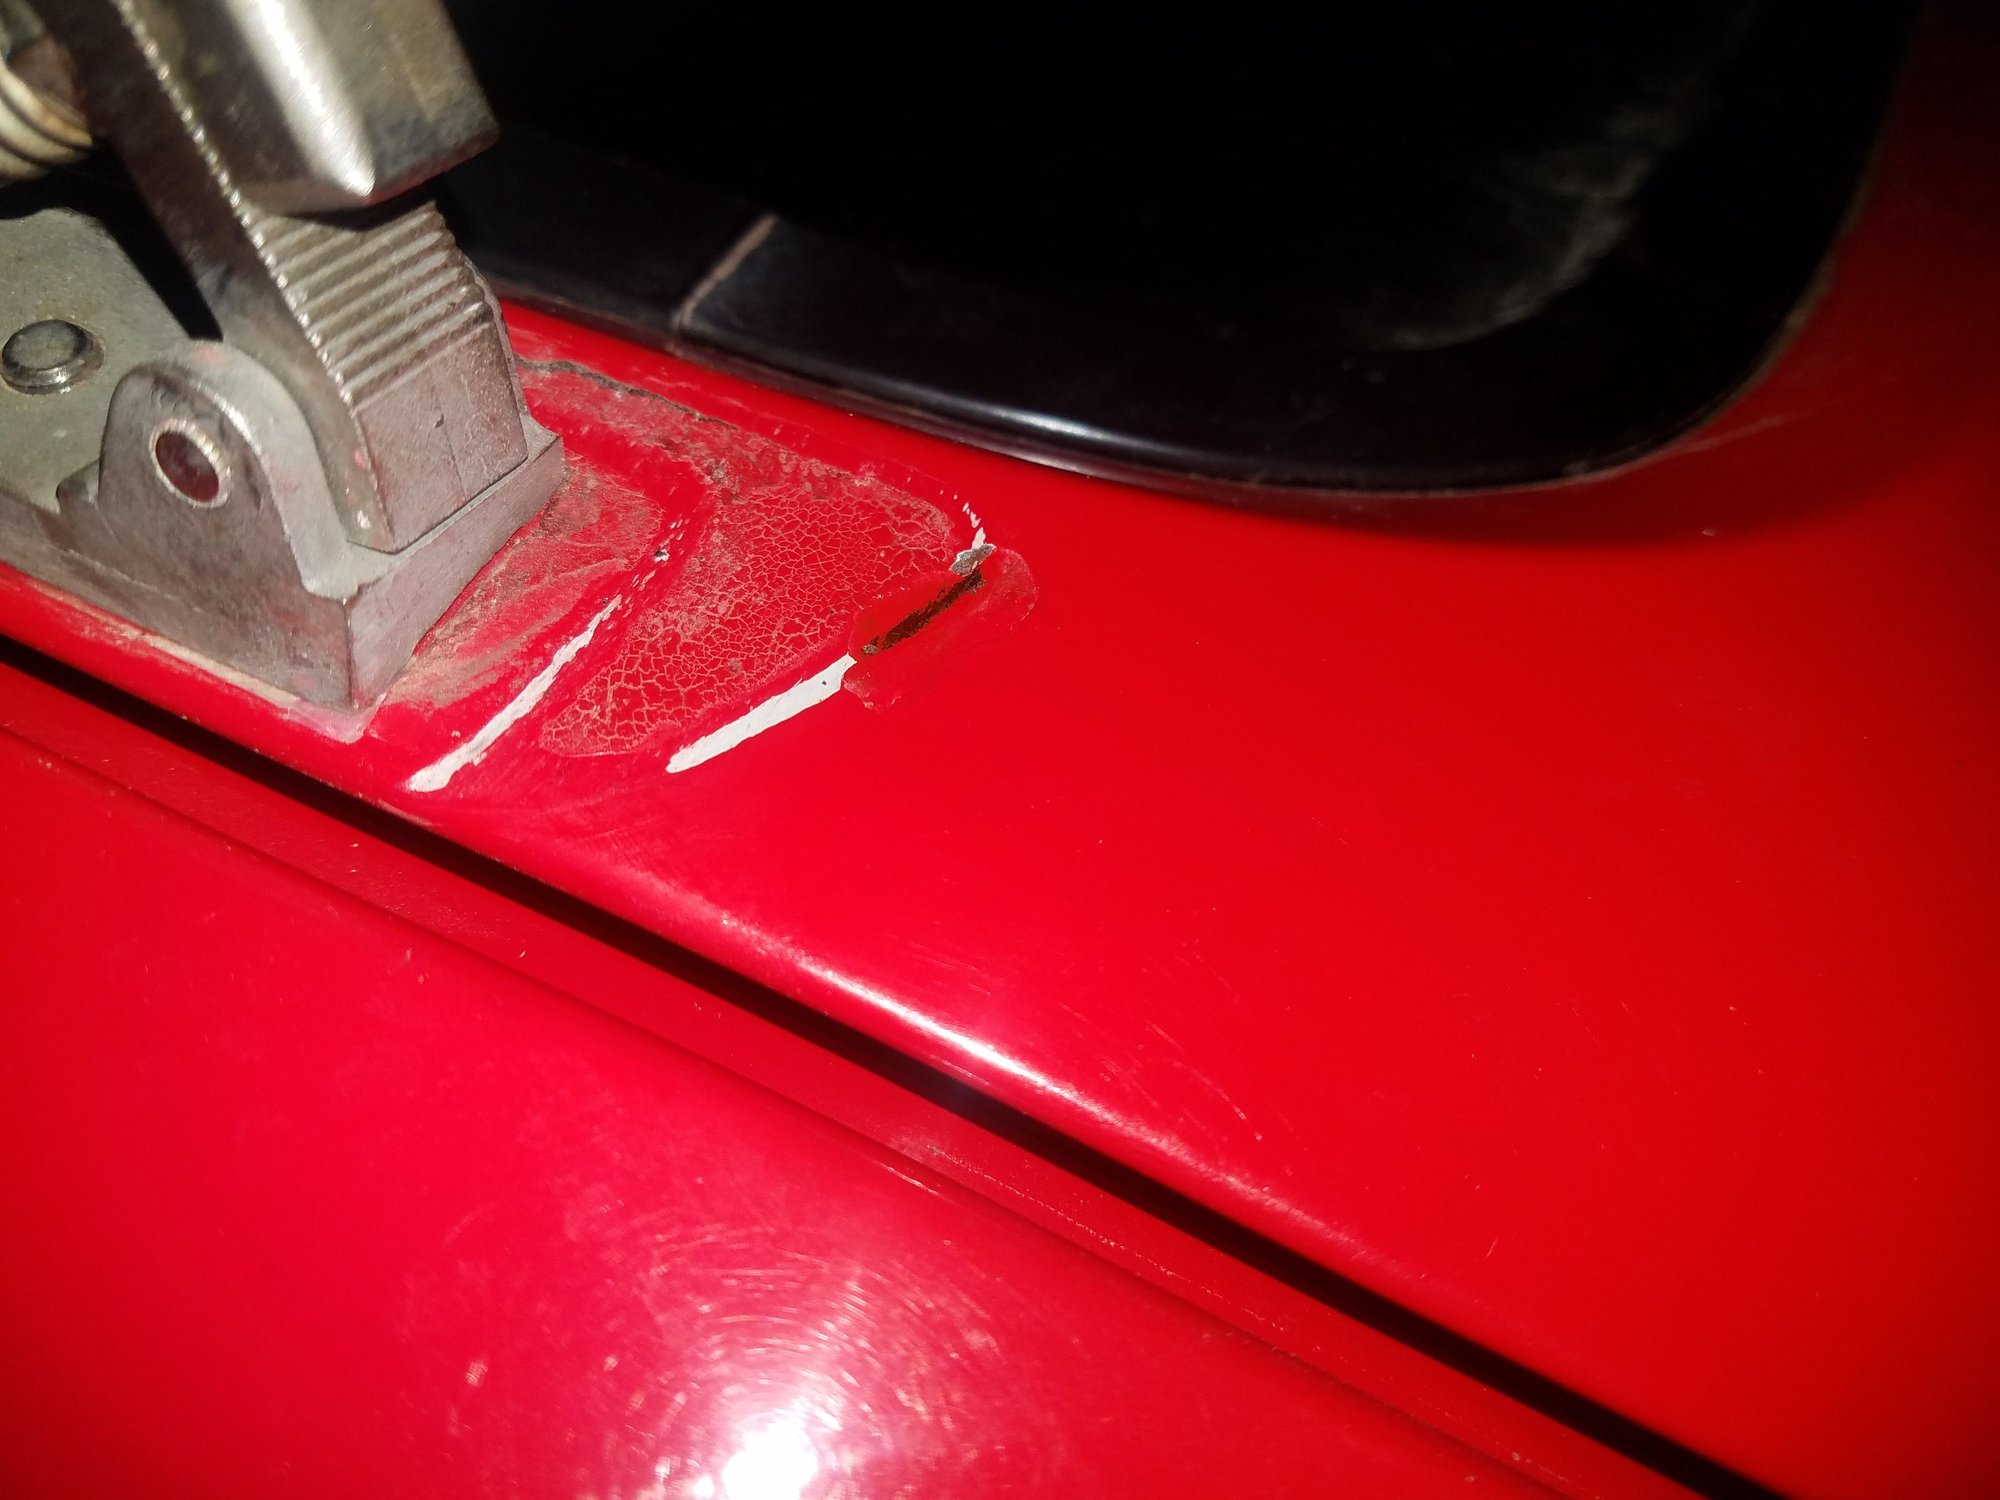
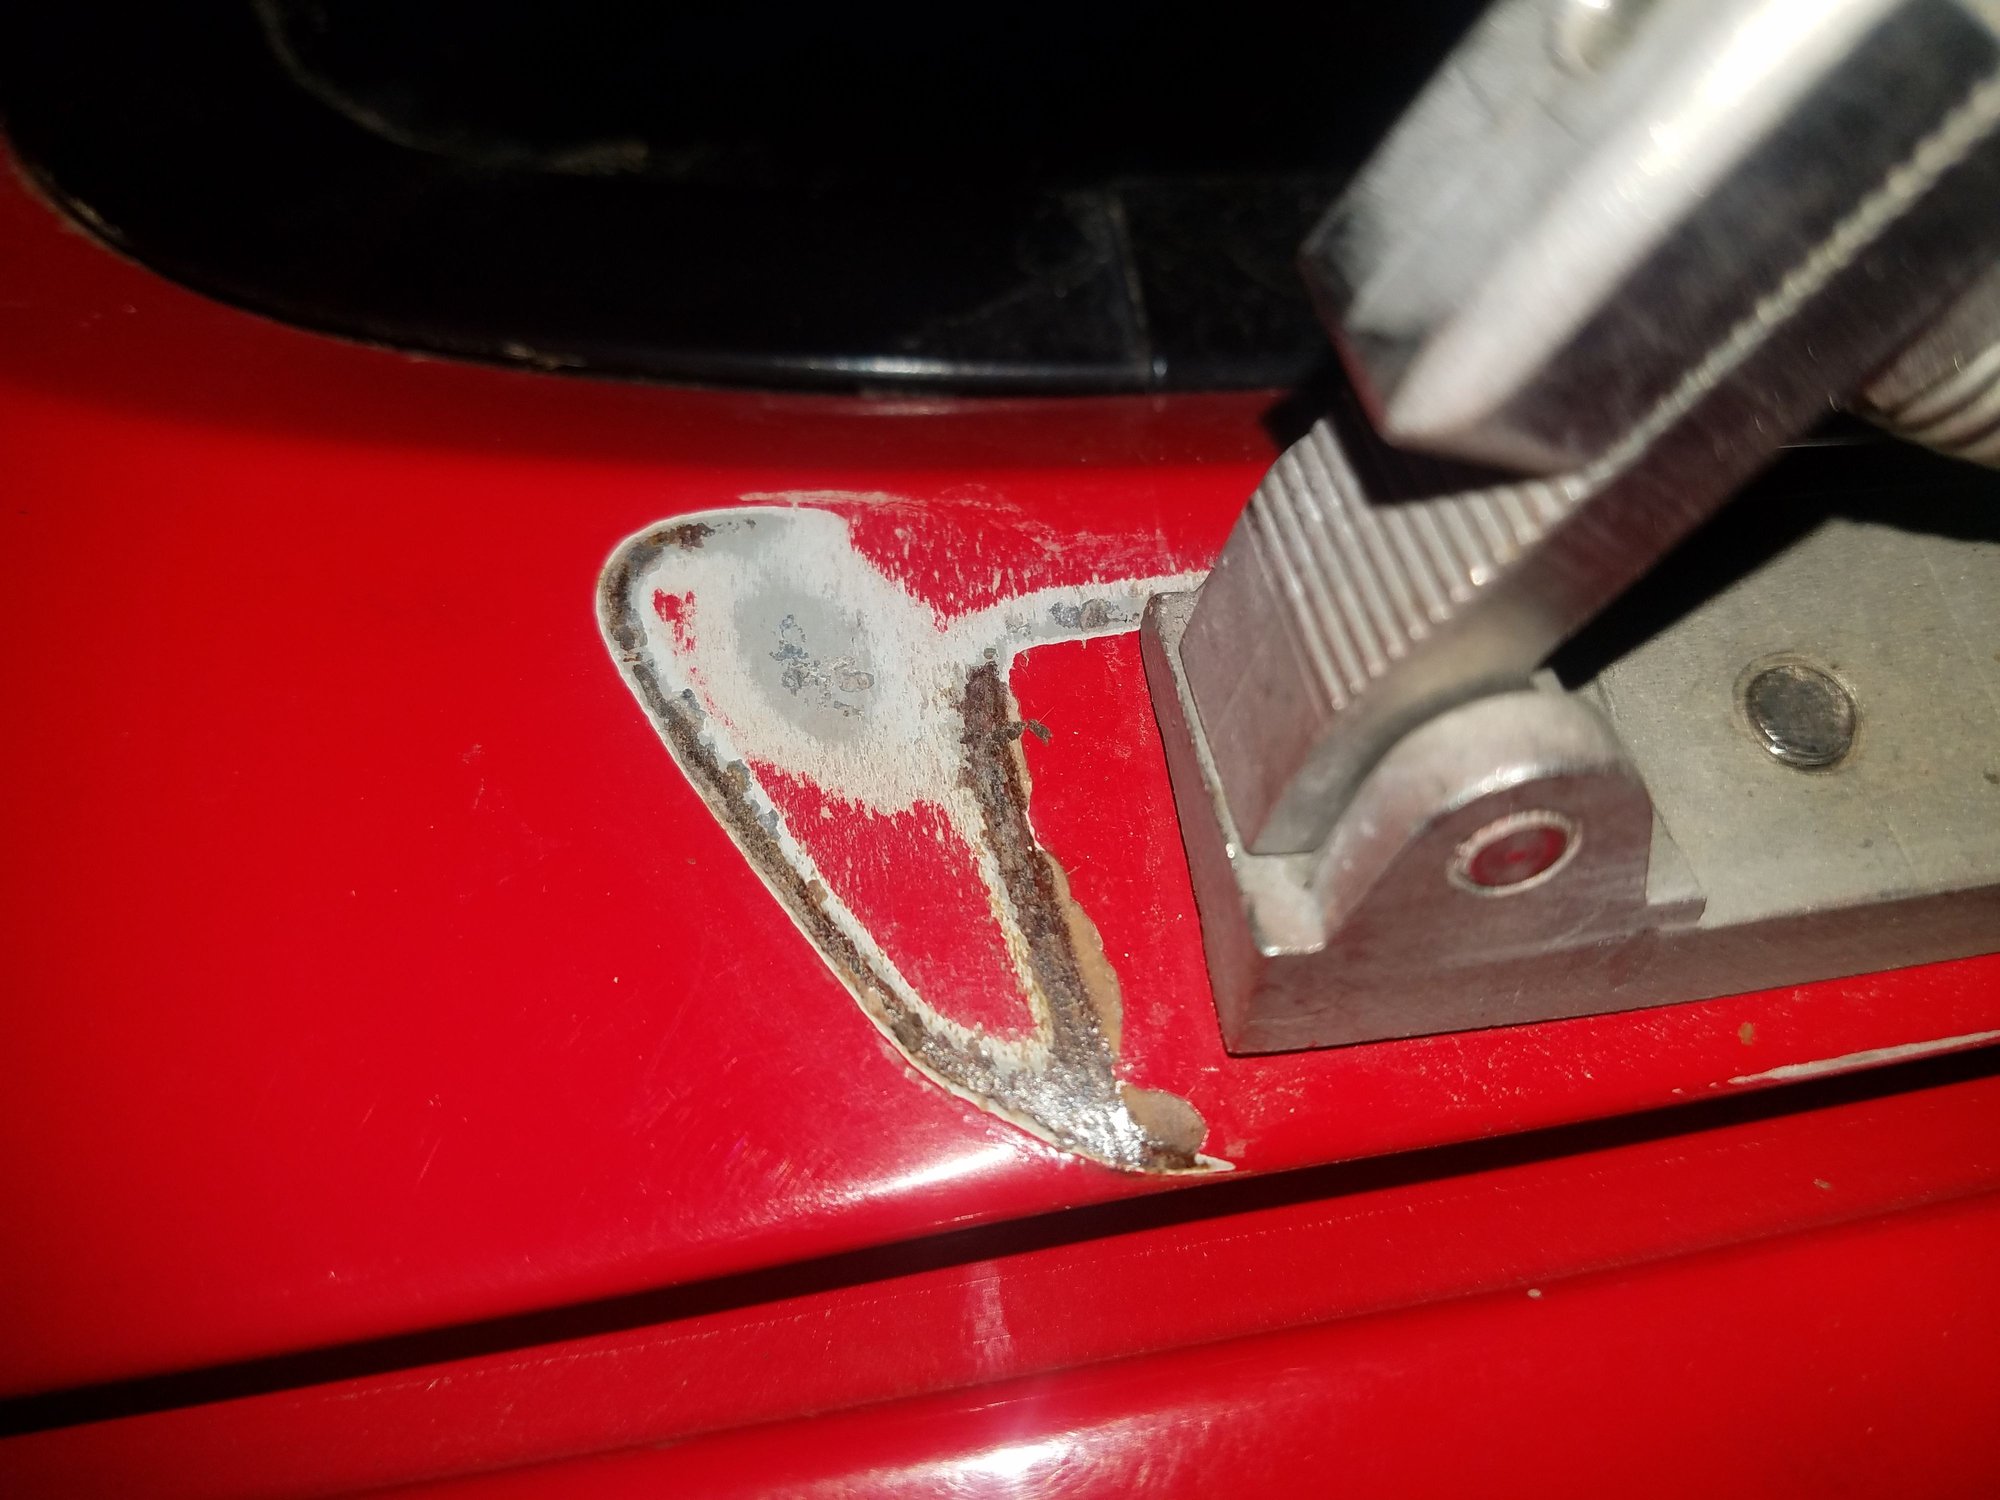
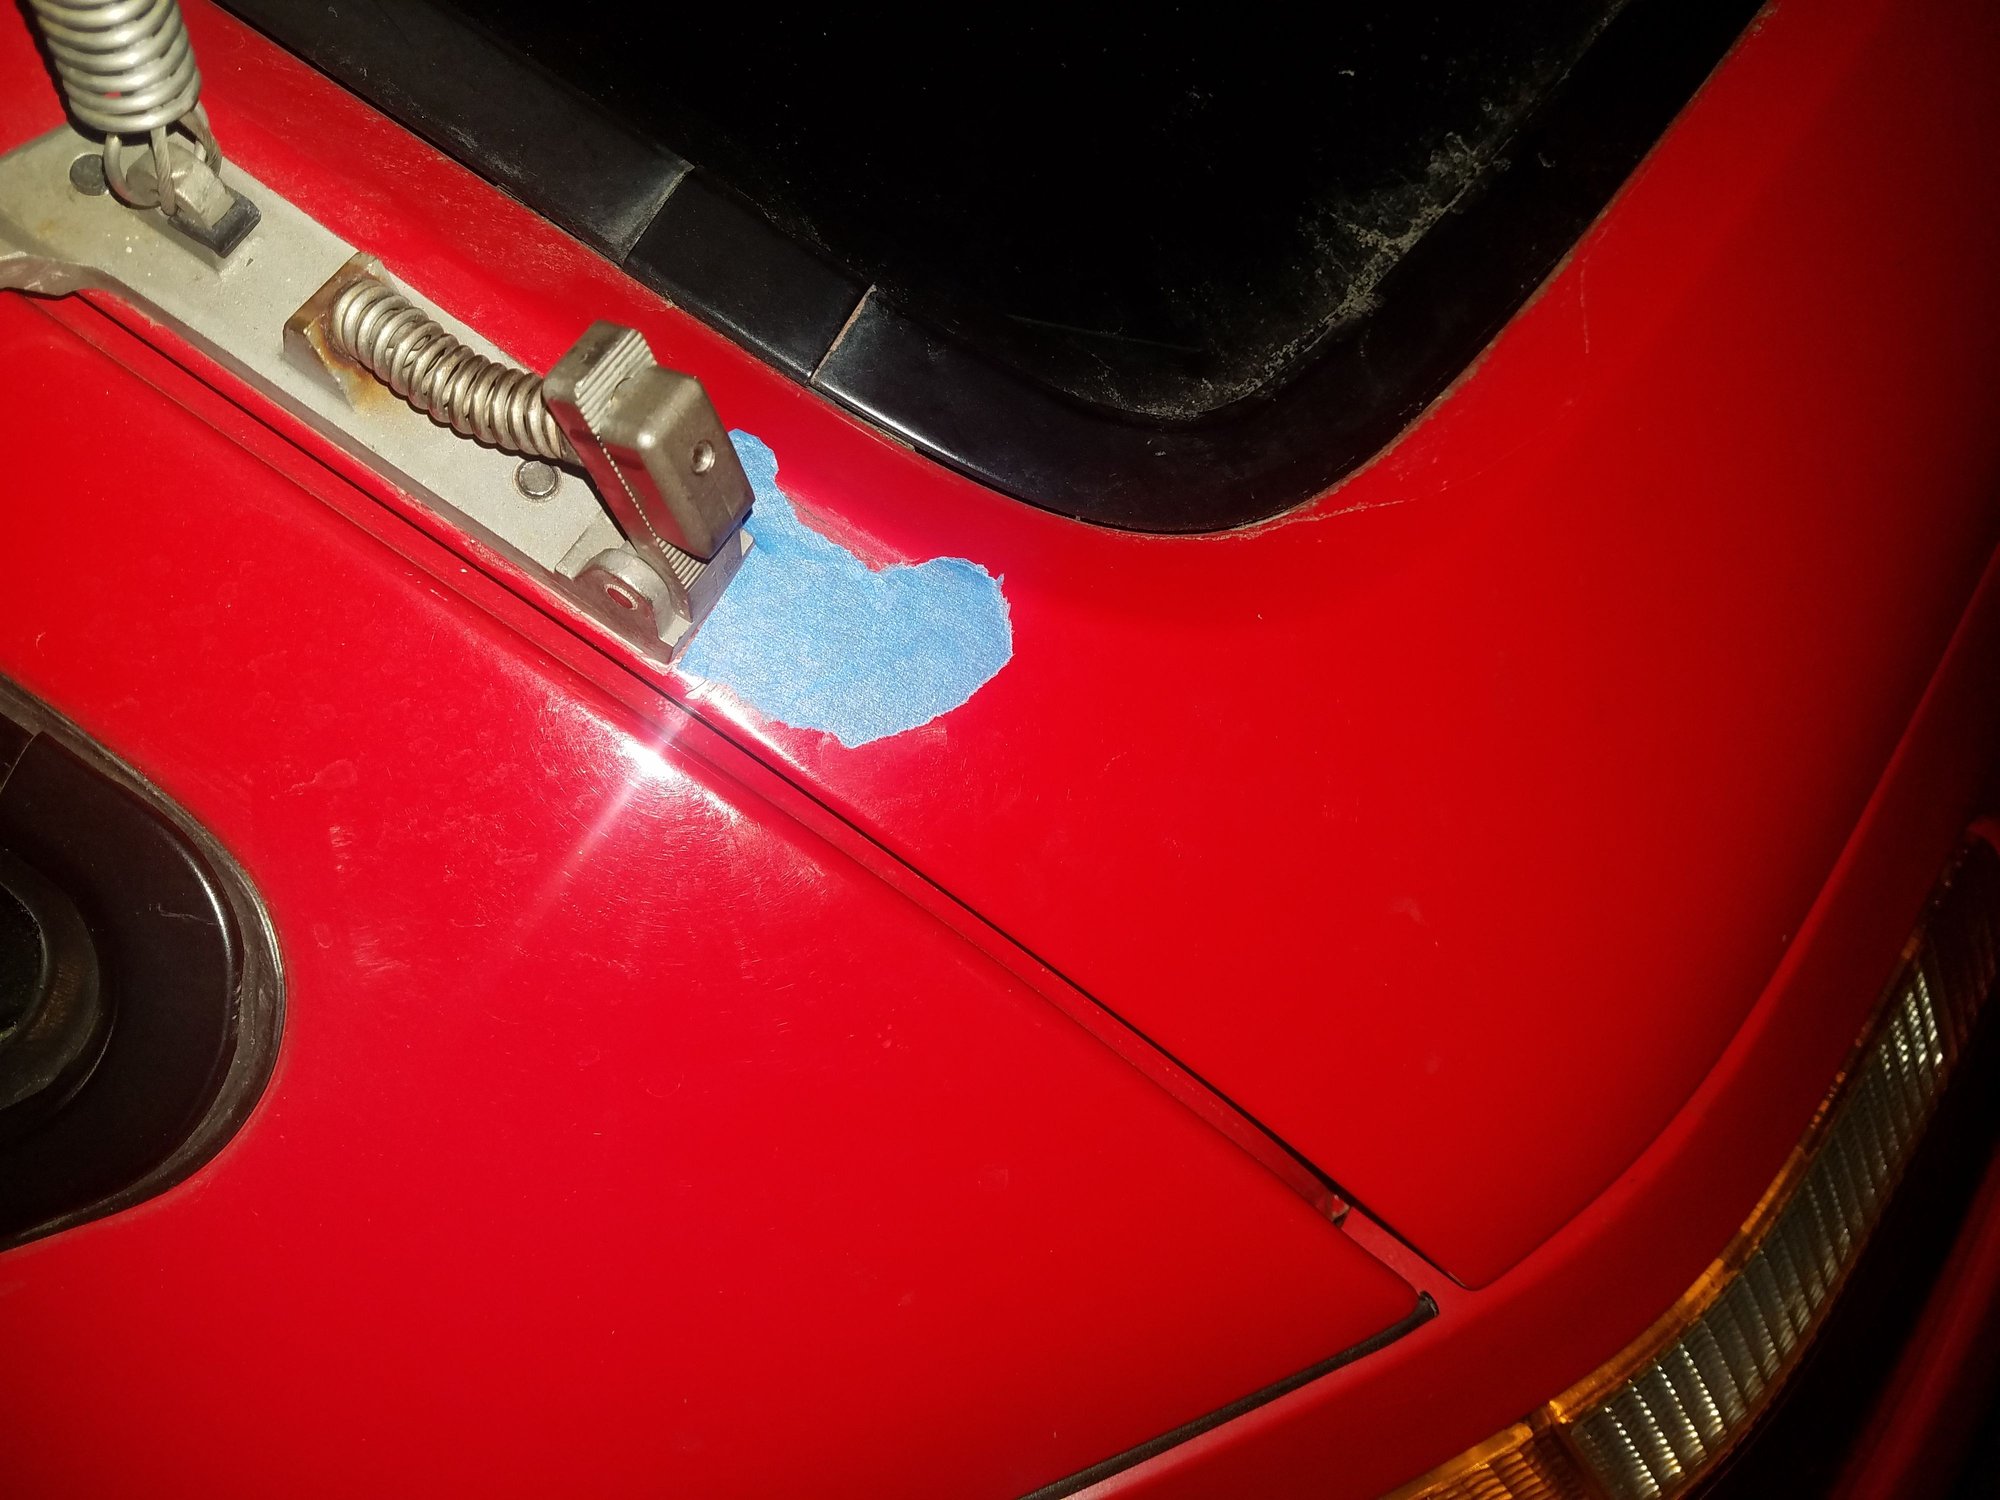
One of the first things I worked on was the rear spoiler. I noticed rattling while driving from the rear, and noticed it was loose. I realized it had the flip up spoiler when I went to tighten it, which was a nice surprise. The paint protective film was gone and the spoiler had been rubbing into the paint. This left the adjustment to the spoiler loose and the rattling. I readjusted the spoiler to fit properly and fitted a few layers of masking tape at the wear spots until I could get the proper rub strips and repair the paint.
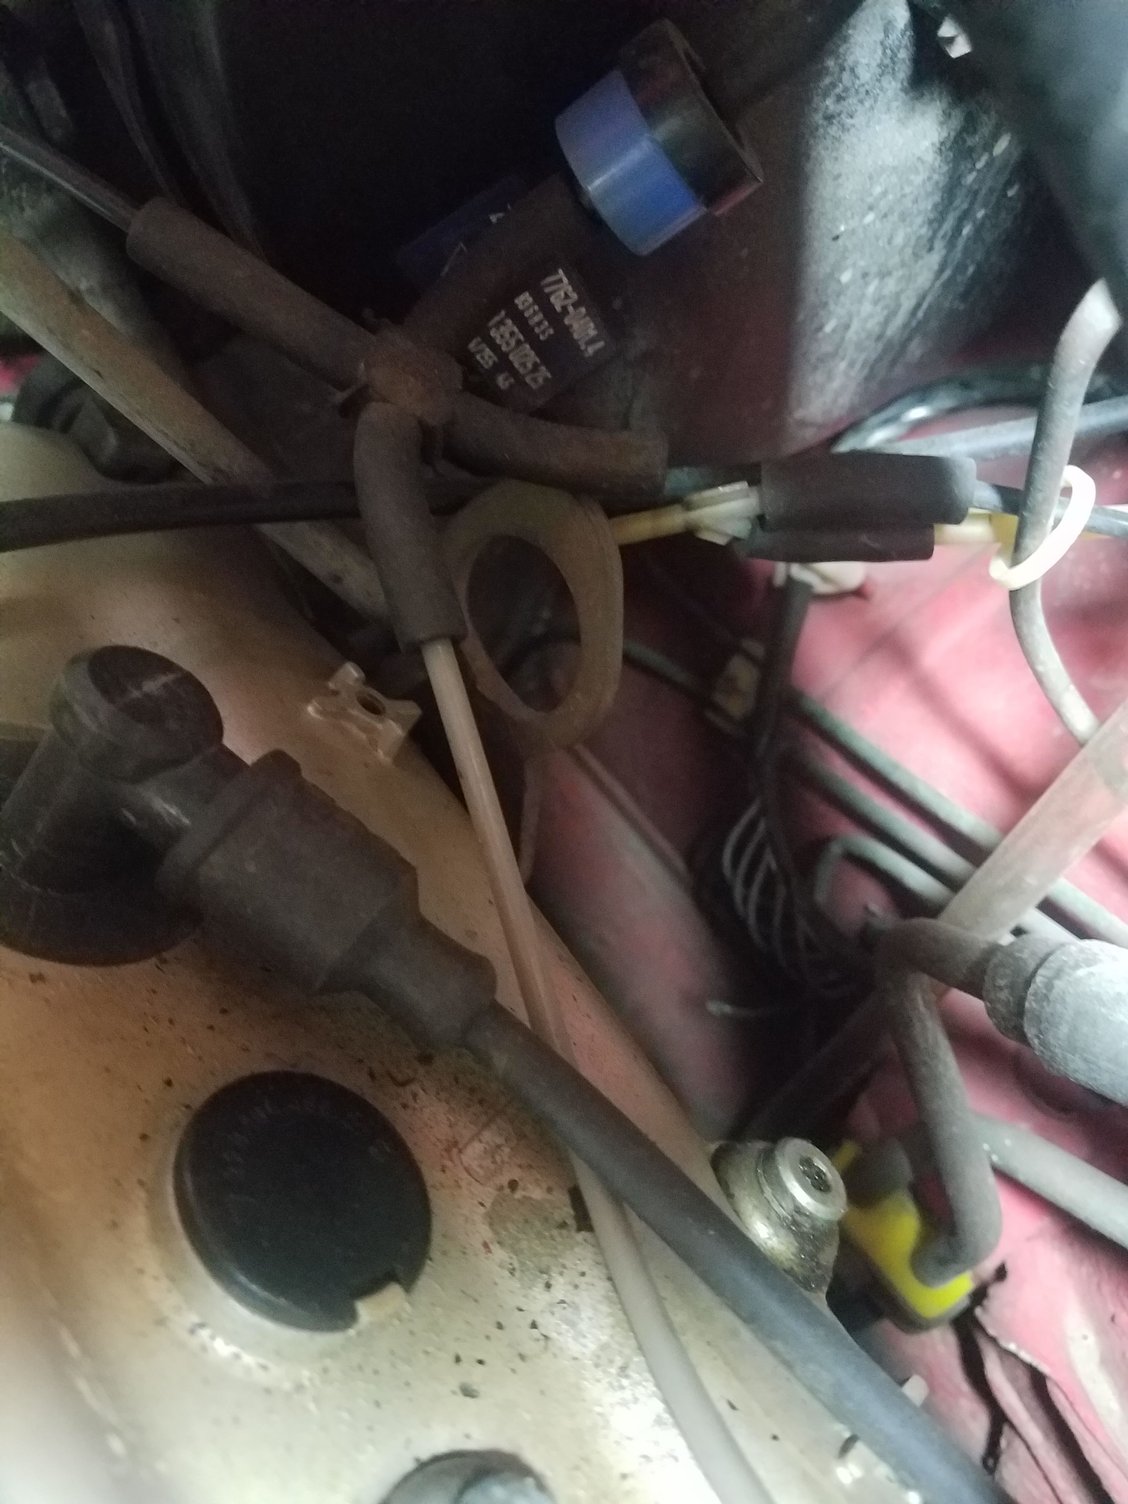
Some of the low hanging fruit. I started with the vacuum system and found the Y into the 4 way connector off. Also found the lines to flappy valve backward. Fixing this stuff got some of the hvac working. It also pinpointed that there were leaks in the hvac lines themselves, which were solved later
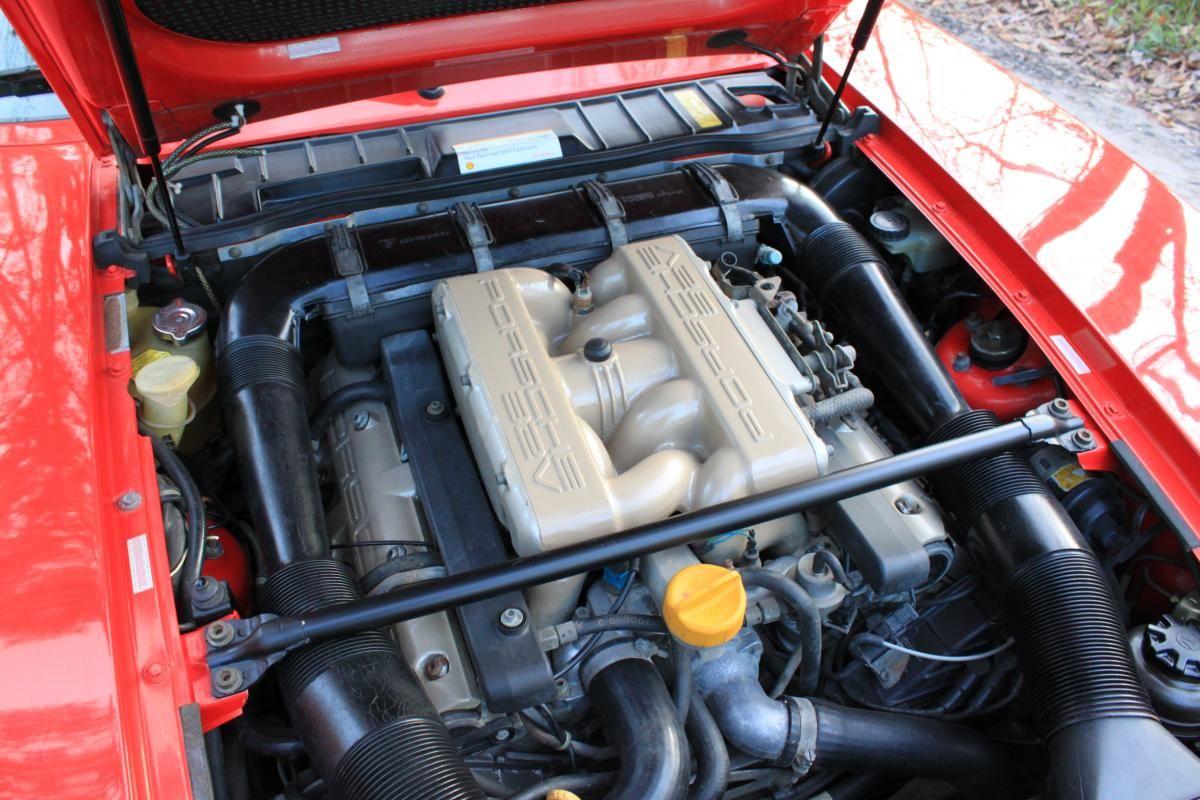
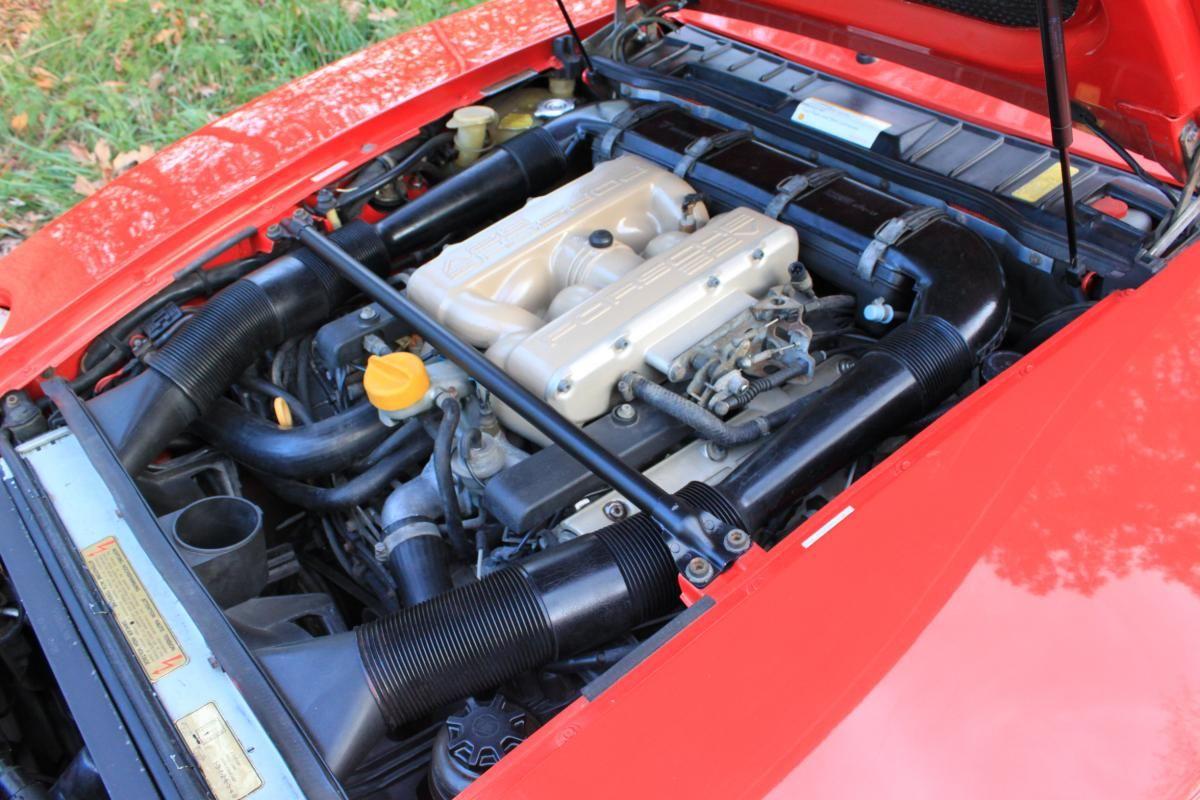
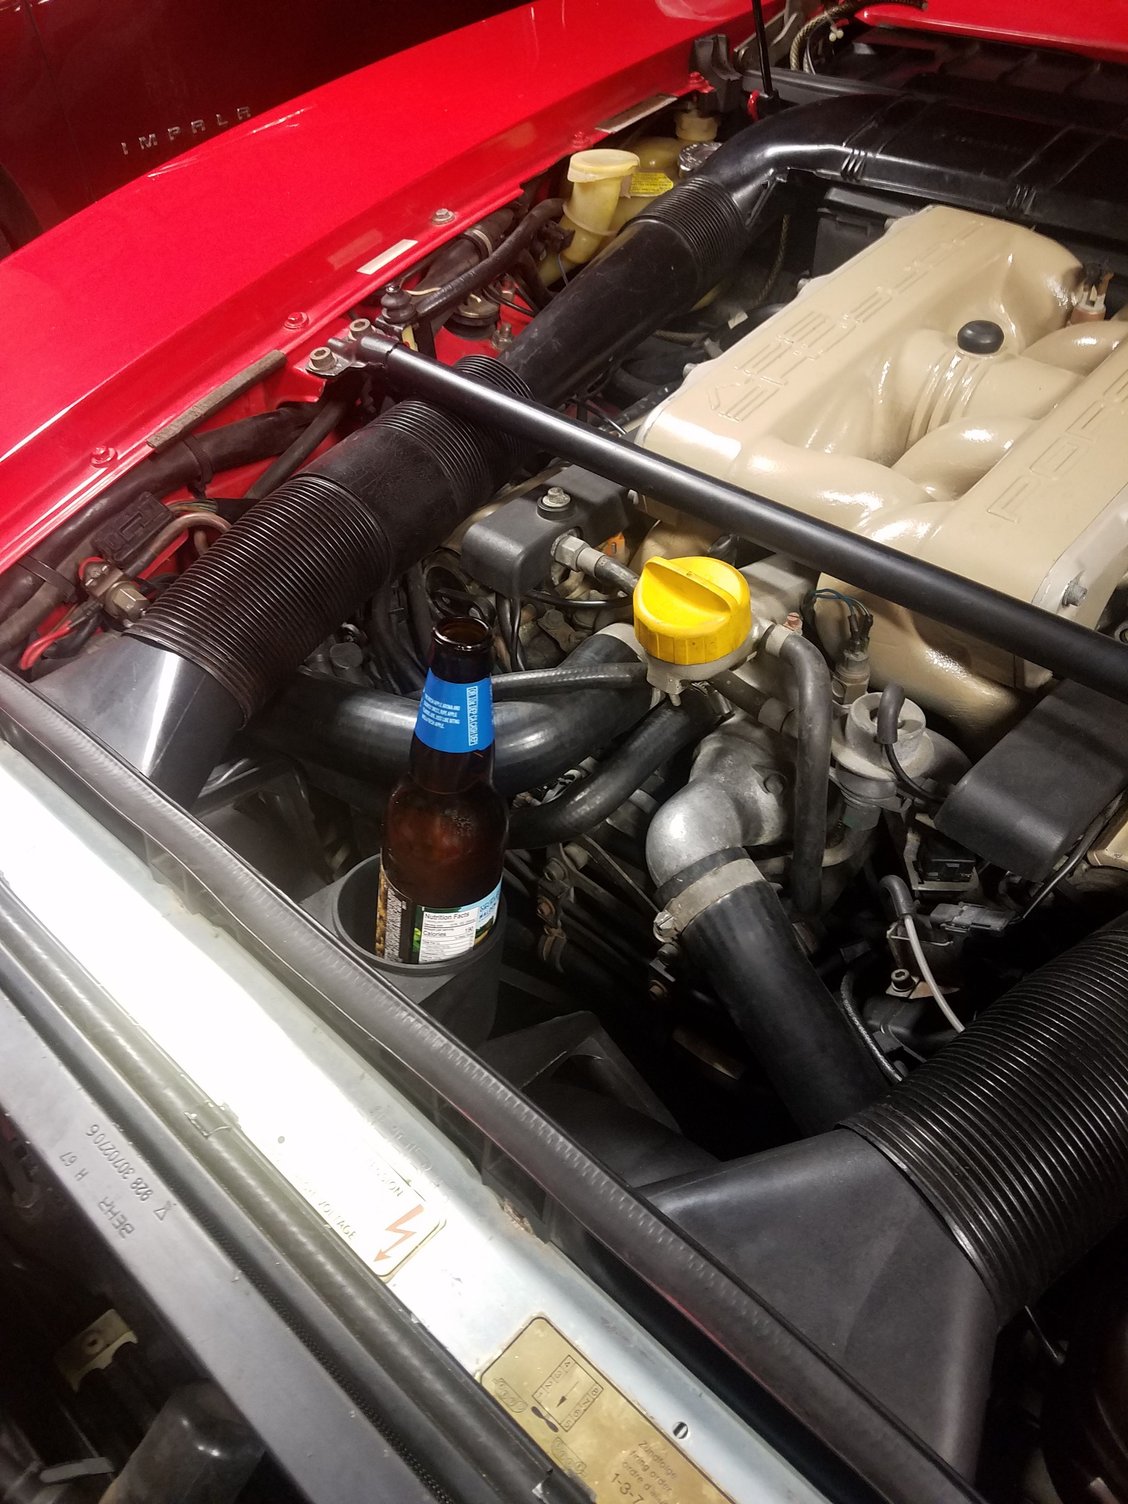
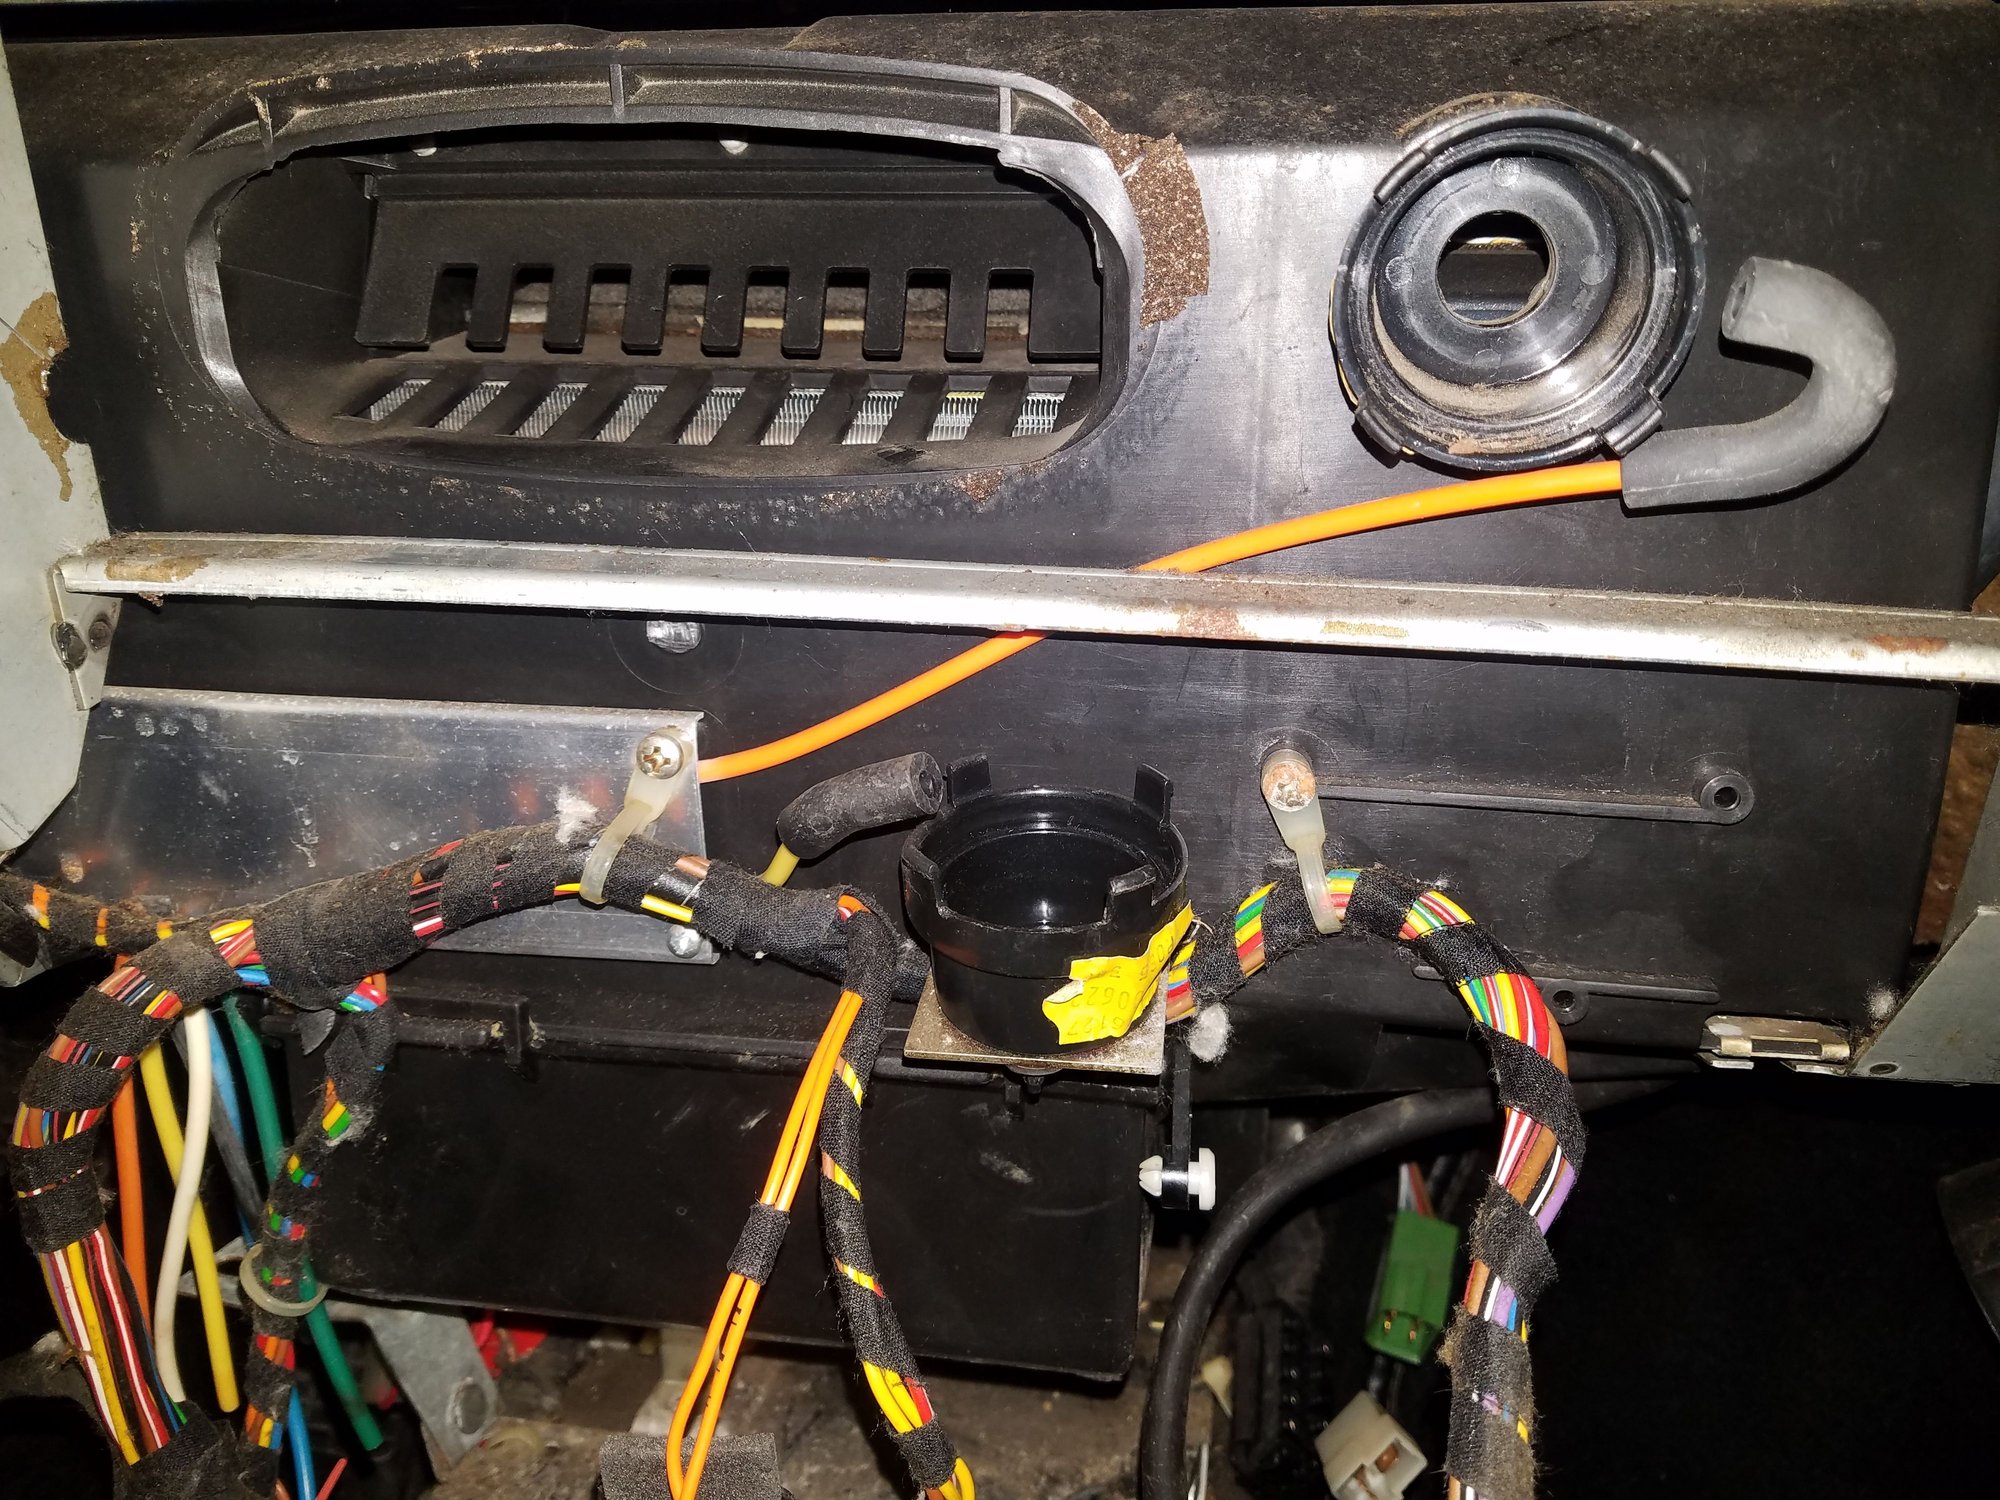
Delete of secondary air pump and filter leaves a nice cup holder for your beer.
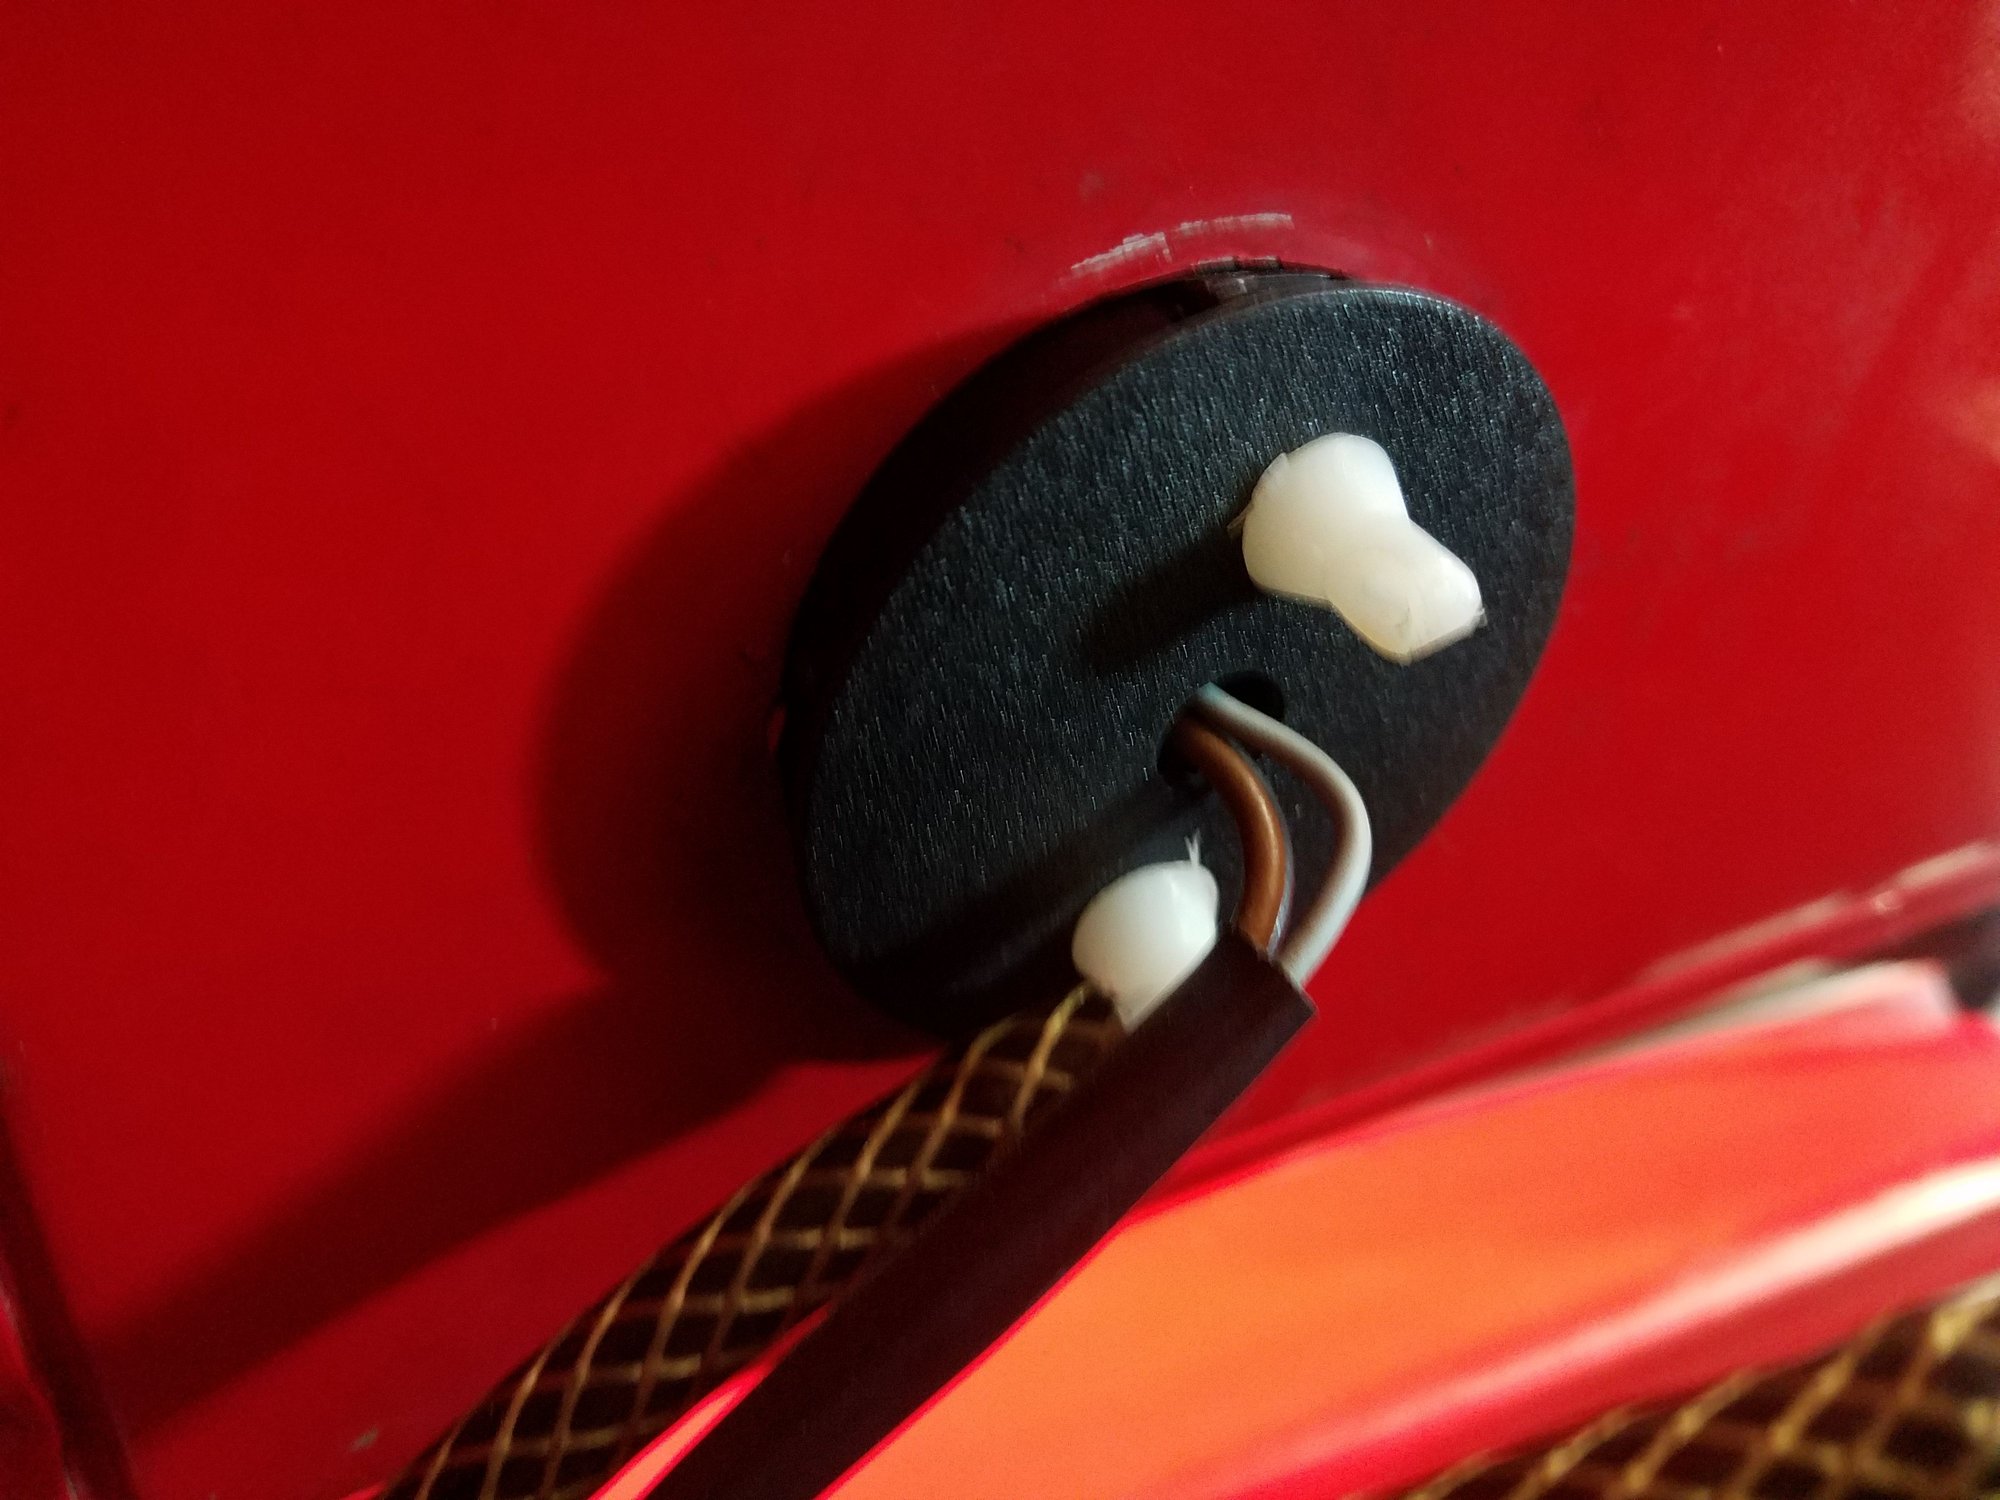
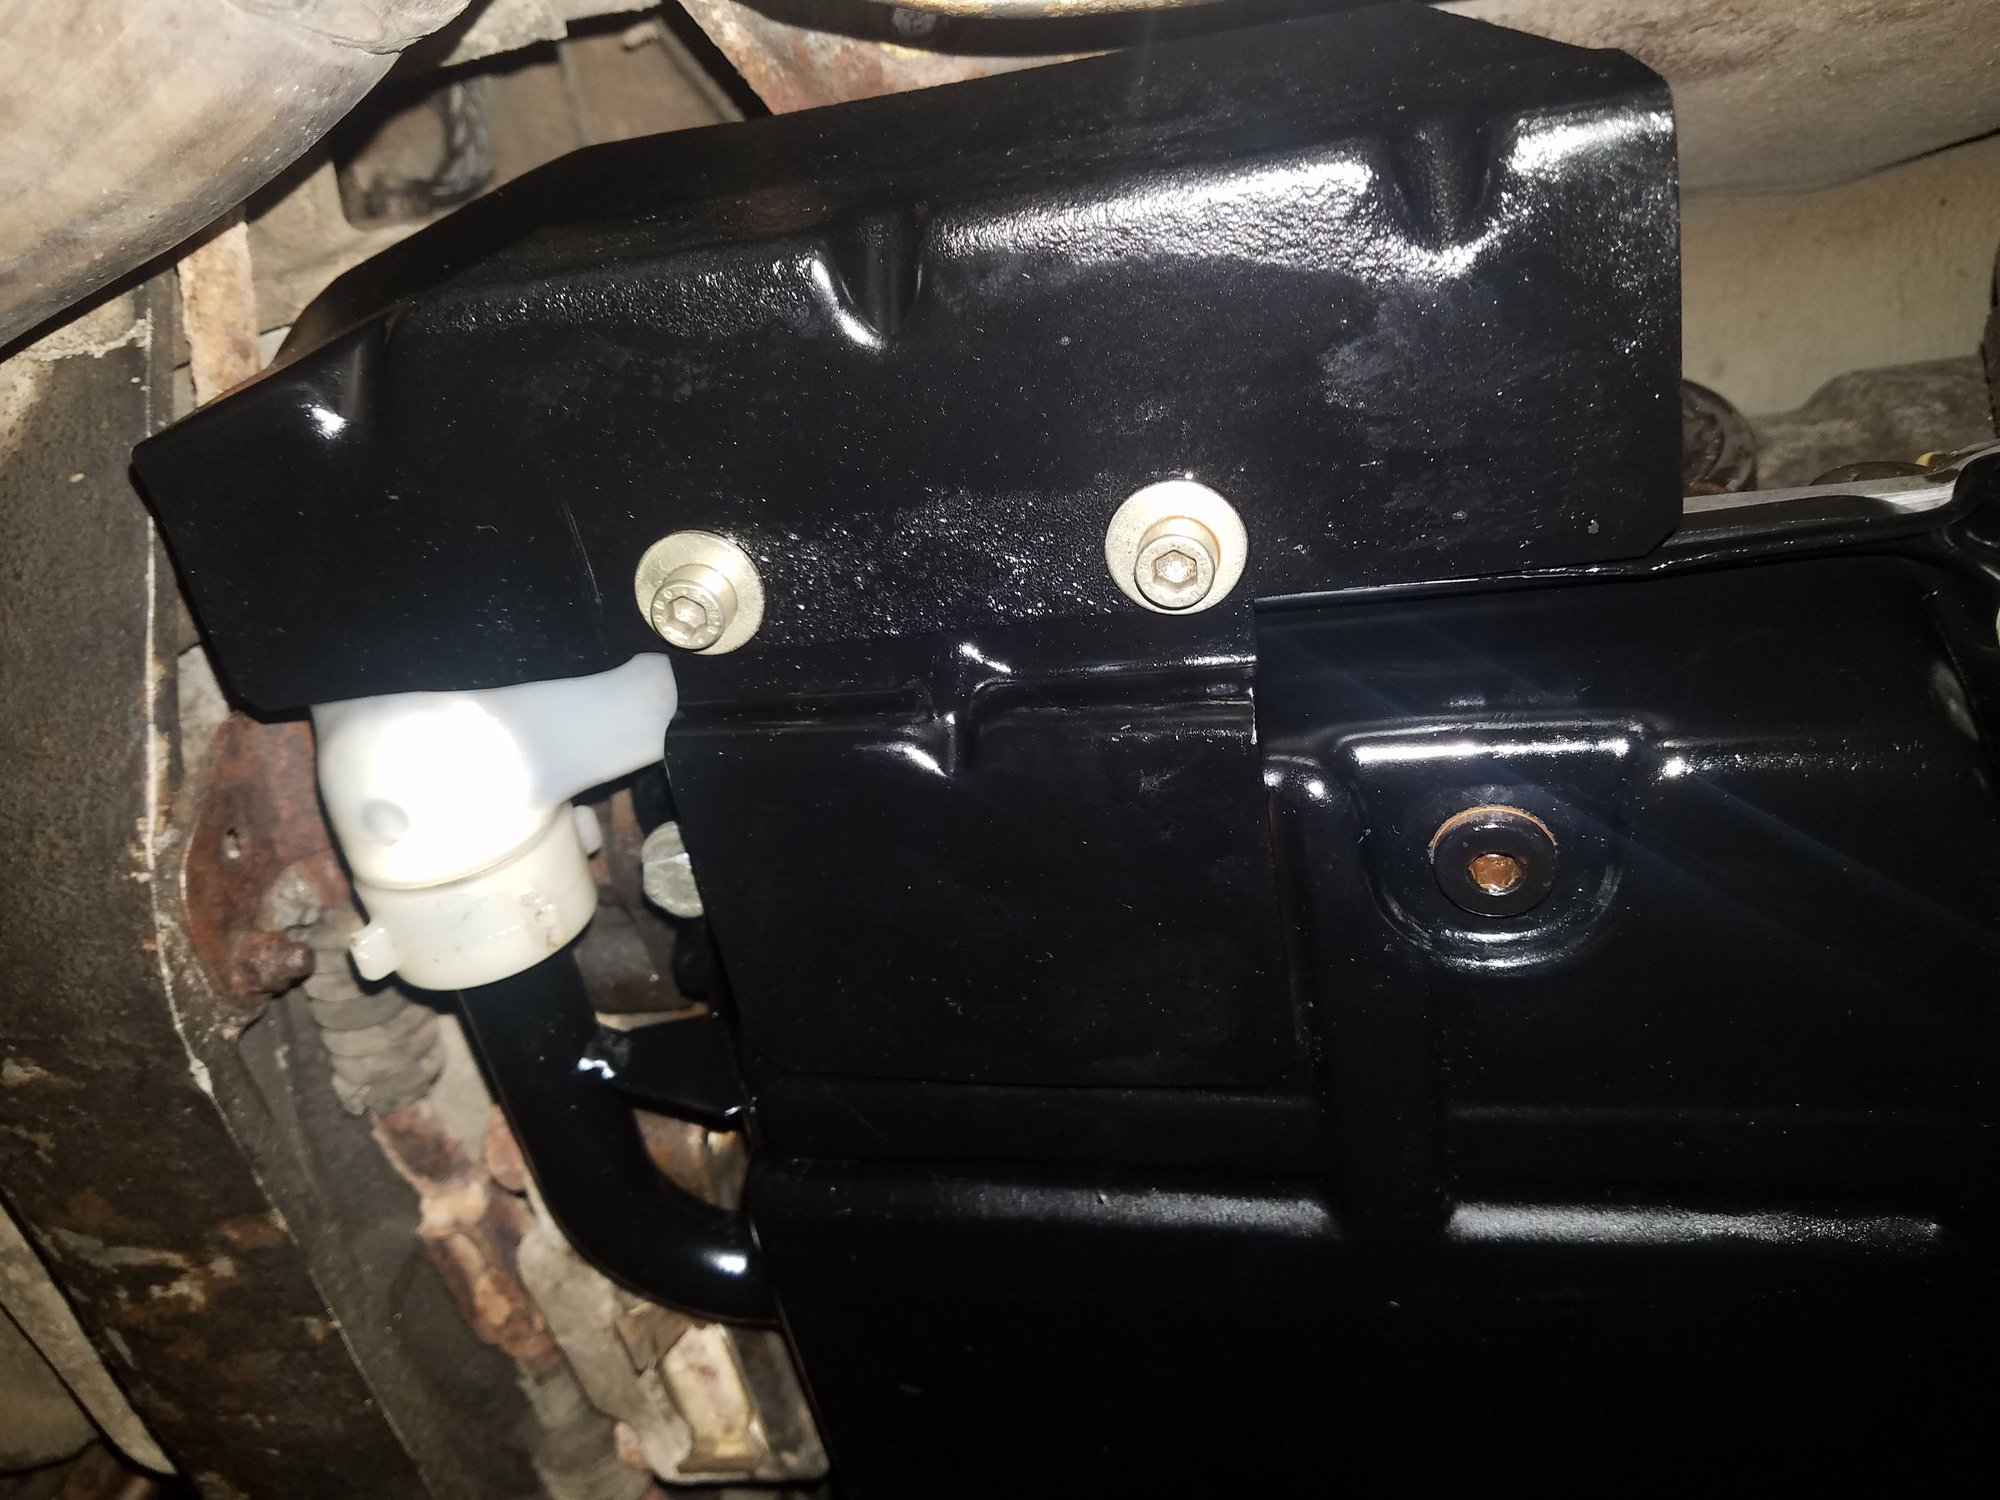
Found broken washer connector, now replaced.
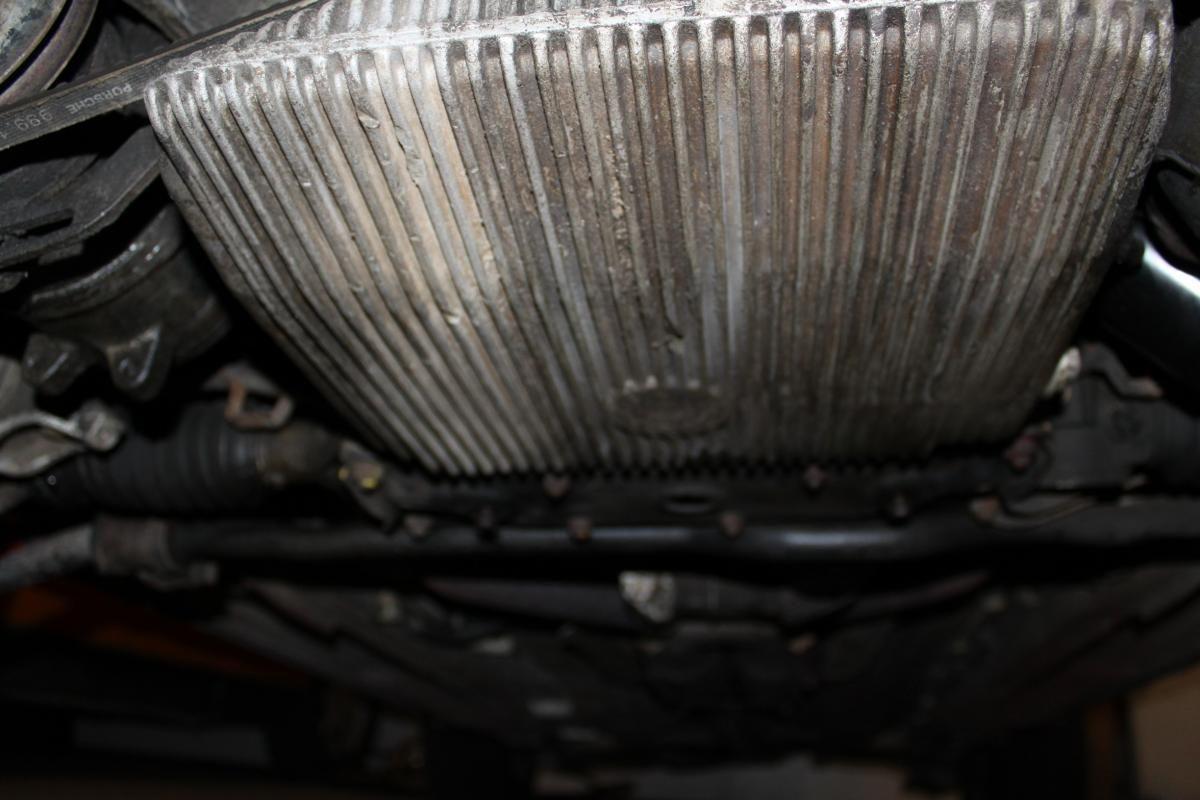
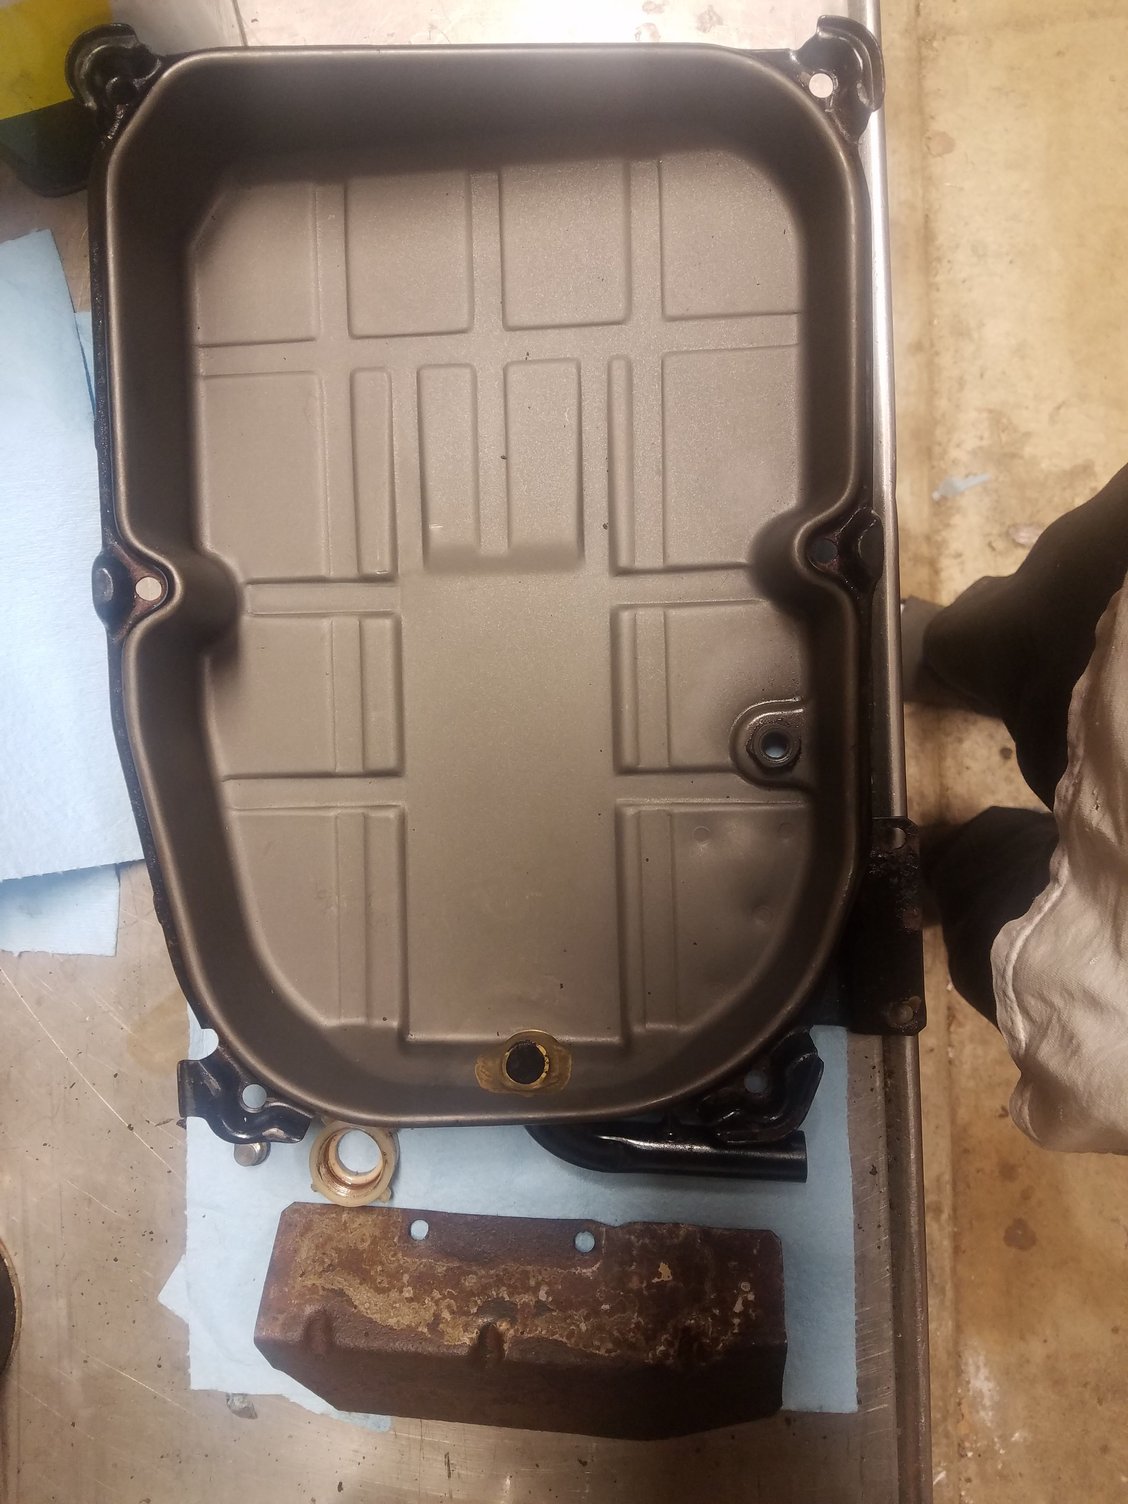
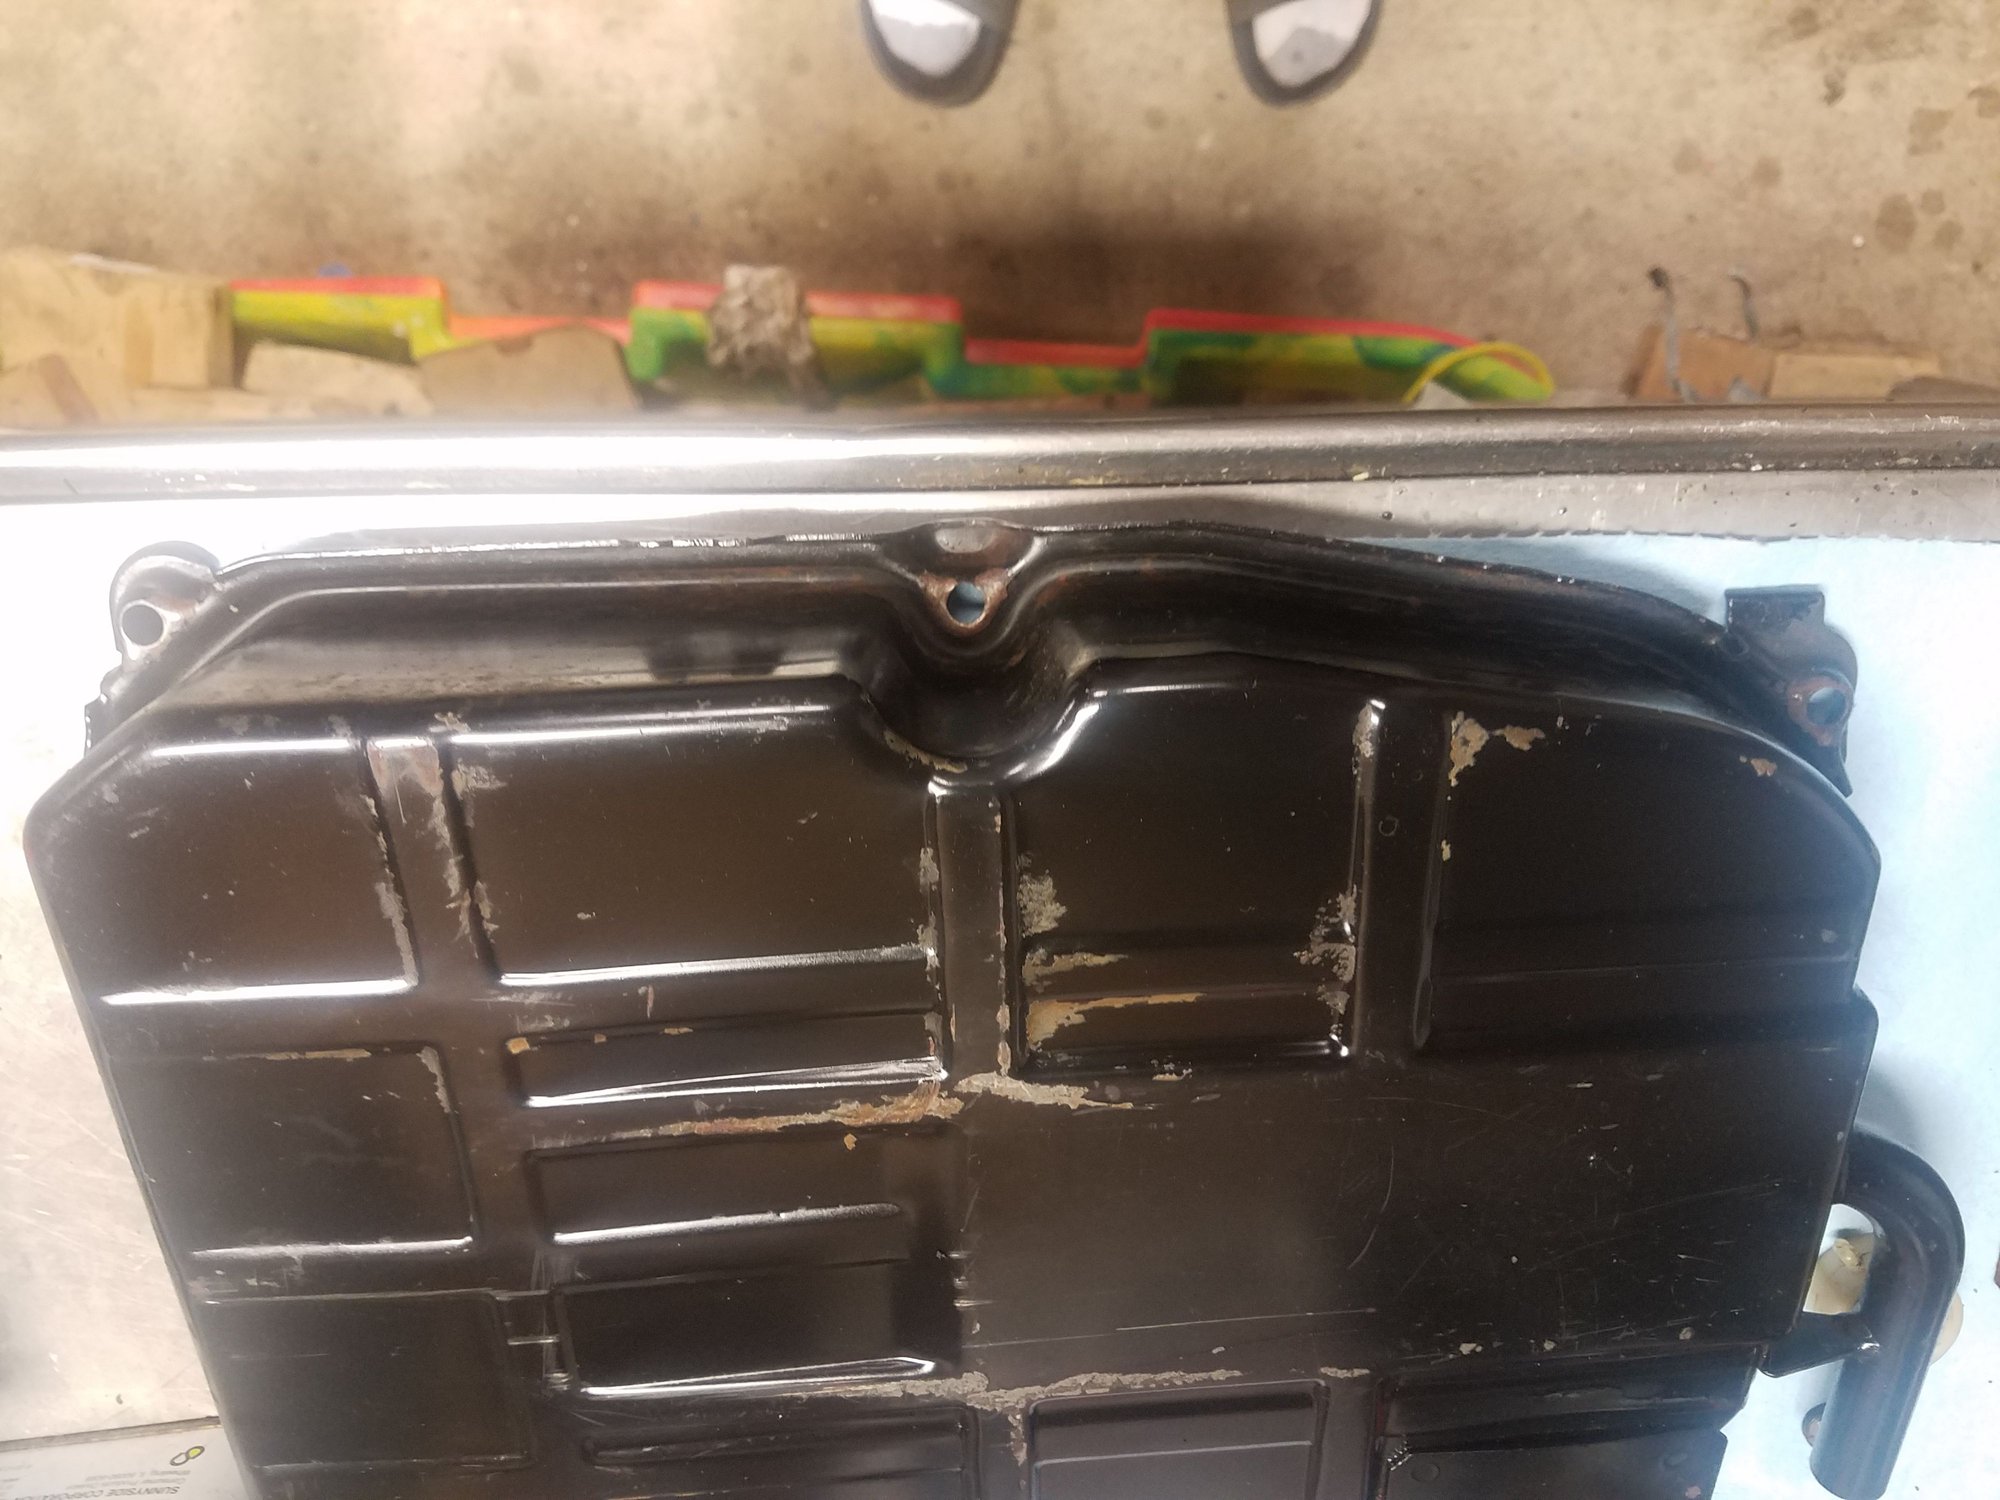
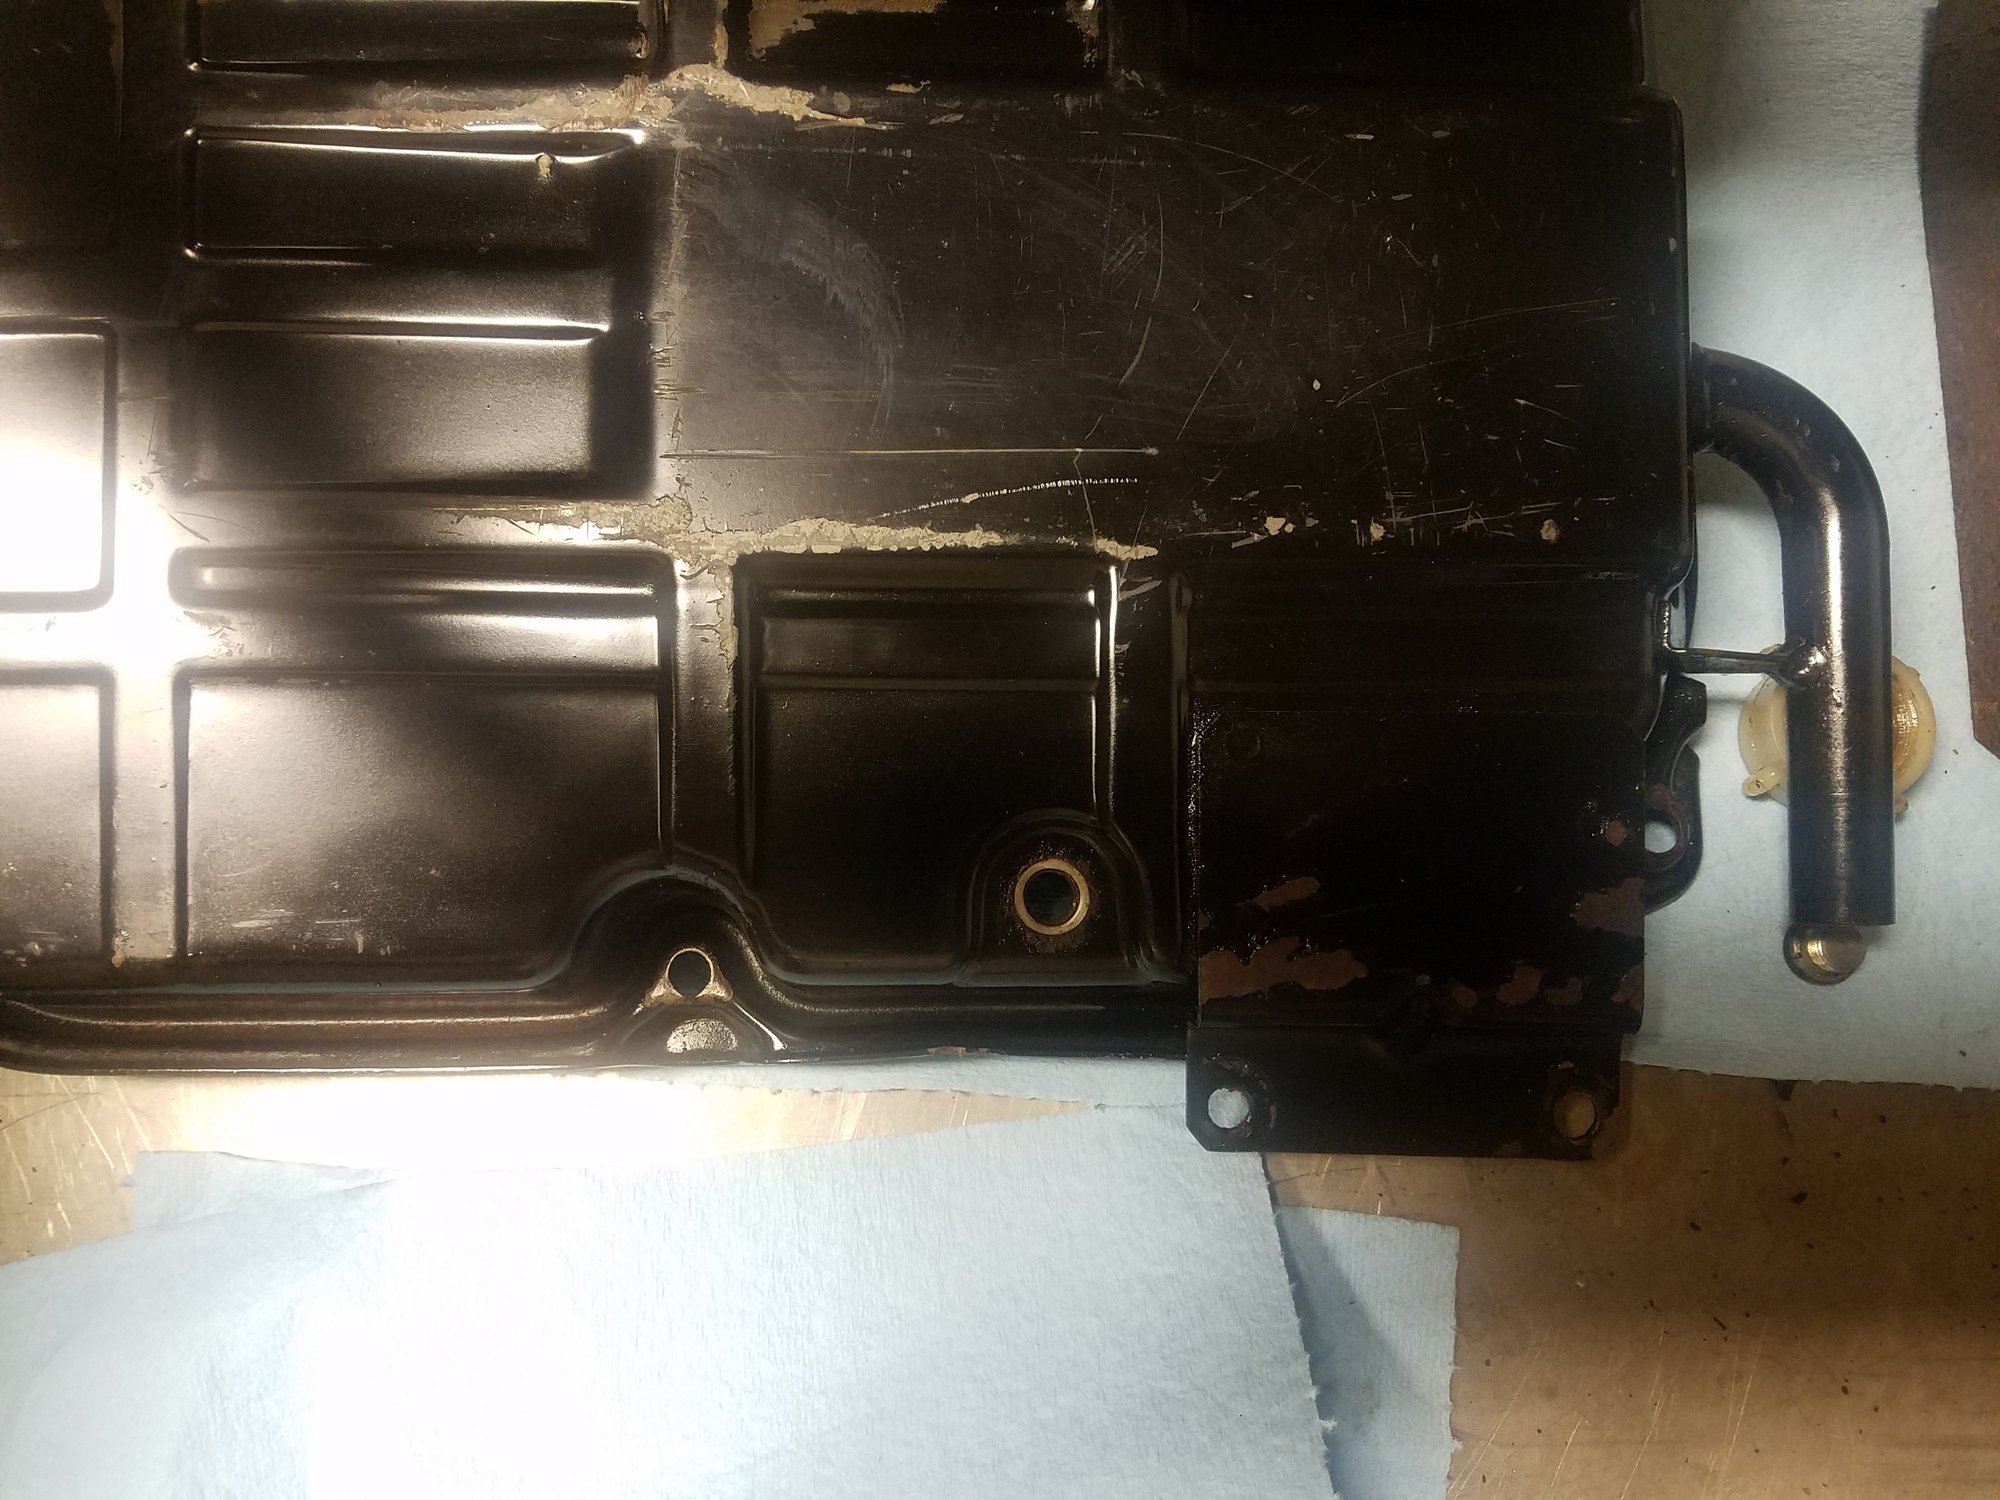
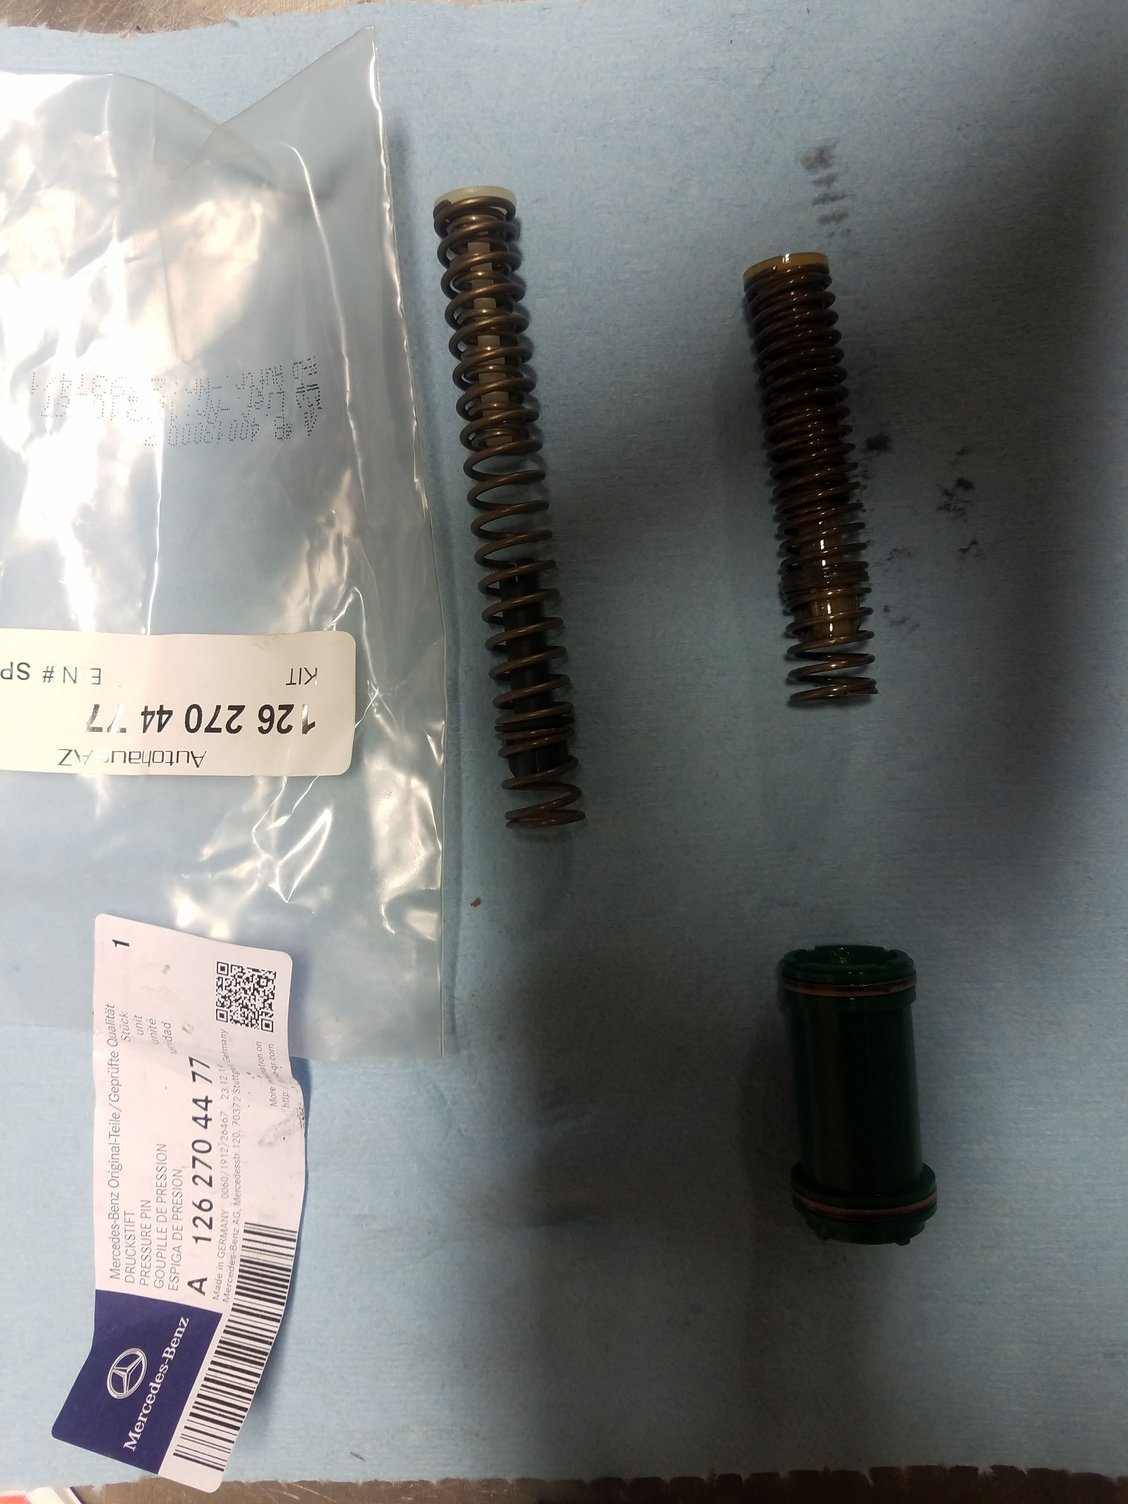
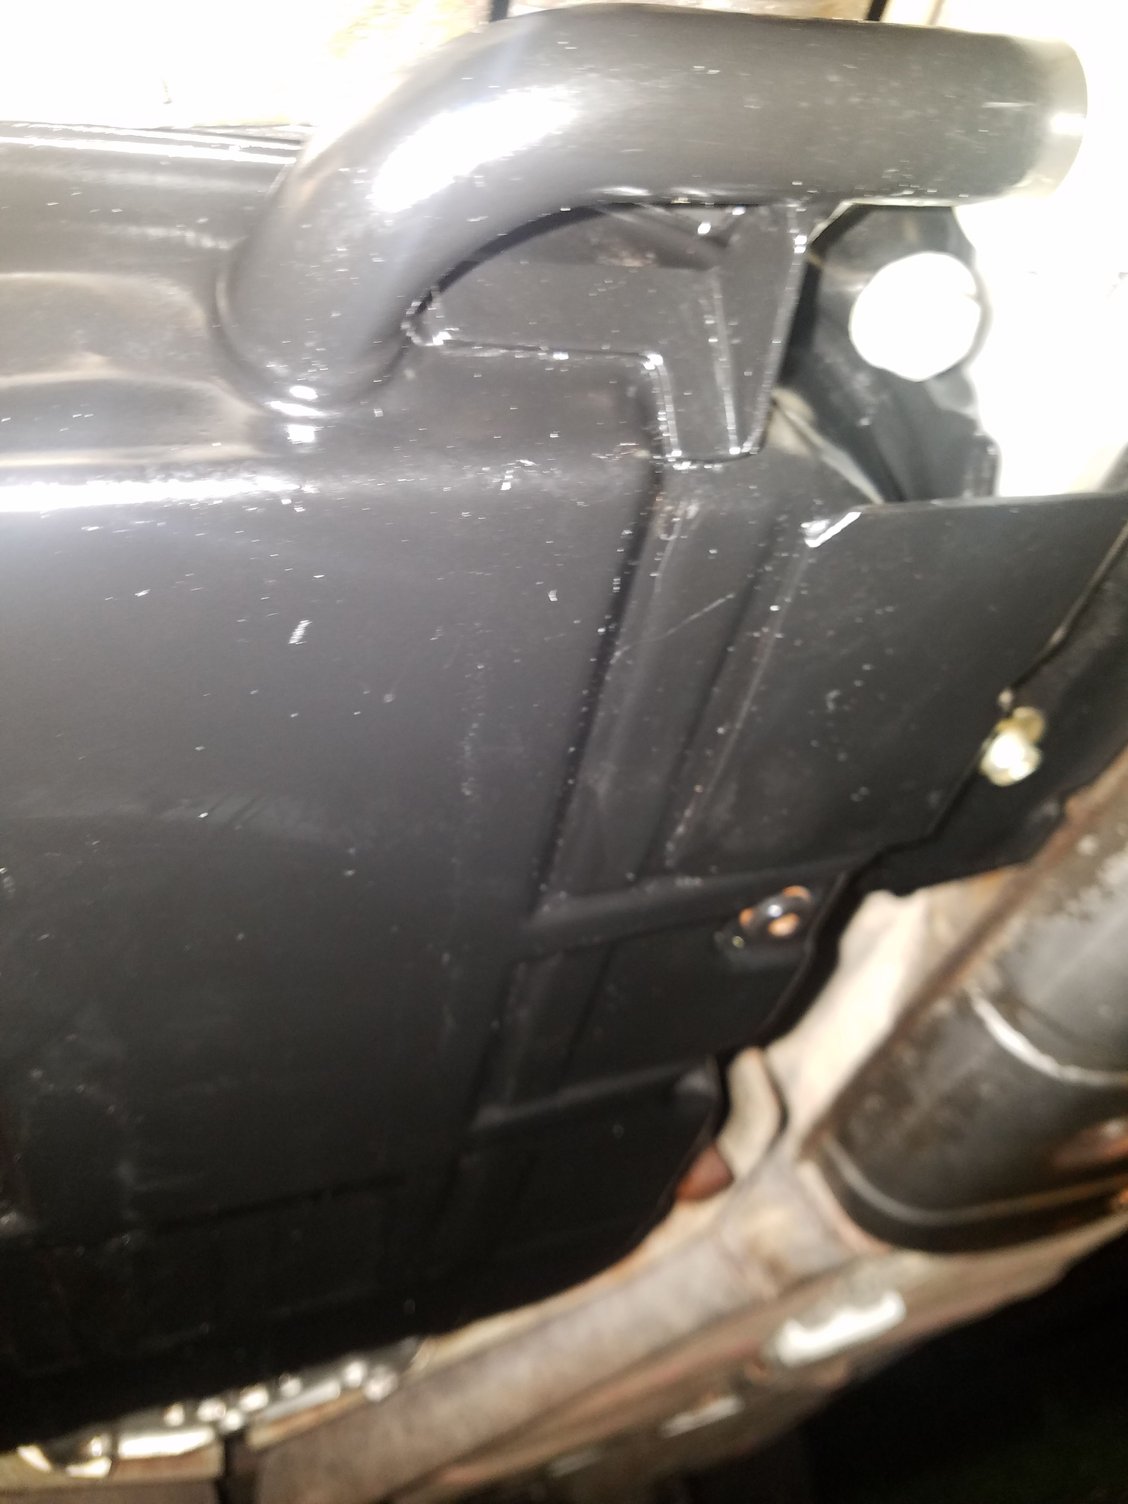
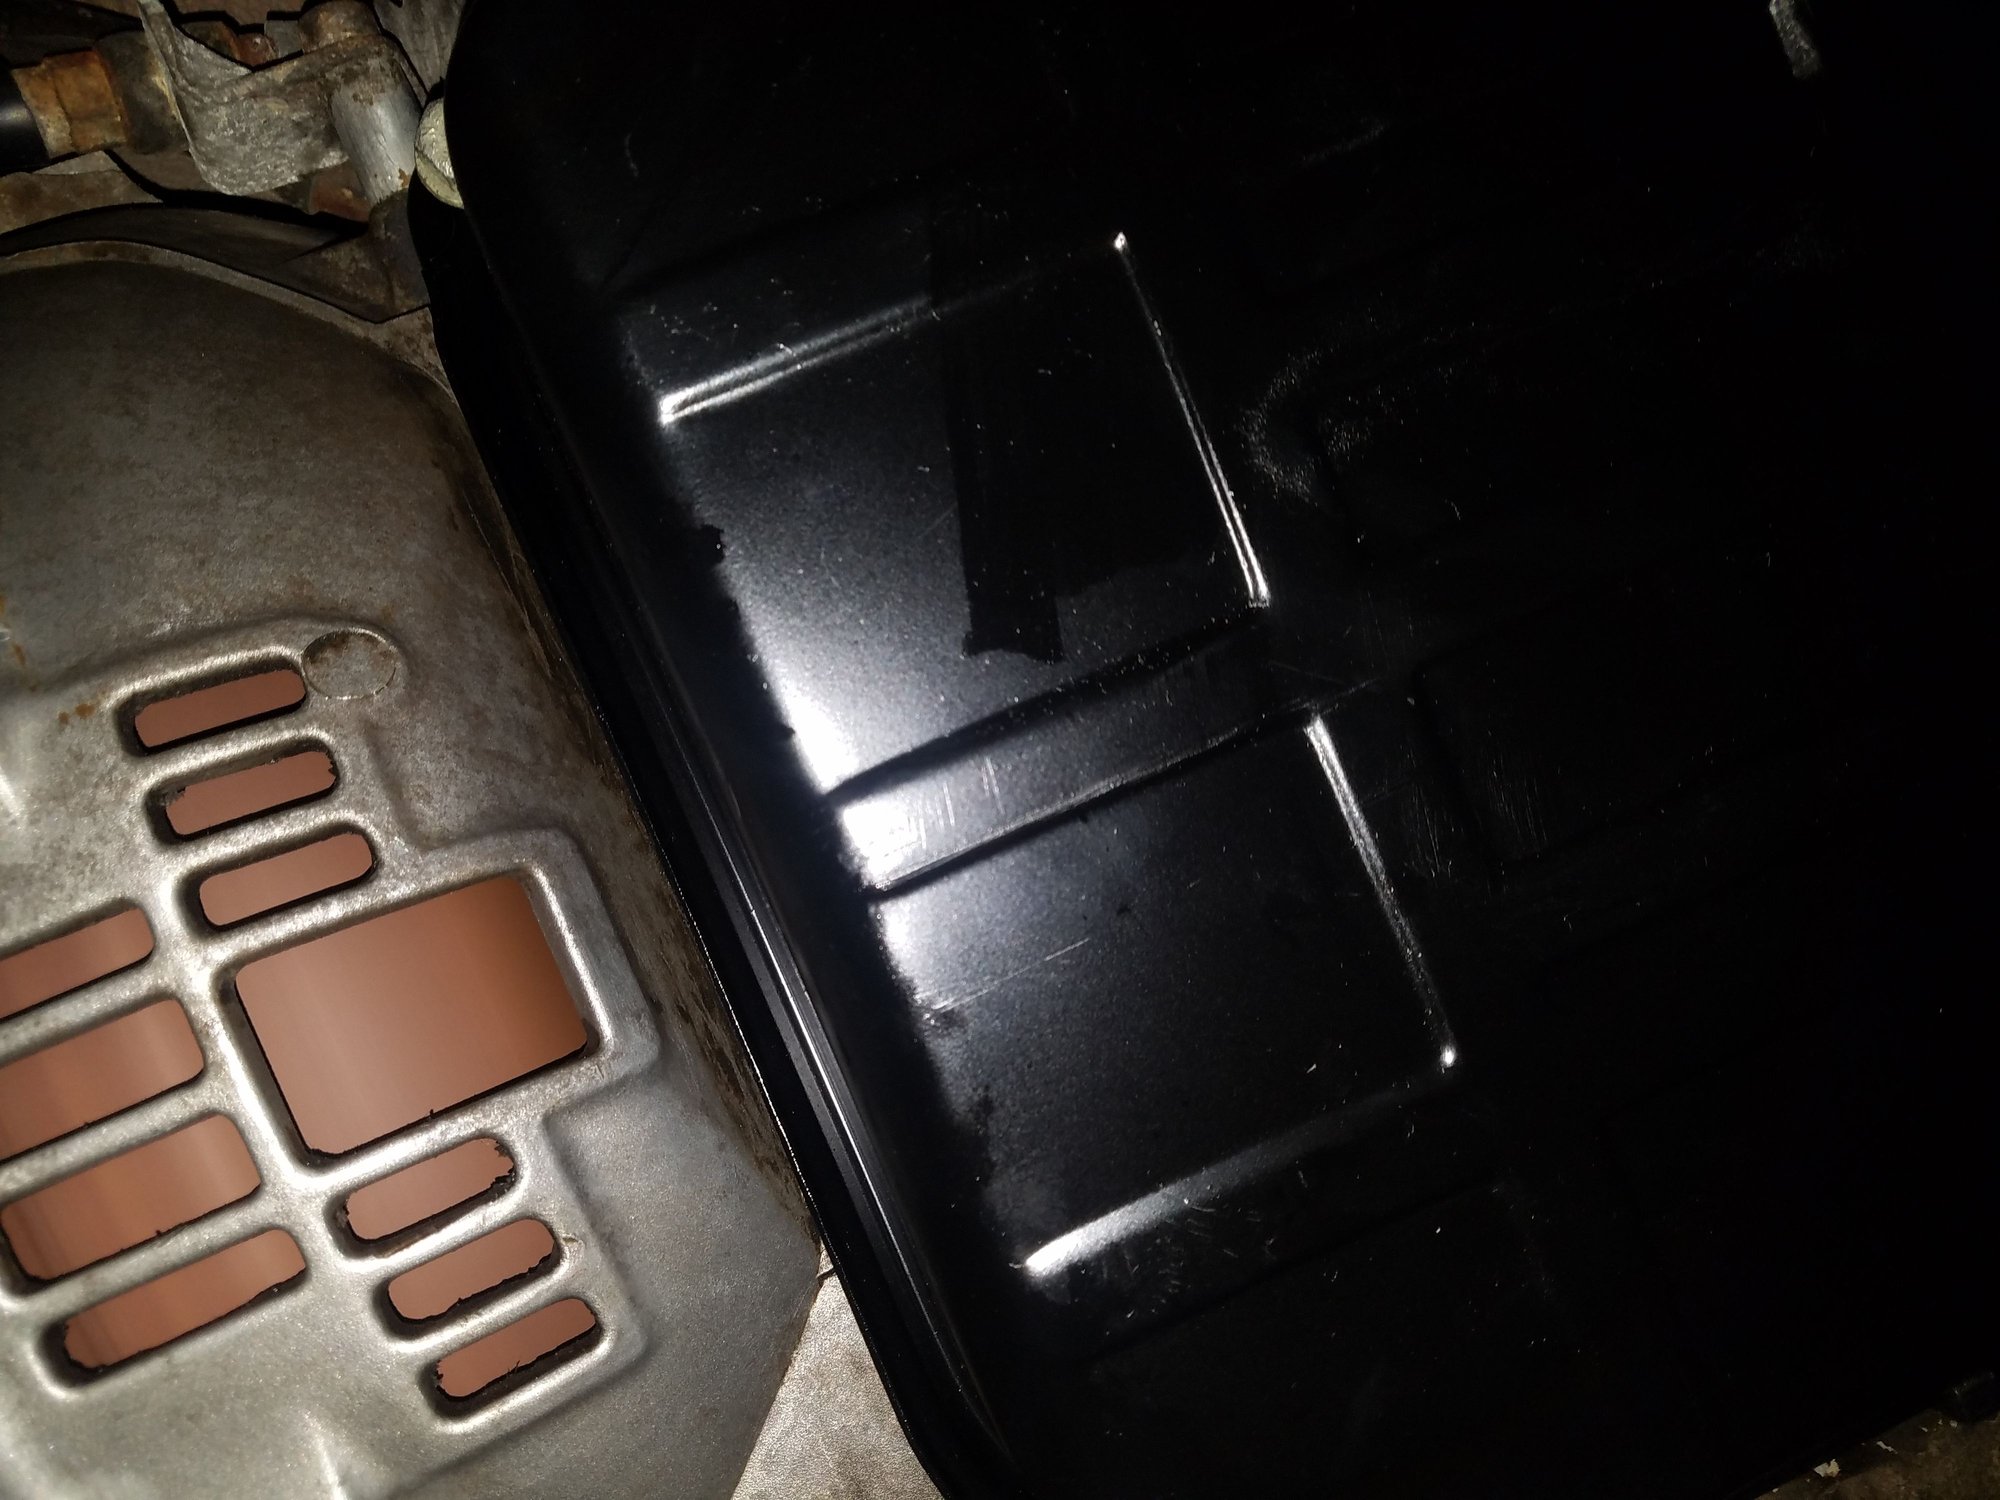
The car was flaring the 23 upshift, so after a bit of rennlist research, I decided to replace the k1 accumulator spring assembly. While I was at it I refreshed the pan and fasteners.
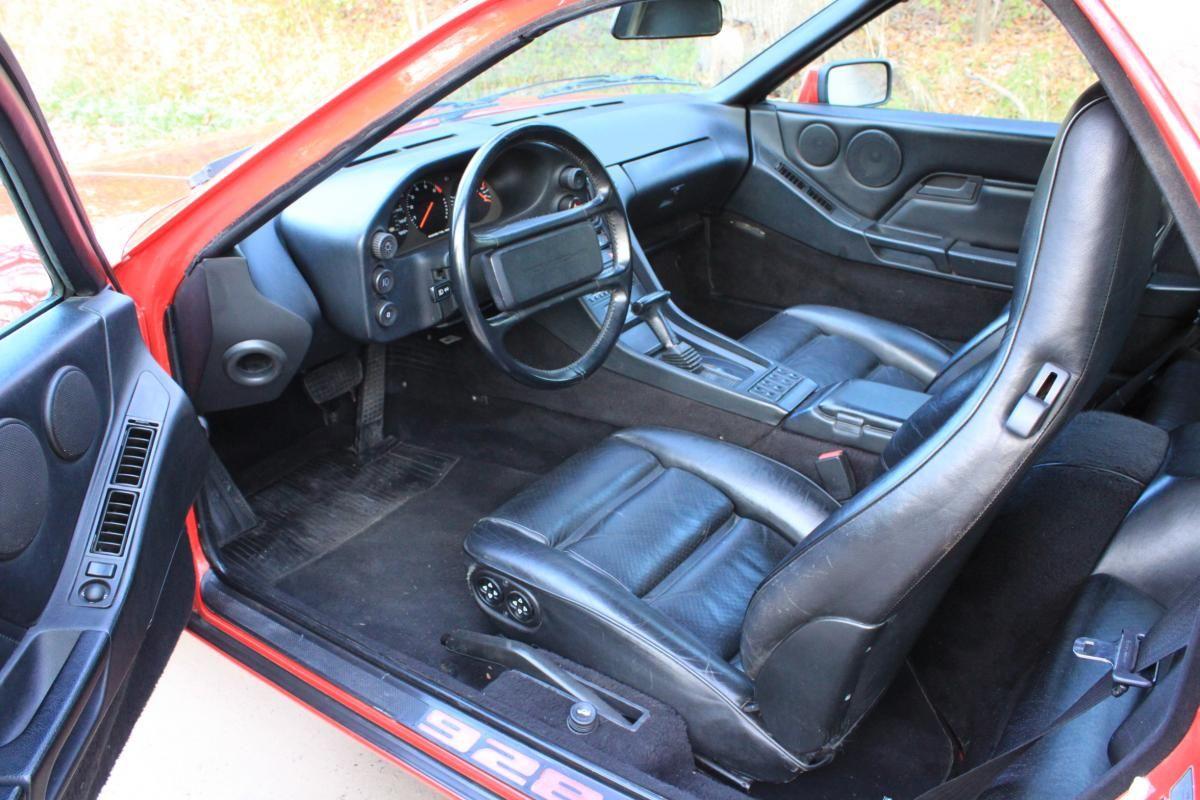
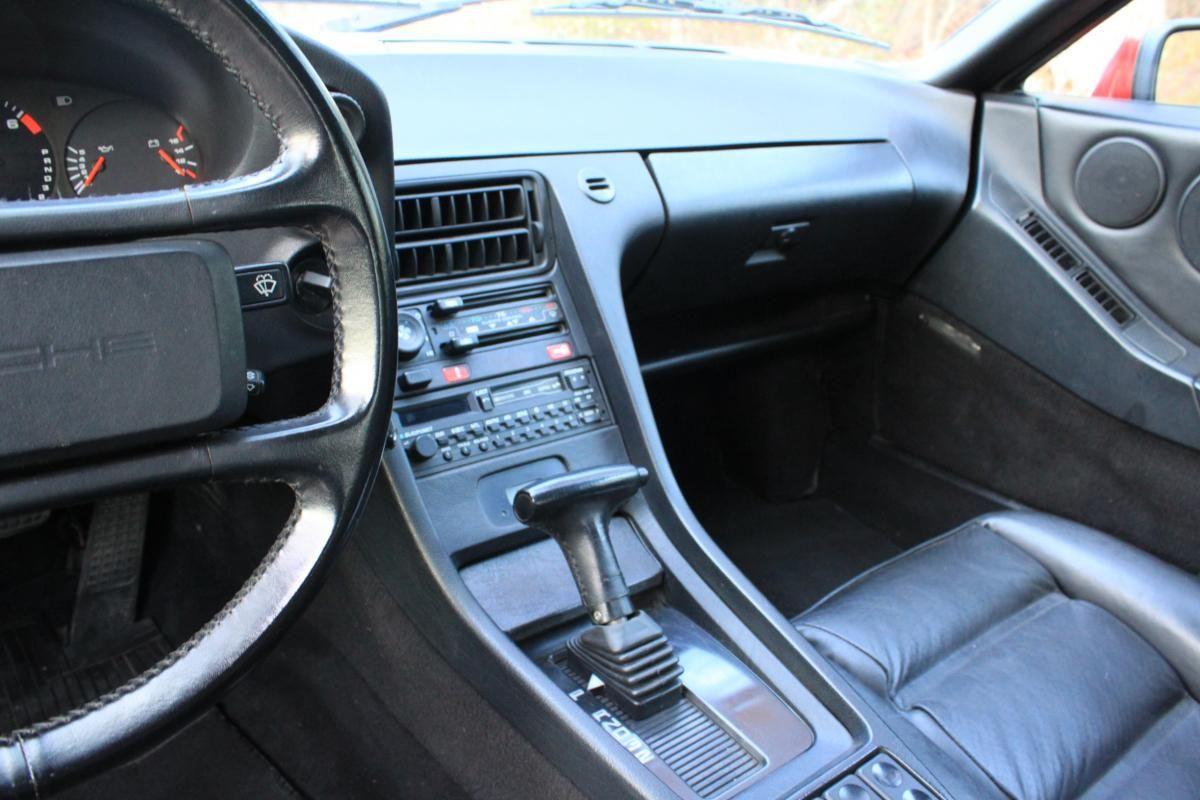
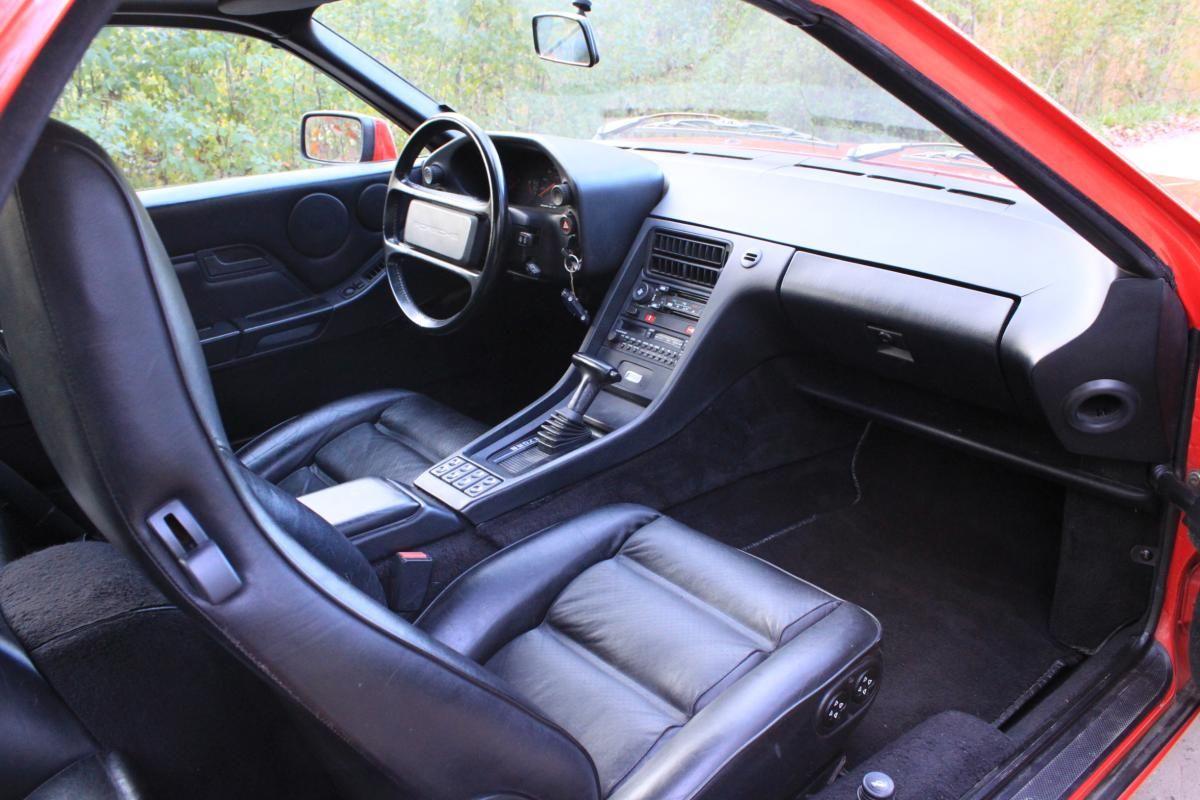
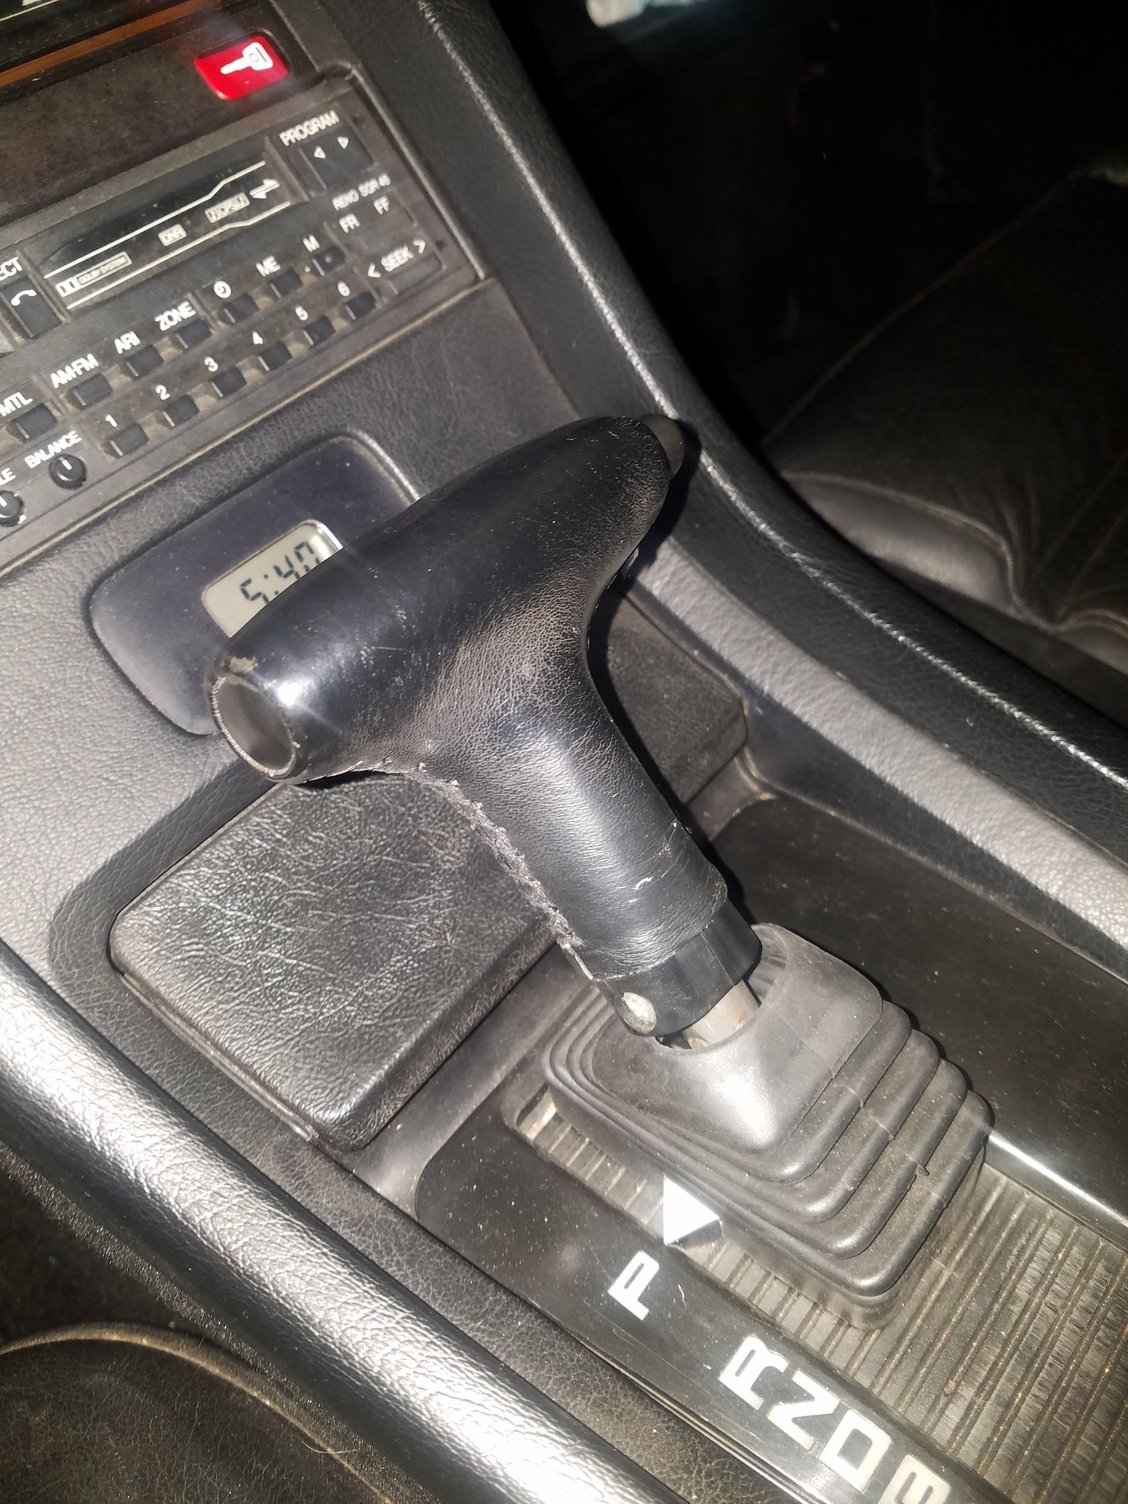
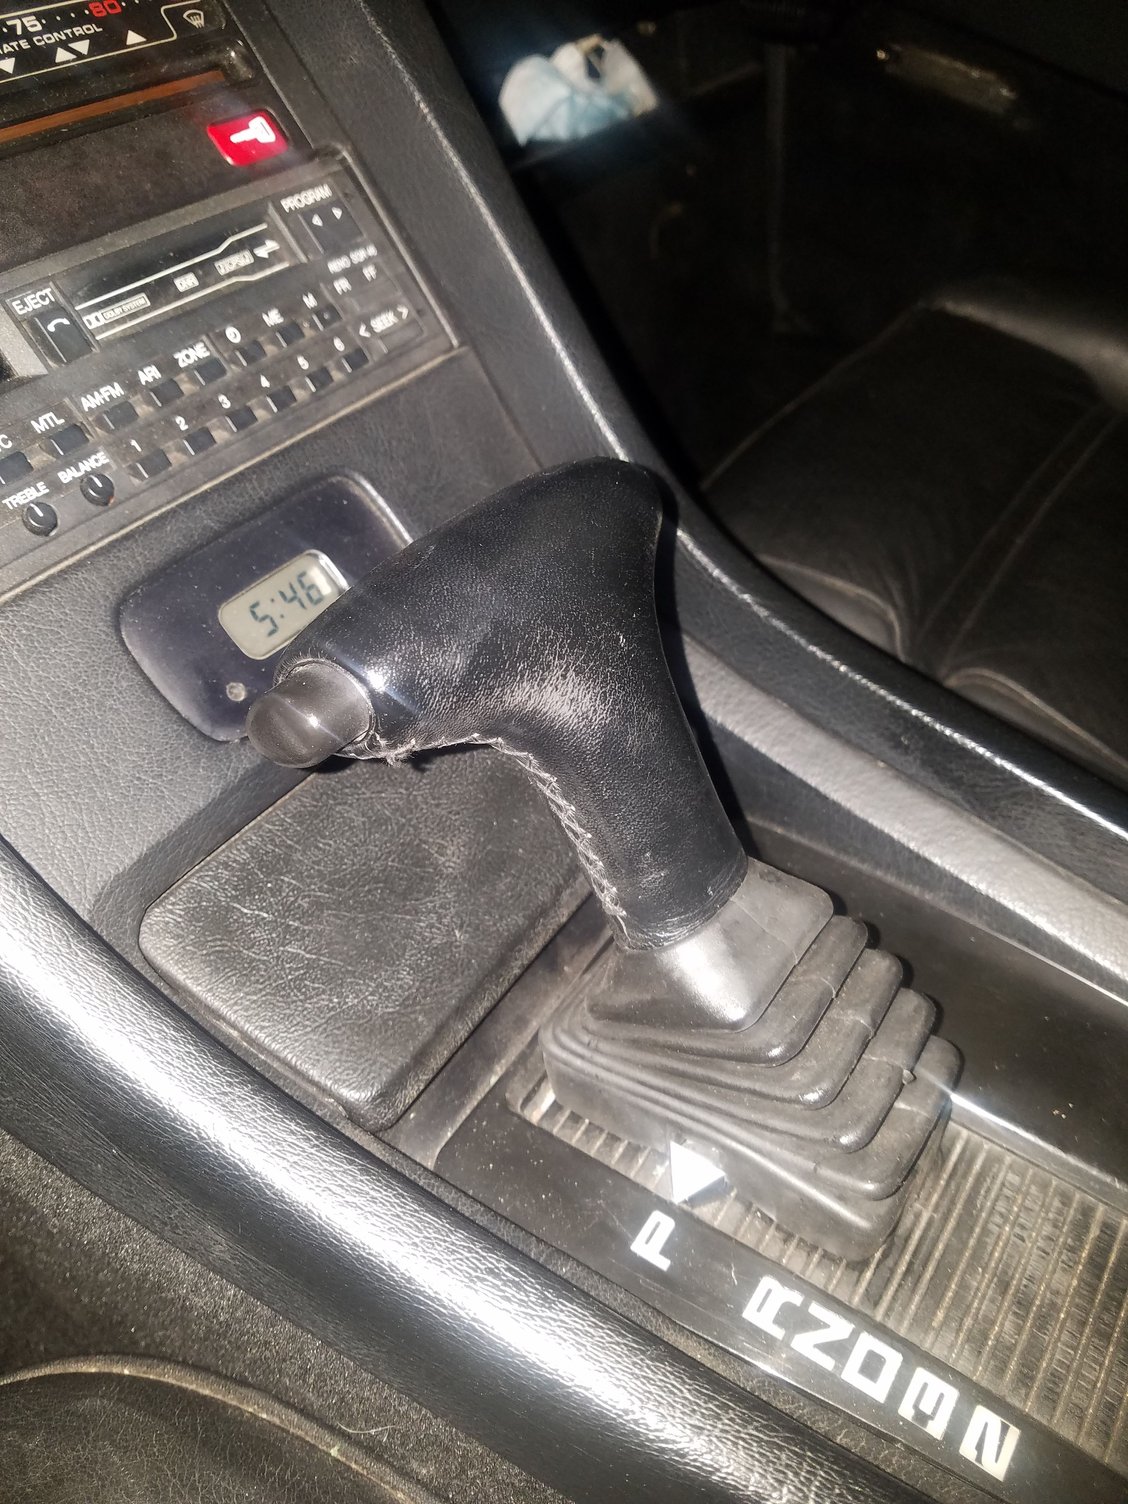
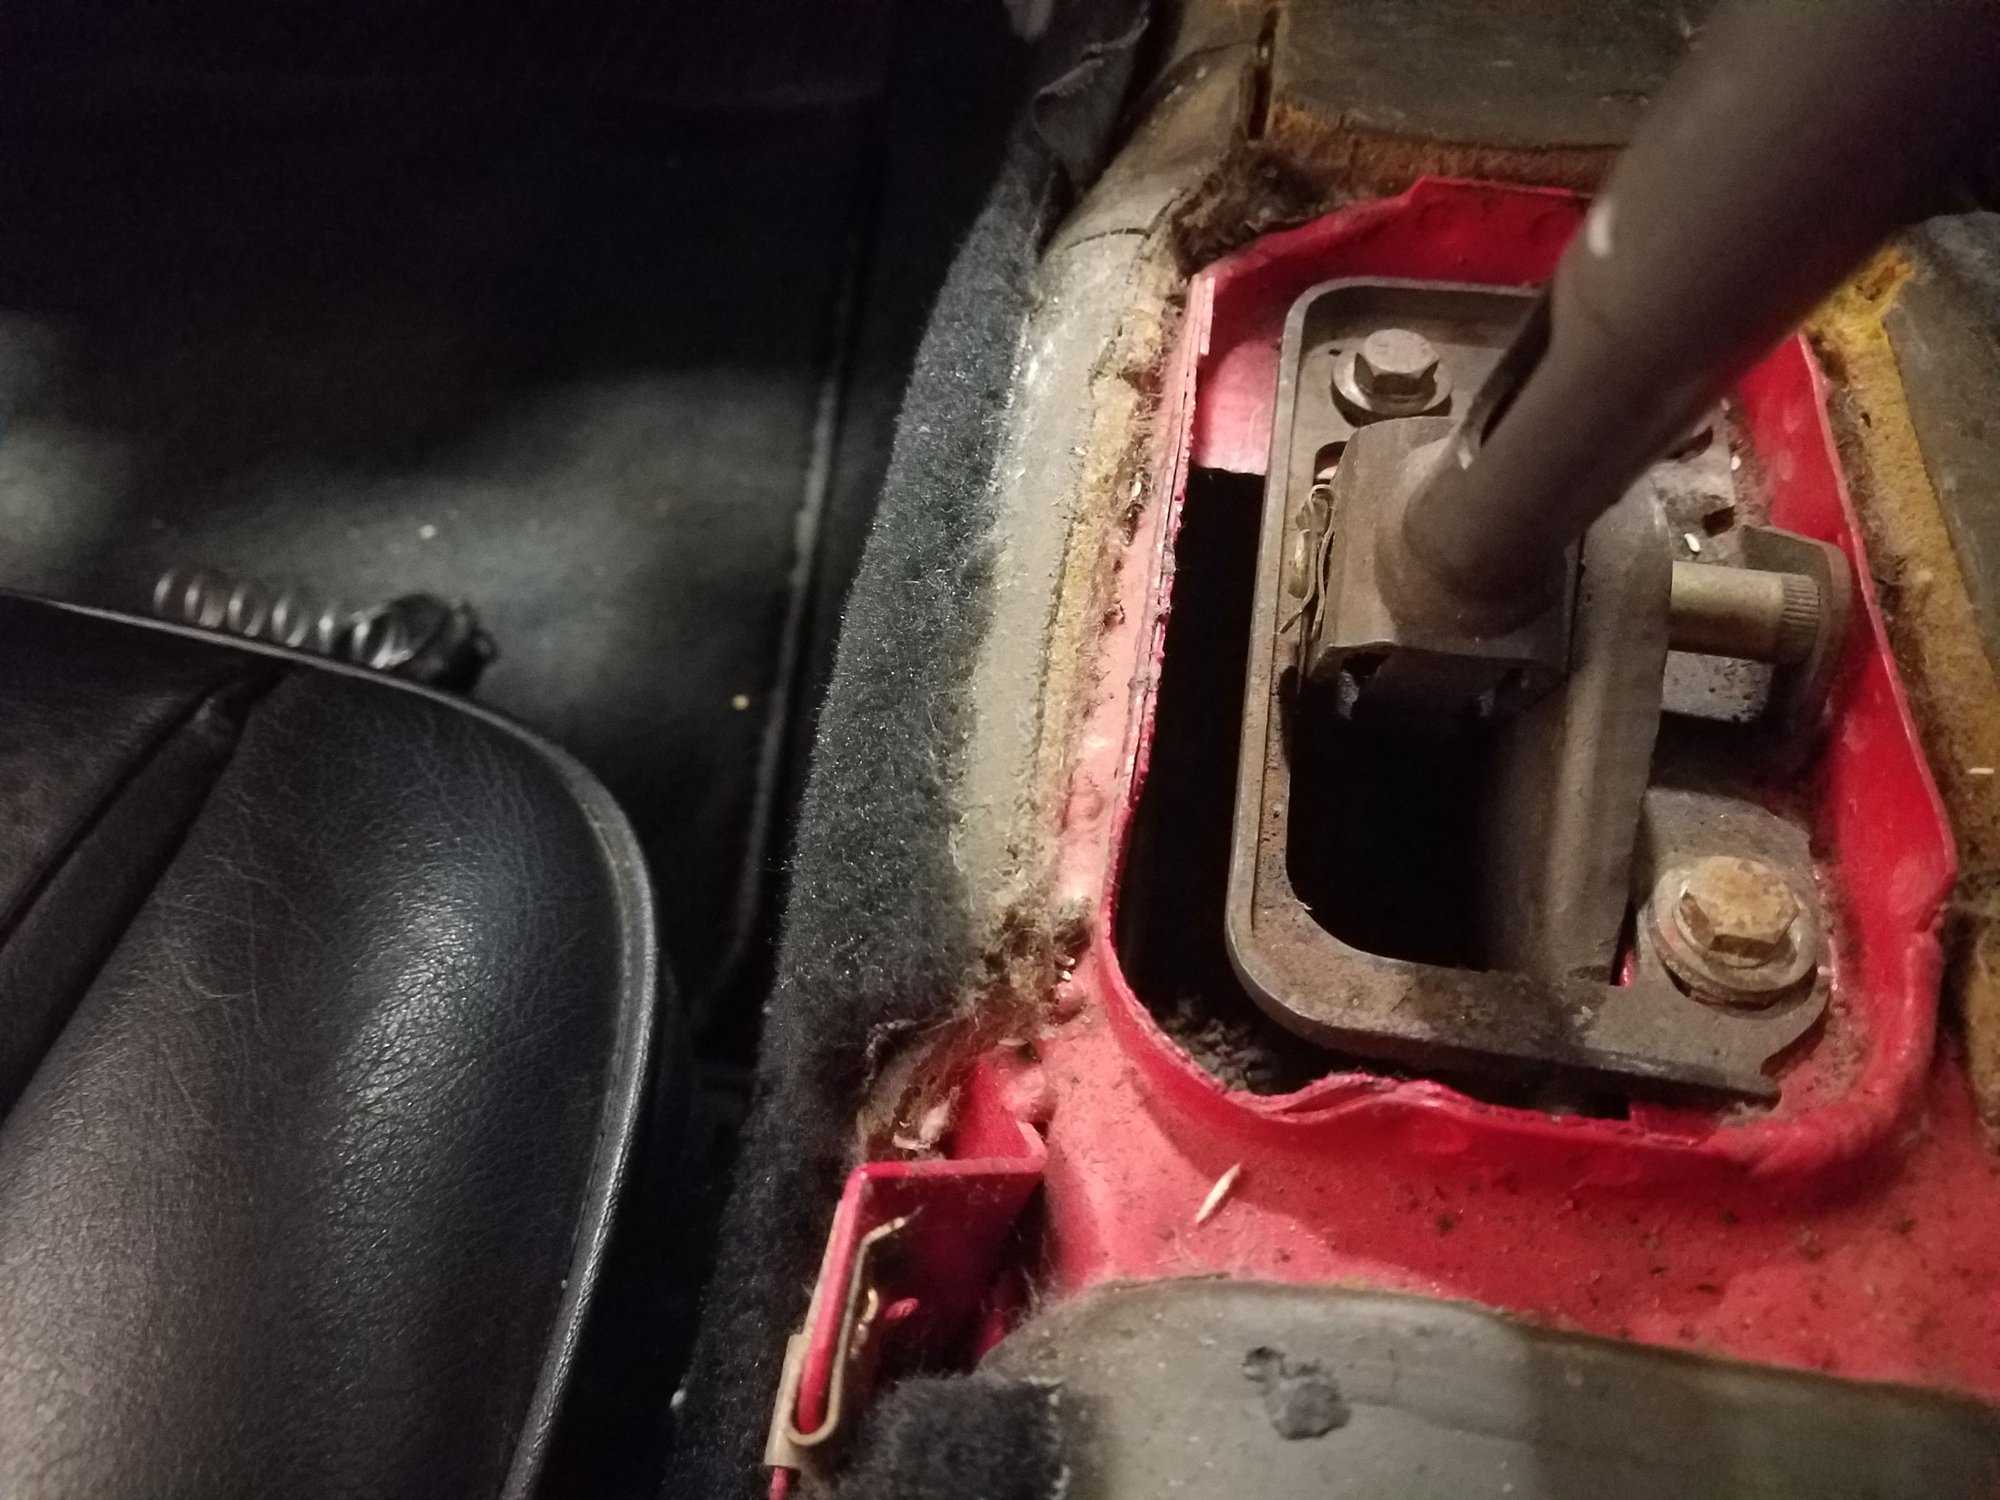
Someone also pointed out the flipped shifter on rennlist. Apparently some things everyone notices on here.
More poor quality pics. This is post accumulator spring install with refreshed pan. 23 shifts did not flare anymore and car shifted nicely after this and setting the shift pressure regulator back to factory specs.
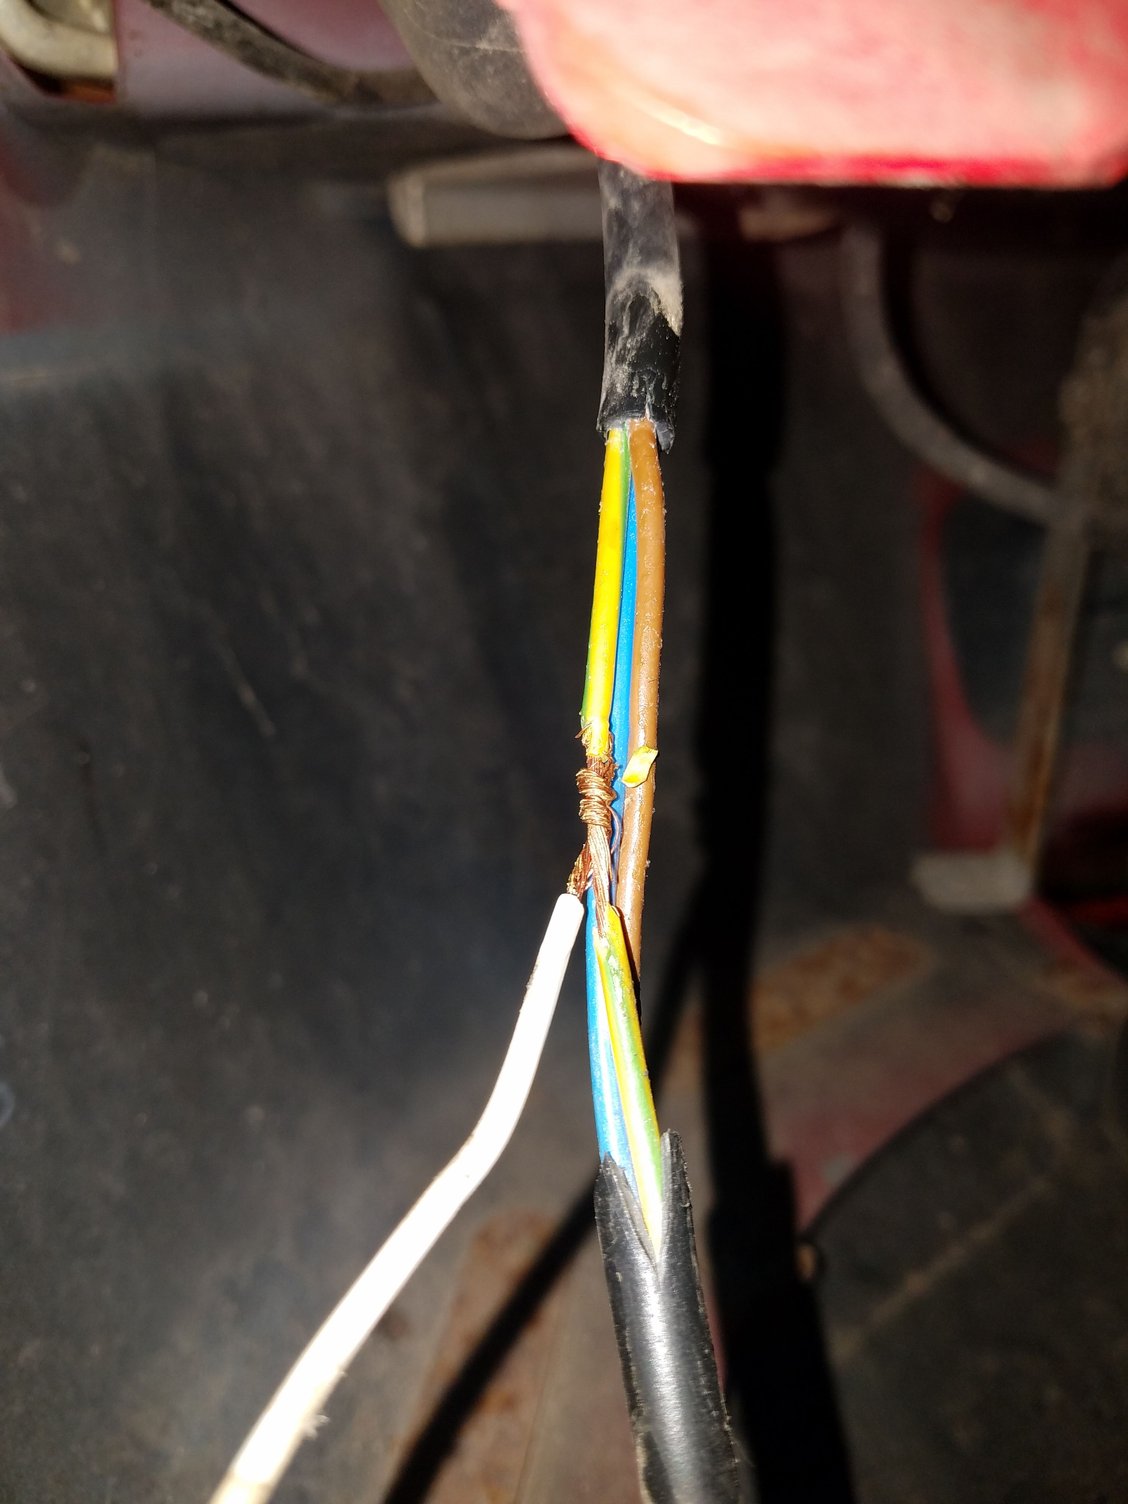
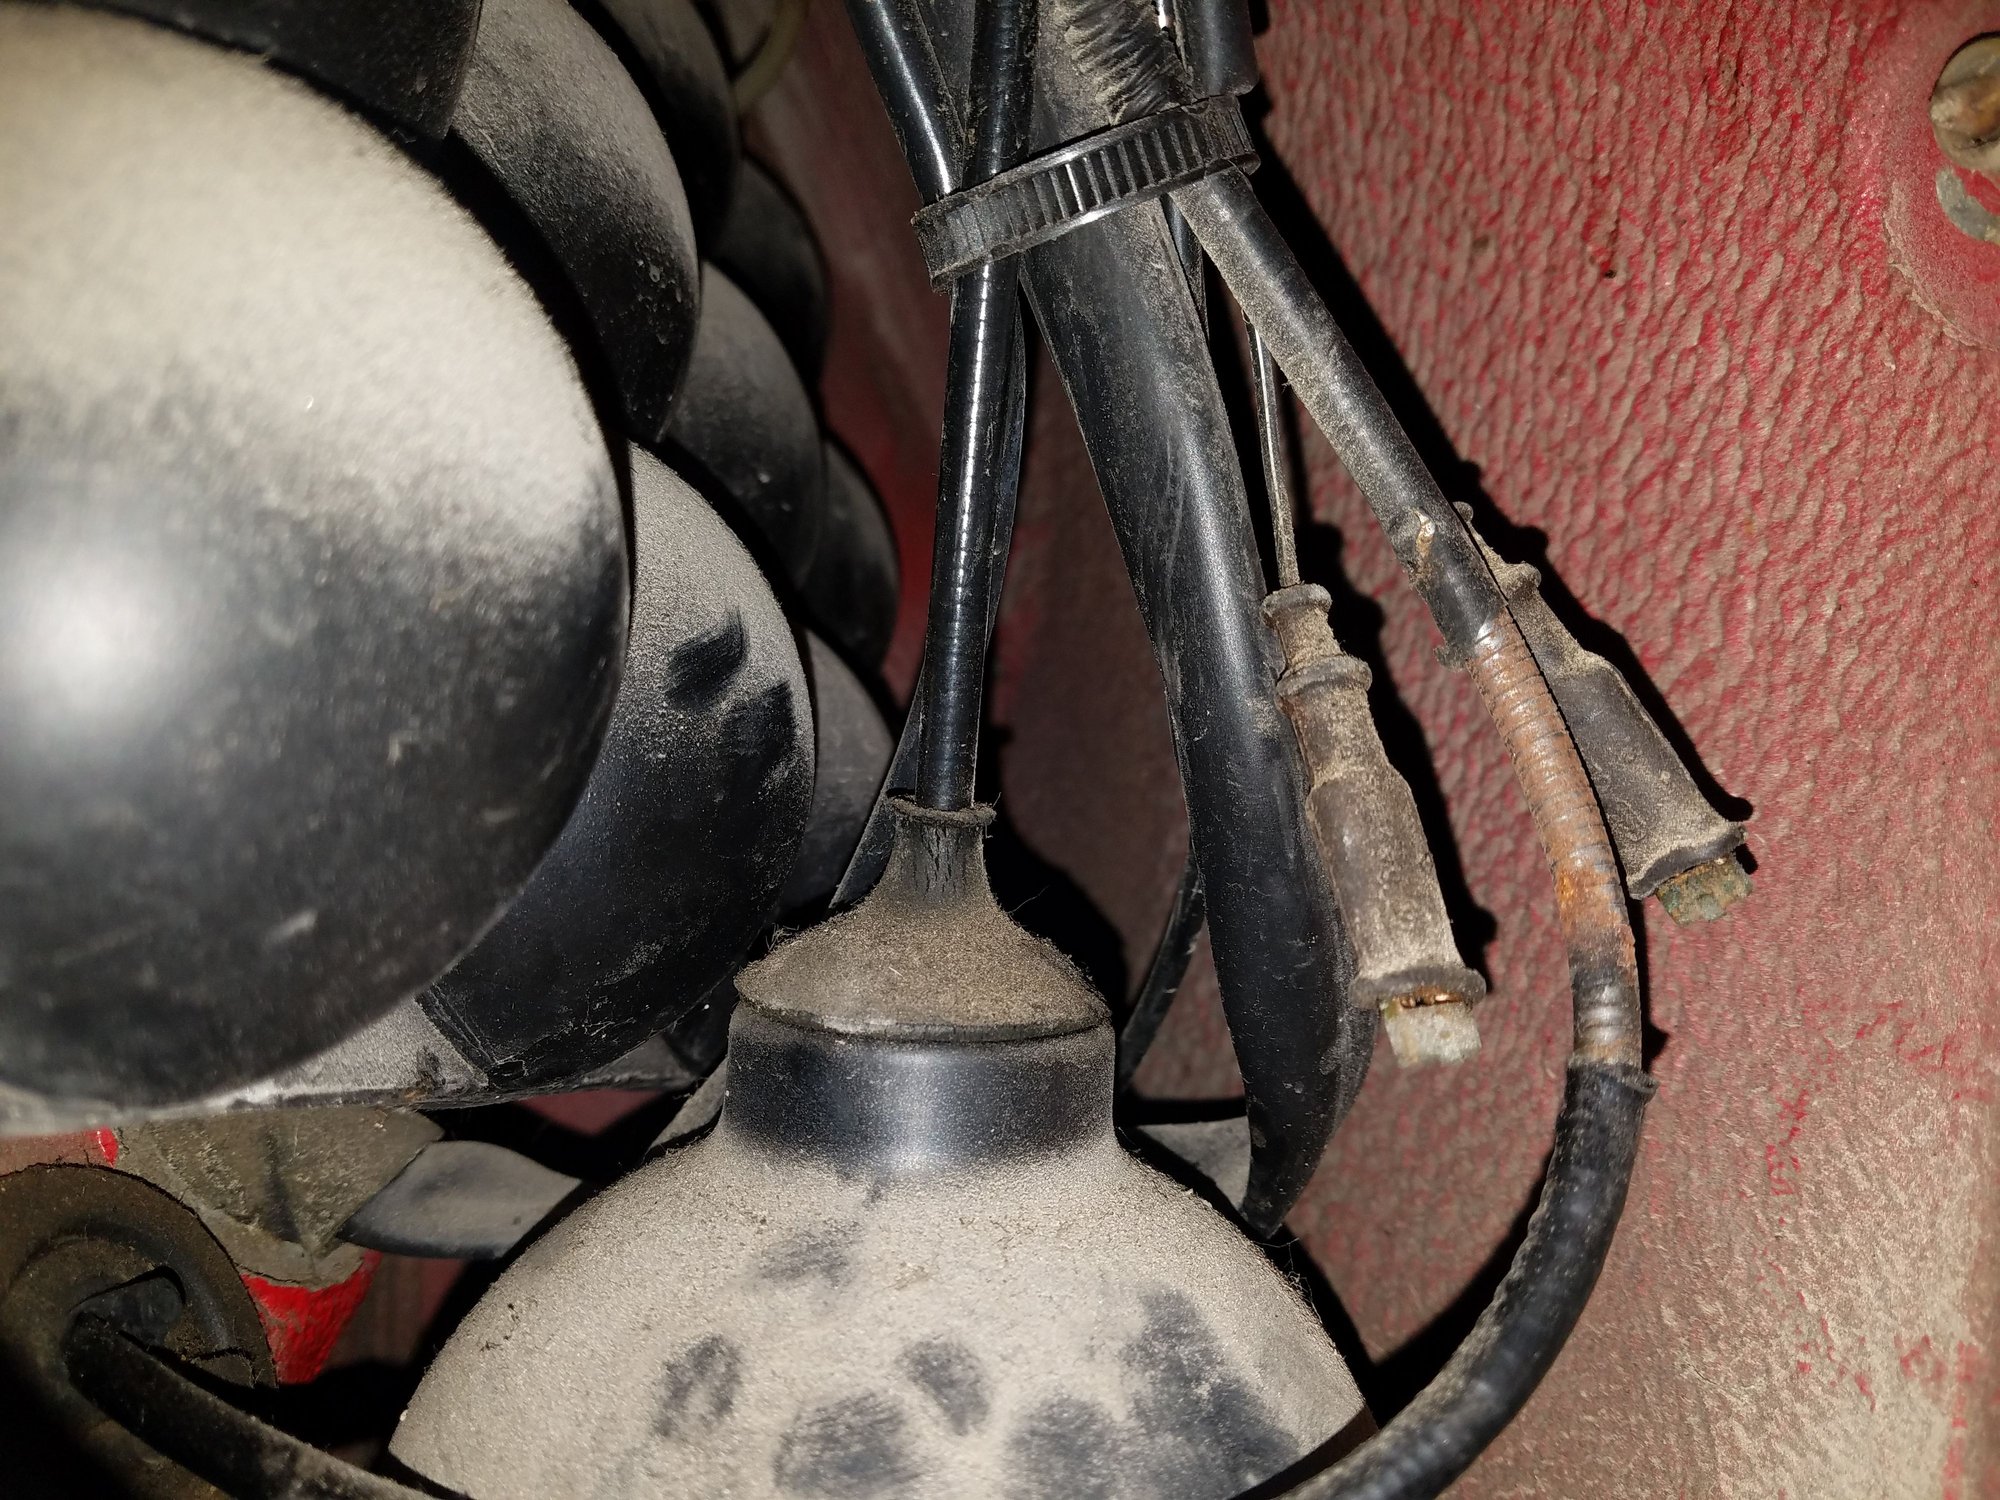
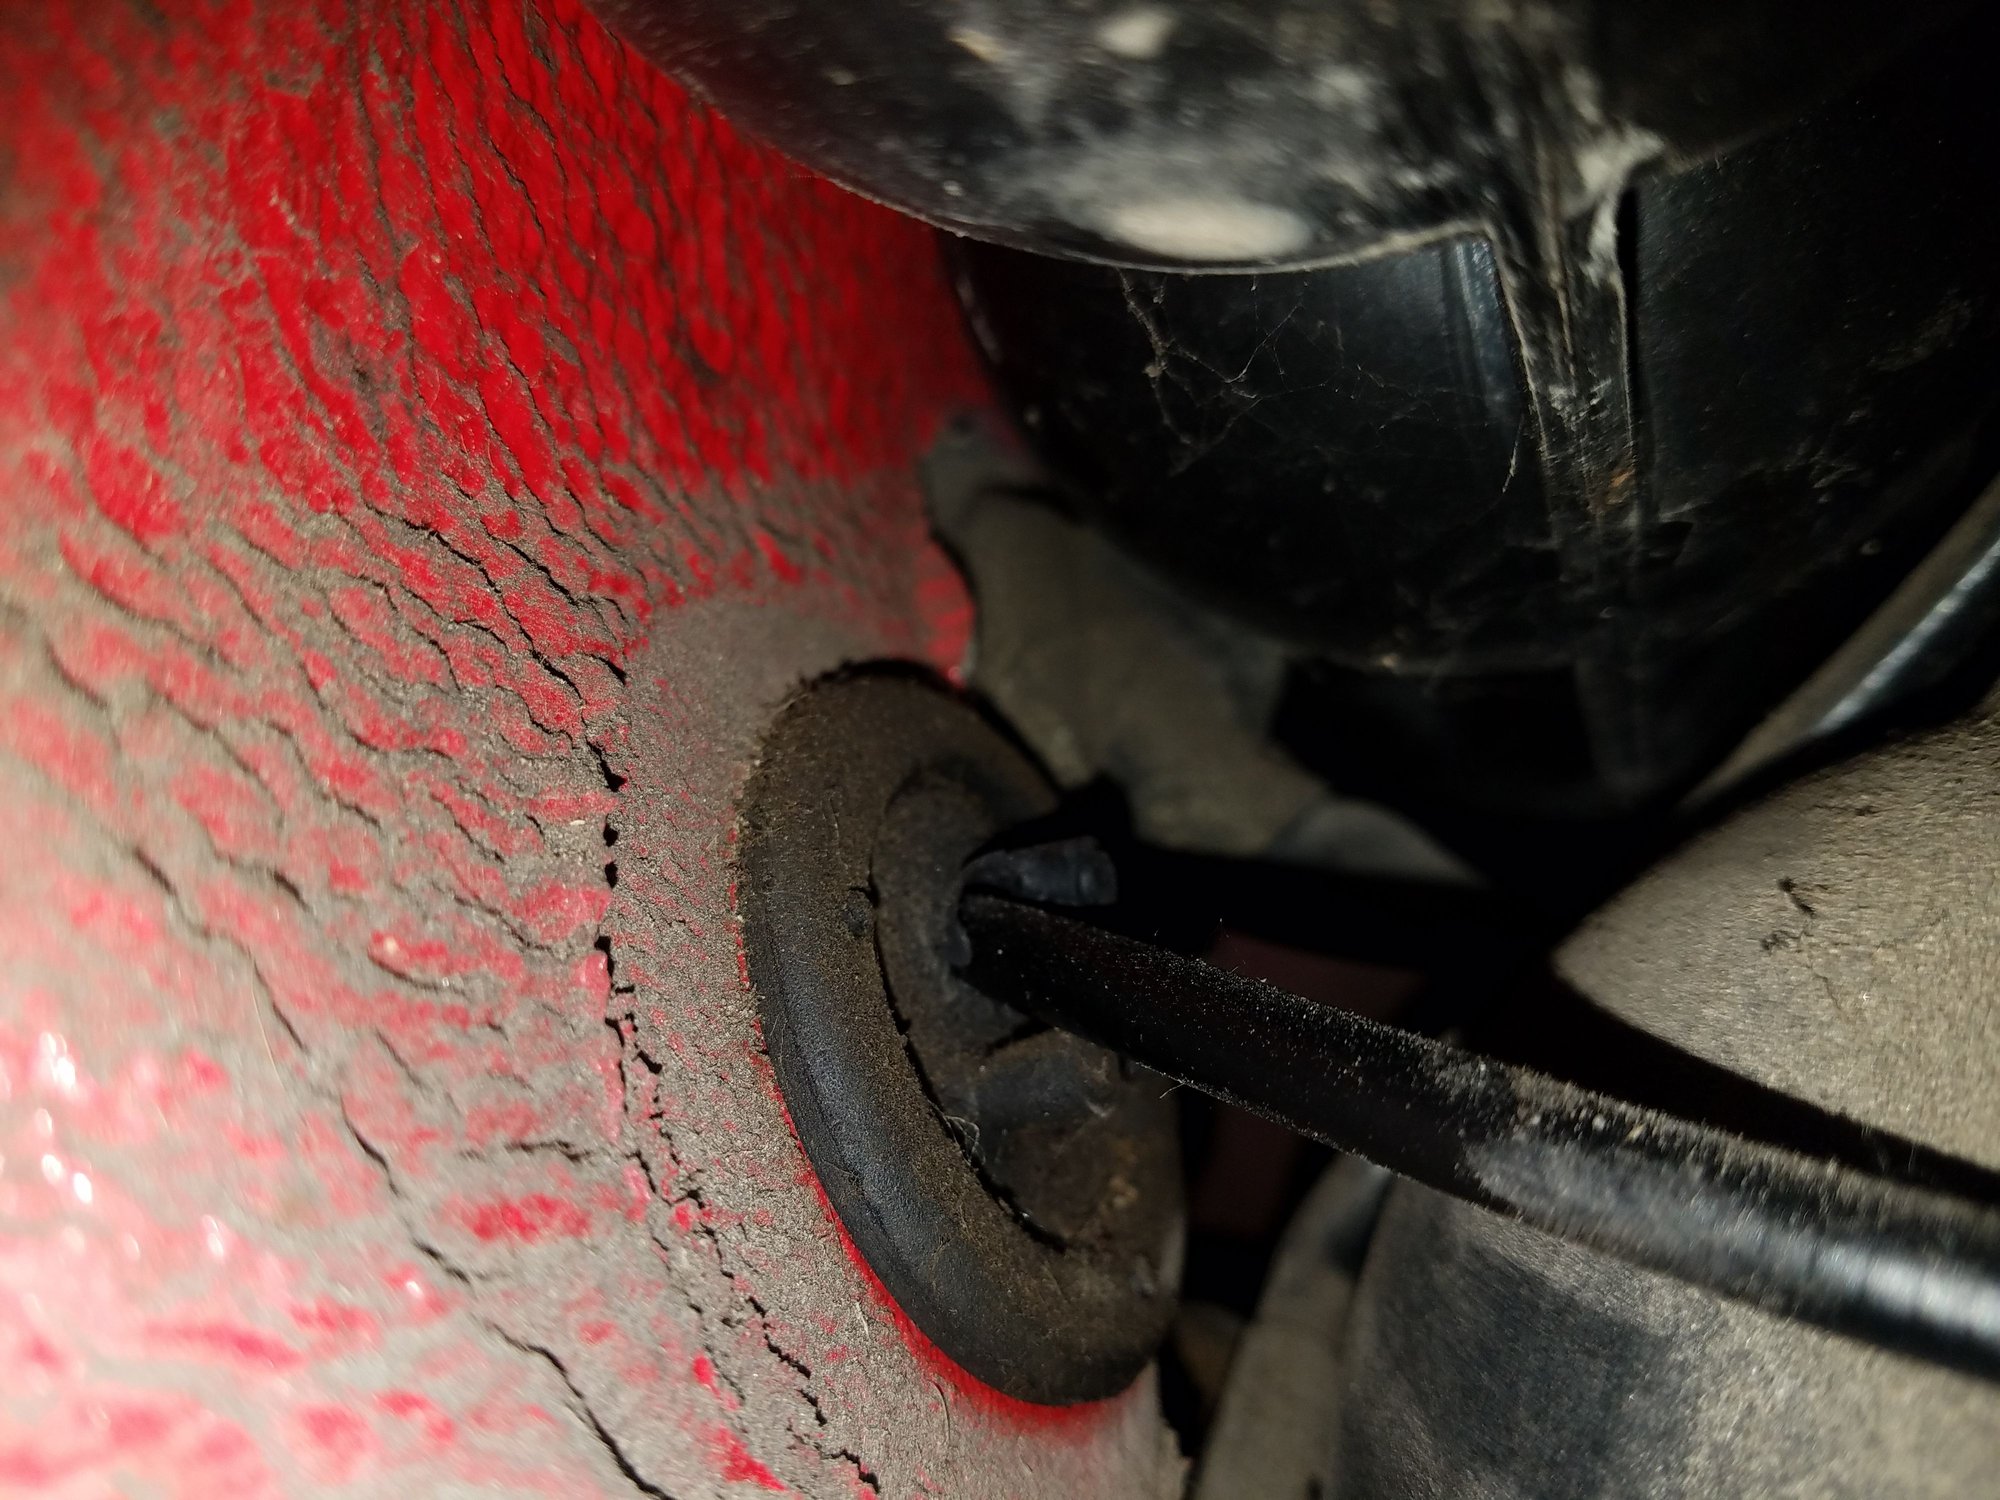
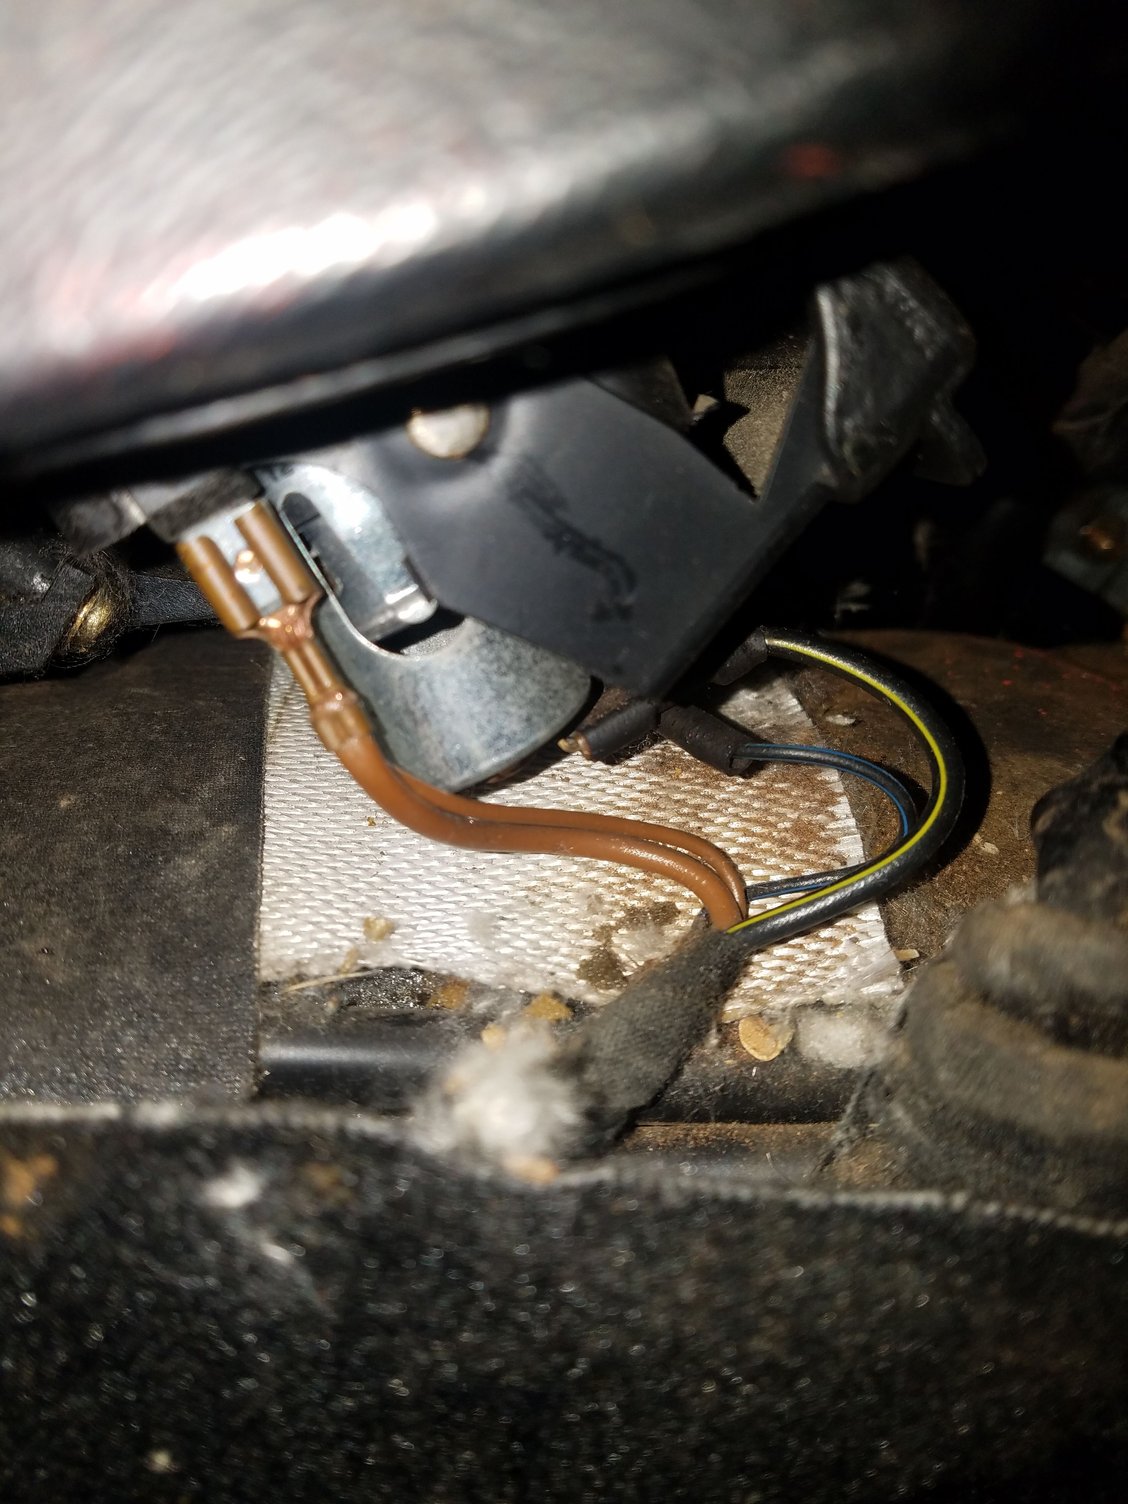
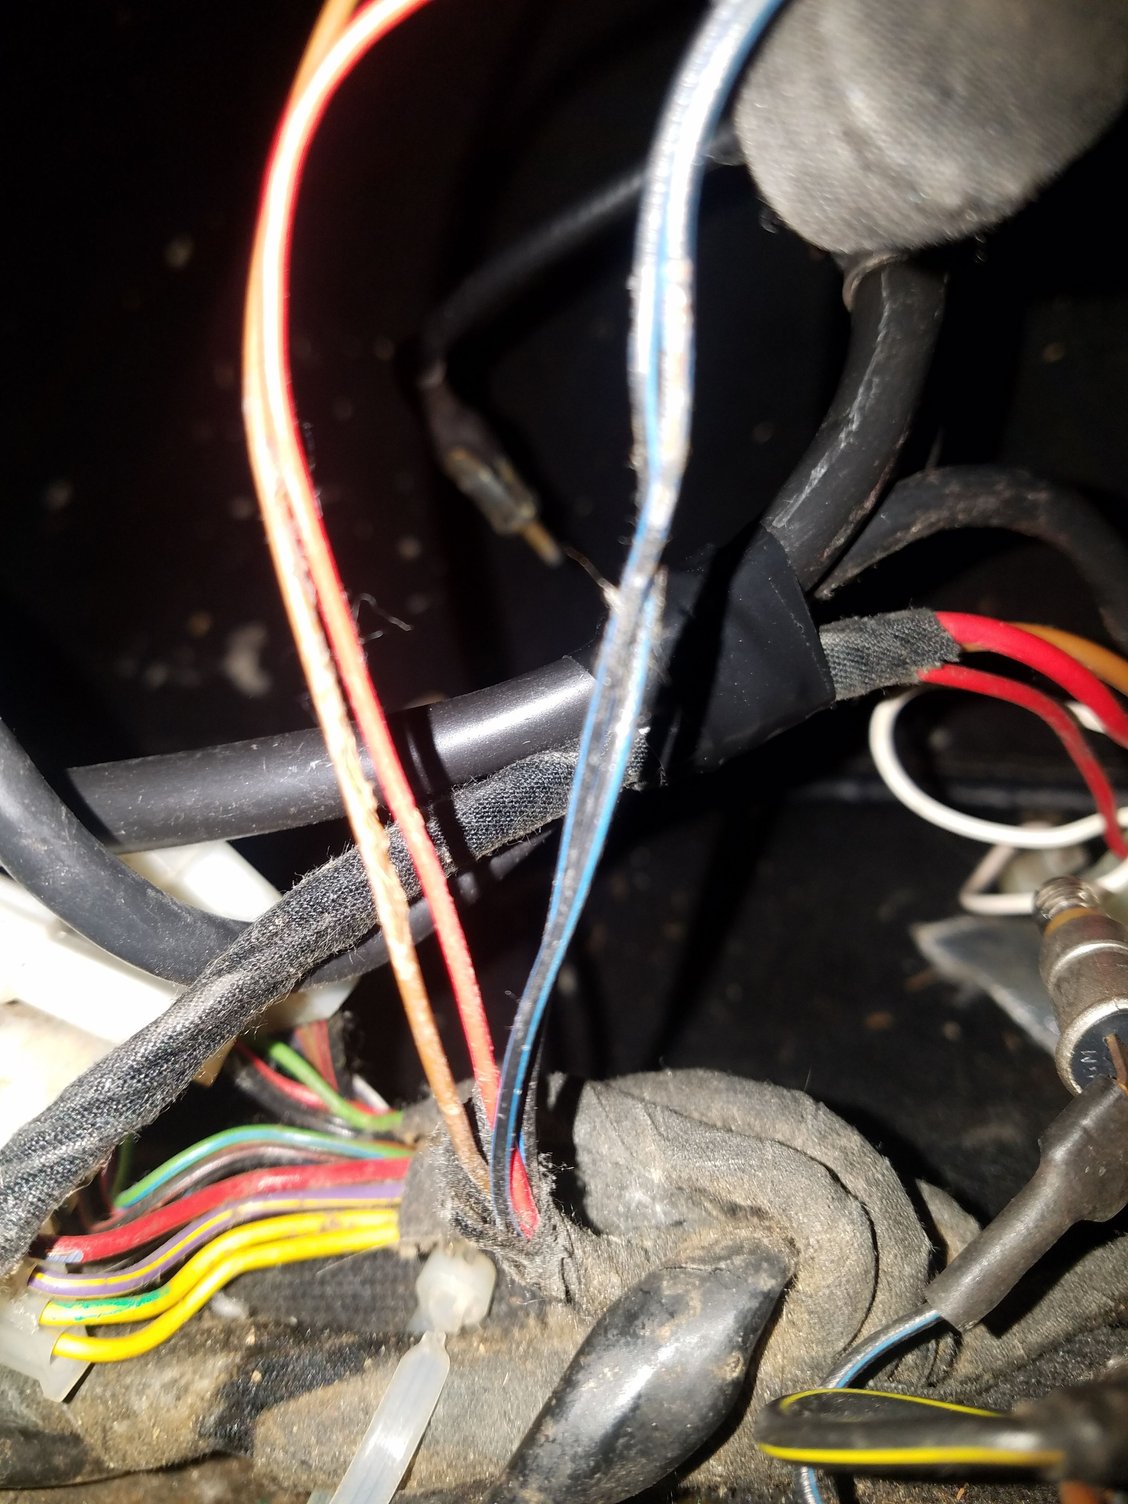
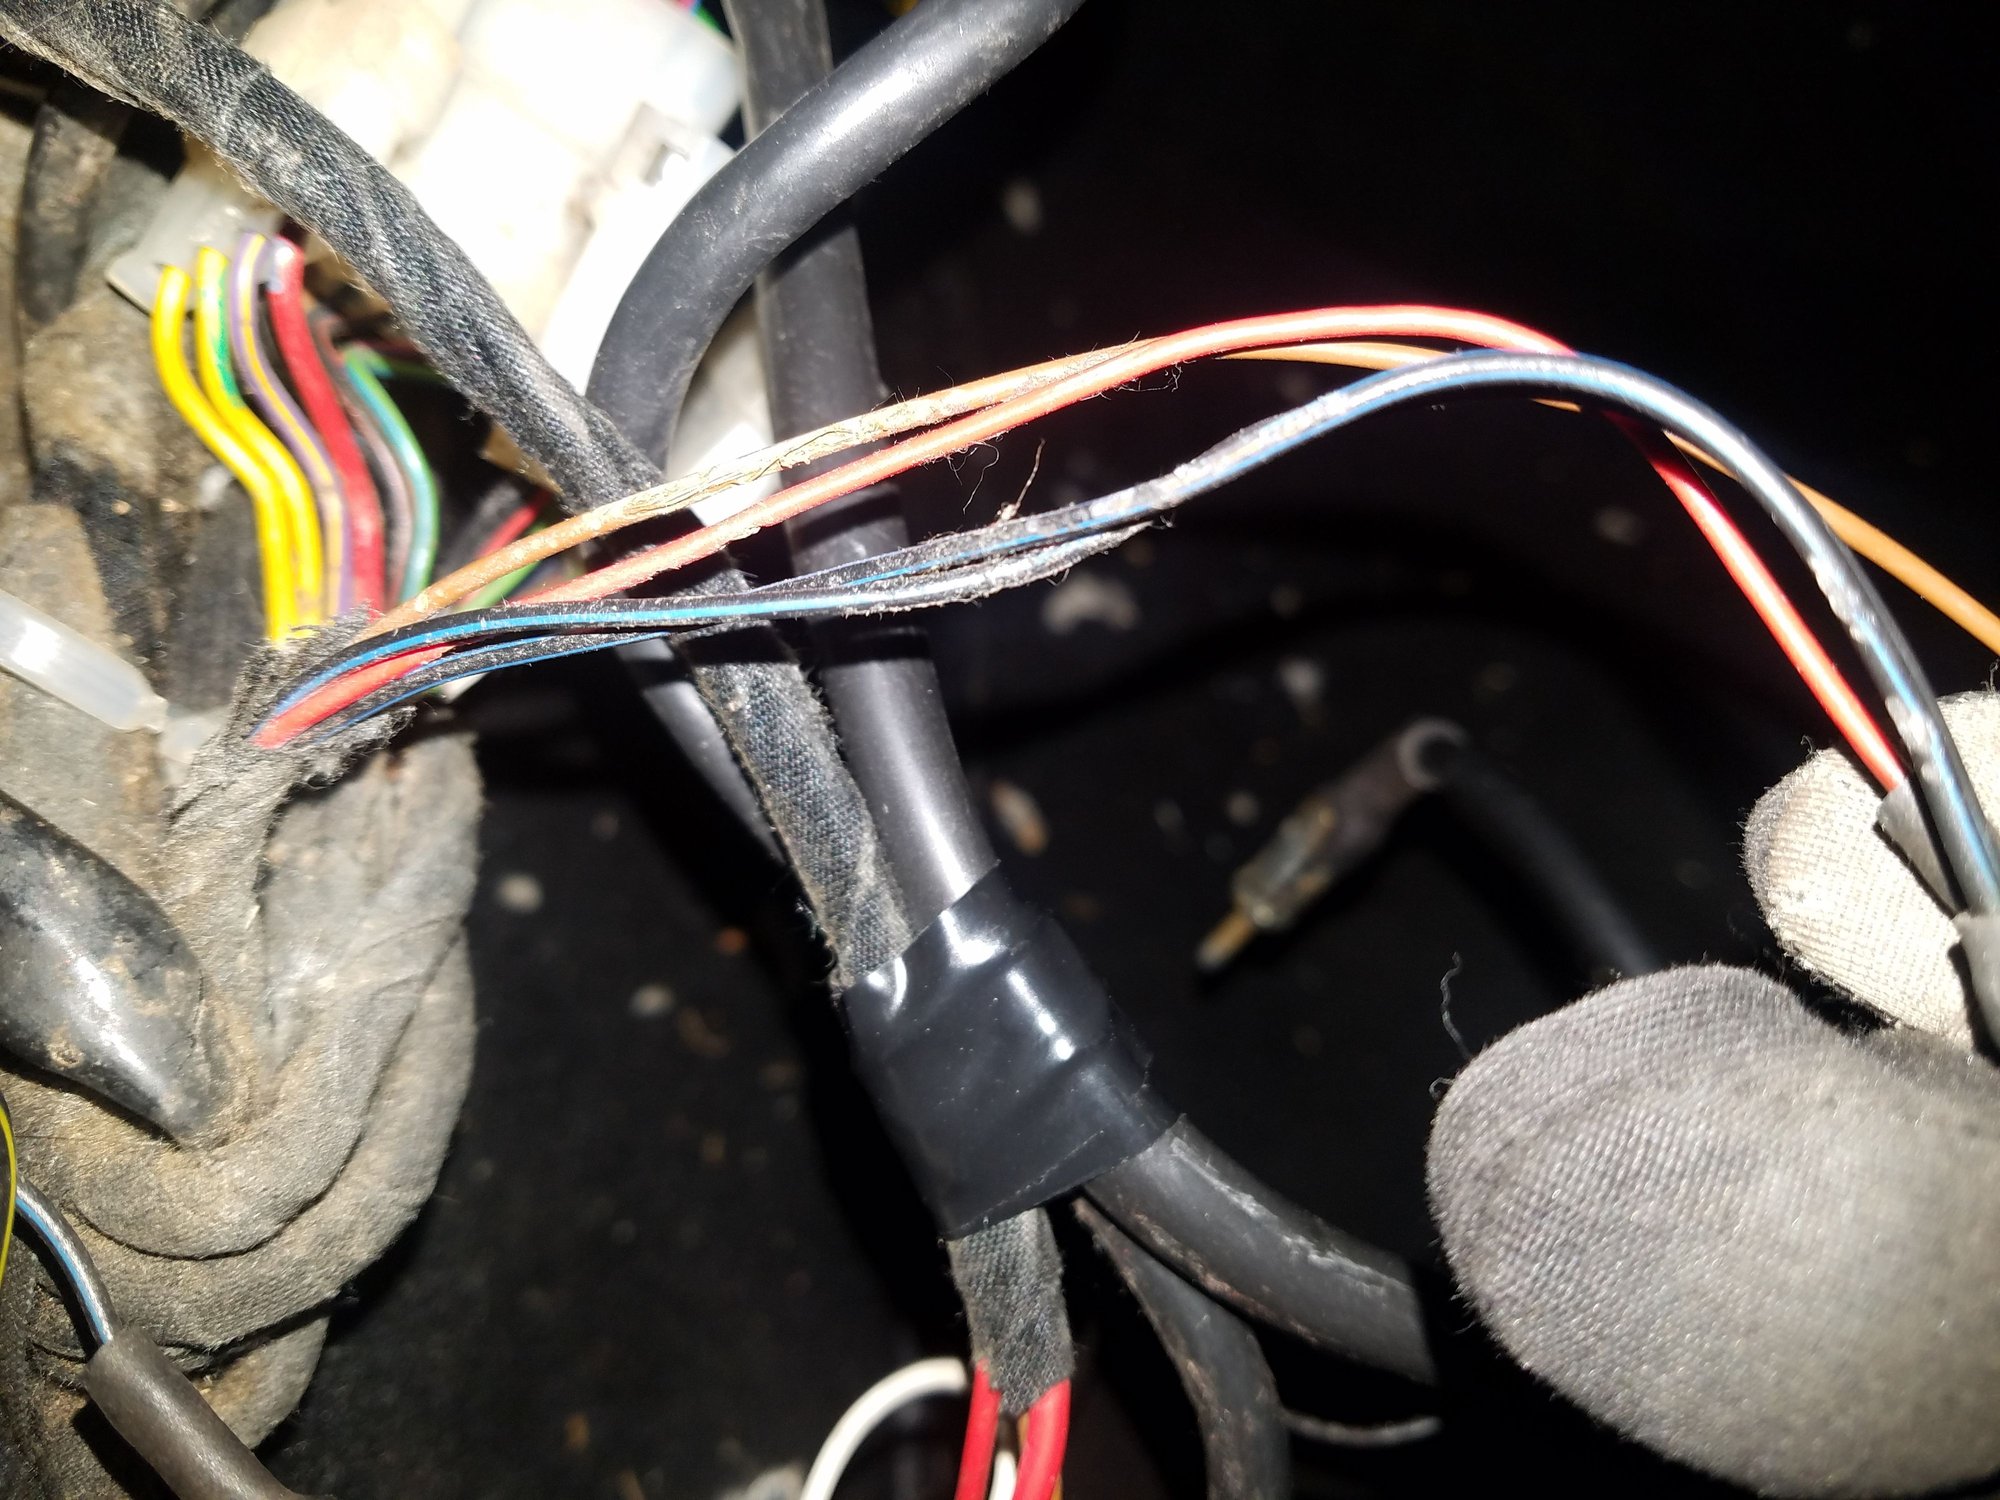
As I was looking around I found 3 or 4 places wires had been spliced in line with the factory wiring in pretty **** poor fashion. This is leftover from the alarm install the original owner had done, which from his paperwork he had no shortage of issues with. The alarm was gone from the car when I got it, but a few loose wires were still left. Luckily the wiring did not corrode where it was spliced and all has been removed and properly insulated now. Other than those the original wiring is amazingly intact. A few pictures under the drivers fender liner.
A few pics of what the drivers fender behind the liner looked like. Dusty but intact and functional. All this was cleaned at this point. Loose connectors are for side marker repeaters in ROW cars, not used on us models.
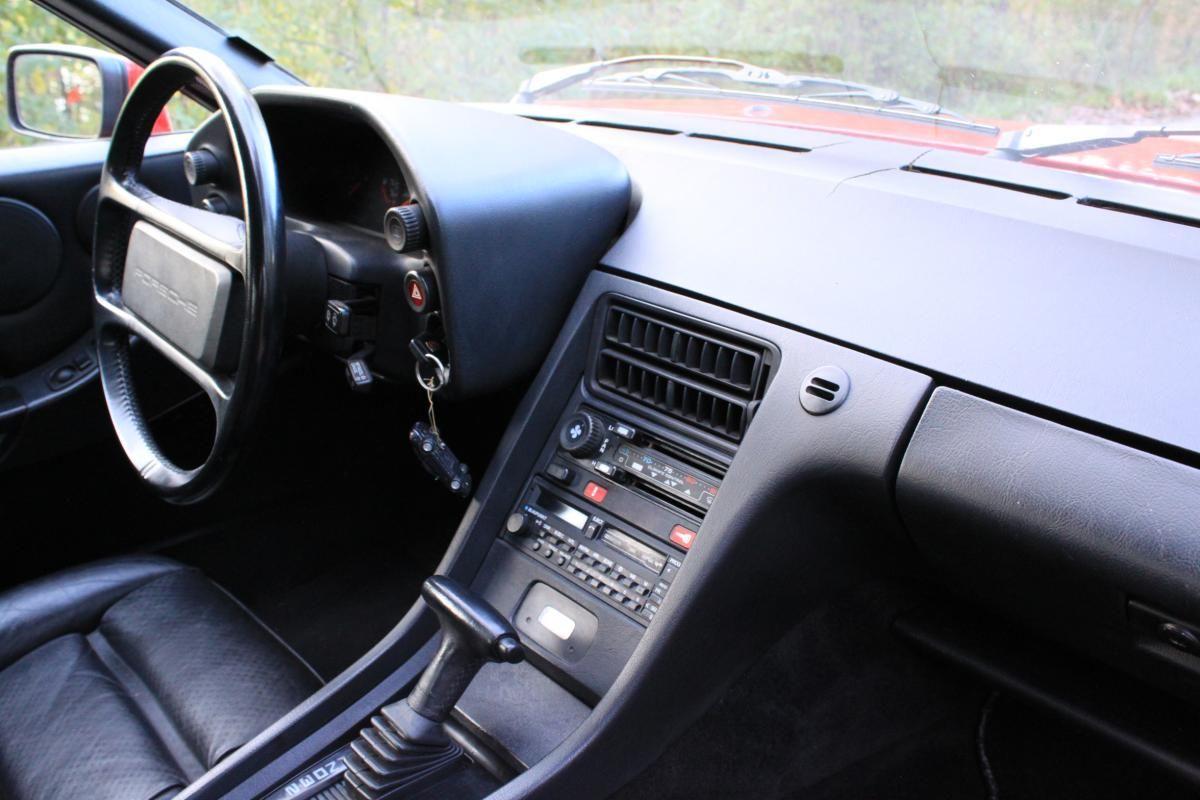
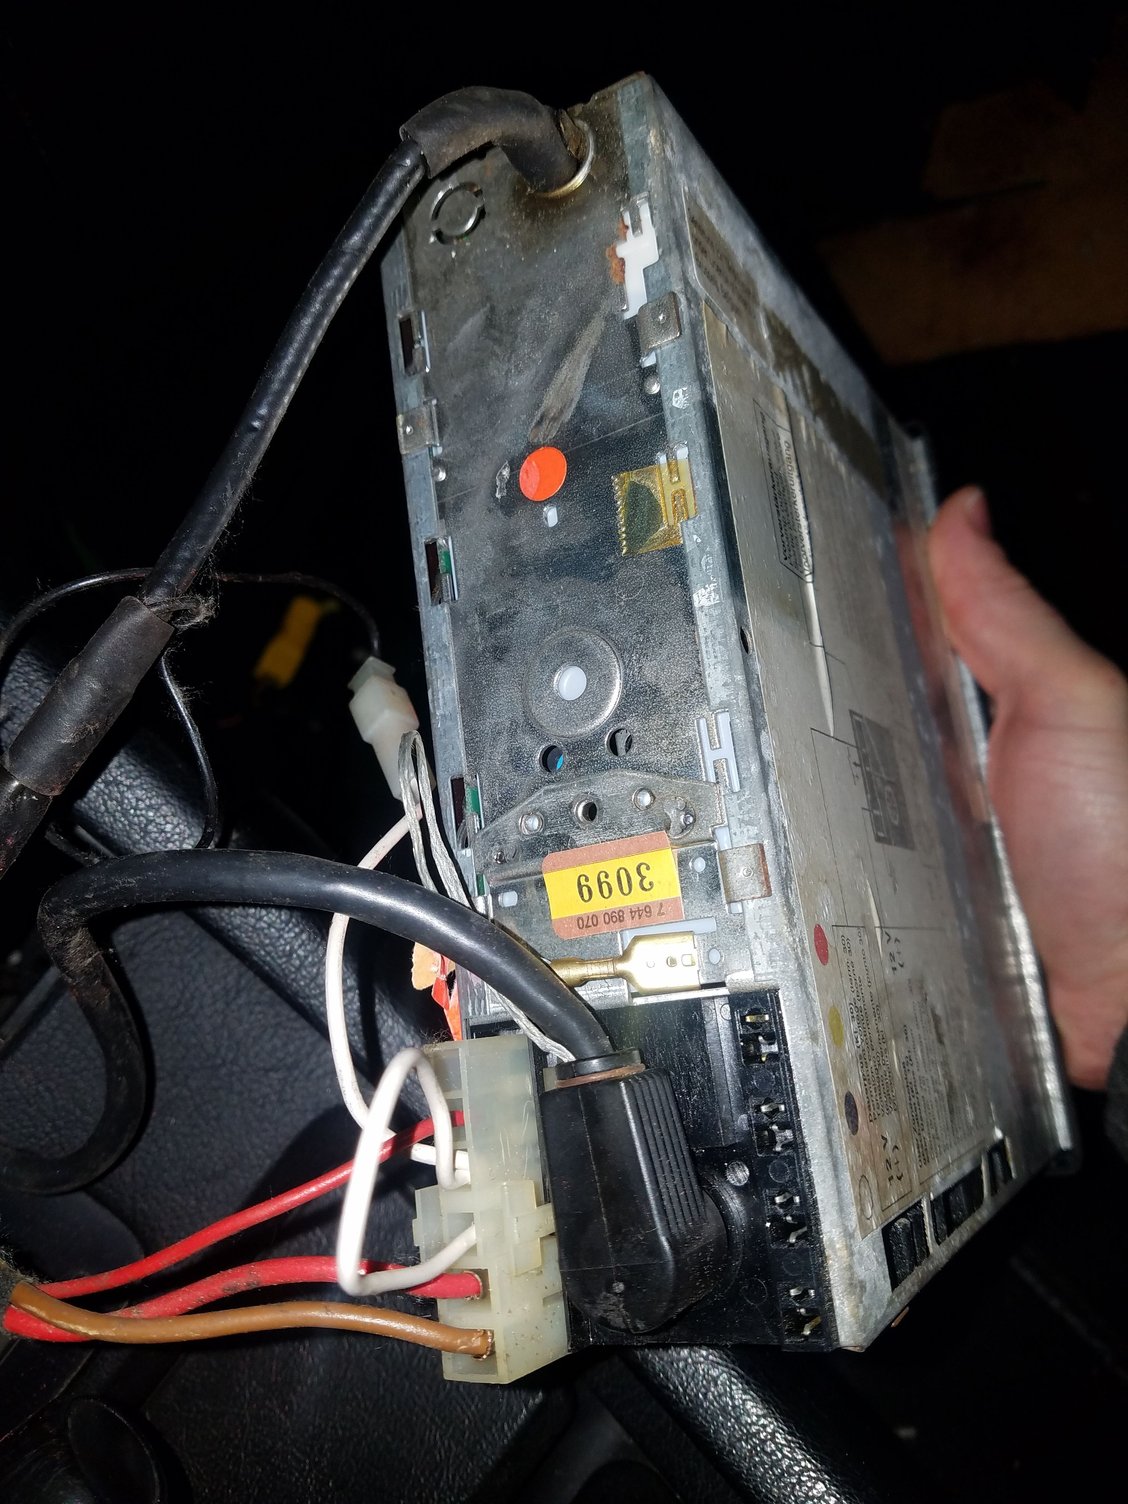
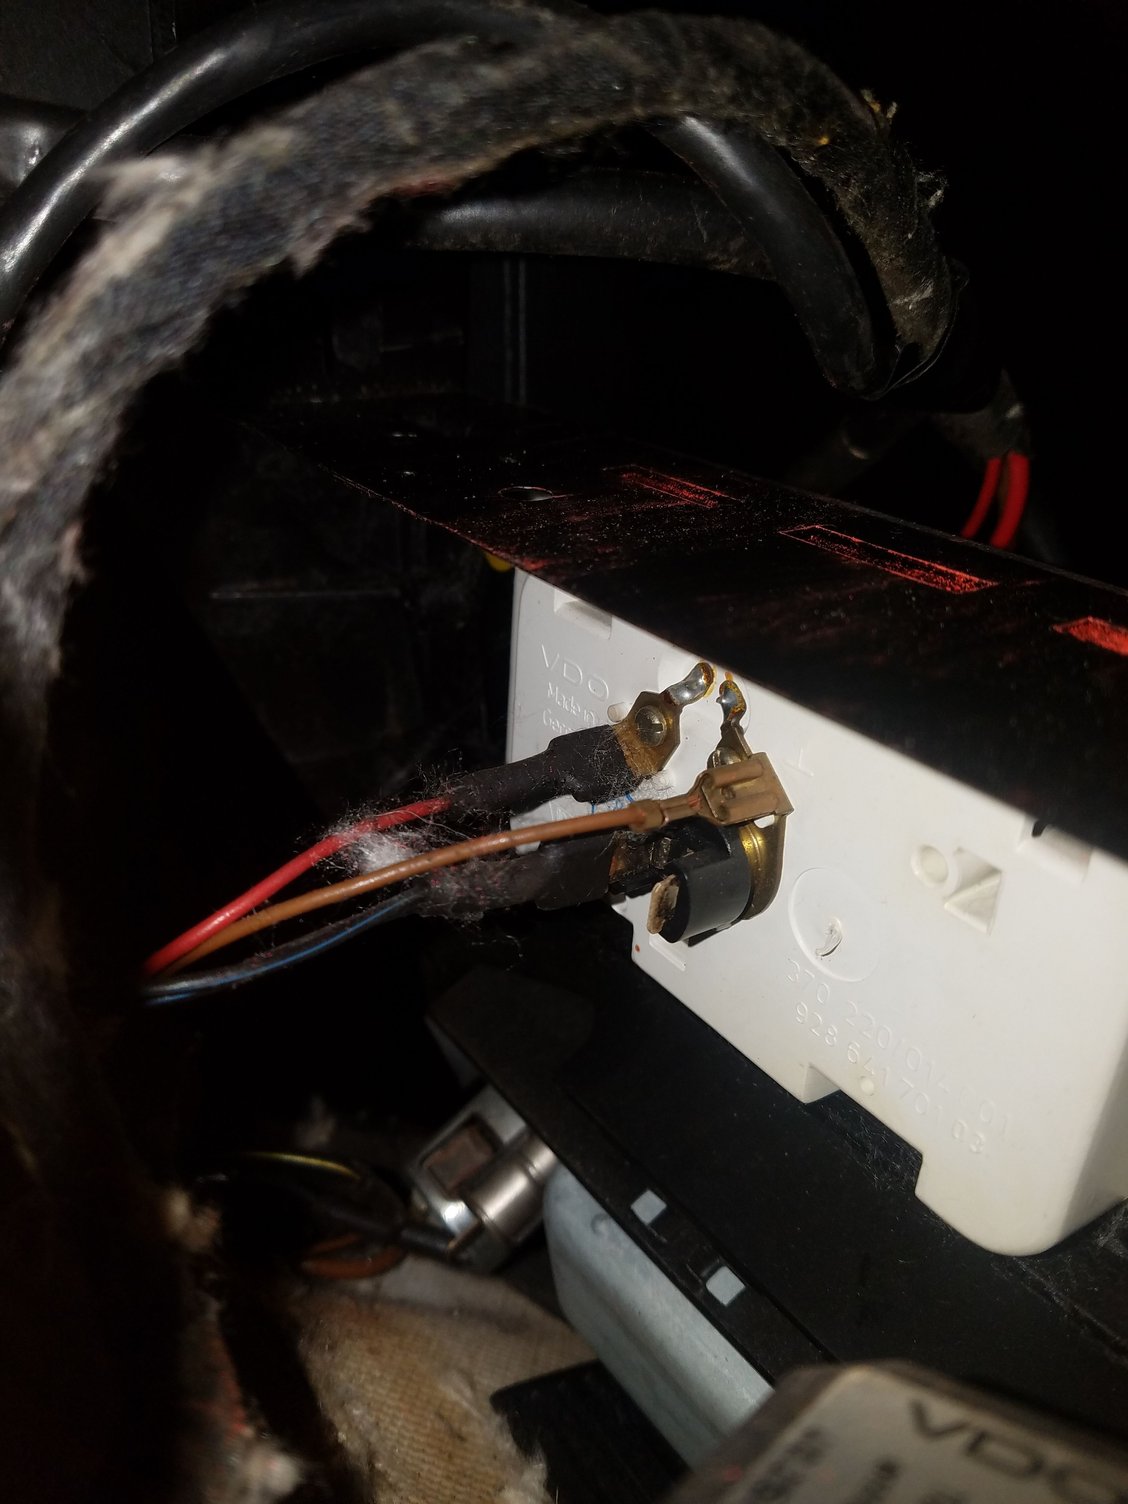
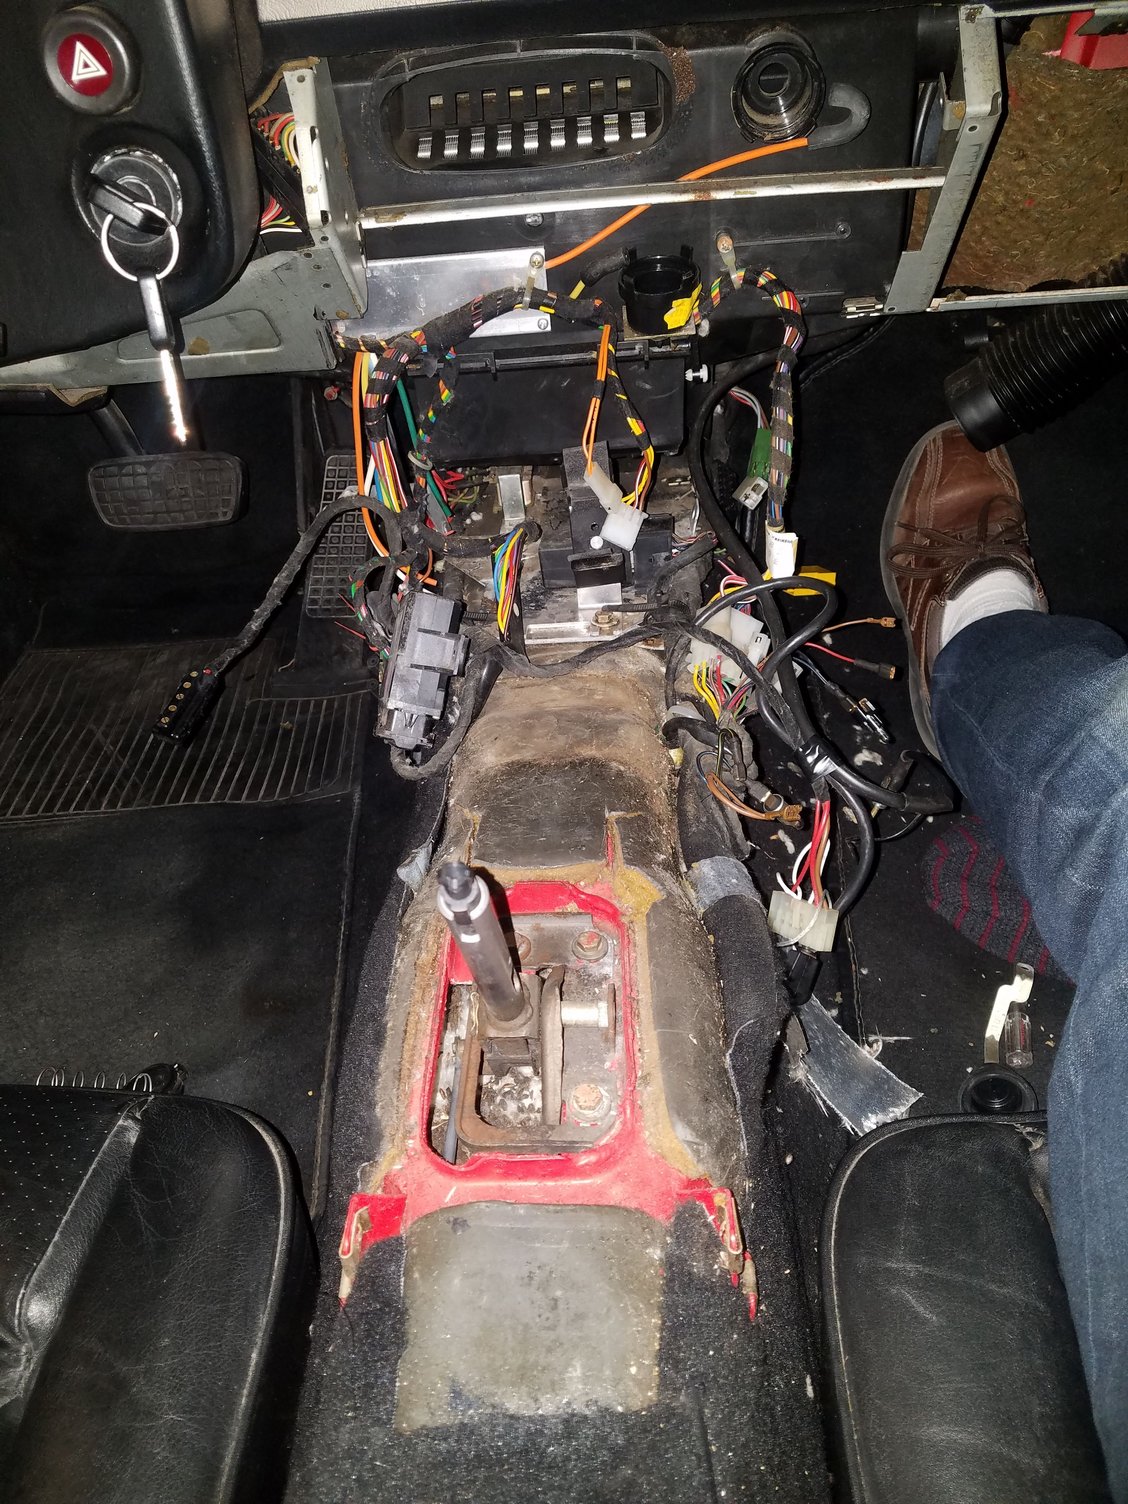
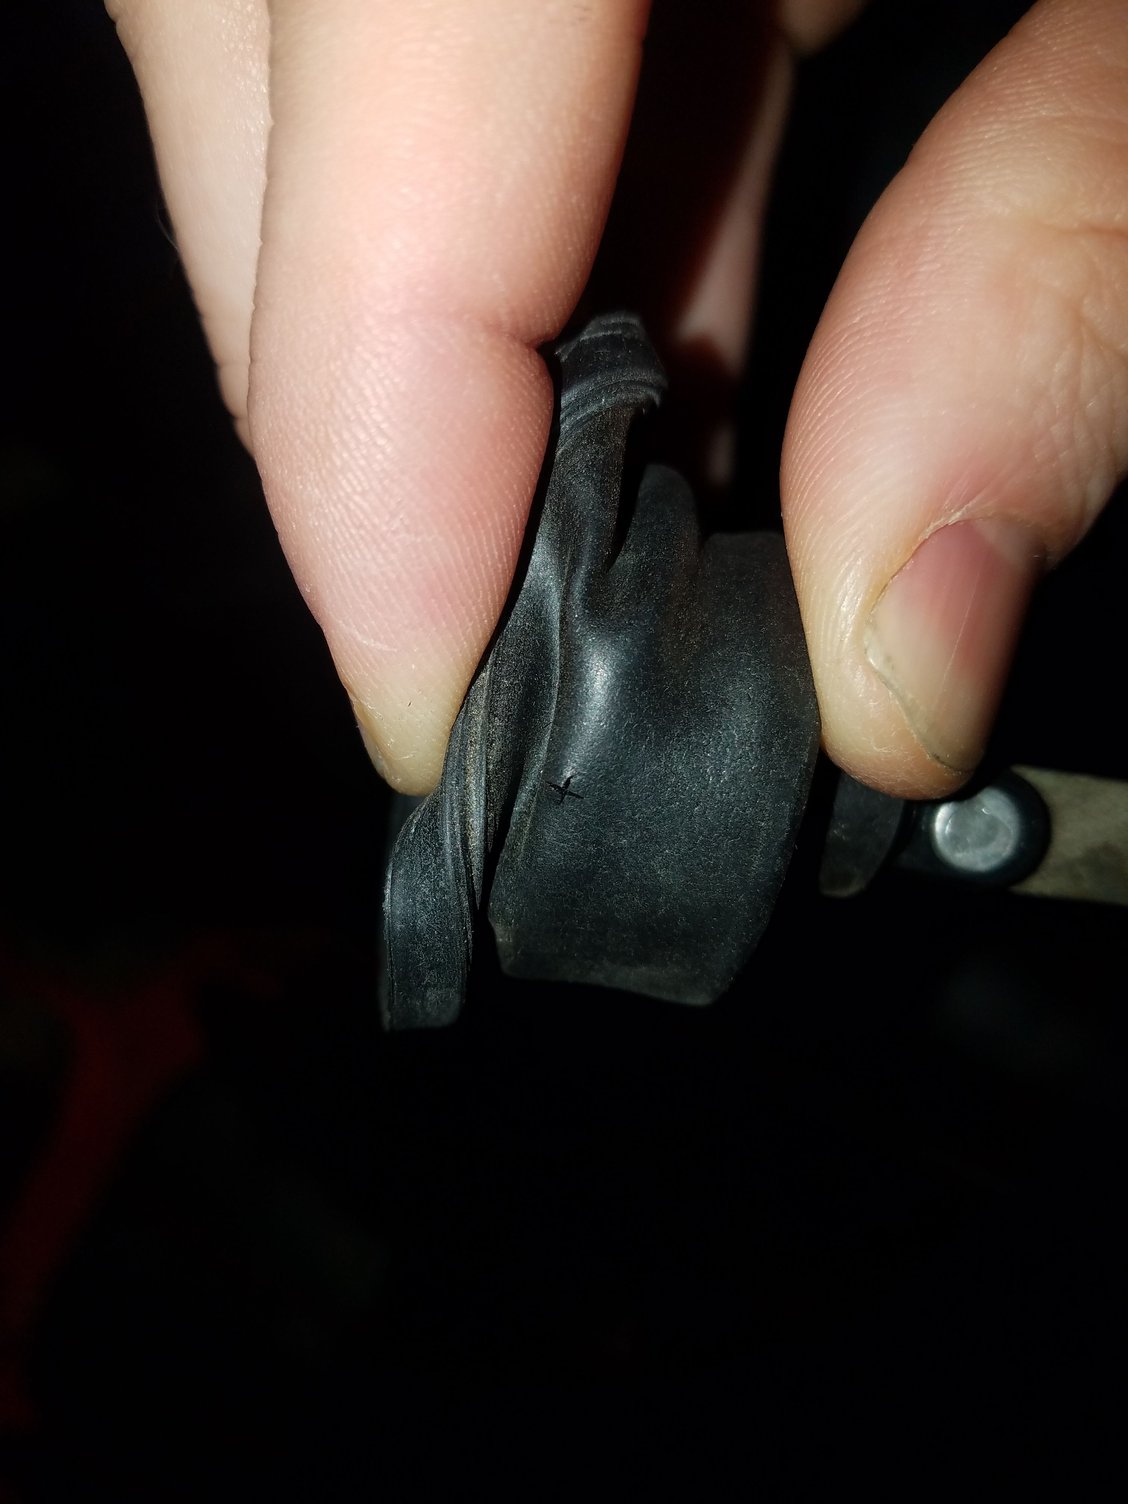
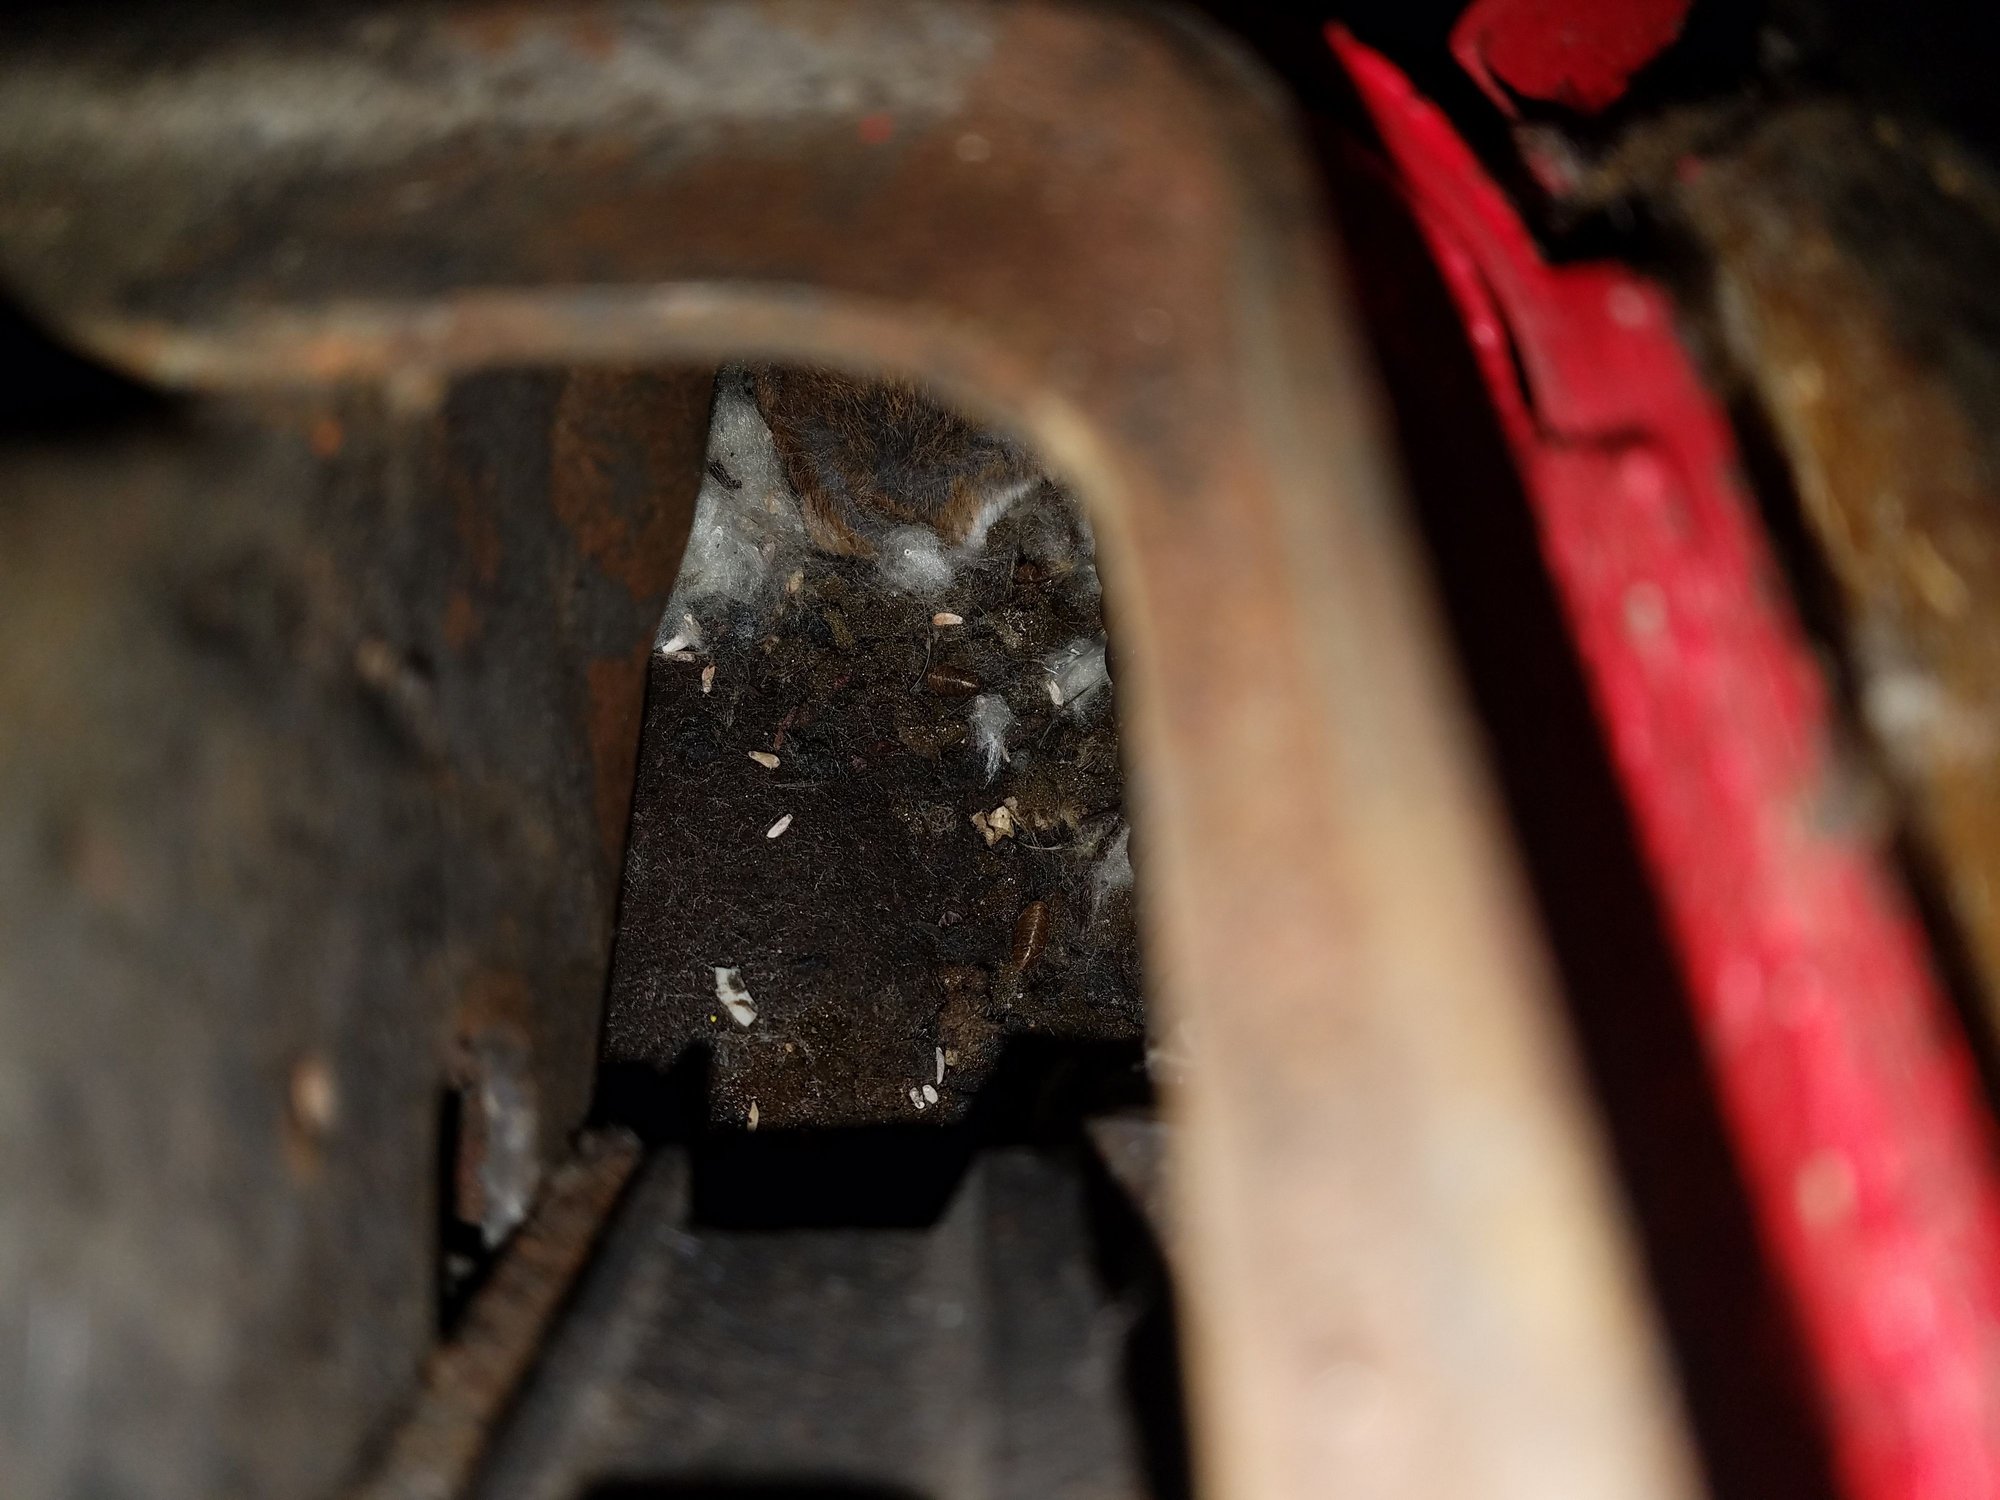
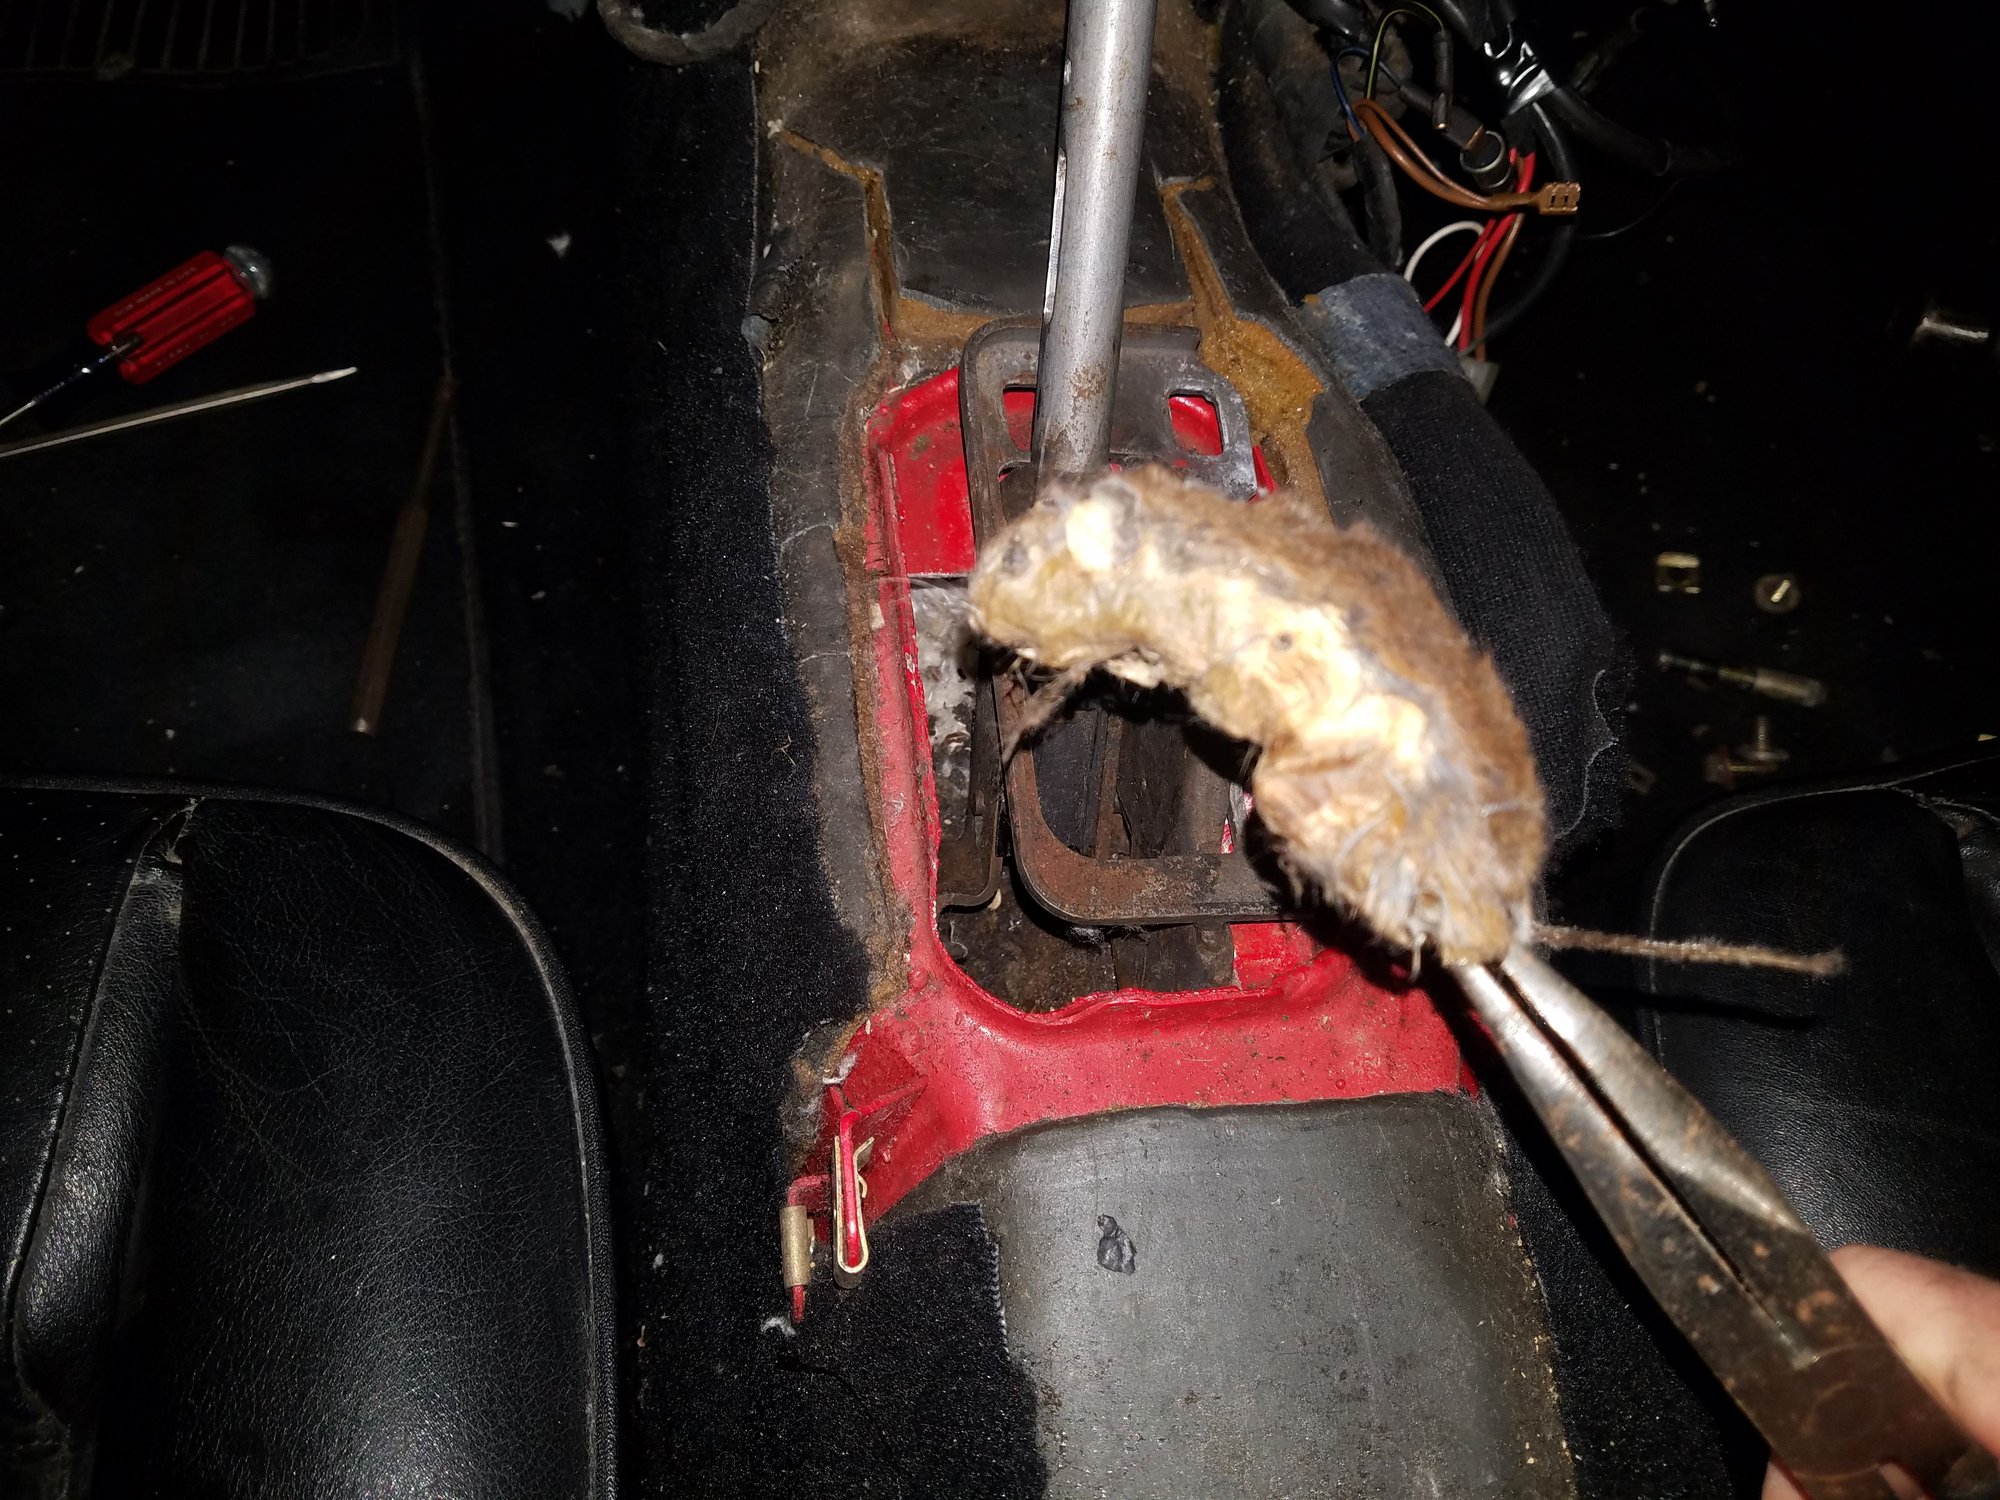
Next up was taking apart the center console to replace the leaky hvac vacuum diaphragms. Pictures as I took everything apart. Original radio, all good! Everything removed, and had been noticing a lot of cottonwood seeds as i went. What brought those in here? One of the holes in the diaphragms Some chewed wiring. 2 owners previous the car sat for a couoke years, seems a mice must have gotten in then. Luckily this was the only wiring needing repair. Shrink wrap and some wiring took vare of the job. Started finding a lot of cottonwood seeds and mouse poop in the shifter area on top of the torque tube.... Look closely and you can see the culprit! Luckily the mouse came out whole! I was concerned at the time there could be more mice or wiring damage, but after being through most of the inside of the car im pretty confident those 2 wires and this one mouse is the extent of the rodent impact to this car. A good vacuuming and no more cottonwoods while driving the car.

 03-27-2023, 12:50 PM