When you click on links to various merchants on this site and make a purchase, this can result in this site earning a commission. Affiliate programs and affiliations include, but are not limited to, the eBay Partner Network.
So I’m taking it back on Tuesday to have him pull vacuum on the system. If it holds vacuum, what would you recommend? Should I still replace the dryer? If it doesn’t hold vacuum can I have him pressurize the system with some type of uv dye to locate the leaks? Should the new green o-rings still work with r12? I found some r12 so no problem there and the a/c guy said he’d charge it. Currently the compressors single wire is not hooked up. I have to splice a new line in to run to the wiring harness.
Enviro-Safe is flammable. Old 14 and 16 ounce cans or R12 can be found on Craigslist, Ebay, Facebook marketplace etc. I had a stash of those until I bought 15 lbs. of R12 from someone I trusted.
My Harbor Freight vacuum pump still works fine after pumping down 6 or 7 systems. If it were me, I would flush the system, replace the o rings, hoses and receiver-dryer. Pull the rubber boot off the underhood duct and check to see if your evaporator is blocked with crud. You can get hoses rebuilt at a hydraulic hose shop or DIY using fittings described in the document linked above. Use Ester oil when refilling as it is compatible with either 134 or R-12.
I wasn’t even aware of enviro-safe, but will check into concerns and advantages.
Ditto on each of the recommendations above. Short cuts turn out to be about as much work as done properly.
The only things I would add are:
run a pressure test, listen while under pressure listen at each joint with a stethoscope , and follow with Big Blu bubble tests at each joint. These develop a lot more confidence than the vacuum holding test (which you will also run).
Green o-rings will work with R12. Unless your drove this car home from the dealer when it was brand new, you don't have a clue what was in the system before you got it. If your plan is to see if you can get away with just checking for leaks and refilling the system, you may get lucky and have that work out. Your AC guy should not only have a vacuum pump, he should also have dry nitrogen or another dry inert gas he can use to pressure test the system and then check for leaks with a soap solution. Receiver-driers are cheap and I would just replace it. If your system holds pressure and vacuum your AC guy should check it with a sniffer once it is filled with refrigerant.
AC work is not rocket surgery and the 928 system is pretty simple until you start dealing with all the stuff under the dash.
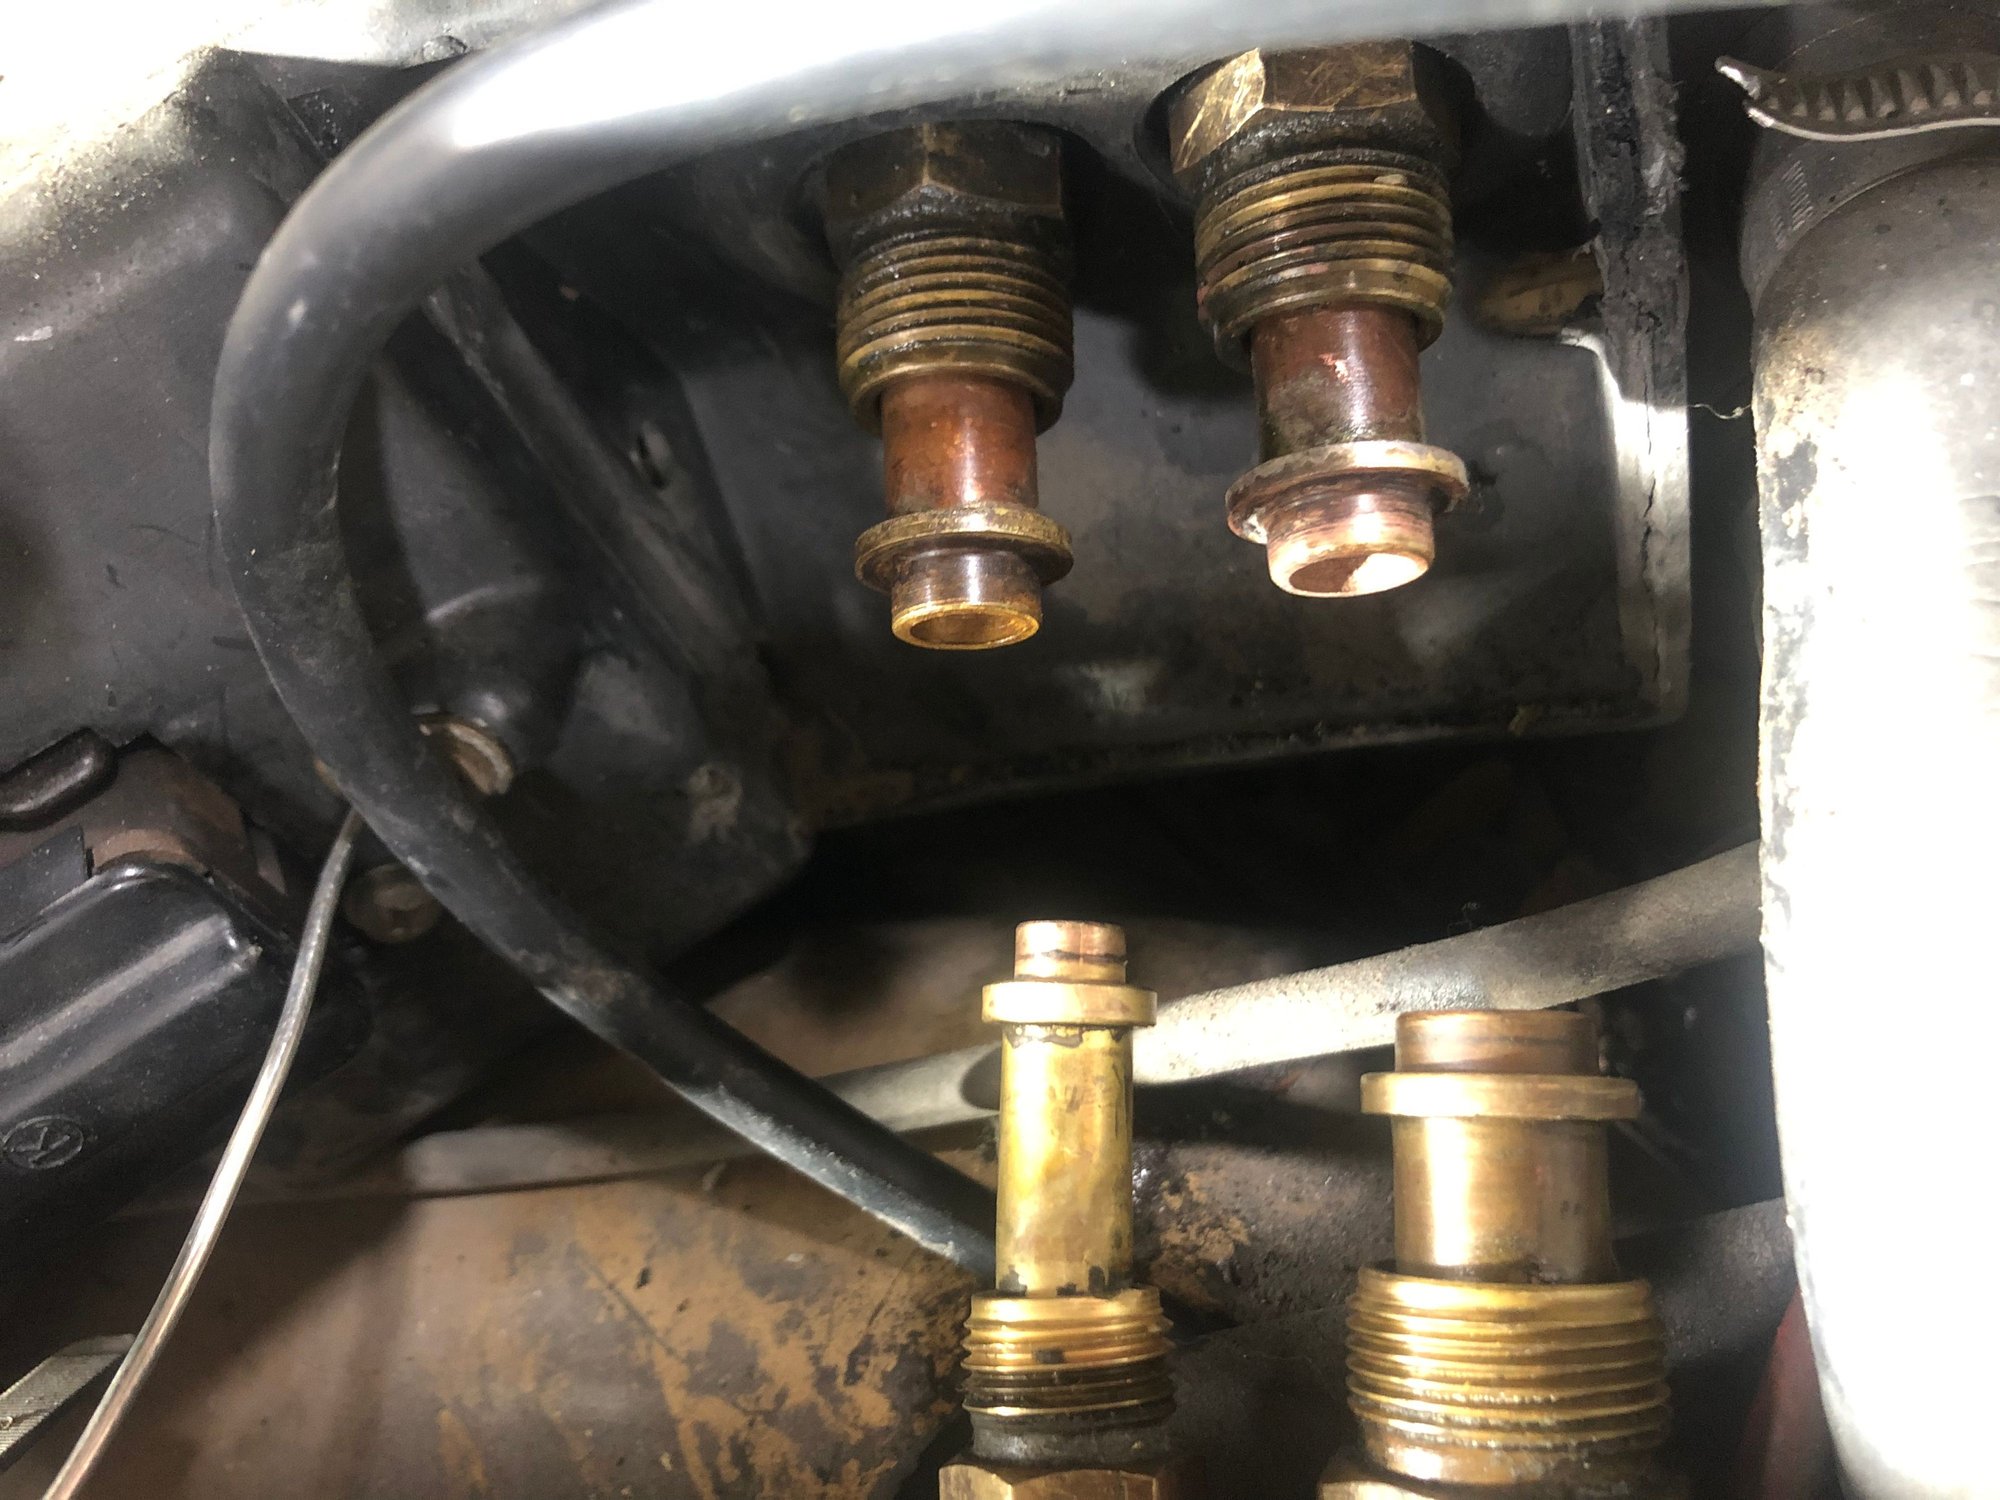
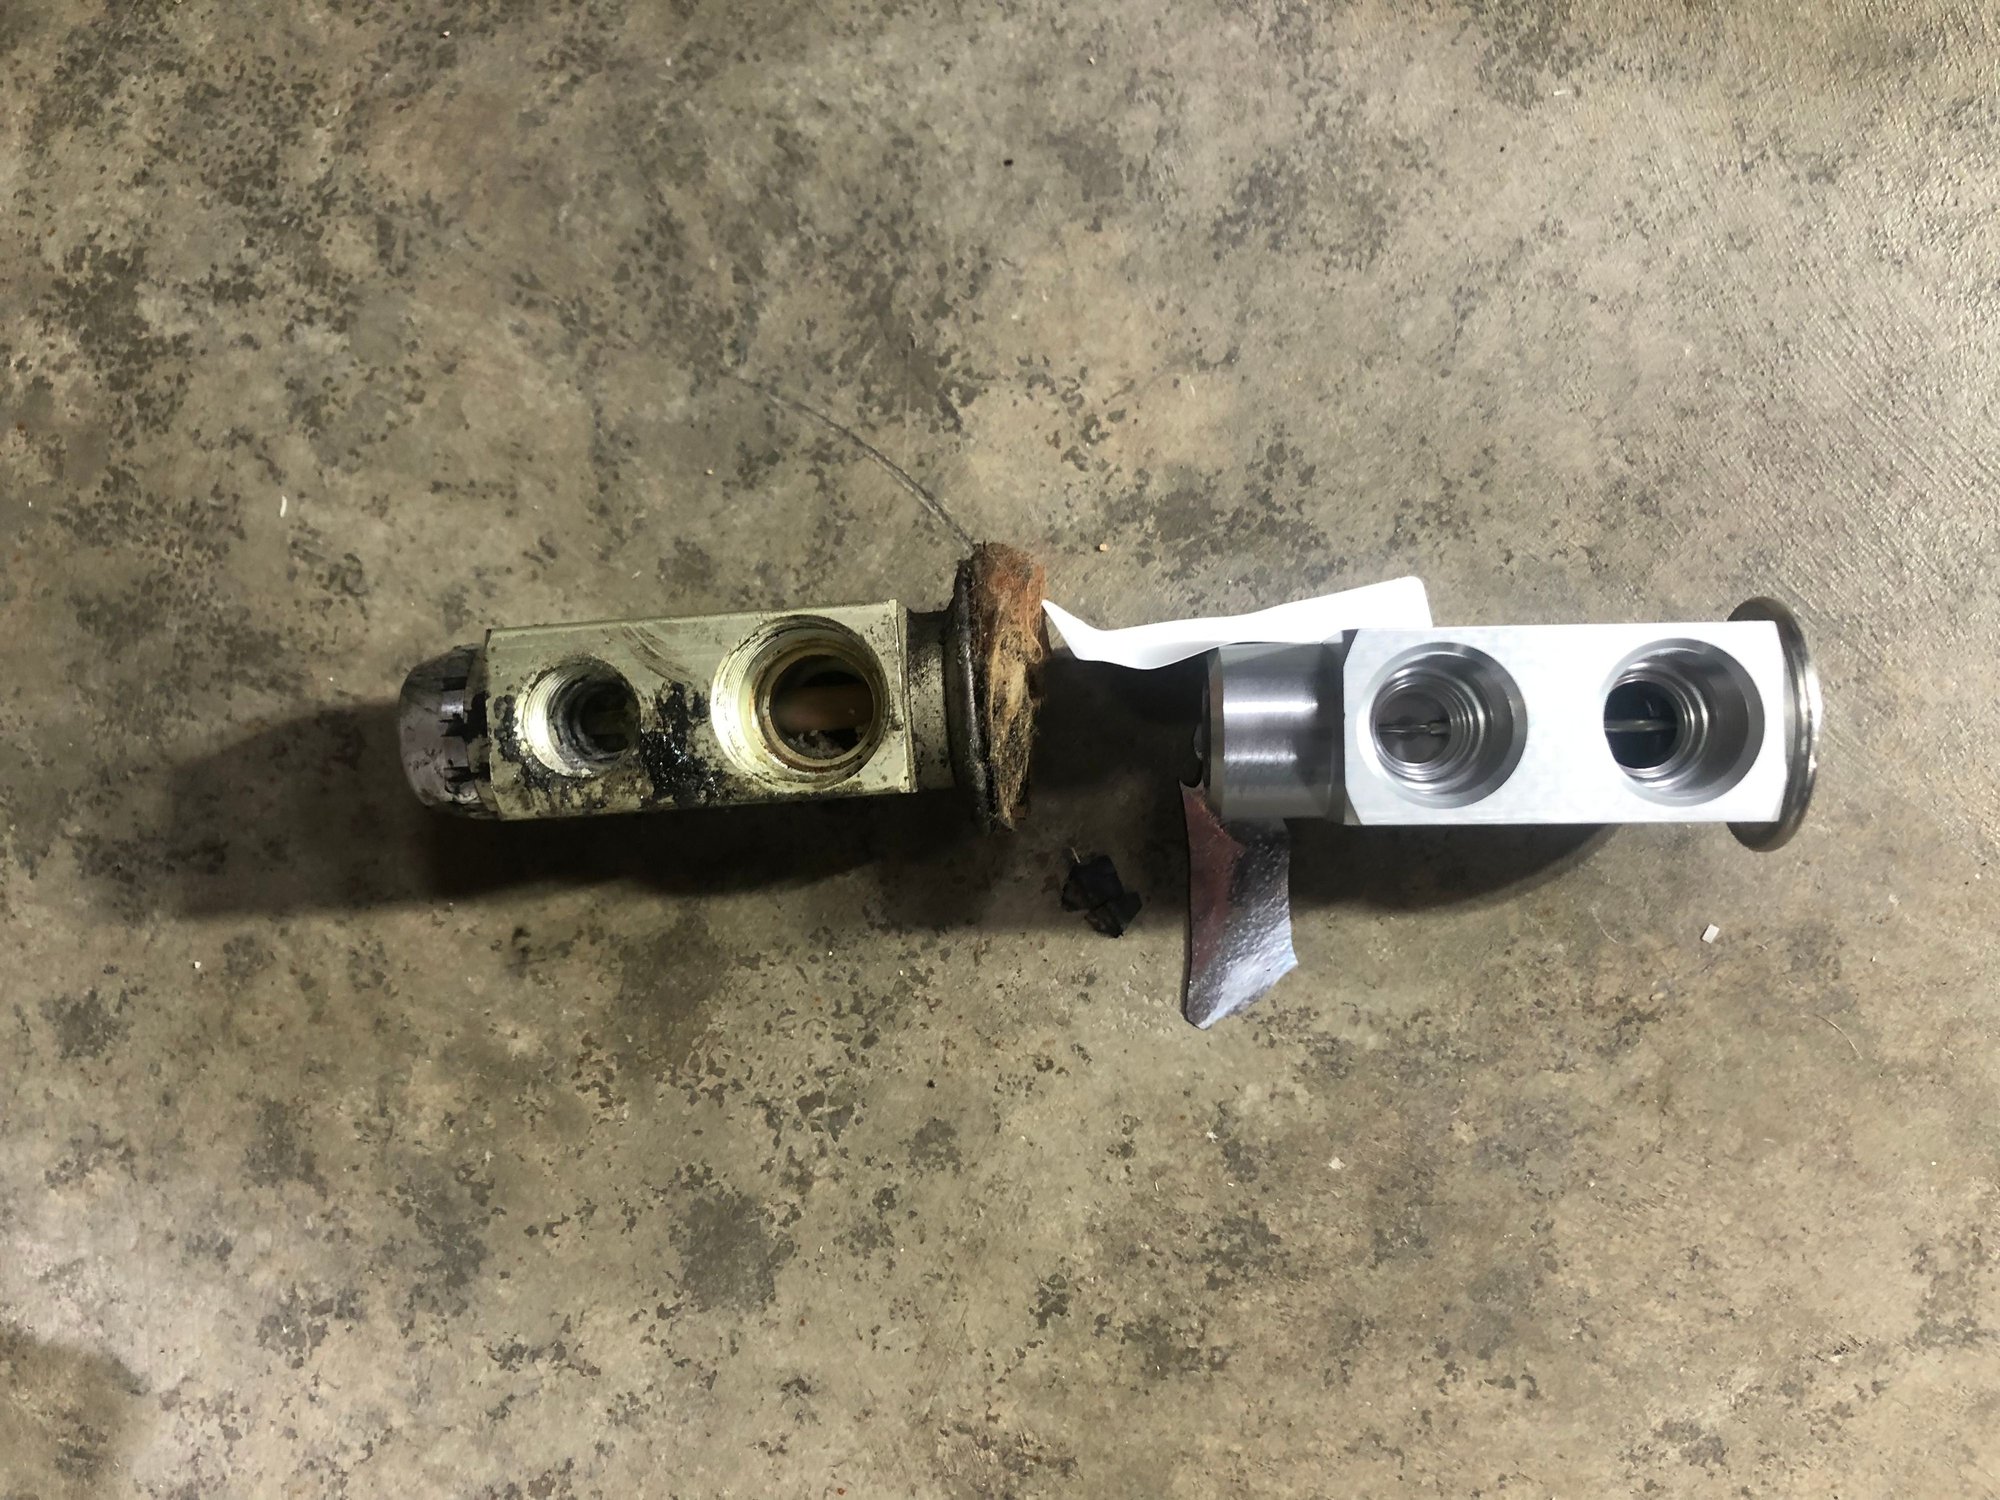
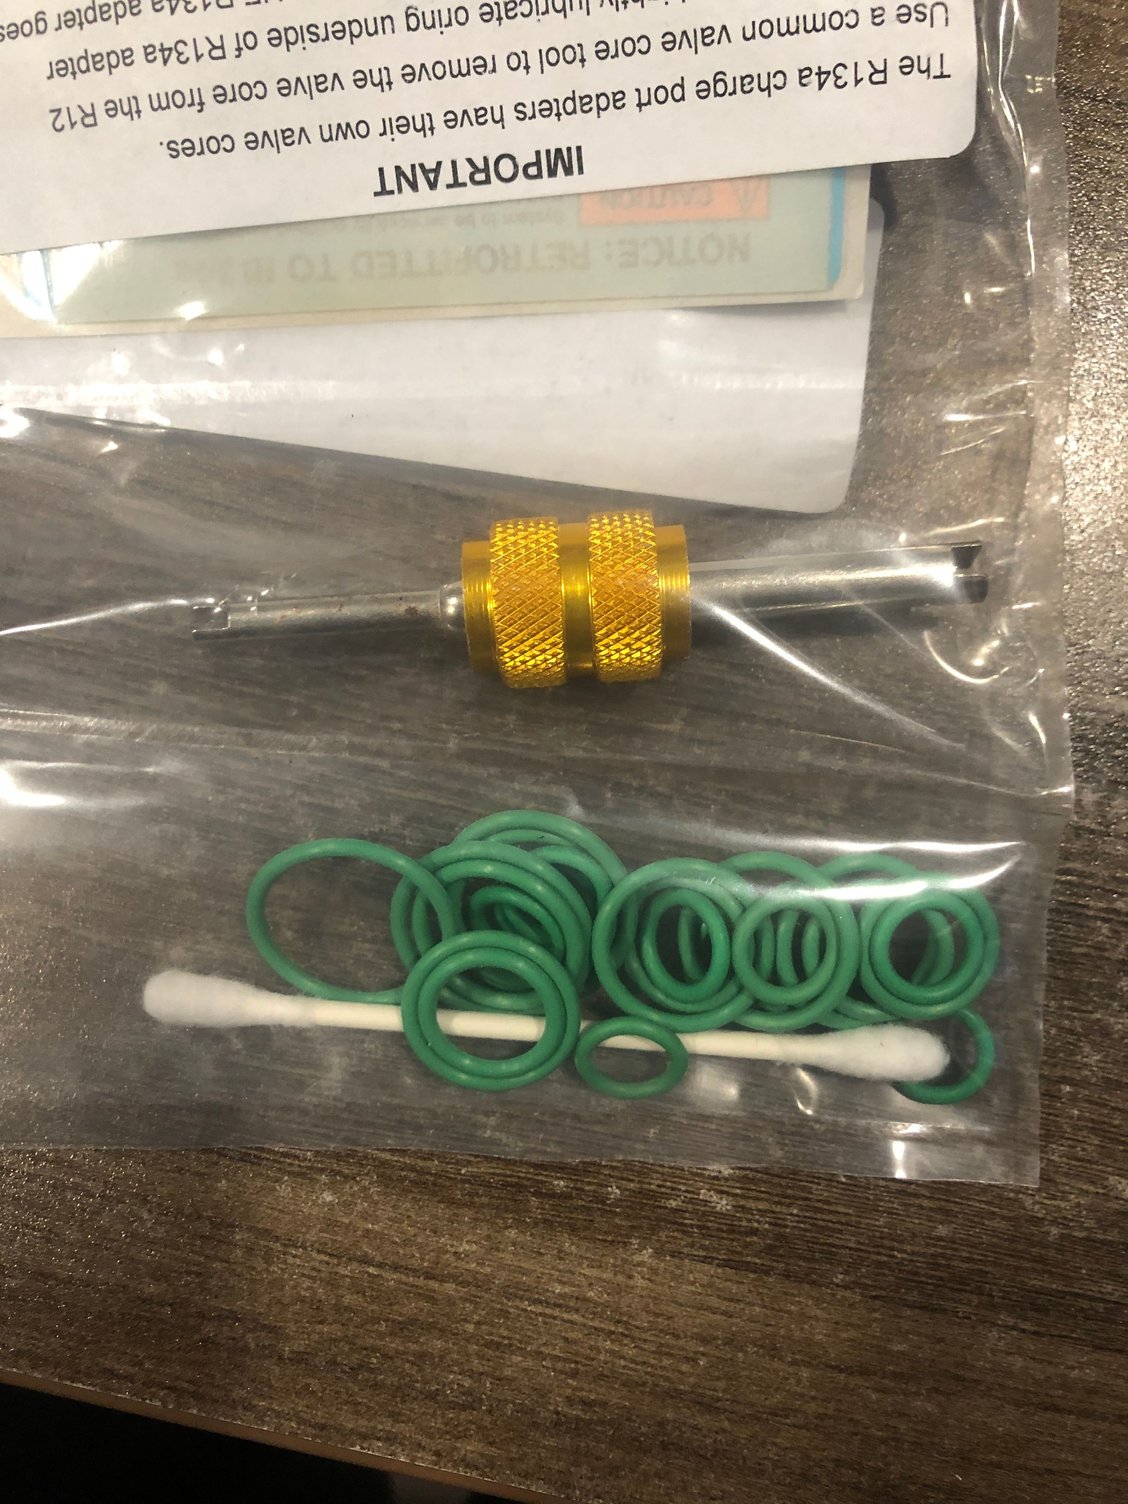
Well I had a go at the expansion valve this evening…that was fun. The videos I had watched must have been later models, as they were much different. Are there any recommendations on what else should be done while I have everything apart? Also, as you can see below, the valve I purchased is different than the one I removed. As for new seals, my kit came with a bunch of different ones. Is there any list of what size seal goes where? I want to make sure I get the right seals in the right place. Just the seals be greased with something? Sorry for all the questions.
I also installed the new freeze switch. How do you know the “line” was pushed in far enough? It is passed the insertion “needle” but probably only a few inches.
It looks like you bought an r134a conversion kit ? Whose kit? Tape that expansion valve up and send it back, that ain't right.....
No, the expansion valve was purchased separately. I got it from the vendor, that I believe closed. The gentleman passed away. I was trying order some parts through his wife, trying to help get the store back up and going. I could’ve easily purchased the wrong one. I tried to reach out again to purchase some other goodies and I never heard back. Now that I see it taken apart, quite a few of listings online are incorrect for the ‘79. I purchased the conversion kit and some new lines from Griffiths. Of course they are out of stock on the valve I need. The seals are useable though, correct? I’m hoping to add new seals as I install some of the other items I’ve gotten and then get the system tested. If all is good, load with R12.
If there's a 3 mm threaded hole in the center of the other side of the expansion valve it's likely an '85-95 expansion valve, 928 573 123 05, you need a 928 573 123 02.
Those o-rings are HNBRs, should be fine if they're the right size. Lay them all out and arrange them by size. You ought to be able to take the old ones and match them up with the new ones, though they're all listed on sheet 813-25 in PET,
999 701 619 40 - condenser into drier (1) - not sure of dimensions, but my guess is 10.6 x 1.8 (same as high side into top of condenser)
999 707 251 40 - Suction line, both ends of compressor hose, and into expansion valve, 14 x 1.8
999 707 247 40 - High side, drier to hardline, and into expansion valve, 7.5 x 1.8
999 707 250 40 - High side, both ends of compressor hose, 10.6 x 1.8
This misses the two o-rings on the backside of the expansion valve, not sure what they are but if you measure the OD of the pipes out of the HVAC box it should be self evident.
Roger should have a complete list of all the orings and/or their replacement part numbers.
I suggest in the general sense, just go through the Porsche MY catalog and order the entire batch plus spares from Roger. They will arrive in bags labeled by part#.
Then reassembly is easy.
I’ve been following this thread casually because I’ll likely have to go down this road myself at some point. Just wanted to give a thumbs up to @Rob Edwards and @mj1pate for their responses to the OP. Members taking time to share knowledge is just awesome. It’s a large part of why I got comfortable pulling the trigger on my GT after decades of wanting one.
So as I'm waiting on my new expansion valve to arrive, can someone enlighten me on how to remove the fan and if needed the condenser? I unbolted the fan and I was thinking I'd be able to pull it right out but the motor on the fan (nut on the back) will not clear the wiring harness. I cut the wiring harness free to allow for a little movement of the wire but still not luck. Are there any tricks to this?
I'm doing my '88 right now, and thought it was easier to pull the condenser to replace the dryer and all the many O rings down there. The condenser has two fastners on the bottom that come up through the lower cross beam and two on the little bars that come back from the upper cross beam. A little tricky to get free space and get things aligned, but not bad.
I'm doing my '88 right now, and thought it was easier to pull the condenser to replace the dryer and all the many O rings down there. The condenser has two fastners on the bottom that come up through the lower cross beam and two on the little bars that come back from the upper cross beam. A little tricky to get free space and get things aligned, but not bad.
Cool. I got the two on the top. I didn’t want to start unbolting everything and making it harder in the end. Lol. I need to raise the condenser a smidge anyway to get a better “grasp” on the fitting.

 03-10-2023, 04:02 PM