When you click on links to various merchants on this site and make a purchase, this can result in this site earning a commission. Affiliate programs and affiliations include, but are not limited to, the eBay Partner Network.
Convince me I can do my '78's water bridge gasket myself
So after my car warms up I noticed a leak at the water bridge. Stan mentioned I can loosen the coolant cap to keep pressure down and so minimize the chance of the pressure building up and causing the leak. I have purchased 2 new gaskets 928.106.197.04 and 1 Water Bridge O Ring 999 701 627 40 - 53 x 7 from Roger but I have been afraid to try to do this myself. I will apply some break away to the 4 Allen bolts and heat cycle a few times to facilitate their loosening. I understand I want to make sure the surfaces are smooth with 400 grit paper.
Can I do this in my driveway?
Are there any special tools I may need?
what else needs to be removed to get the water bridge out?
Should I put a sealant on the gaskets or use DC-111 on the O-ring or gaskets?
I would love to be able to drive my baby again soon. If this appears too daunting I will simply wait until warmer weather and get it up to Mr Merlin as I am just s couple hours south of him in Baltimore.
If it was me…if everything went to plan I could do it. If a bolt is seized and snaps off in the block then it would quickly get out of my comfort zone.
It’s one of those lottery jobs.
NOTE adding heat to an aluminum engine filled with coolant is about useless,
as the coolant will quickly remove any heat added,
you would be better off working on an engine that's at operating temp.
NOTE the WB bolts are screwed into the heads.
Otherwise to add external heat drain the block first
I'd leave it to a pro. Gotta have the right tools for the job and it's not as simple as it may appear (to do right).
Also reseal the oil filter housing (to the block), WYAIT.
New gaskets are only part of what you need.
New hardware is an absolute must for this task!
Fairly simple job to do, if the old hardware comes out of the heads, without removing any threads.
The percentage of times this occurs, is really low.
And it's a fricking nightmare if the hardware breaks off, in the heads.
I've had to cut many bridges in half, to get them off of the broken bolts!
You can spray the base of the hardware with whatever "miracle" penetrating oil you can find....
However, it will absolutely do nothing and will not migrate down into the threads in the heads.
FWIW I have drilled 1/8 in.holes adjacent to the WB bolts so to fill the bolt bores with PB blaster,
after this heat with a Mapp gas torch,
you will see the PB start to run out from the gasket seam.
That said after bolt removal I would then refill the drilled holes with JB weld off the engine of course.
so far I have gotten every bolt out this way.
What may help a little is to put a long Allen socket and tap on them first. When that does not work and the Allen sockets are stripped, try an oversized torx socket and a small impact driver. When that does not work try a spiral bolt remover and a small impact driver. Some combination of that has worked for me.
What may help a little is to put a long Allen socket and tap on them first. When that does not work and the Allen sockets are stripped, try an oversized torx socket and a small impact driver. When that does not work try a spiral bolt remover and a small impact driver. Some combination of that has worked for me.
inif the leak is very minor, you can also run a slightly lower pressure reservoir cap. I run a 13.psi one in my 84 Euro S with no overheating or other issue.
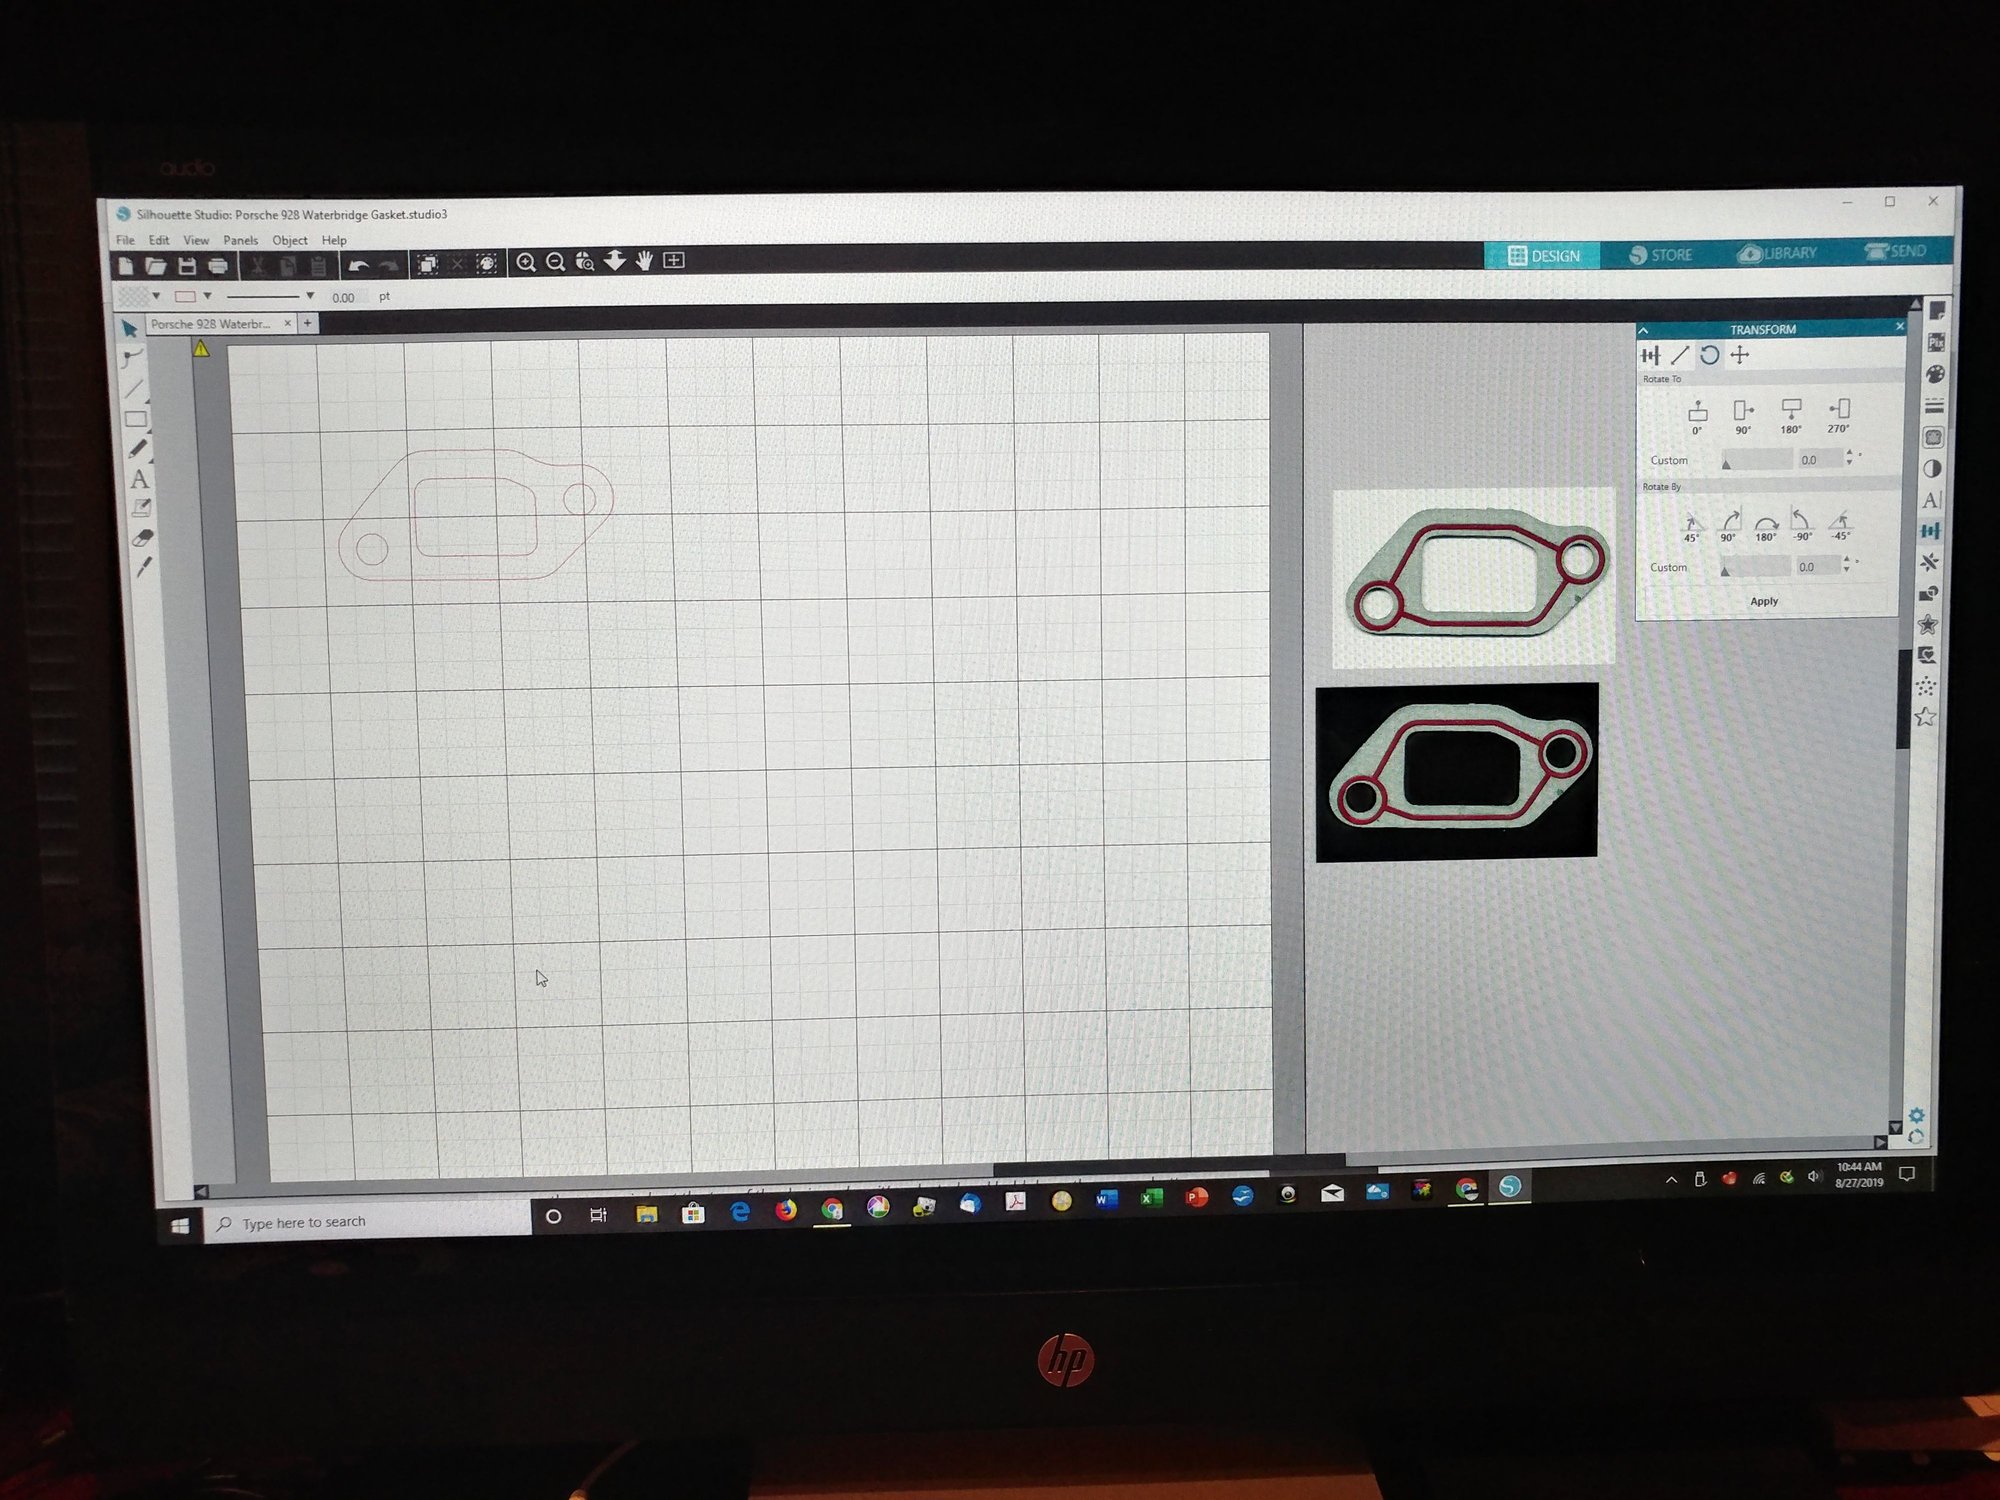
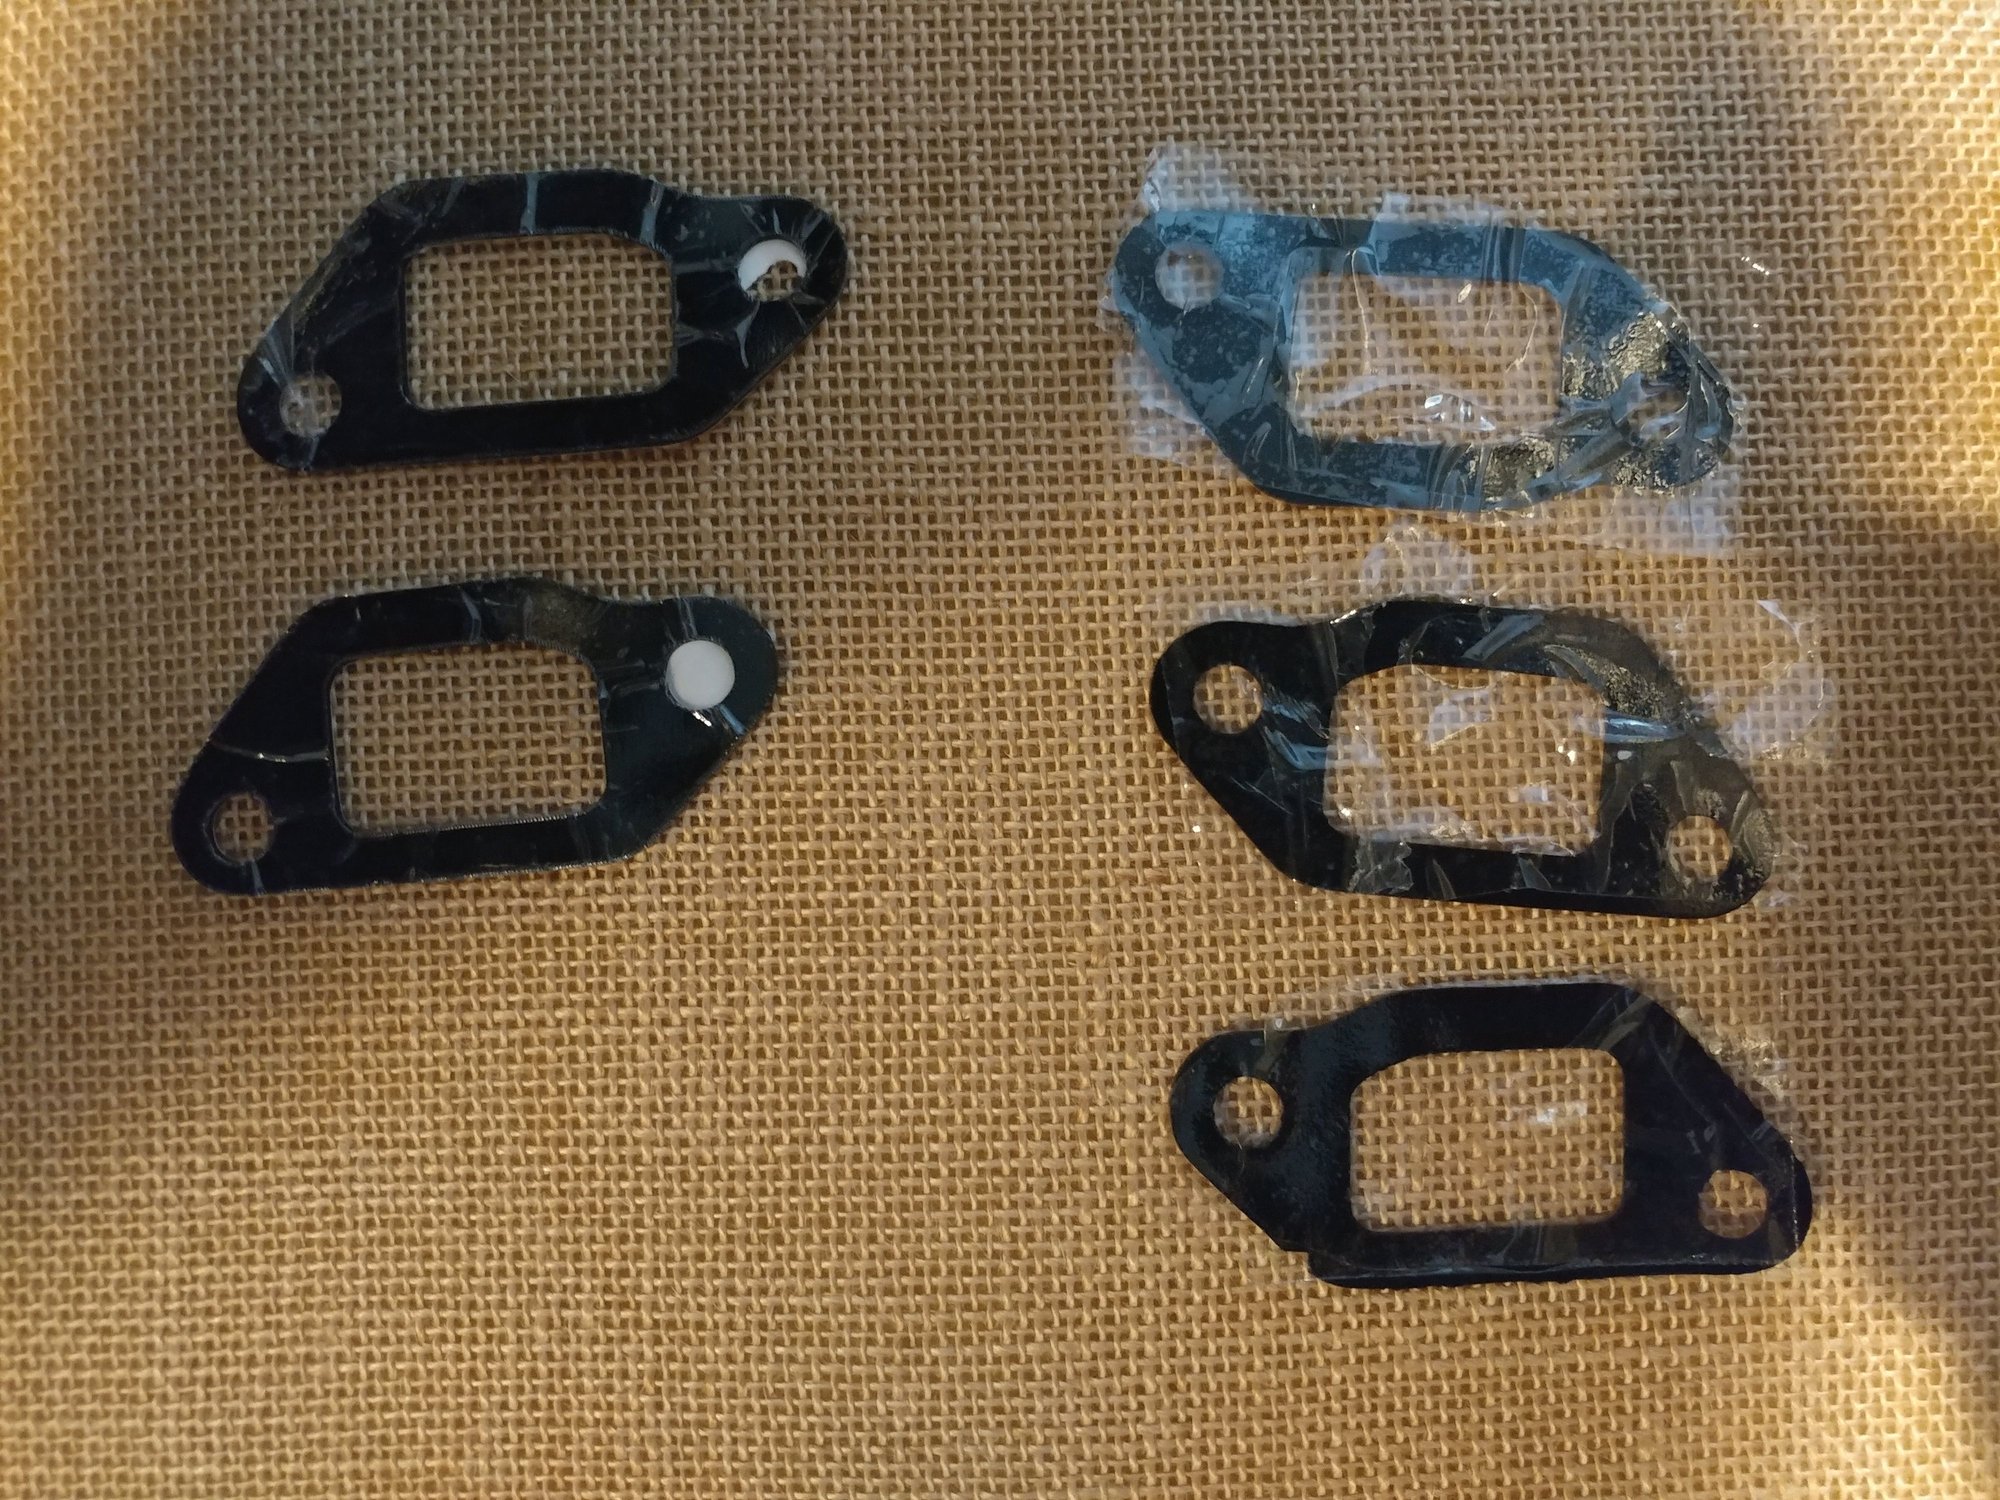
My supercharged 83 motor where I had some deformation from a weld repair done causing some unevenness at the water bridge runs a 10 psi cap and I made custom silicone gaskets which are softer and seal better then the OEM one pictured. Cut them on my wife's craft Silhouette cutter.
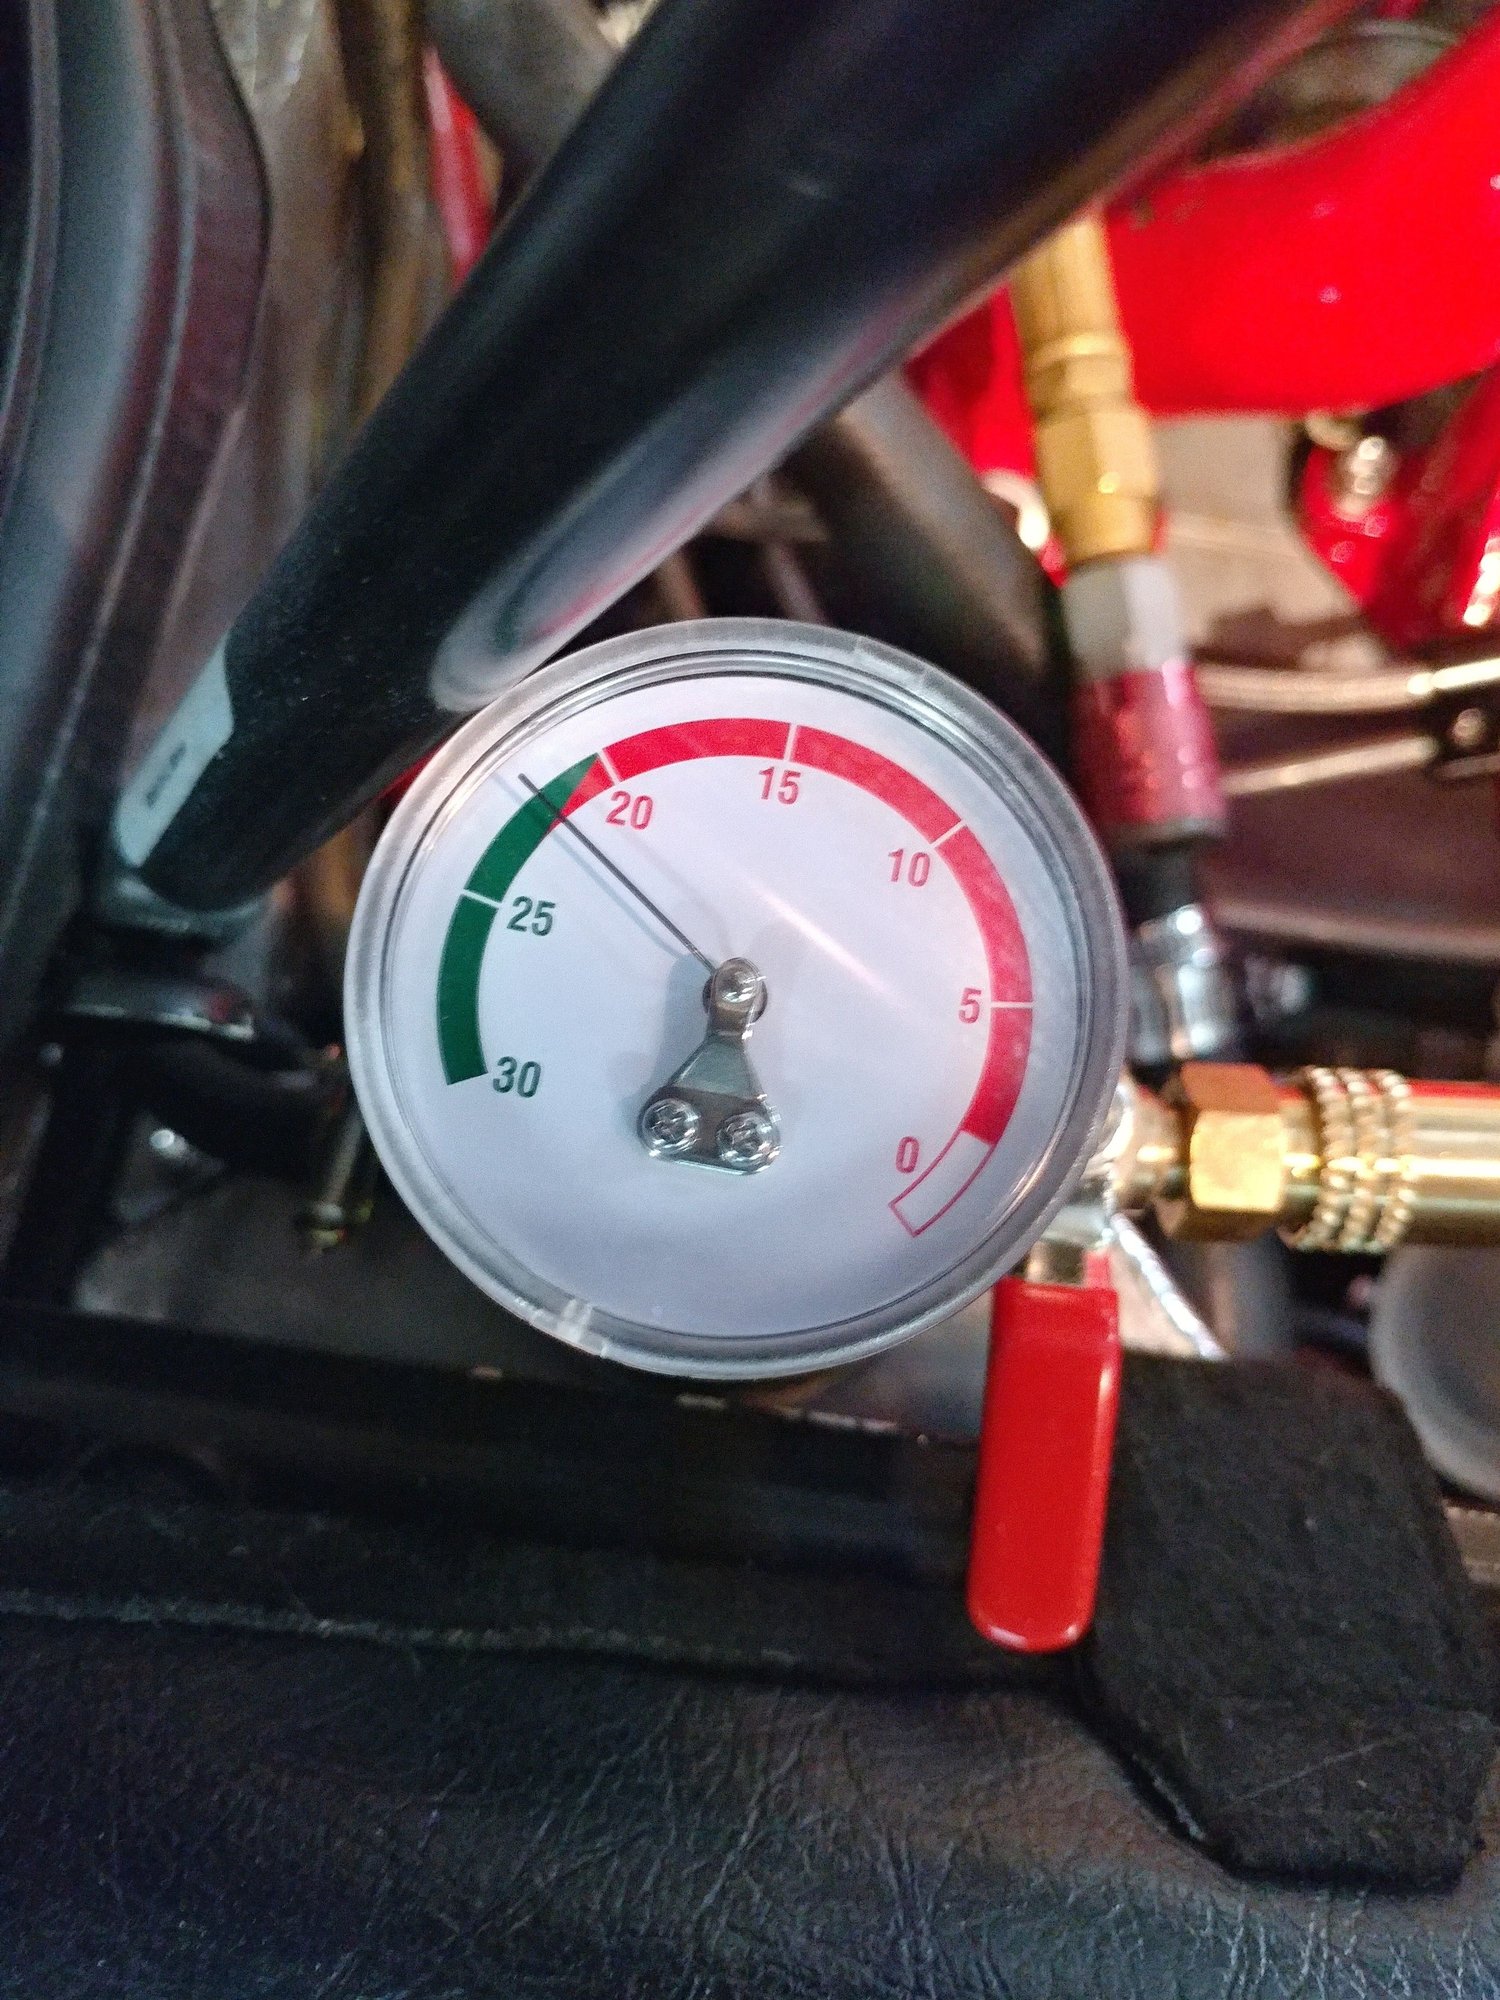
I'd also recommend an AirLift vacuum fill tool for refilling. Not only does it prevent trapped air in the system but also allows you to test for any leak areas before filling it with coolant again by seeing if it will hold vacuum.
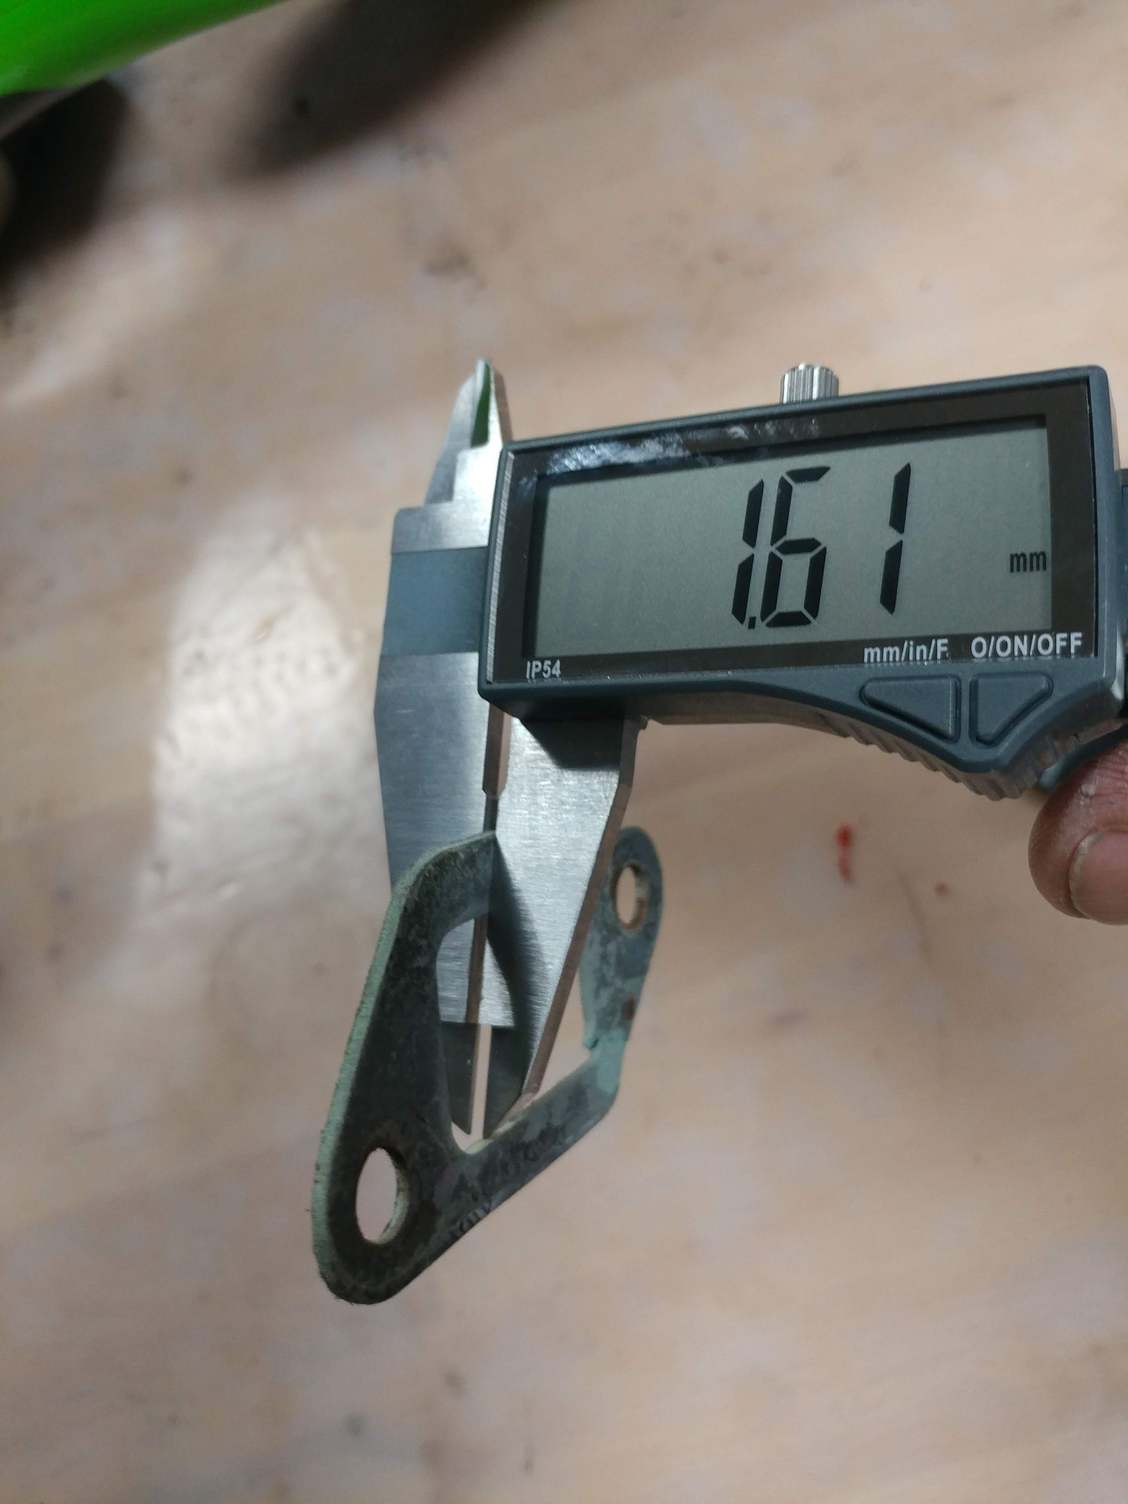
OEM gaskets thickness
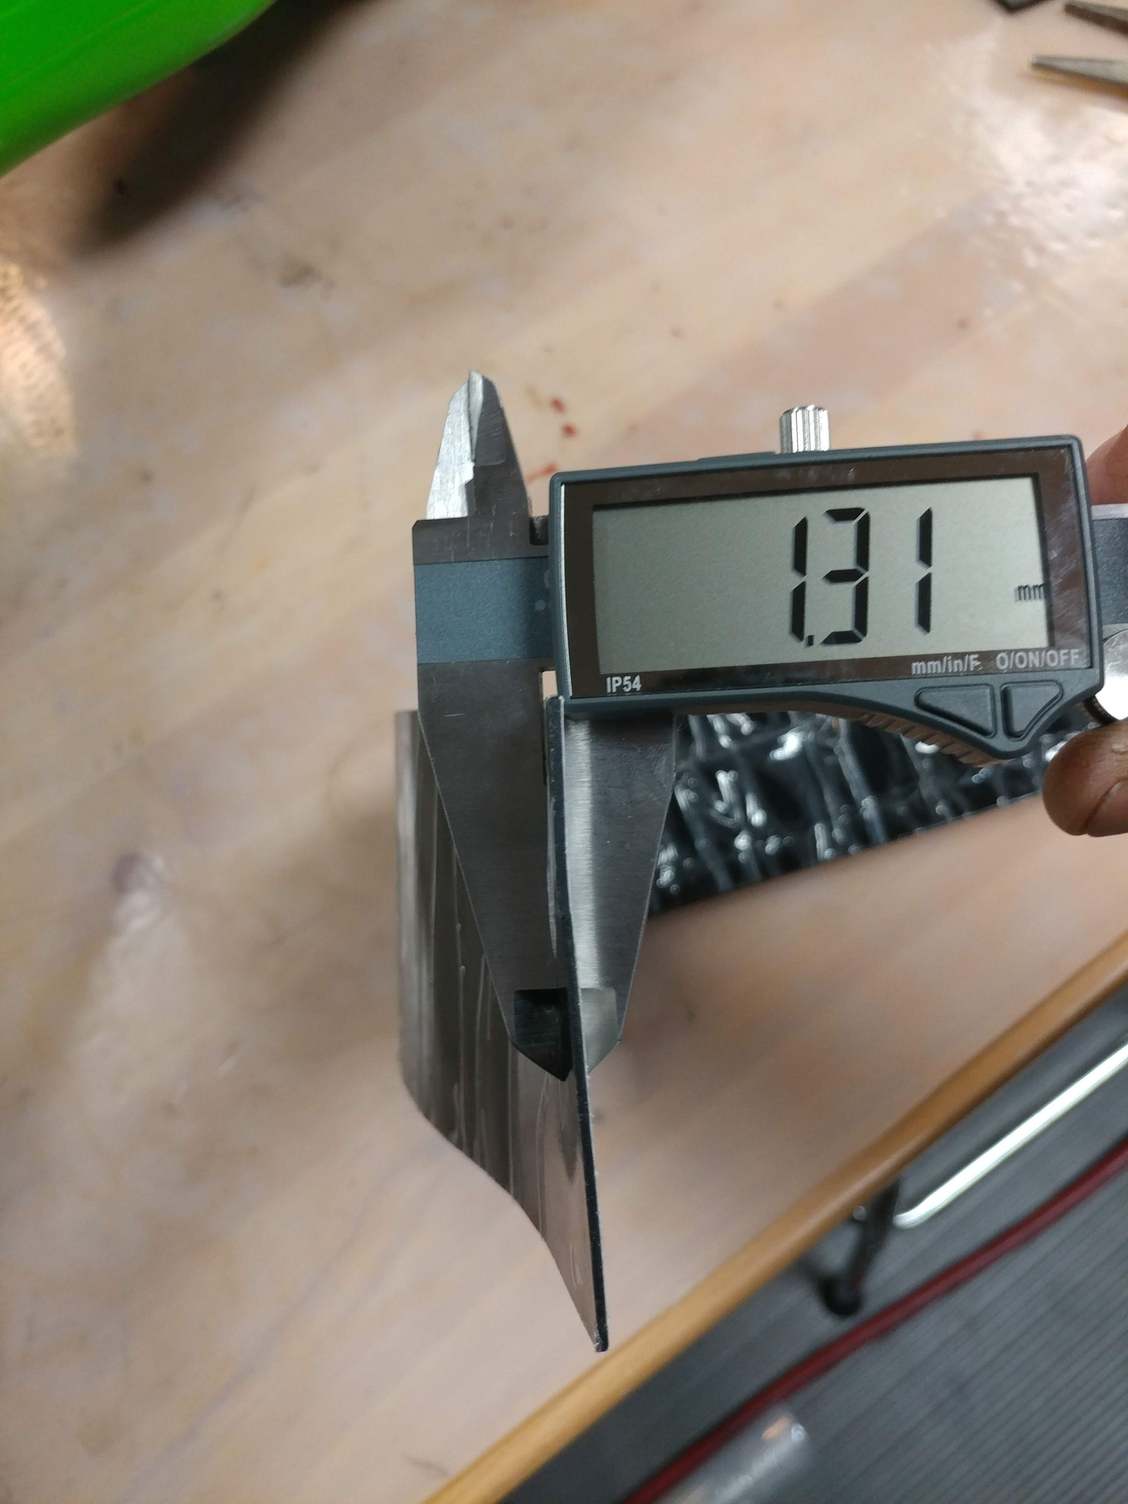
Adhesive silicone material I used
Scan new OEM gaskets.intoncrafting cutter
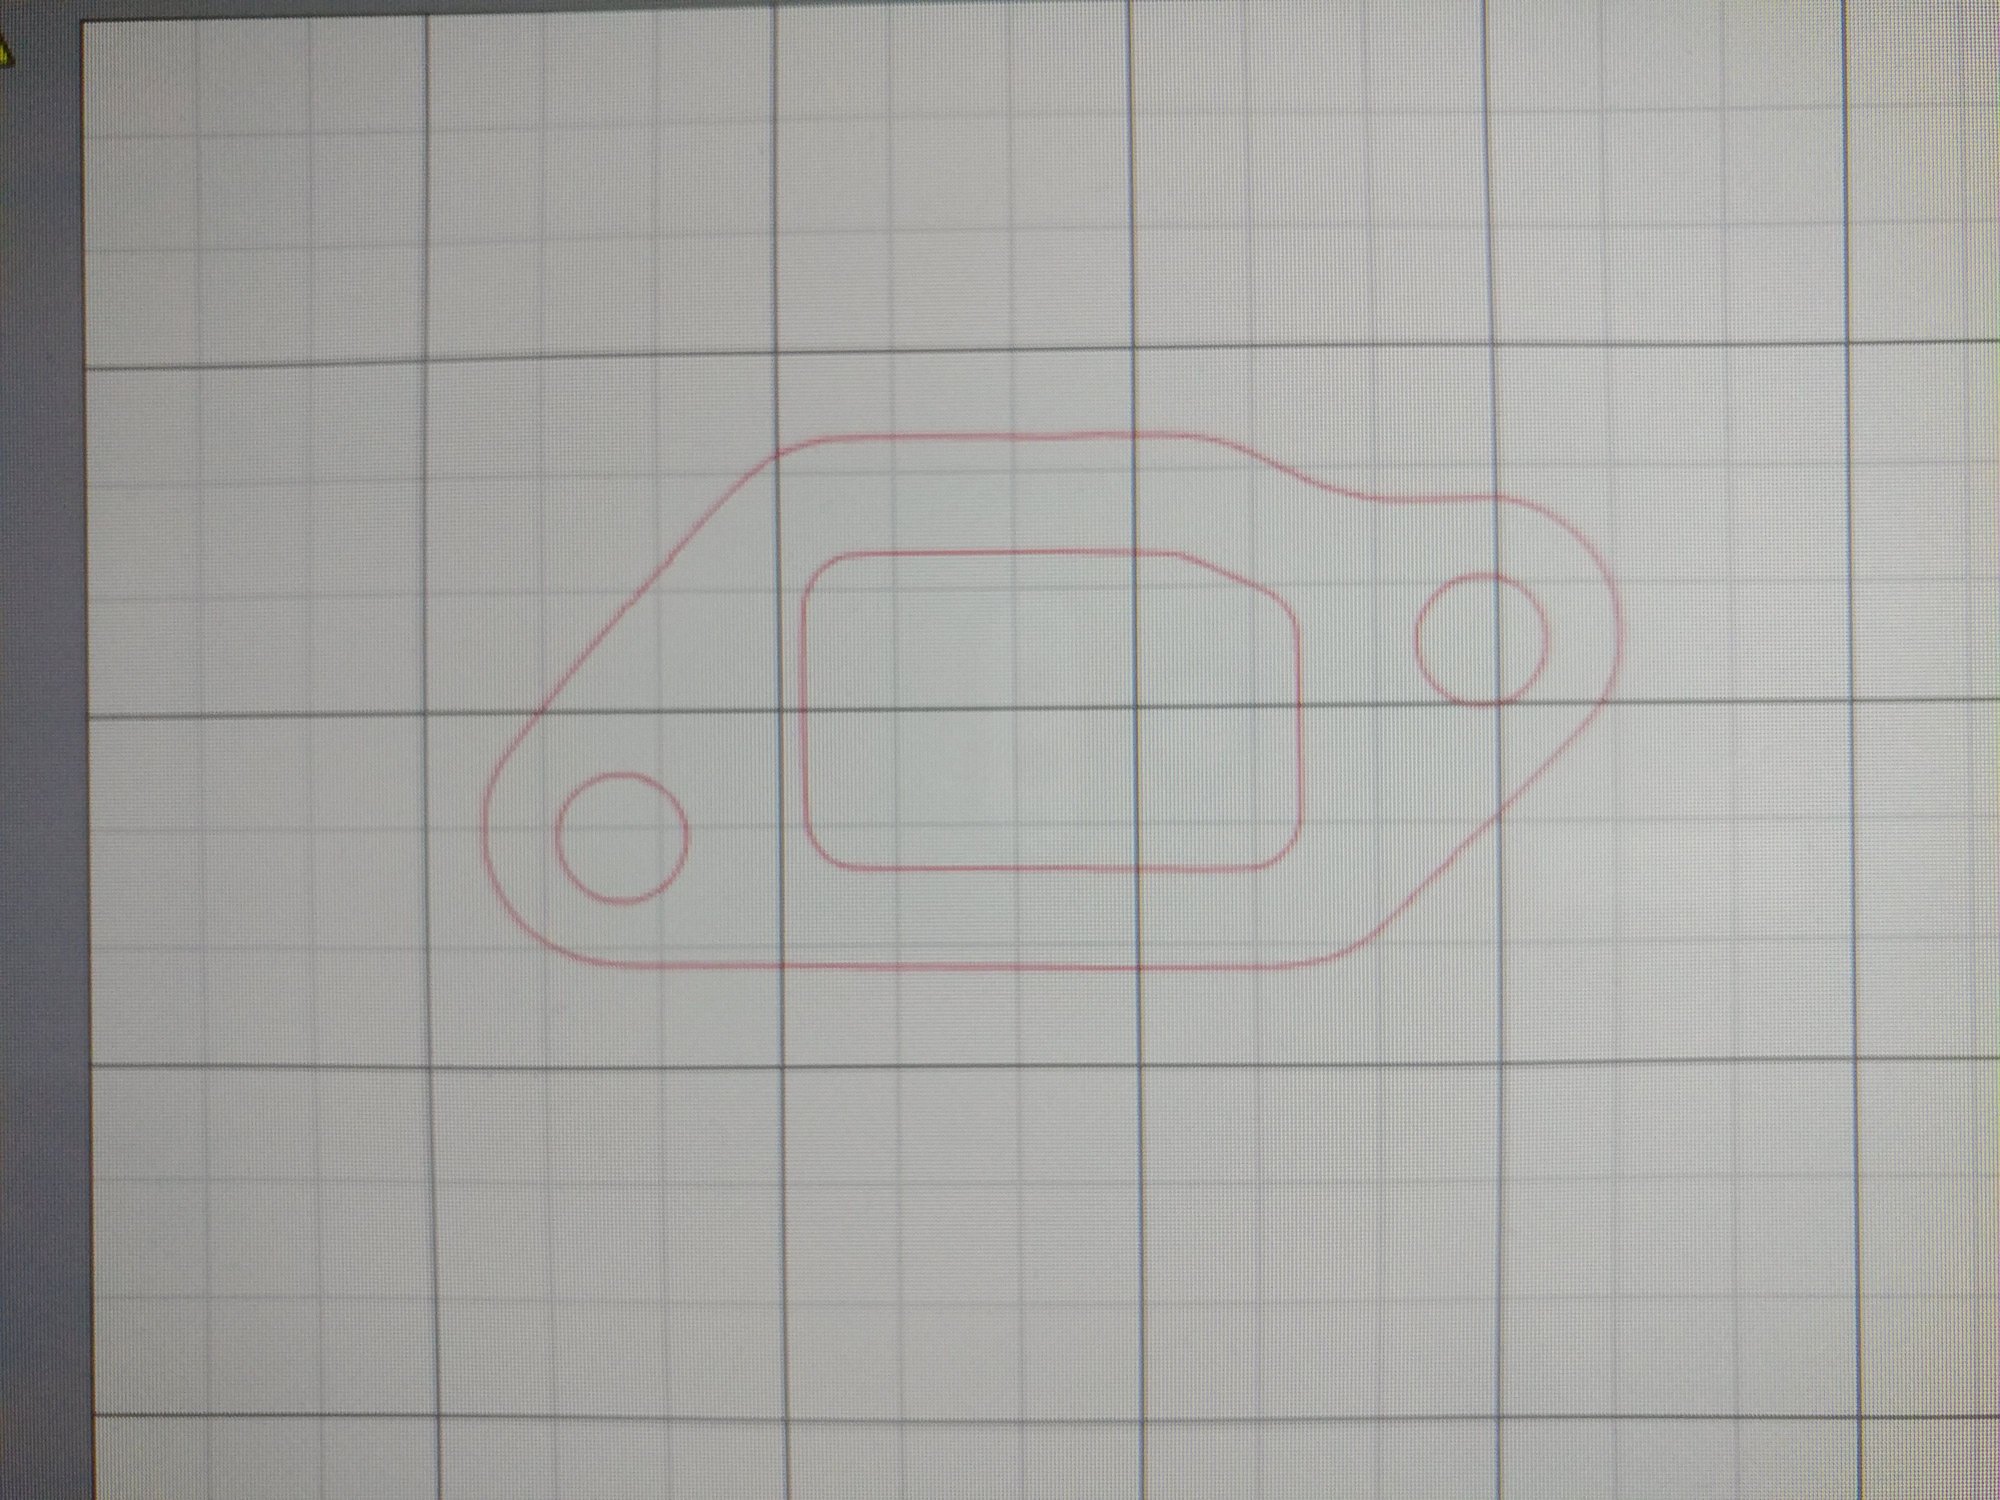
Cleanup the border from the scan, load the material onto the cutting sheet...
...and presto, new gaskets. I cut one pair in the correct orientation and one in the reverse orientation, then used the self adhesive on the gasket material to stick the two together. Now I have a soft gasket that's slightly thicker than the OEM one.
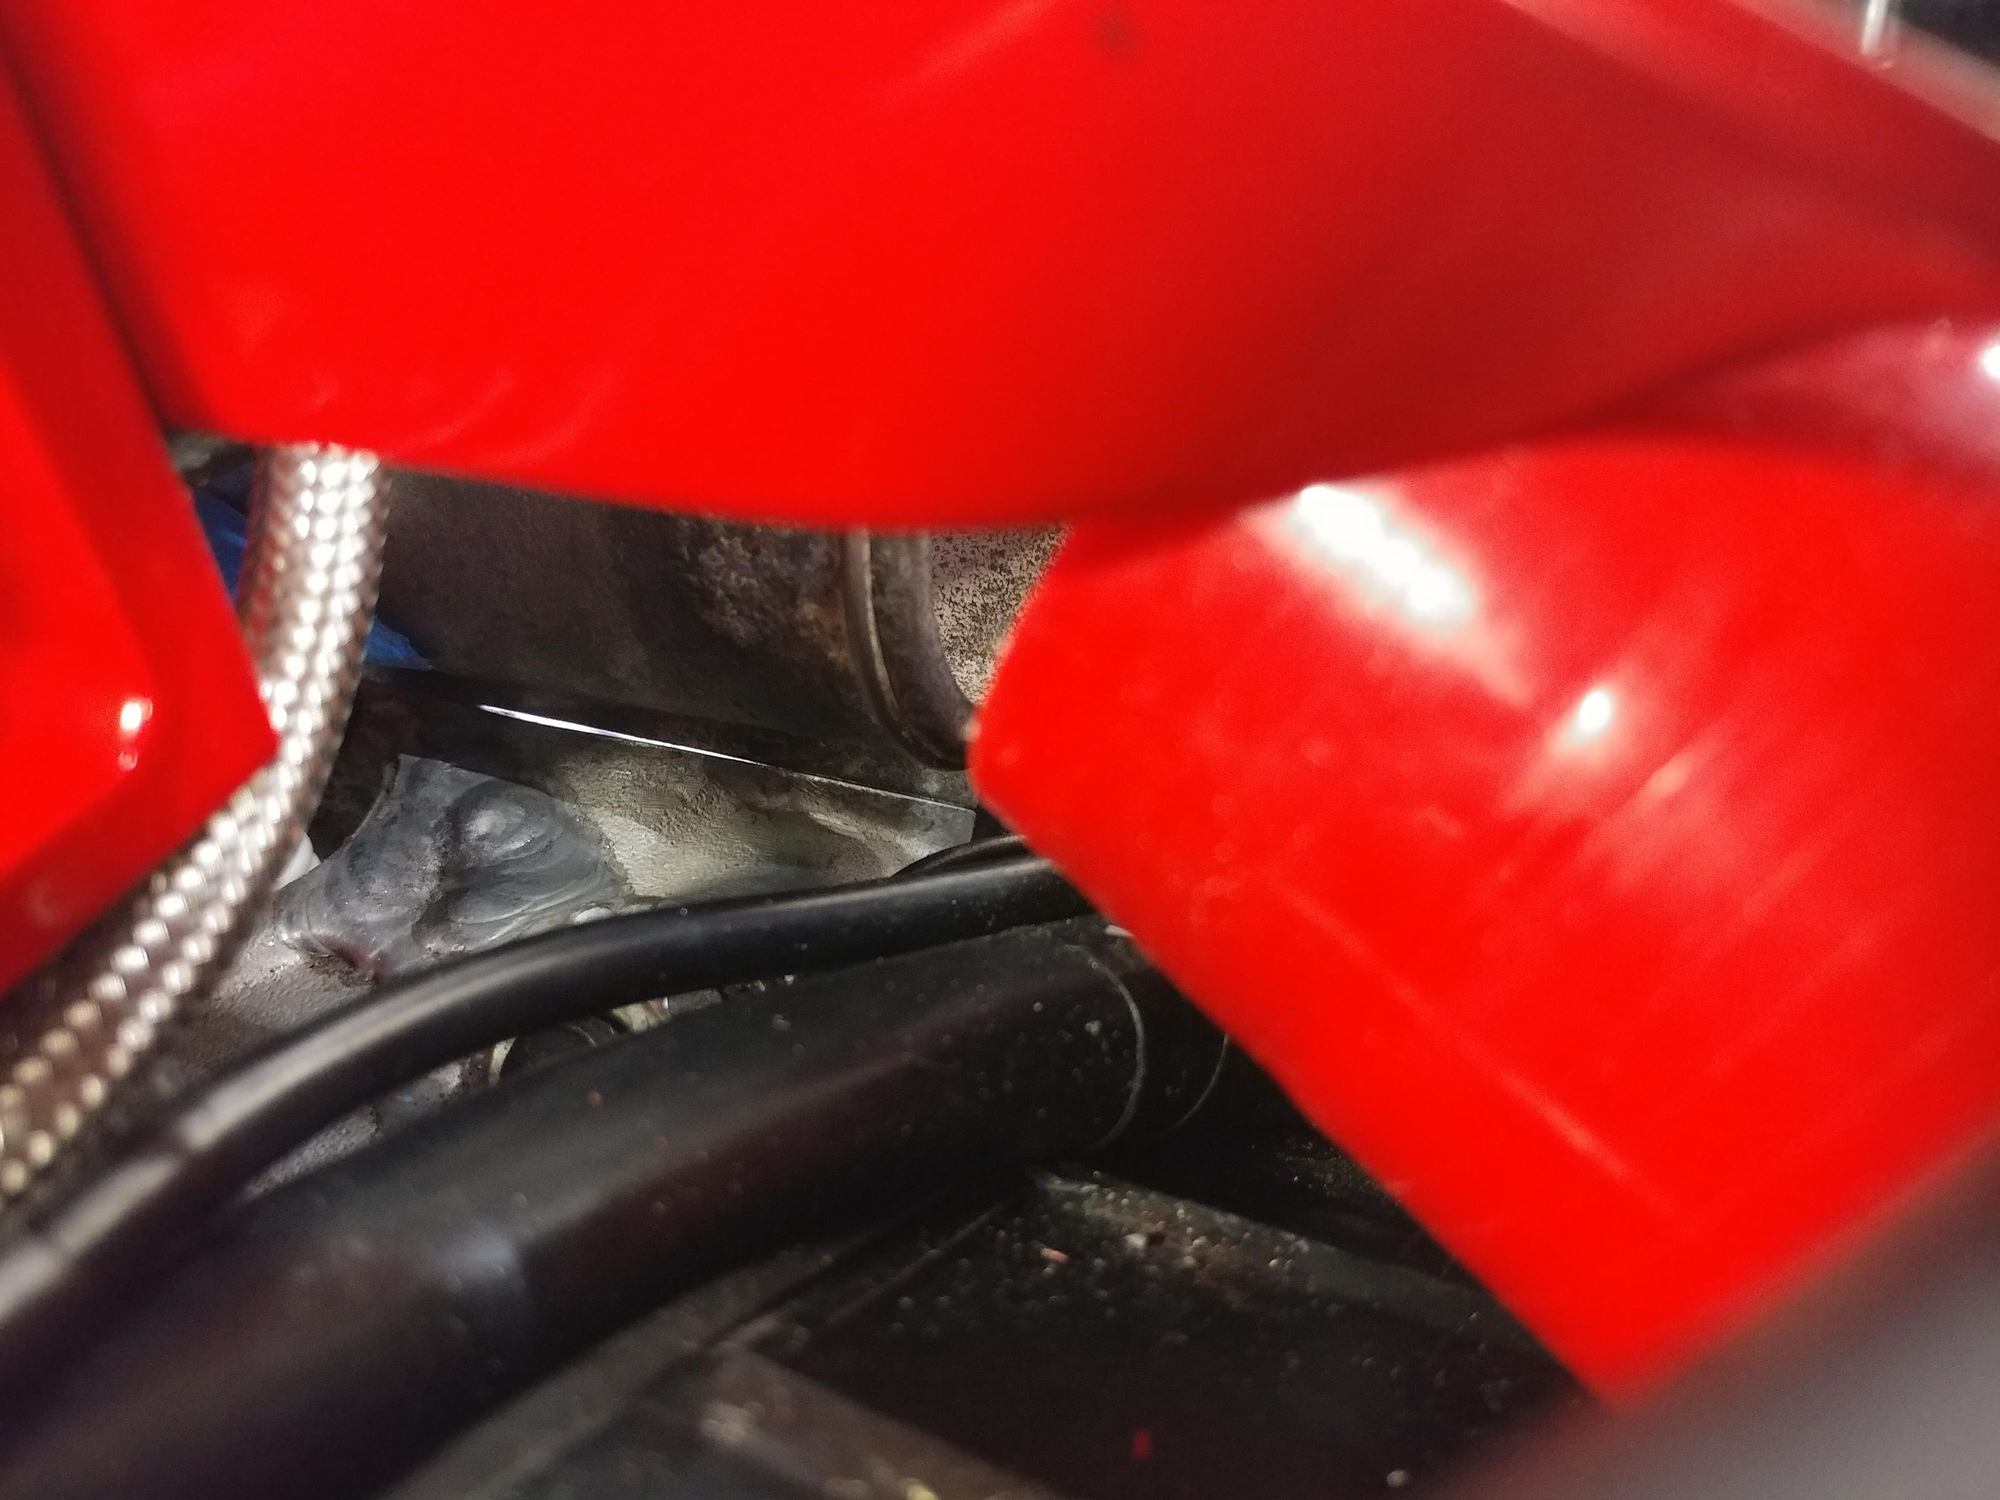
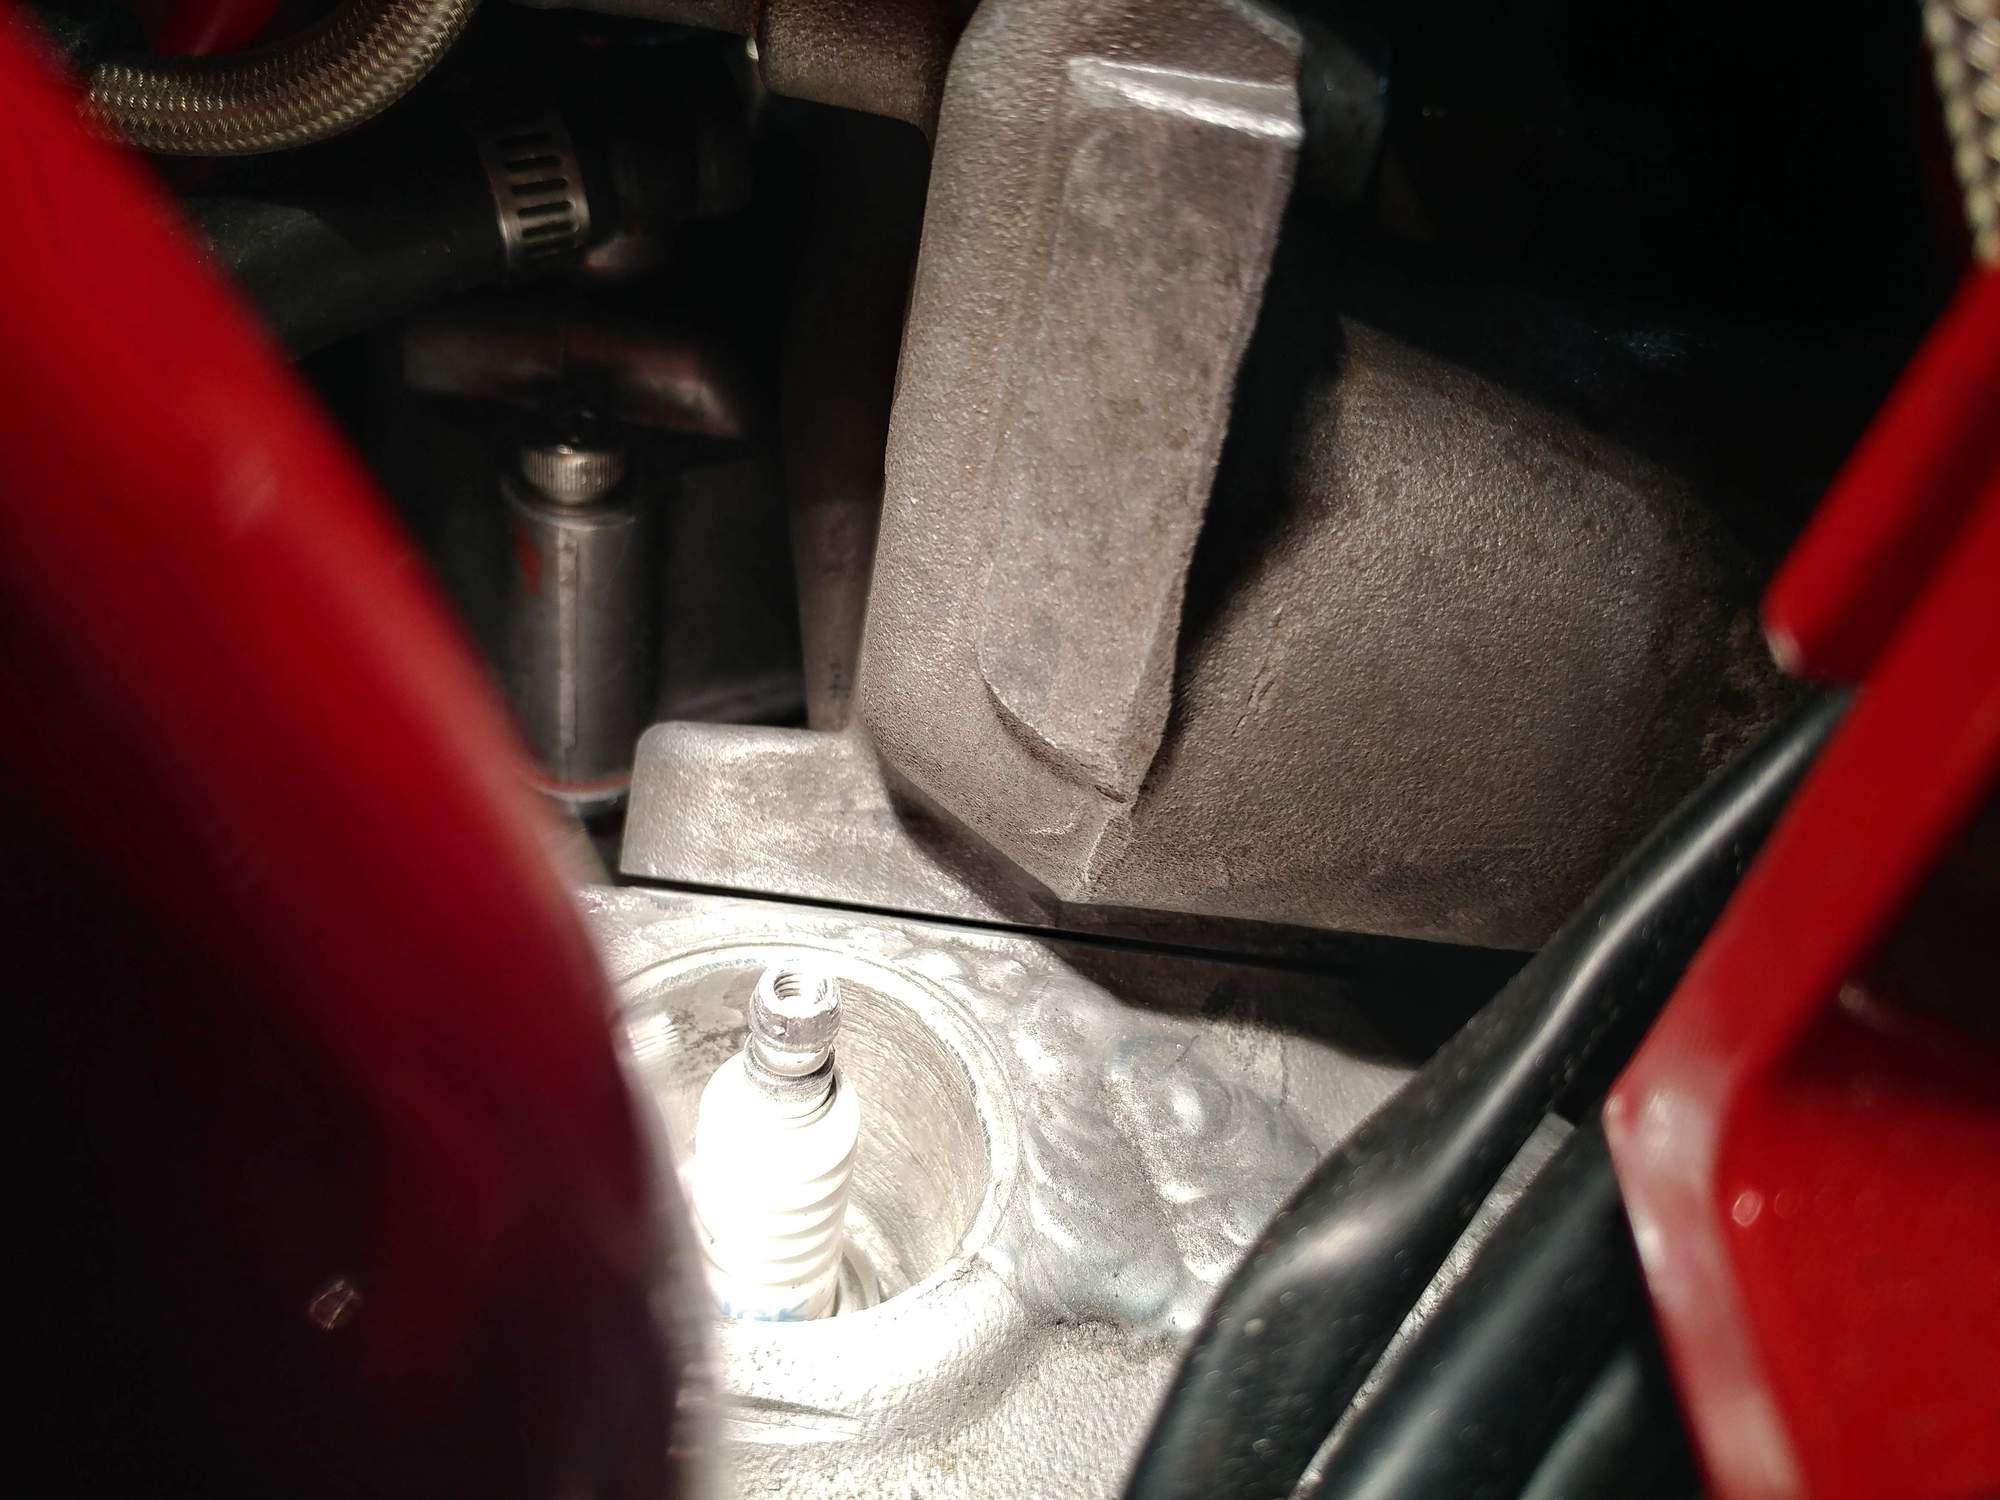
This is the issue I had to overcome. Put a light inside the water bridge and you can see the mating surfaces had a decent sized gap.
Did some Samsung of the surfaces on a glass block and got them to mate much better, then installed the new gaskets
Pulled a vacuum with the AirLift tool and it held for 15 minutes, so knew I was good to go, owned the clave and filled the cooling system.
The water bridge bolts ... I think you see the pattern of the responses. Lots of good suggestions ...I'll ad my procedure that has yielded a high (though not perfect) success rate.
Tool: before you start be sure to "fit" your allen socket thoroughly; Clean out the allen hole in the bolts and use a QUALITY ie EXPENSIVE and FRESH allen socket (snap-on etc) No craftsman, no harbour freight, no hardware store, no china etc. If the bolts still are not cooperating normally read on.
Procedure: drain coolant. Have some ice cubes handy. Heat head and bridge area moderately (I prefer OXY/ACTL for the best heat control) the way you would heat aluminum you want to reuse. next Heat the bolt head HOT. remove heat then immediately place ice cube on very hot bolt head until the whole cube melts (maybe 10 seconds) use your quality allen socket and turn the bolt. This rapid cooling can break the oxidation bond between the bolt and bridge.
Some of the nuances.. Be sure the bolt is cooled well or it will ruin your expensive socket and round the bolt out. The electric impact is a great tool here but i prefer the socket wrench because i can feel the resistance. It is only through the experience of removing (and breaking) many frozen bolts that one learns the "feel" of a bolt twisting vs turning. If bolt is twisting repeat procedure. Be ready for the bolt to turn and then stop turning. repeat procedure, be patient. As GB mentioned many bolts come out WITH the aluminum head threads and it can be avoided with this method if you are skilled, lucky, AND patient.
Thank you all for the great advise and tips. I may try this with with my friend Scotts help. Username (Scoper). Otherwise I will wait until spring and Have Stan do it if he's available.
Just take your time. If you dont think it is moving, don't press your luck. Add the penetrating oil daily and tap on them (repeat), All suggestions are great. I got mine with just tapping and an allen wrench back and forth after about a week. Met Scoper at Camp 928 last year. Maybe see you there also.

 01-19-2023, 09:54 AM