When you click on links to various merchants on this site and make a purchase, this can result in this site earning a commission. Affiliate programs and affiliations include, but are not limited to, the eBay Partner Network.
use washers to take up the space,
then the new bolt can use all of the threads in that hole.
ACE hardware has metric bolts
Yep, that's an option. It is only 1-2 mm longer, it could possibly even fit. (it probably wasn't clear: I got a really long one to use as a chaser and one that is almost perfect in size). I'll see how deep it goes hand tightened without the accessories. I did get this at ACE, and they have the proper 8.8 grade bolts. The only "issue" is that the head is 1/2in instead of 13mm and I don't like that. They did not have 13mm head M8x1.25.
I have never seen a metric bolt with a SAE head, its either 13 mm or 12 mm head size
You're right! It was 12mm. I was just expecting 13mm, and when it was too small for that, I simply assumed it to be SAE and tried the 1/2 which was close enough.
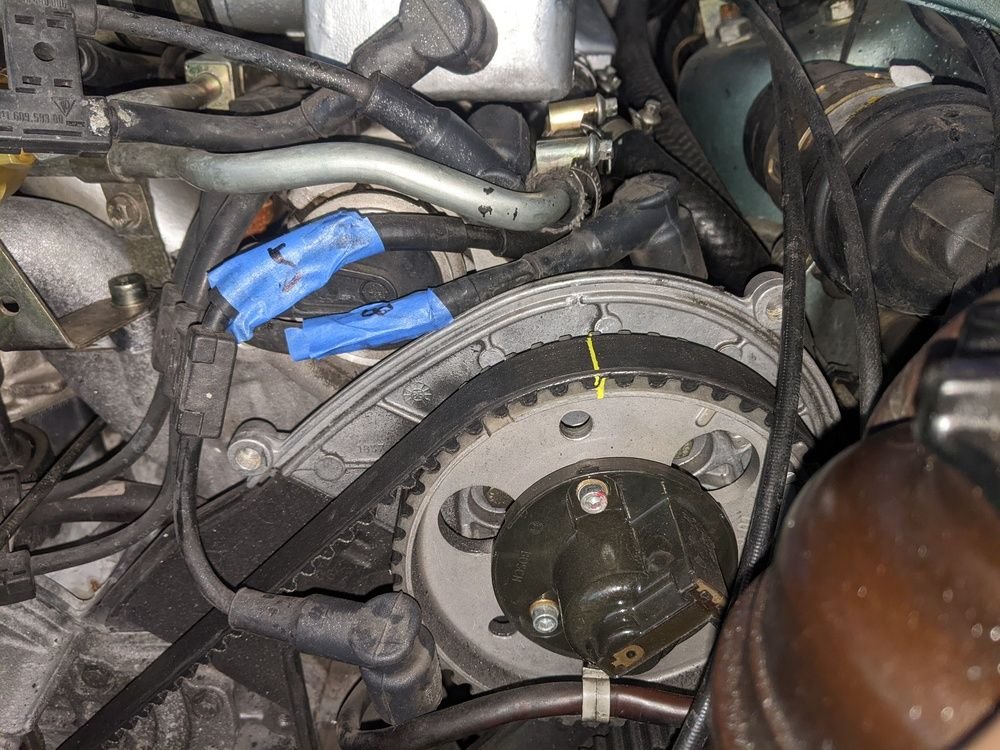
Well, at least the TDC markings align. I sort of anticipated this, the car did run strong and even. The passenger side is a "bit" off, but any other direction it would be worse.
I've been super busy with work lately, so I haven't gotten around to continuing working on this. I know it likely only takes at most a day for experienced people, but it is the first time I am doing this, so I want to take my time and make sure everything is done well. The PO gave me a flywheel lock tool, but it was the previous version where the holes align with the shaft, with holes drilled into it to work on the later models. He has used it on the car, but a local friend gave me the actual tool, so I ended up using that. The modified tool's holes didn't align perfectly well with the factory tool. I also got some new M8x1.25 bolts that are longer than the short ones that are used to secure the cover plate. They didn't go easily through, so I first used the thread chaser bolt I already had handy from fixing the previous issue.
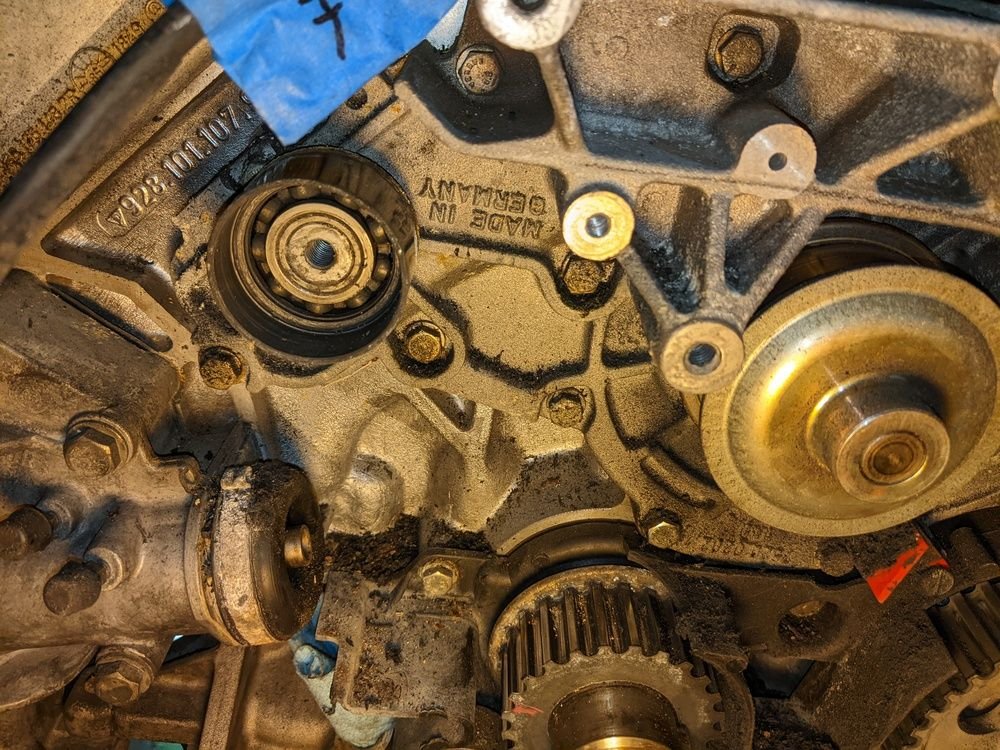
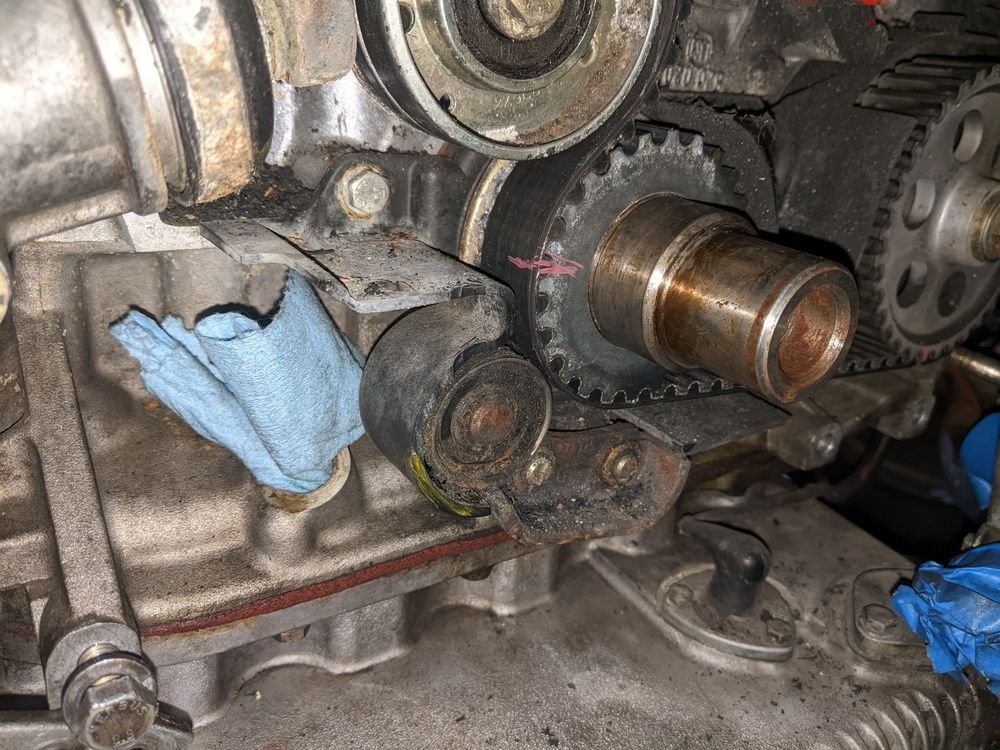
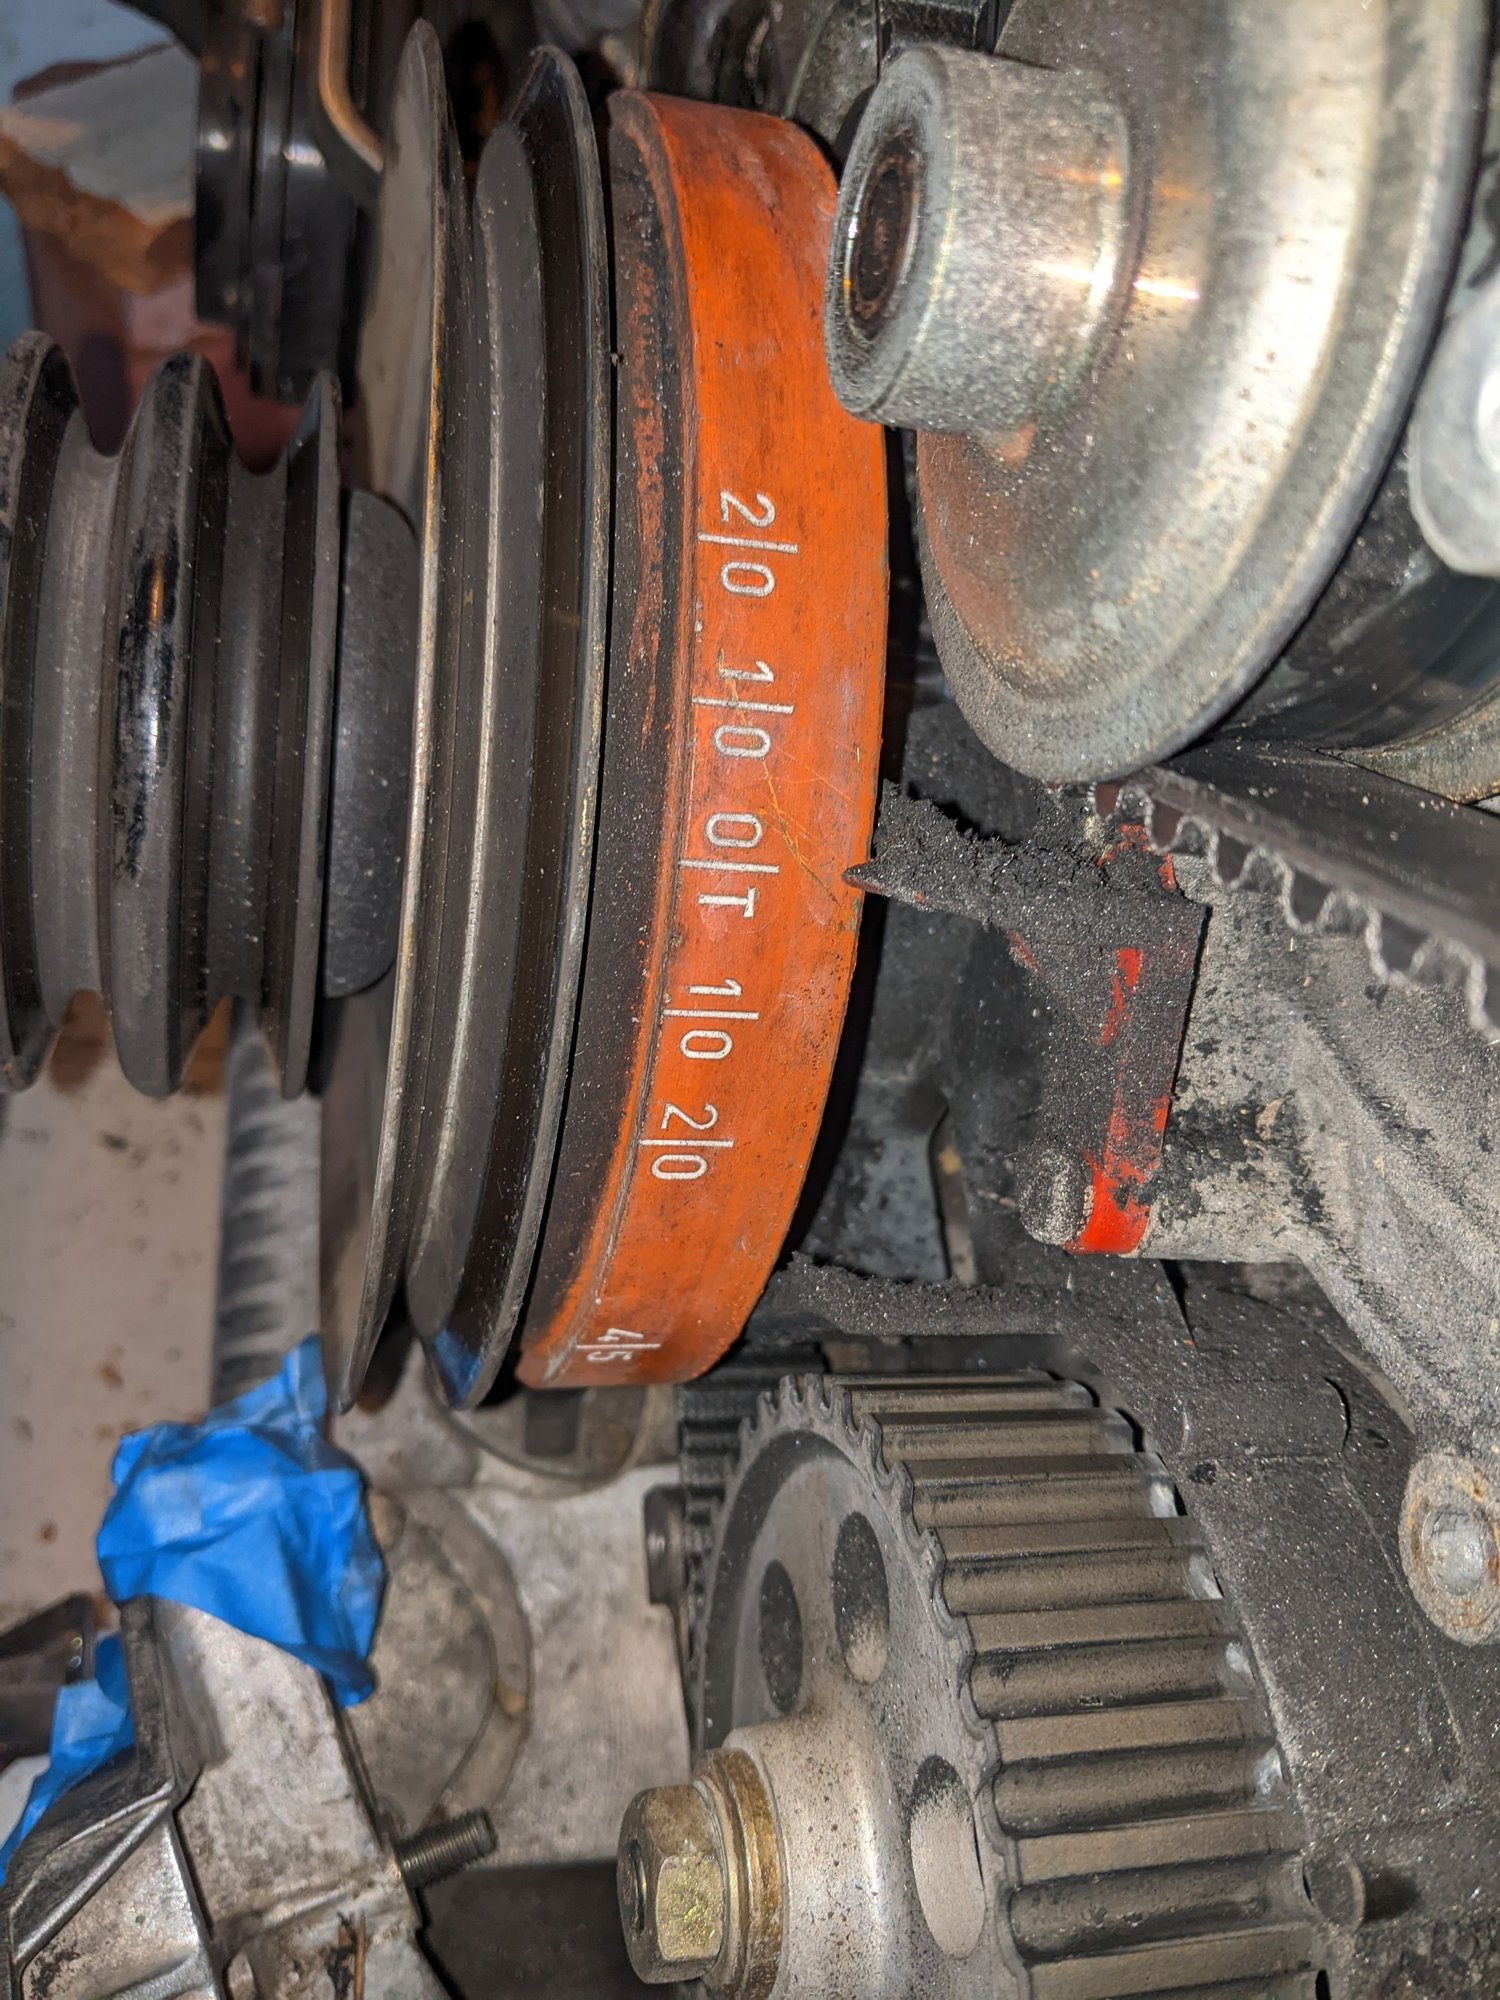
Removing the crank-bolt: I tried with a 24" long 1/2" breaker bar but it would not budge. I then tried an air inpact-gun and it came off easily. I wasn't able to note the orientation of the washer, but I am 99% sure it goes on this way (shown in photo below). The V-belt and A/C pulleys came off easily, but I had to wiggle the damper a lot for it to release. Then the curved crank-gear washer, and that's it for today. I took my time to inspect. I do have a 2008 LASO WP (I'll assume metal impeller), so it is getting replaced. The lower idler pulley (below the crank gear) is stuck completely. The most interesting part though is that the belt is riding really really off of the tensioner pulley. I have the previous pulley (the PO owner gave it to me), and according to the markings on that, the belt is riding at least 3mm off. However, it looks like it is well positioned on the crank gear (at the lip). So, it seems like, for some reason, the idler pulley is just closer to the engine than it should be!? What could cause this? I am sure this is causing the belt to ride on the edge of the cam gear.
Another Q: to remove the bolts from the WP, I am terrified that they are going to sheer off. I am 99% sure the PO just reused the old bolts. Should I just use the air impact gun for those also? My guess is that short small hammering impacts will loosen the bolts but won't result in them shearing. I'd like to minimize the chances of that happening.
-Andras
Correct orientation, right? LASO! Riding very much off of the tensioner pulley!
When I did mine, I ignored the advice to use an impact wrench on the water pump bolts, and of course I sheared one off. I used the impact on the rest of them!
When I did mine, I ignored the advice to use an impact wrench on the water pump bolts, and of course I sheared one off. I used the impact on the rest of them!
One of my biggest fears. How did you get it out? Hope I never need your experience on the matter.
I’ll tell you what doesn’t work…EZ Outs. I was progressing through sizes of left hand drill bits and thought I’d hollowed out enough of the stuck bolt that the EZ would do it the rest of the way…
I tried the whole left-handed drill bit thing, etc. Nothing got it out. I ended up drilling it out and using a Timesert. I was very impressed with the Timesert kit and in a way, glad to get the experience of using it. But I'm good now if I don't ever NEED that knowledge again
When I put in the new one, I used new bolts and put a light coating of thread sealant with PTFE on the threads. I don't expect to have that problem again this time, but we'll see, as I'm going to be doing the timing belt job again soon (hoping to avoid doing the water pump entirely if the bearing has no play, etc, but again...we will see when we get in there).
Well, it shall be impact then, when I get to it. Starting at low torque. The way I think about it is if it were like a non-Newtonian fluid. If you impact it, it stays hard and it travels through the bolt, while if you twist it, it can sheer. I am sure this is an incorrect way to think of it; would be fun to get a metallurgist's opinion.
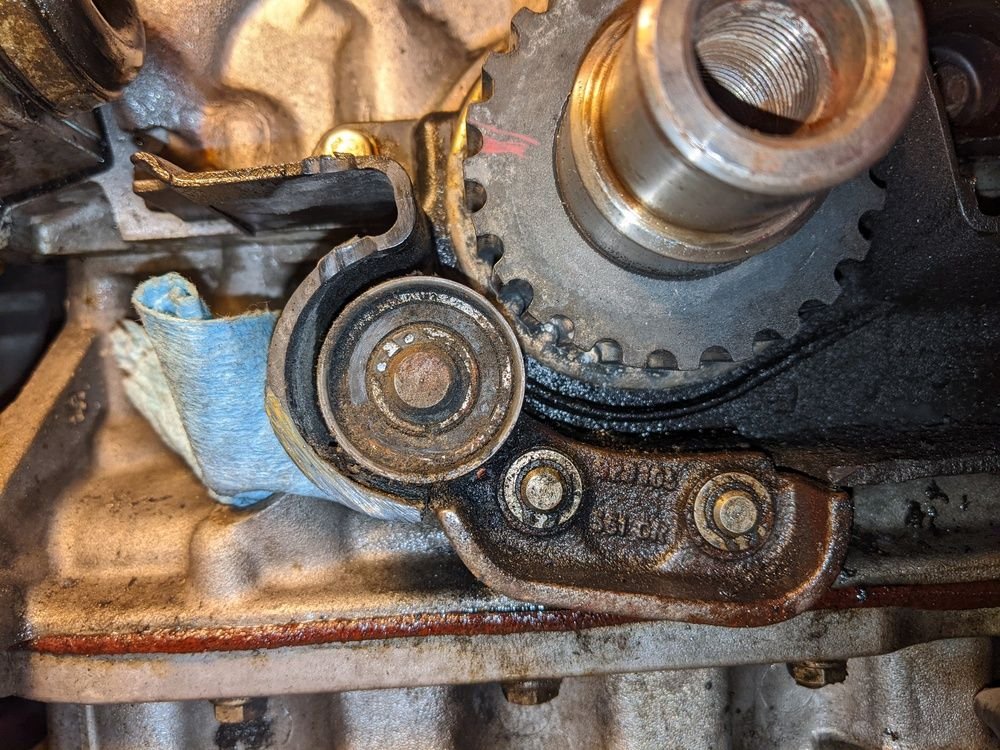
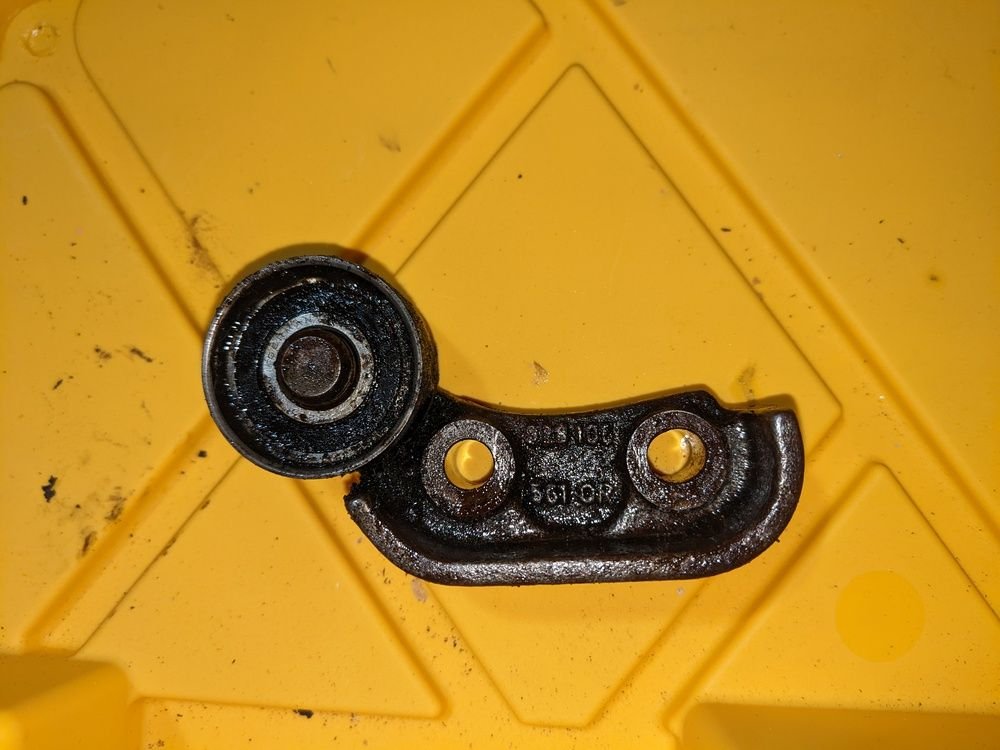
Alright, just a bit more work today. I released the tension on the TB and then removed the tensioner roller/roller arm and then the belt.
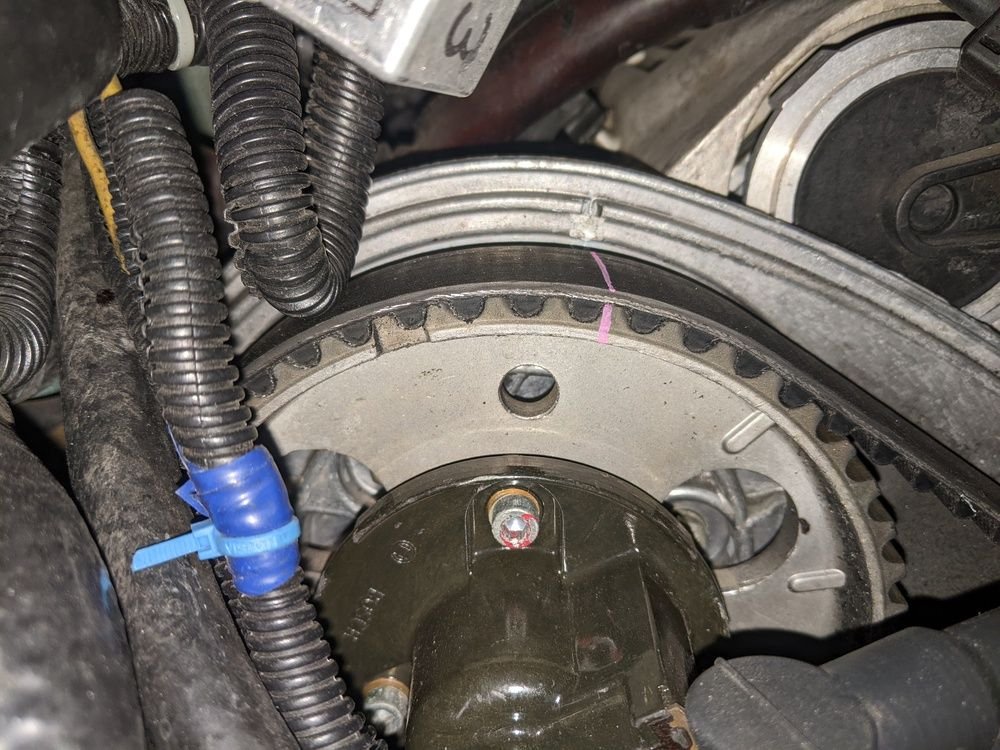
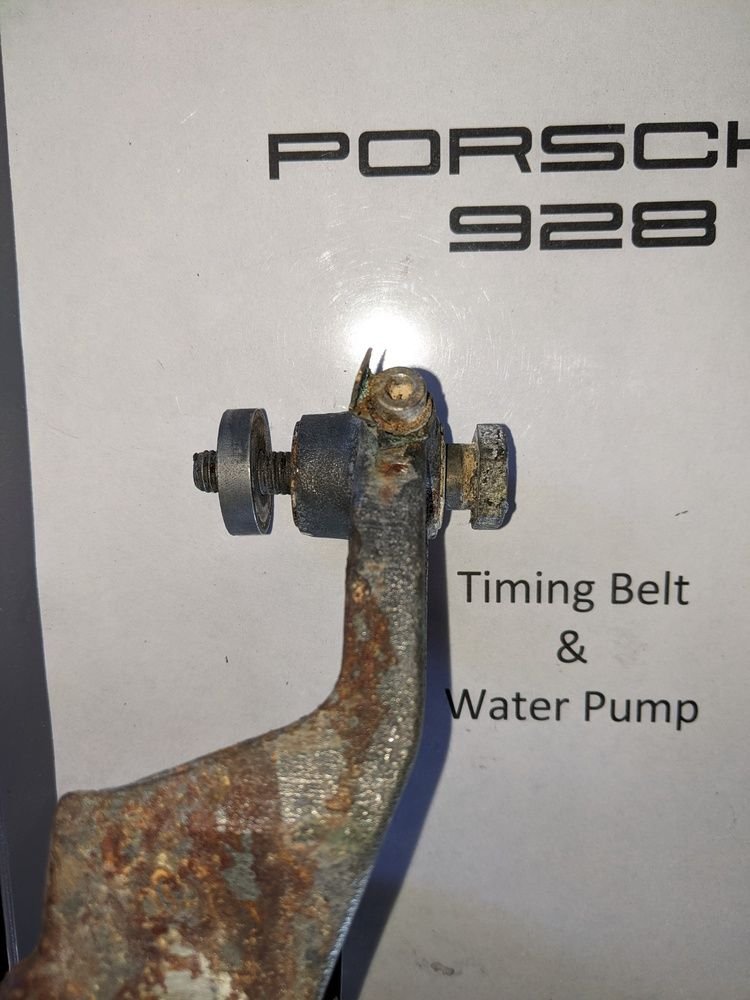
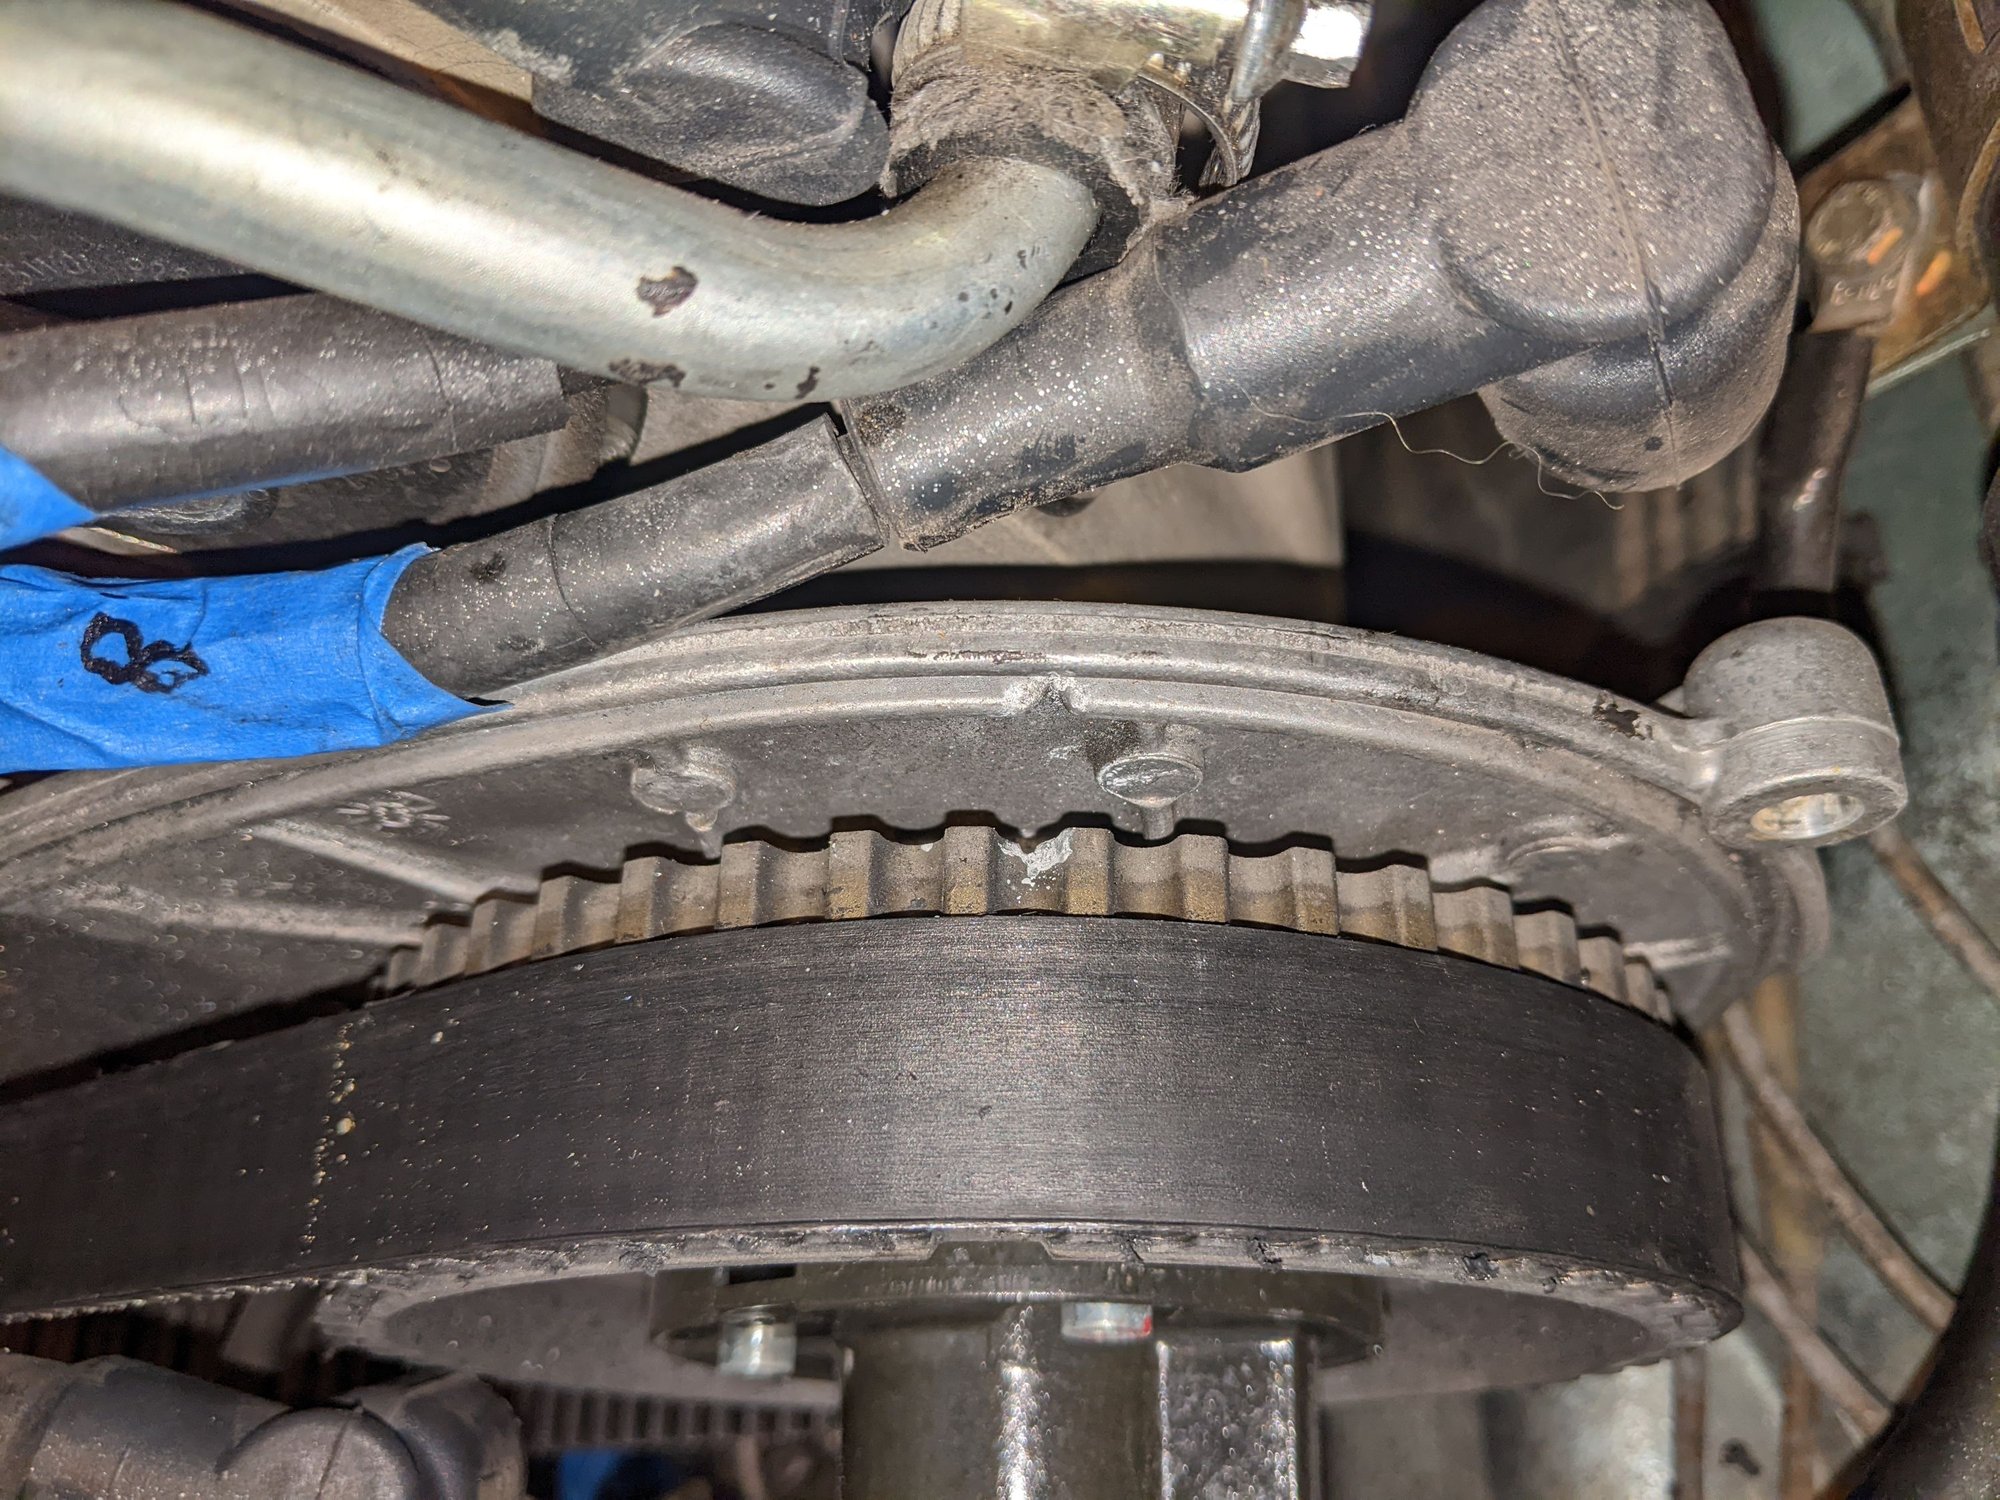
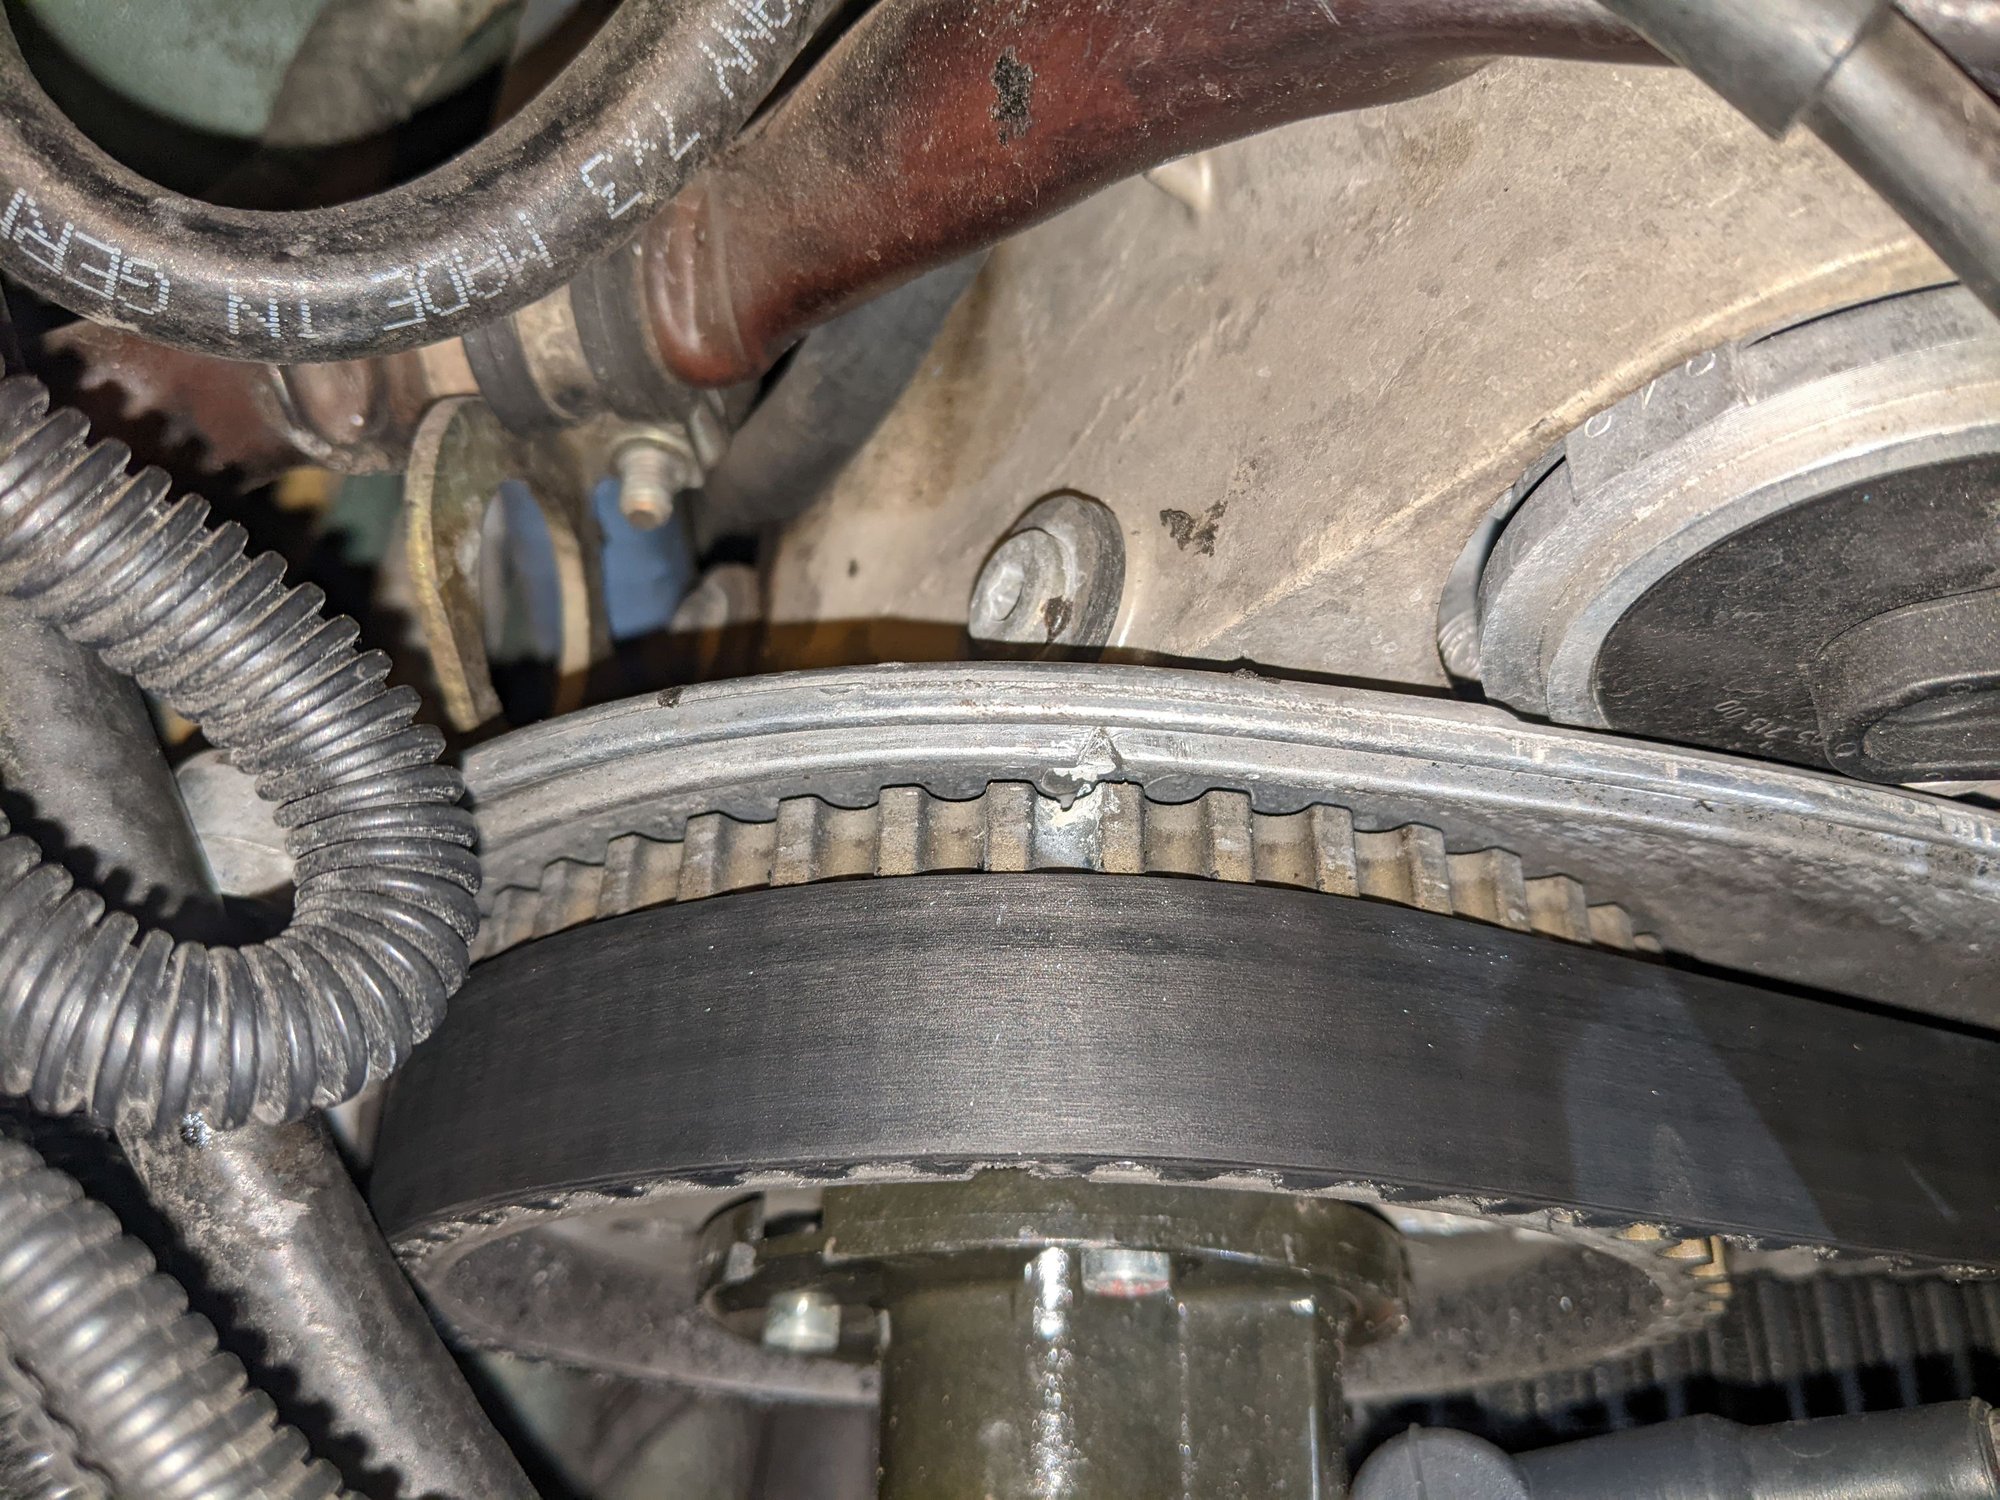
I still don't understand what caused the belt to wander down to the edge of the cam gears. I have the old tensioner roller from the PO, which based on the markings had the belt riding more closer to the engine at the correct spot. Comparing the two rollers, they seem pretty much identical. The "new" roller had the circlip in it, so its possible absence is not the reason why the tensioner was riding further in. I checked the tensioner arm bolt and it does not seem bent (see photo below), although could be. So, I am really dumbfounded at this point what caused the belt to ride at the edge. I would like to solve this issue before putting the system back, otherwise I will be back here. Any thoughts here are welcome! Further stuff further down!
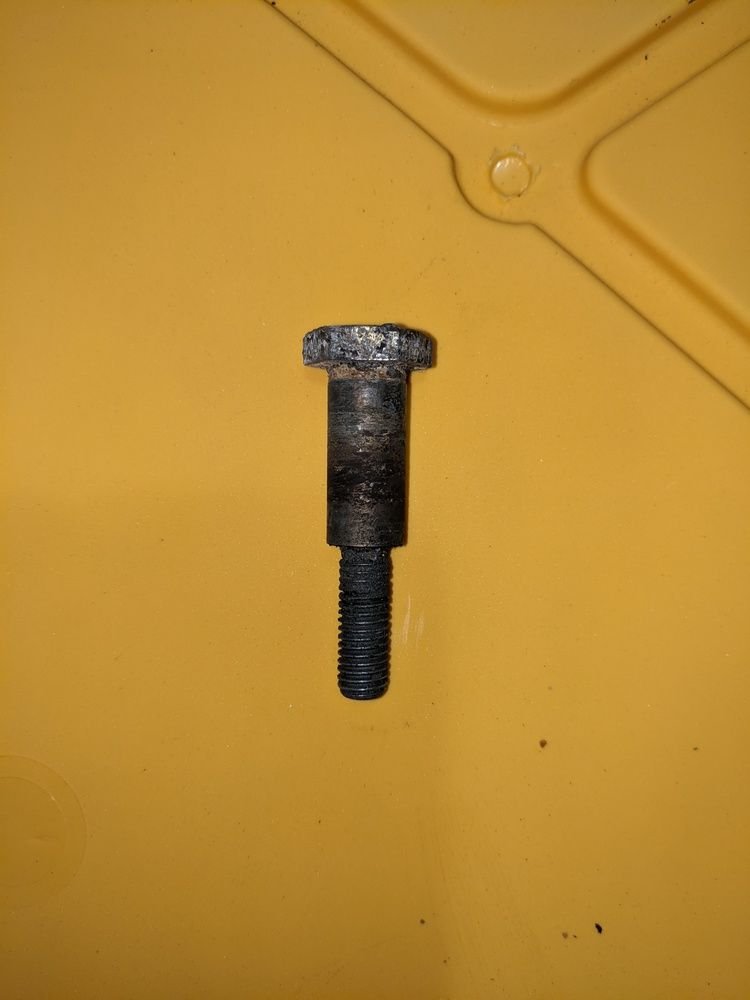
Tensioner bolt, as far as I can tell, looks straight (at all orientations).
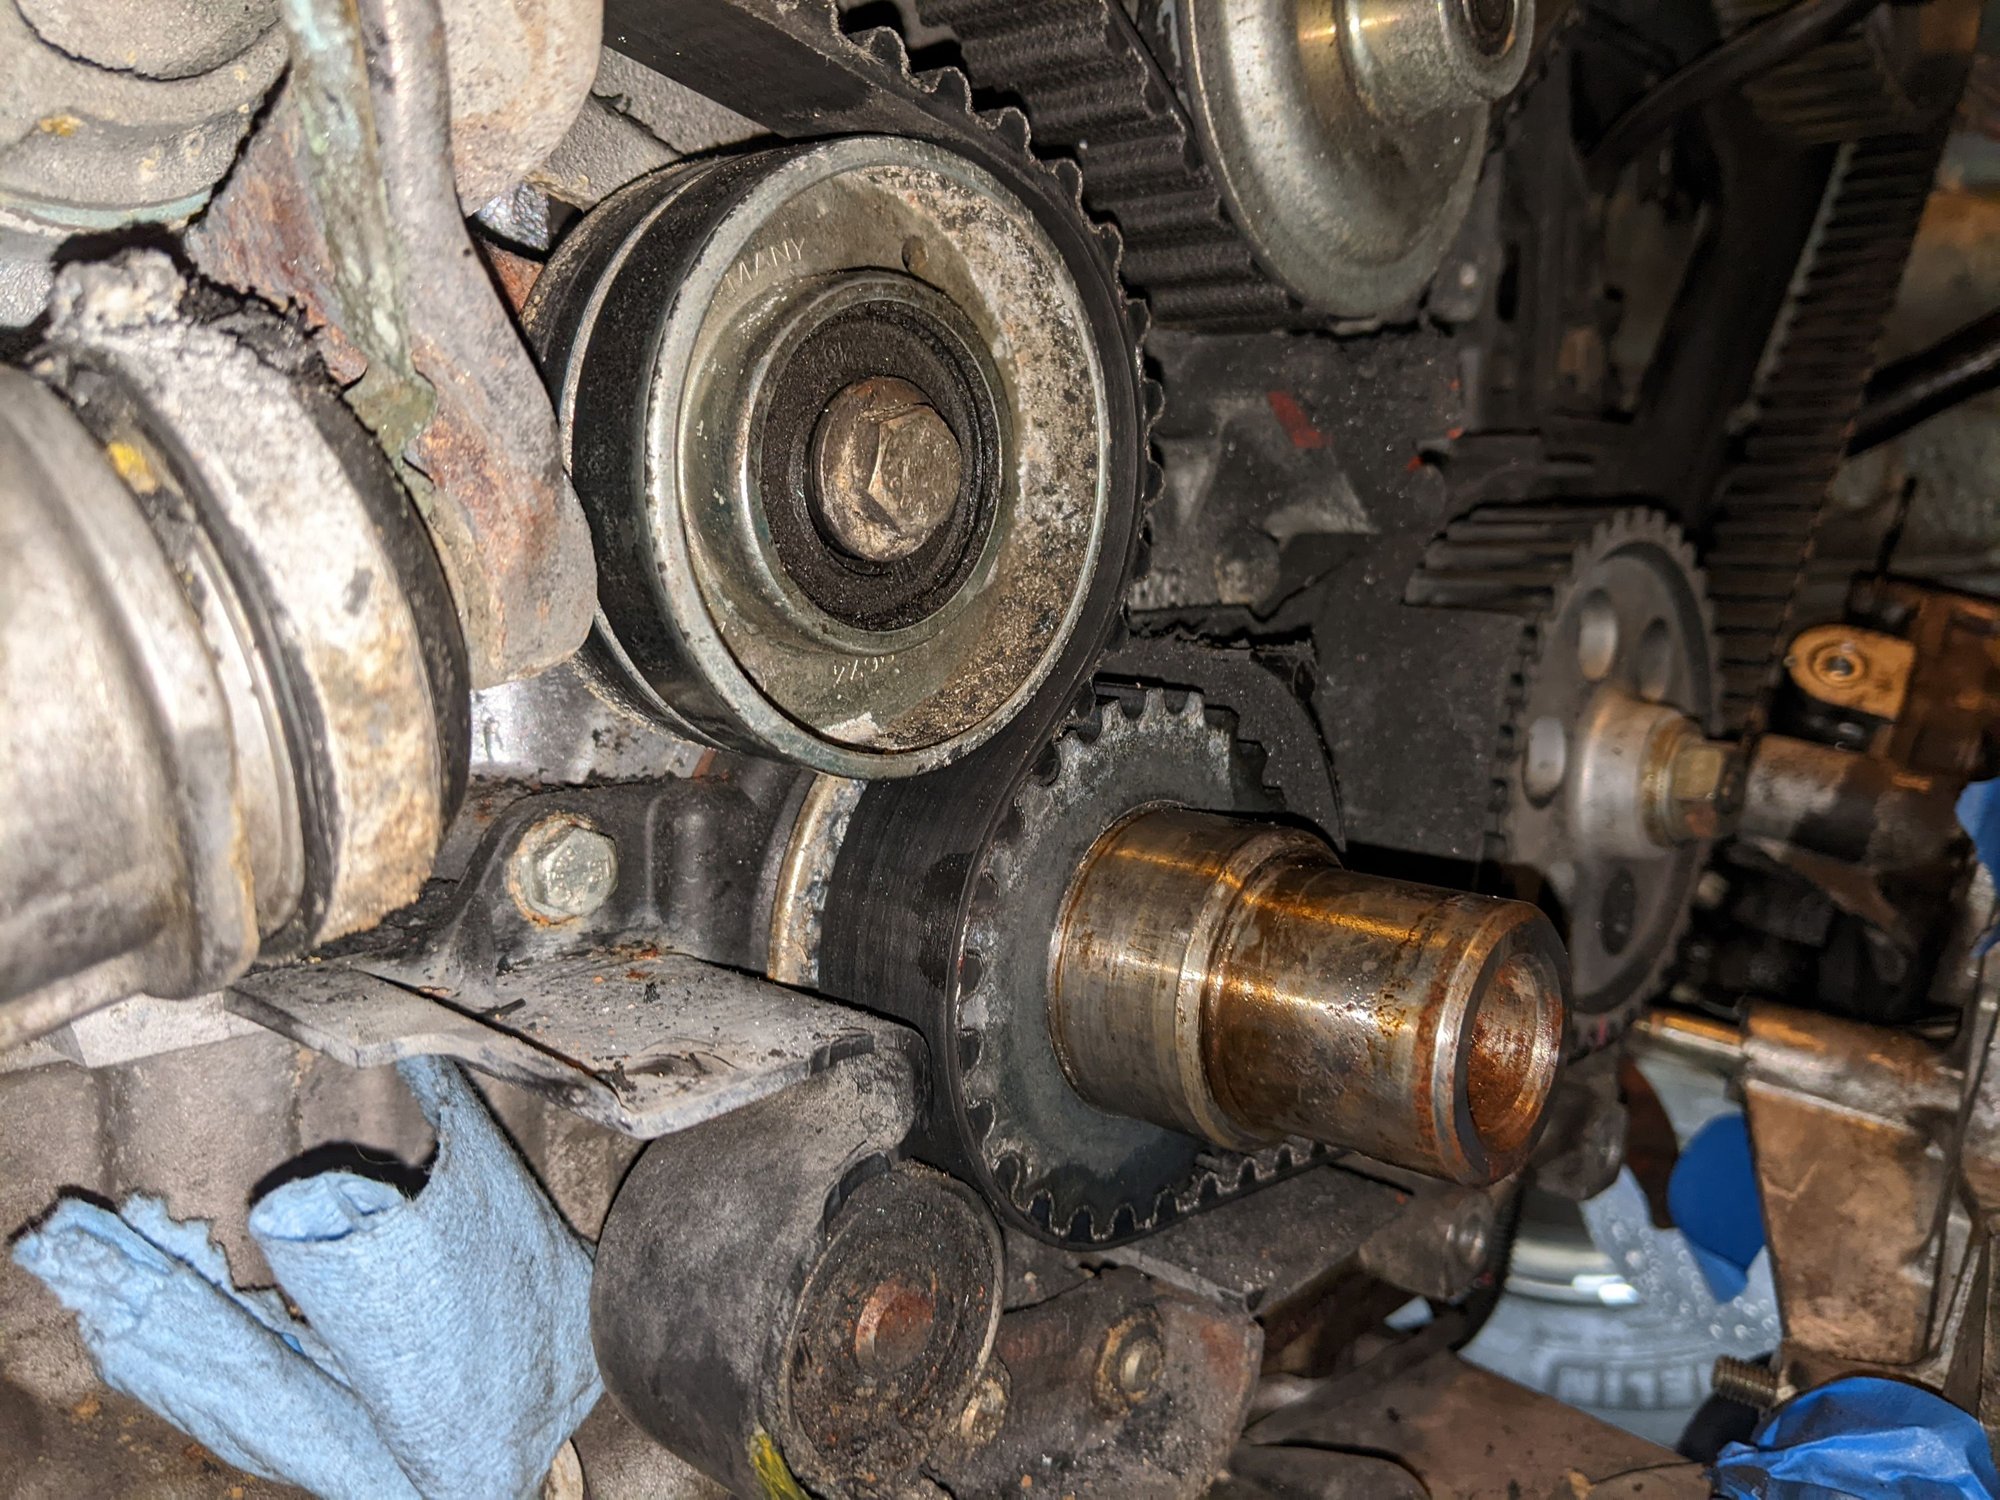
The upper idler roller's bearing's outer cover came apart, as I noted before. Luckily, it seems like non of the bearing ***** escaped. Seriously, lot's of "I got lucky" moments here.
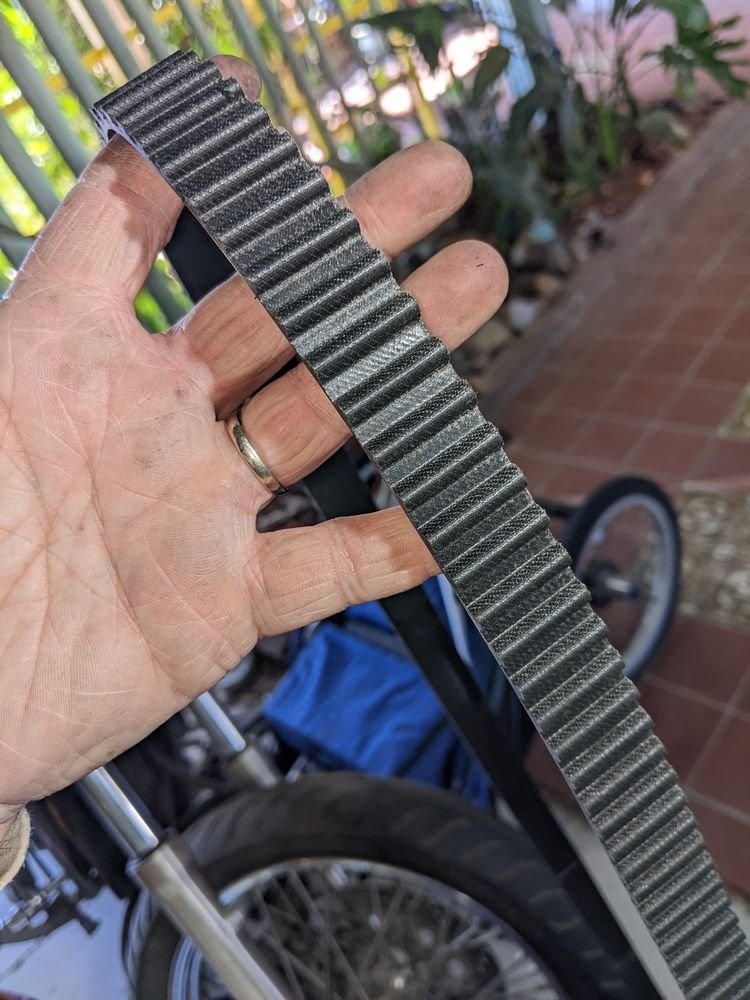
The old belt looks good. I wasn't expecting much different, as it only has 3k mi on it.
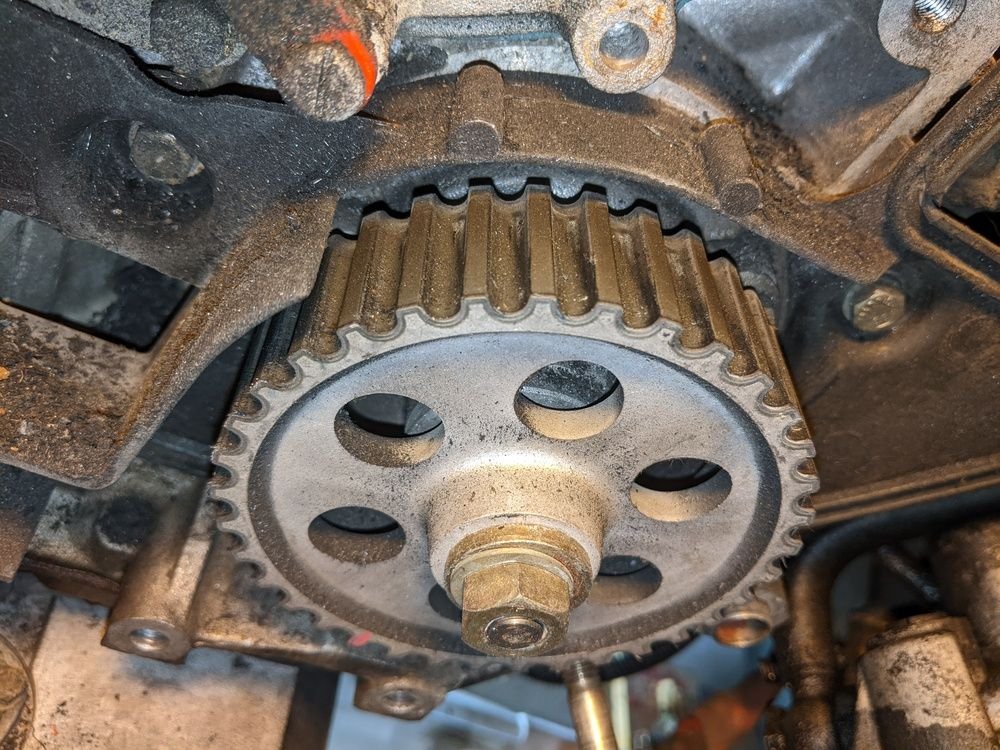
The cam gears, in my opinion, look good. Surface coating still on, so I am leaving them. Car only has 37k mi on it, so I wasn't expecting a lot of wear.
Oil gear also looks good, with coating intact.
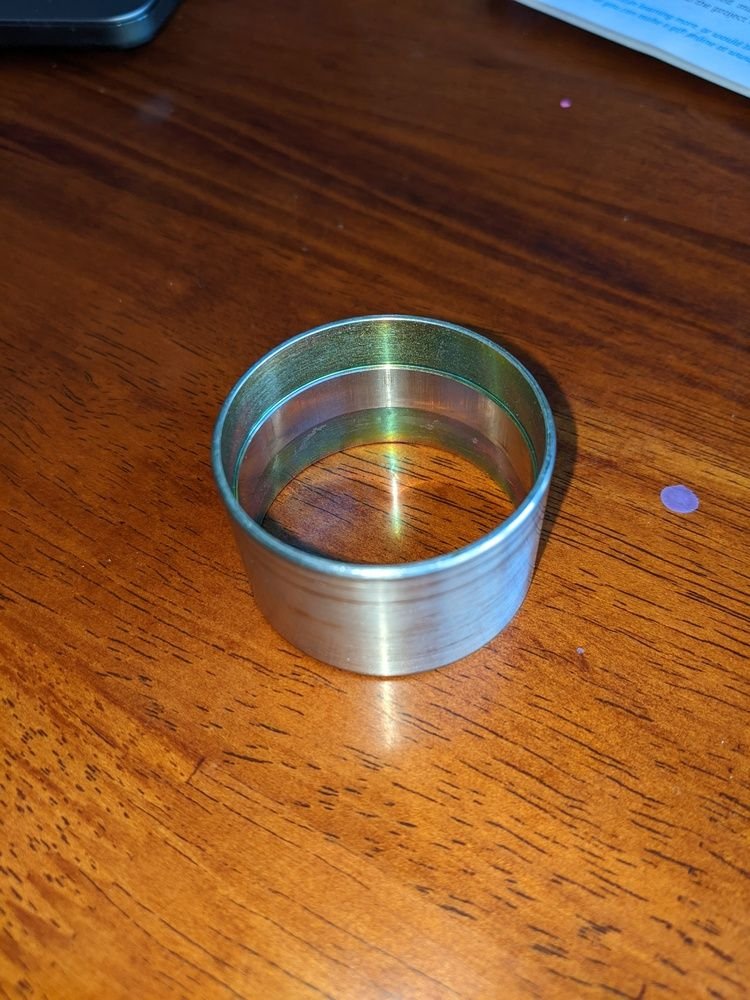
The PO also gave me the previous (original) upper idler roller/bearing he removed. I decided to clean this off and maybe use this, with a new bearing when re-assembling.
Cleaned below.
As a personal thing I do, when replacing timing belts (on other cars): I mark the position on the gear and belt at the crank-gear and cam gears, with different colors. Then,
I transfer these color markings to the new belt (making sure they are at the same teeth offset). Using these markings it is really easy to make sure the belt goes on right.
Here, red on the crank-gear.
Ok, I may be answering my own question. I talked with GB a few days ago and he mentioned to me that worn bushings could cause this issue. I didn't understand at the time what bushings he is talking about, but I think he was talking about 2 bushings that go into the tensioner arm on either side of the bolt hole. Mine look quite small at the edges. I'll assume that these getting worn from all the tensioning travel will result in the arm to travel inwards (be loose). The bolt was actually ridiculously easy to remove (as it wasn't even tightened at all). Surprised there wasn't any coolant leak.
Well, since I am keeping this as a journal of some sort, I'll write about the small stuff too.
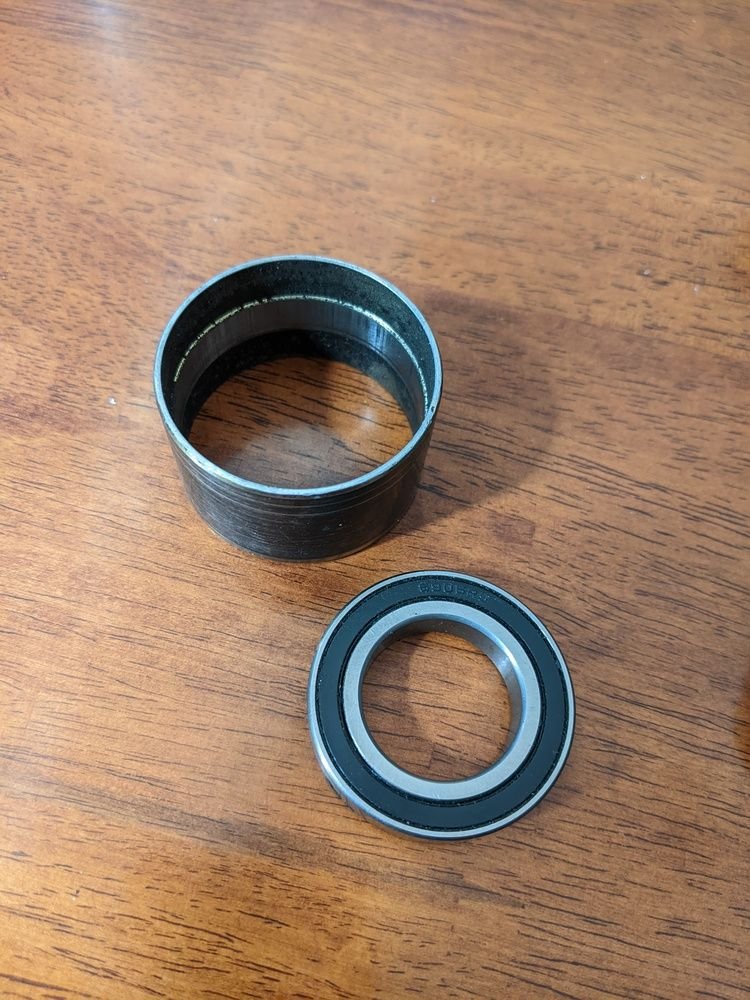
Yesterday I removed the upper idler roller from the water pump. It was stuck on a bit, but a little push from the back with a crowbar (nail removing head of a hammer) pushed it off relatively easily. I realized that the roller I showed in the previous post was for 87+ MY and not for my 86.5. The PO had an S4 also, so I guess it was a leftover part from that. The 86.5 roller has these stakes in it, which will need to be pushed out and then re-staked once a new bearing is installed. Also, the bearing sits at the edge of the roller for the 86.5, while it sits in the middle for the S4. So, different design.
Today I removed the lower idler roller assembly. The roller itself did not roll at all, so I definitely need to replace it. My guess is that all the rubber pieces flying around from those stuffed under the cover completely jammed it up. This also resulted in the assembly itself to be jammed on extremely tight. Remove circlips and then the two washers first! It took me a good hour to take it off, in the using a slide hammer to slowly hammer it off. This part needs a complete rebuild.


 02-13-2022, 06:53 PM


 One of my biggest fears. How did you get it out? Hope I never need your experience on the matter.