When you click on links to various merchants on this site and make a purchase, this can result in this site earning a commission. Affiliate programs and affiliations include, but are not limited to, the eBay Partner Network.
I think the diagnostic went with the GTS. So, that is a 93+ upper bell housing. You need the clutch fork pivot ball (where the cheese head bolt is) and the cup.
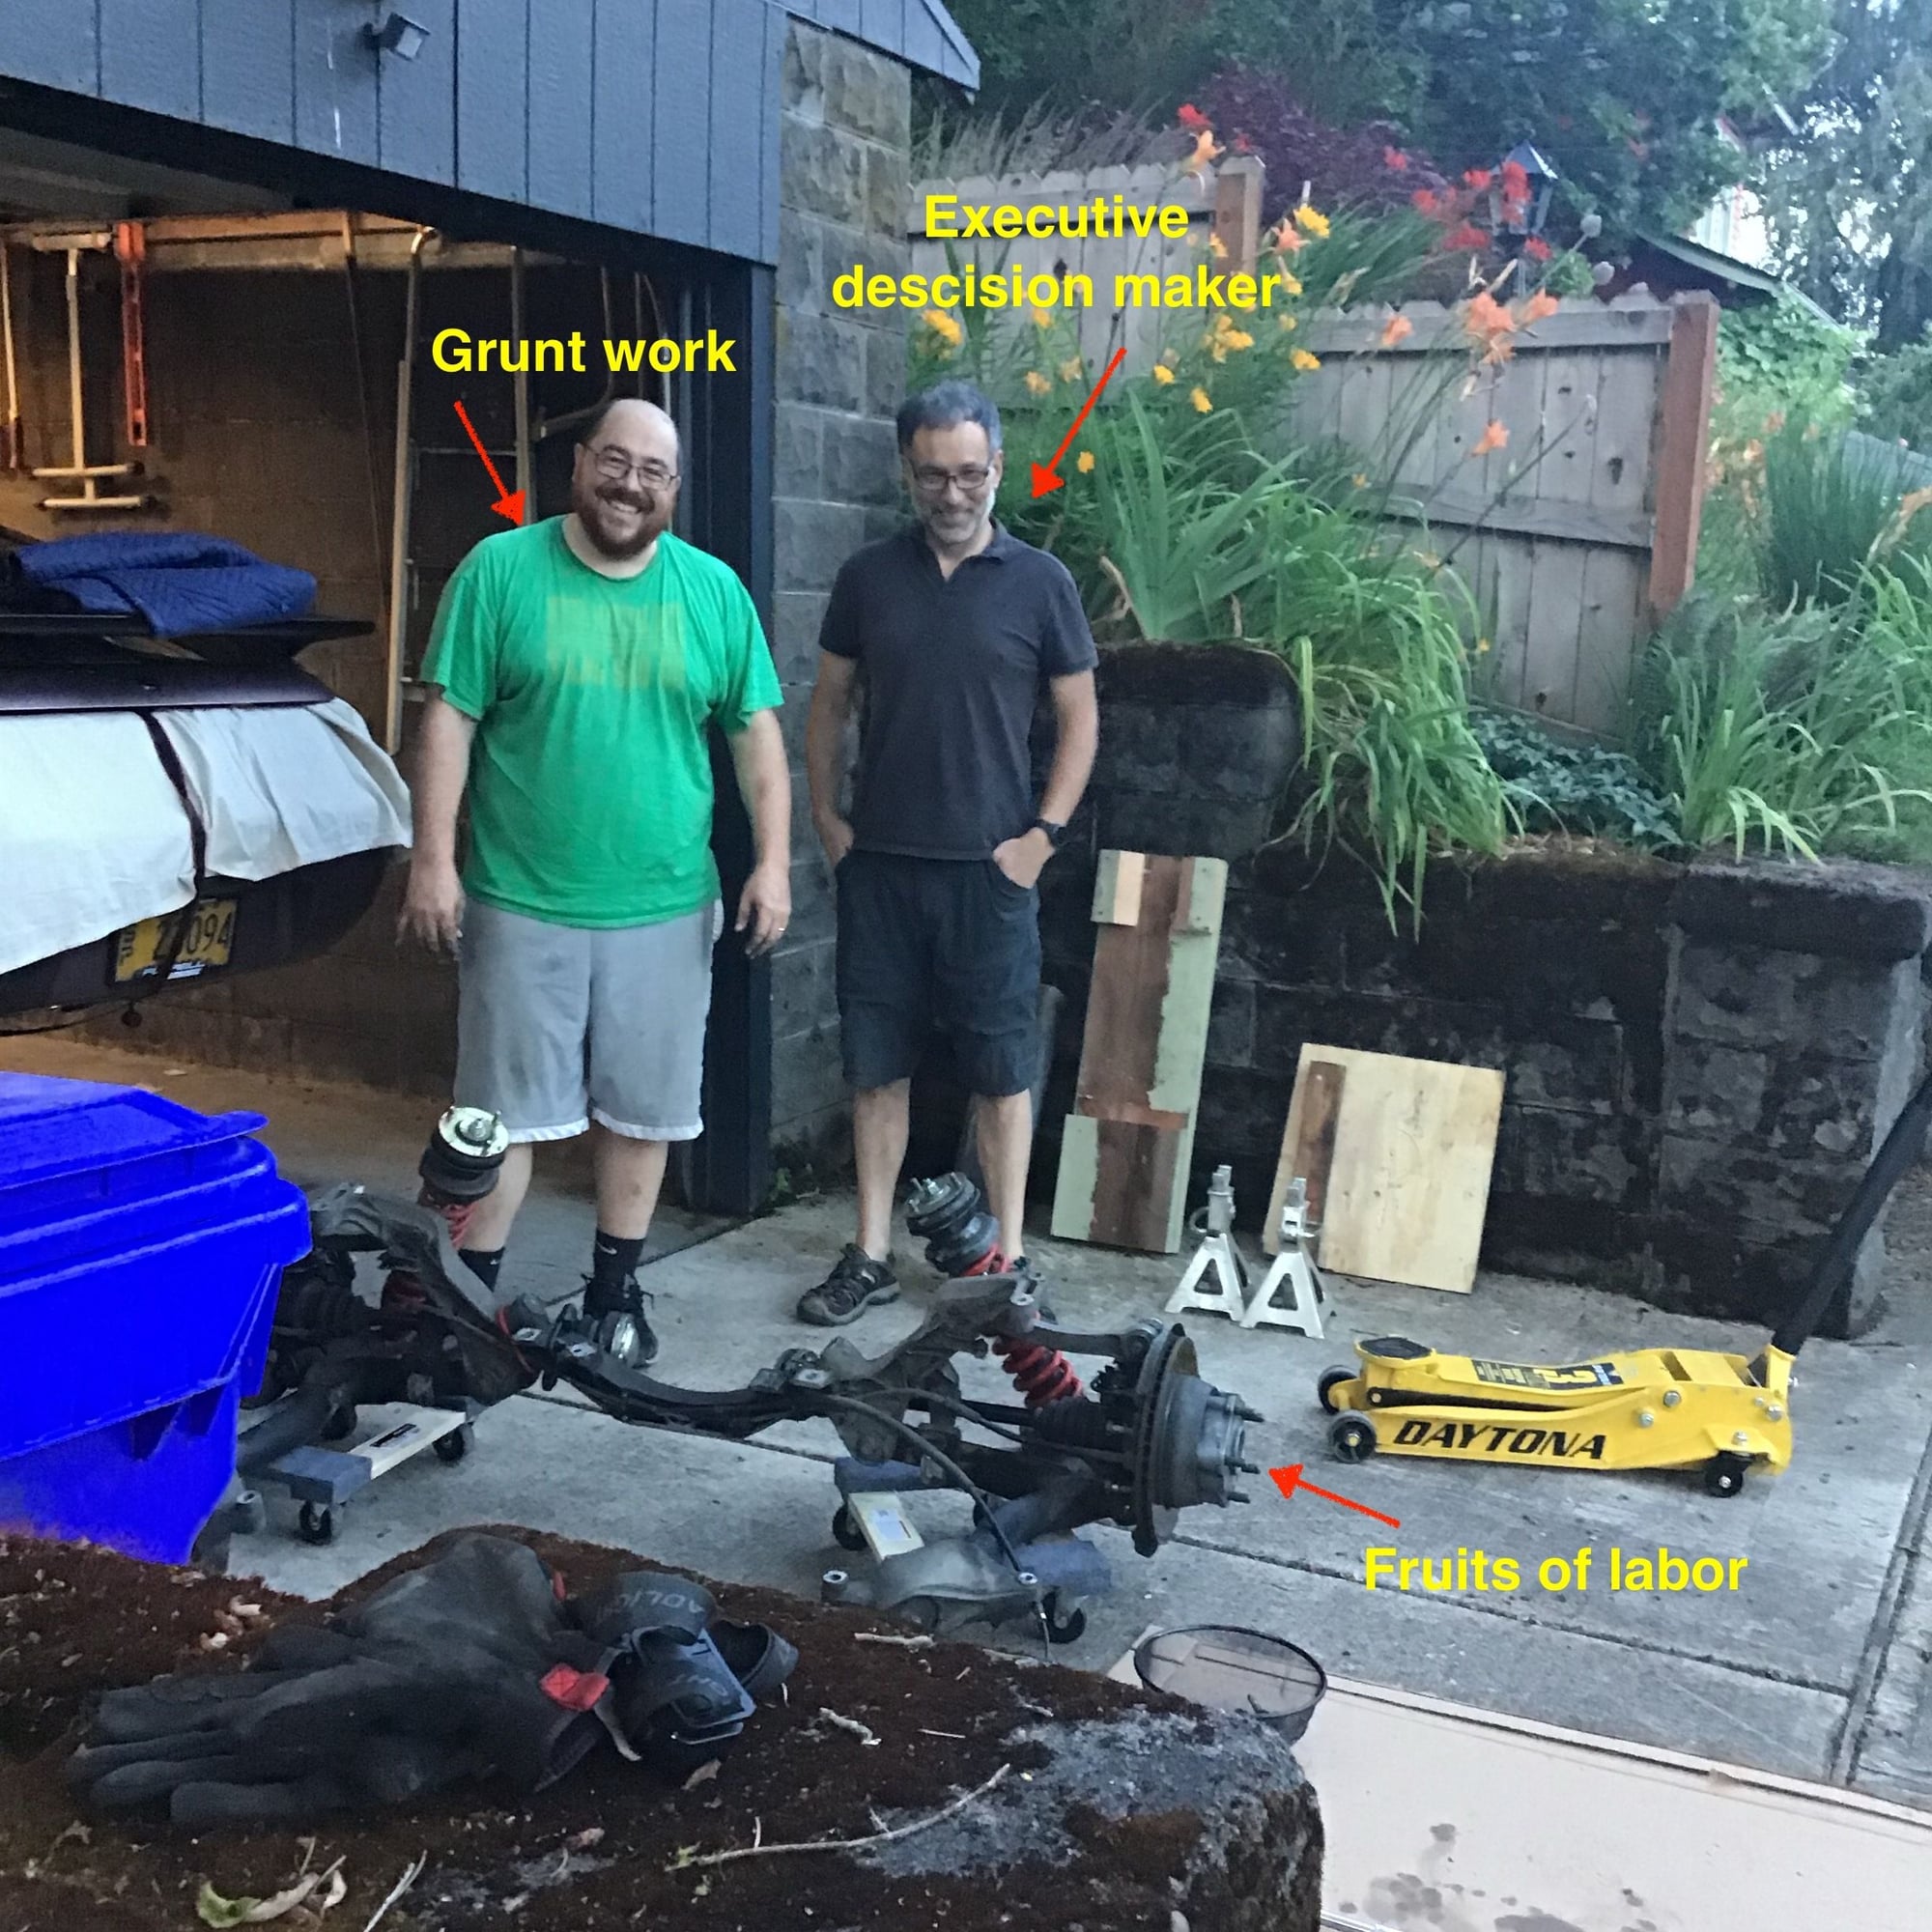
@PorKen and @Zirconocene stopped by last night to give me a hand at removing the rear cross member. The nice thing about having an extra pair of hands is that work goes fast. The downside is you dont get as many pictures and I get a very messy garage. No suprises getting this out. We stopped short of removing the trans because it was getting late and there were some questions about supporting the engine with the TT removed. Question about TT / Trans removal.It is required that I support the engine from above? We were concern that the engine would tilt rearward without the TT attached.
Last edited by Michael Benno; 07-07-2022 at 03:12 PM.
It's been a while since I've been in there, but recall that the engine will tilt forward (not back)...but again, been a long time. Just prop up under the crank or oil pan with a 2 x 4 should keep it in place.
It is nice having helping hands. Just did my rear bearings and the up and down to pull the e brake, torque CV bolts, and repeat...hell of a work out without a lift .
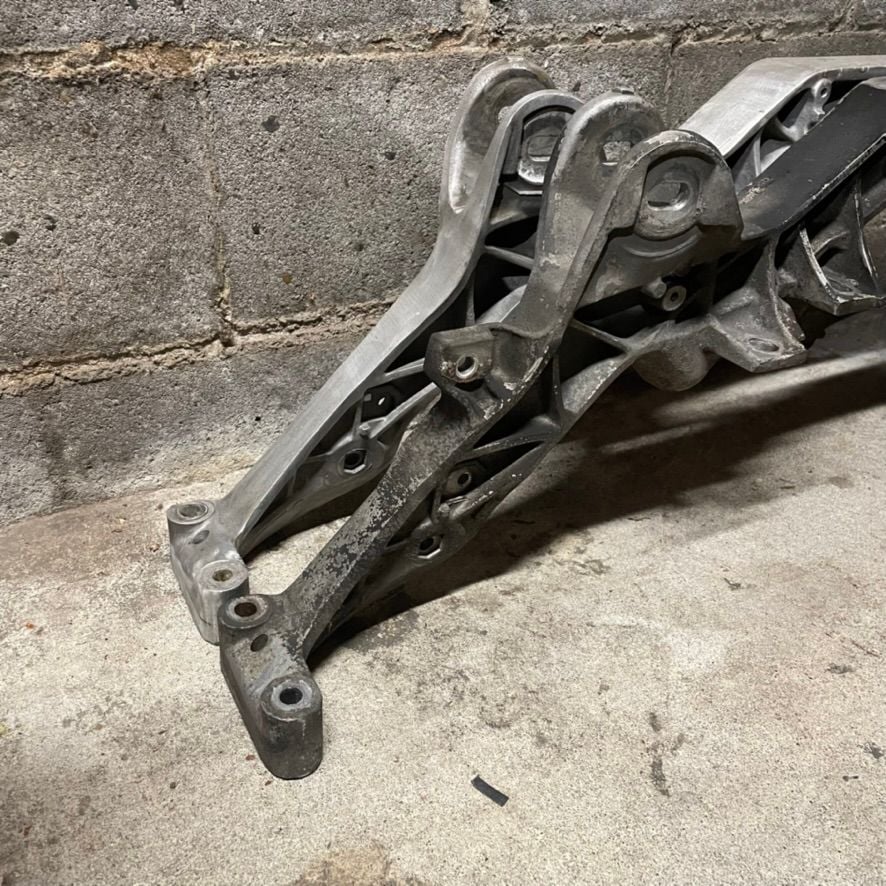
Bugger! I ran into a roadblock when swapping the crossmembers over. Apparently I have the incorrect cross member from a single exhaust car. Since the cross member and transmission came as a package, I didn't think to check if they were miss matched. You can see the mounting tabs for exhaust brackets on my auto cross member and the fact that they are missing from the manual cross member (shiny one).
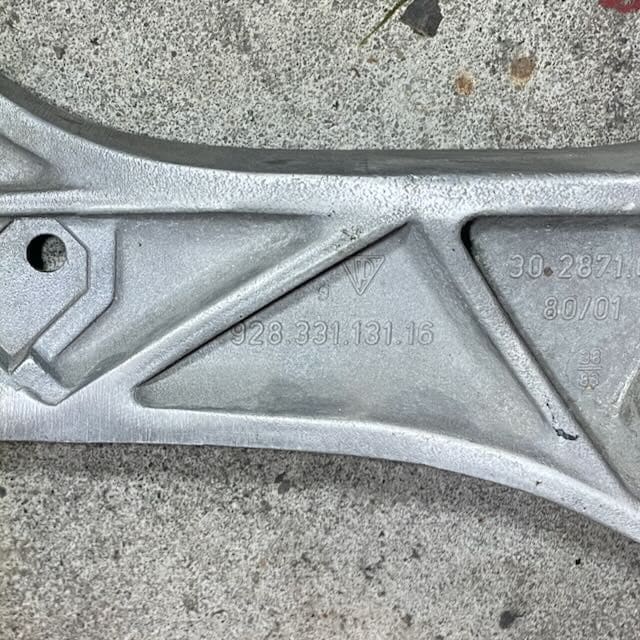
I might have found one from Jerry Feather since he helped me with the bell housing. But he needs help clarifying some part numbers in this thread before he can determine if he has a spare. https://rennlist.com/forums/928-foru...l#post18238558
Michael, I think you are going to end up with what you need one way or either of a couple others. However, I think that it it were me I would just take the -16 X-member and locate where the exhaust tabs need to be and then mill a shallow slot in the two places about 3/8 inch deep, or even less, then fashion two tabs with the correct holes in them and have them welded into the -16 X-member you already have. That appears to me to be the ony difference that you need to fix.
Last edited by Jerry Feather; 07-10-2022 at 11:40 AM.
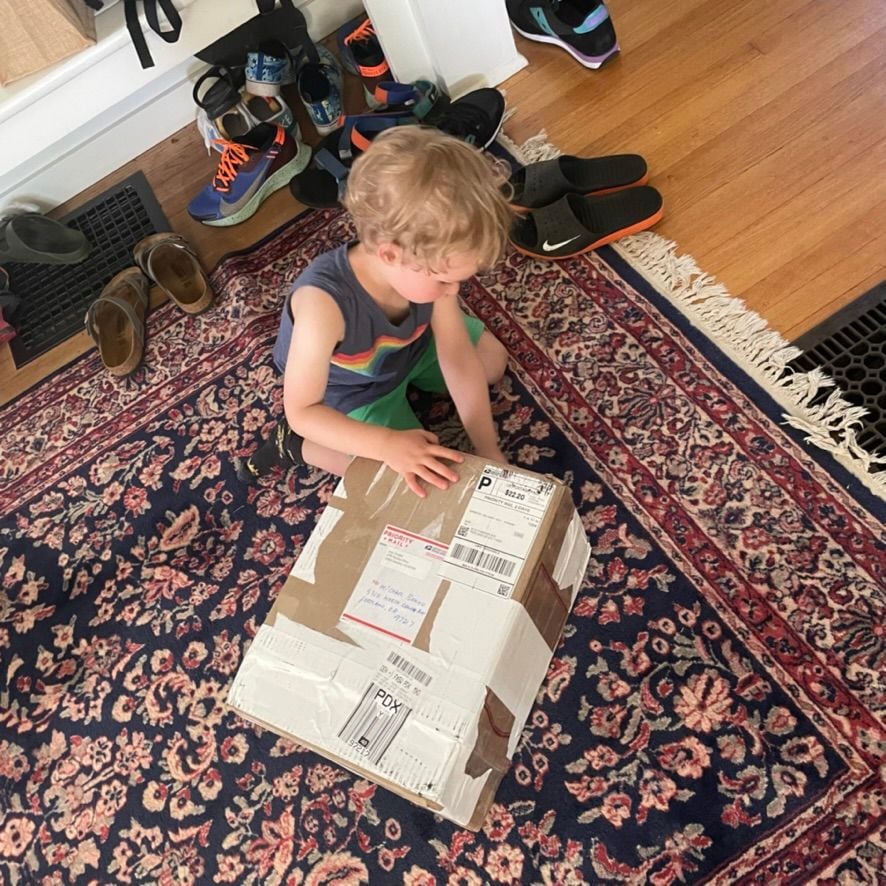
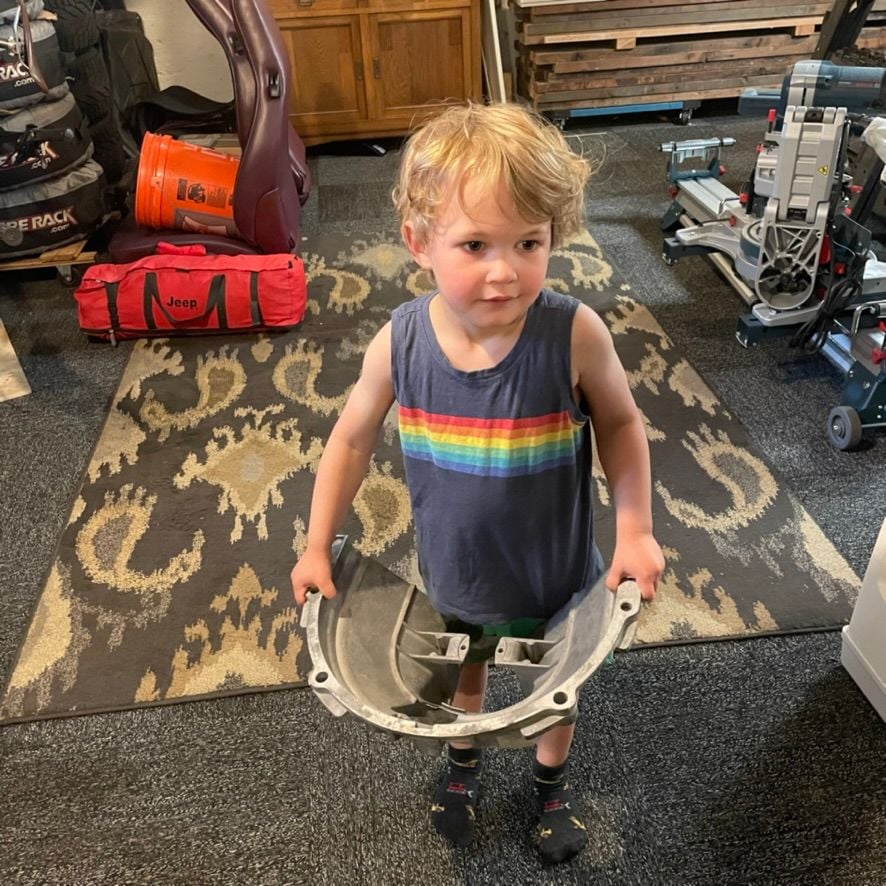
I had to take a little brake from the project over the weekend while my niece and nephew came to stay with us for the weekend. We did some car projects together but they were deemed "too heavy" so we went back to 'more fun activities' @Jerry Feather thanks so much for the upper bell housing. It's the exact correct version that I needed.
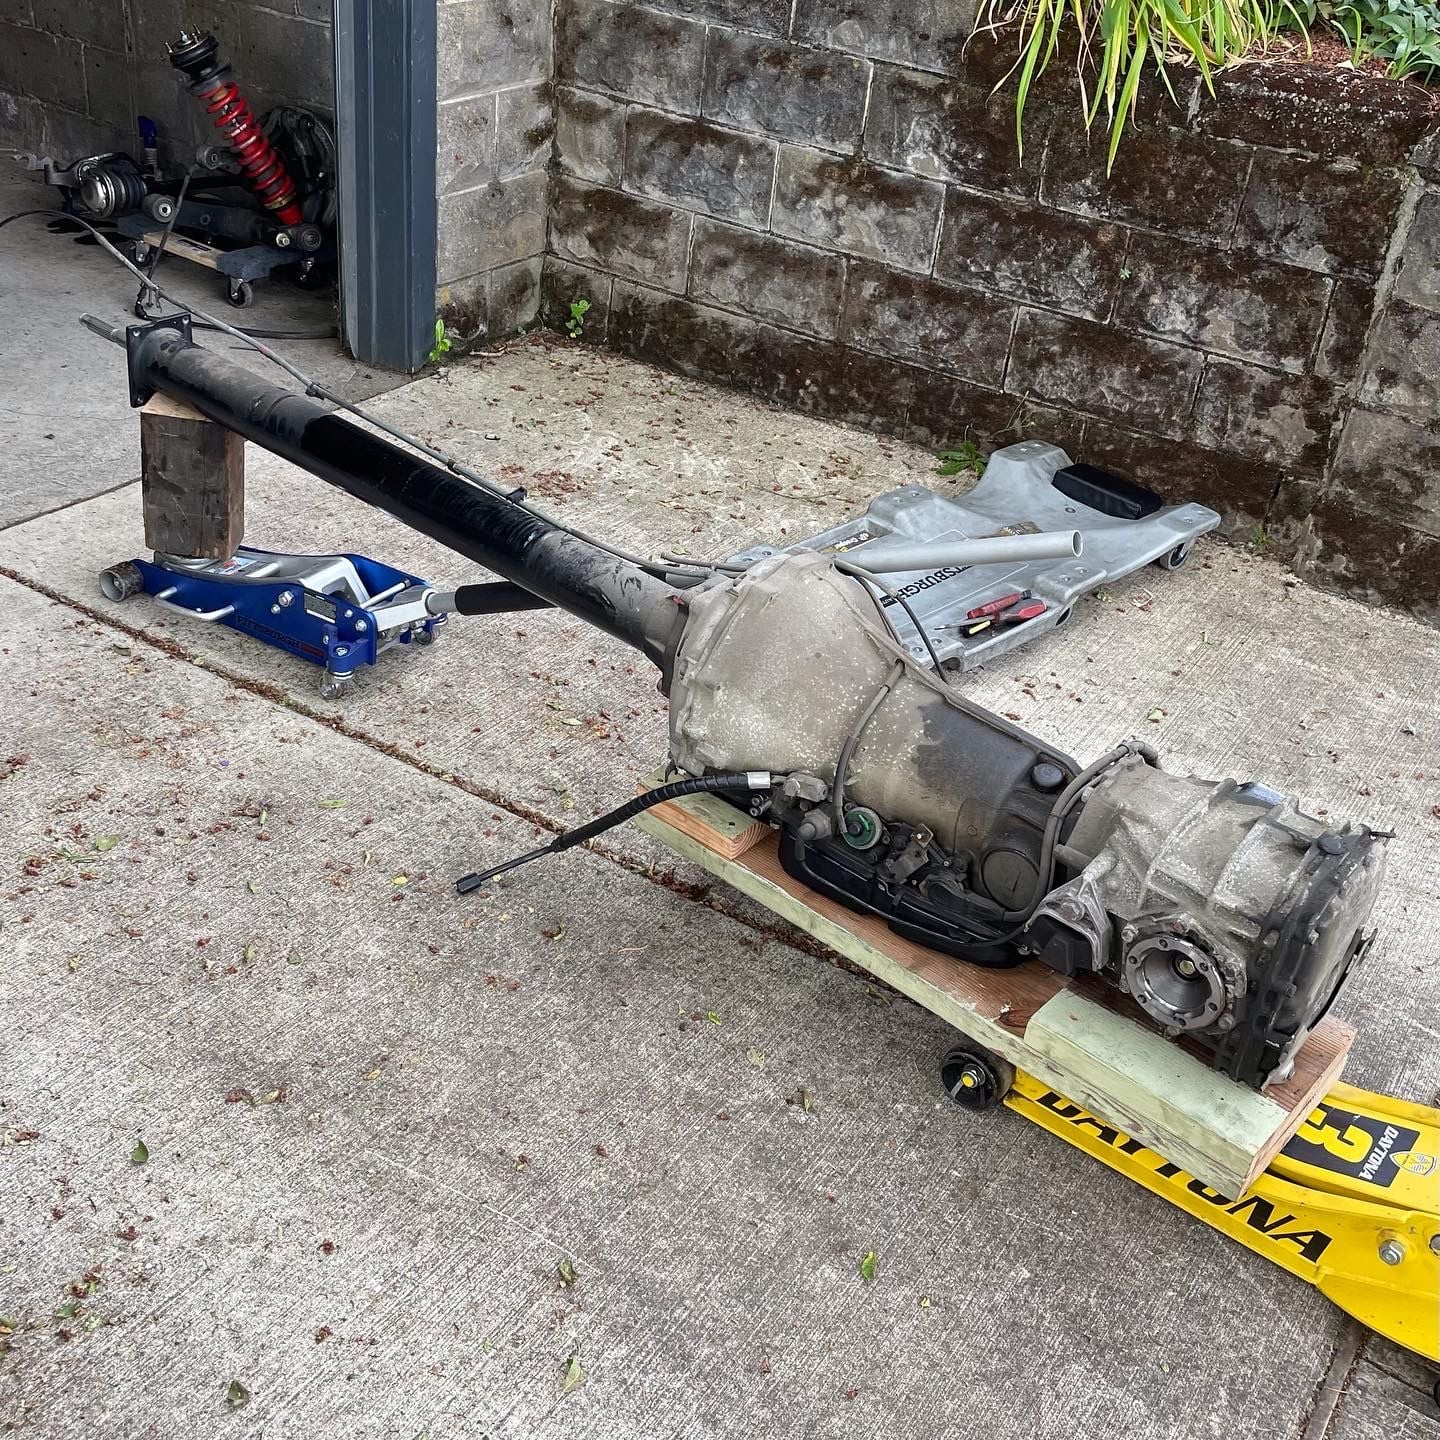
After the kiddo's left yesterday I got a little carried away and lowered the transmission out of the car. I definitively made the job more complicated by doing it myself. But I was able to get it our without breaking anything or dropping anything on me.
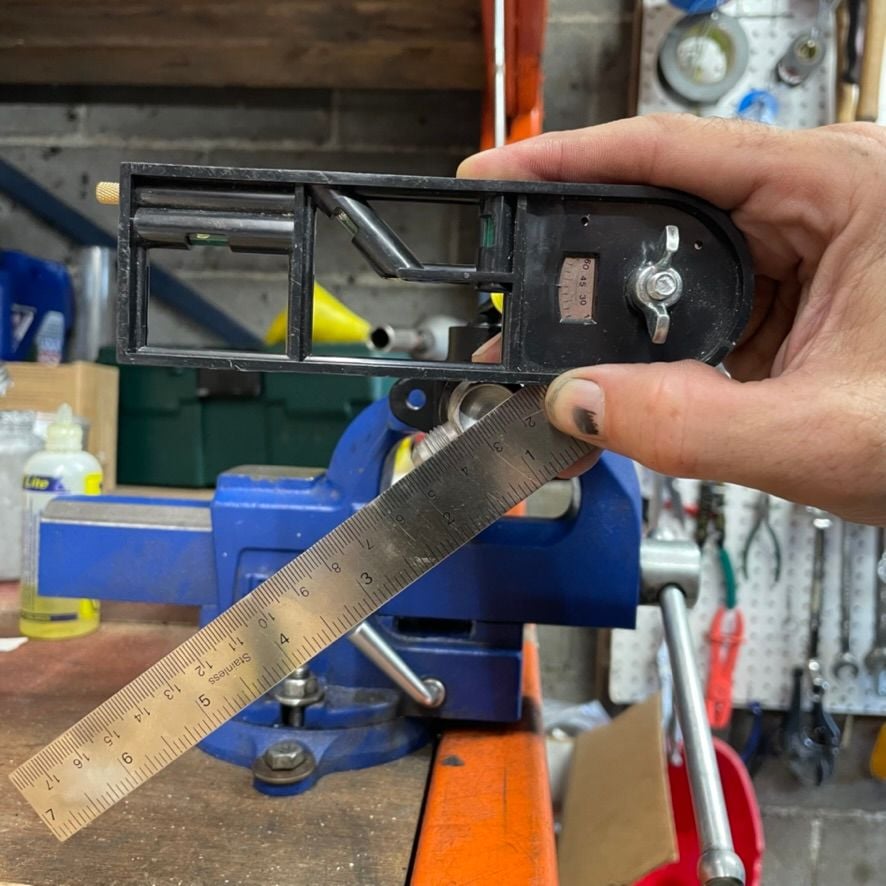
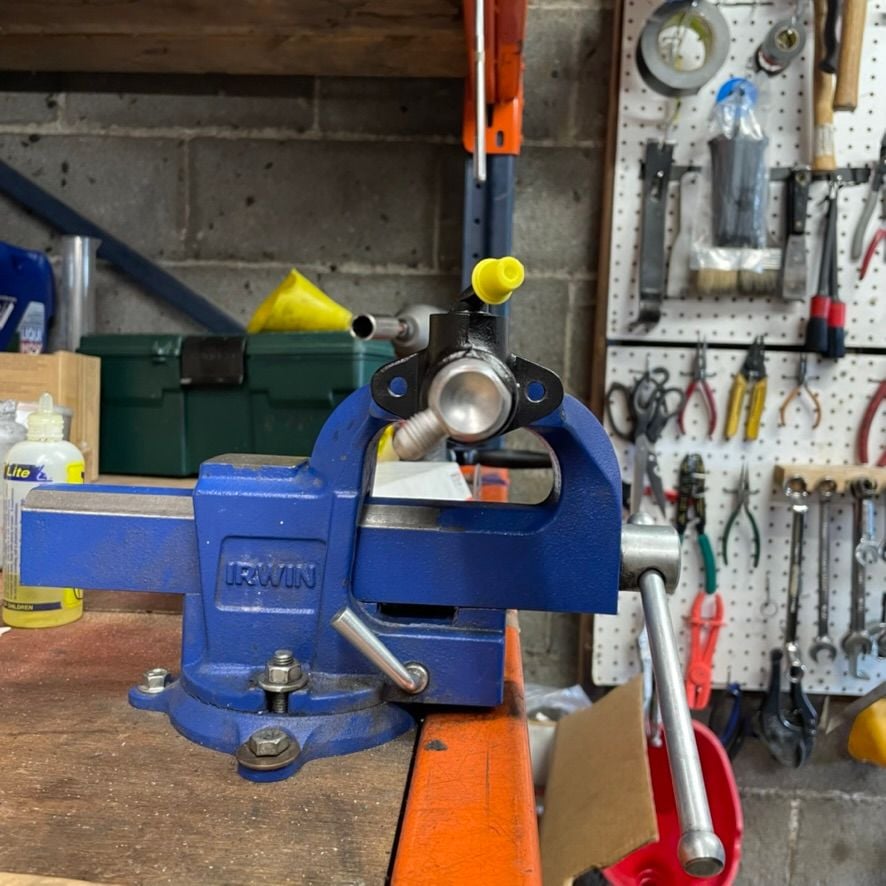
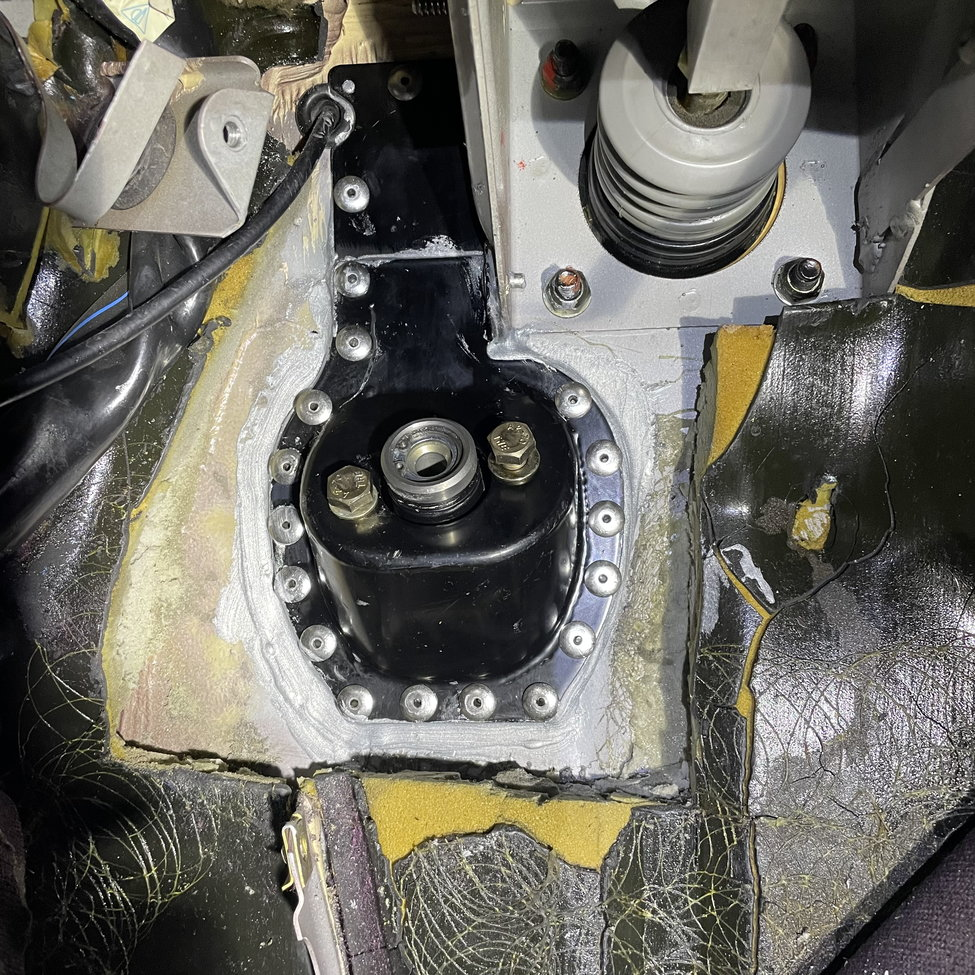
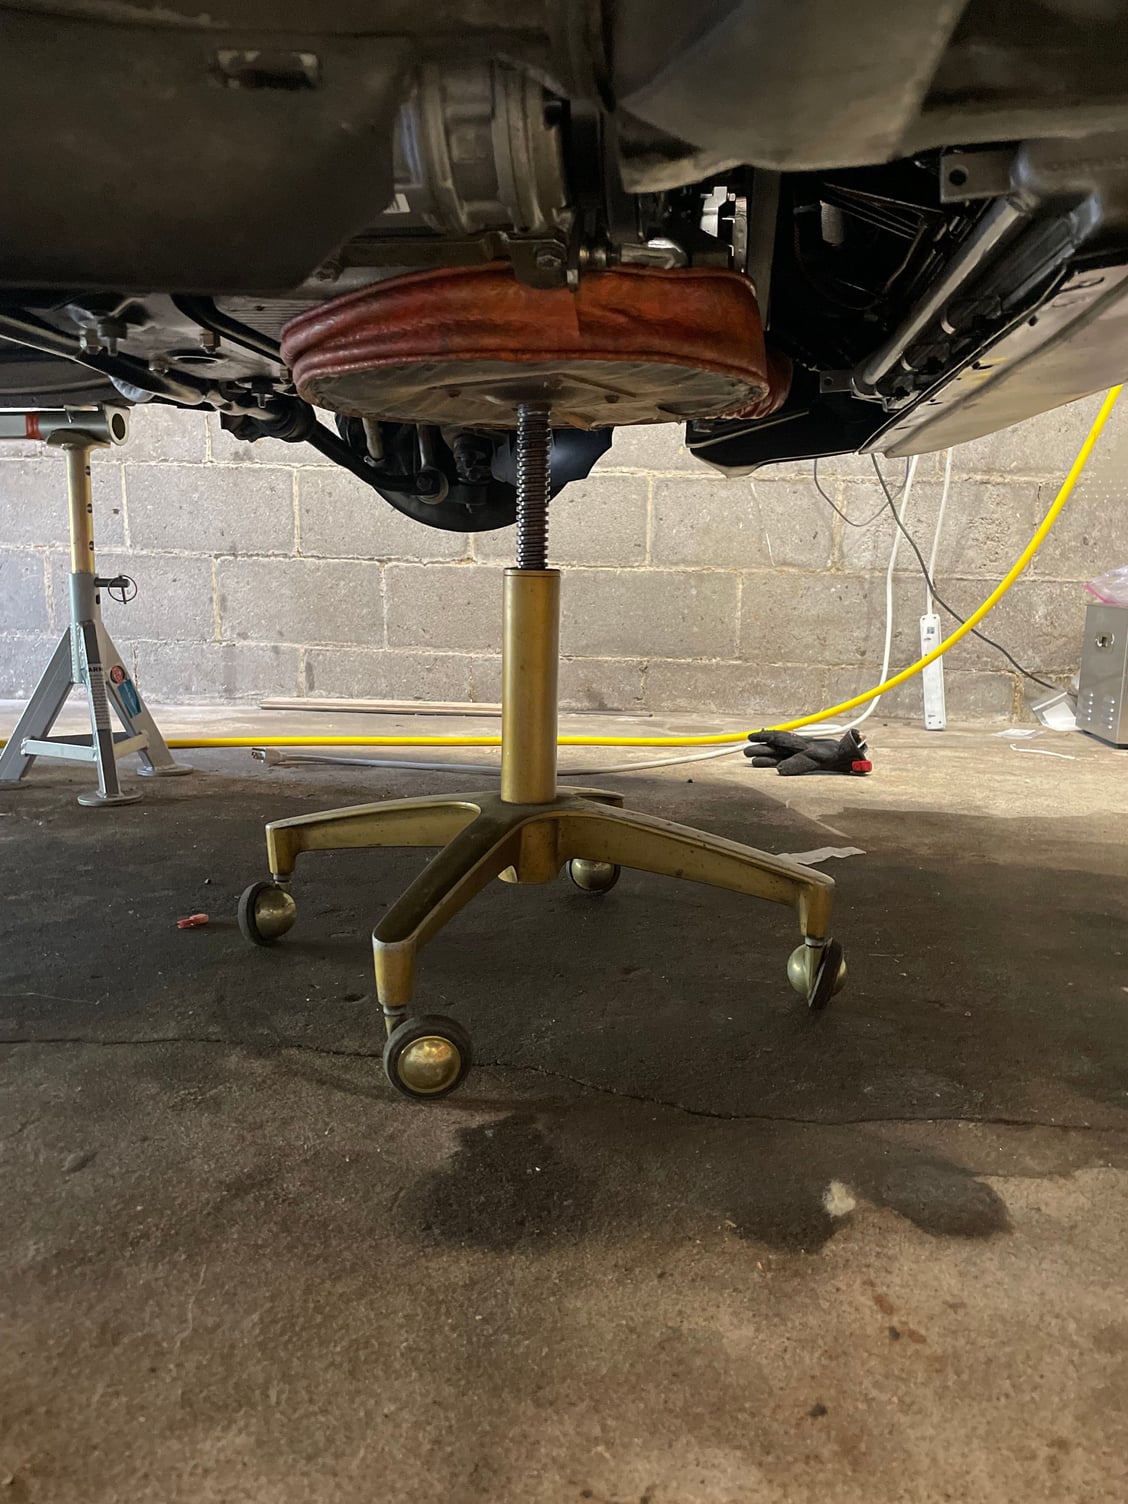
I'm embarrassed to post this, but this is how I supported my engine with the torque tube removed. I was able to spin the legs to tilt the motor enough to remove the upper bell housing. It looks jenky but it did the trick.
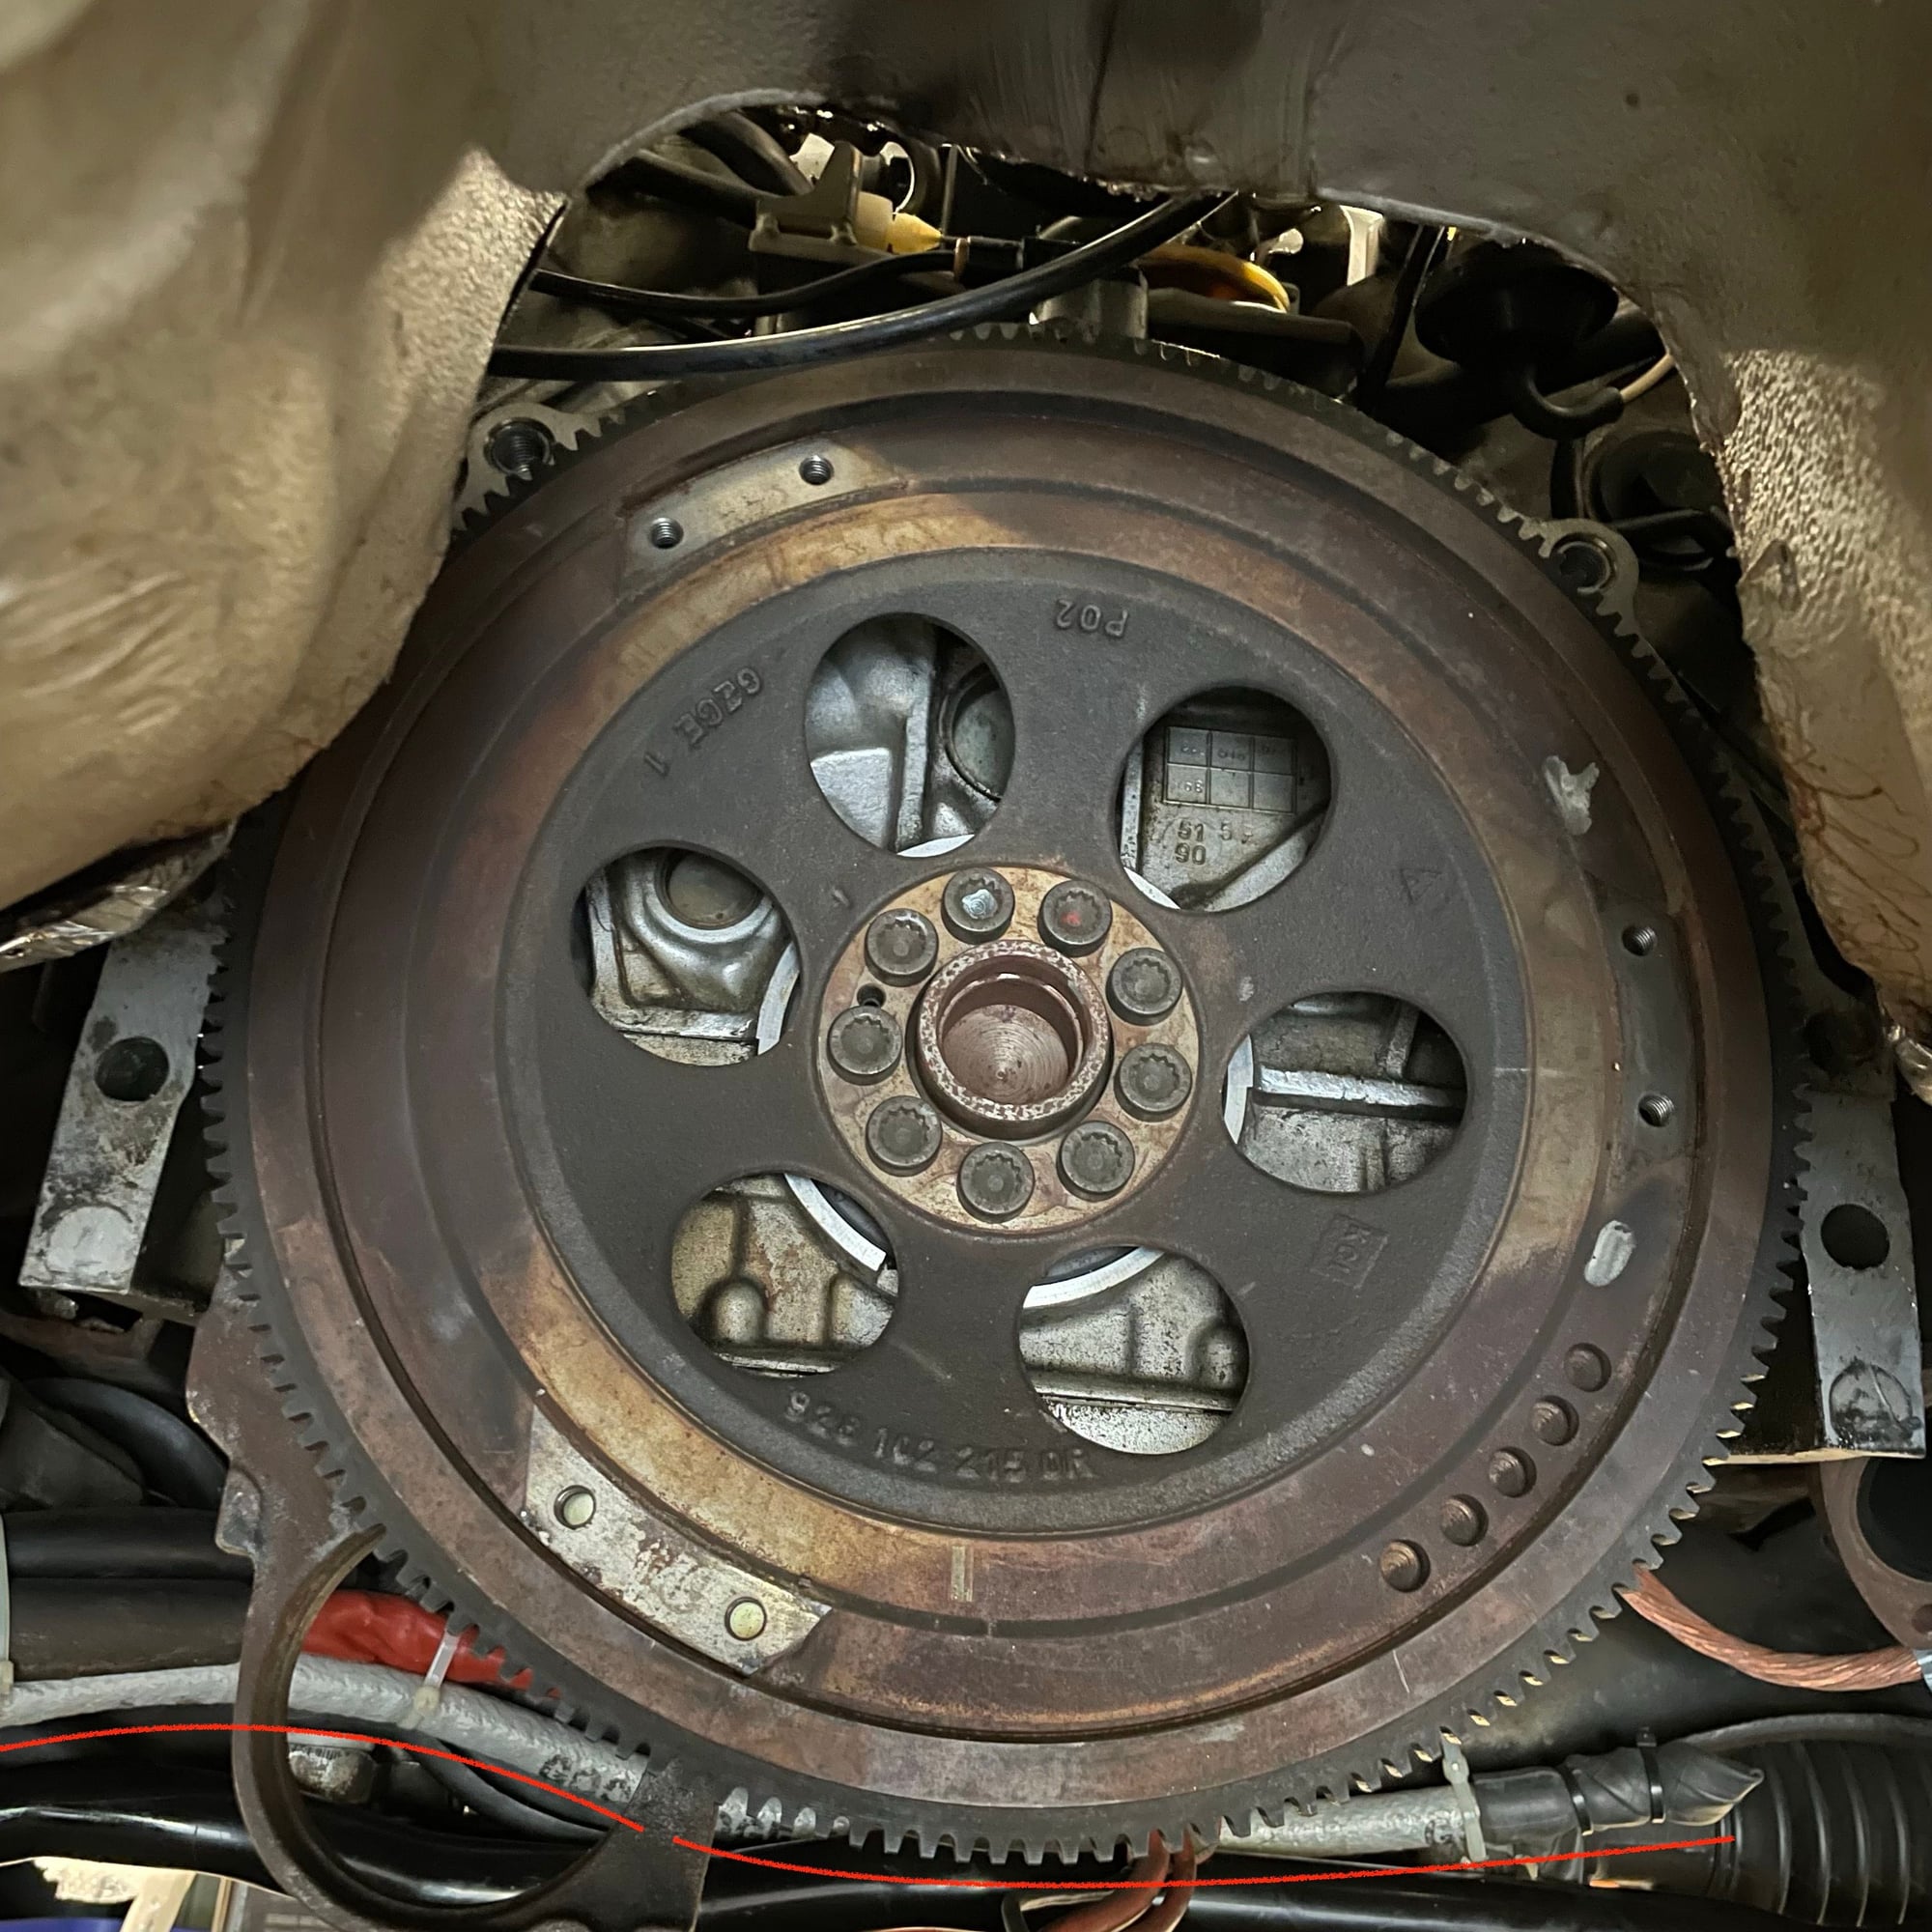
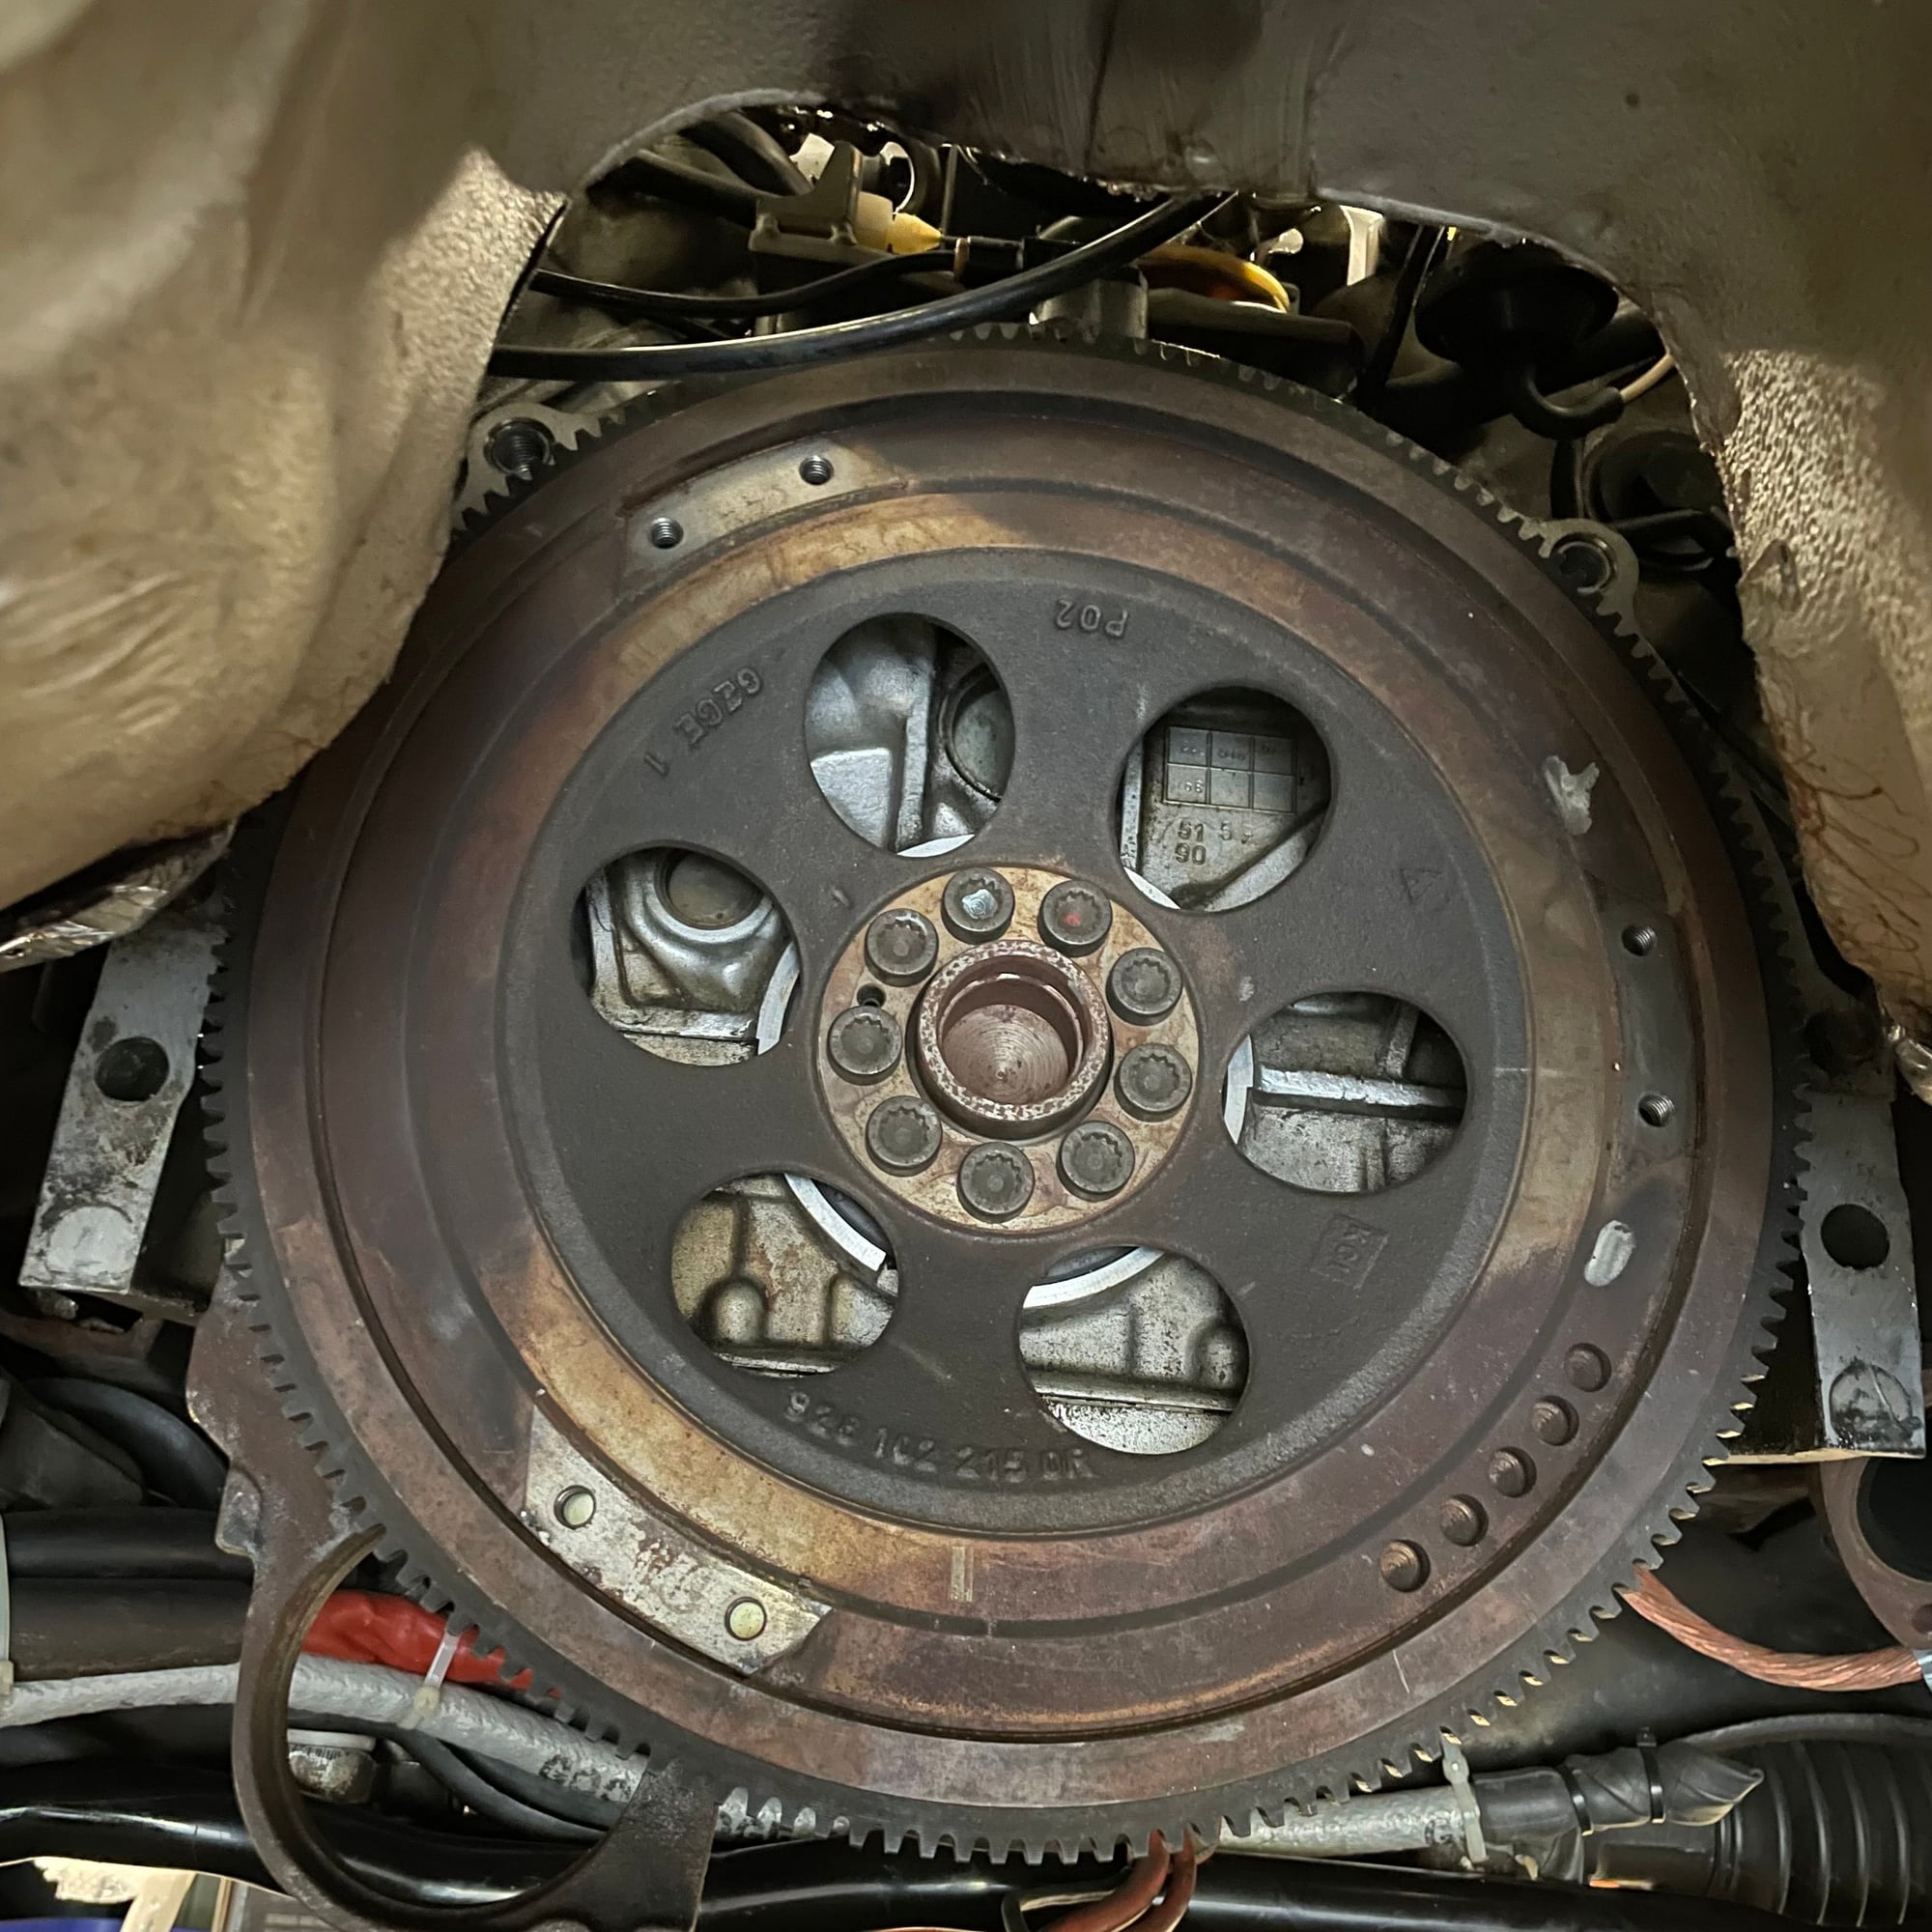
Tonight I am hoping to get the flywheel off and potentially cut the opening in the tunnel for the manual shifter. And suggestions on how to counter hold the flywheel to remove the M10 XZN bolts? Can these bolts be re-used?
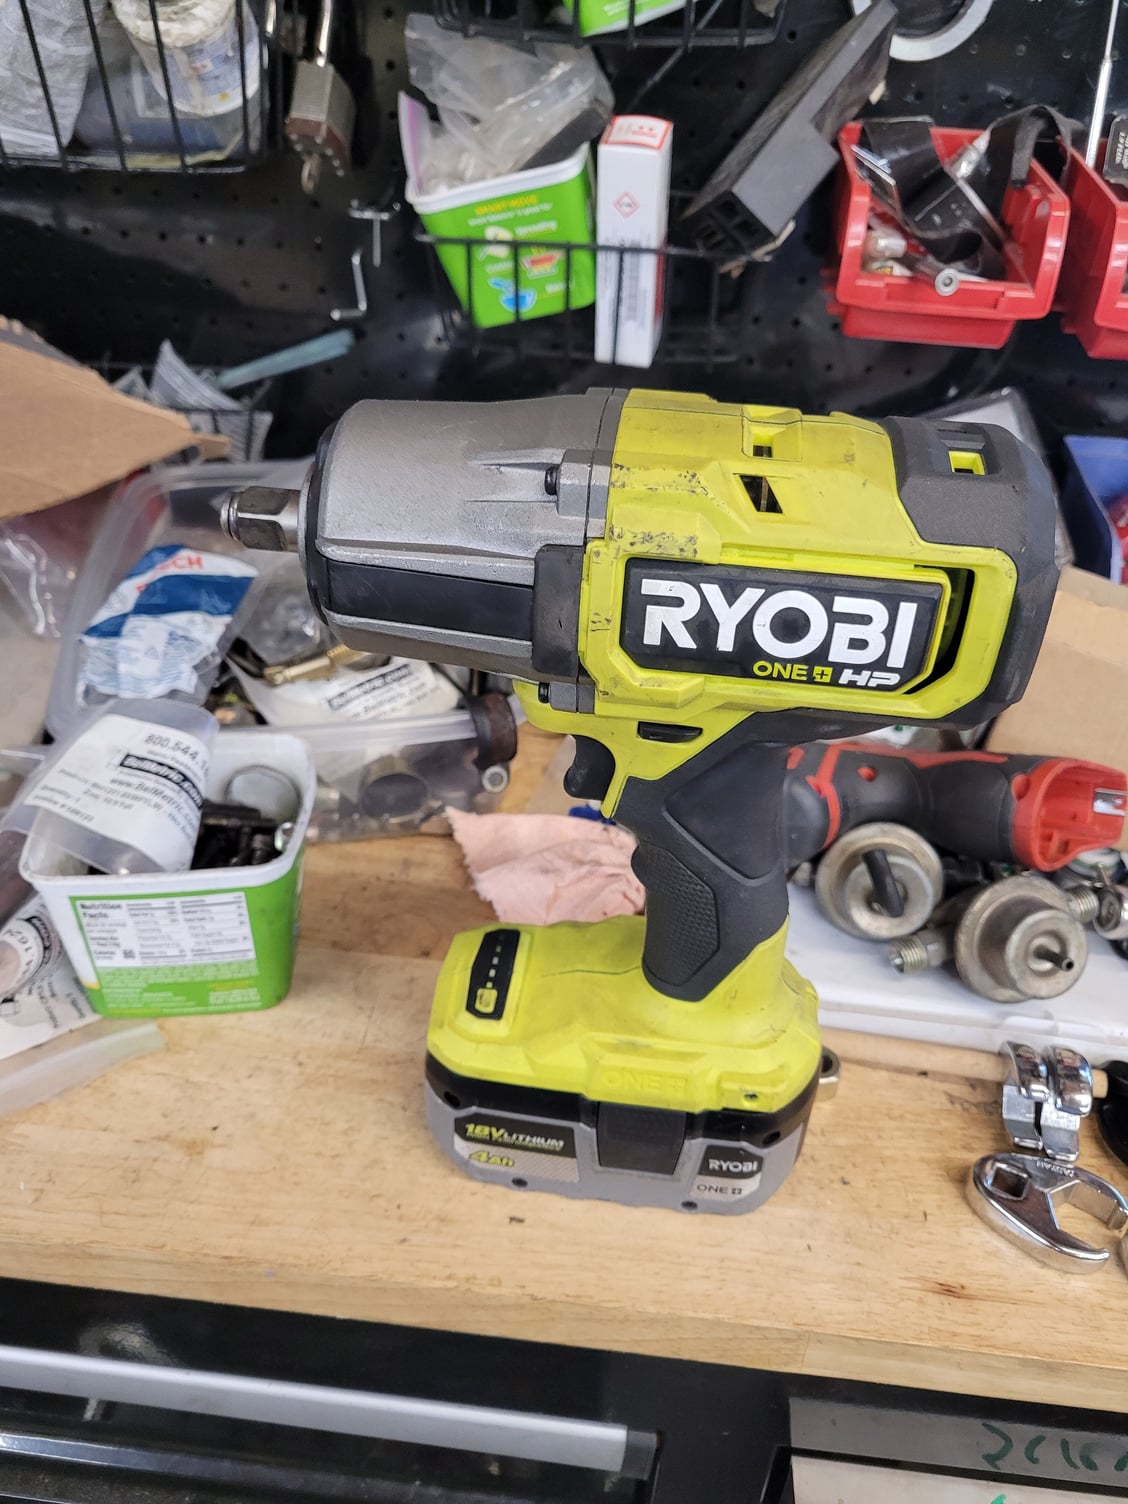
I have a "universal" flywheel lock that may be useful to counterhold things. Alternatively, an impact wrench might not need any counterholding; I have a really big one if you need it. On further reflection, what I don't have is impact bits with that head, so maybe never mind that idea.
Alternatively, I can just hold the front crank bolt while you loosen those flywheel bolts.
Flywheel out: The flywheel came off without drama using the impact driver and a couple of bumps with the palm of my hand. So thanks for the tips above. That pretty much puts and end to the taking stuff out phase of the project and now I am turning my attentions to cutting holes in things and starting the re-assembly process.
Cutting Things - shifter opening on tunnel
With the TT out I turned my attention to cutting the tunnel for the shifter. I decided to use a jig saw and a carbide blade and it worked really well. There is just enough flat surface to rest the saw on and make a very accurate and smooth cut. Not much dust or debris either. I de-burred the rough edges and touched up the raw metal with some primer and started re-assembling the center console.
This post was super helpful in helping be find that hidden screw holding the center console in. Thanks @Rob Edwards for providing that valuable insight, and yes I did re-install it when I put everything back together .
More Cutting Things - Clutch Master Cylinder on firewall
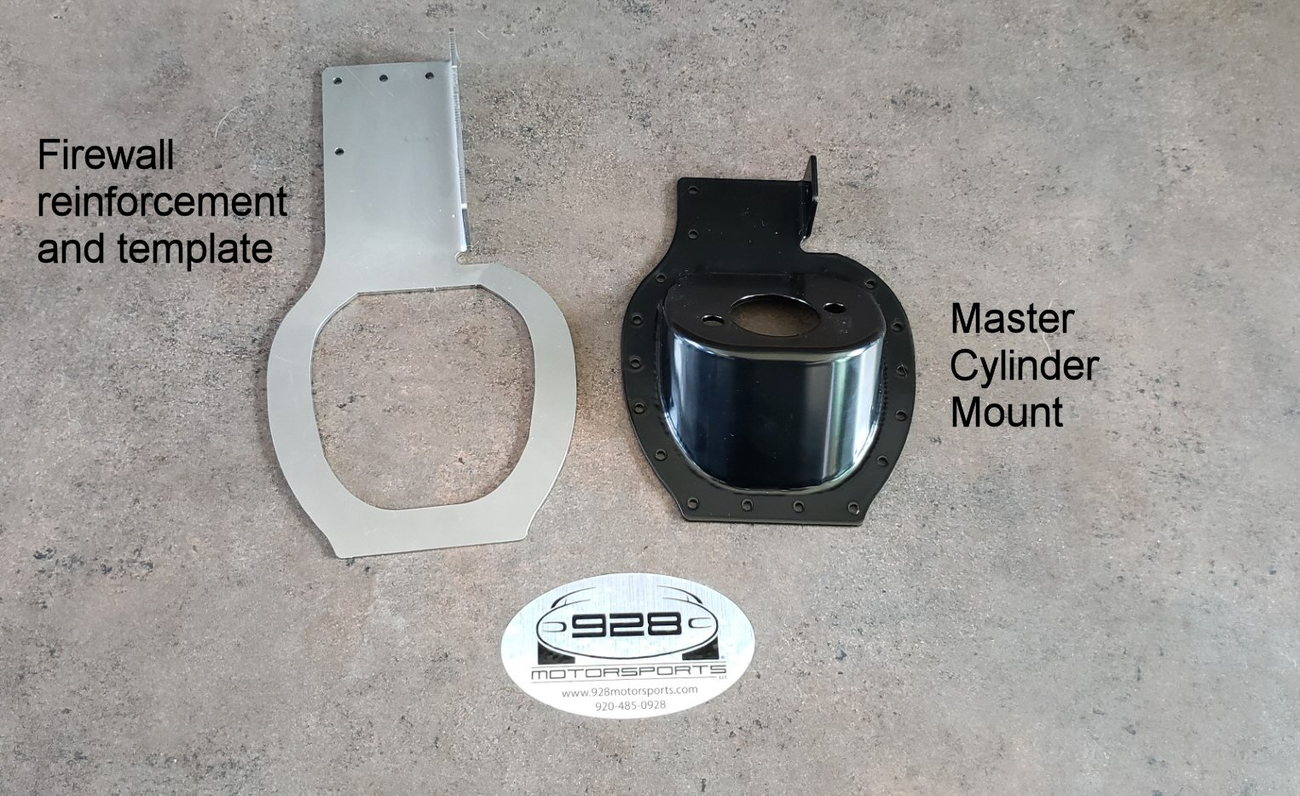
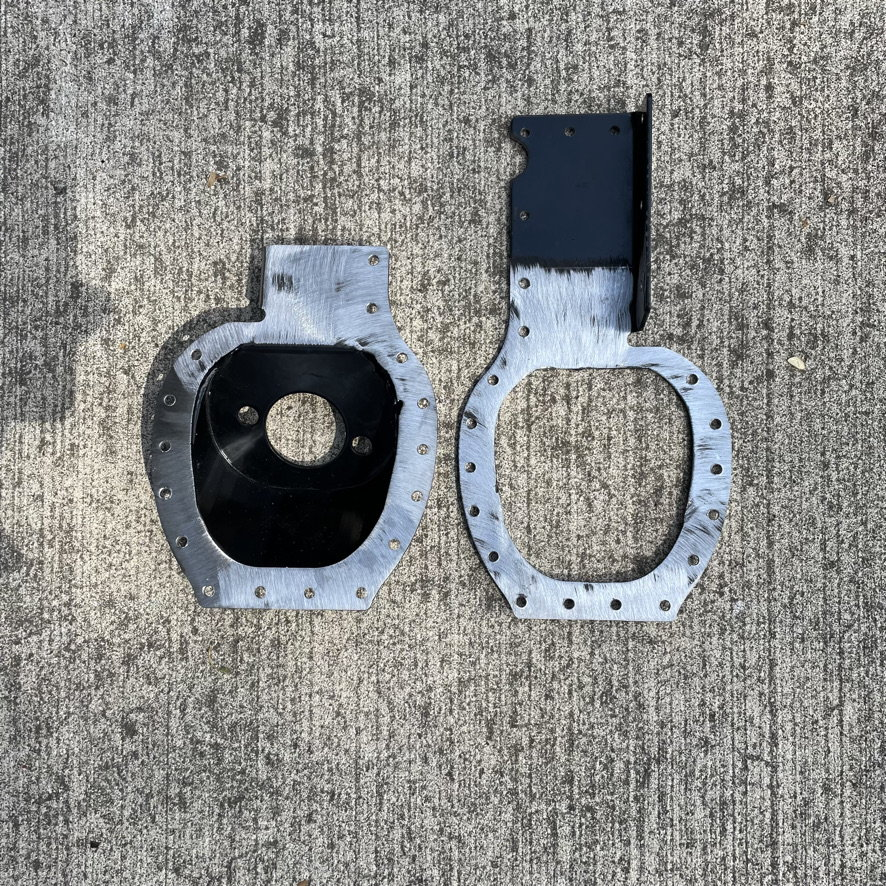
This work was done last summer and was covered in detail in this post, but for posterity of this thread I will add it here. I use the 928Motorspots CMC bracket. Thanks to @Carl Fausett for creating this ingenues product to help with my conversion.
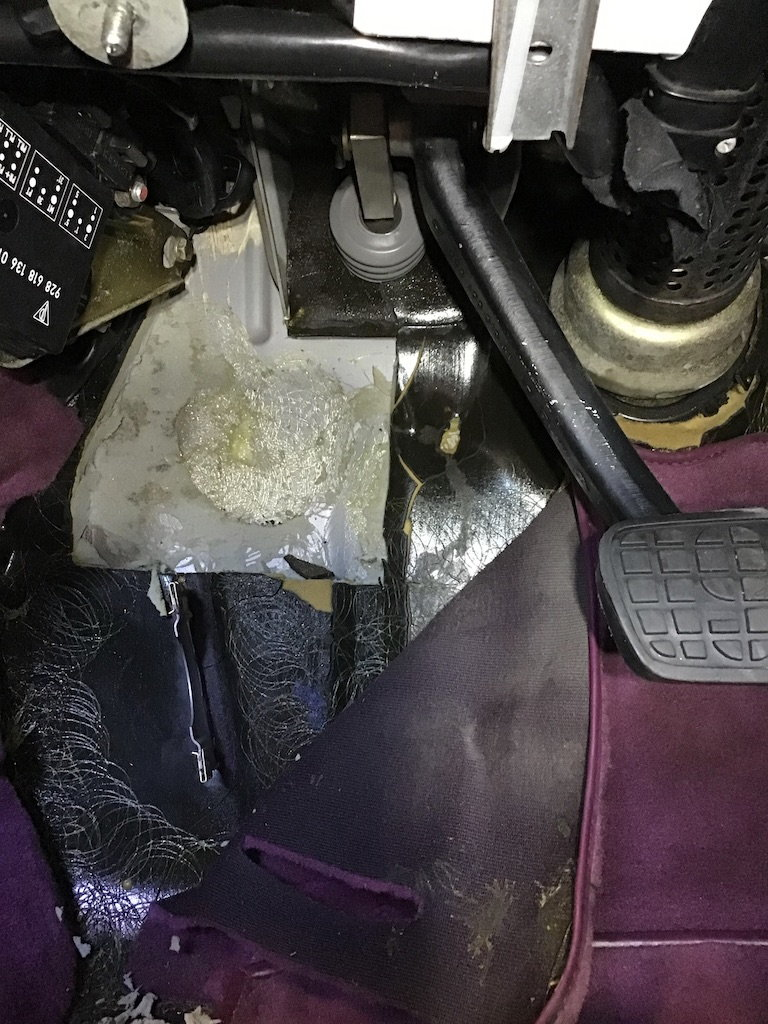
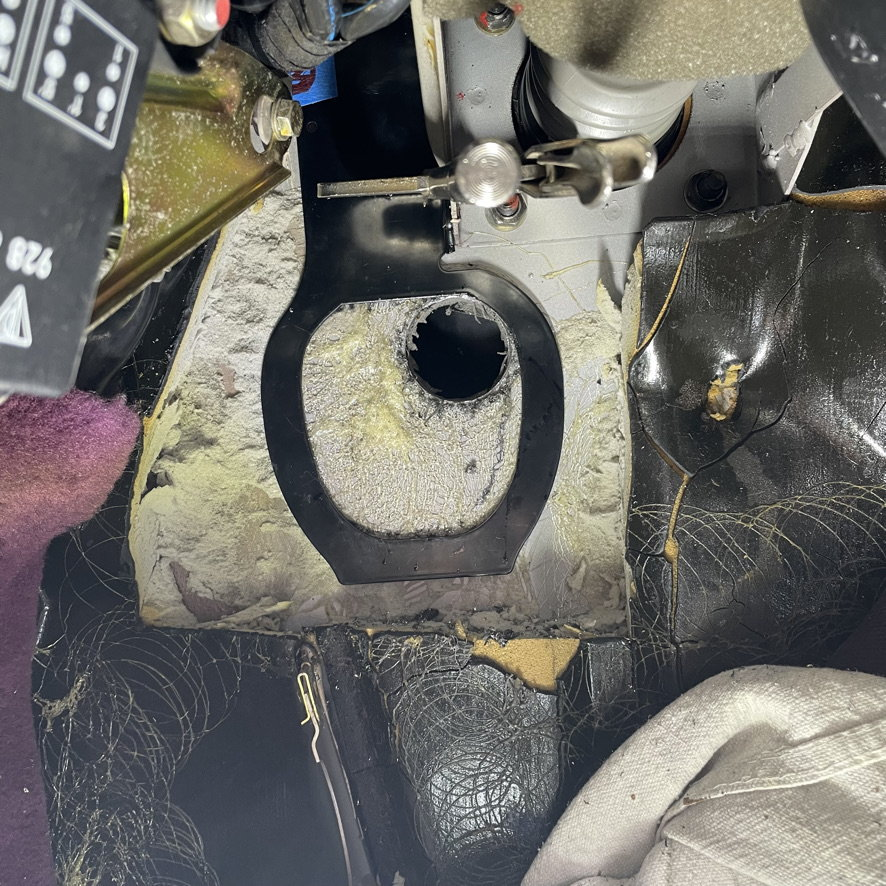
And so the work begins on cutting the firewall. Removed the sound insulation and exposed the firewall
test fitting the template
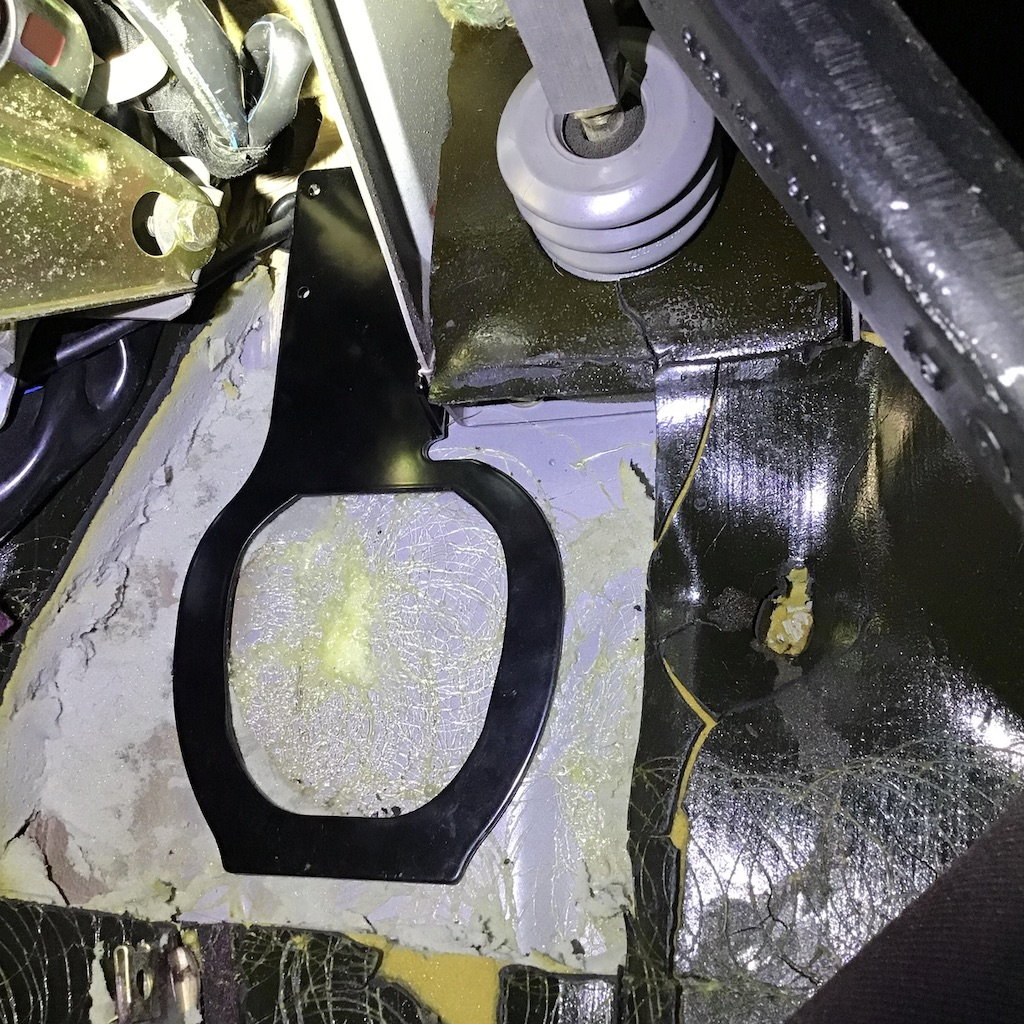
Template clamped and first of three holes cut using a carbide hole saw. I used a piece of thin plywood in the engine by to help protect punch through damage.
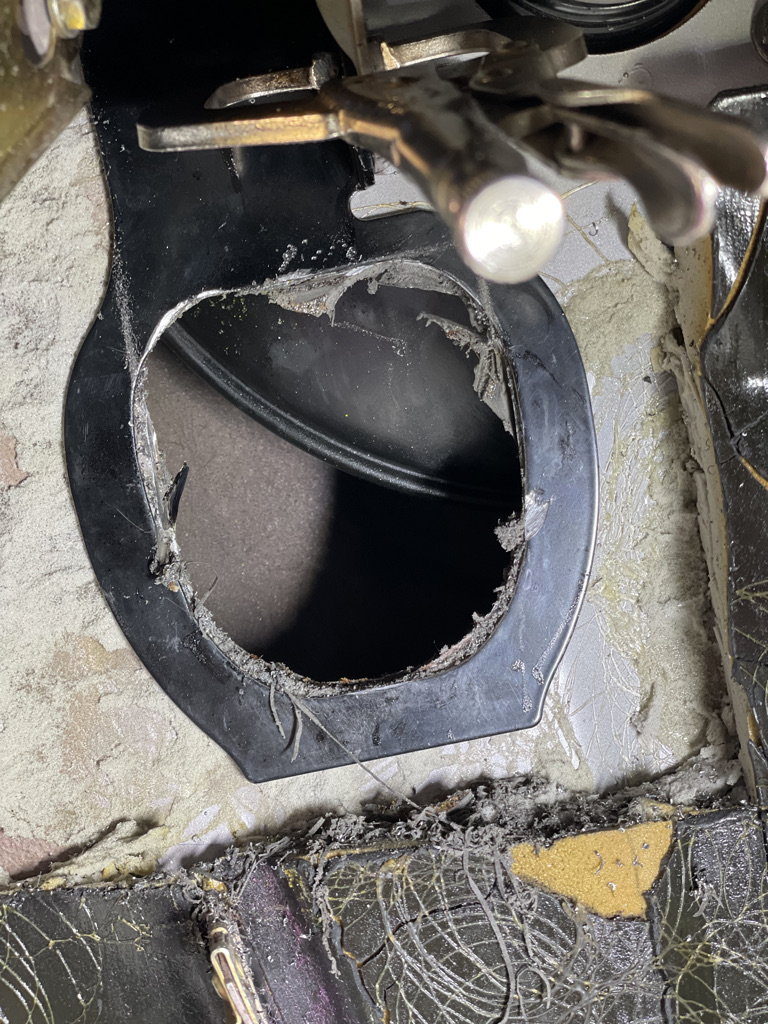
All three holes cut. You can see the brake booster in the engine bay.
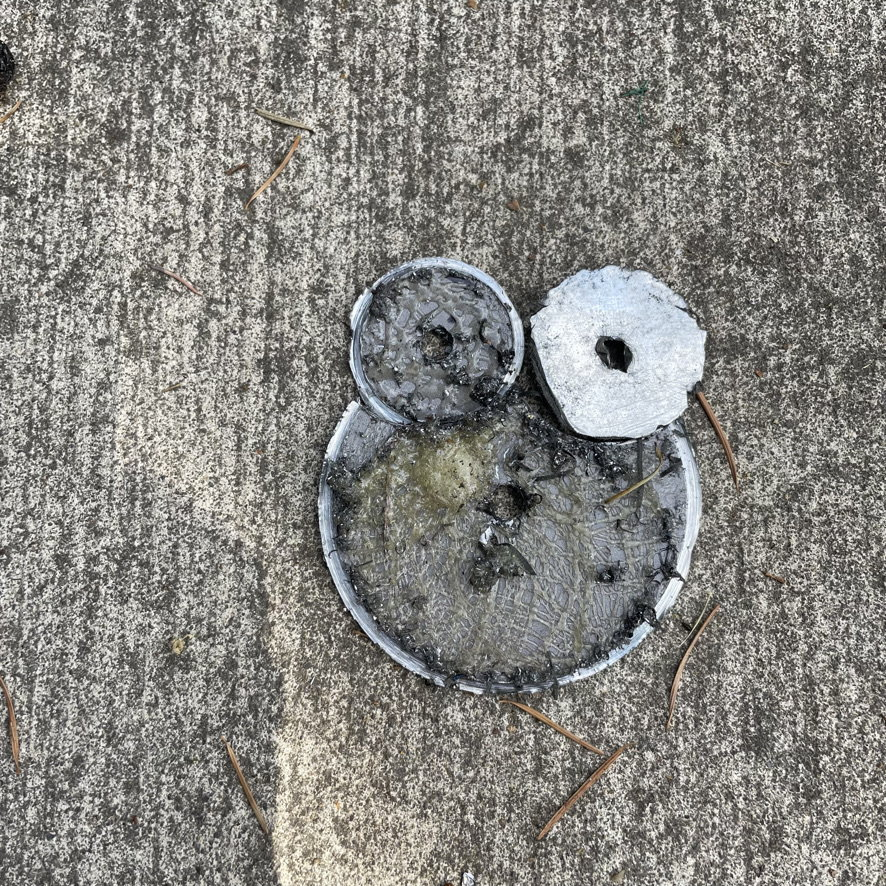
Here is the lost material so you can see the two different sized hole saw blades.
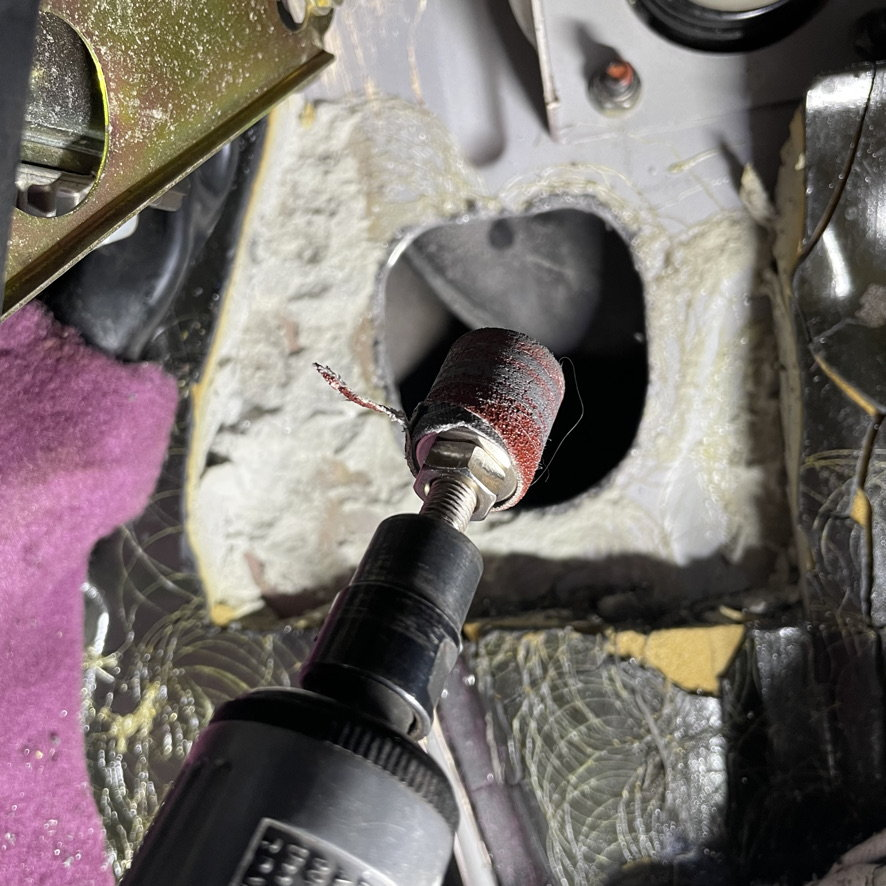
Clean up of edges and burs.
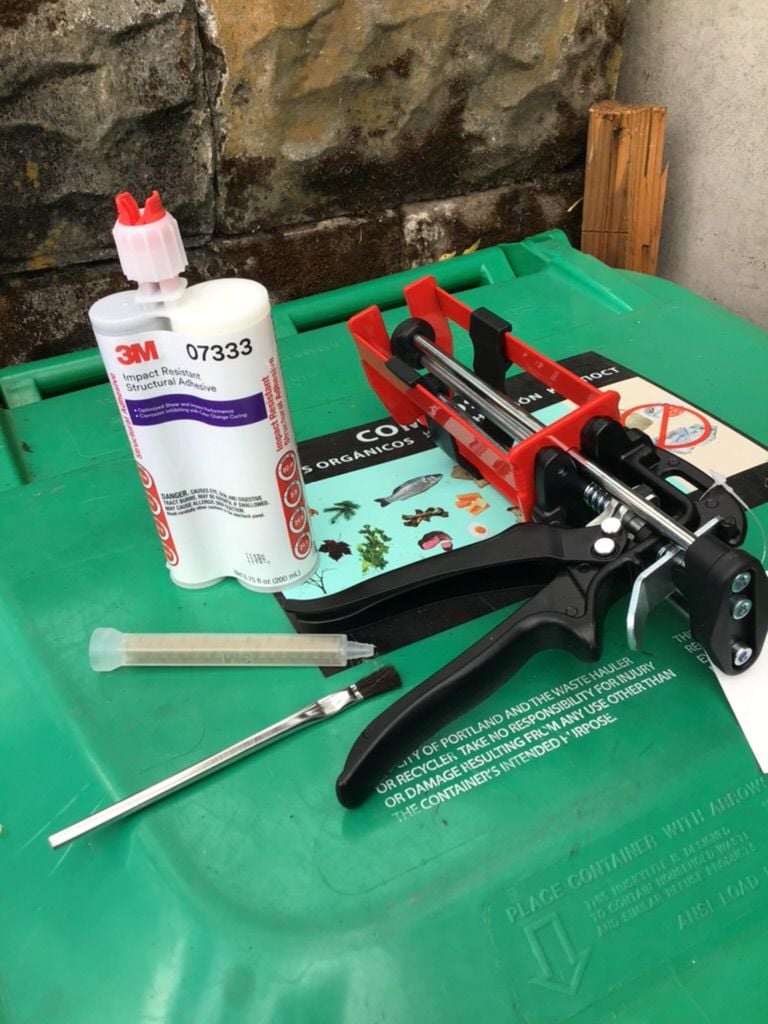
This is what I uses to seal and bond the bracket to the firewall. It's super strong, vapor, and air tight. It requires bare metal for adhesion. The panel bonding product required some special tools.
I pre drilled mounting holes and then transferred them to the firewall. Also mating surfaces needed to be bare metal for the structural adhesive. Note, I have too many rivets given the strength characteristics of the panel bonding compound. I'd recommend less than half of what I used.
Given the difficult of installing the CMC, I decided to install it as part of the bracket mounting. Which means I had to connect the blue supply side hose and slave line prior to installation of the bracket.
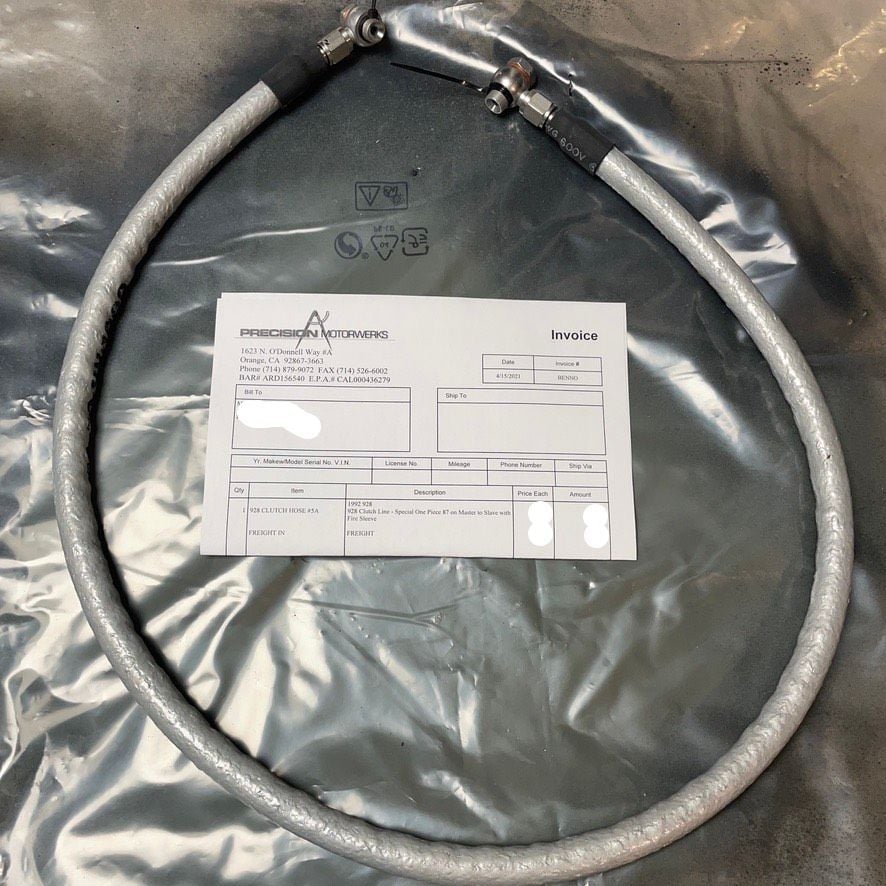
This is the clutch line I am used to run from the CMC directly to the slave. I needed to install this onto the CMC as part of the bracket installation
I took note of the factory clocking of the CMC form a rennlist post and set up the hose end.
here you can see the clutch hose routing under the oil pan.
Test fitting the bracket the CMC and the rivets. I used the recommended 5/32" stainless rivets. In hindsight, given the holding strength of the panel bonding compound, I would have used smaller galvanized rivets to merely hold the bracket in place so the bonding agent could cure since it is where all the strength is coming from.
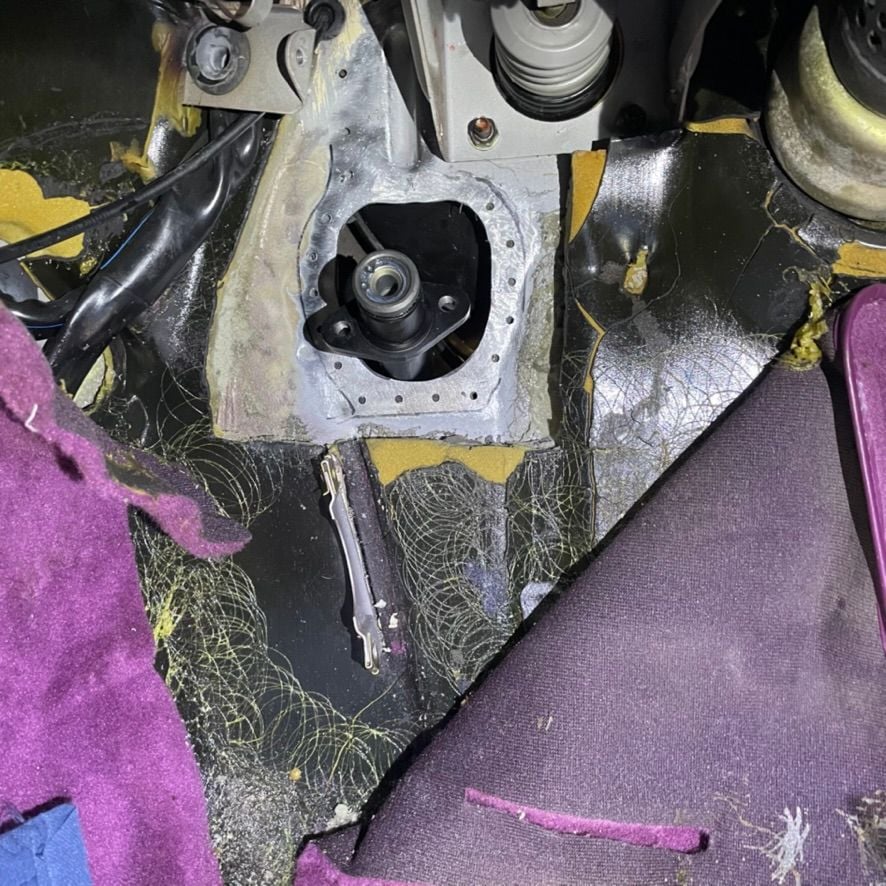
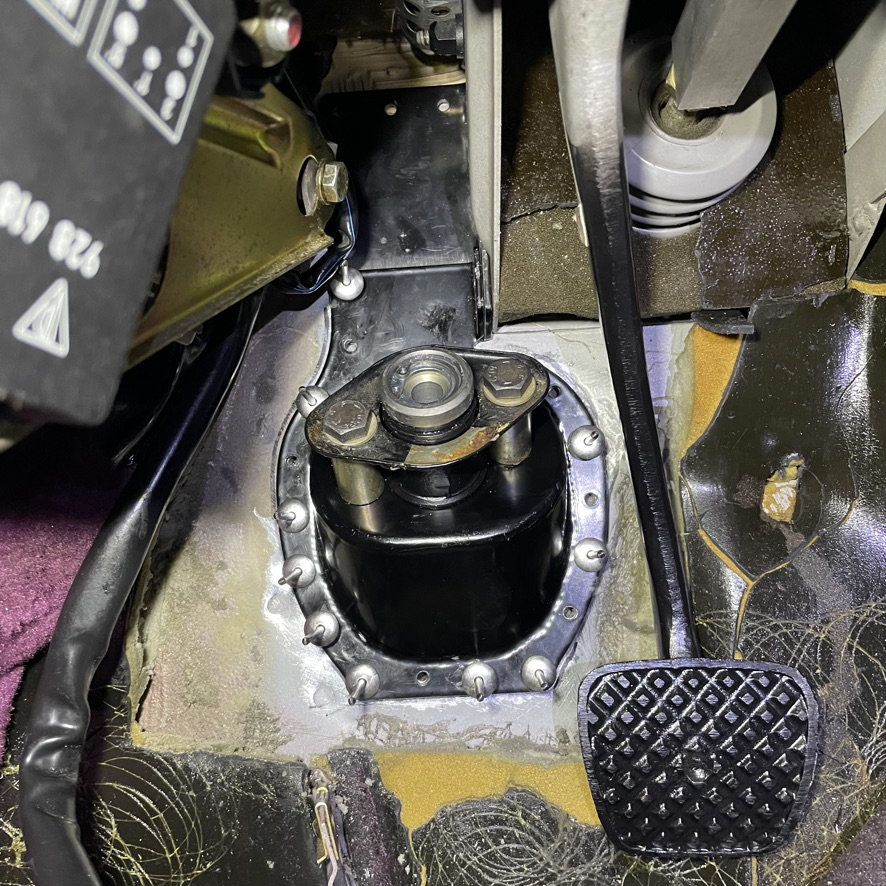
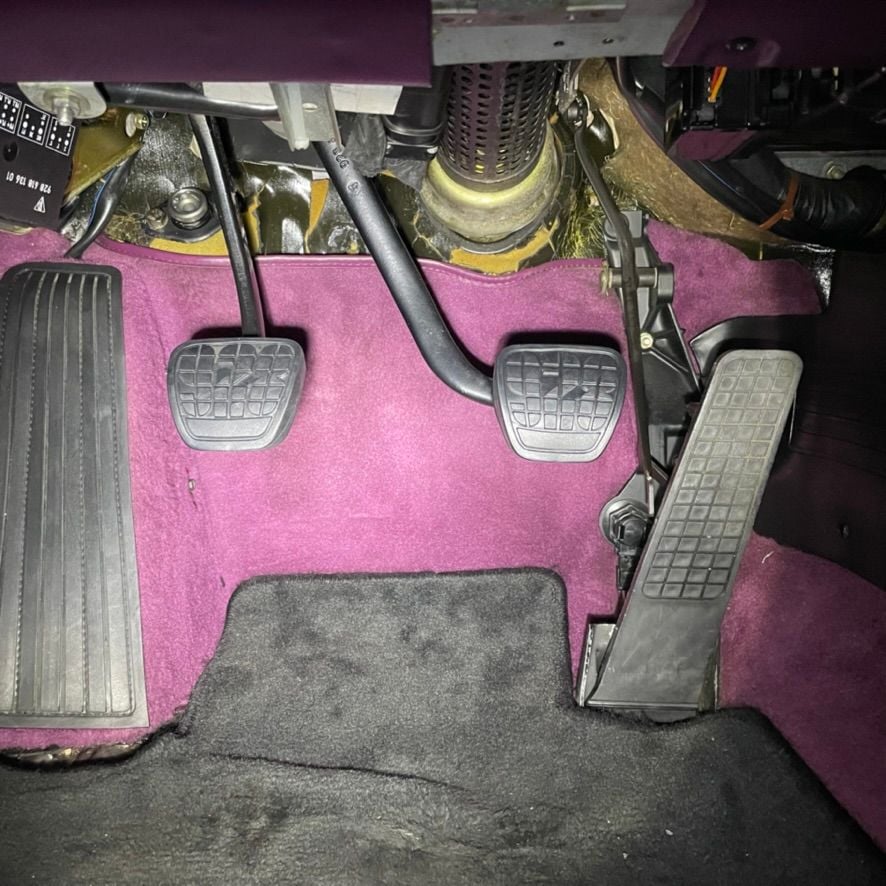
The 5/32" rivets were a bitch to crimp! After curing, I swapped the pedal assembly for the manual setup. You can see the CMC poking out without the rod attached so I don't accidentally push it in without hydraulic fluid.
Last edited by Michael Benno; 07-14-2022 at 02:14 PM.
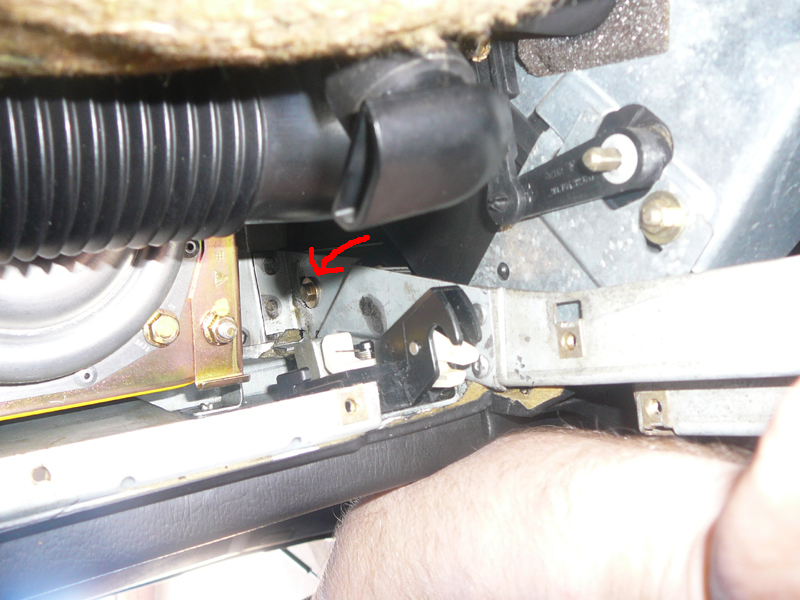
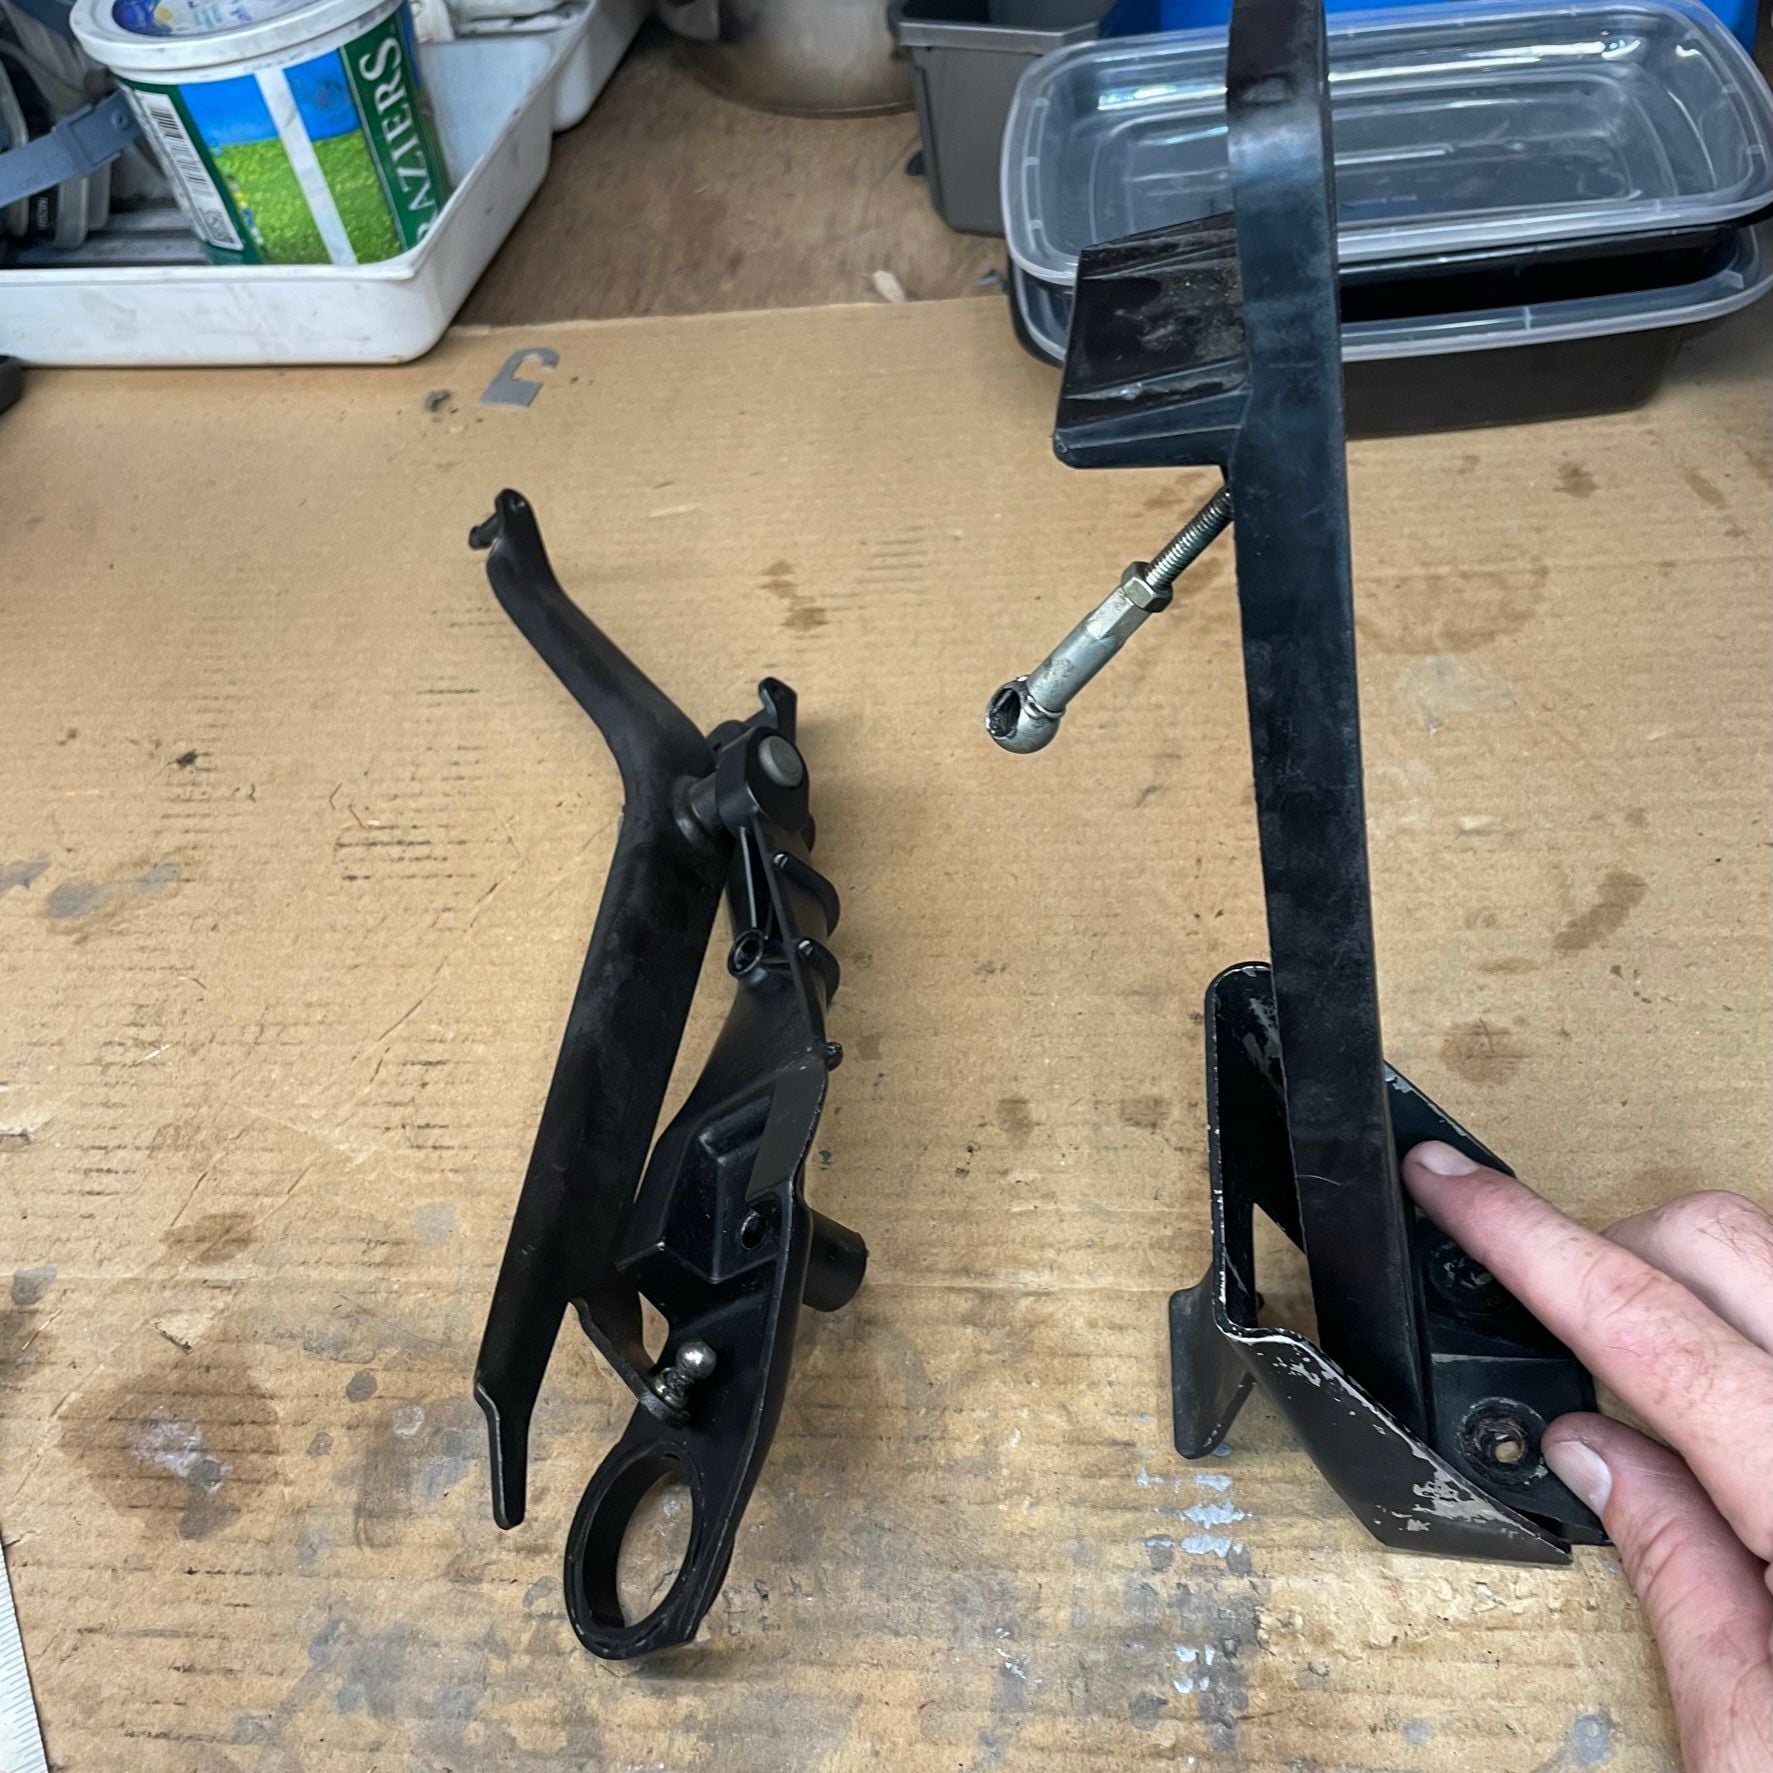
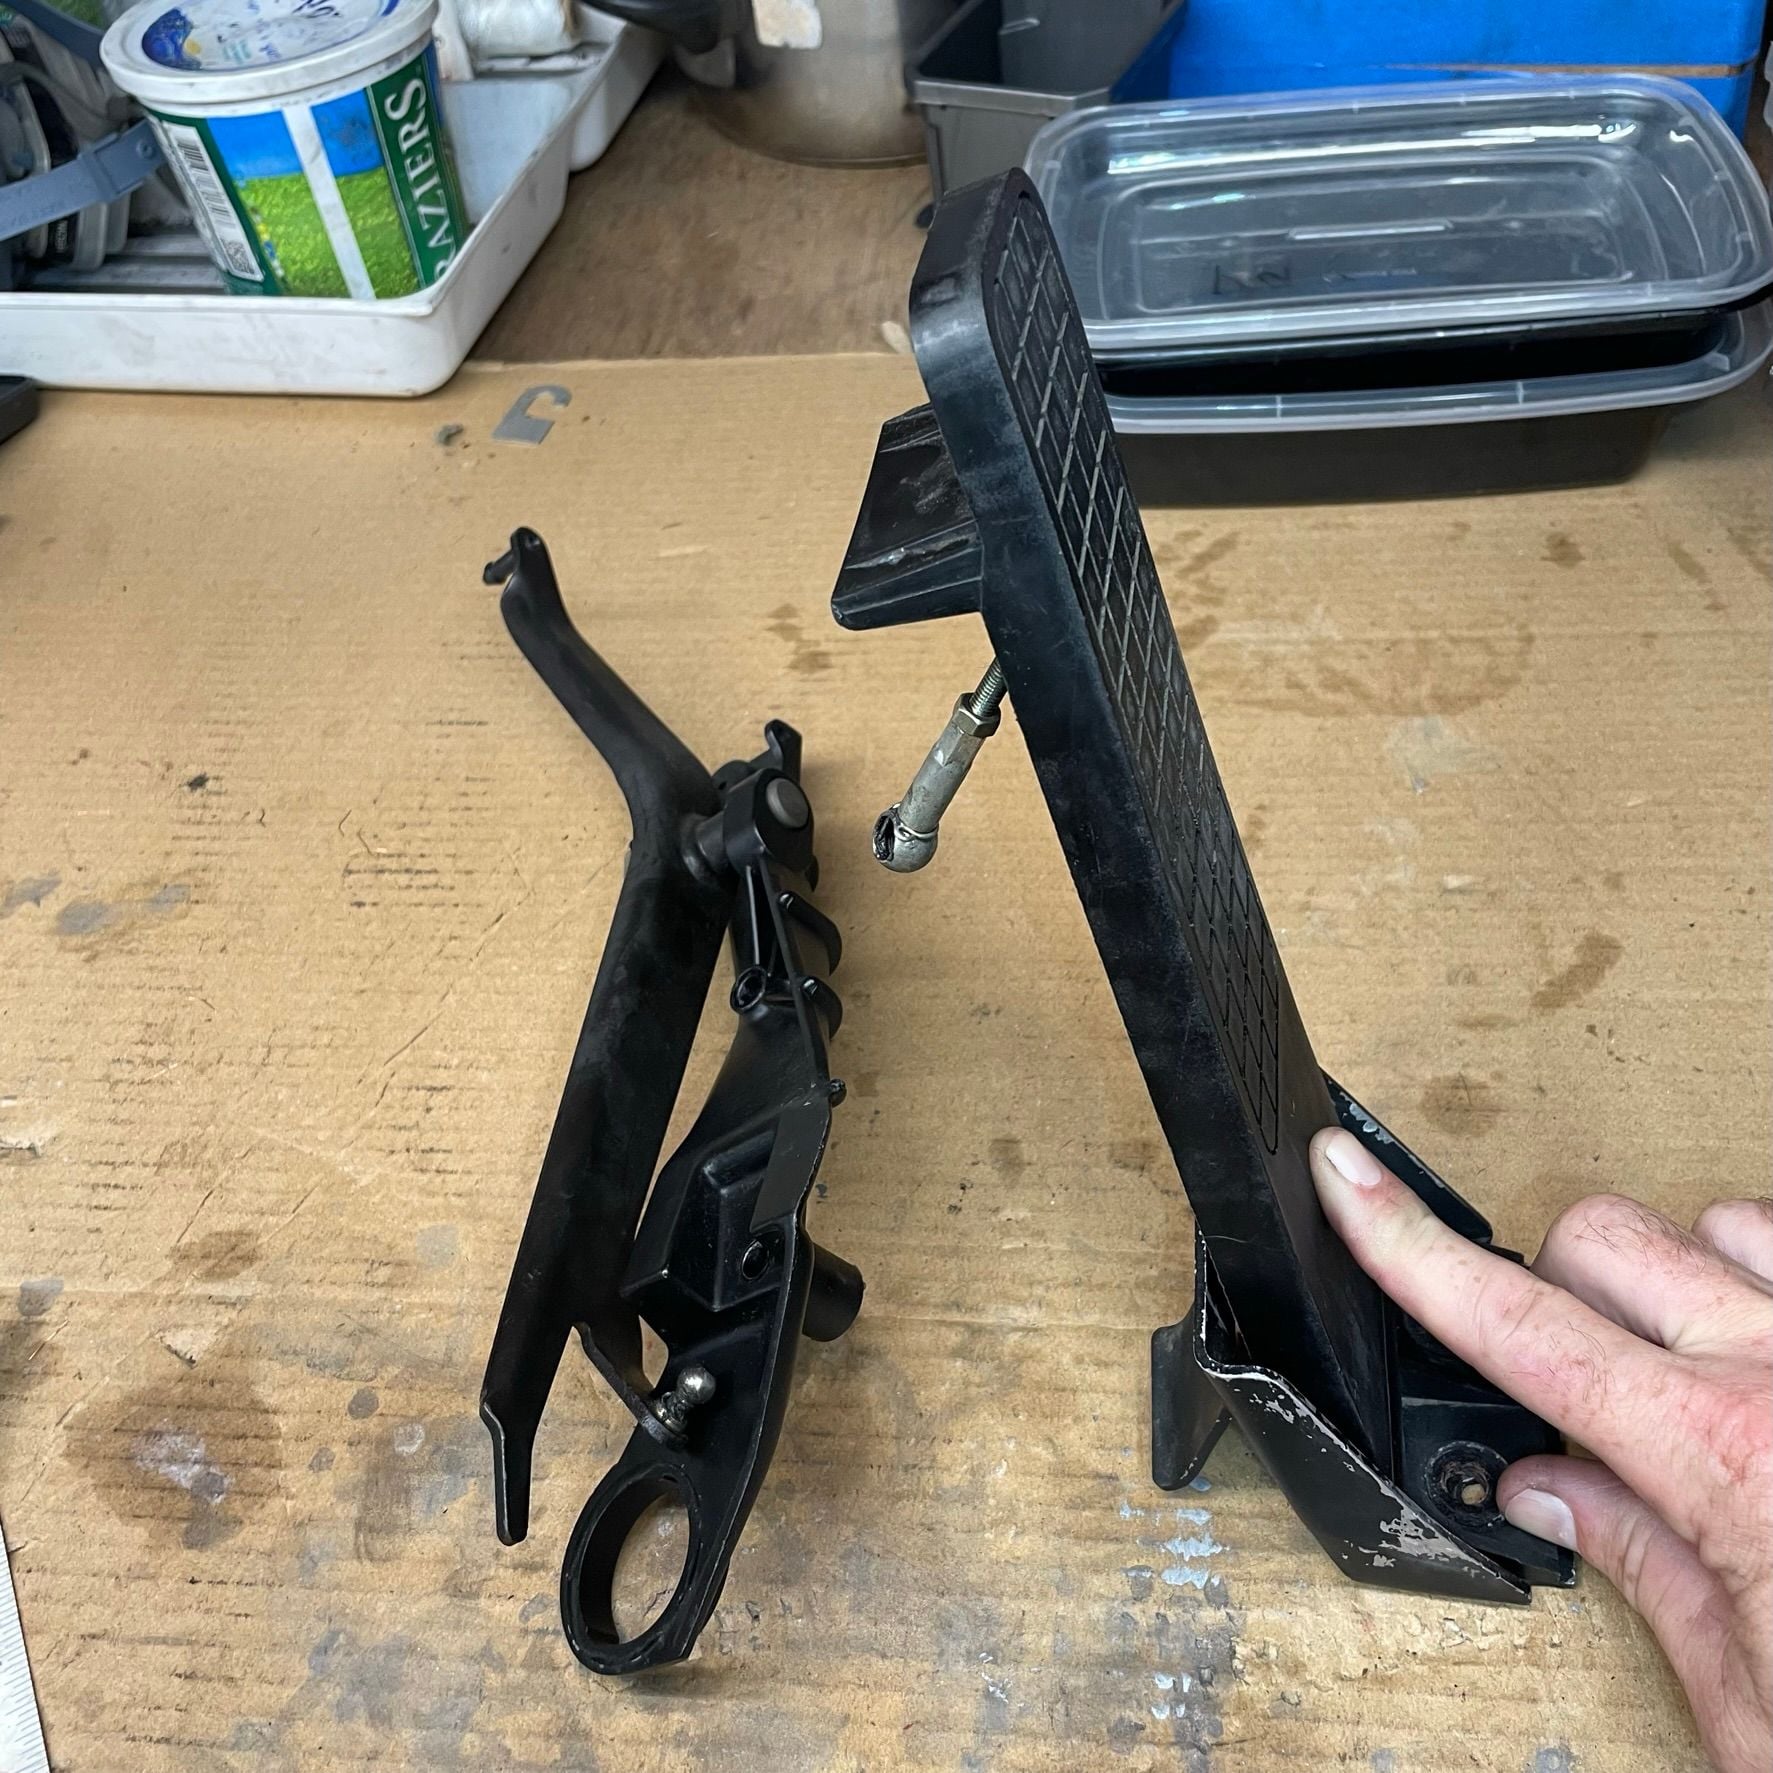
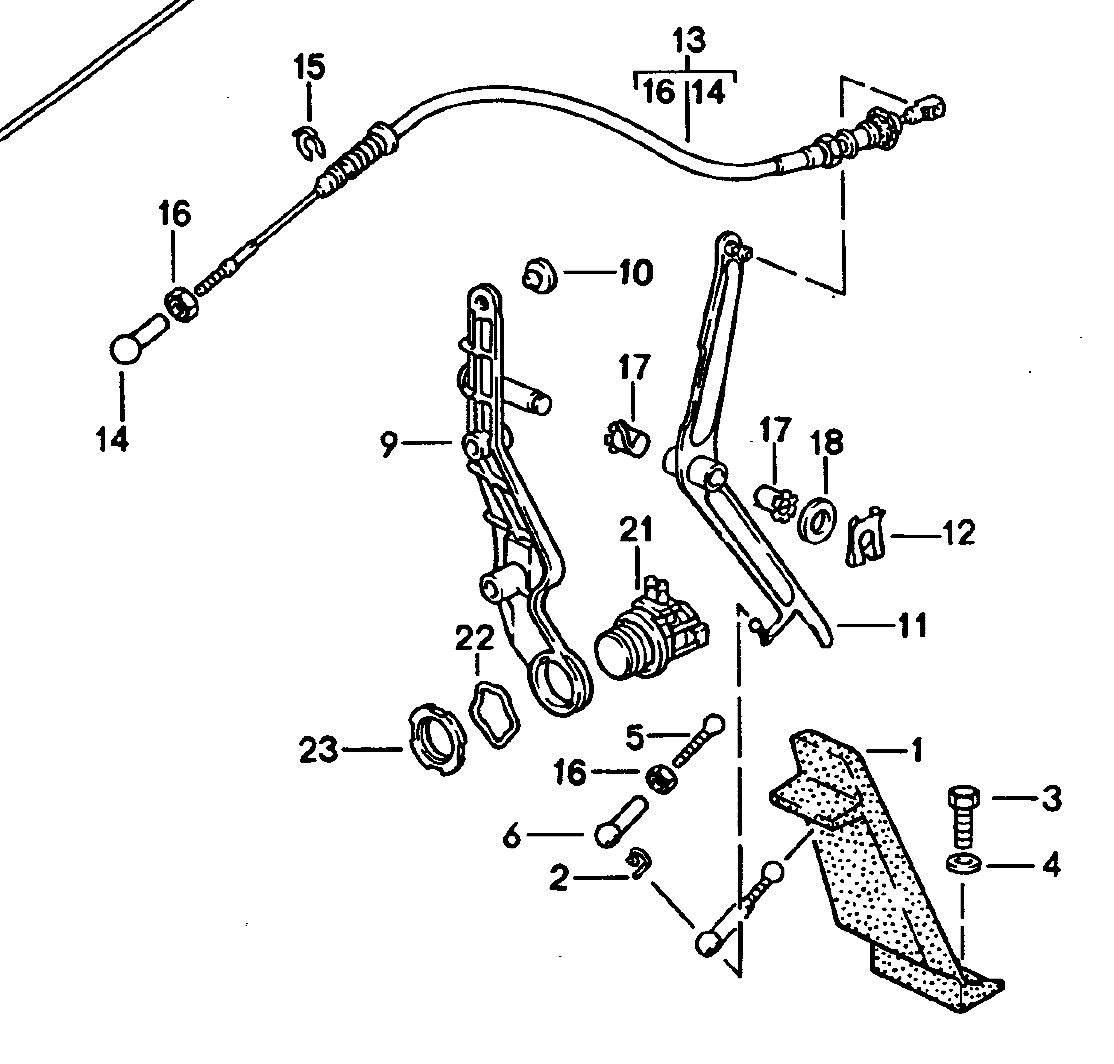
As I was removing the kickdown switch and replacing the worn out accelerator cable. I noticed this mystery part mounted under the accelerator pedal.
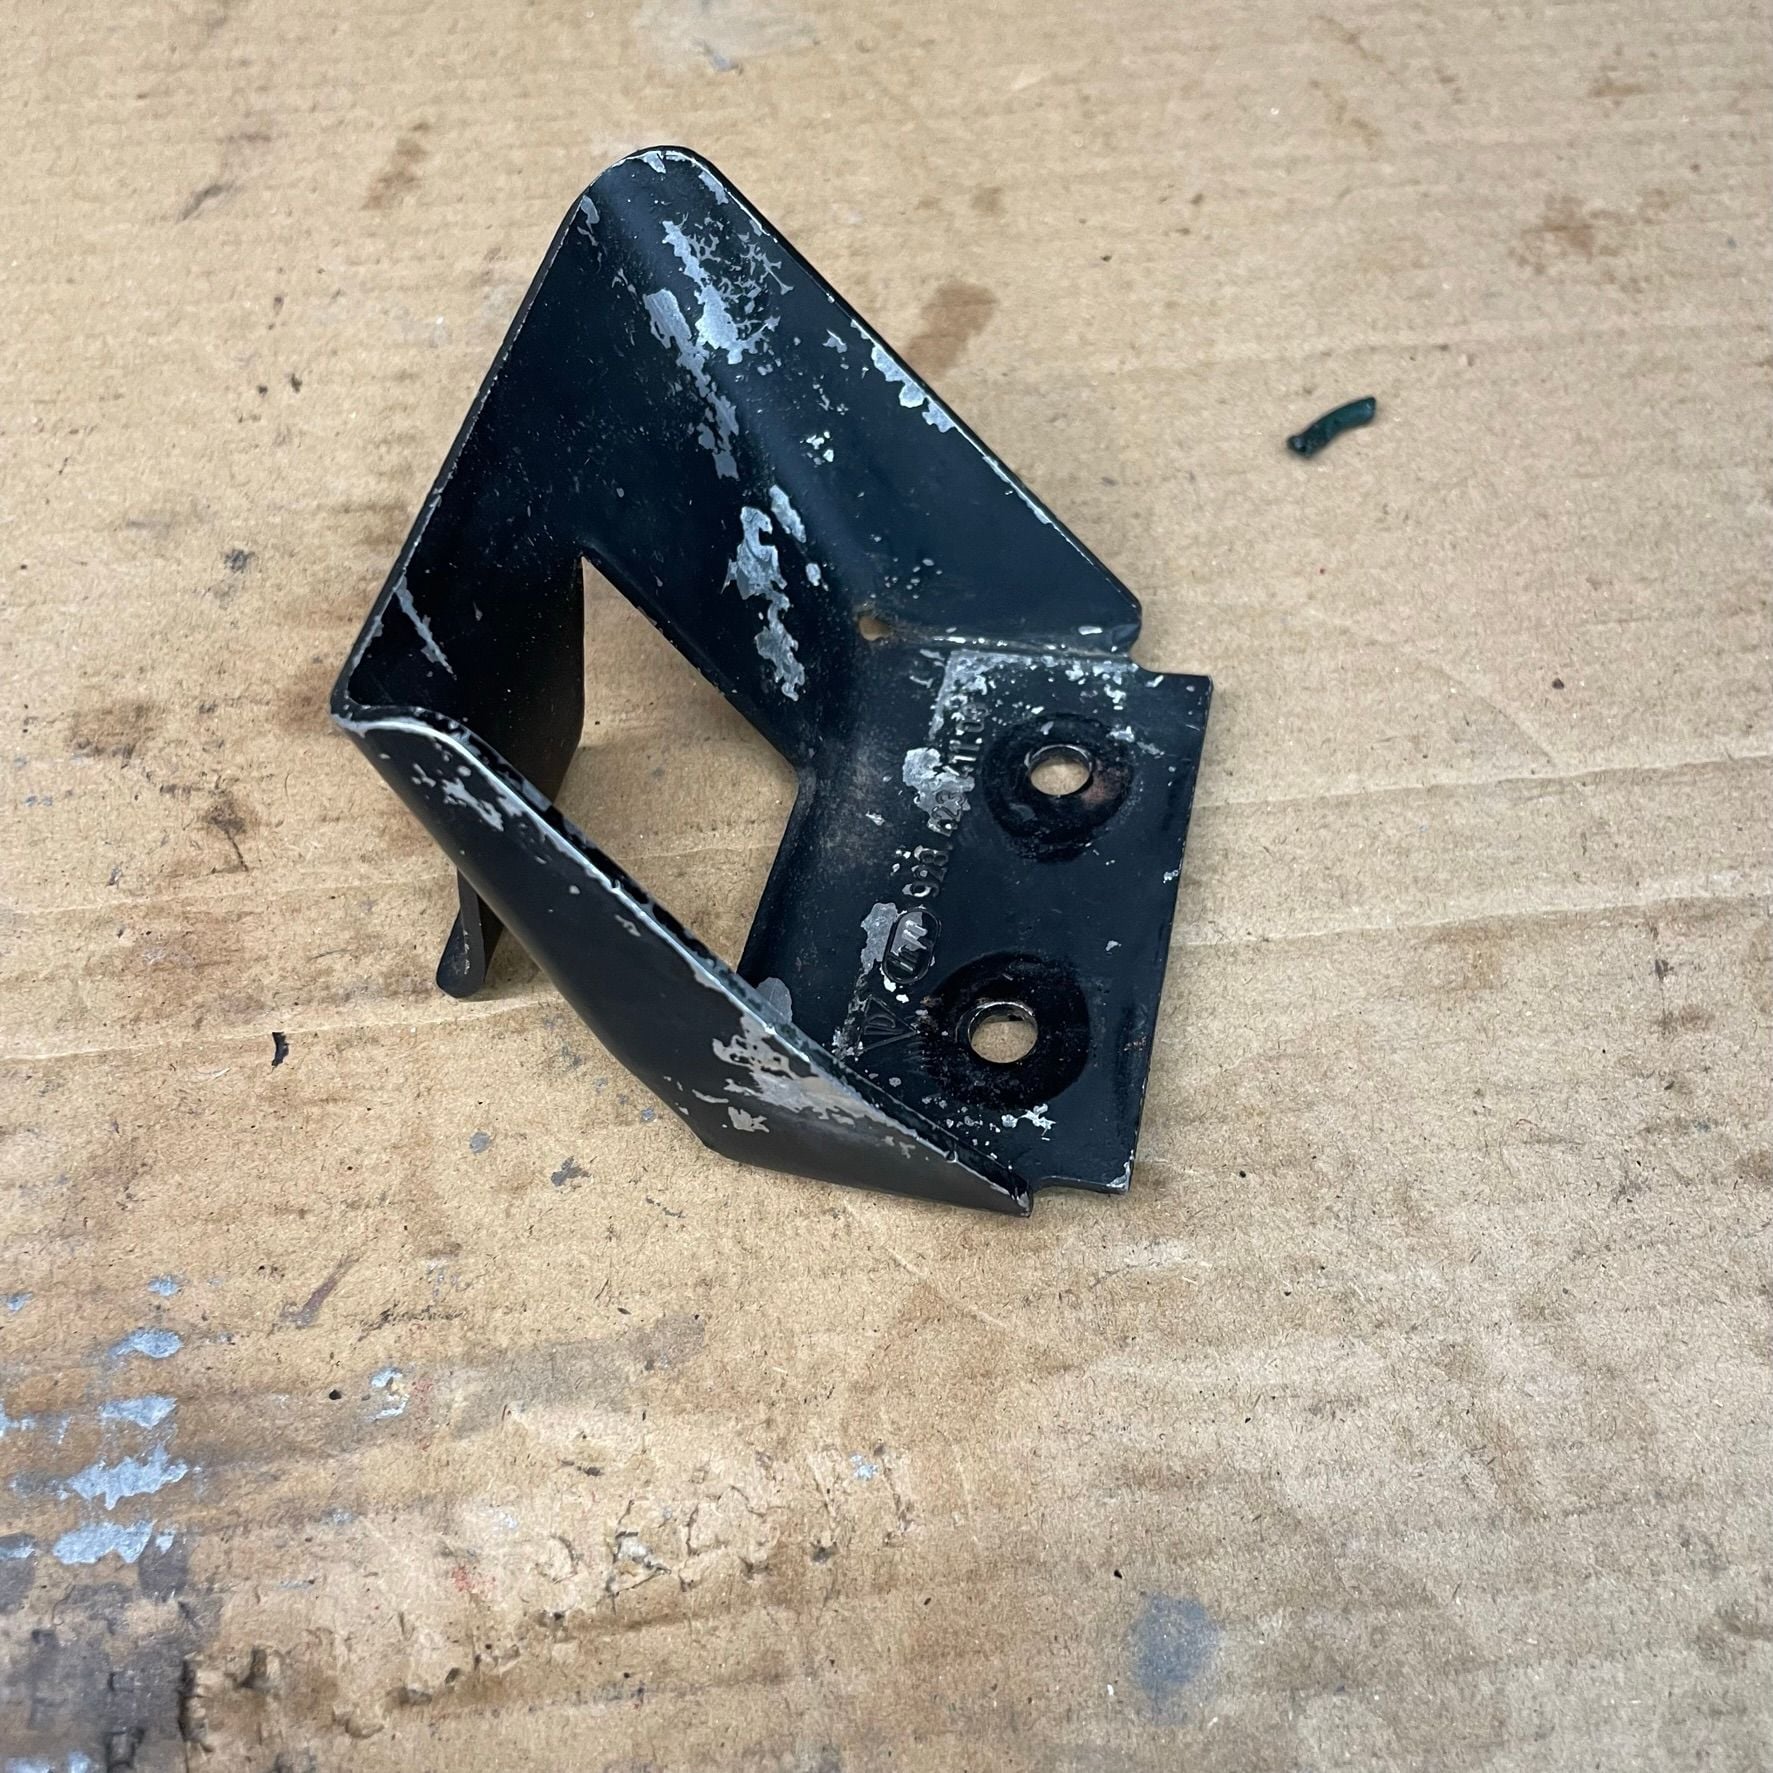
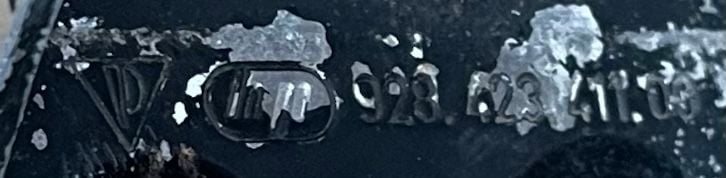
What is this metal bracket mounted under the accelerator pedal? It seems to limit the travel of the accelerator pedal such that it does not contact the kick-down switch unless really forced by flexing the pedal. It's not listed in PET, but does has a Porsche part number (928.423.411.03) but I cannot find and reference in PET or dealer websites. I searche through RL and didnt see any photos of the bracket in others pedal assemblies. I am wondering if this some sort of weird restrictor used in Japan market cars.
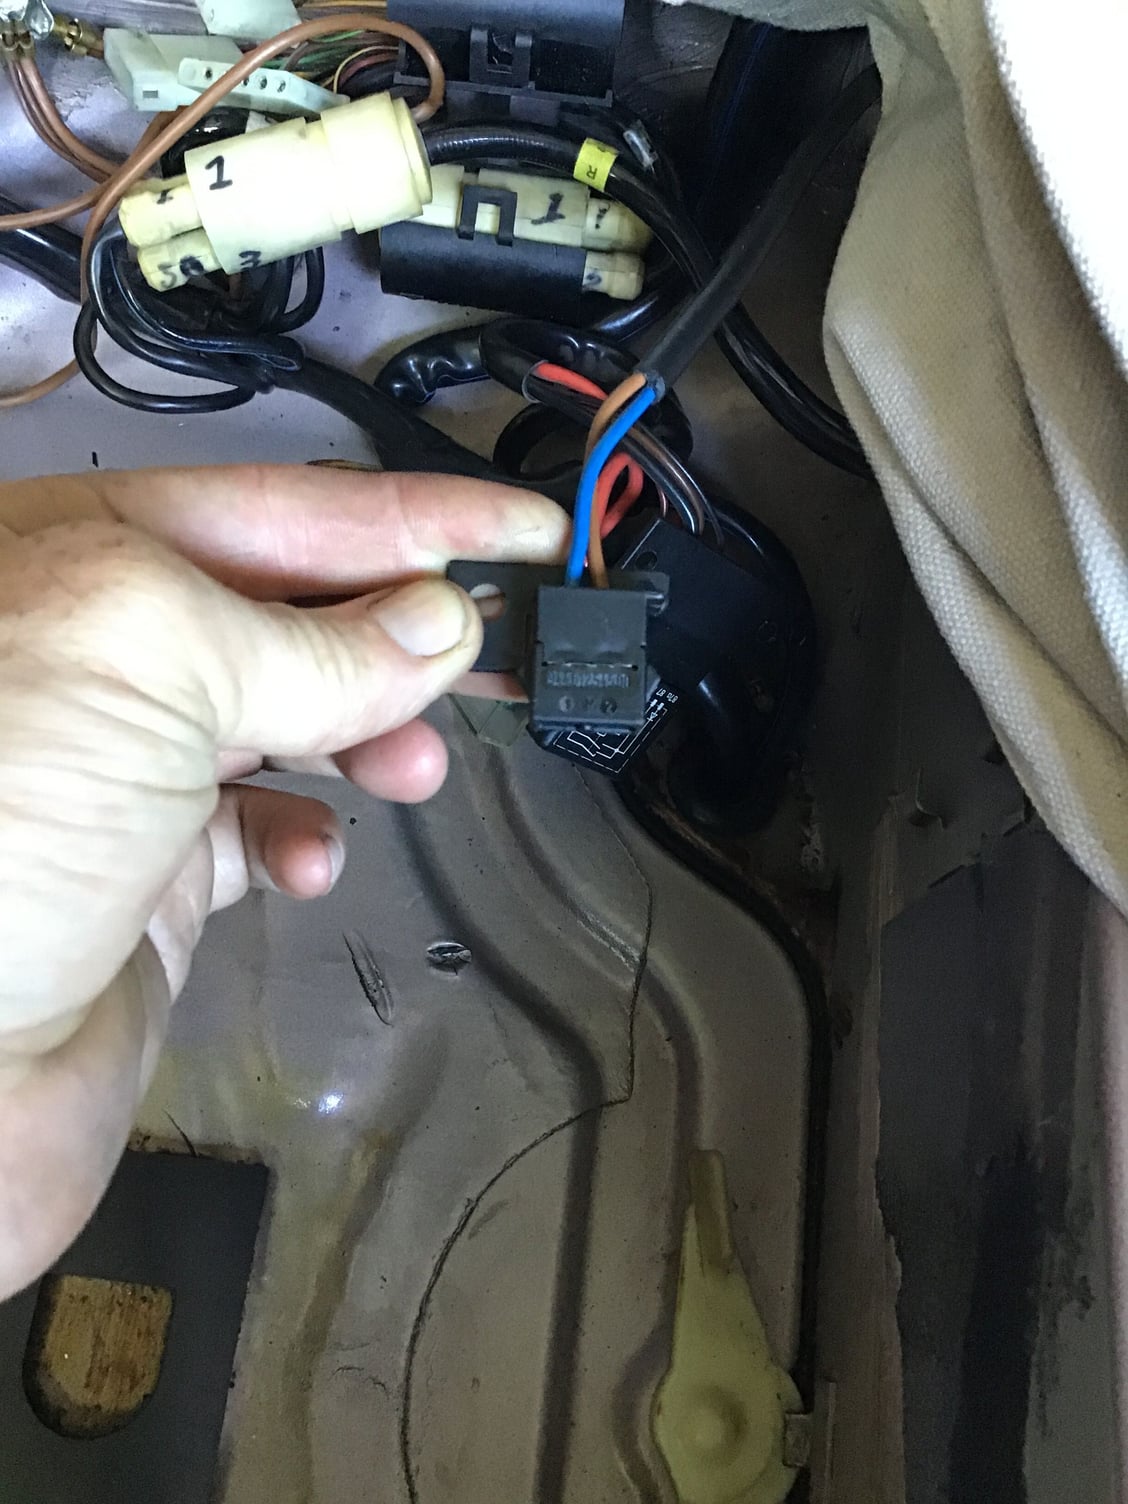
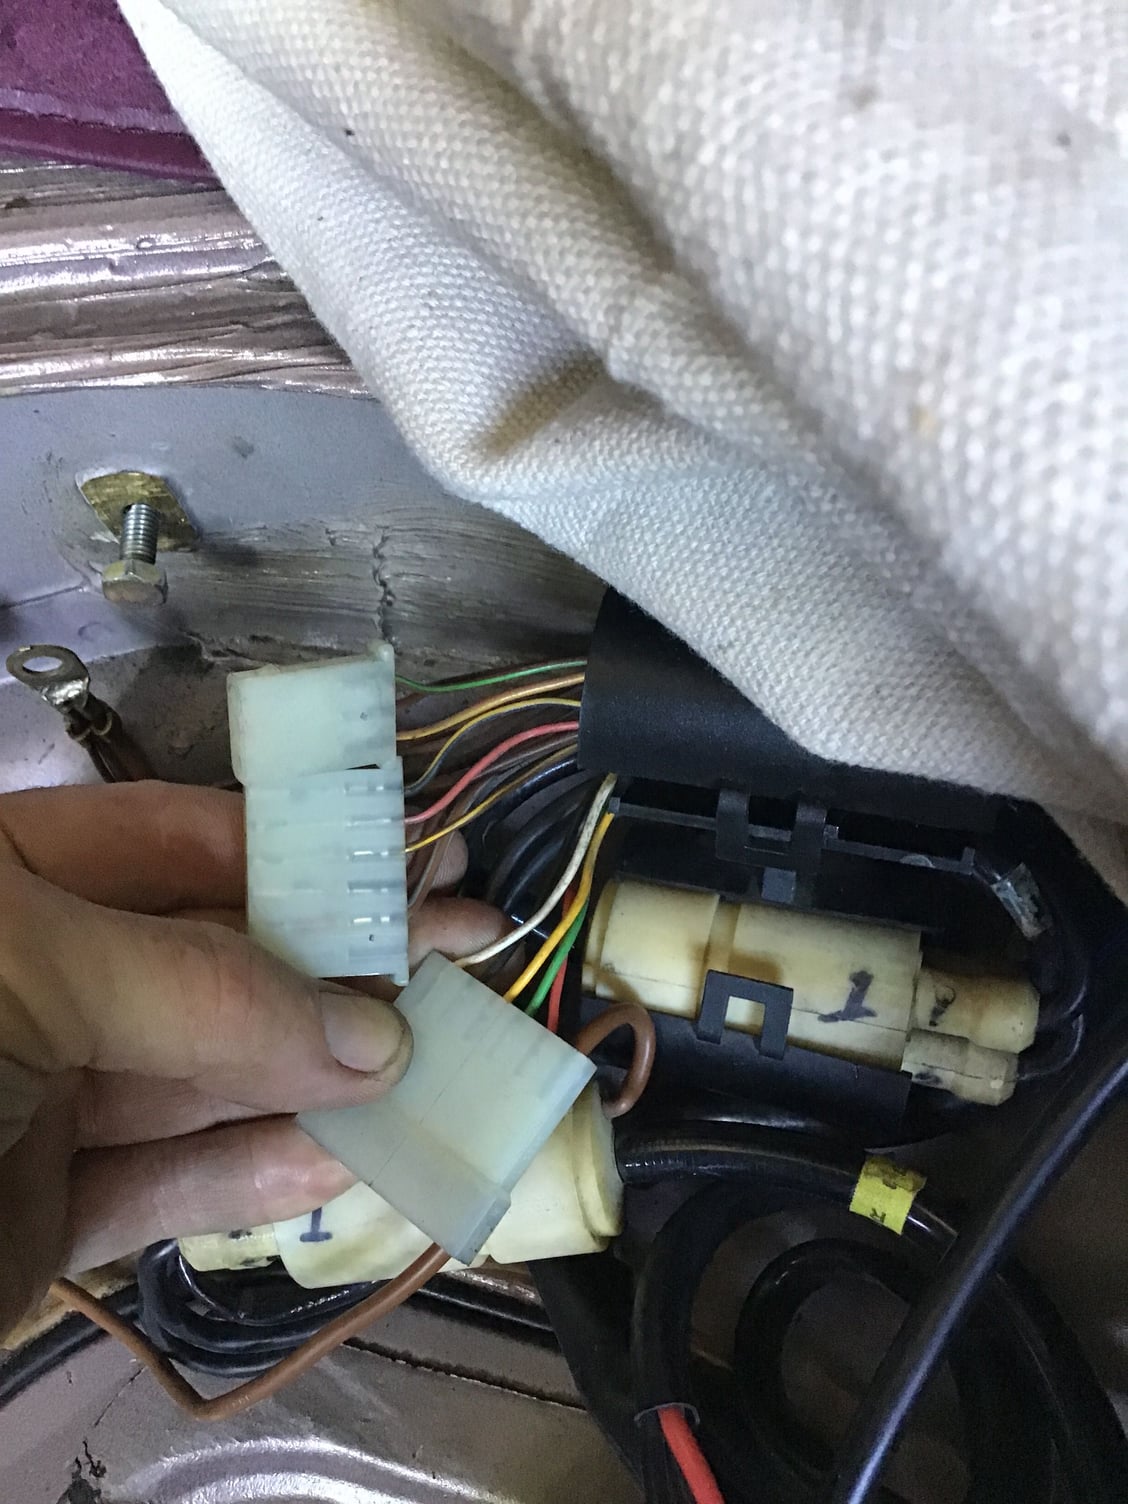
How on earth do I connect the reverse harness for the manual transmission to the harness in the car?
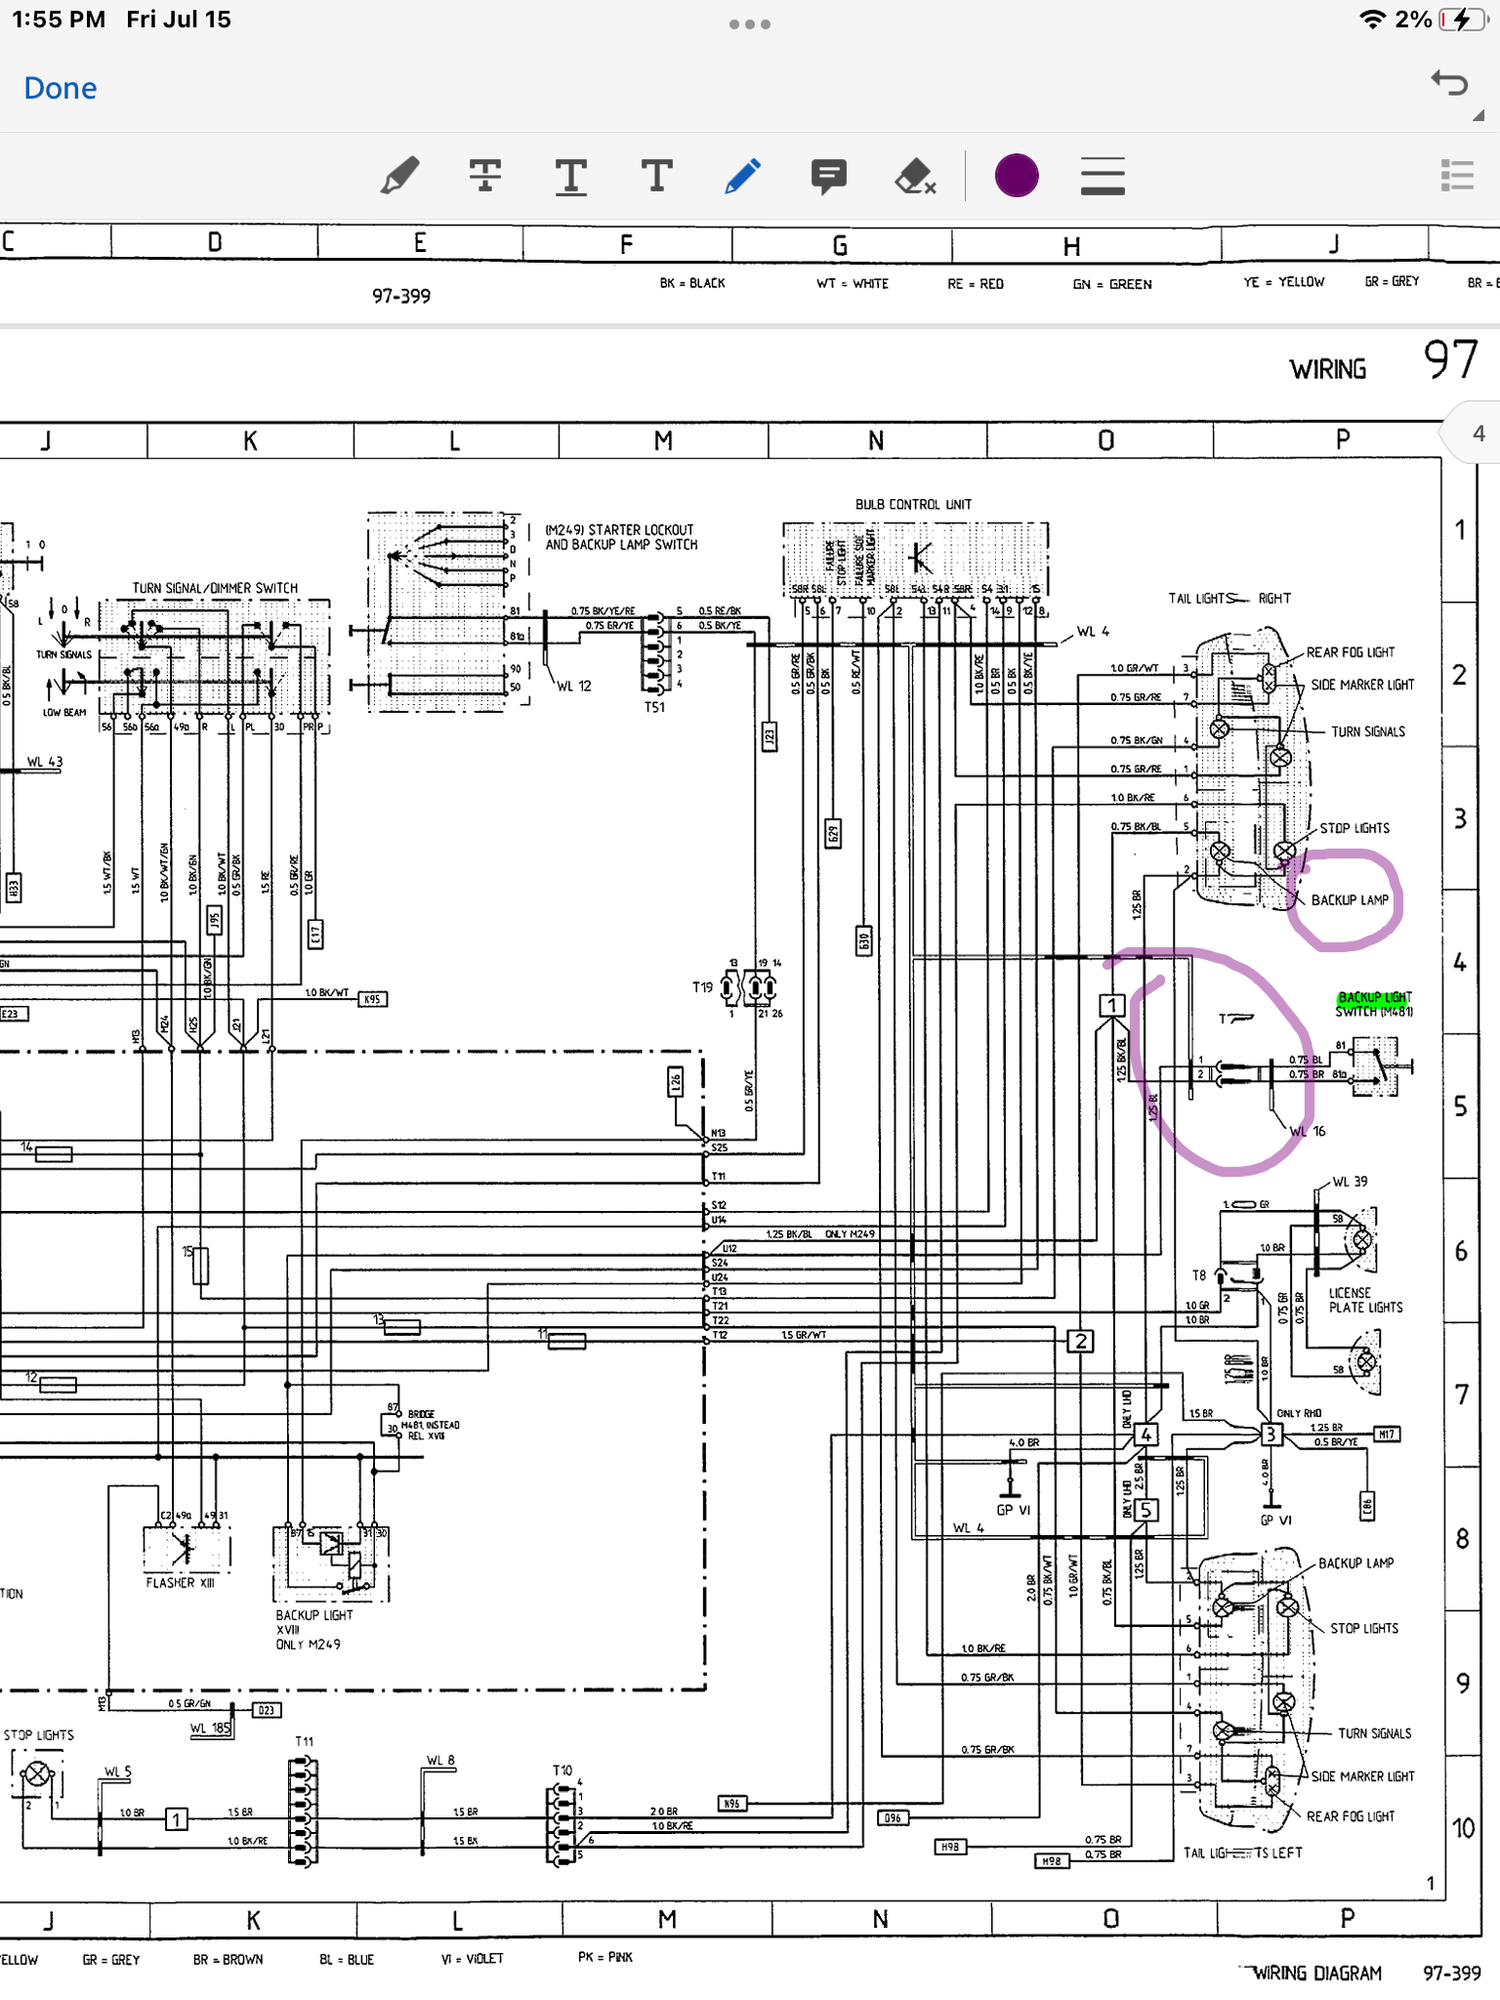
these are the connections to the auto trans which is now removed. I assume I need to connect the wires from the above harness into two of these wires but I can’t tell from the wiring diagram
I sure would appreciate some help with figuring this one out.
Can anyone help me identify where connection point 1 is or can show me where the 5-speed harness connects in the boot?
Last edited by Michael Benno; 07-18-2022 at 01:27 AM.
How on earth do I connect the reverse harness for the manual transmission to the harness in the car?
these are the connections to the auto trans which is now removed. I assume I need to connect the wires from the above harness into two of these wires but I can�t tell from the wiring diagram
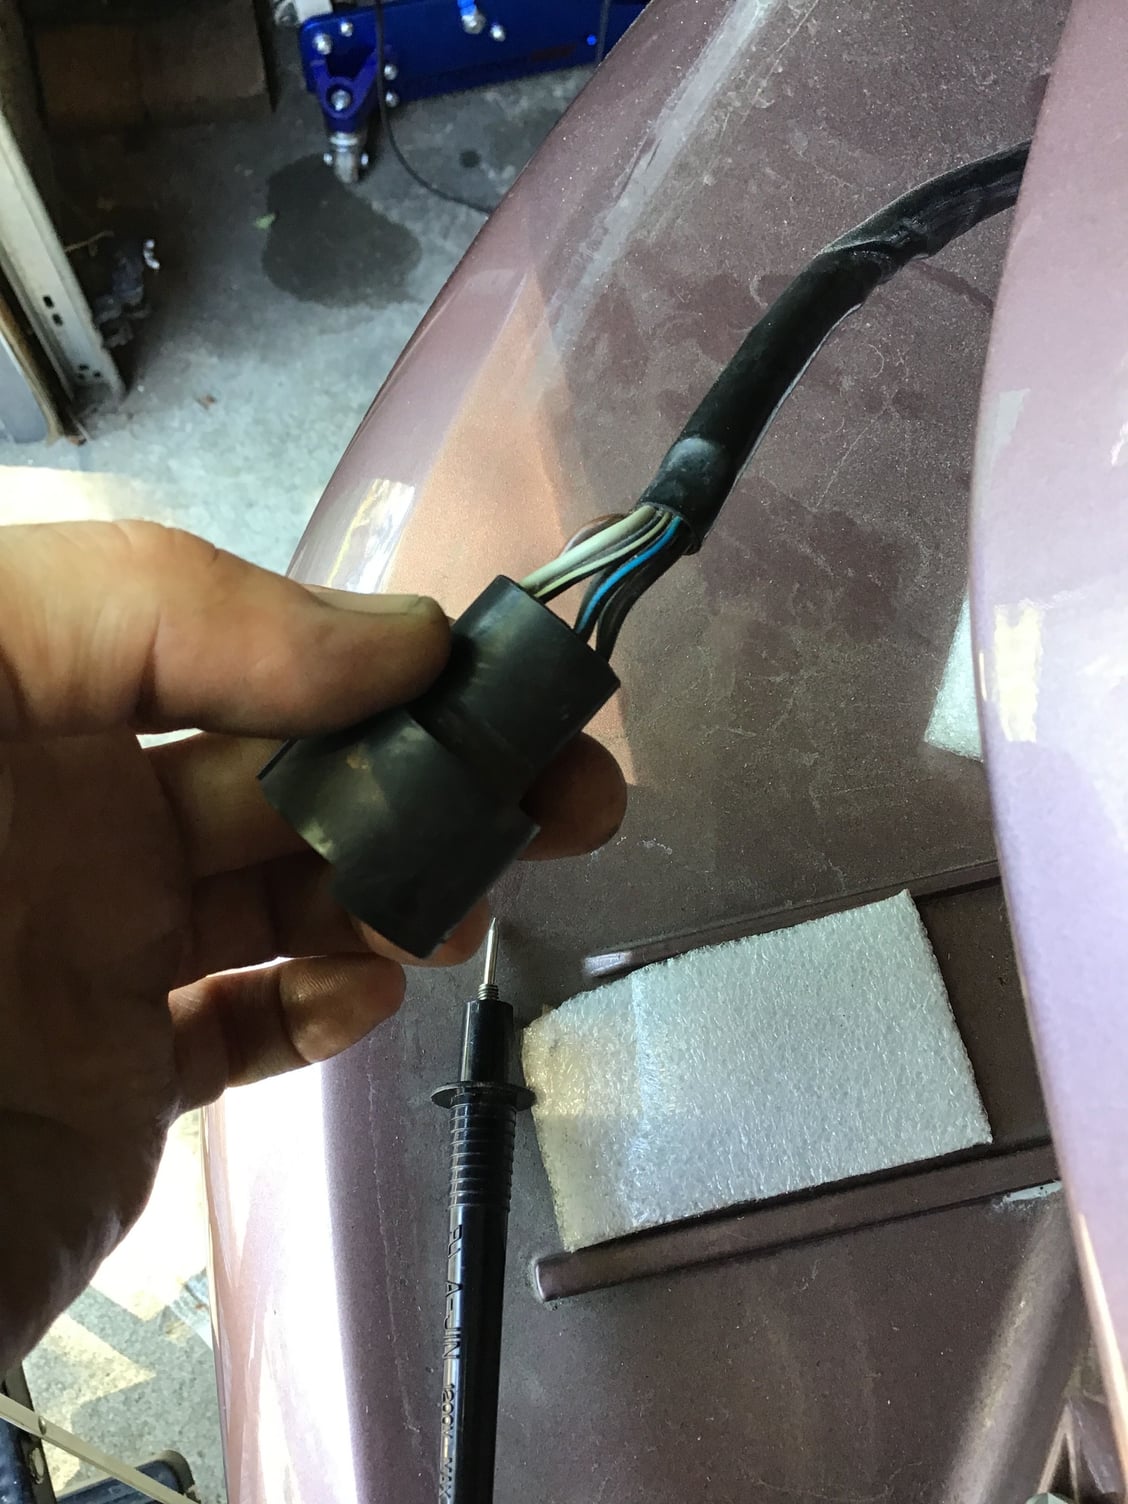
further complicating things, there is no conductivity from the backup light wire in tail light harness to the white connectors above
I sure would appreciate some help with figuring this one out.
Can anyone help me identify where connection point 1 is or can show me where the 5-speed harness connects in the boot?
I'm not sure if this will be similar (or even remotely the same) on your GTS as it was on my 86.5, but this post and the one it links to (after I swapped tachs) are what I did to make the reverse lights work and the park neutral safety switch wiring let the car start.
I'm not sure if this will be similar (or even remotely the same) on your GTS as it was on my 86.5, but this post and the one it links to (after I swapped tachs) are what I did to make the reverse lights work and the park neutral safety switch wiring let the car start.


 07-06-2022, 10:12 PM


 .
.


 .
.