When you click on links to various merchants on this site and make a purchase, this can result in this site earning a commission. Affiliate programs and affiliations include, but are not limited to, the eBay Partner Network.
You would be amazed at what a difference this bush makes... Costs pennies... That, and the bush for the shifter on top of the torq tube...
Don't get overwhelmed. One bit at a time.
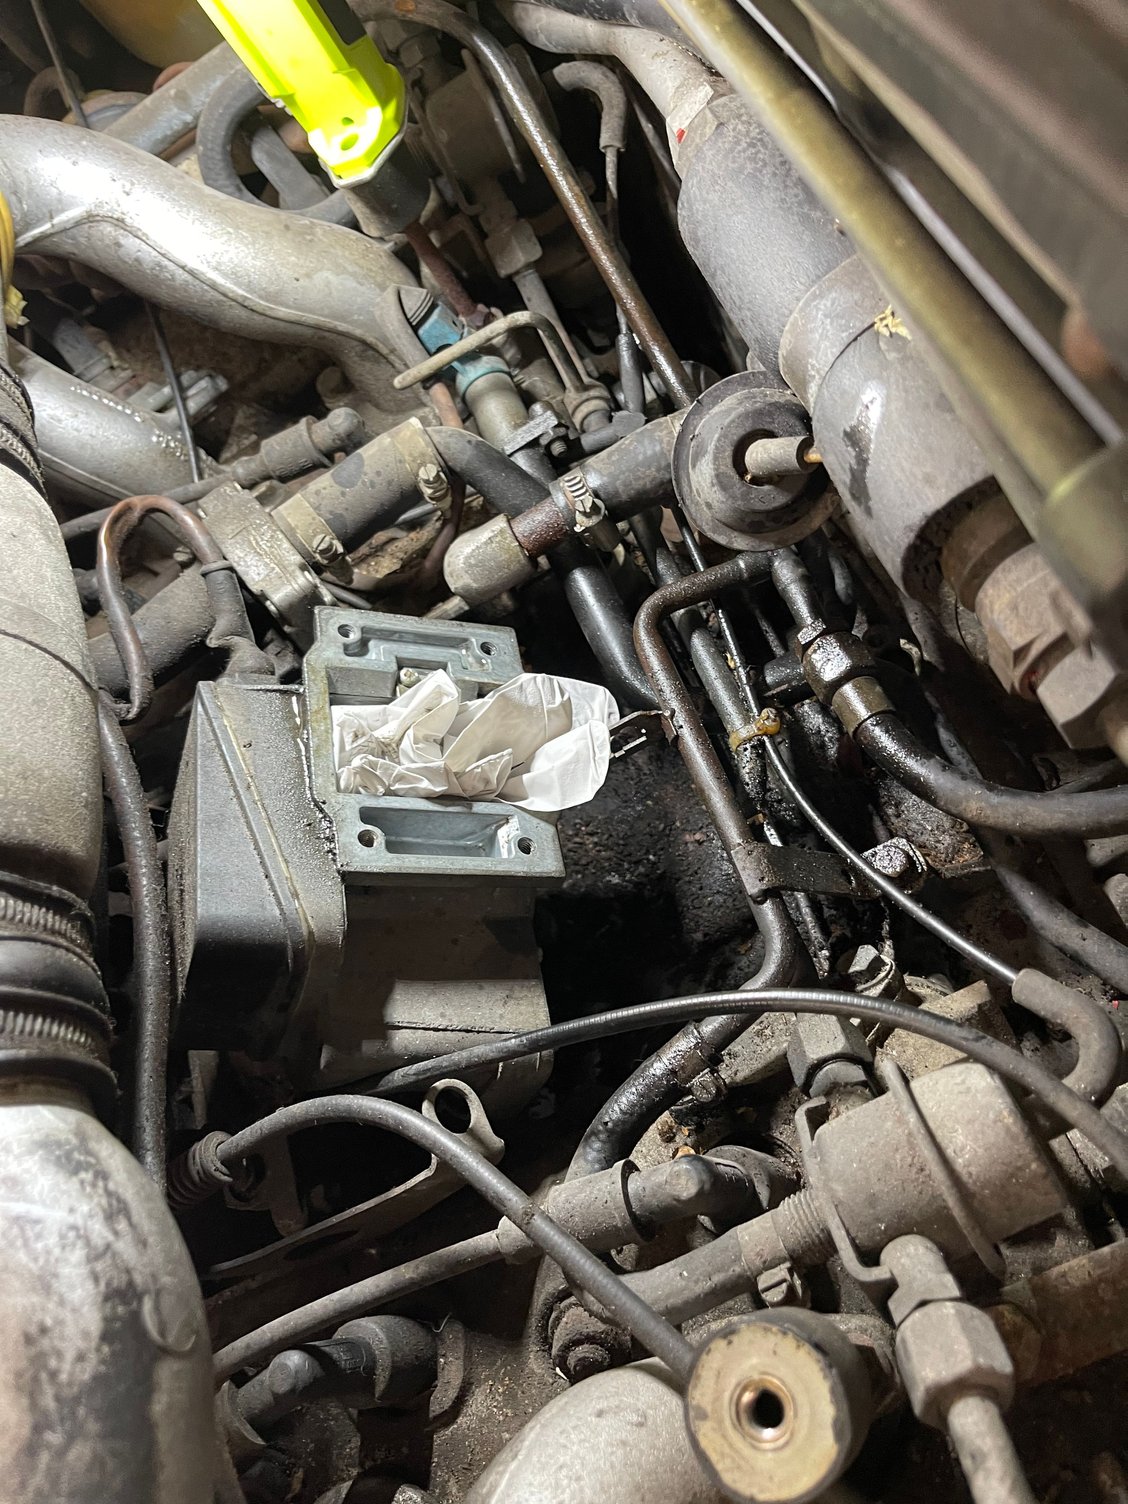
From your photo. It's missing completely - or appears to be...
Thank you! I would not have known, I'll make sure to replace it! Always good to speak to people who have knowledge and experience! I'll do this one step at a time!
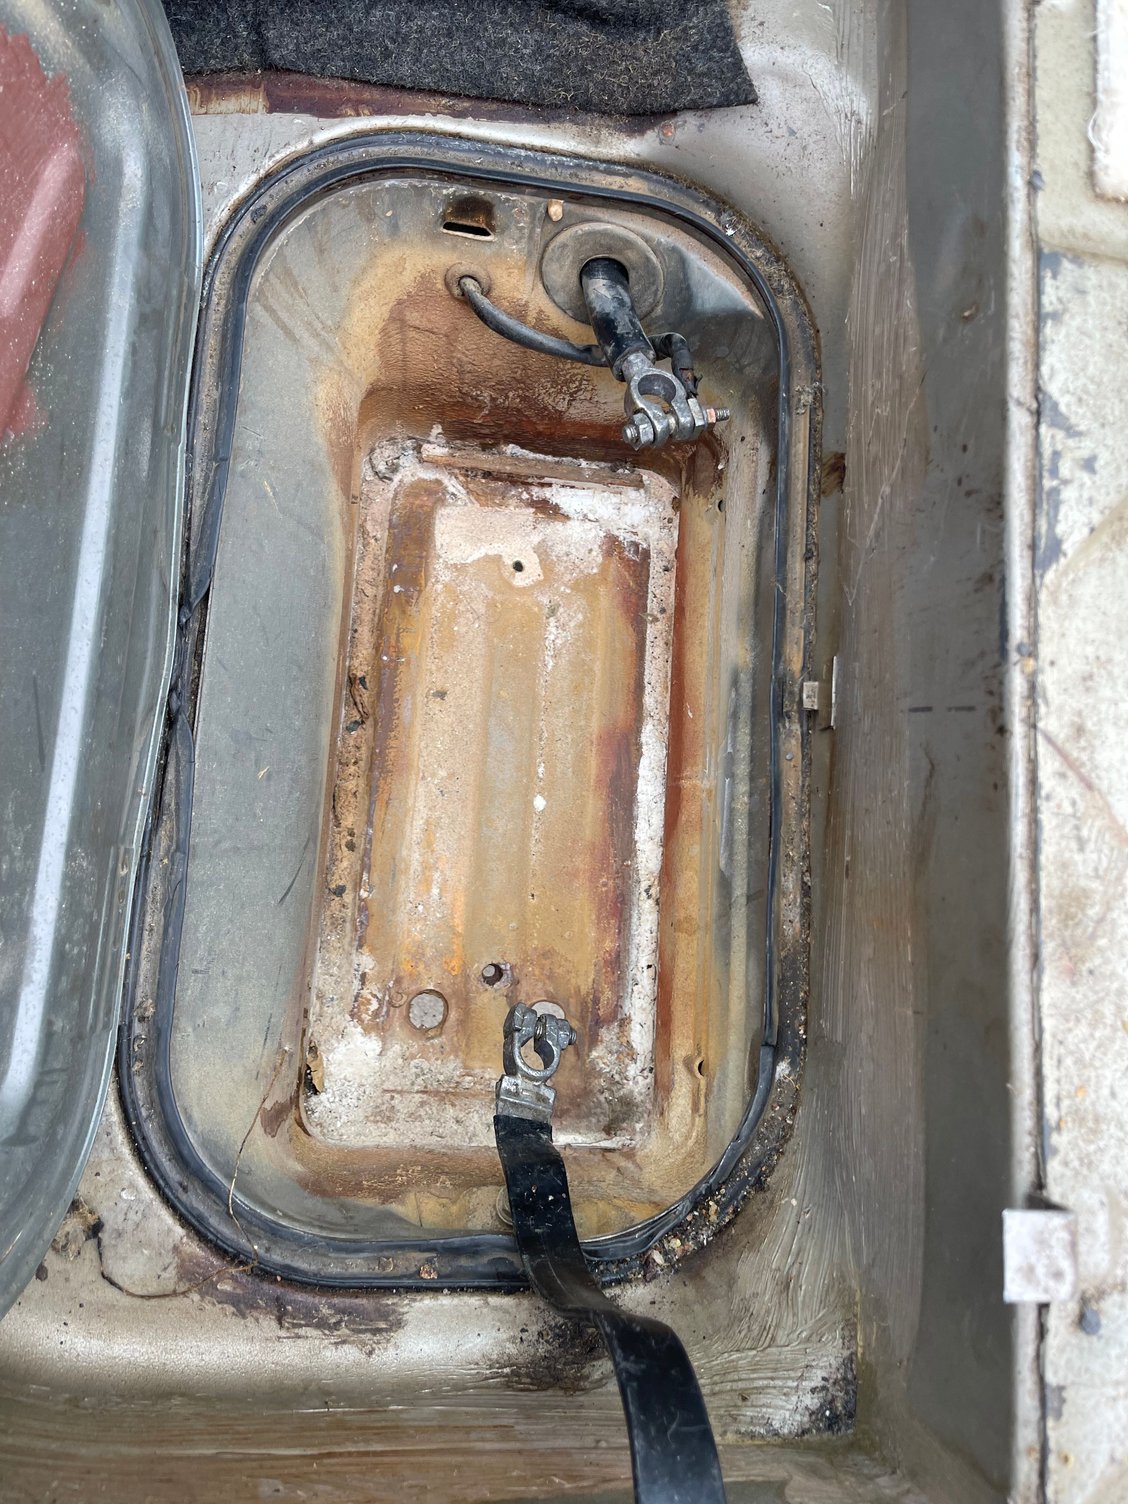
from the picture you posted,
the green wire looks like its turning brown,
and the connector end by the hot post is turning tan,
both indicators of impending doom.
Thank you! I would not have known, I'll make sure to replace it! Always good to speak to people who have knowledge and experience! I'll do this one step at a time!
Ha! My knowledge is limited and experience,,, painful... I still know very little of these amazing cars - have a road ahead of me - but mine, the bush(s) I mentioned were ghost when I first got the car and it made driving a real wrestling match with the shifter and clutch peddle bushing missing. Parked it.
Here is the mistake I think I made. I sprayed penetrant on the ball/bolt at the back of the trans (also made mistakes when I cleaned out the V) and the fluid ran down the hole, into the clutch assembly, thru that hole you see there.
It's a very tight fit back there - and I removed a lot to get to it and still. Be careful with the ball/bolt. On mine, when turning it out, it reallllly felt like an interference fit, it was so tight. The last thing you want or need is to shear the damn thing off. Stuff some rags in there, be careful, and hit the ball/bolt days before with penetrant/fluid. It's steel on aluminum, remember.
Be careful threading it back in, too. Nooo cross threading. Do it by hand (as much as possible) slowly. Maybe run a tap to clean up/out the hole. If I had it to do over again, that's what I would try.
I remember thinking - this seeeeemed like such an easy job. It was, and it wasn't, if ya know what I mean?
Jay FWIW I suggest that you dont remove the ball from the bell housing to install the release arm bushing.
Here is how I suggest you proceed
To put in a new release arm bushing
first open up the cup entrance so it will pass over the ball with less interference a dremel works great here.
toss it into hot water prior to fitting it on the ball.
Once the bushing is on the ball the arm is then put onto the bushing.
To put the arm on the ball,
remove the lower bell housing and the slave cylinder.
Use a prybar to pry the release arm back , slide in the 3MM wire spacer then turn the crank and do the other two pins.
NOTE WARNING if your not careful the prybar can damage the fingers of the pressure plate so position the tool carefully.
Once the spacers are in then push the release arm lower end forward to remove it from the ball.
Up top get your heated bushing and press it onto the ball a lil dab of silicone grease DC111 is good.
fish the top end of the arm up and onto the ball, pry it on.
Deep Bow, Many Thanks, Your Wisdom is truly truly appreciated... I quietly study your words here to help me navigate many many things, Merlin! TY
Thank you again for the advice, I'll be taking photos along the way so you can all see my successes and failures!
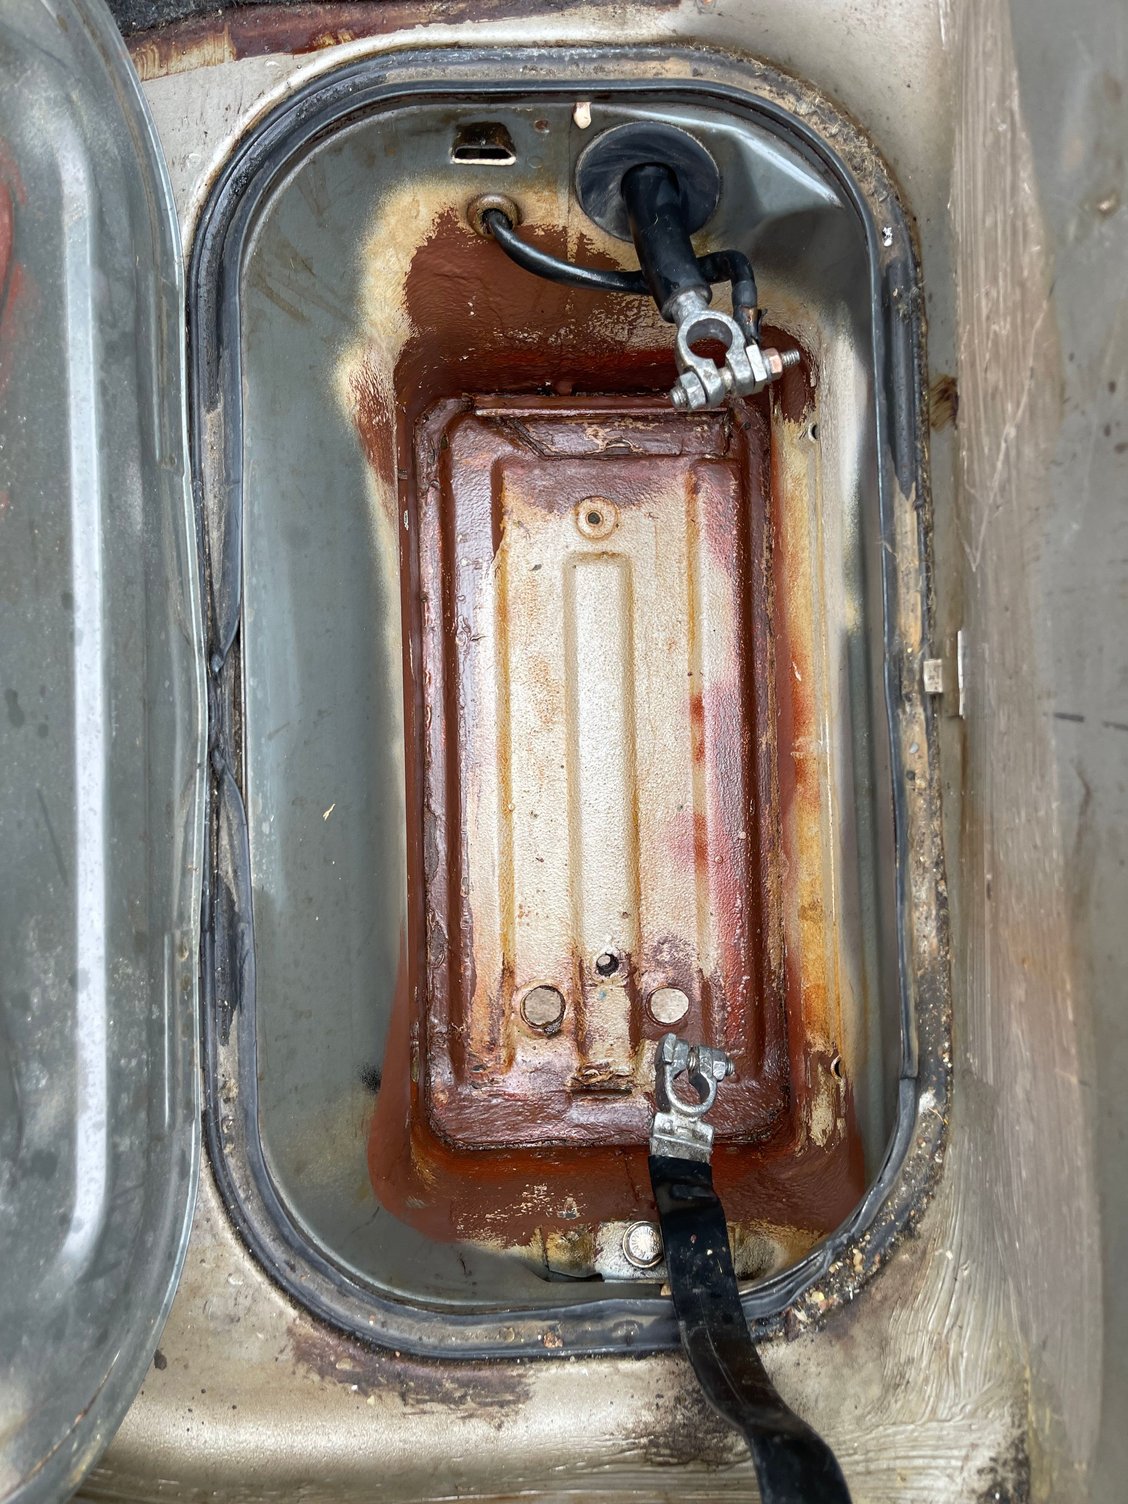
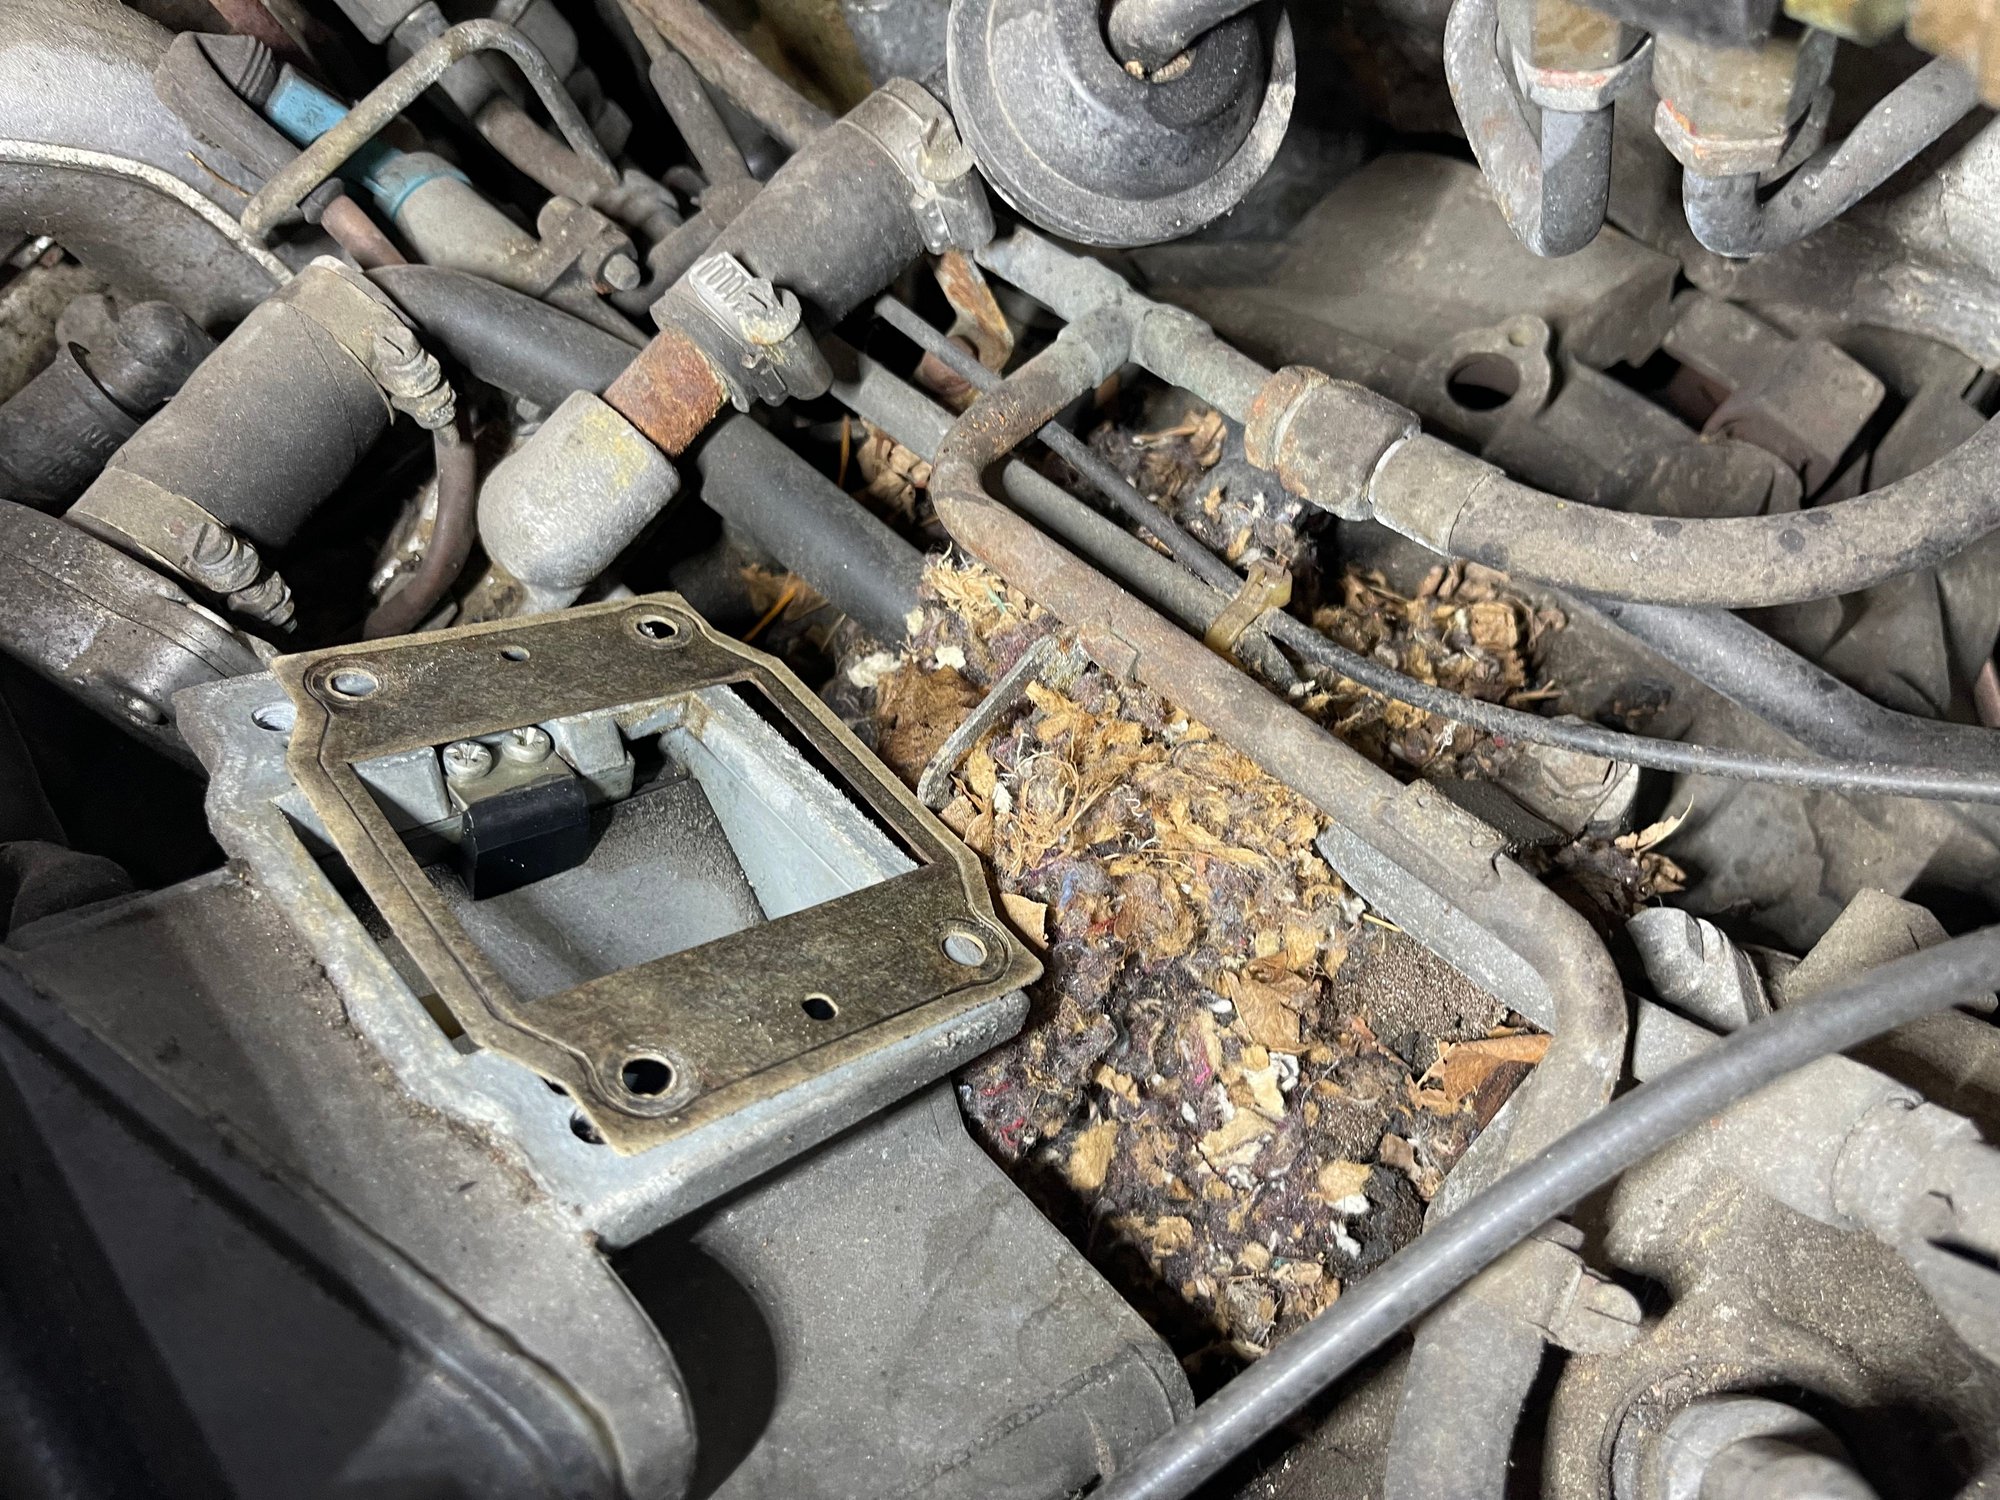
Not related to the clutch, but I literally have been bringing this car back from the brink, another few months of sitting around and this thing would have needed serious repair, case in point, the battery box was full of corrosion which I cleaned up and treated:
The heating elements on the rear window were also starting to corrode, but I was able to get rid of most of the corrosion with some careful scrubbing and some WD40
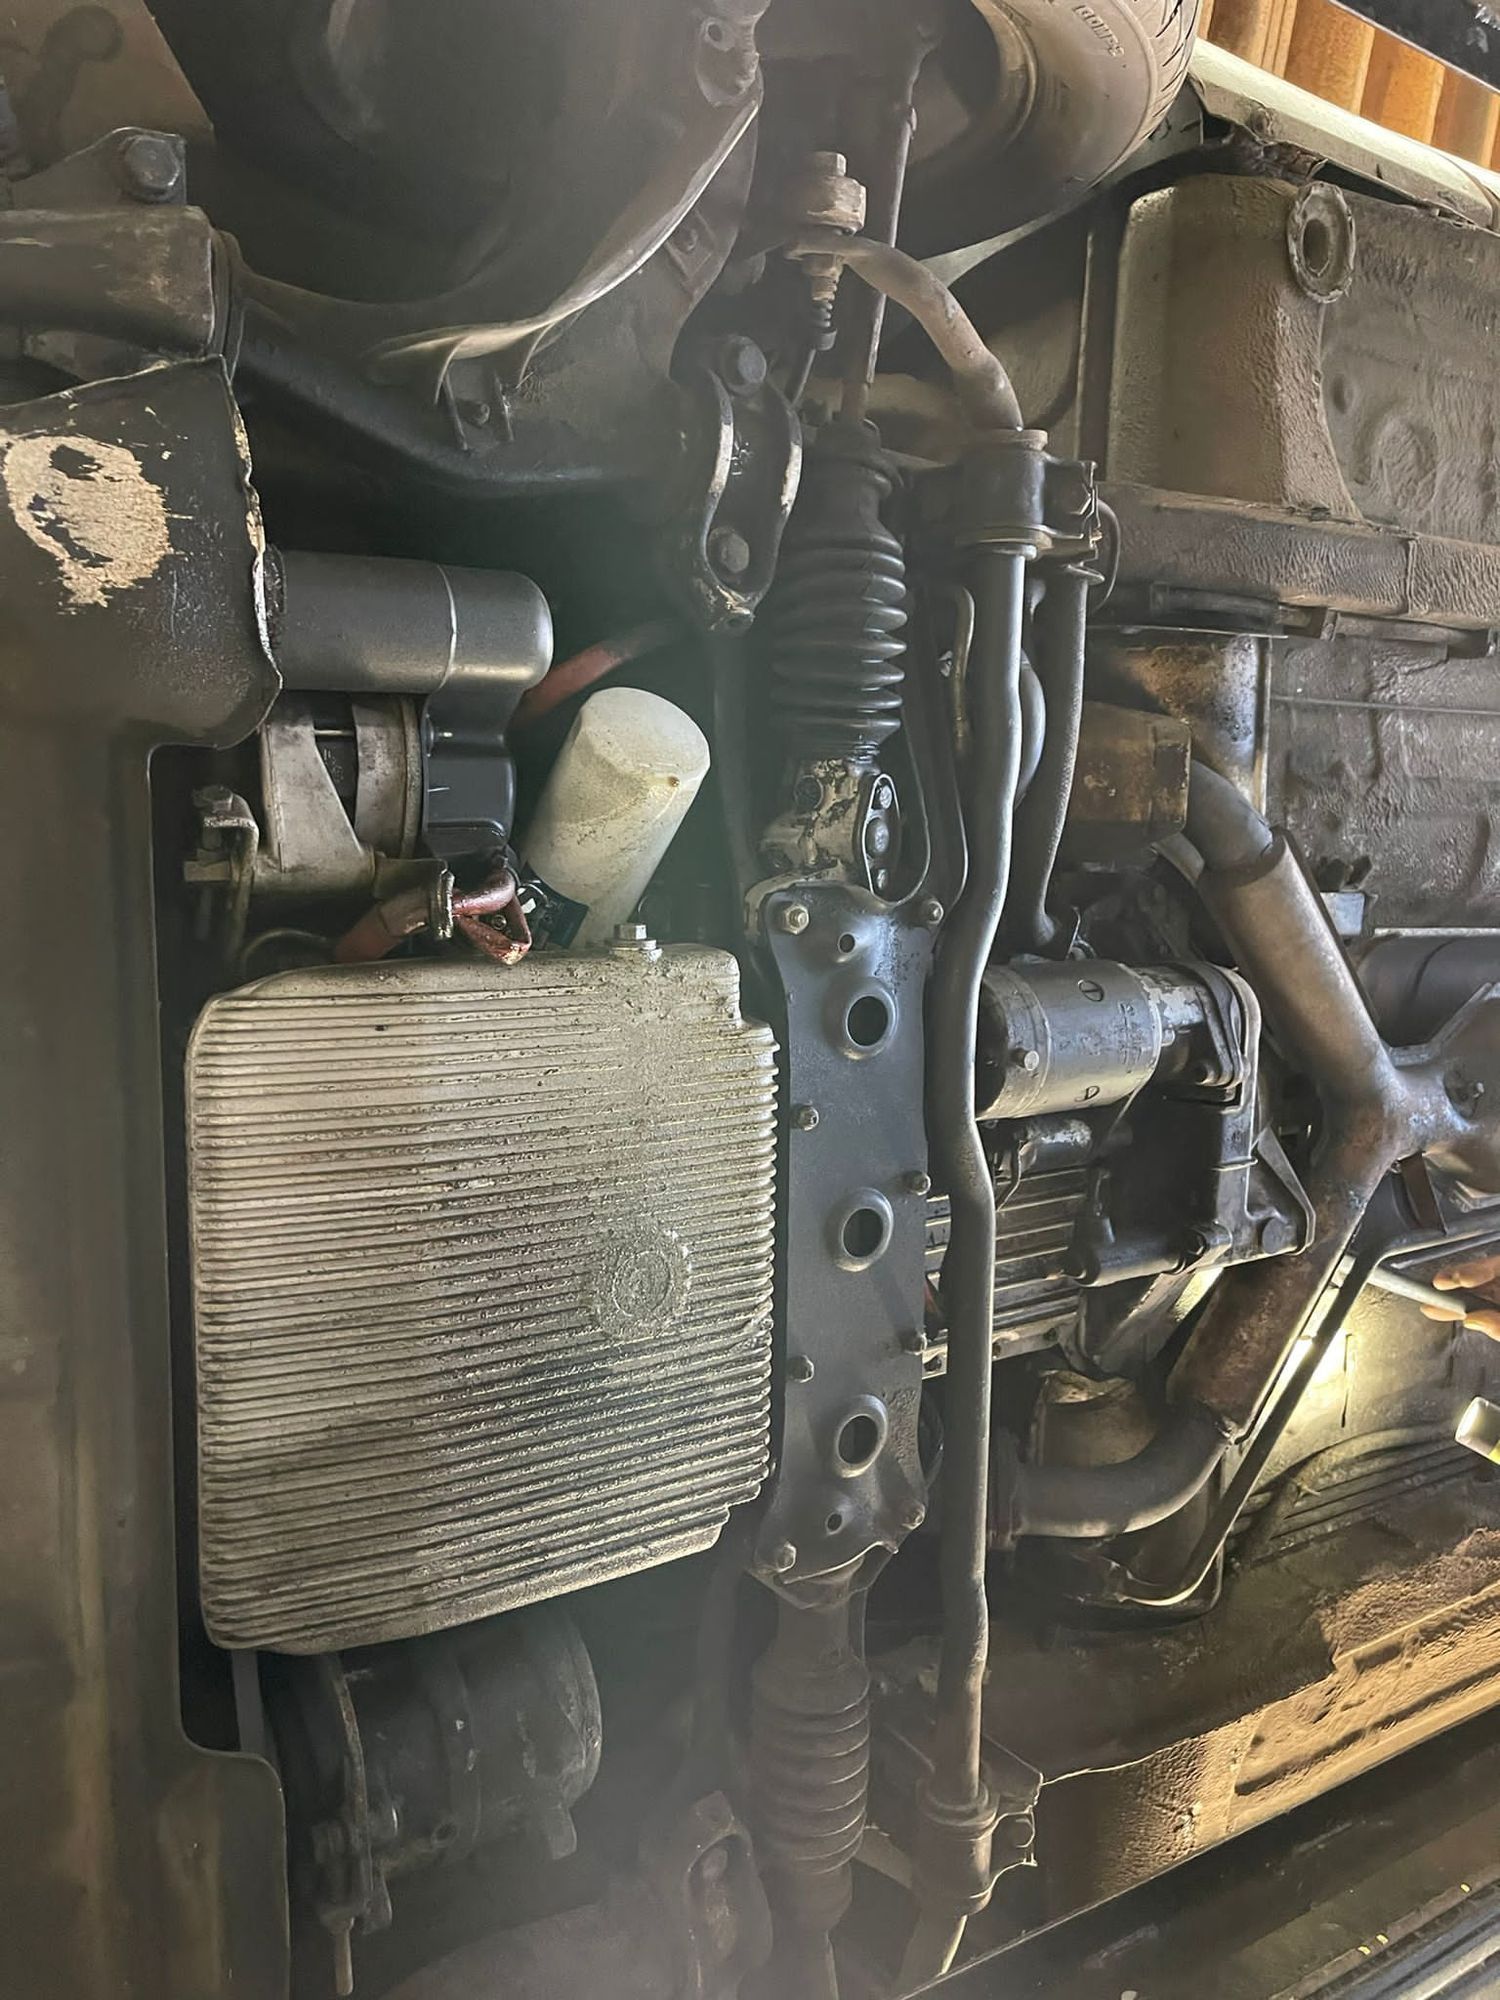
Alignment was way off and I replaced Both tie rods and Tie rod inner and outers (this is a before)
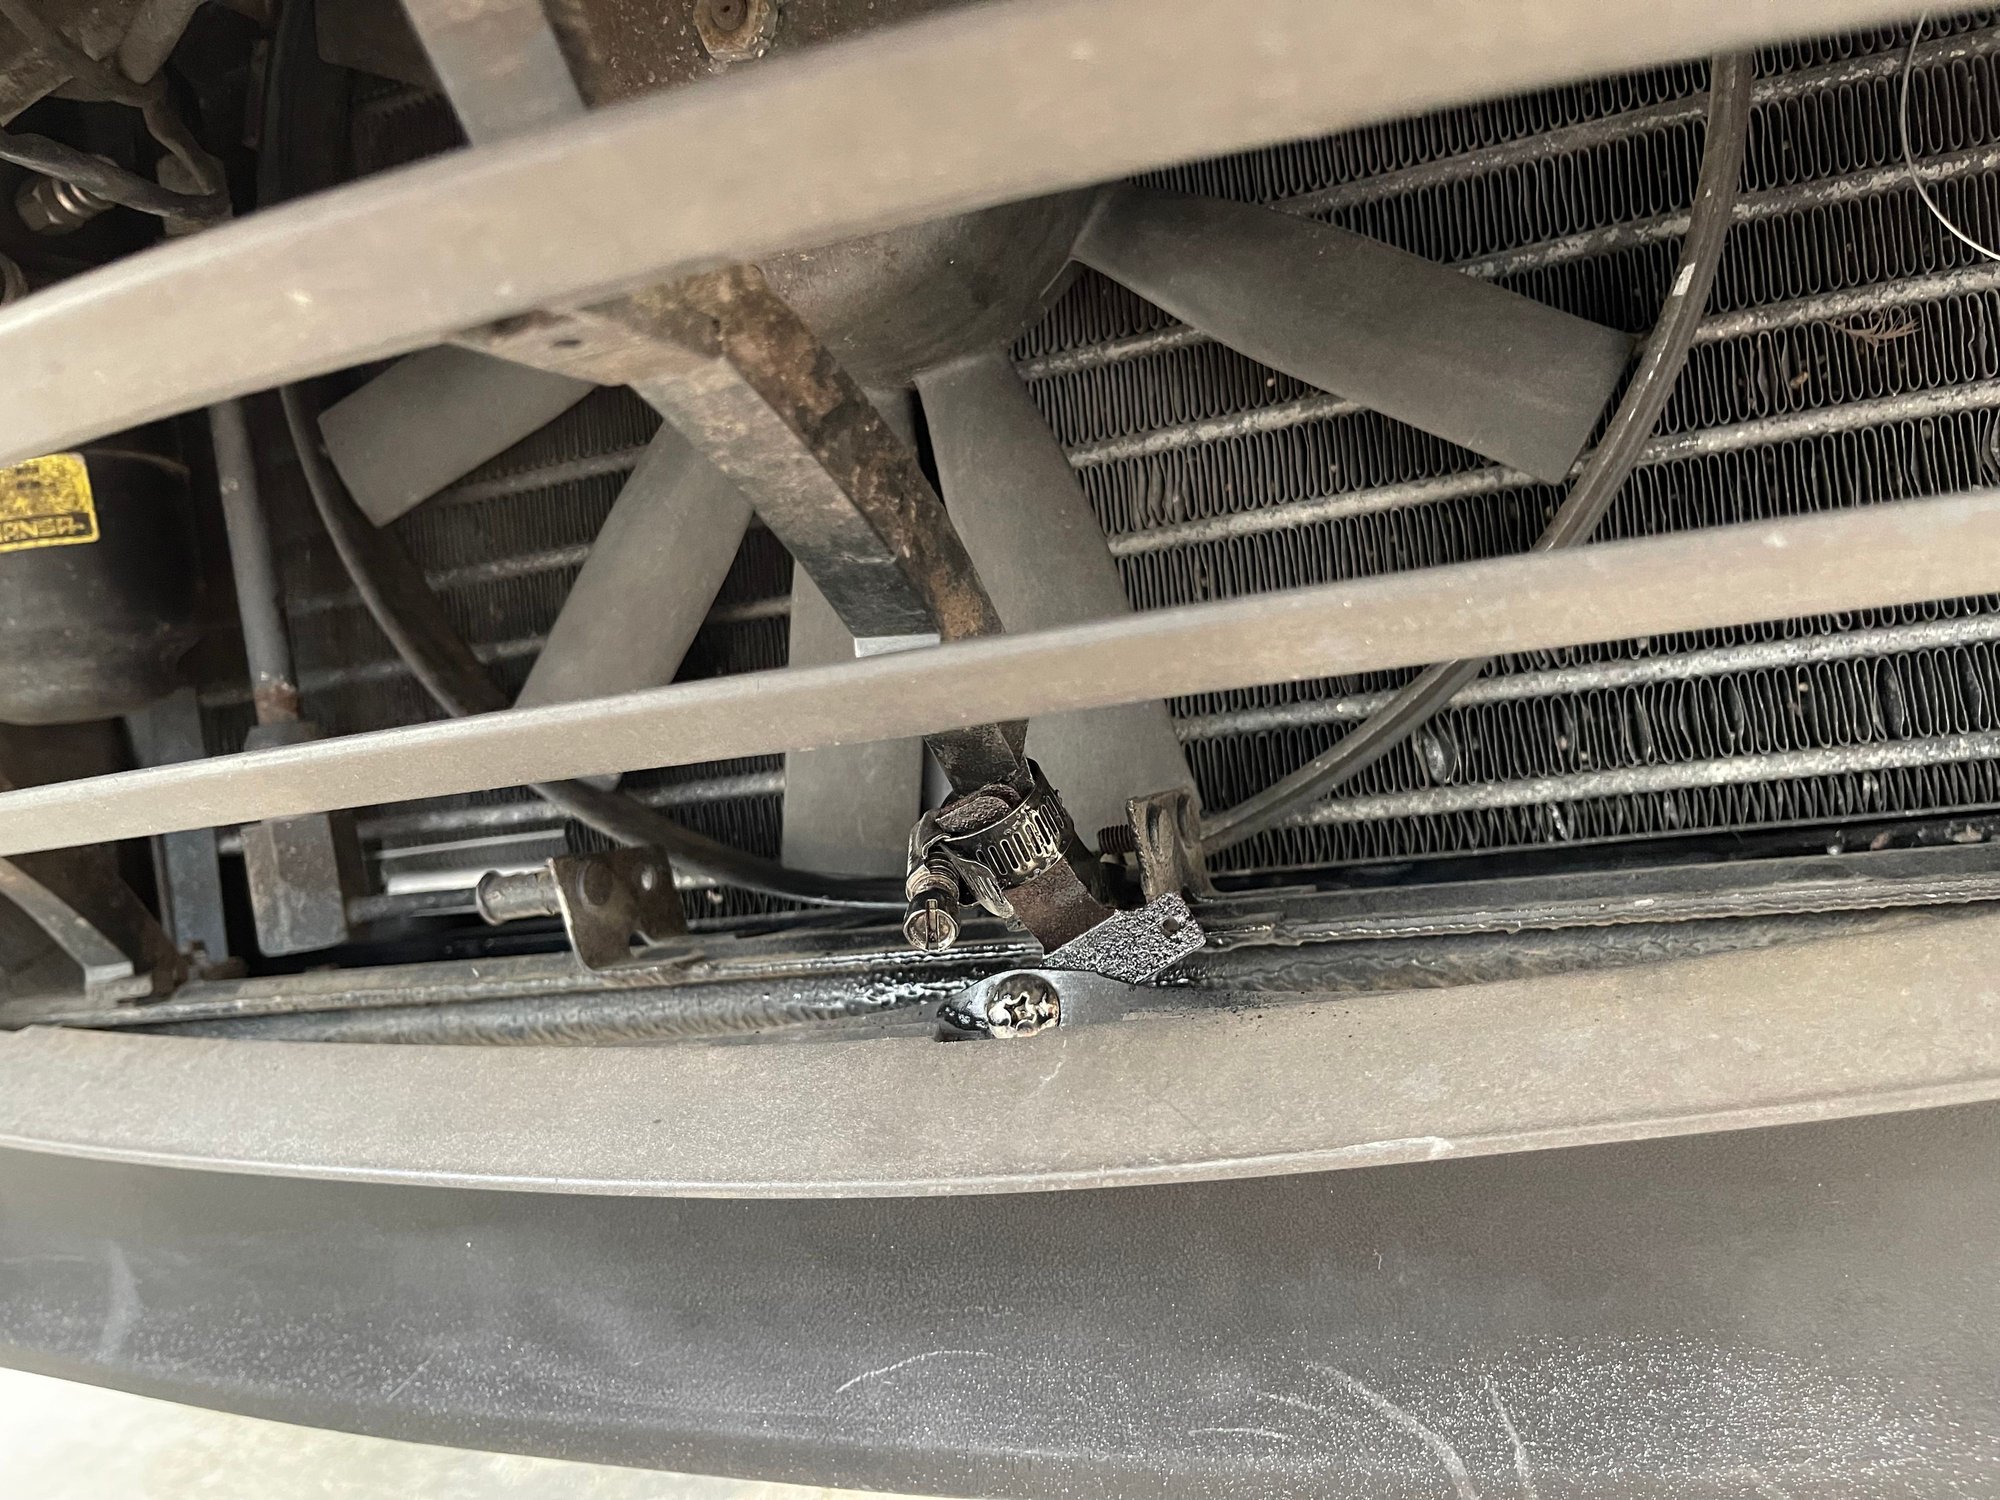
Touched up loads of corrosion and applied rust converter and paint to plenty of spots on and around the car, also fixed this abortion of a front spoiler fix:
Removed the hose-clamp attached to a rusty piece of metal attached to the broken plastic thing and fixed the original broken bits with epoxy and some metal bracing, should hold up.
But yes, the clutch... the damn clutch... I must attack that next...
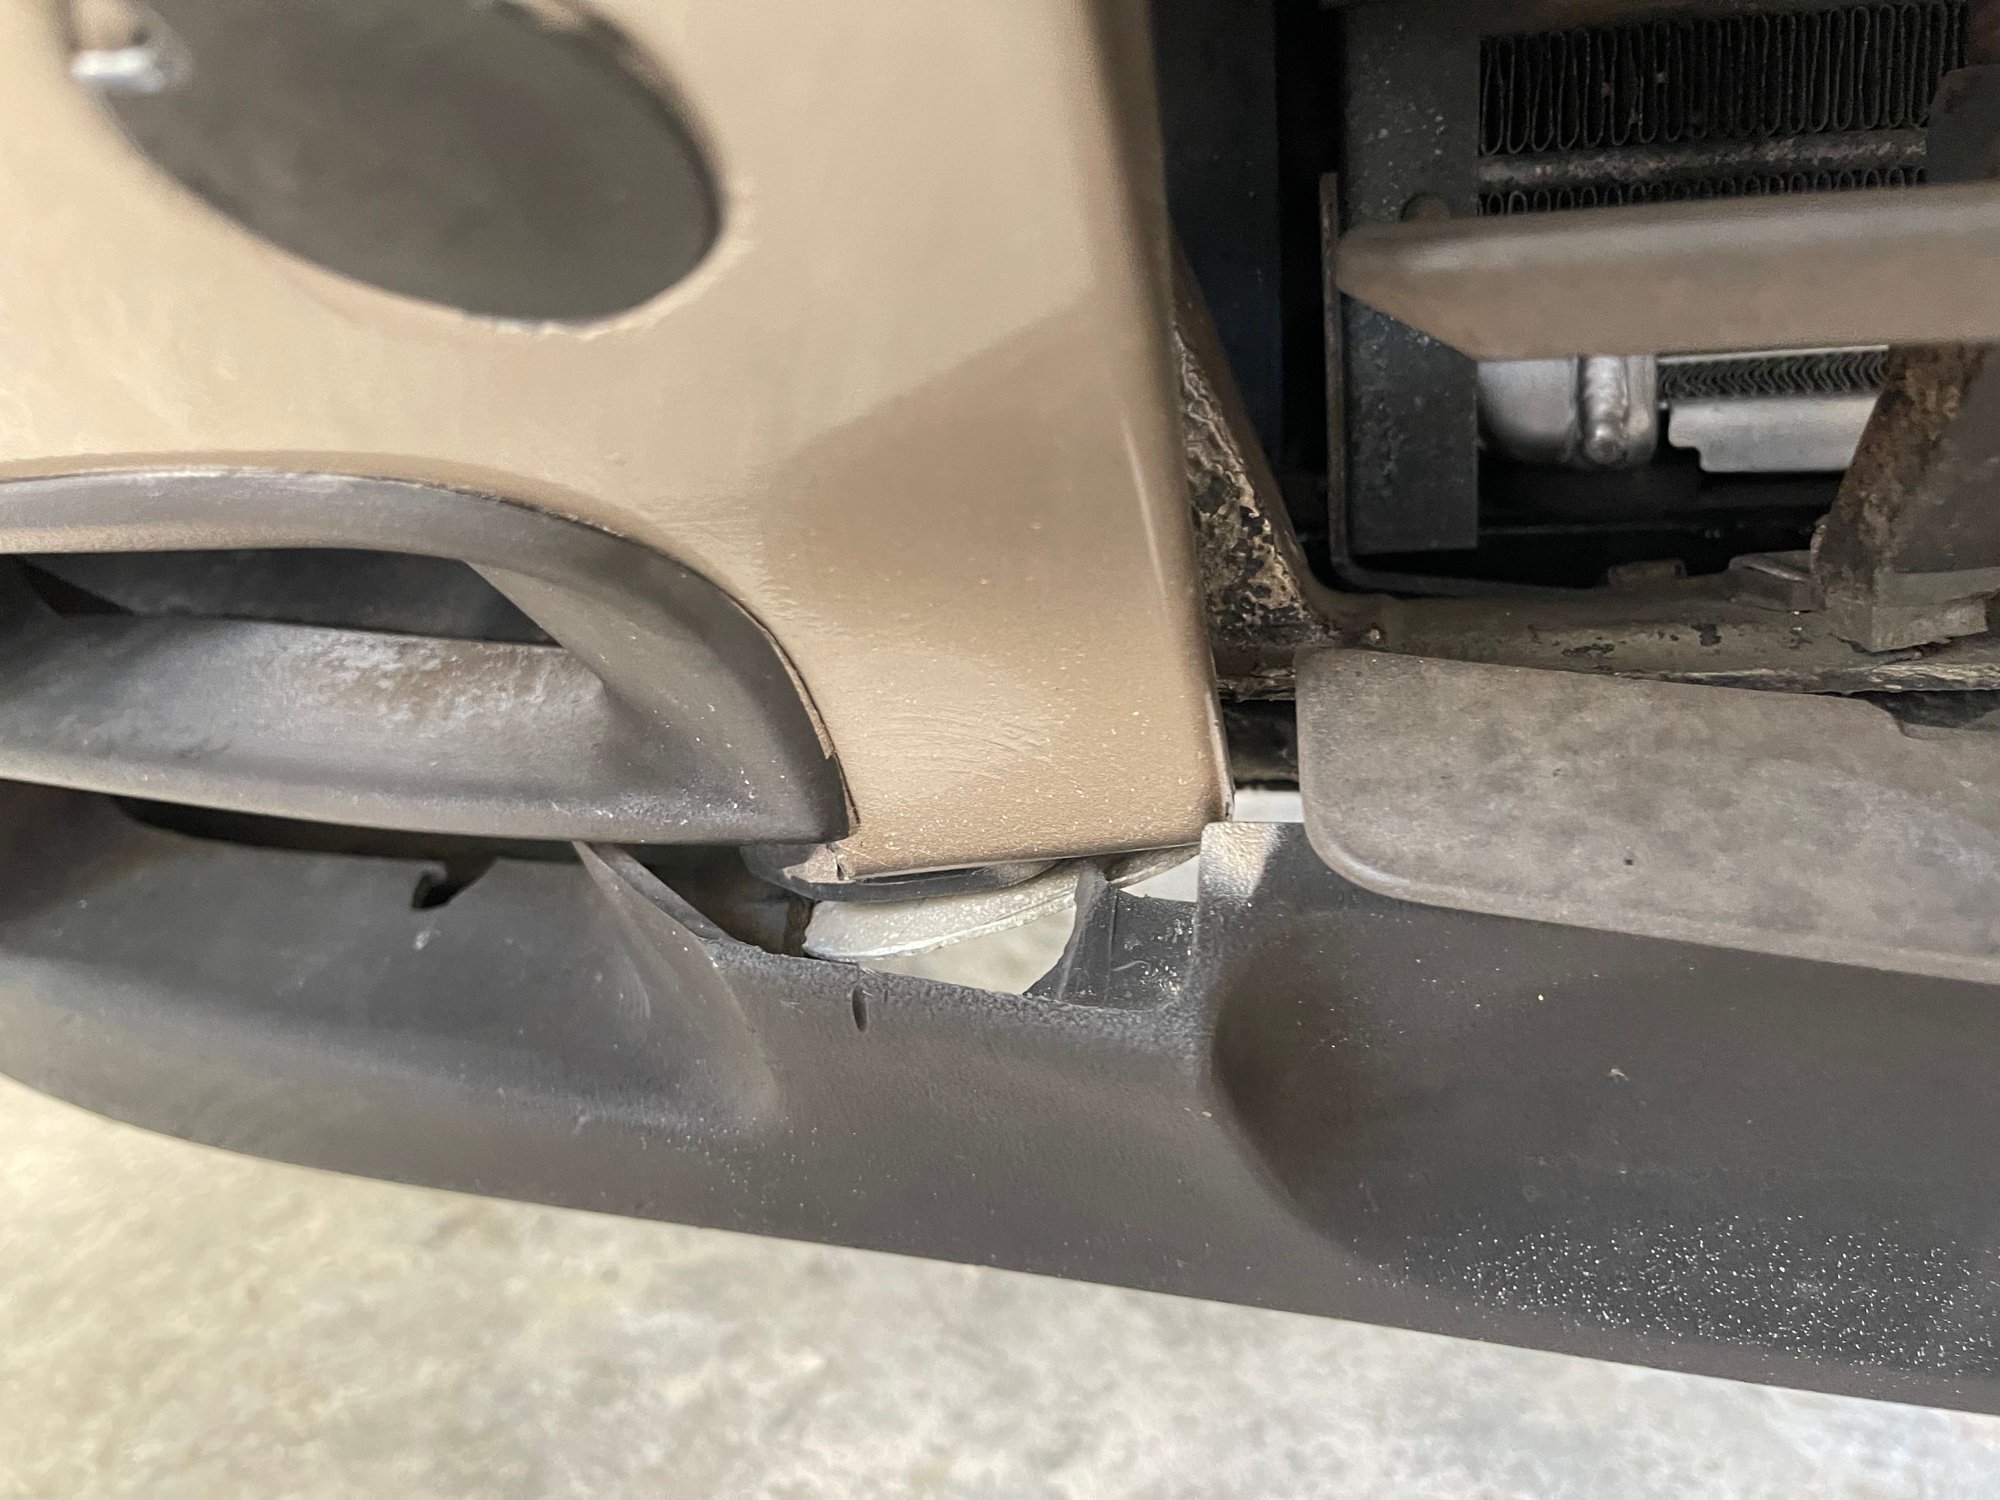
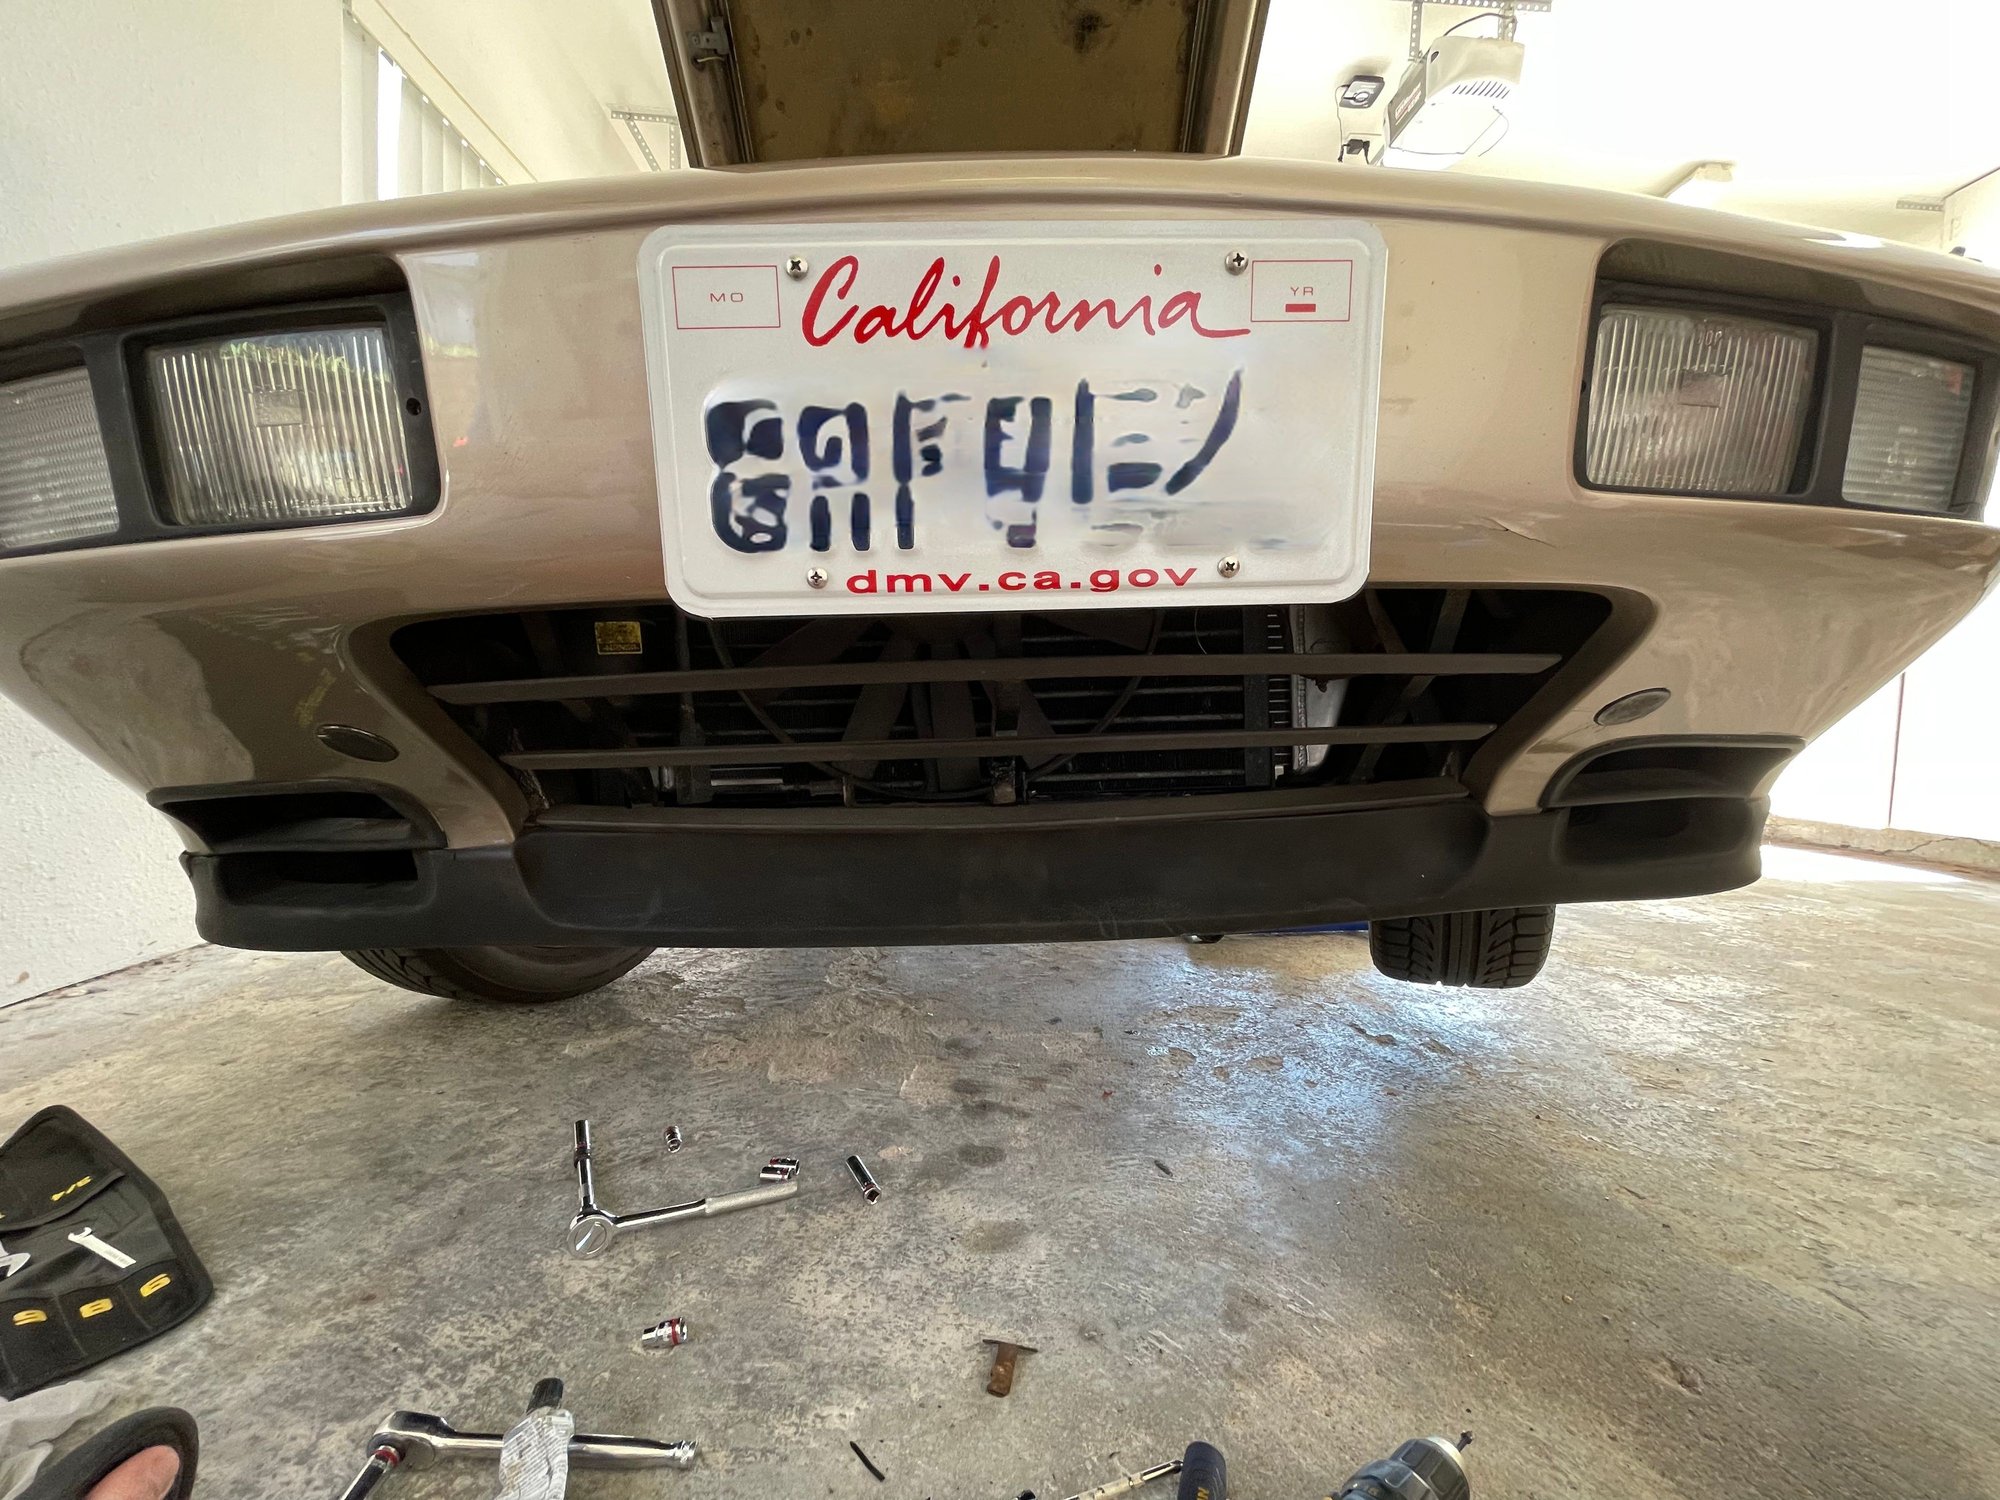
based on the bumper ,
the front bumper shocks have been collapsed.
NOTE posting a picture with the lower edge of the fog lamp bezel will give more info to diagnose
We have it so good these days. I remember my first 928. I had the factory WSMs (which are pretty good) and that was all. Tips and tricks? Nothing. Parts? Just the dealer.
based on the bumper ,
the front bumper shocks have been collapsed.
NOTE posting a picture with the lower edge of the fog lamp bezel will give more info to diagnose
I think that's just the wide-angle lens, here's a shot from another angle:
Okay, so here's the biggest and most terrifying thing I need to fix on my 928... The clutch! And I'm incredibly confused as to what parts to order.
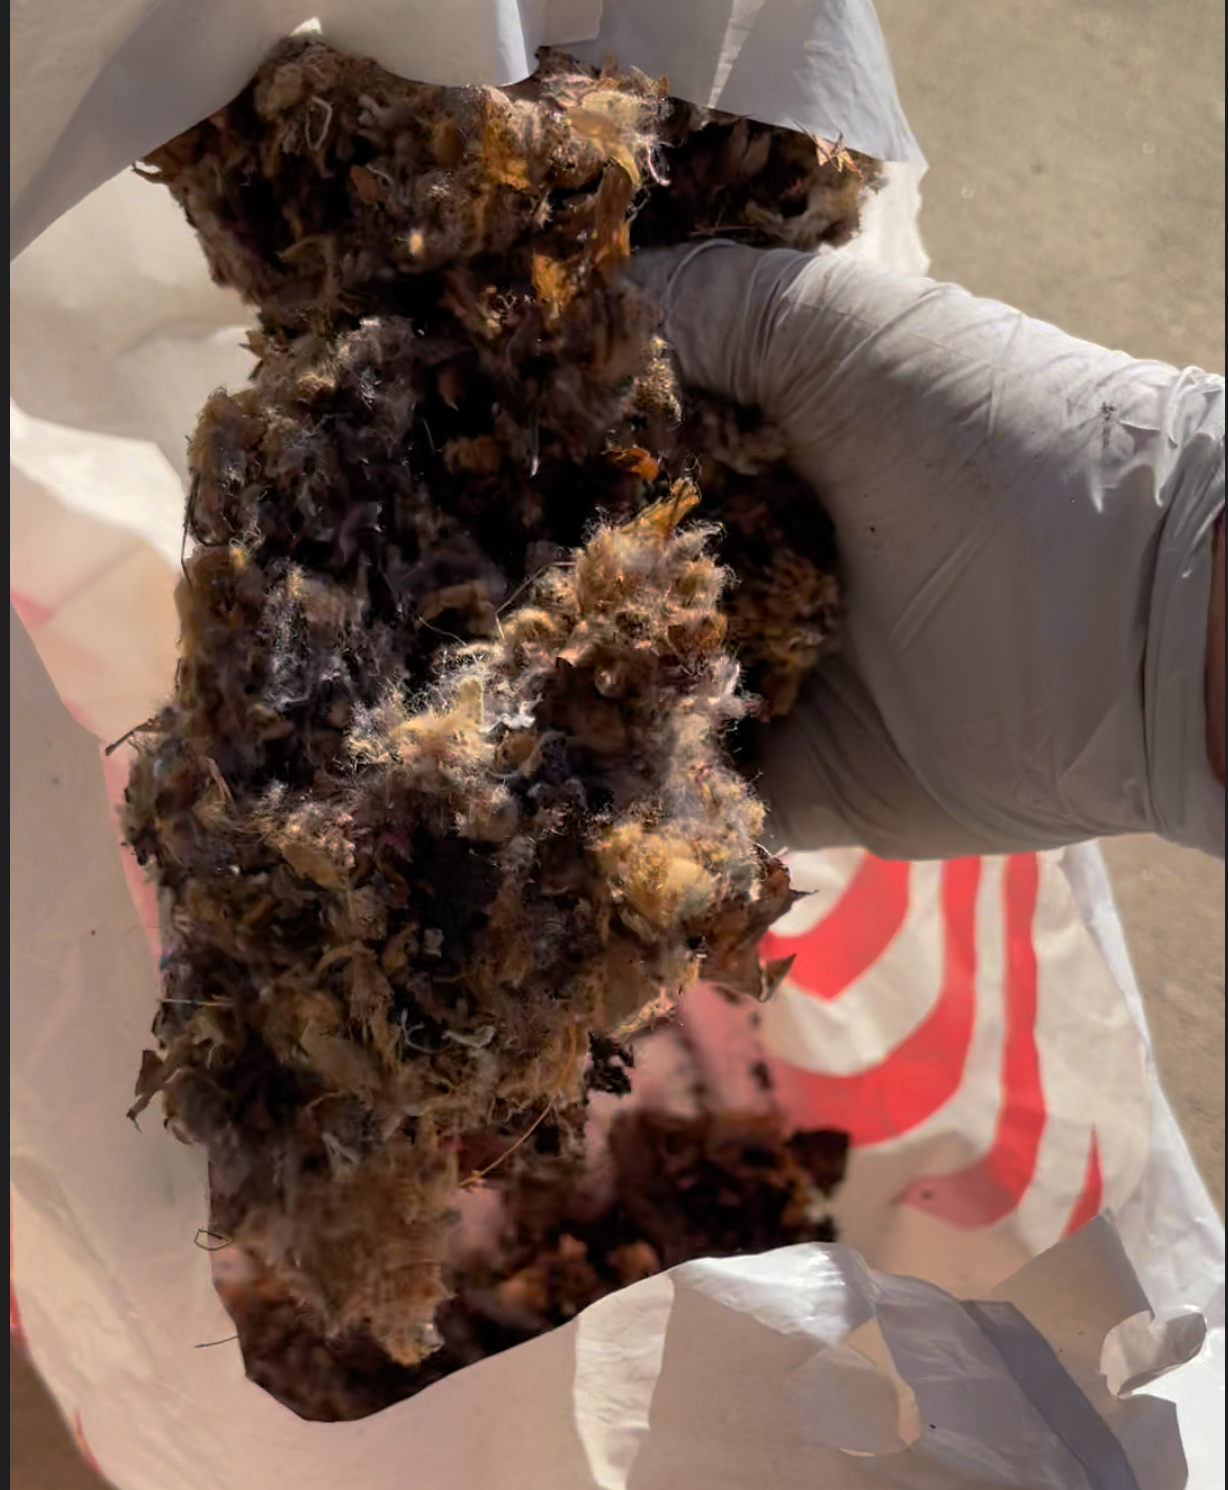
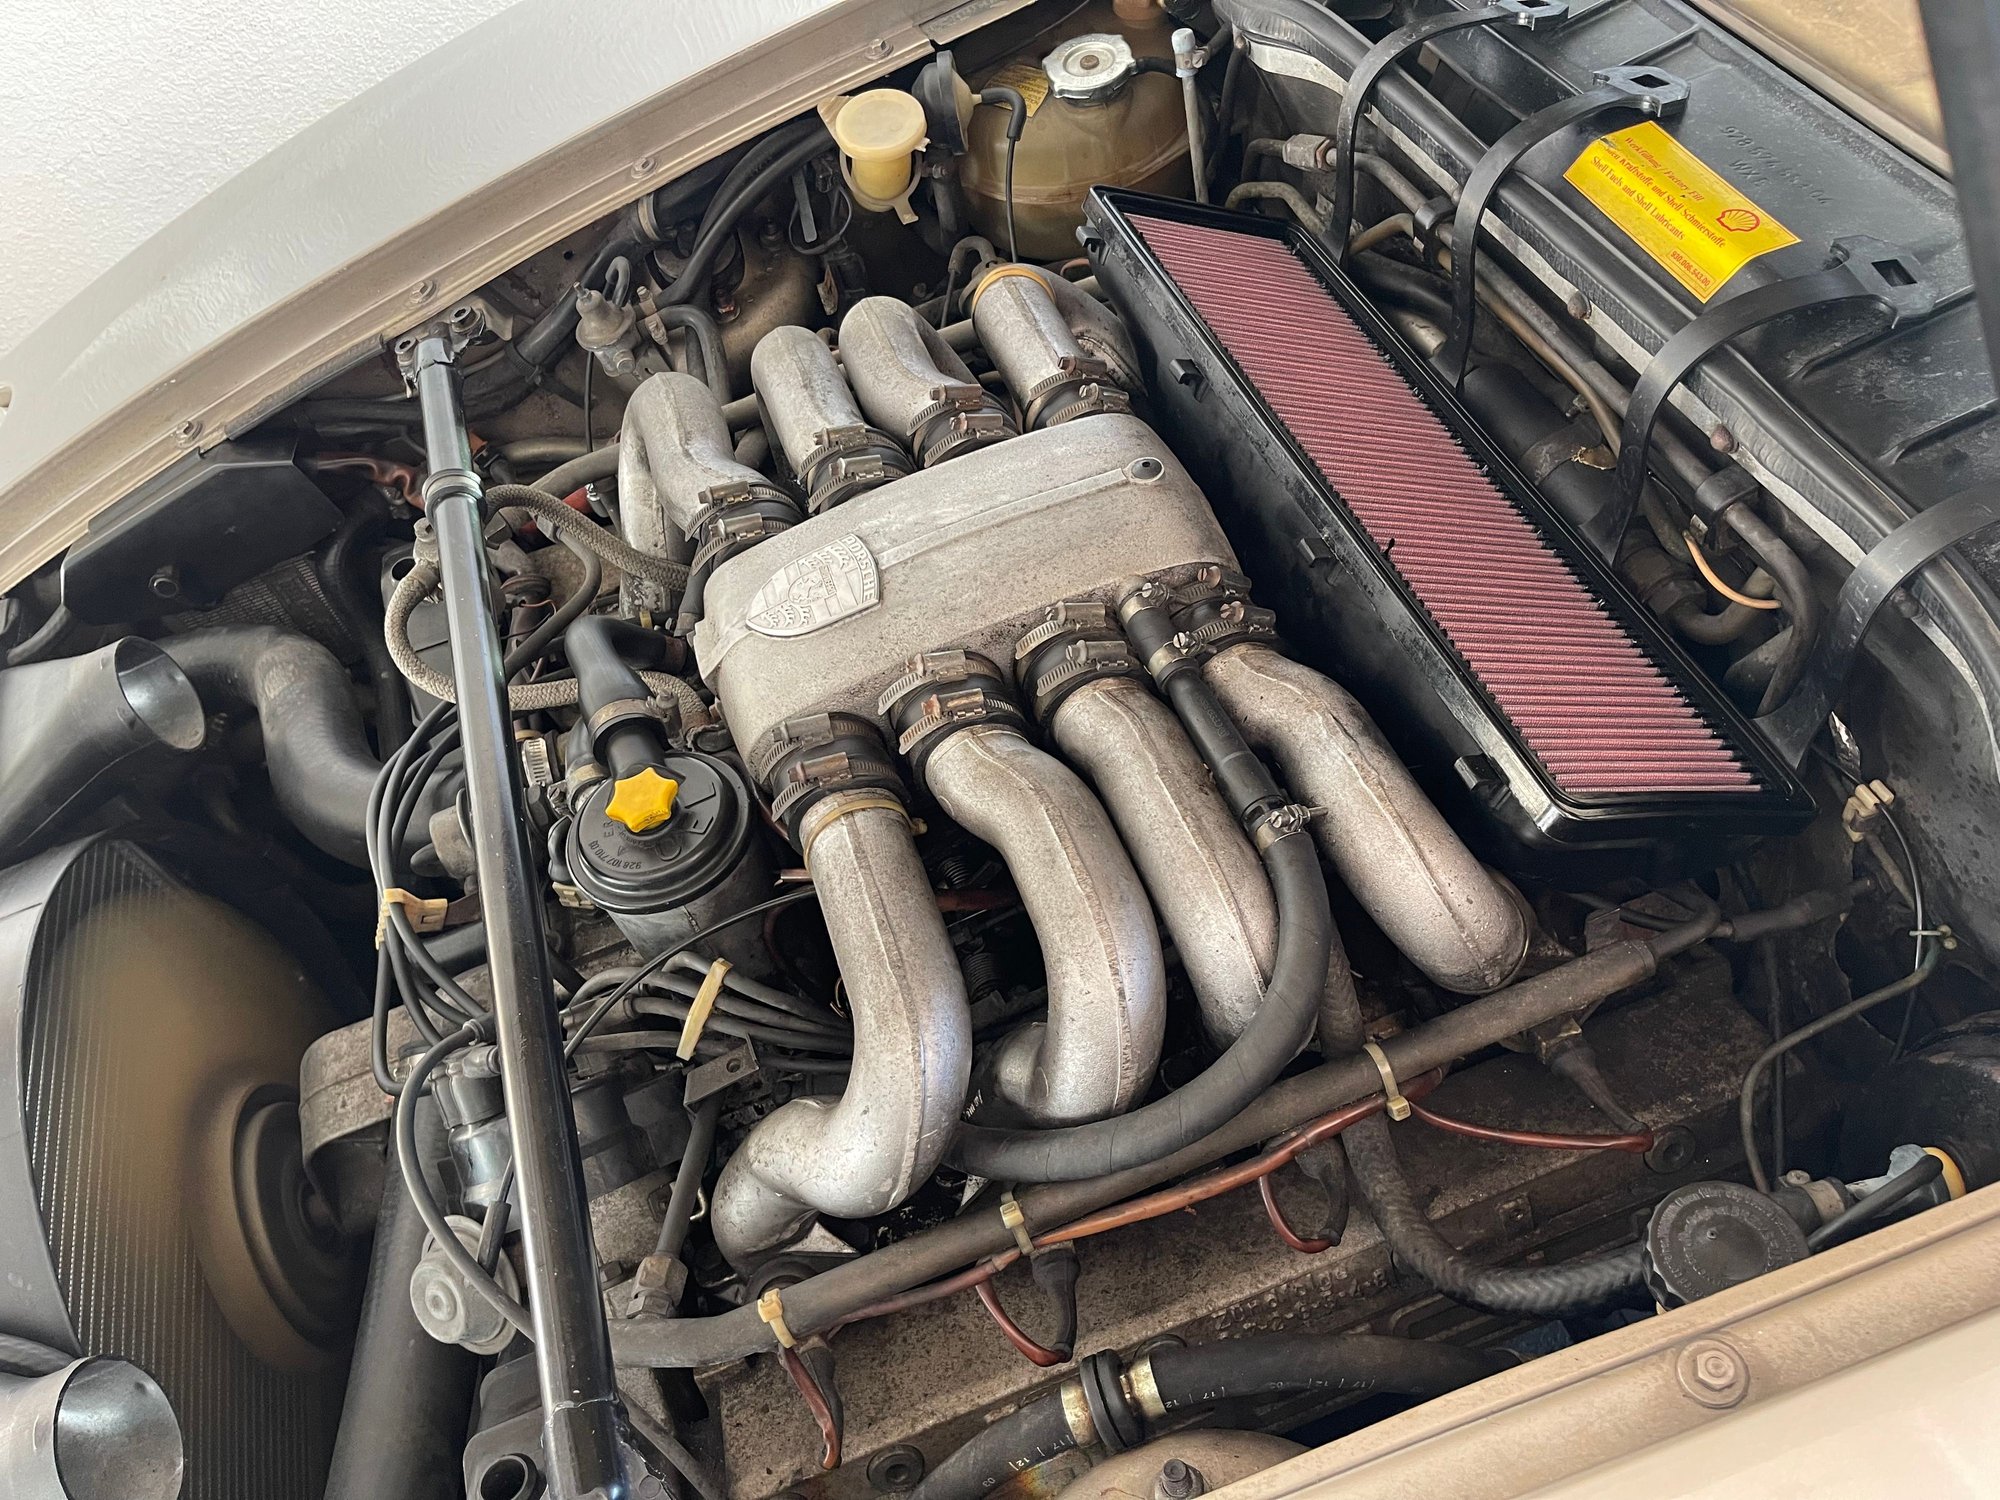
The car is actually in fairly good shape, but was neglected poorly for the past few years. It has just rolled over to 80k miles. I've been driving it as a rolling project for the past 3 weeks since I've purchased it and I've been doing a lot of work to it, including removing a massive mouse nest from under the air filter/in the engine valley (gross).
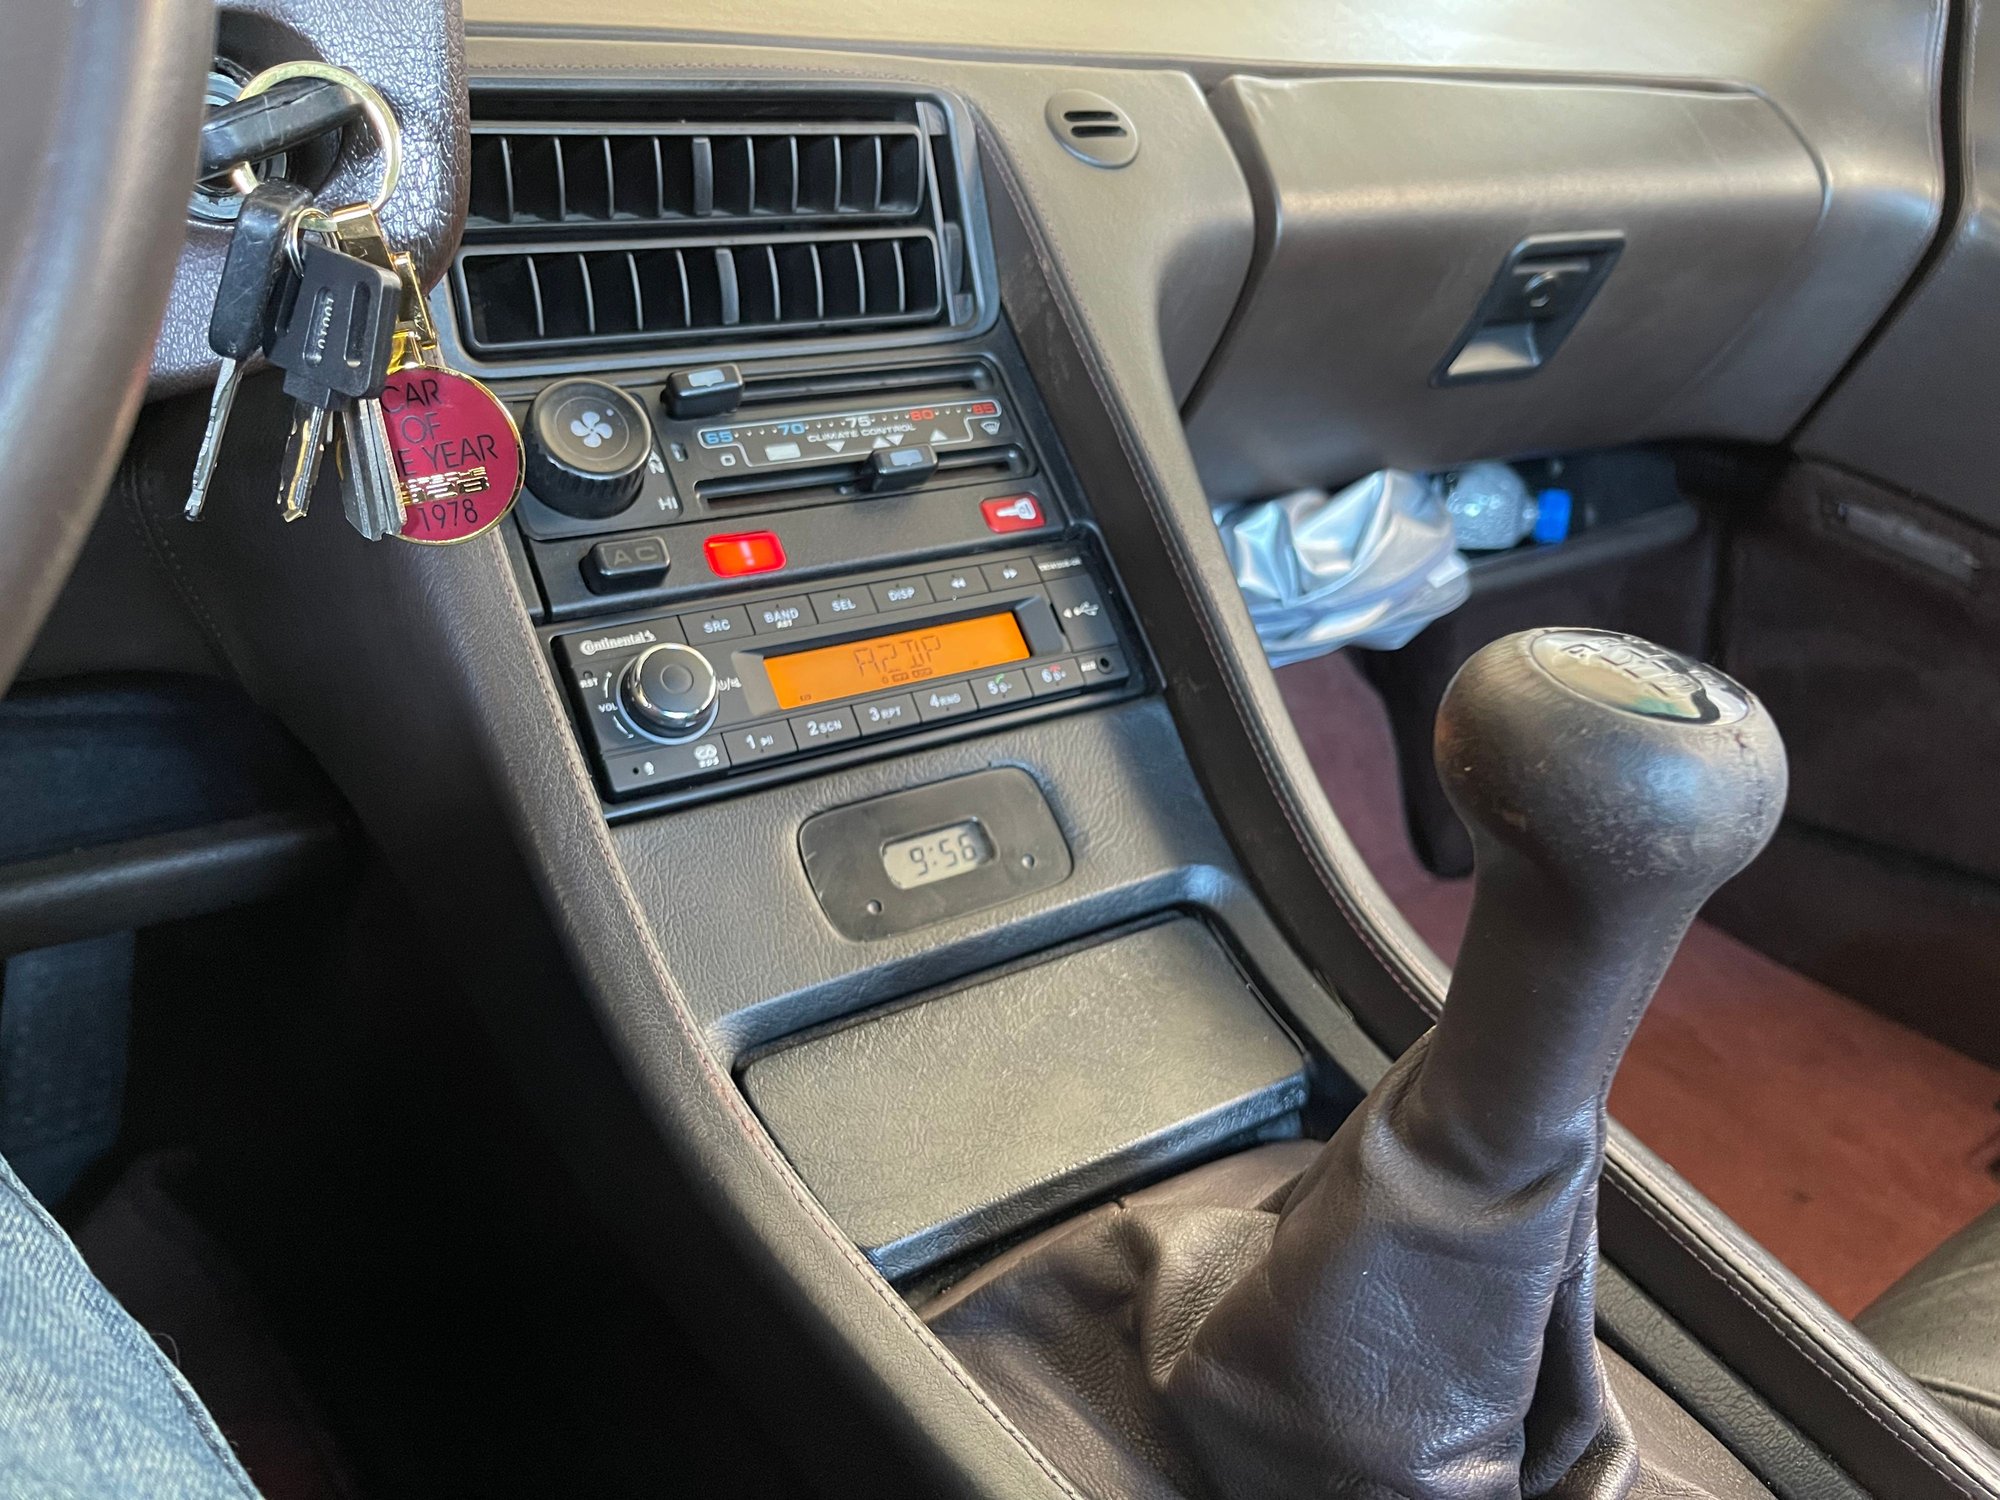
(yes I bought that cheesy keyring and yes I put the tried and true continental radio in as the car came with a gross 90s kenwood with flashy blue lights)
The engine runs perfectly and has a new timing belt / water pump, fresh oil and coolant and all of the electronics in the car work (even the sun roof), the AC however doesn't work and when I got the car the clutch was very obviously worn and on its last legs as the clutch would only take at the very end of pedal travel, it doesn't slip once engaged and I thought I could live with it for a while, however in the 3 weeks I've been driving it, it has gotten worse, a lot of gear grinding once it heats up, jittering on pull off and even worse, after a long drive it got stuck in gear as I was parking it and I couldn't release it until it had cooled off a bit, when the clutch is engaged there's an audible squeaking from under the car (pilot bearing?) I'm at the point where I'm afraid that driving it more is going to do damage, for sure it needs a new clutch, but I'm finding it very difficult to figure out what parts to order, it's a 1984 928S the part that's confusing me is I'm not sure if it's dual disc or single disc? Some parts sites have more than one option, any advice would be greatly appreciated as this is going to be an expensive endeavor and I'd prefer not to make any mistakes ordering pricy parts that don't fit.
Please, help me give this car the love and attention it deserves, I'm bringing it back from the brink and hope to make it as perfect as possible to preserve it and keep it on the road
....When you get the clutch out of the car, post individual detailed pictures of all the parts, from different angles.
You'll get half as many opinions, by doing this....


 10-19-2021, 05:19 PM