When you click on links to various merchants on this site and make a purchase, this can result in this site earning a commission. Affiliate programs and affiliations include, but are not limited to, the eBay Partner Network.
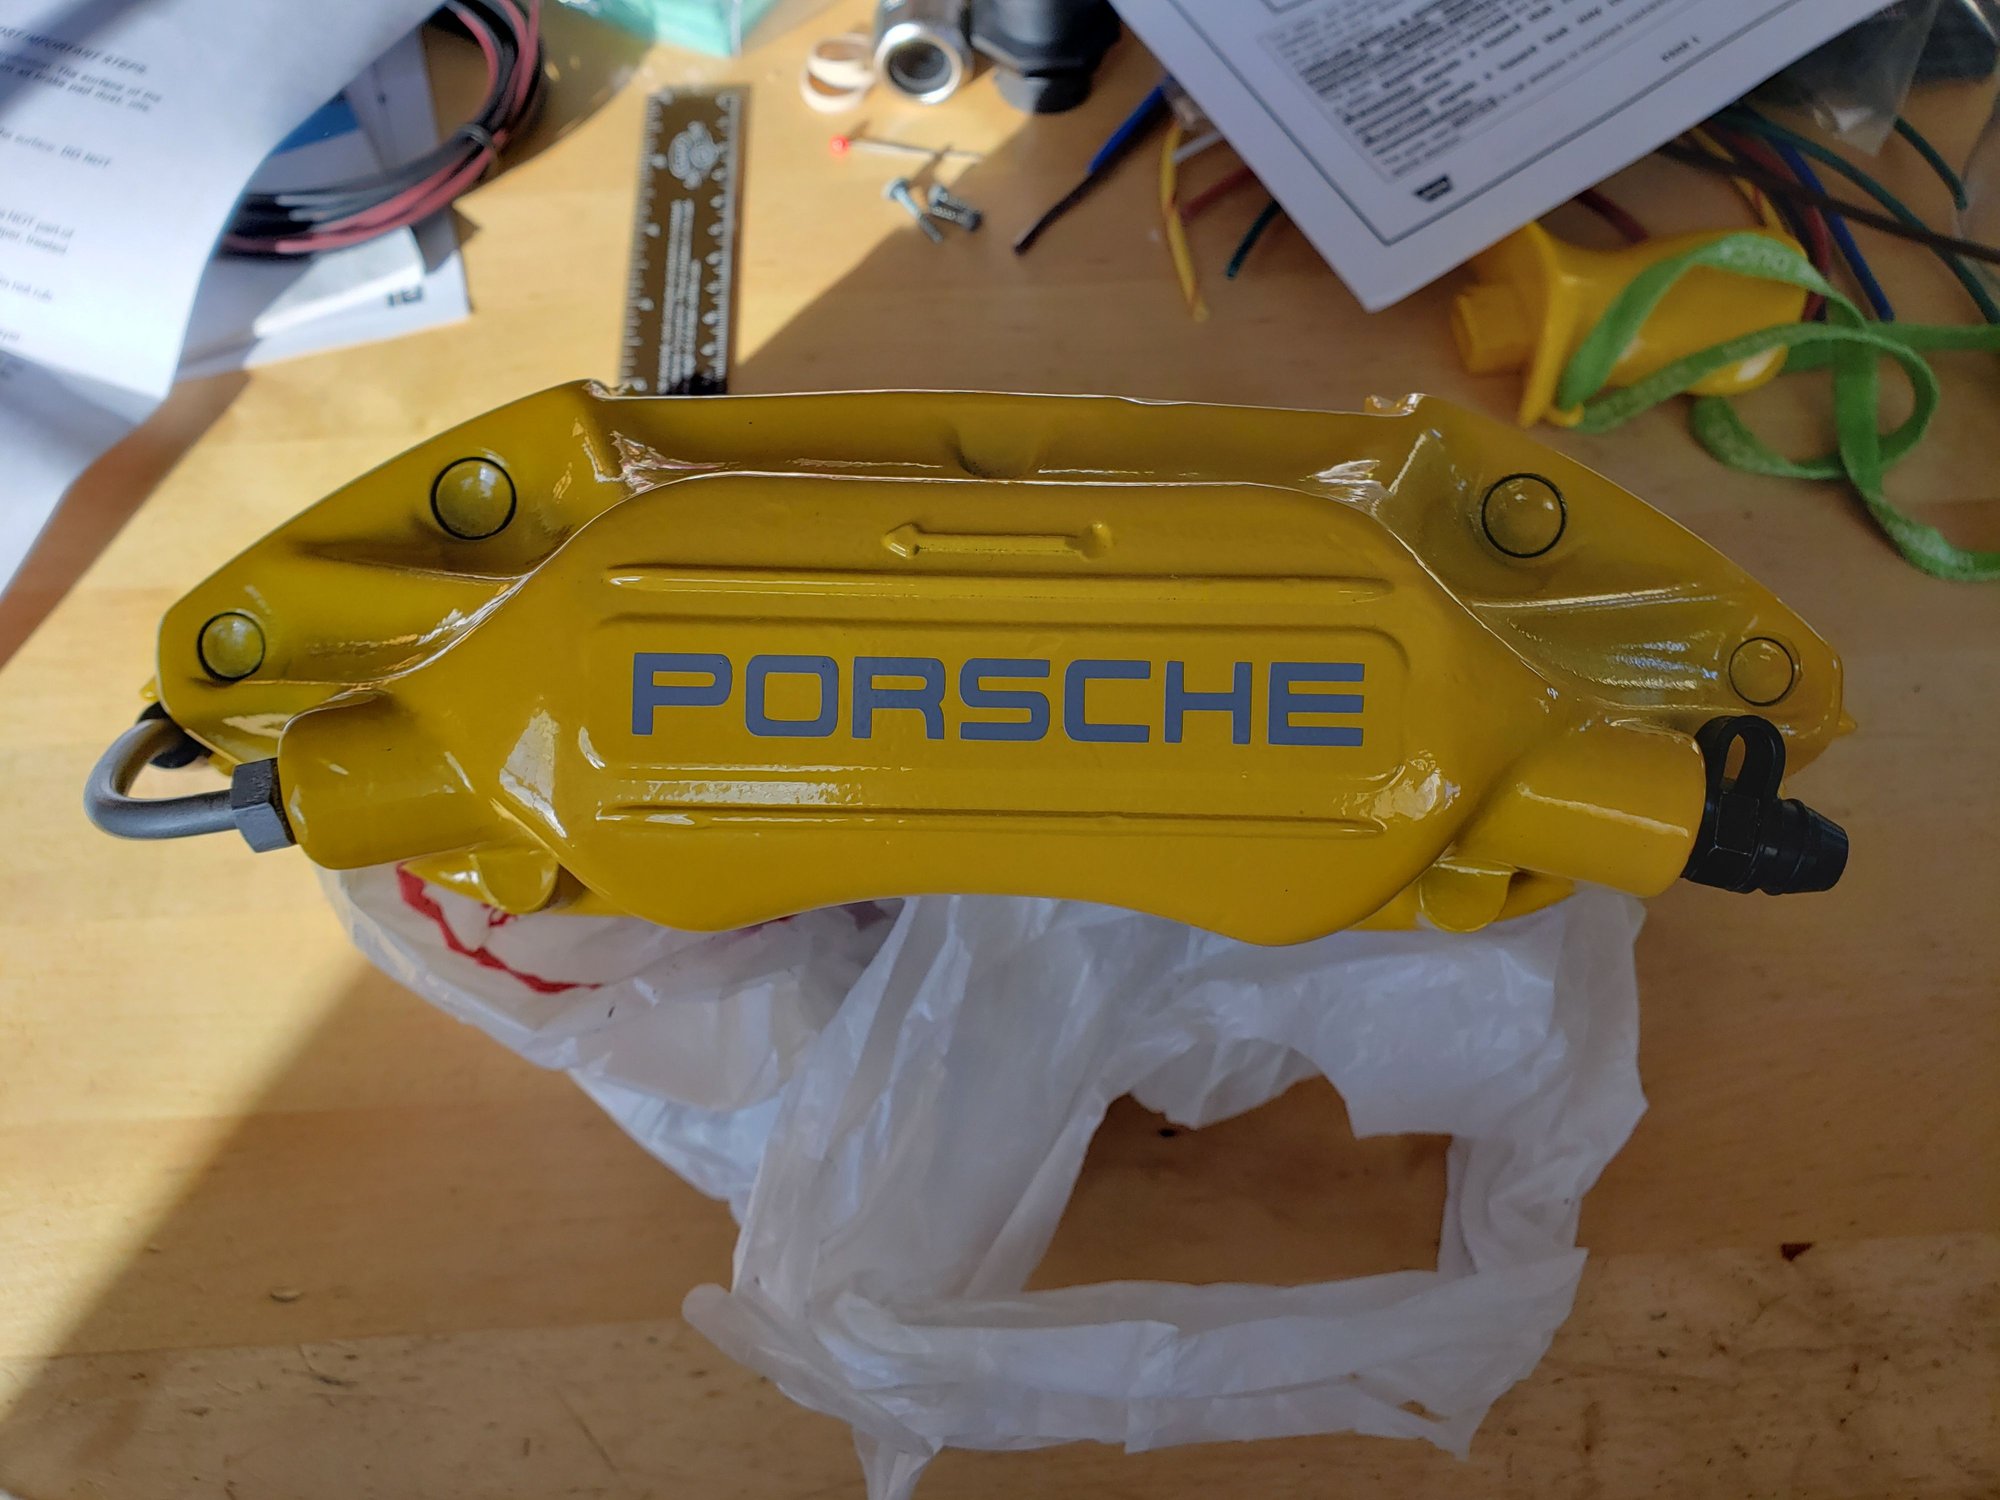
The 2 rear calipers are powdercoated but on reassembling the calipers I noticed that one of the pistons had a scratch in it. I'm sure that it's something I did during disassembly, as some of those pistons just didn't want to come out, and @GregBBRD has been kind enough to send me a replacement piston. So, only 1 of the rear calipers is truly done, but I thought I'd show what a finished one looks like, alone and on the car, and some of the background work I did on the color choice. I've posted some other work on this project previously.
I applied the decal to the cleaned caliper; it's a grey color to (sort of) match the car: Ordered from a place in the UK. Great quality from what I can tell so far. You can see a couple of the pinpricks I had to put in to remove some bubbles.
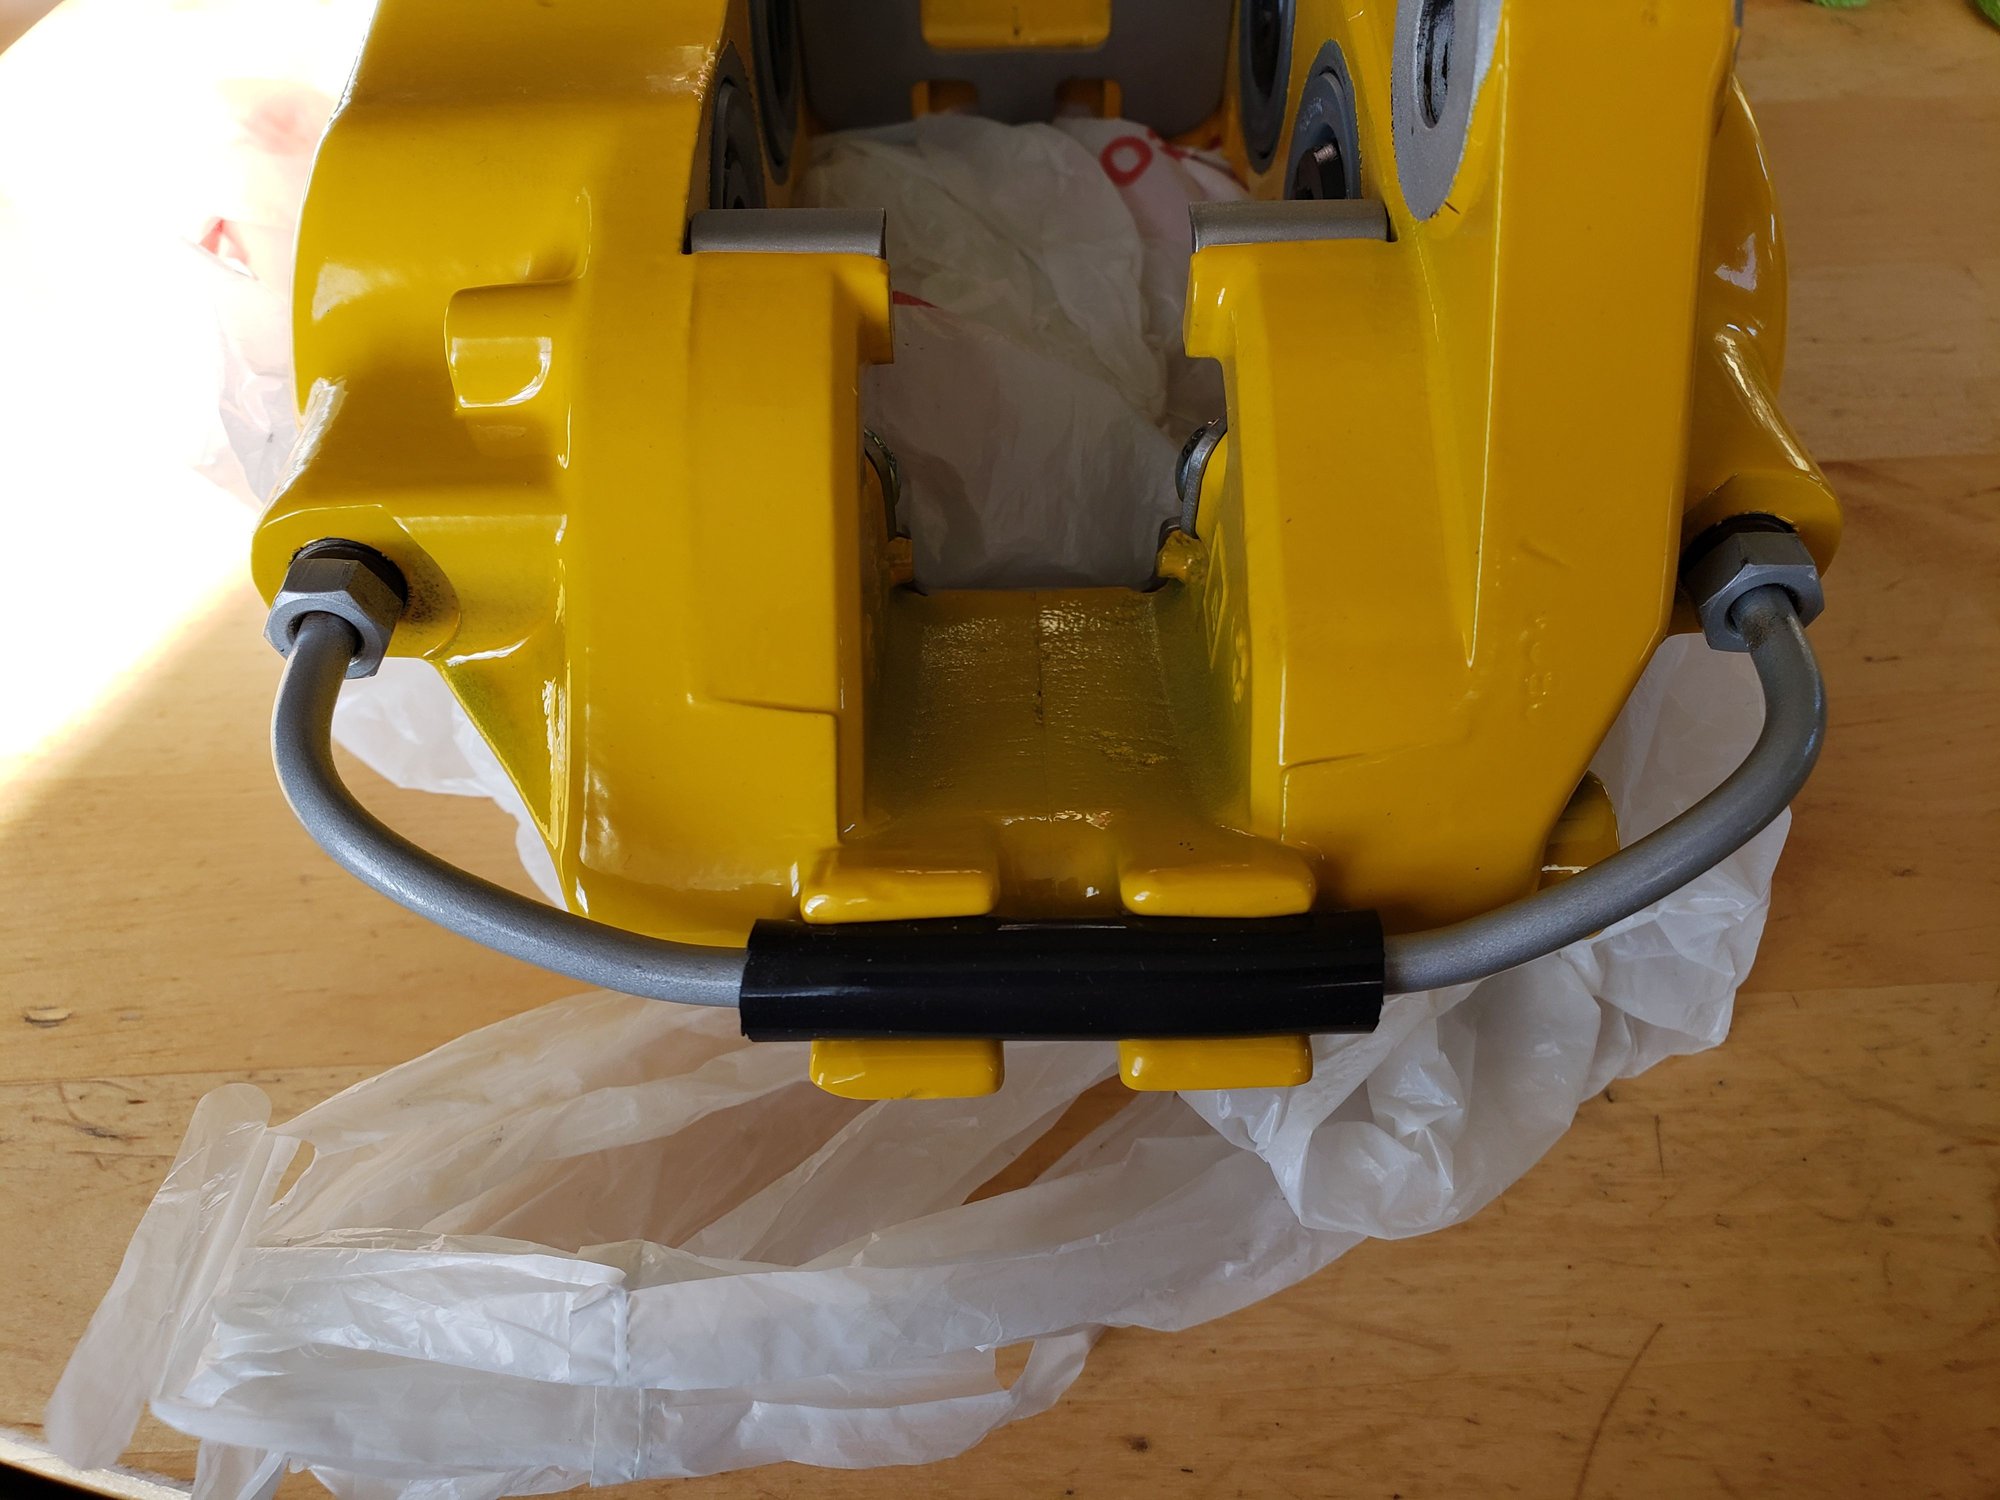
To keep with the theme, and because I have so many car projects right now that I'm feeling a little overwhelmed with the parts costs, I ordered some black replacement bleeder screws. Not at all original but way, way less $ than the yellow zinc replacements (under ~$3 per bleeder screw with a new cap, not a bad price).
I took @dr bob 's advice and refinished the connection tubes. Initially I just media blasted them and they had a really nice silver rose color going on but it didn't quite work with the rest of the theme, so I removed the old foam from the tubes, sanded everything down and painted the tubes with a silver Rustoleum, with a high temperature satin clear top coat. The replacement to the foam cover thing is a piece of black silicone tube. It's a little difficult to avoid some damage to the paint on reinstallation when the nuts slide around on the tube, as you can see on the right in the picture.
Reinstalling the seals and pistons was straightforward, and per Dwayne's writeup on the early style brakes I used a very thin coat of SilGlyde on everything for assembly. One piston required a little bit of help from a C clamp to get seated past the seal but it was quite gentle persuasion and once past engagement on the piston I was able to move everything down into position by hand. I'm still deciding on what to do about shims. The car hasn't had any while I've owned it and I don't know how much of a difference it would make to things.
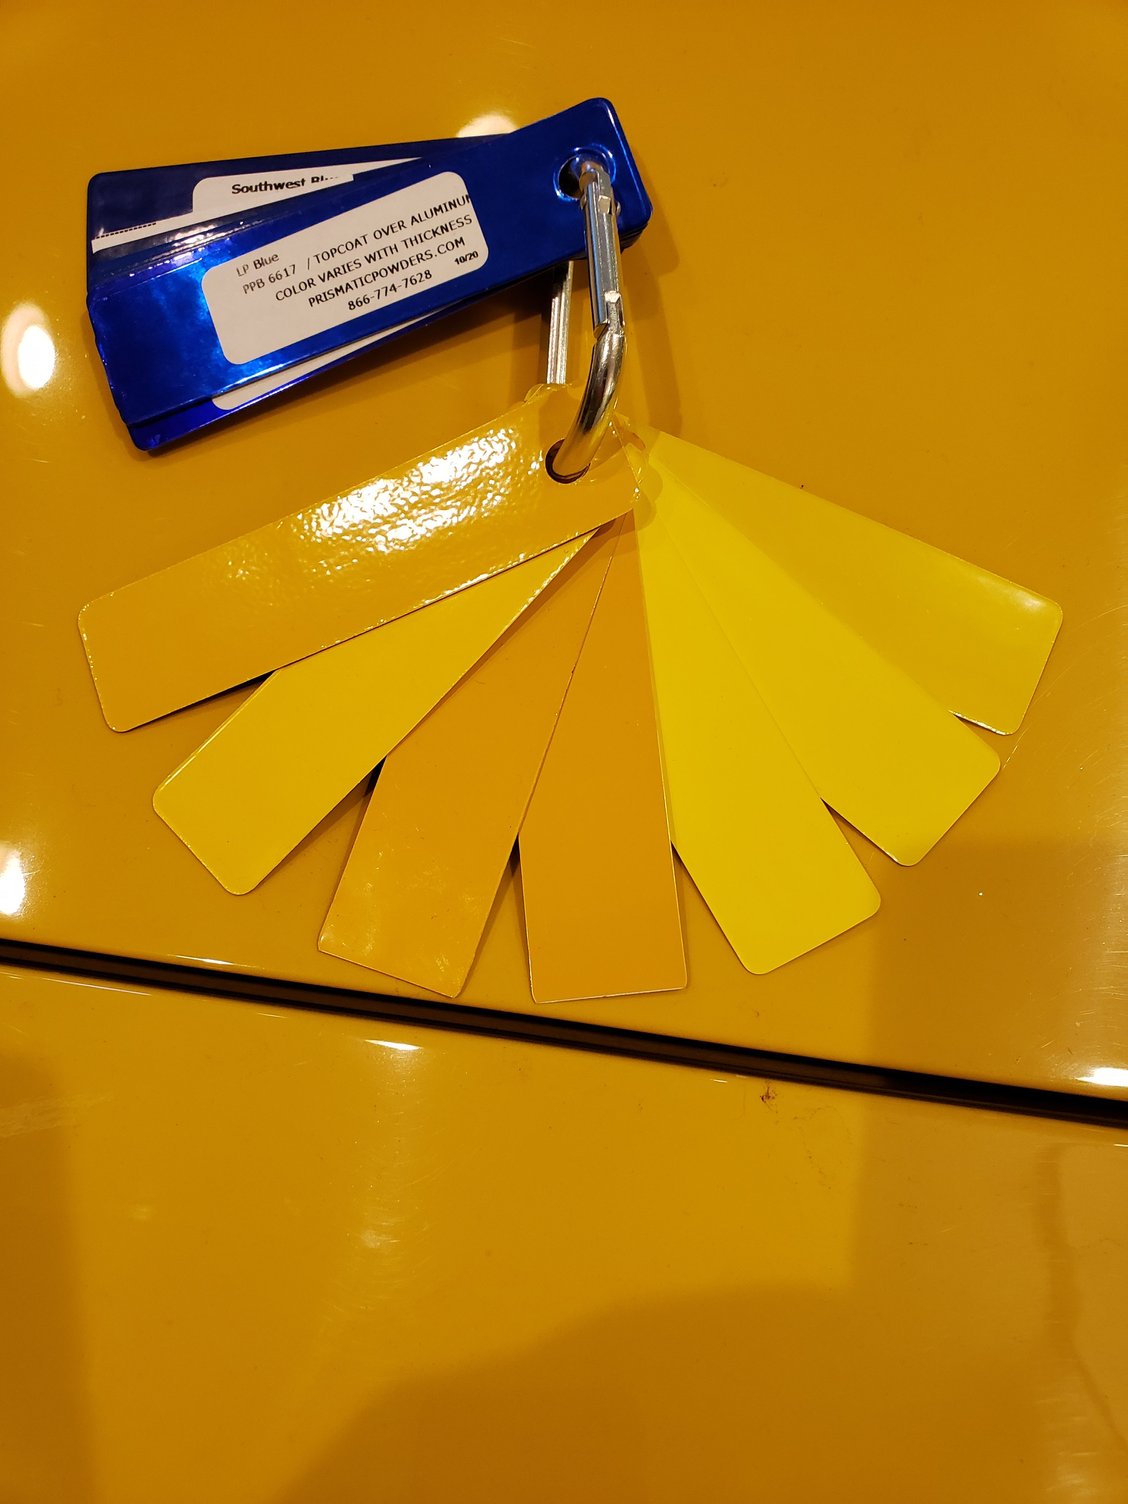
Here's some background on the color choice in the hope that it helps someone in the future: It's helpful to have a genuine Speed Yellow comparison piece.
These are all Prismatic Powders colors. From left to right:
Sunrise Yellow - PSS 4090 <-- This is the one that I chose as the closest match to my eyes. In the picture above you can see a couple of other choices that are also pretty close, but a little less so in real life
Racey Yellow - PSS 0764
Mustard Yellow - PSS 4598
Dijon Yellow - PSS 5401
Sunshine Yellow - PSS 2600
Electric Yellow - PSS 2834
Hot Yellow - PSS 1623
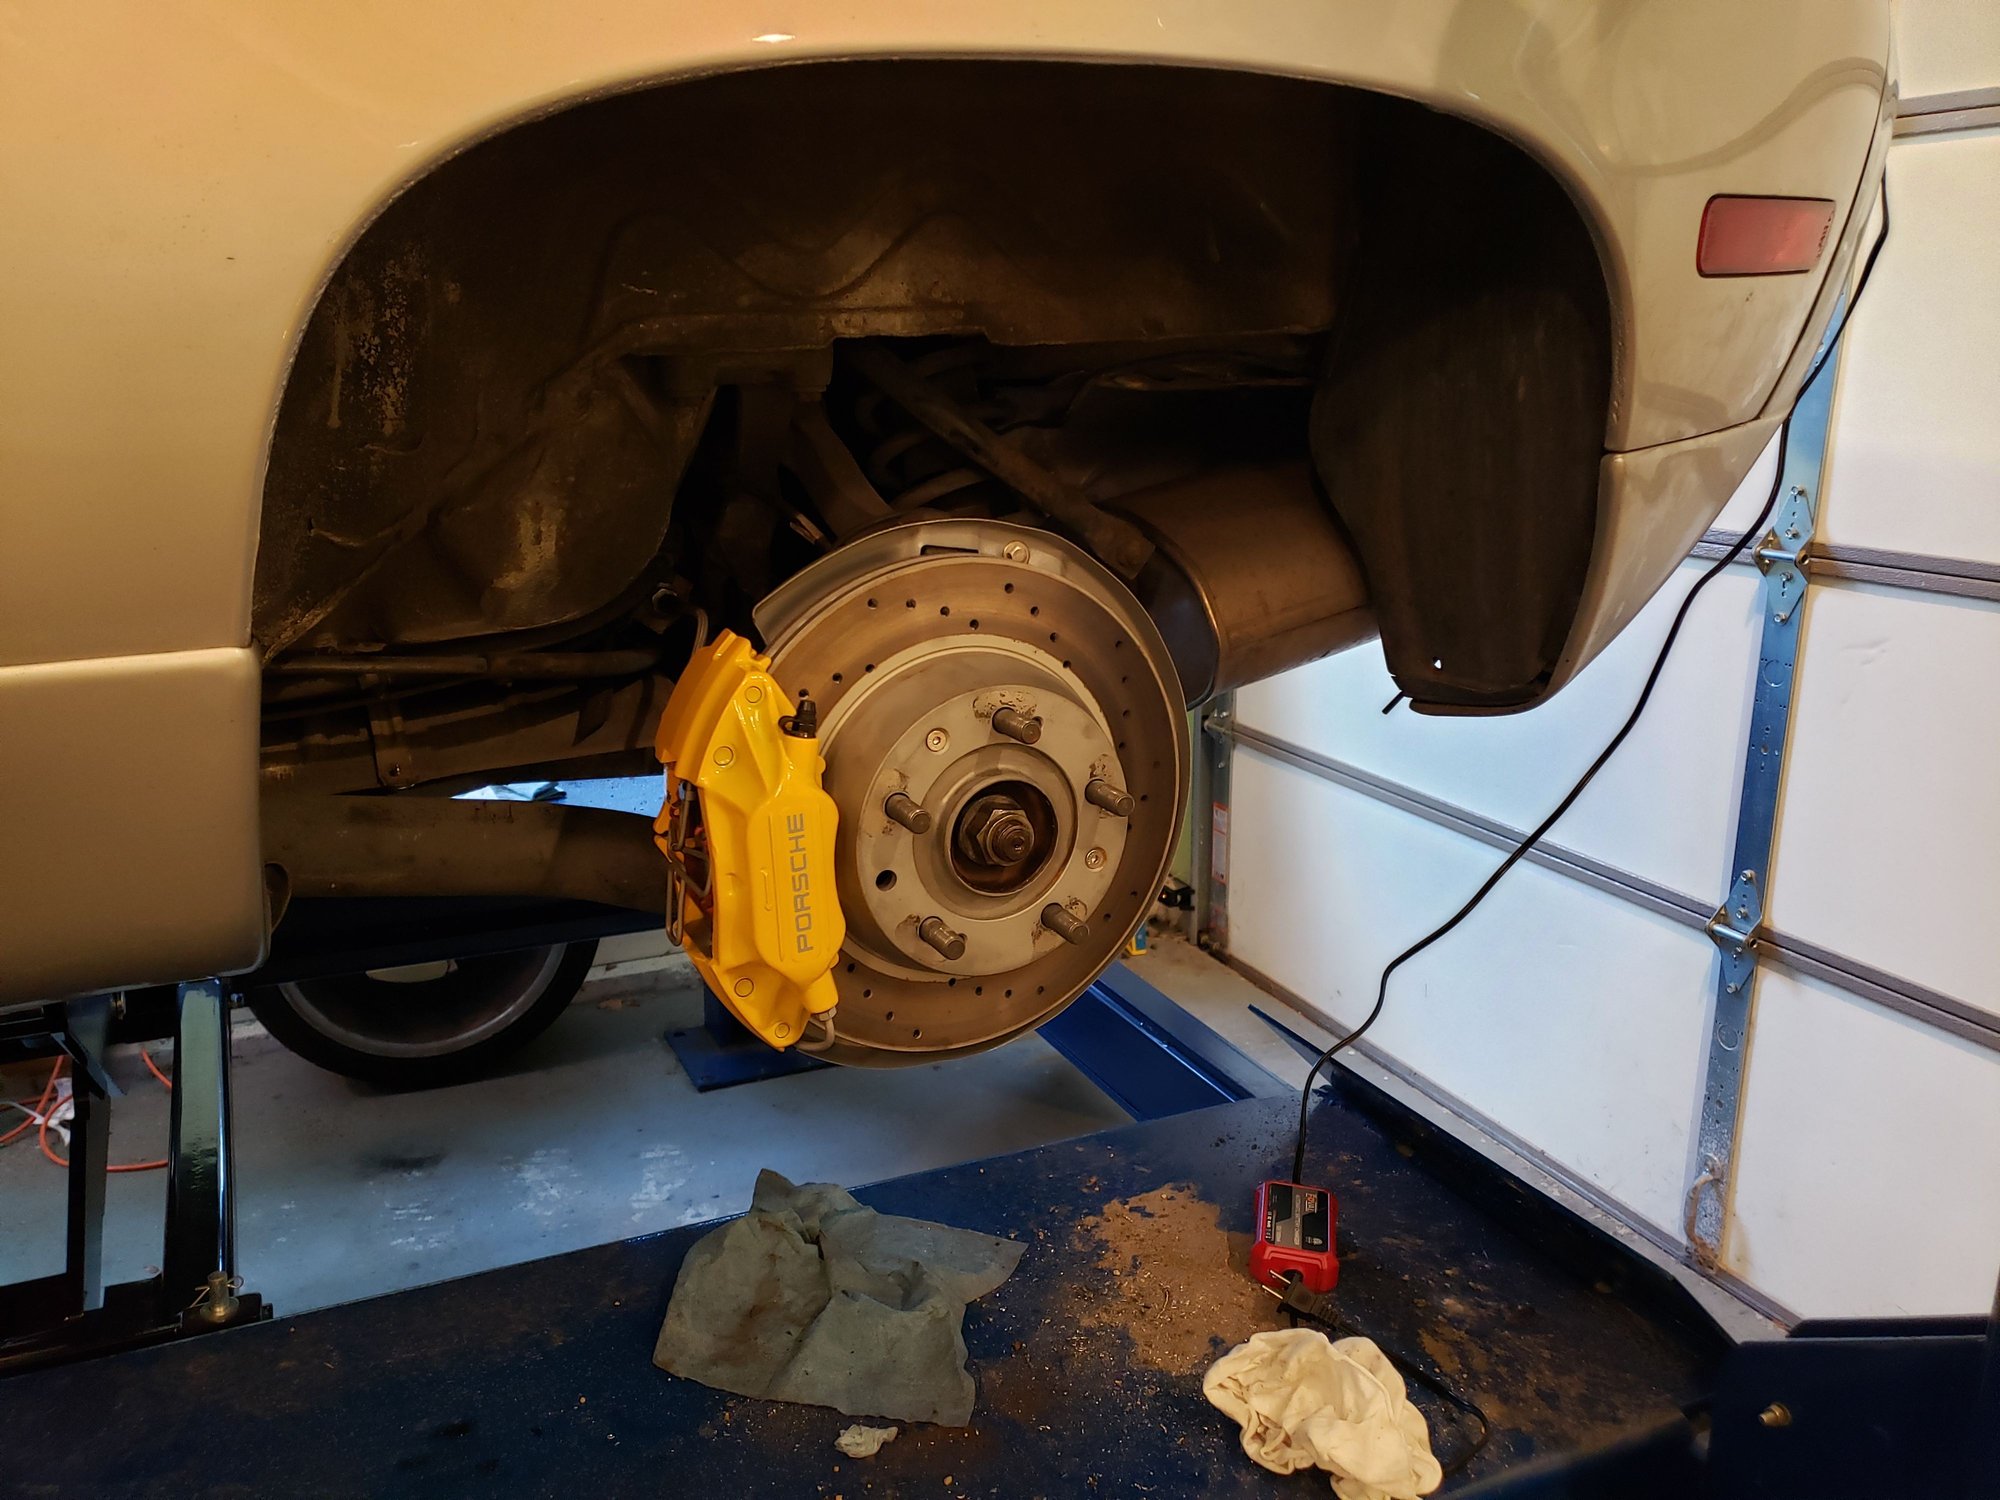
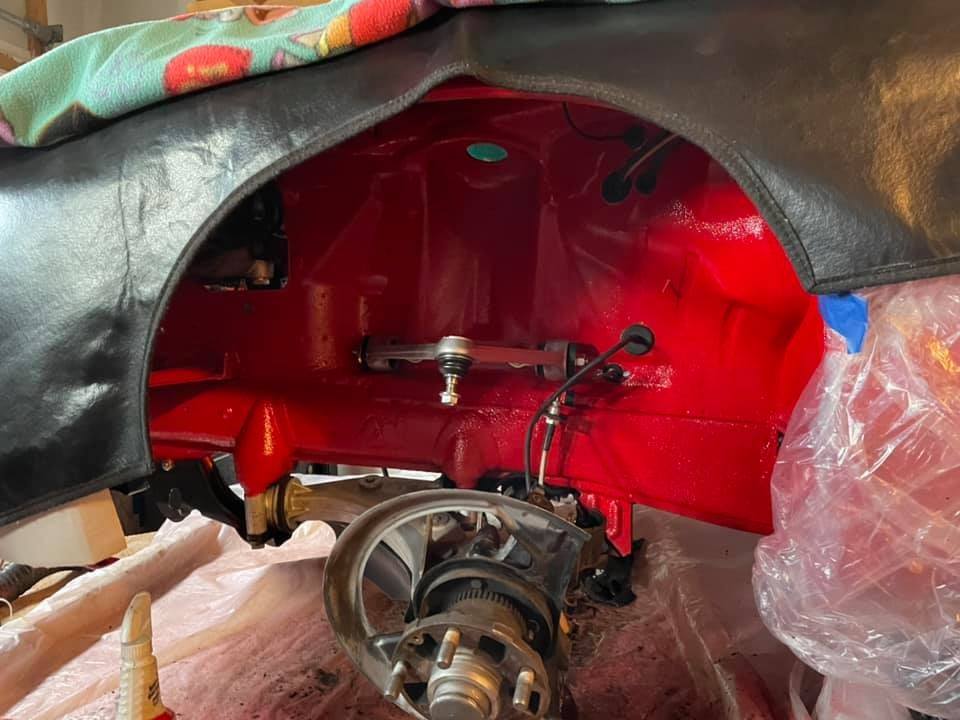
Finally, here's the finished caliper on the car. I expect that it will look better under the wheels I have to put on (currently on replica Turbo Twists, moving to some anthracite OZ Alleggerita jobs). That big pile of dirt is from the cleaning I've done while the car has been up on the lift. I'm thinking I've got the equivalent of about 5 HP back
The bad news... You'll be working just a little longer to get the wheel wells and suspension looking comparably good. Paint the rotor hats to match your wheels, use instant galvanize on the edges and fins to stop corrosion. It's a VERY slippery slope you've started down...
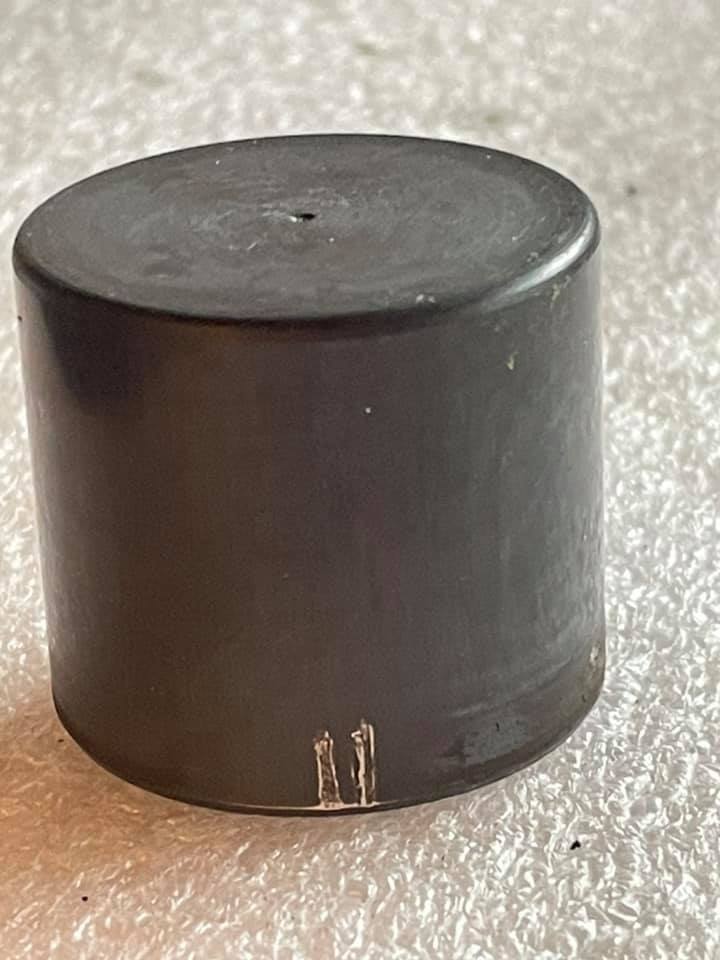
I have a couple of pistons that ended up scratched on the outside bore. They look worse than they feel. Polished up pretty good. I will take some rotor thickness and pad measurements to try and gauge how much of the piston will be extended with new pads. Just thinking out loud.. I could always thin the pads up if too much of the scratch will be inside of the seal.
May have to reach out to Greg to see if he has any if the early 87 pistons laying around.
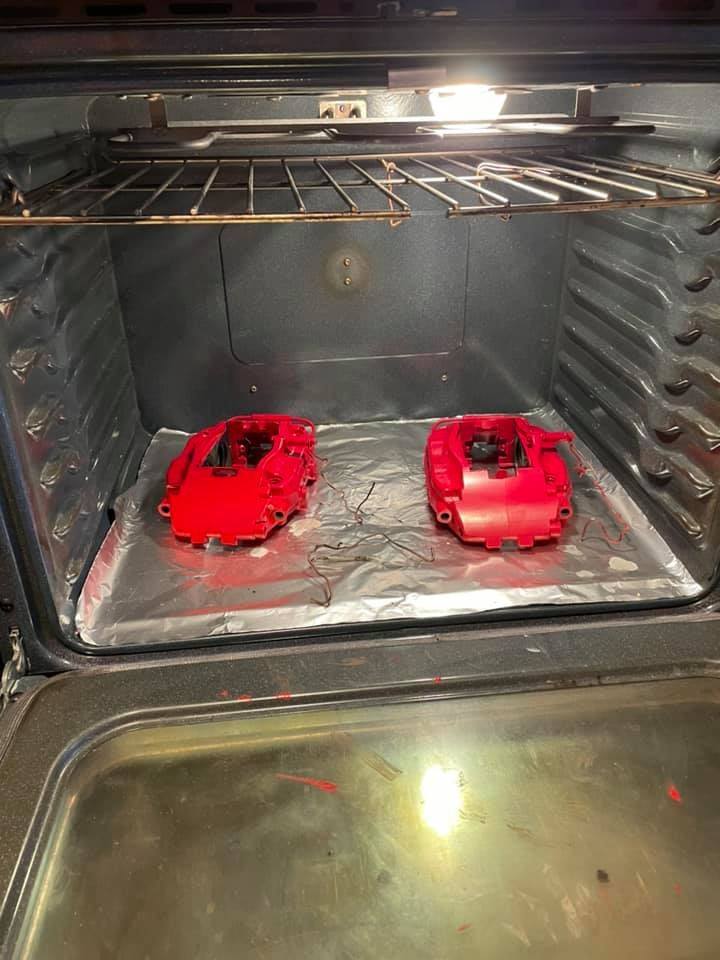
I ended up not doing PC, I just did rattle can. Had some issues with getting a complete exposure from blasting, and expected some faraday issues with the tight corners, along with coverage on the inside of the springs.
I did not split the calipers as the slide plates looked great and even after heat I could not get the screws to budge. The juice didn't seem worth the squeeze.
Waiting on decals and then will do a clear with VHT.
New/Rebuilt upper arms
Shocks
Rebuilt ABS harness'
I will complete the bottom ball joints, A arms and spindle detail after I get the motor in.
All of this began with a TBF motor replacement that then had a bad cylinder.
It looks good, I am just praying that it will eventually be running.
My diabolical plan..............
Just gave our other car to my son, so now the completion gets more emphasis. I expect the check book will open a little more to provide for a two car family again.


 01-10-2021, 12:05 PM