When you click on links to various merchants on this site and make a purchase, this can result in this site earning a commission. Affiliate programs and affiliations include, but are not limited to, the eBay Partner Network.
Hello friends !
I hope everyone is enjoying some free time and relaxation this weekend.
With all the yard work finished, and the first work for the vegetable garden out of the way, it was time for some Scheissco experimentation in the garage.
I have no parts with original, pristine yellow cad finish. All of my parts are either old, dark, grimey chunks or super-clean dull aluminum parts.
That being said, I have spent a lot of time comparing photographs of yellow cad finished parts, yellow zinc finished parts, etc...
I decided to APPROXIMATE the yellow cad finish with durable, readily available materials.
Here's my progress so far...
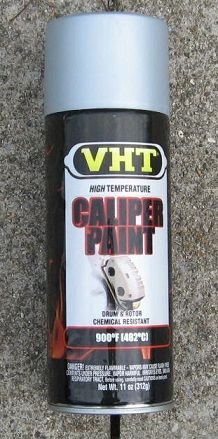
VHT paint, High Temperature. I have used this stuff for years on various applications, and it's durable.
IF you follow the directions. You can't just shoot a coat on and call it a day. The surface has to be clean, cleaned, and then carefully degreased and fully dry. You must use miniscule, microscopically light coats, slowly building the surface with time. Also, you have to follow the curing step to the letter. It's not hard, but you have to be conscientious.
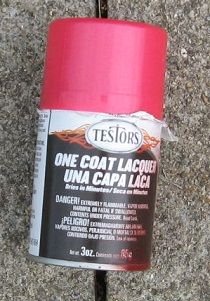
The only deviation from VHT is a very light wisp of metallic hot pink Testors paint.
You must add this to get any iridescence in the surface, but it amounts to no more than a practically imperceptible dusting of paint.
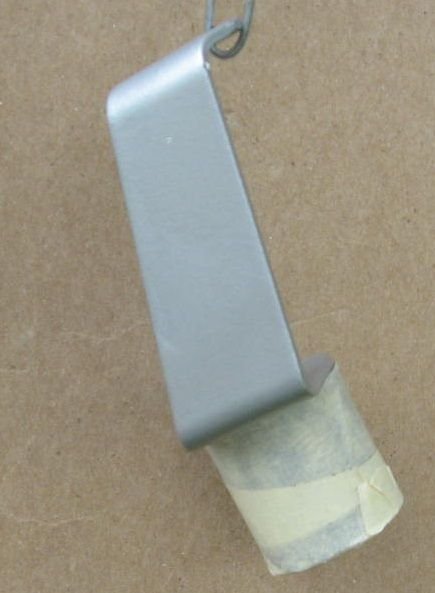
I started with the silver VHT, very light coats...
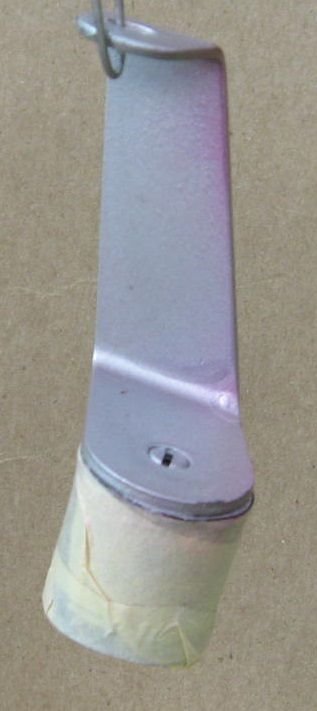
Next, after drying, the lightest possible coat of Testors Hot Pink Metallic....
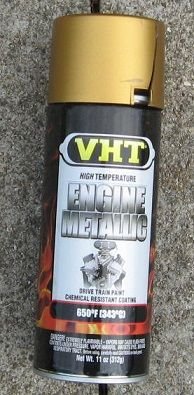
Next, below, alternating coats of VHT gold , drying, and VHT silver...
It takes about 3-4 passes of each to build the color variation without killing the iridescent effect from the Testors Hot Pink metallic
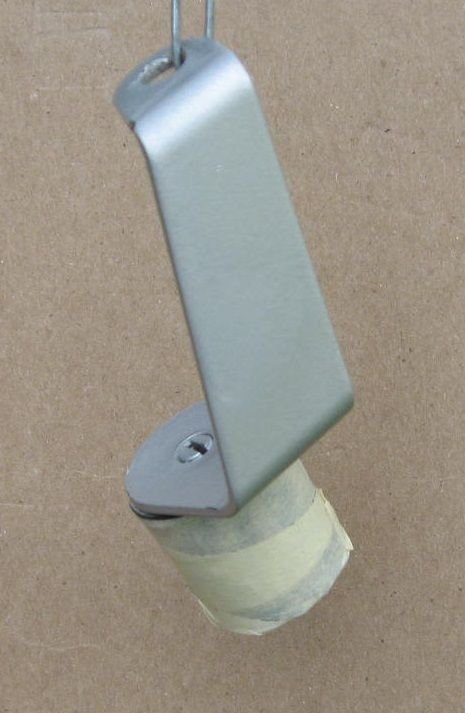
"Too gold" at this stage... do you agree?
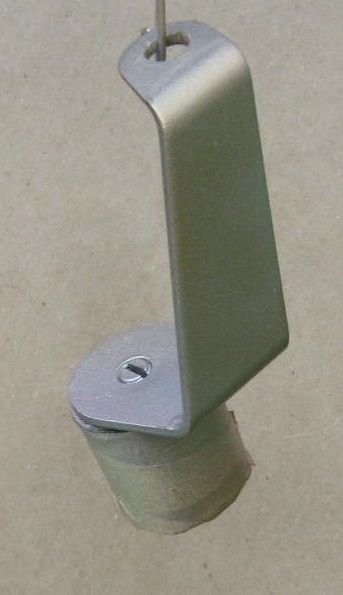
Above, another dusting with the VHT silver to bring it closer to the yellow cadmium effect...
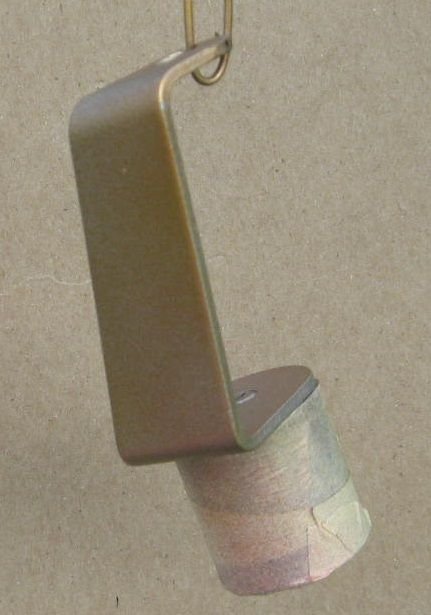
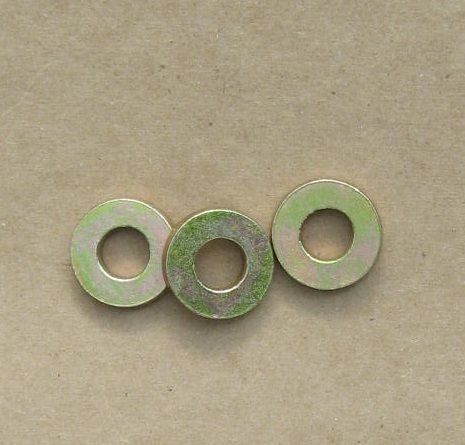
Below, a sample of brand new yellow zinc parts, photographed in the same lighting conditions, for comparison...
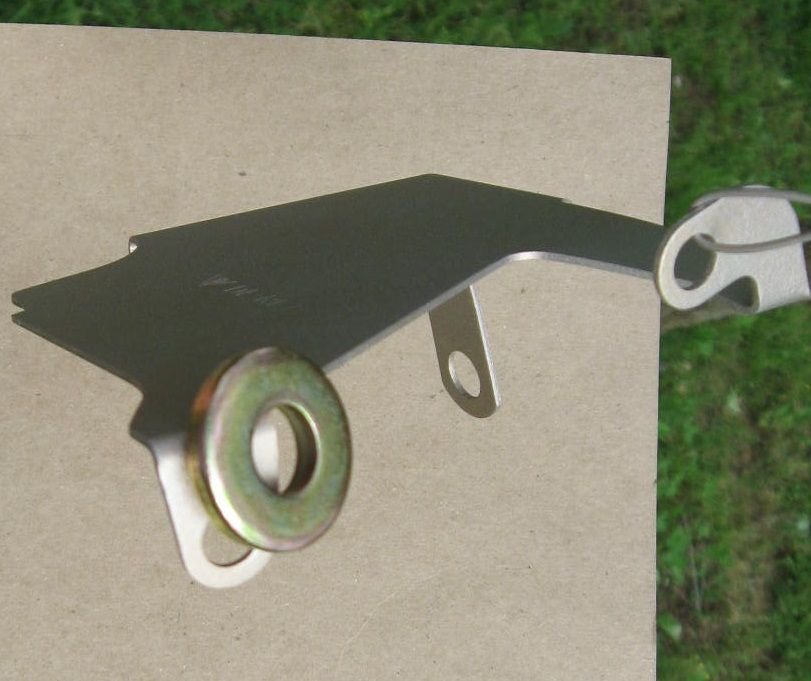
Next,below, a yellow zinc washer compared to a part being painted with my replica method...
A definite difference at this stage... but I'm trying for a more subdued look when compared to the new yellow zinc parts...
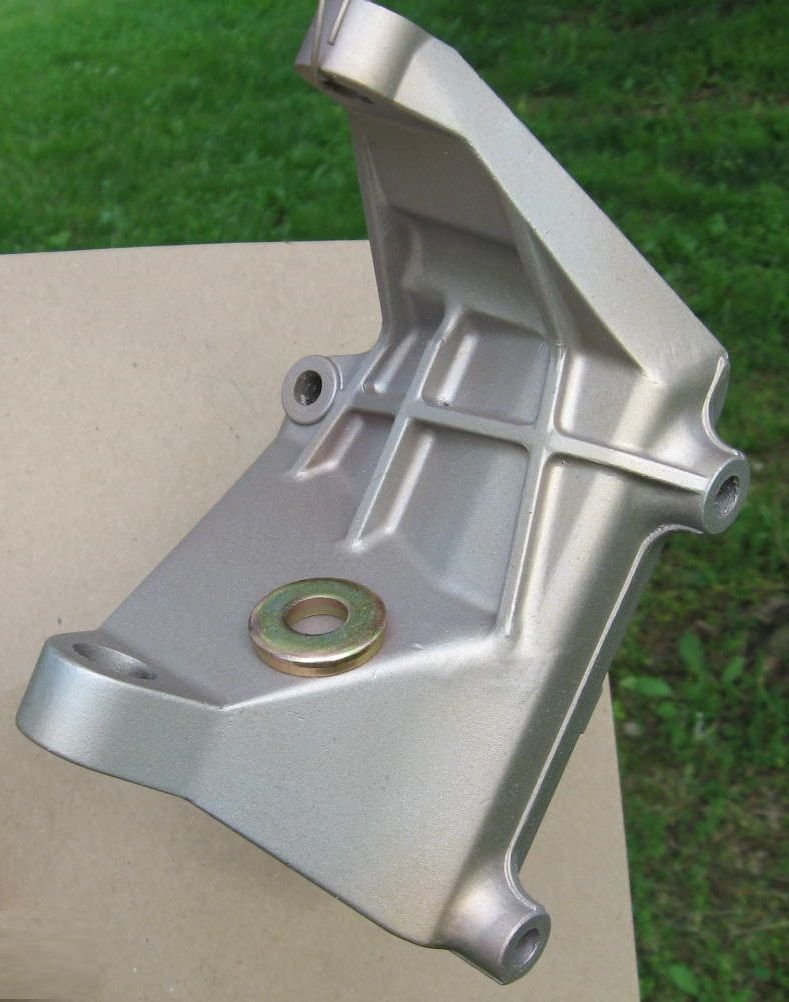
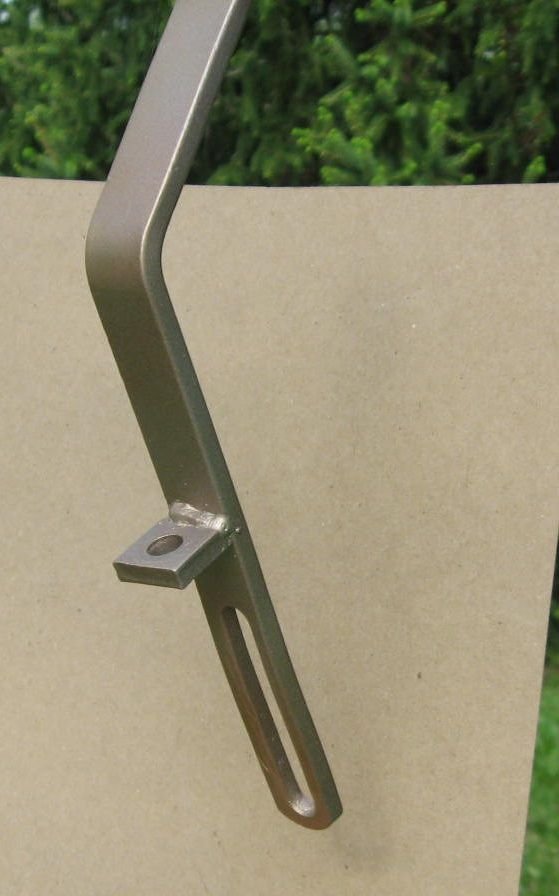
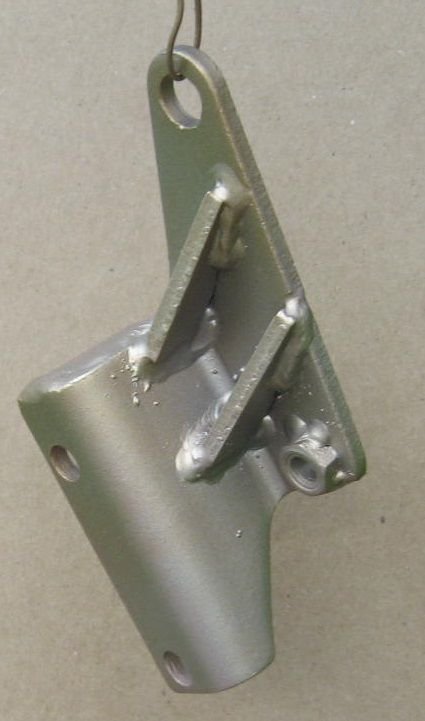
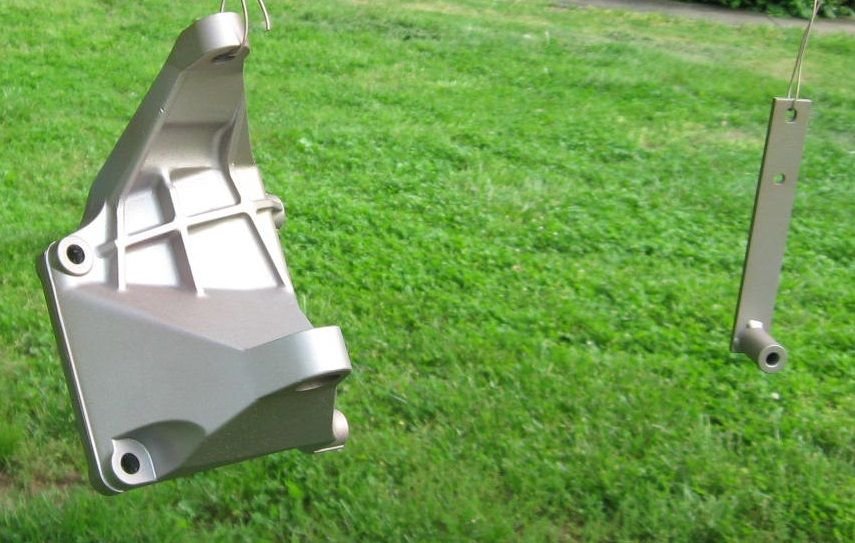
Below, just some more random parts at various stages in the painting...
After these have a chance to fully dry, I will complete the curing process, 60 minutes at 200 degrees F. For added durability, they could be potentially coated with VHT high temp clear and re-cured... not sure if that's necesaarily worth it.
Thank you for taking the time to read this post,
have a wonderful day.
Dan
Two things:
I think I've forgotten what yellow cad looks like and just see yellow zinc, so my expectation is distorted.
Your parts probably look different than they photograph, but too my old eyes, they look too silver, with not enough yellow, green and red undertones.
Maybe I'm just wrong. They look like perfectly good parts, they just don't read as yellow cad to me. I could be wrong, like I said.
Good luck,
Dave
Hey Dave !
I agree with you... There is definitely not enough yellow/gold in the color yet.
It's really hard to find NOS reference photos; there are lots of images floating around with the yellow zinc.
Also, I'm not coming close to achieving a "plated" look yet. They just look painted. There needs to be more metallic sheen in the parts,
I am toying around with the idea of using a layering of VHT high temp clear gloss in the process.
It does seem that a lot of newer cad plated parts are a lot more subdued in appearance... I think the yellow zinc has a lot more color variation from what I can tell.
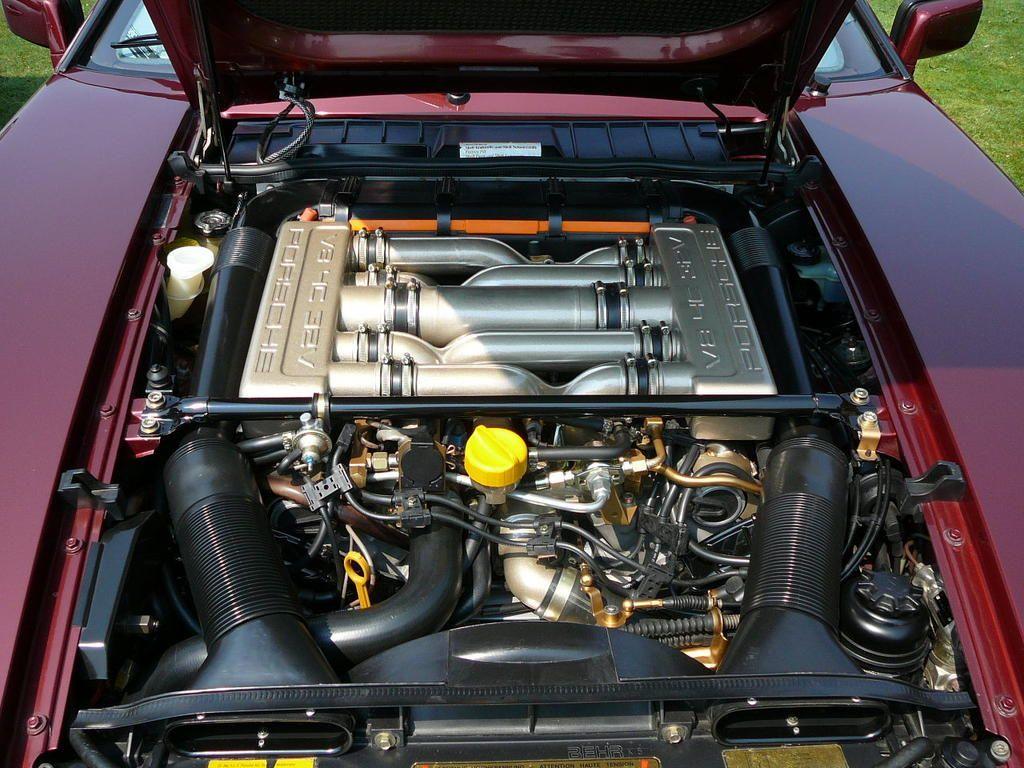
PS: These aren't my parts. Just a photo. But apparently real cad plated.
Parts look great. That is what I think of as yellow cad, but if you showed me yellow zinc made to look like yellow cad, I might not tell the difference. Daniel's parts have a way to go before they look like yours.
Thanks,
Dave
The paint looks great, you must be extremely bored!
I'm sorry I missed this post before I did my rotor hats - I followed the VHT instructions of 2x light and 1x medium coat, rather than several feather-light coats. We'll see how it holds up, I did cure in the oven but did not clear coat.
Eastwood makes a kit; same idea, different colors. I've never tried it though.
I've used it a bunch for my intake refresh and cam covers. It's not original but it's good enough for my needs. Someone with better prep and patience can likely do much better. There are 2 silvers - Alumablast and Silver Cad.
@Daniel5691 : I think those parts look great, even if not (yet) quite like plated parts. I have very little idea what plated parts look like though, so I'm always just happy to have parts that don't look like...30 year old parts.
About the VHT, I contacted them to clarify some things and they were not as helpful as I would have liked. I was painting some parts with one of their yellow colors and wanted to make sure that it was durable, so I was planning on putting on the clear. However, if you follow the directions, it's a week between coats! I asked about accelerating things for the cure in a oven and didn't get much guidance. Is the time and temperature that you laid out, above, a proven success for you? I ended up going with 2-3 h at 300 - 350 F, then doing the clear, but there's been questions in my mind ever since. This was my first go round with VHT and it sprays and evens itself out very nicely, but the cure directions are not fantastic.
I look forward to updates; keep up the great work.
Wow, Ramp! That looks great. Does it seem like pretty durable paint? Thanks, Dave
So far it's been holding up well. I have noticed though that the paint has come off on the underside of rubber hose clamps that get hot like the intake runner connectors. Here's a another pic of some finished work. Overall, the Eastwood paint is very good and I would recommend it. The trick was light coats of the gold, then very very swift misting using the red then green zinc coatings. I sued Aluma Blast for the intake runners, water bridge etc and used Silver Cad paint on the smaller silver pieces.
Originally Posted by Zirconocene
@Daniel5691 About the VHT, I contacted them to clarify some things and they were not as helpful as I would have liked. I was painting some parts with one of their yellow colors and wanted to make sure that it was durable, so I was planning on putting on the clear. However, if you follow the directions, it's a week between coats! I asked about accelerating things for the cure in a oven and didn't get much guidance. Is the time and temperature that you laid out, above, a proven success for you? I ended up going with 2-3 h at 300 - 350 F, then doing the clear, but there's been questions in my mind ever since. This was my first go round with VHT and it sprays and evens itself out very nicely, but the cure directions are not fantastic. I look forward to updates; keep up the great work. Cheers
Zirconocene - The Eastwood paint also has a clear coat called Diamond Clear which I believe has a 15 minute dry time between coats.
Flip the screw clamp that attaches the ICV to the gravy boat so you can access it for purposes of changing ICV from the back, removing the MAF and going in from there. Makes it very easy....target those clamps for the air hoses similarly; the air hose from the center tower also has a clamp on it you won't be able to reach going in from the back.....


 05-02-2020, 07:41 PM