When you click on links to various merchants on this site and make a purchase, this can result in this site earning a commission. Affiliate programs and affiliations include, but are not limited to, the eBay Partner Network.
Alternator Cleaning - How do I avoid screwing this up?
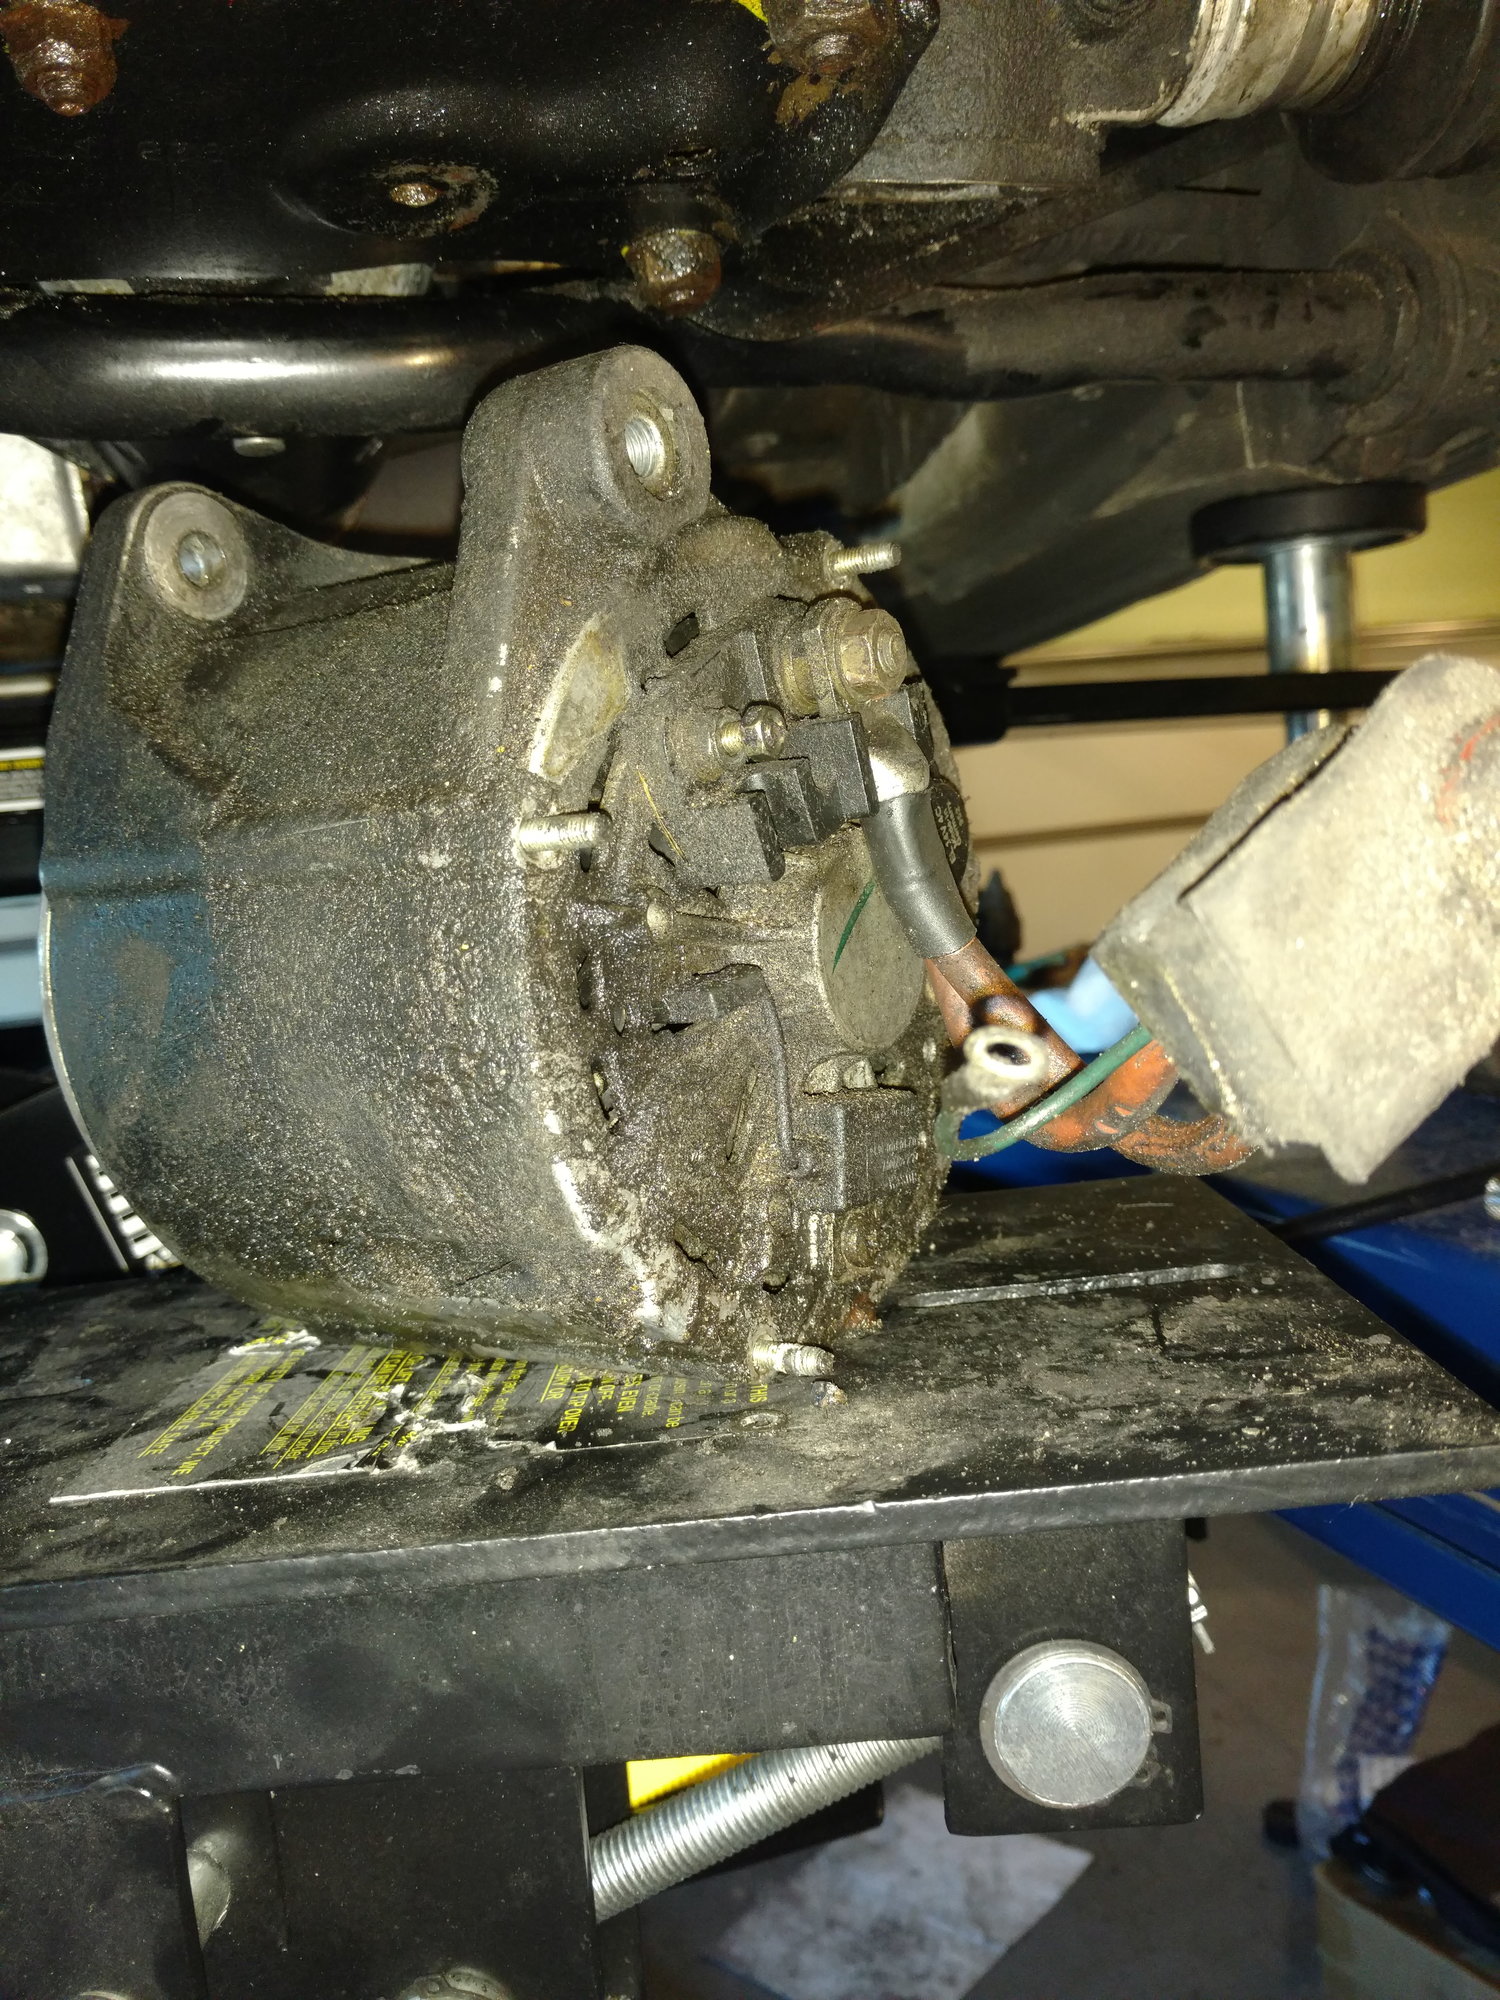
Removed the alternator because I have this going on above it:
Work in progress, I still need to figure this part out, to avoid Electric Boogaloo 2, below
This is what many years, presumably, of leaking leads to:
I went out and bought some brake and carb cleaners but before I start getting that stuff everywhere, and the residue it will take off, what do I need to be careful of? I'm planning on putting the end shown face down on my oil catch pan, then spraying the cleaners on, to try to mitigate any (further) s#!+ getting into the alternator. I'd love to hear about any other ideas, however.
It also seems like it's a good time to check the brushes on the alternator: true? Are replacements easily available?
As always, help and advice is greatly appreciated.
spray it a few lite coats then put your gloves on and spray some on the rag and wipe most of that crud off the alt.
NOTE getting the spray into the bearings will usually result in a shorter service life
Thanks Stan, that's exactly the kind of thing I need to know. I'm going so far with wetting a rag with cleaner then wiping carefully to try and avoid dropping little bits of crud into the interior. I made a nice little pile of other crud that I got off the ventilator cover. Turns out, a good coating of schmutz keeps things underneath looking pretty good.
And I don't know what kind of magic is involved but from the initial cleaning, this alternator looks WAY better than the one I replaced on an '06 BMW. Not as good as some of pictures I see of the alternatives which are for sale but...
I'd leave the brake and carb cleaner in the bag, and focus on using a detergent and water method. There are a couple bearings that will suffer greatly with the solvent, less with the detergent and water. Inside there isn't anything to damage so long as you dry everything out thoroughly when you are done cleaning. If you are still concerned about the bearings, and I would be, I'd plan on a disassembly for cleaning, and put new bearings in after the cleaning cycle. At that point you can do all but put the parts in the dishwasher. I have a plastic dishpan that fits in my utility sink, hot water, some Dawn, gloves, and a parts cleaning brush. When you are all done, slide the pieces into the garage utility toaster-oven and set it to a keep-warm temp 150-200�, leave the pieces in there for an hour, and know that moisture will be gone. New bearings, at least the front one, at this time. Grease the rear bearing.
Dr Bob: Thank you, I like that suggestion, too. Certainly less stressful to me than destroying the bearings. Any comments on replacing the regulator? It sort of seems like a wear item but until I open things up, I don't know the state of wear. I have a Bosch unit (I was able to clean up the original tag on the alternator), and looking around it seems like replacements are not very expensive. Is Hella a trusted replacement for these parts, or is it something that should come from Bosch?
Use Bosch if you possibly can. The wear parts there are the brushes. The electronic parts last forever if not abused. The front hearing is a common parts store size, changes easily while the unit is apart for cleaning. No rocket surgery involved. Biggest work will be getting the pulley nut off, short work with your handy impact gun.
Follow-up o why you avoid brake an carburetor cleaners for this: Insulation on the windings is a varnish dip. Good electronic cleaners are ok, but still not the safest choice.
Whilst you are at it inspect your engine harness cables carefully. The "brown cables" connected to the alternator are in fact red cables- typical signs of aging. As to whether they are serviceable is another matter.
Also take a look at the cables where they leave the 14 pin connector - degraded cables often lose their colour completely and flexing them causes the insulation to crack and even drop off.
Sad to say these things are all part of 928 ownership- hopefully your harness is not in such a dire state but most of them are until replaced.
Good luck with the alternator- looking at the state of play I suspect you do not have the under trays fitted.
Needless to say the reddish oil dripping down on the alternator is from the power steering system and the hoses will invariably be shot if still the original items. If you do not know the hose replacement history then just remember that many 928's have been lost through fire caused by the high pressure hose springing a leak and spraying onto the exhaust manifold. Apologies for the negativity but these are sad facts every owner needs to know. If you are happy with the condition all well and good.
I have done this job on 2 cars, 1 during engine out so a piece of cake. With the engine still in the car it is obviously more difficult. I seem to remember much difficulty replacing the pivot bolt. Others with more recent experience to chip in but I would consider chamfering the end of the bolt slightly to aid refitting
I went through this recently when I changed the engine mounts in my car and also addressed some other oil leaks. The way I cleaned my oily alternator was to set it on the pulley and clean the sides of the casting with Brake parts cleaner and not let any get into the inner electrics through the holes, then I used a damp cloth to clean the tops and bottom. The good thing with Brake Parts Cleaner is that it evaporates quickly and does not leave any residue. I can post some pictures if need be.
I have done this job on 2 cars, 1 during engine out so a piece of cake. With the engine still in the car it is obviously more difficult. I seem to remember much difficulty replacing the pivot bolt. Others with more recent experience to chip in but I would consider chamfering the end of the bolt slightly to aid refitting
Fitting the alternator back on with the car on jack stands is a royal PITA!. I support the alternator with one of my scissor jacks to handle the dead weight and slowly work the thing into position. I then use a smaller diameter shaft with the screw jack to help manipulate the alternator such that the mount is aligned for the bolt to go straight in. Chamfering the end of the bolt should do no harm and will also help some.
Trying to get the alternator back into position, flat on your back with no other aids and get the bolt on makes waterboarding seem like a pleasant pastime.!
Thanks everyone for all the good input and suggestions.
Dr Bob, slownrusty, and Stan: I'm going to take a middle approach to both of your suggestions. I'm wetting shop rags with cleaner, then using those to wipe down the outside. So far, it's pretty effective but it's also pretty clear that to get things back to great, I'll have some disassembly to do and will move to water and Simple Green. I don't have a shop sink so I have to be careful about putting really nasty things into the kitchen sink. I'll look into the Bosch replacement brushes once I can evaluate the state of the current set.
This all started as a result of a known problem with the power steering system, so you can be sure that there will be questions about that whole process. I've started looking for local hydraulic hose repair/rebuilders as I anticipate that is on the menu. Petza914 suggested firesleeving the high pressure hose, as well, leaving the bottom open so that any leaks go out the bottom of the engine and not onto the hot parts of the engine, so as soon as I can get some measurements on the hoses I'll be using, that will be an addition to the system.
Fred: Regarding the wiring, the big ones are still red and look to be in good condition. The smaller of the wires is still red but, as you point out, there is a bit of cracking that I can see at one of the bends.I'm not totally sure how to address this but right now, I'm thinking about using some adhesive lined heat shrink tubing. I'll follow the wiring up once some of the power steering bits are removed; I think I should have a better view after that and can inspect per your recommendation. A lot of the filth is actually coming from 2 directions. As you point out, there are not belly pans on the car (they're on the list of fixes, but lower priority right now). The other source is the lack of a gasket between the ventilation cowl and the alternator AND what looks to be some infiltration via the hose inlet on the cowl. I have a nice pile of caked up crud that I removed from the inside and outside of the cowl. A new gasket and inlet hose are on the agenda for the system.
C531XHO: That pivot bolt will be a pain, I am sure. I hope things will be a little easier, though, as I will be using my trans jack (you can see it in the alternator picture, above) to keep things close to where they need to be while I reinstall. I dunno how it will work but I think it will be way better than the last alternator replacement I did (E60 M5) which SUCKED. The car is way up in the air on a 4 post lift so I can stand (reasonably) comfortably under the front to work.
Thanks everyone for all the good input and suggestions.
Dr Bob, slownrusty, and Stan: I'm going to take a middle approach to both of your suggestions. I'm wetting shop rags with cleaner, then using those to wipe down the outside. So far, it's pretty effective but it's also pretty clear that to get things back to great, I'll have some disassembly to do and will move to water and Simple Green. I don't have a shop sink so I have to be careful about putting really nasty things into the kitchen sink.
Hence the use of the plastic dishpan. I found a couple different sizes of Rubbermaid plastic bus/dish trays, similar to what you might dump stuff in to at the airport security screening stations. I use them for keeping track of parts and tools during projects, and for cleaning bigger pieces that risk damage to the parts or the sink. If you are in the kitchen sink, this kind of care is a must. Wipe off as much as you can with paper towels, then remove the voltage regulator (2 screws) and look at the length of the brushes. New brushes come as part of the replacement voltage regulator package. The prevailing guidance is to use a genuine Bosch replacement.
Back at the alternator, four screws/bolts pass through the case and hold things together. Take some pictures so you can get the mounting lugs lined up on assembly. There are nuts on the back related to the cooling shroud that will need to come off before the through bolts/screws will come out. Sometimes a couple taps with the impact driver are needed to get the screws started out. Then split the case. The spinning part is the armature or rotor, and will come out with the front half. The stator windings will stay with the rear half of the case.
You may be able to get the pulley nut off with a wrench now that you can hold the armature from turning. I use my little Makita battery impact driver with a socket adapter, makes short work of this duty. Watch for spacers and shims as you lift the pulley from the shaft. Once that stuff is removed, the whole armature will go back through that front bearing. You are still working in the plastic tub, so less risk of damaging the rotor by dropping it. Don't drop it.
With the armature out, you can see the front bearing in the housing. IIRC there are screws that hold it in place. Take those out and tap the bearing out. There's a number on the bearing. Without consulting the forum's bearing interchange table, you can take that little bearing to your local parts place and get a replacement with your sample and those numbers.
The rotor/armature has two copper rings at the non-drive end where the brushes ride. Those do wear, and if worn too much they will need to be replaced. That's beyond the capability of most DIY wrenches. If yours are still smooth, even if worn a little, they are still serviceable.
Now... Clean everything. Simple Green, Orange Cleaner, Dawn, those detergents are fine. DO NOT USE PURPLE ENGINE DEGREASERS. If you feel you must use a solvent to clean things, use a deodorized mineral spirits (paint thinner) but remember that it can't go down the drain. Get everything lickin' clean (a GB term). Once clean, get stuff dry, especially the windings. If you have compressed air, that's a great start. I have a hand-me-down garage-sale surplus toaster oven that's big enough for this duty. Set it on keep-warm at 150-200�, and leave parts in there for an hour or two for final bake drying. Then the new bearing goes in the front case, screws go in to hold it. Armature/rotor goes back in, and any shims, then the pulley, lockwasher and the nut. Add new grease to the rear bearing before fitting the rear cover. Fit the through bolts/screws, and verify that the rotor spins freely and smoothly before you tighten them. Find or make the little foam seal for the rear cover and the cooling shroud. Fit the regulator and the attached brushes,brush holder.
Mounting the alternator: Grab that large pivot bolt, and thread it into the alternator on the bench, until there's maybe a quarter inch of gap between the bolt face and the housing. Now, GENTLY TAP on the head of the bolt, so the sliding threaded boss at the rear ear opens up the gap between the mounting ears. Once the wiring is connected and the cooling shroud is in place, lift the alternator into place and fit that pivot bolt. On my S4, that bolt is a tight clearance at best with the engine cooling fan shroud. That fan console can come out, or you can raise the engine a little to improve the room there. With the rear threaded boss moved back, you'll have an easy time getting the alternator up in place, and you'll be able to wiggle the casing to get the bolt started in those threads. Snug but not tight on that bolt, then you can fit the tensioner hardware and drop the belt on. Tension the belt, tighten the bolts.
Mounting the alternator: Grab that large pivot bolt, and thread it into the alternator on the bench, until there's maybe a quarter inch of gap between the bolt face and the housing. Now, GENTLY TAP on the head of the bolt, so the sliding threaded boss at the rear ear opens up the gap between the mounting ears.
.
That would sure make the job easier- never thought of that possibility! ;Presumably the locking friction is generated at the front boss? I have always thought of that design as a bit strange but maybe not.


 03-01-2020, 04:22 PM