When you click on links to various merchants on this site and make a purchase, this can result in this site earning a commission. Affiliate programs and affiliations include, but are not limited to, the eBay Partner Network.
Prepare yourself for the chance that you'll ruin it by trying to remove it. Raise the hatch and remove the screw in the jamb. The piece that the screw goes through is actually just lightly pressed into the end of the drip rail. Go ahead and remove it. Remove the windshield closeout trim. If the drip rail has never been removed before, then you'll need to get a heat gun ready. There is a bead of glue that should be reversed, a little at a time, before an attempt is made. The drip rail fit snuggly enough to work as 'friction fit', so the glue is overkill. I don't replace it.
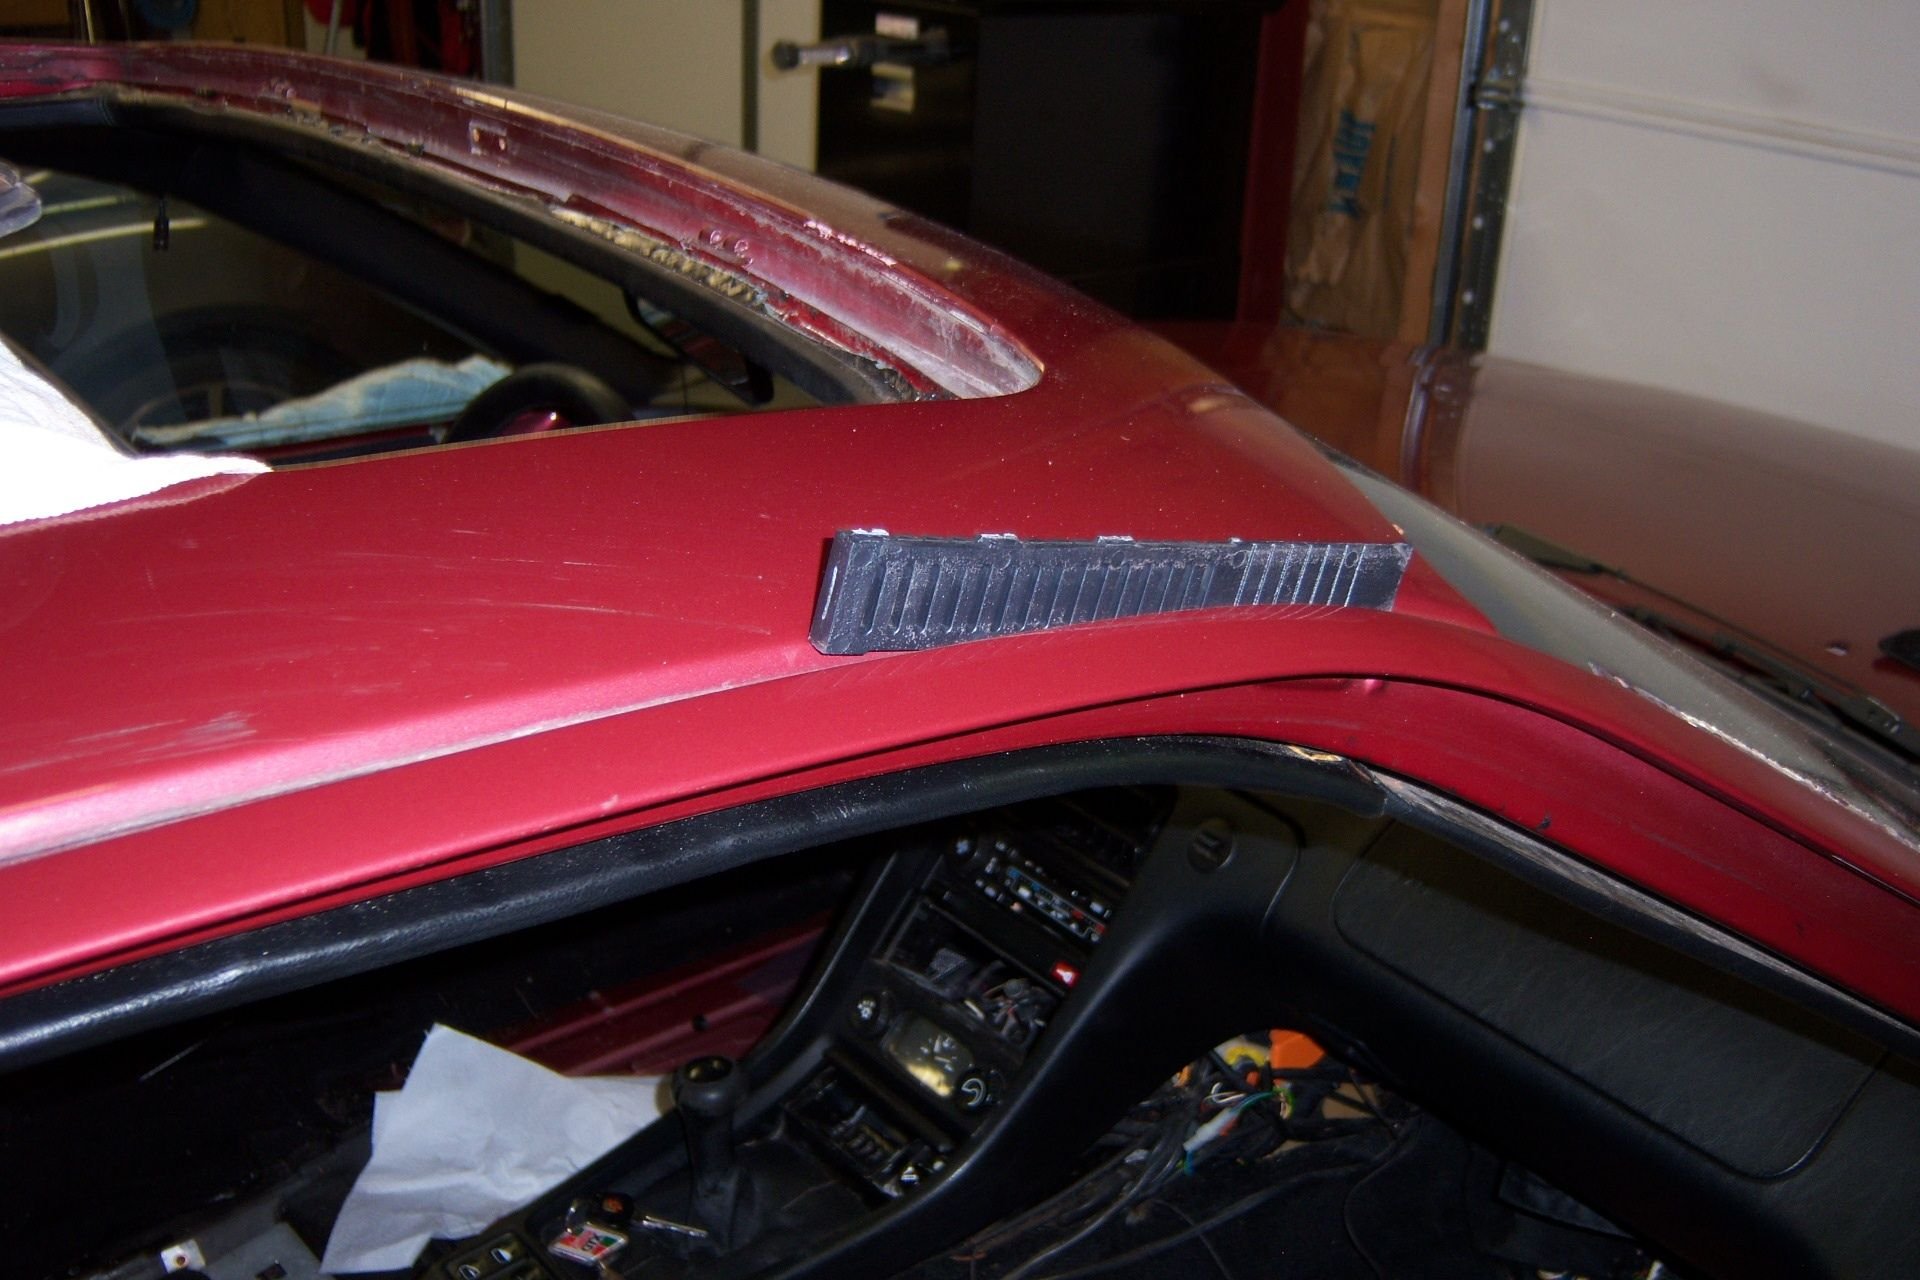
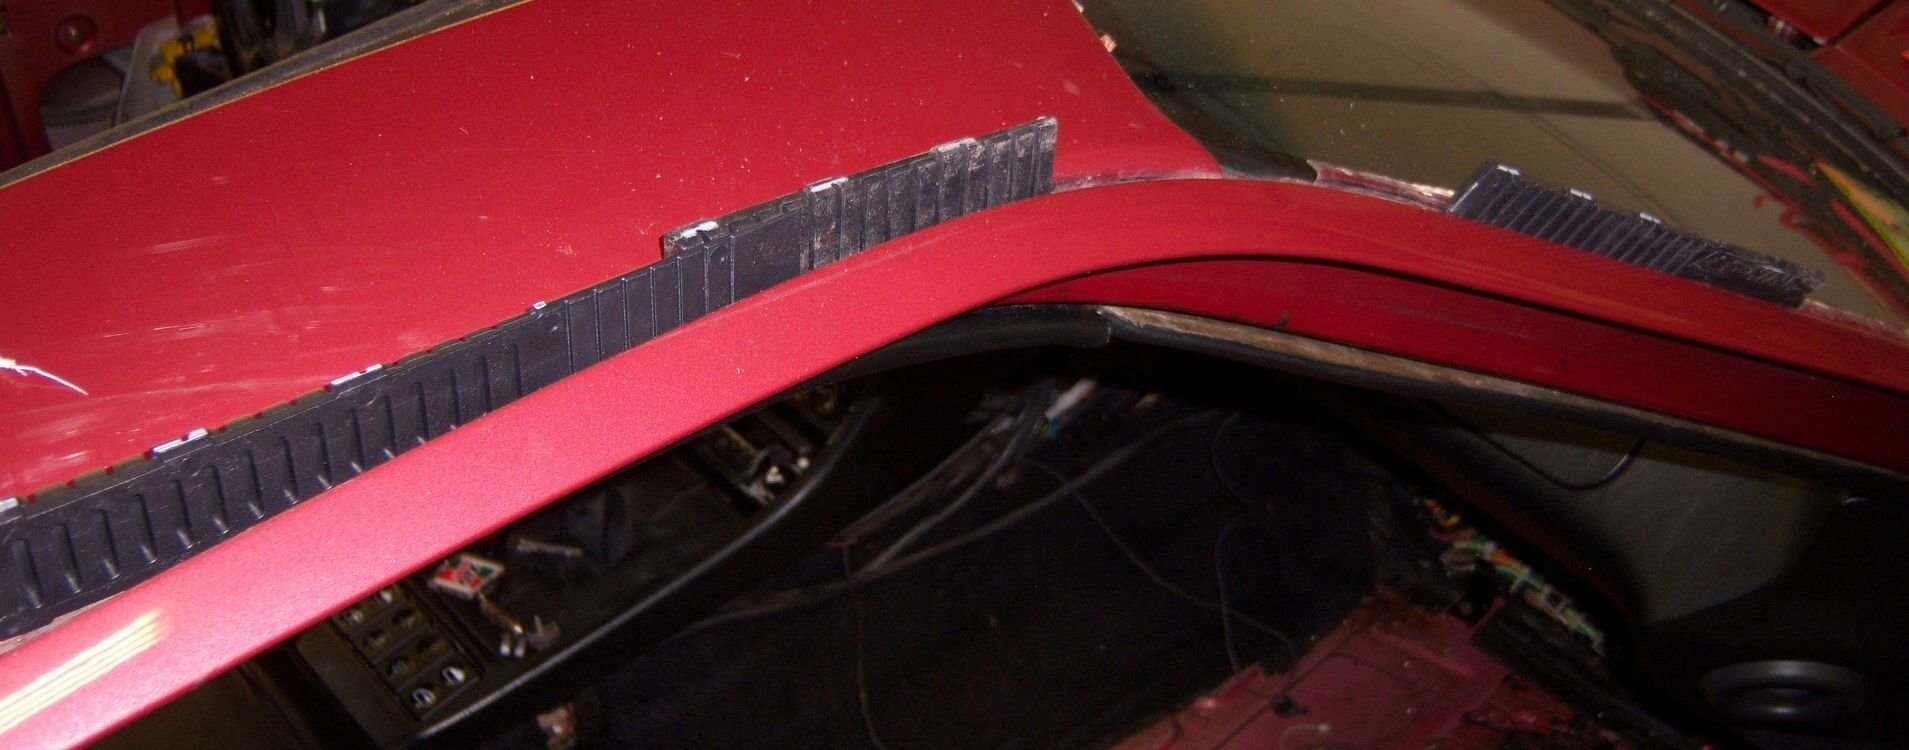
Now, it's time to pry. I like to sit on the rocker and hold a small block of wood on the pinch welds for the door opening to pry against. I use a short pry bar and delicately work the drip rail off of the roof pinch welds. Now, even more gently, pry it away from the windshield. It should be 90% ready and it will probably only still be held at the last couple inches of roof skin pinch welds at the rear. DO NOT be tempted to grab it by hand and pull it off. I keep plastic packaging straps handy for this. I slip it between the drip rail and roof mating flange, wherever there is a void, and pull the strap toward the rear of the car. I have a helper to support the drip rail while I execute this final step.
Cheers. You dont have a pict of the prying operation?
The one on my GTS is slightly dented. I gave a parts car with a perfect one. Saves me 150$ if I can remove the one from the parts car.
Makes sense. Unfortunately, I don't think I have snapped a pic of this operation. You should do doing 75% of the work to remove it from a seated position at the rocker if that is any indication. The block of wood is just utilized for getting the best angle for leverage and, most importantly, to protect the door opening frame. The tip about the plastic band strap, or the like, is pretty crucial. Creating leverage is easy to conceptualize.
They're thin, a complex shape, and glued..and available new.
You wont likely be able to save them without some form of visible damage/warping. Ive had more luck removing upper windscreen trim without damage than these pieces.
I remove them every time I do paint work. In my opinion, it's the only way to properly do it. I haven't warped one in a very long time, but I do still maintain my extras as I can't guarantee a 100% success rate in removing and installing them. I hope I never warp one again, but it's still just that.. a hope.
I like Ken's suggestion. While I don't believe in painting the roof and/or quarters with these in place, I see no issue with painting them on the car. A proper, diligent mask job and competent prep should render a durable, good job.
The only caveat I see is potential for sending a little unwanted dust into the cabin.
When u put them back on do you use some kind of glue? When I put mine back on the part by the base of the windshield keeps popping out a bit. Have to push it back seated then it happens again.


 10-27-2019, 11:40 AM