When you click on links to various merchants on this site and make a purchase, this can result in this site earning a commission. Affiliate programs and affiliations include, but are not limited to, the eBay Partner Network.
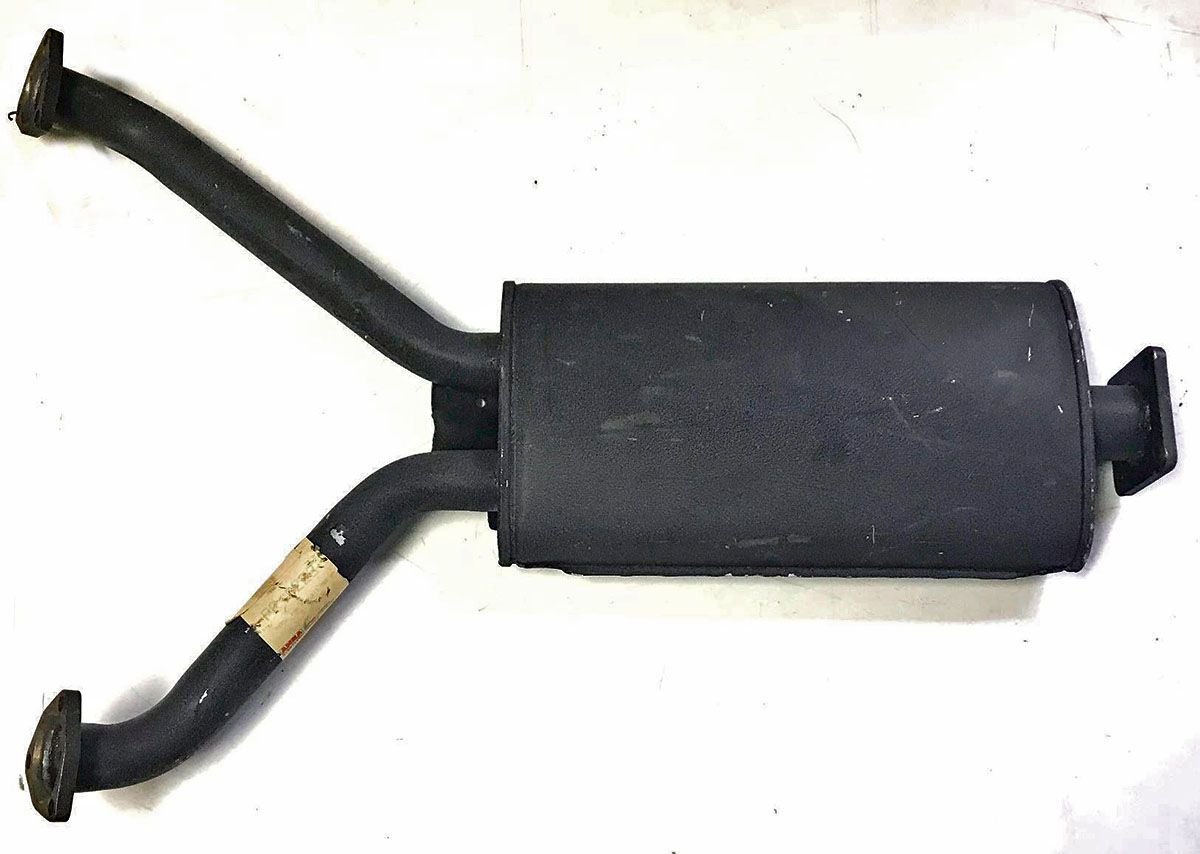
How nostalgic vs. ambitious am I? I may have found an early single-outlet NOS ROW CIS ANSA front muffler. Would just need a O2 sensor bung (maybe add a crossover pipe). Or do I weld up a Y-pipe?
Last edited by PorKen; 11-01-2019 at 04:36 PM.
Reason: add pic
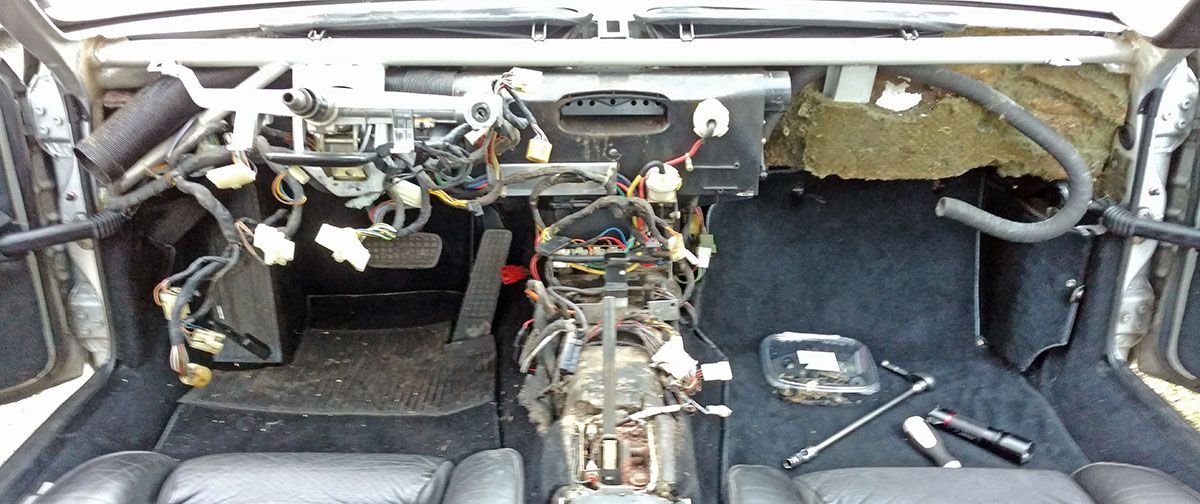
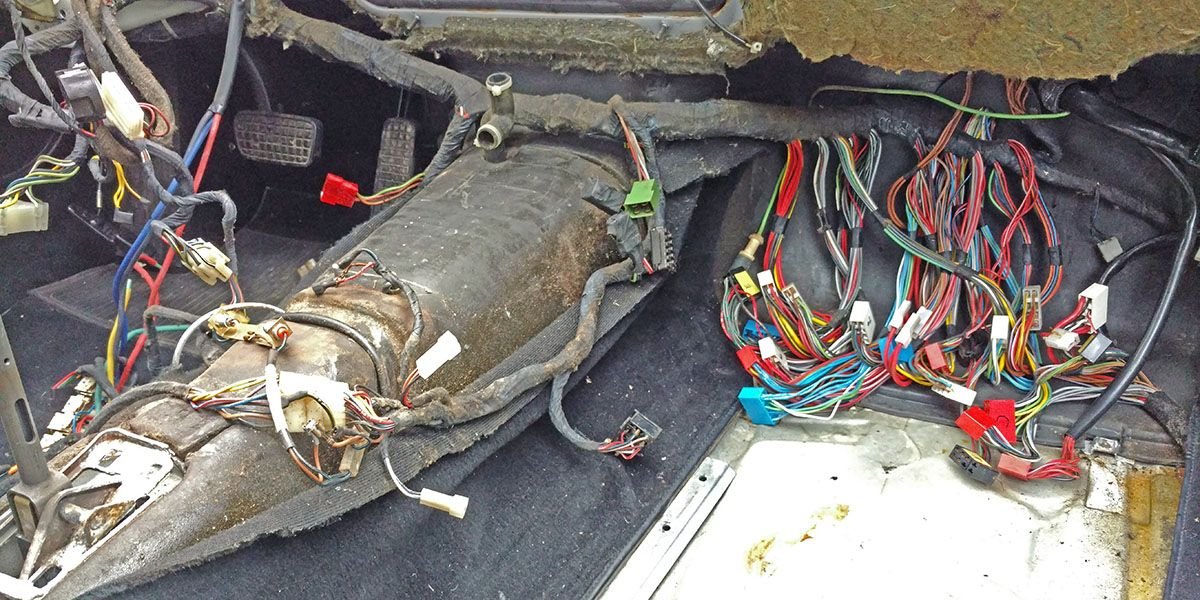
Not so bad as I feared behind the dash. No chewing on the pod wires. Mostly around the cigarette lighter and under the CE panel.
Some firewall insulation removal behind the glovebox. Mice got inside the cabin via the shifter, chewing a hole on the upper left corner to get in. One final(?) dead mouse was resting on top of the defrost vent.
So many WYAITs, I know, but I'm really pushing to just get a working heater for now.
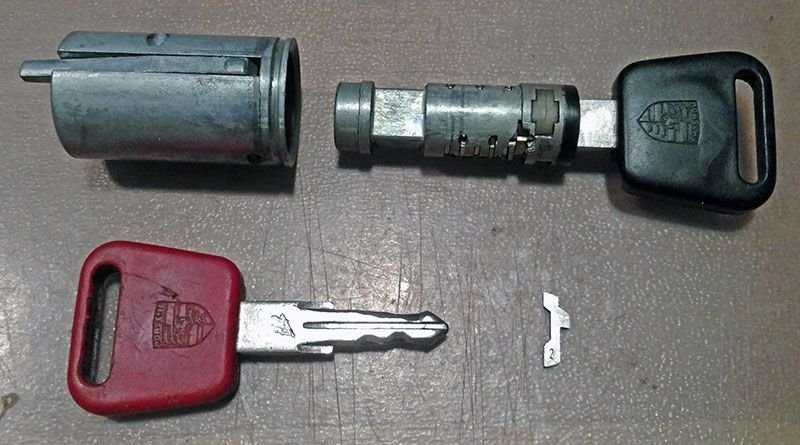
I did do the ignition key, WYAIT. Thanks to all the writeups here it was not that difficult just tedious, swapping 1,2,3,4 pins around until the black key fit. Just one 0 - empty slot - out of ten. (Needed another 1.) Red key now only fits a random gas cap I have hoarded.
Ken,
My 1980 did not have an O2 sensor installed when I purchased it, and I honestly saw no difference in mileage or performance after I re-installed one. That never seemed right, but it was the reality.
Andrew
Weird. Your engine must have been adjusted to close to ideal.
This one has the original sensor with a slide-on metal shield over it. It appears to be working fine but it is on the list to be replaced whenever I have cause to remove the cat.
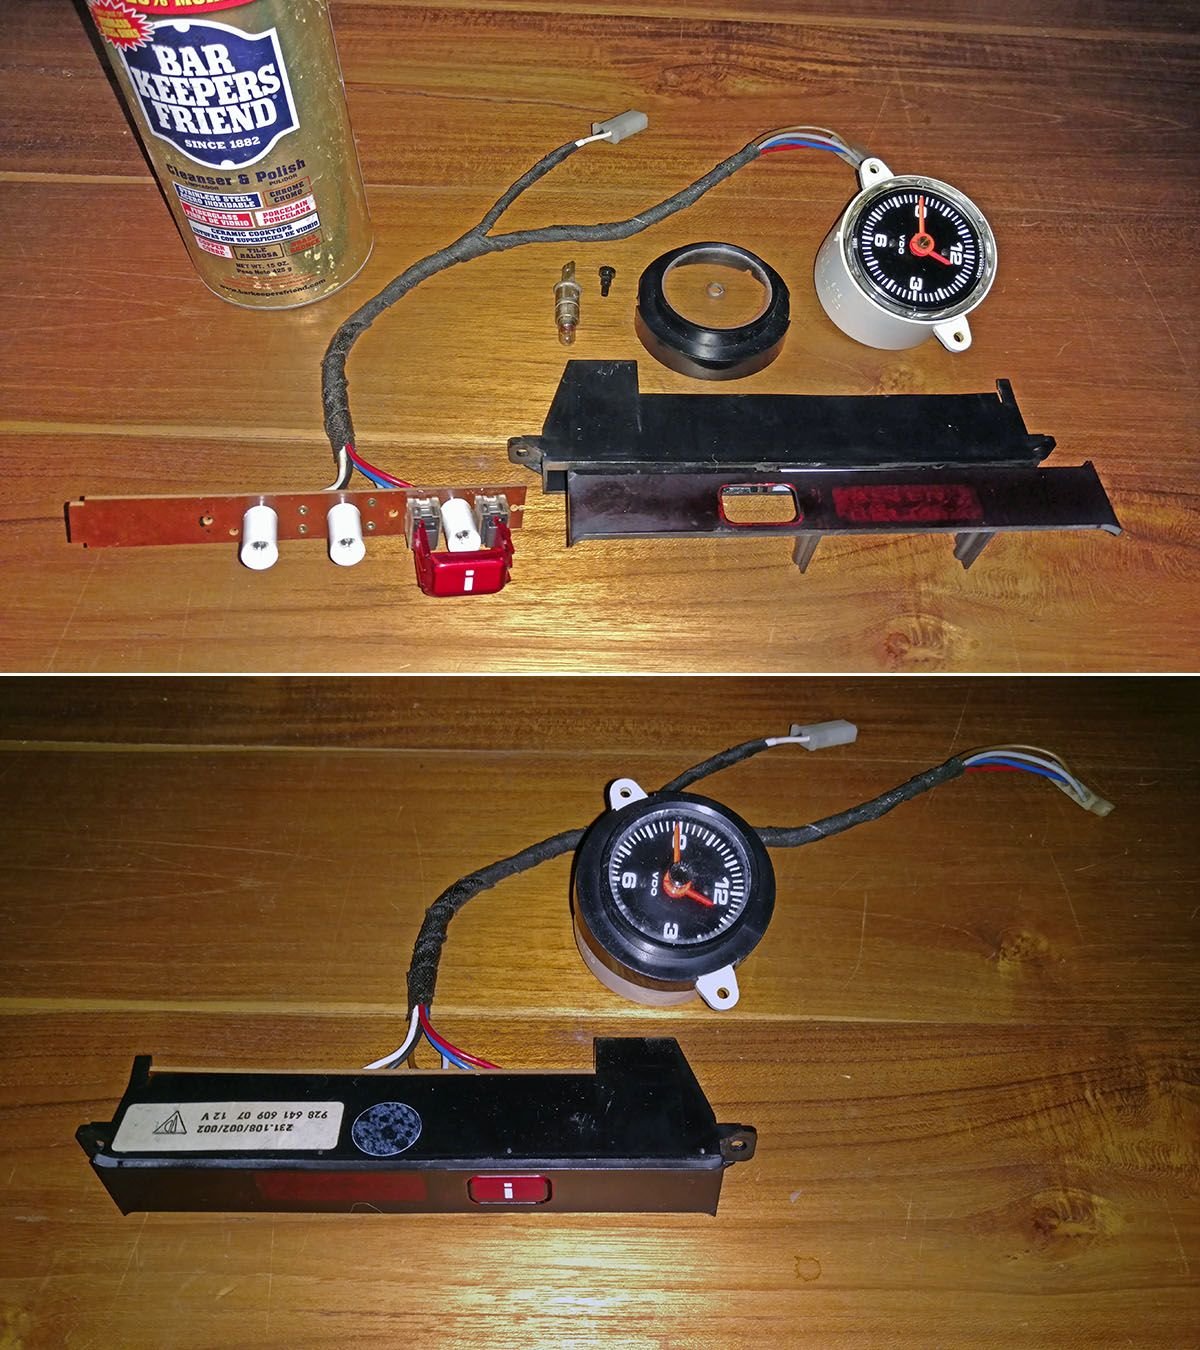
Someone had previously used a harsh cleaner on the clock and info bar making them cloudy. Hard to see in the first set of pics above but the clock lens was nearly opaque.
Didn't seem like I had much to lose so I tried what I had under the sink - Bar Keepers Friend. A few rounds of grinding with a wet paste worked pretty well. While not like new, it looks good enough for the clock to be used again. (The clock set **** pulls straight out with a set of pliers.)
There was some mice chewing on the display wiring which I repaired with liquid electrical tape. Did not look that great though and I never liked how the wires were all over the place so I wrapped them in friction tape.
FYI, the [ ! ] and [Seat Belt] display is held together with four small slotted screws. It felt like it was glued together but it turned out to be the black paint on the back side of the lens holding it together in spots. (The [ ! ] button snaps onto the pushbutton heads from the front. It does not slide out with the board.)
This '80 was not spec'd with the extra amplifier but the wiring was pre-installed for it. The terminals were factory bound with harness/friction tape.
Me being me, I removed* the heavy bundle of wires which runs over the central tunnel to under the driver's seat. Under the driver's seat there are a bunch of Molex connectors for the fader which the amp would connect to. (There's also a power wire which connects to a plug under the CE panel.) I removed* the fader along with the radio since I will be installing a RetroSound head unit for now. I will connect the aftermarket radio, which has a built in fader, to the factory speakers using the Molex plugs.
The OXS clock would not reset and is not much use anyway so I removed* it. I bound the OXS plugs with friction tape and tucked it under the carpet. The carpet is one piece (unlike the later cars which have a big hole there) so I ditched* the cover as well for the clean look and extra (purse stowage) space a la '78-'79.
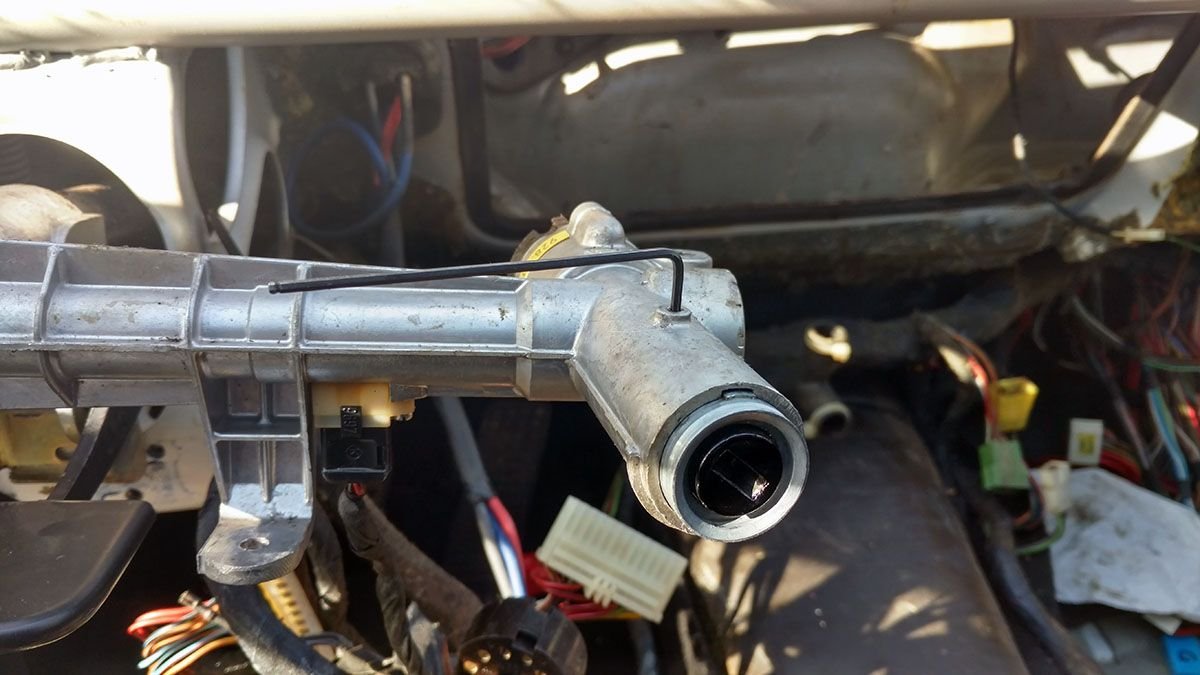
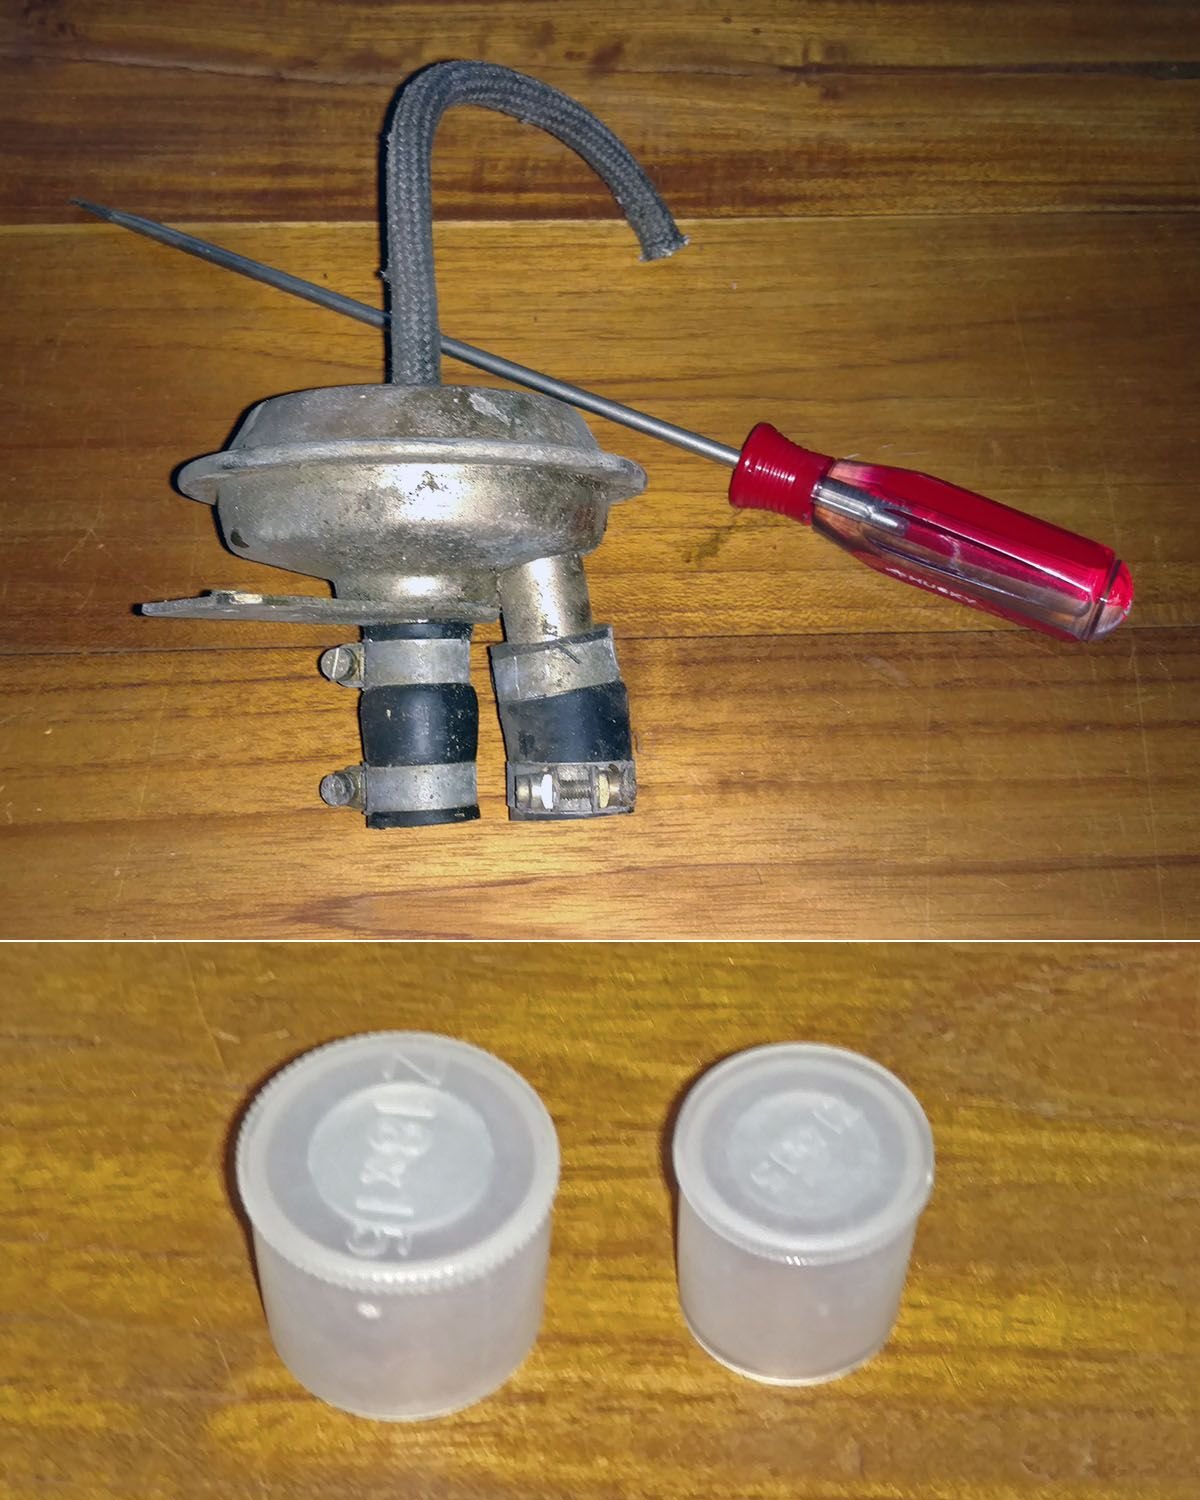
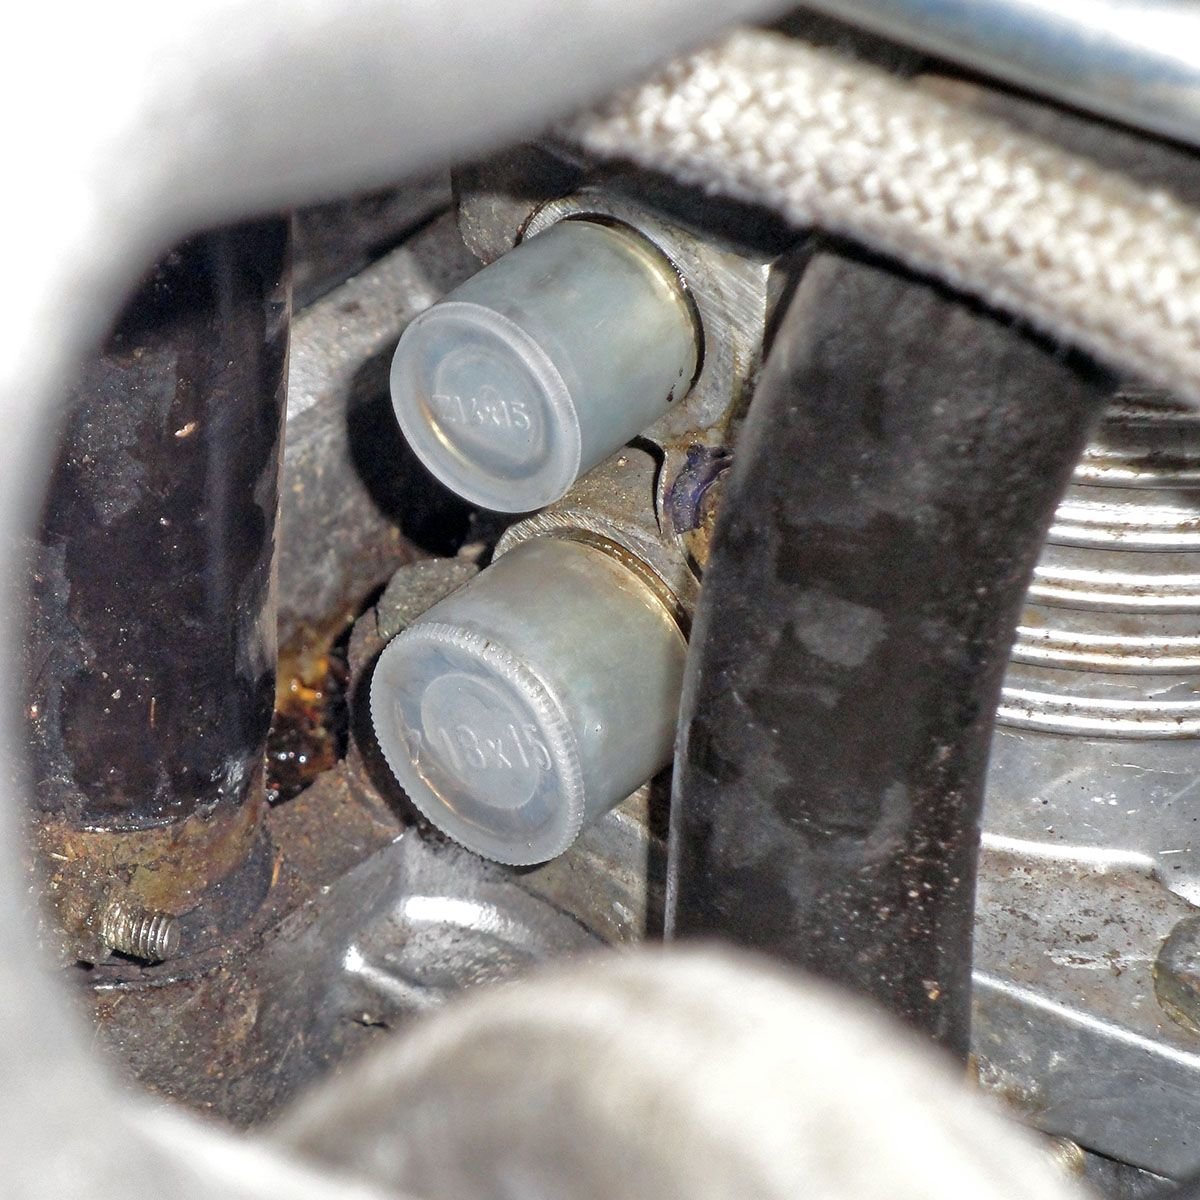
Can be removed in-situ with a long screwdriver and unplugging the #2 spark plug wire for extra room.
Caps fit very snugly and will not go on cold. I ended up soaking each one at a time in boiling water and quickly installing. The big one I also had to widen the opening with the end of the screwdriver in order to get it to slide onto the port.
Really cleans up the place.
999 703 171 40 - cap 14 X 15
999 703 172 40 - cap 18 X 15
Not much progress on rebuilding the HVAC but I did finish wiring repairs.
Rewrapped missing friction tape sections including at the pod. Rear fog light plug, intensive washer and ROW tripmeter wires had come loose. (Wrapped the unused yellow sunroof plug and white rear wiper plug WIWAI.)
Gave up trying to fix the HVAC before winter so it's been parked. Have what I hope is a good mode door foam ordered to reassemble.
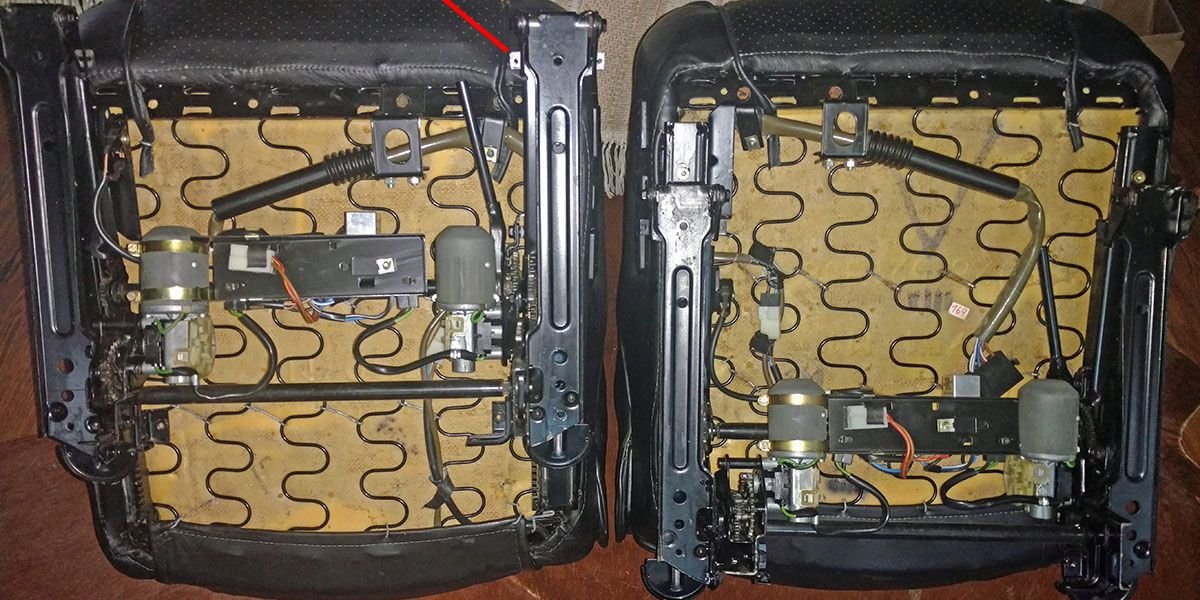
Early Comfort seats are tanks. So many plastic covers and plenty of steel.
Washed the leather with a diluted Dr. Bronner's soap mix followed by a plain water rinse twice, so far. The rinse water still dark brown on second rinse but the leather is starting to smell nice. (Smoker owned judging by the ash tray condition.)
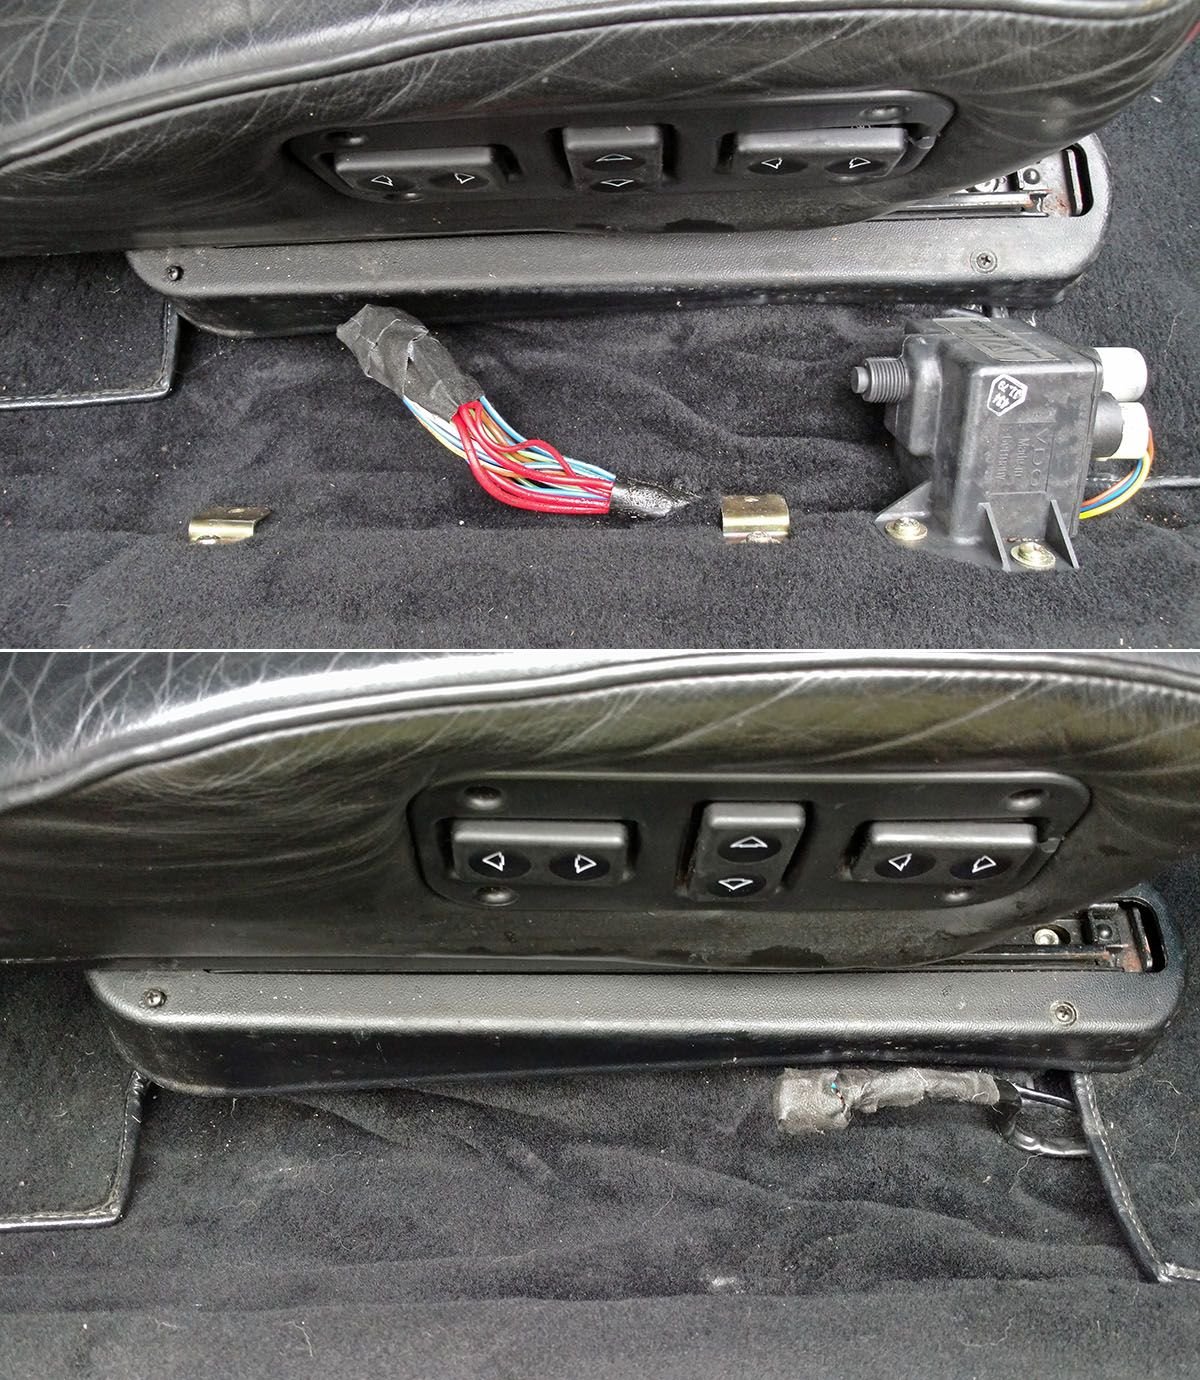
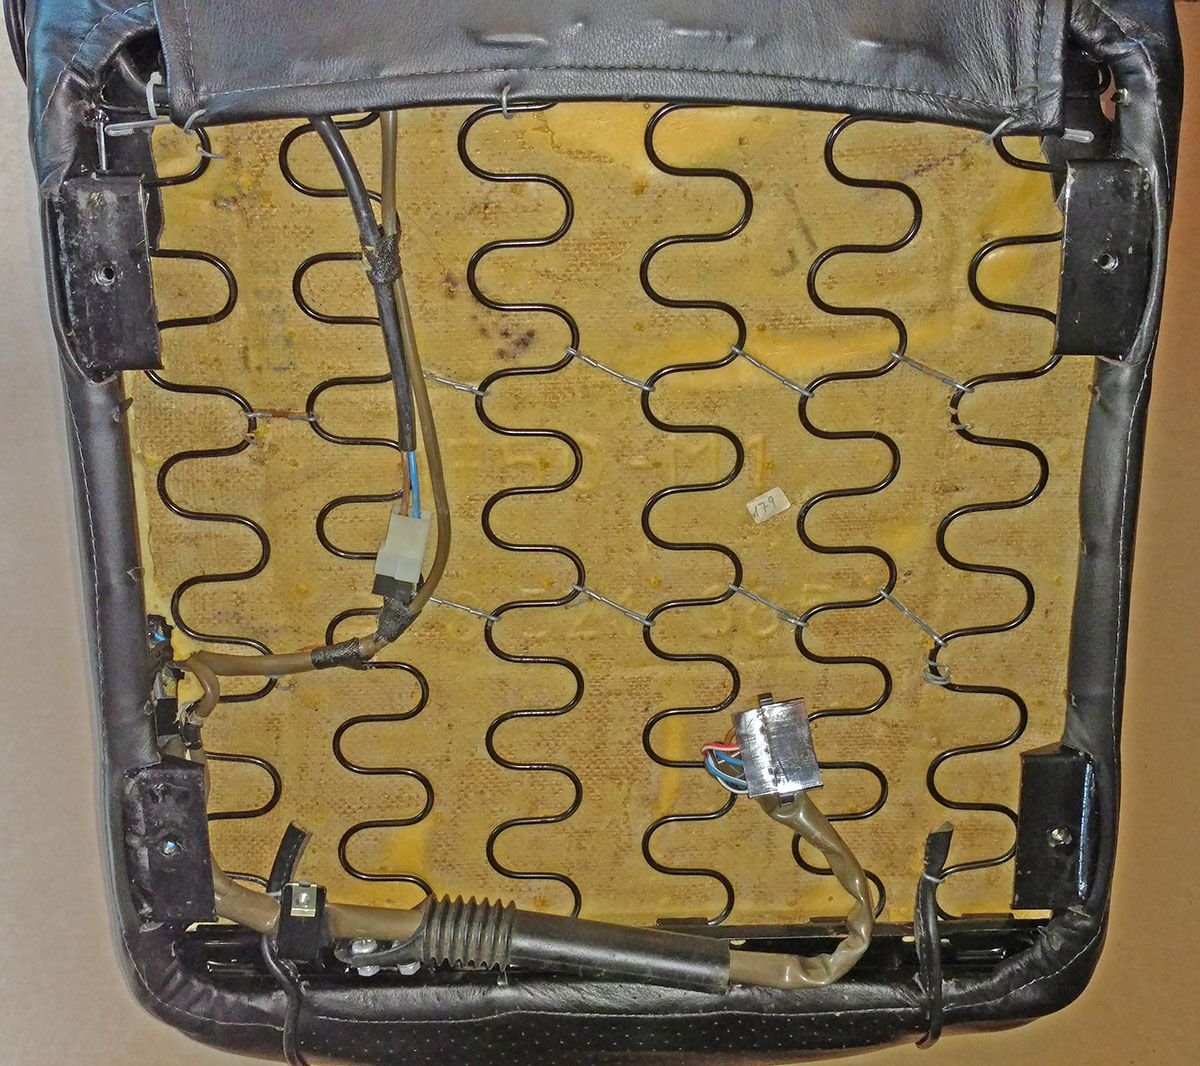
Note the wiring is secured to the seat underside with friction tape, not zip ties.
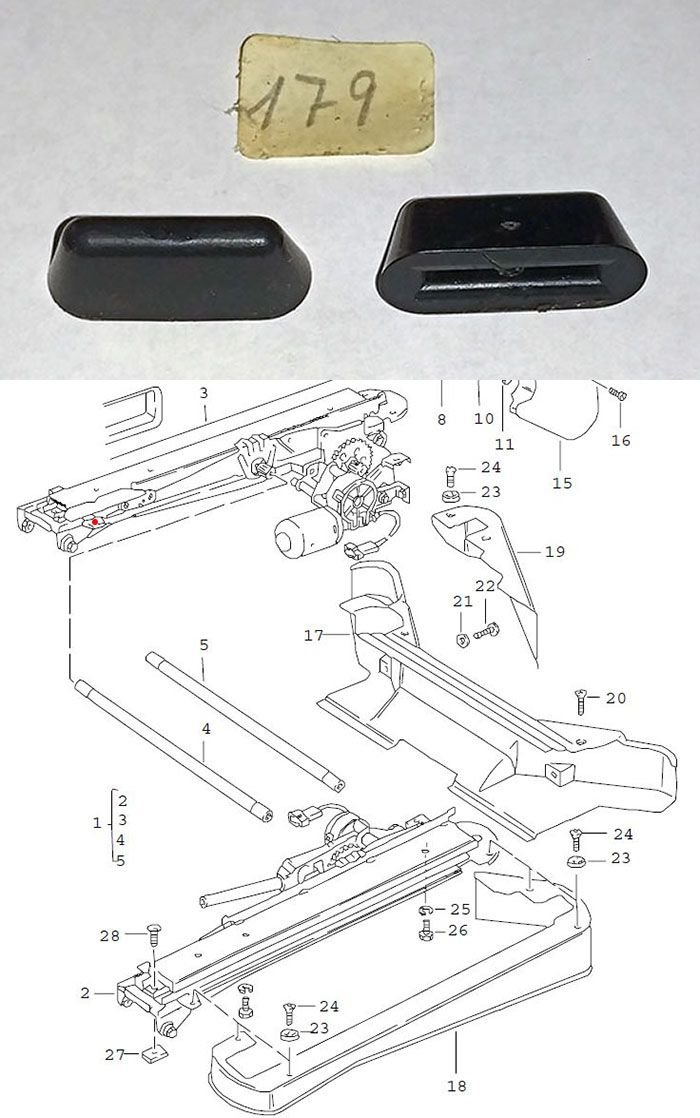
Lucky to find these errant little caps, which do not have a part number that I can find. They fit on the uncovered tab on the front inside rail, one per seat (red line above, red dot below). Plus the craftsman(?) number tag for the driver's seat. Surprised these did not get sucked up by a vacuum.
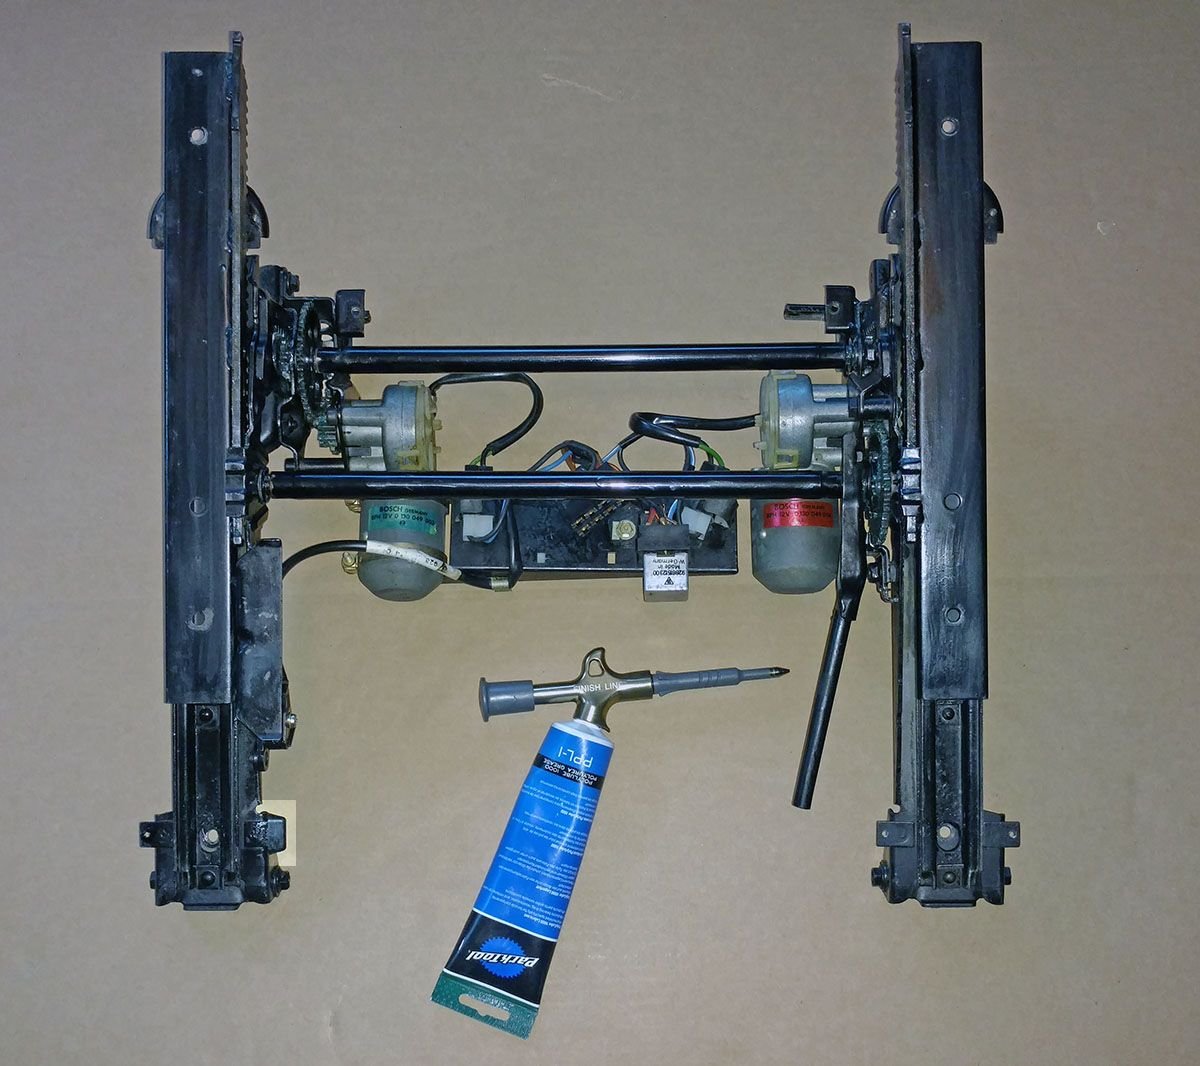
Took the seat mechanism apart as much as possible - some sections are welded together. Removed old grease and sprayed with carb cleaner. Re-greased everything with bicycle grease. The sliders roll on four ball bearings per rail. The small lube gun worked well to get grease onto those. (A needle attachment would work even better.) Popped off the motor covers and squished the old grease back into the worm gear.
The 'axles' are hollow, splined at each end. One end of each is crimped in place. The free end has punch marks to line them up.
Understandable why these seats have thick plastic rear covers. Wouldn't want your back seat passenger to put their toes into those gears!
The relay is for the seat-back-auto-forward feature. A small switch pushed by a plastic cam at the bottom of the seat back and another under a formed section of the right slide together trigger the relay. (It does not go forward the whole range.) I put silicon grease on the switch levers and slides.
Little cap (highlighted above) and "179" label reattached with rubber cement. Wiring re-taped at original positions.

 11-01-2019, 02:47 PM