Notices
928 Forum 1978-1995
Sponsored by:
Sponsored by: 928 Specialists

Loose Door Seal

Thread Tools
 
Search this Thread
 
Old 05-18-2019, 05:57 PM
  #1  
Randy V
Addict
Lifetime Rennlist
Member
Thread Starter
 
Randy V's Avatar
 
Join Date: Jun 2000
Location: Insane Diego, California
Posts: 40,449
Received 98 Likes on 66 Posts
Default Loose Door Seal

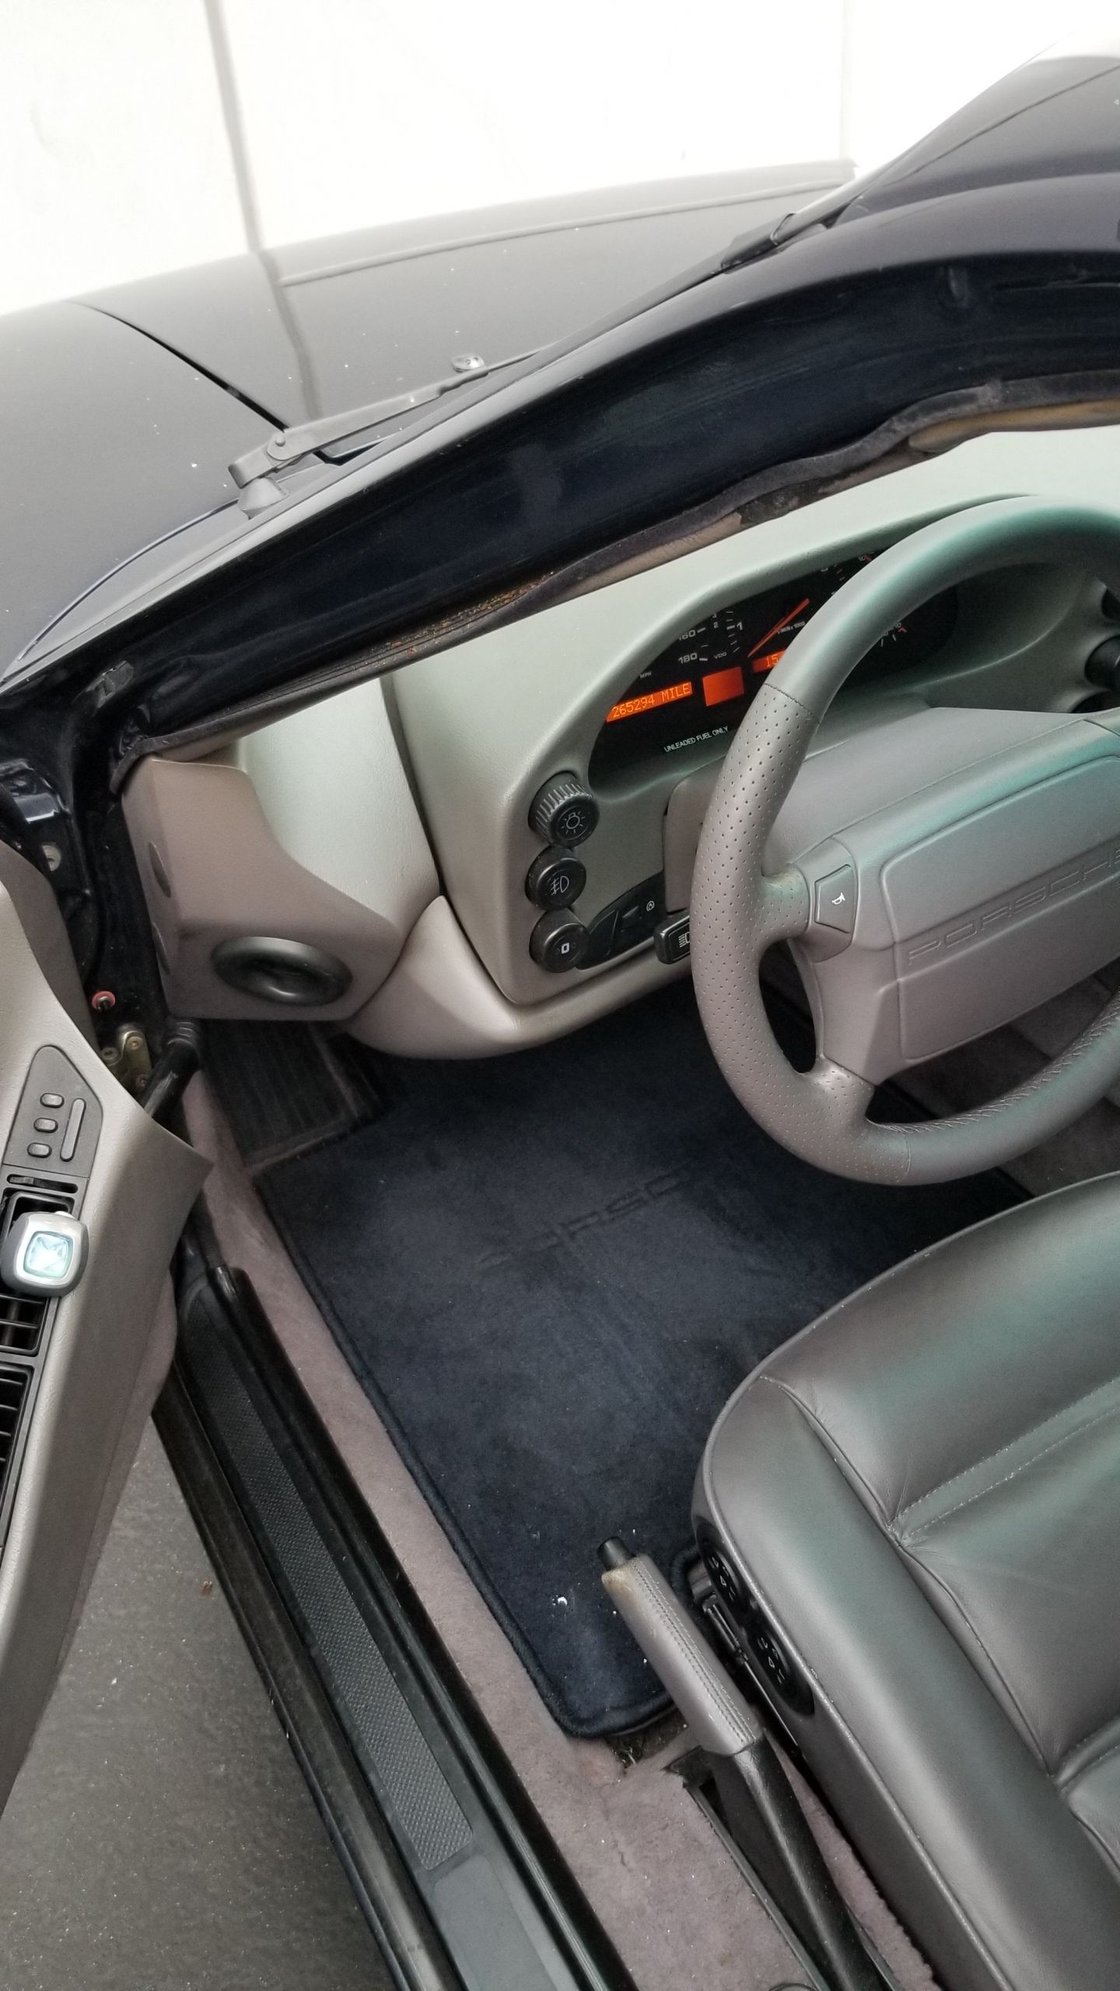
You can see in the pics that the seal located between the door frame and the interior cover panel is loose and falling out.

How is this supposed to be attached?

At some point it looks like somebody (or the factory?) used some of that awful black goop stuff at the top section of the seal. Seems that part of the problem is that the interior panel is warped away from the door frame , creating a larger gap.

The bottom of the seal has ridges, indicating it may have been designed to be a friction fit between those two surfaces.

Anyone have experience resolving this issue?

Much thanks!


Old 05-18-2019, 06:39 PM
  #2  
Kiln_Red
Rennlist Member
 
Kiln_Red's Avatar
 
Join Date: Jul 2010
Location: Bowling Green, KY
Posts: 1,673
Received 338 Likes on 174 Posts
Default

The black stuff isn't supposed to be there. It is probably butyl tape and a quick fix by a body man. The brown/tan stuff is the OE adhesive product. I've never been sure what it was that they used. There's a spray adhesive that I love for this application made by Winzer.

https://www.winzer.com/Product/24-Oz...-Low-VOC-Clear

I'm sure there are competitor products that perform just as well. I would want something of this chemical makeup though. No doubt.
Old 05-18-2019, 11:26 PM
  #3  
NoVector
Rennlist Member
 
NoVector's Avatar
 
Join Date: Oct 2004
Location: K-town, Germany
Posts: 2,904
Likes: 0
Received 314 Likes on 155 Posts
Default

Randy - It's part # 999-911-314-40. I had the same problem with both driver and passenger doors and tried black silicone to hold them in but it didn't work so well. Like the felt sunroof seals, the rubber gets hard and shrinks. Finally, I just called Roger and replaced them last year and the new ones stay in place as they should. They're about 40 bucks a pop.
Old 05-20-2019, 12:27 PM
  #4  
Tony
Addict
Lifetime Rennlist
Member
 
Tony's Avatar
 
Join Date: May 2001
Location: Las Vegas
Posts: 14,676
Received 584 Likes on 305 Posts
Default

Mine do the same...just living with it until i get new ones.
Old 05-21-2019, 02:48 PM
  #5  
Randy V
Addict
Lifetime Rennlist
Member
Thread Starter
 
Randy V's Avatar
 
Join Date: Jun 2000
Location: Insane Diego, California
Posts: 40,449
Received 98 Likes on 66 Posts
Default

Much thanks!

I will go with replacements. Order to Roger forethcoming!
Old 07-02-2019, 11:32 PM
  #6  
Randy V
Addict
Lifetime Rennlist
Member
Thread Starter
 
Randy V's Avatar
 
Join Date: Jun 2000
Location: Insane Diego, California
Posts: 40,449
Received 98 Likes on 66 Posts
Default

OK, Mercedes at 928sRUs sent me the left and right replacements.

Looks like I need to remove the black goop the PO injected at the top and bottom of the strips.

After cleaning that out do they just install with friction fit, or need to use some type of adhesive?

I laid then out on the patio table in the sun for a couple days to remove the coil memory.
Old 07-02-2019, 11:40 PM
  #7  
Kevin in Atlanta
Rennlist Member
 
Kevin in Atlanta's Avatar
 
Join Date: May 2002
Location: Roswell, GA
Posts: 8,218
Received 837 Likes on 506 Posts
Default

They are supposed to be friction fit. But if the headliner is warped that is not possible. Probably lead to the PO using adhesive.

I have no bits of wisdom to offer - I have the same issue. Short of unwarping the headliner I have nothing.

Good luck.
Old 07-03-2019, 12:29 AM
  #8  
NoVector
Rennlist Member
 
NoVector's Avatar
 
Join Date: Oct 2004
Location: K-town, Germany
Posts: 2,904
Likes: 0
Received 314 Likes on 155 Posts
Default

I think I backed-out a couple philips-head screws (one for sure) in the trim pieces before putting in the new rubber. You'll easily spot the screws as they're in close proximity. It's been over a year since I put the new ones in and so far, so good. Hoping yours work too. And FWIW, now that I think about it, I think there's less wind noise since I put those in. YMMV (as Ed would have said.)
Old 07-04-2019, 04:22 PM
  #9  
Randy V
Addict
Lifetime Rennlist
Member
Thread Starter
 
Randy V's Avatar
 
Join Date: Jun 2000
Location: Insane Diego, California
Posts: 40,449
Received 98 Likes on 66 Posts
Default

Will take a look for those screws.
Old 07-07-2019, 12:49 AM
  #10  
Randy V
Addict
Lifetime Rennlist
Member
Thread Starter
 
Randy V's Avatar
 
Join Date: Jun 2000
Location: Insane Diego, California
Posts: 40,449
Received 98 Likes on 66 Posts
Default

GB tells me to use a special solvent to remove that goop but damned if I can remember what he told me to use.

Suffering from CRS disease.

Can't Remember Shyte!
Old 08-03-2019, 02:14 PM
  #11  
Randy V
Addict
Lifetime Rennlist
Member
Thread Starter
 
Randy V's Avatar
 
Join Date: Jun 2000
Location: Insane Diego, California
Posts: 40,449
Received 98 Likes on 66 Posts
Default

Just to close the loop on this one -

I used mineral spirits / paint thinner to remove the black gunk holding the strips in place. The strips just pull out, then remove the gunk.

Purchased new strips from Roger.

Installed them using friction fit and the residual black gunk that was left behind after removing most of it.

Fit is now tight and secure.


Quick Reply: Loose Door Seal


All times are GMT -3. The time now is 02:09 PM.