When you click on links to various merchants on this site and make a purchase, this can result in this site earning a commission. Affiliate programs and affiliations include, but are not limited to, the eBay Partner Network.
My rear hatch seal needs replacing. Bought a new one. Can not find instructions on how to install. Anyone can point me in the rght direction.
Thanks in advance
Disconnect the battery , this will remove the power from the hatch lamp so you dont smoke the wires
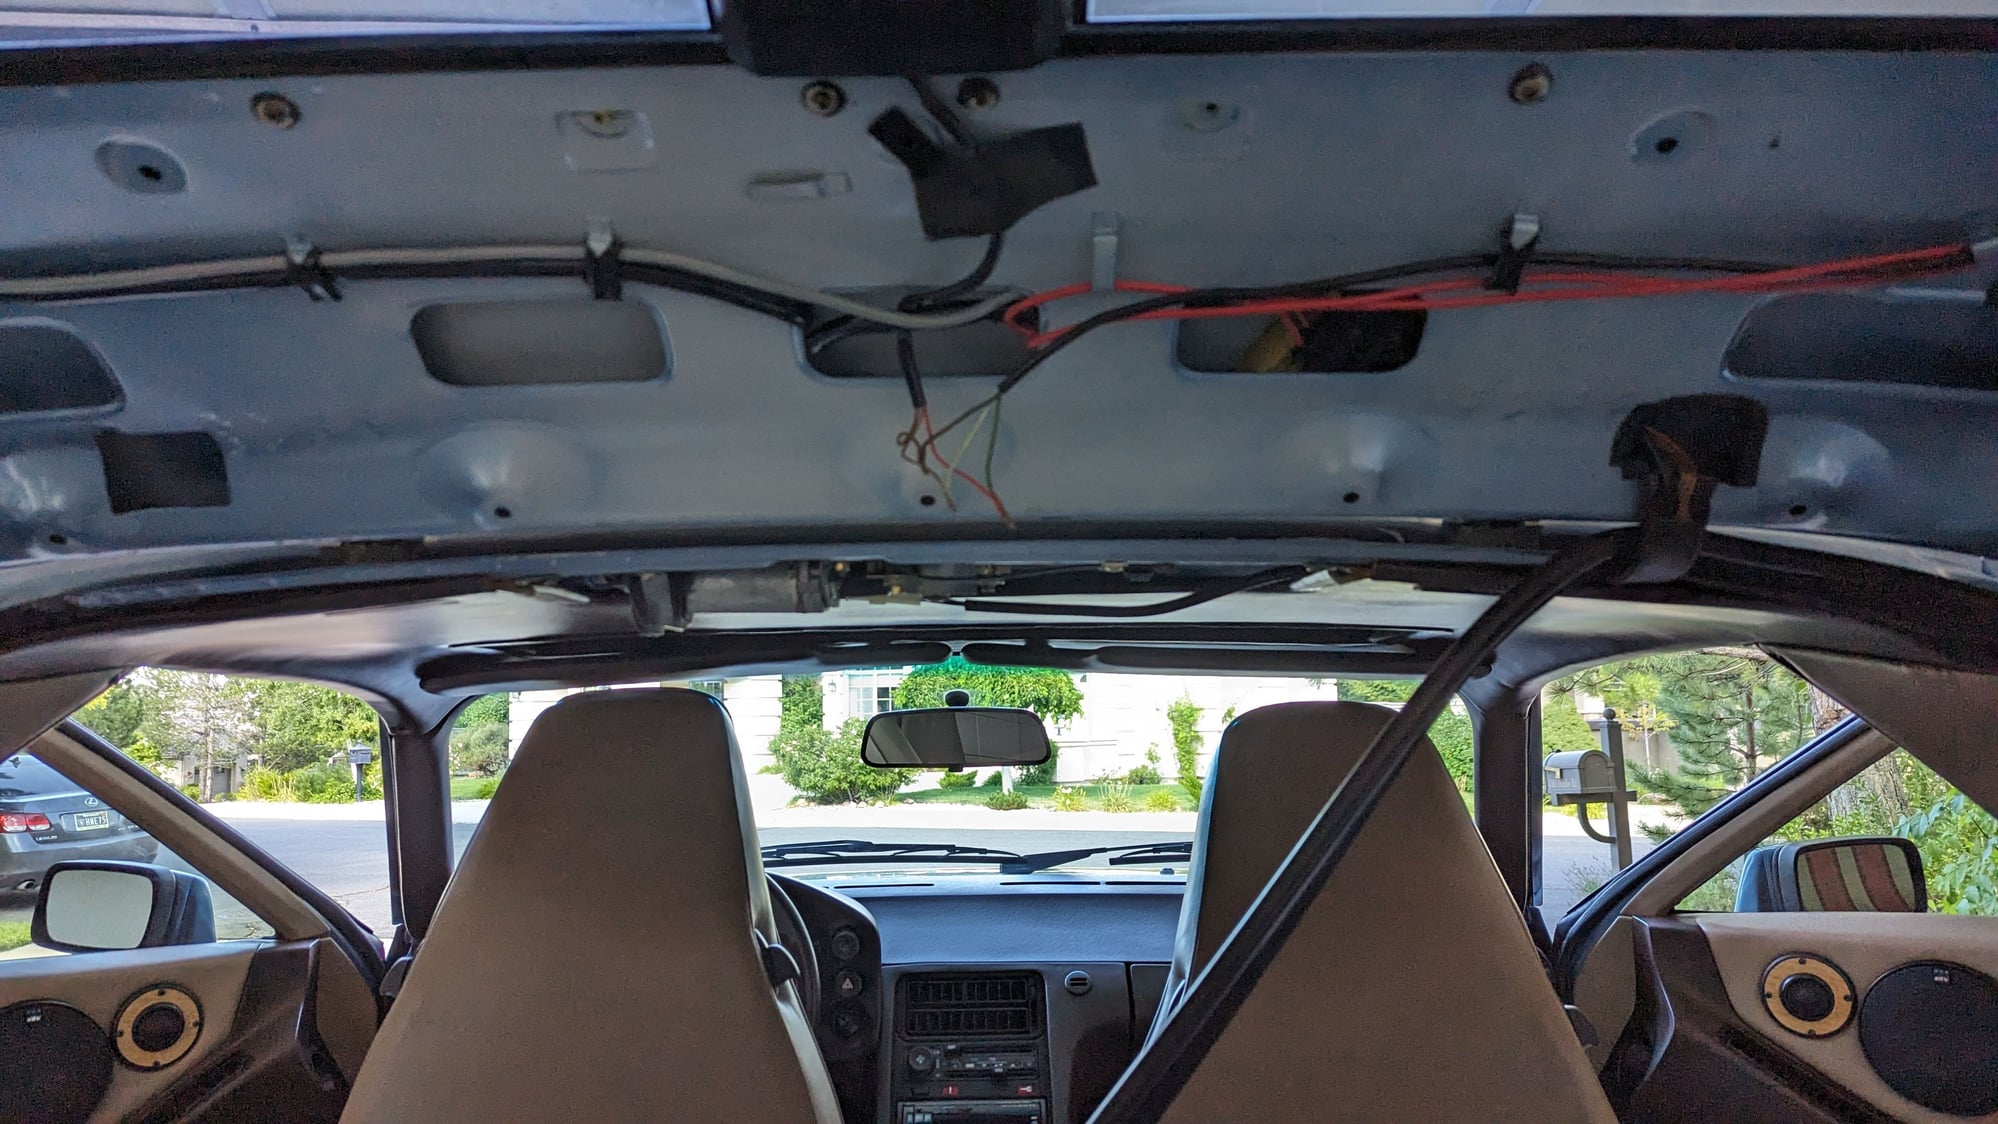
Remove the rear sun-visors.
Remove the top hatch lamp, pay attention, ( take a picture of how the wires are connected)
NOTE the wires they are different colors than the front roof lamp.
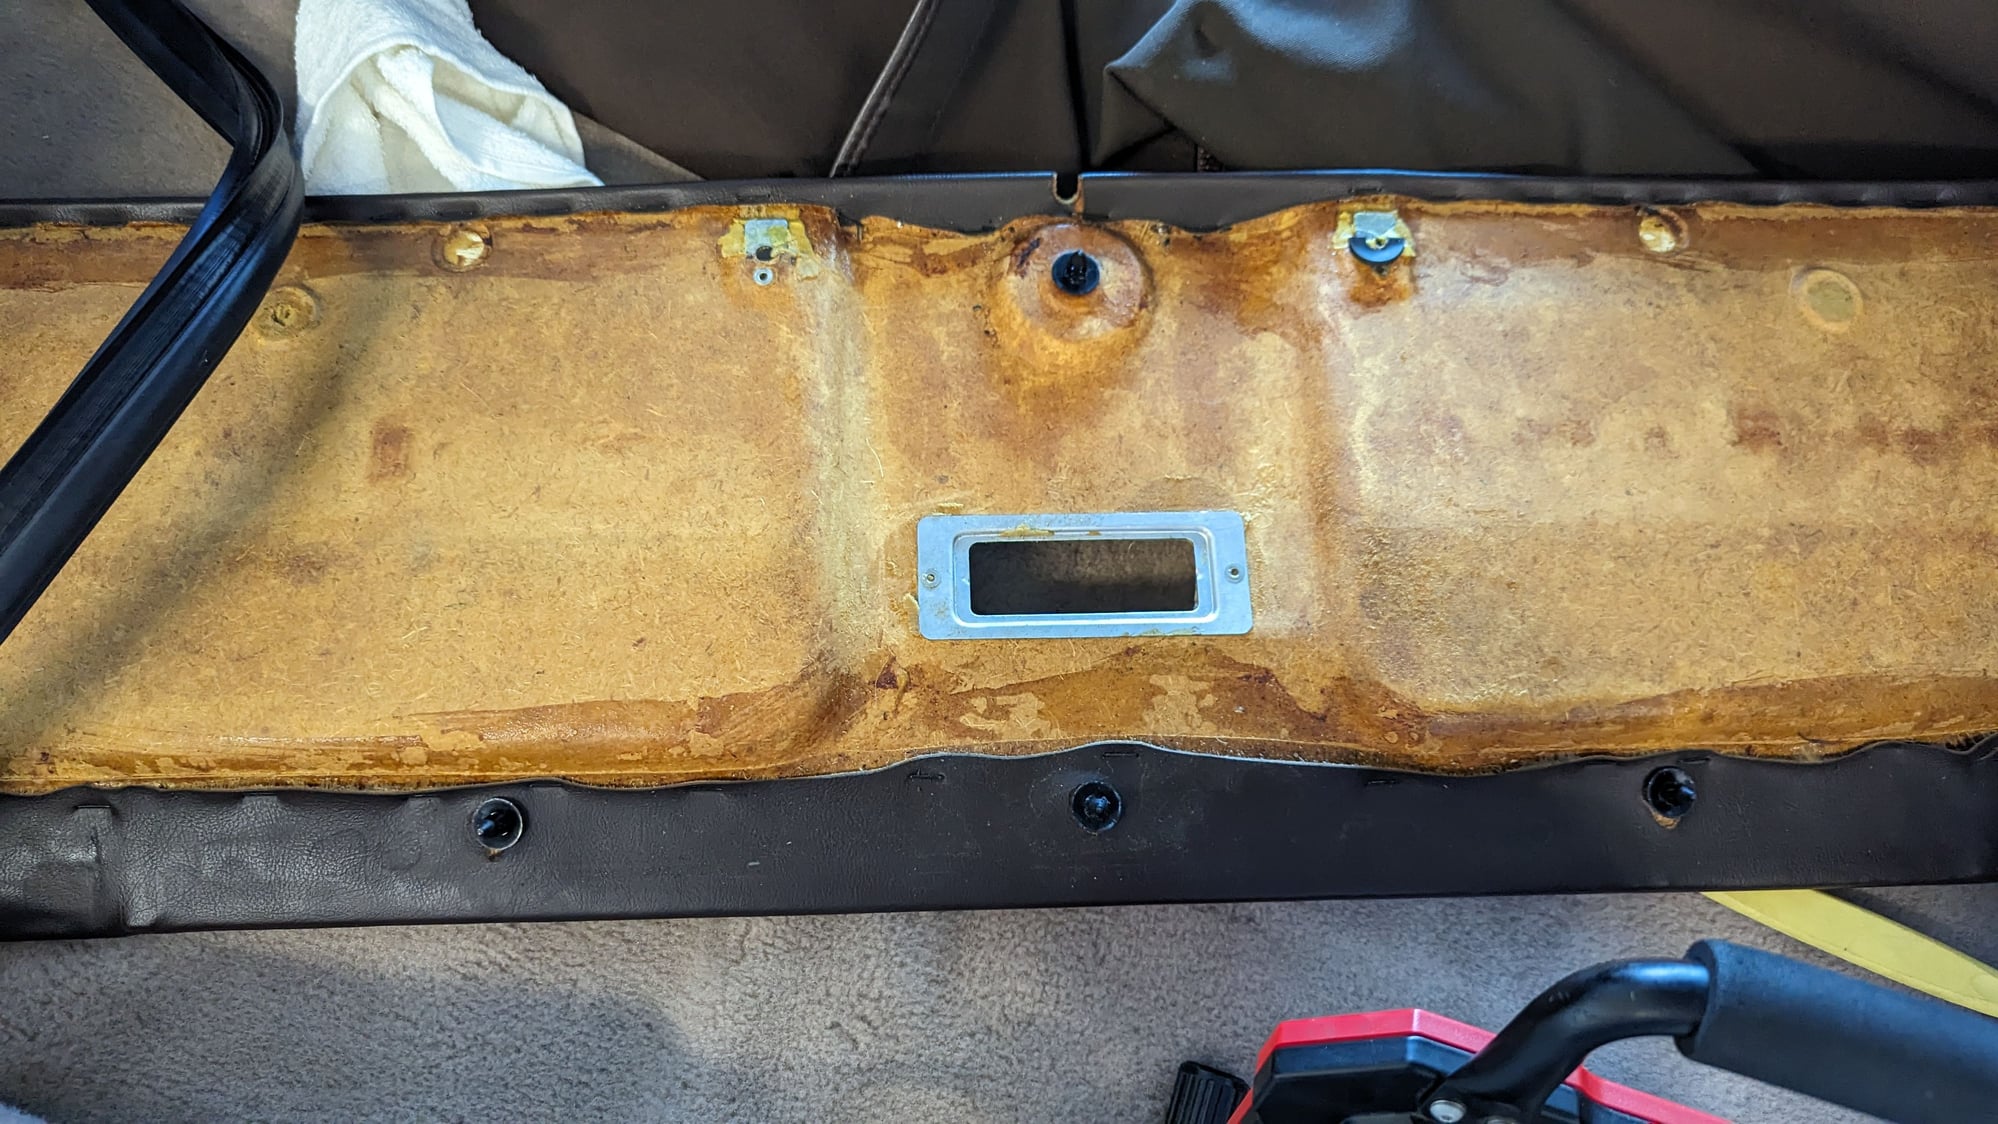
Remove the top hatch trim panel 5 push pins hold it in.
Fold the rear seats down and put an old sheet down to catch debris mostly from the top edge.
Remove the rear PU cover plate 6 screws, OR the small screw covers and the screws under them ,
this will allow the seal to come free of the rear edge and you will have an easier time of cleaning the rib.
Remove the old hatch seal.
NOTE You may find some white particles falling out as you remove the seal,
make sure these dont get on the carpet, it is old sealant and can get stuck into the carpeting.
Get some Bug N Tar remover and clean the rib that the old seal was pushed onto.
Note, pay attention to the top edge this is where it will be very dirty, make it very clean.
Also wipe off the hatch sealing surfaces, the BnT remover will clean this up pretty well.
Place the end of the new seal with the rubber pin sticking out onto the rear edge of the rib at the center of the car.
NOTE that the seal squish area has small breather holes in it, these should be facing to the inside of the car.
firmly push the seal onto the rib work slowly so you dont bend the seal,
Work diligently, along the top edge you will feel the seal sliding over the rib and seating,
use the palms of your hands to press it home.
With a new factory seal it should not require any trimming at the end,
fit the seal onto the rubber pin from the edge where you started.
Refit the rear PU trim plate up to 1986 or PU screws and covers 1987 on.
Test close the hatch it may take a bit more pressure to close it.
Once your happy with the closing cycle,
then get some DC 111 and smear it onto the seal sealing area where it will touch the hatch.
NOTE close the hatch again a few times to work the grease into the sealing area of the hatch,
wipe off any globs, you want a fine coating of this to prevent water ingress.
NOTE the new factory seal has a white sealant already applied inside it,
its activated when you press it into the rib of the hatch opening.
Stan...is the procedure different for a 1981? It appears to me that I may have to remove the entire hatch to get at the area that abuts the rear of the roof?
Stan...is the procedure different for a 1981? It appears to me that I may have to remove the entire hatch to get at the area that abuts the rear of the roof?
Regards,
John
81 928 Chiffon White
It's doable with the hatch in place. It shouldn't be removed for the seal only, but the hatch seal is excellent WYAIT paint work.
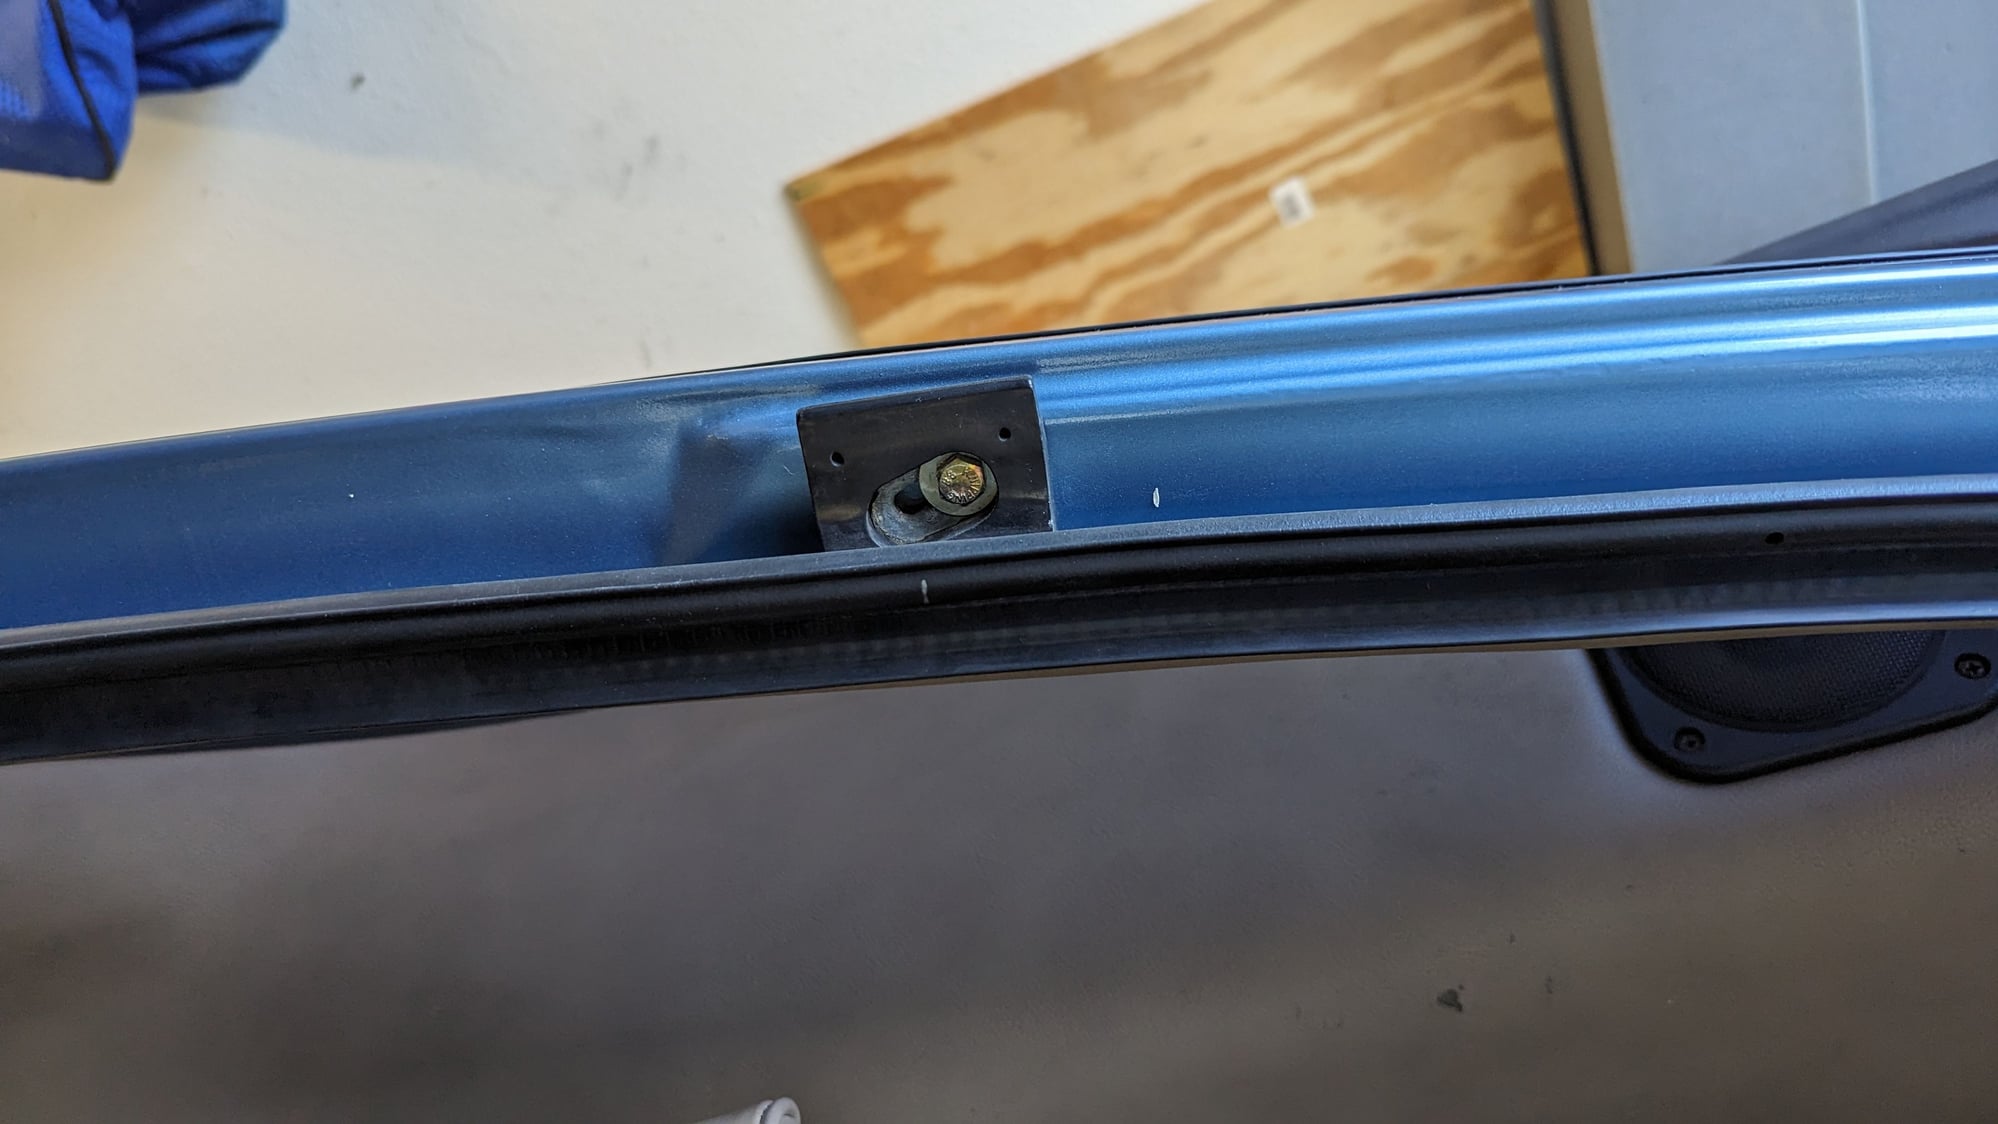
In addition to replacing my rear hatch seal per the procedure offered by Stan, I need to determine if something other than a bungled seal replacement by a PO may be causing the misalignment of the rear hatch as shown in this picture:
I am able to push down on the left rear of the hatch to true up the horizontal alignment but the cause of this is not apparent to me. The pistons are properly installed and the bump stops are set evenly. Any thoughts on what else I might check?
Thanks in advance!
John
Last edited by JHC928; 09-23-2019 at 01:10 PM.
Reason: formatting and spelling
Thank you Stan. I replaced my seal this morning. After looking at it for a few minutes, I paused and searched for instructions. Stan's method was much simpler than my plan. And as a bonus it was very easy to put some leather conditioner on the rear visors and the trim panel once I had them out. Thank you.
Followed Stan's instructions and install went very well, replaced my rear interior light too with a new VW fixture, now all 5 interior lights work as they should, thanks to Roger for the parts.
What I thought might happen did, now I cannot latch the hatch, I guess I'll be looking into how the rear hatch receiver can be adjusted.
My guess is the hatch weather stripping was original, it was broken down and the rubber was deteriorating, much was broken off and missing.


 02-27-2019, 10:56 PM