When you click on links to various merchants on this site and make a purchase, this can result in this site earning a commission. Affiliate programs and affiliations include, but are not limited to, the eBay Partner Network.
Beautiful project Paul thanks for all the painstaking documentation so we could live the process with you and the team! I believe I met you yesterday at AutoKennel, appreciate the 928 advice. Look forward to checking out 01117 in person next time.
Thank you all for the feedback -you guys see a lot of nice project move across this forum. Very much appreciated! I am still pounding out the last few items on the punch list but it has been a blast to drive a finished 928 for the first time. I've got about 200 miles on it and the gearbox syncros are loosening up nicely. I am appreciating just how advanced this thing was in 1978.
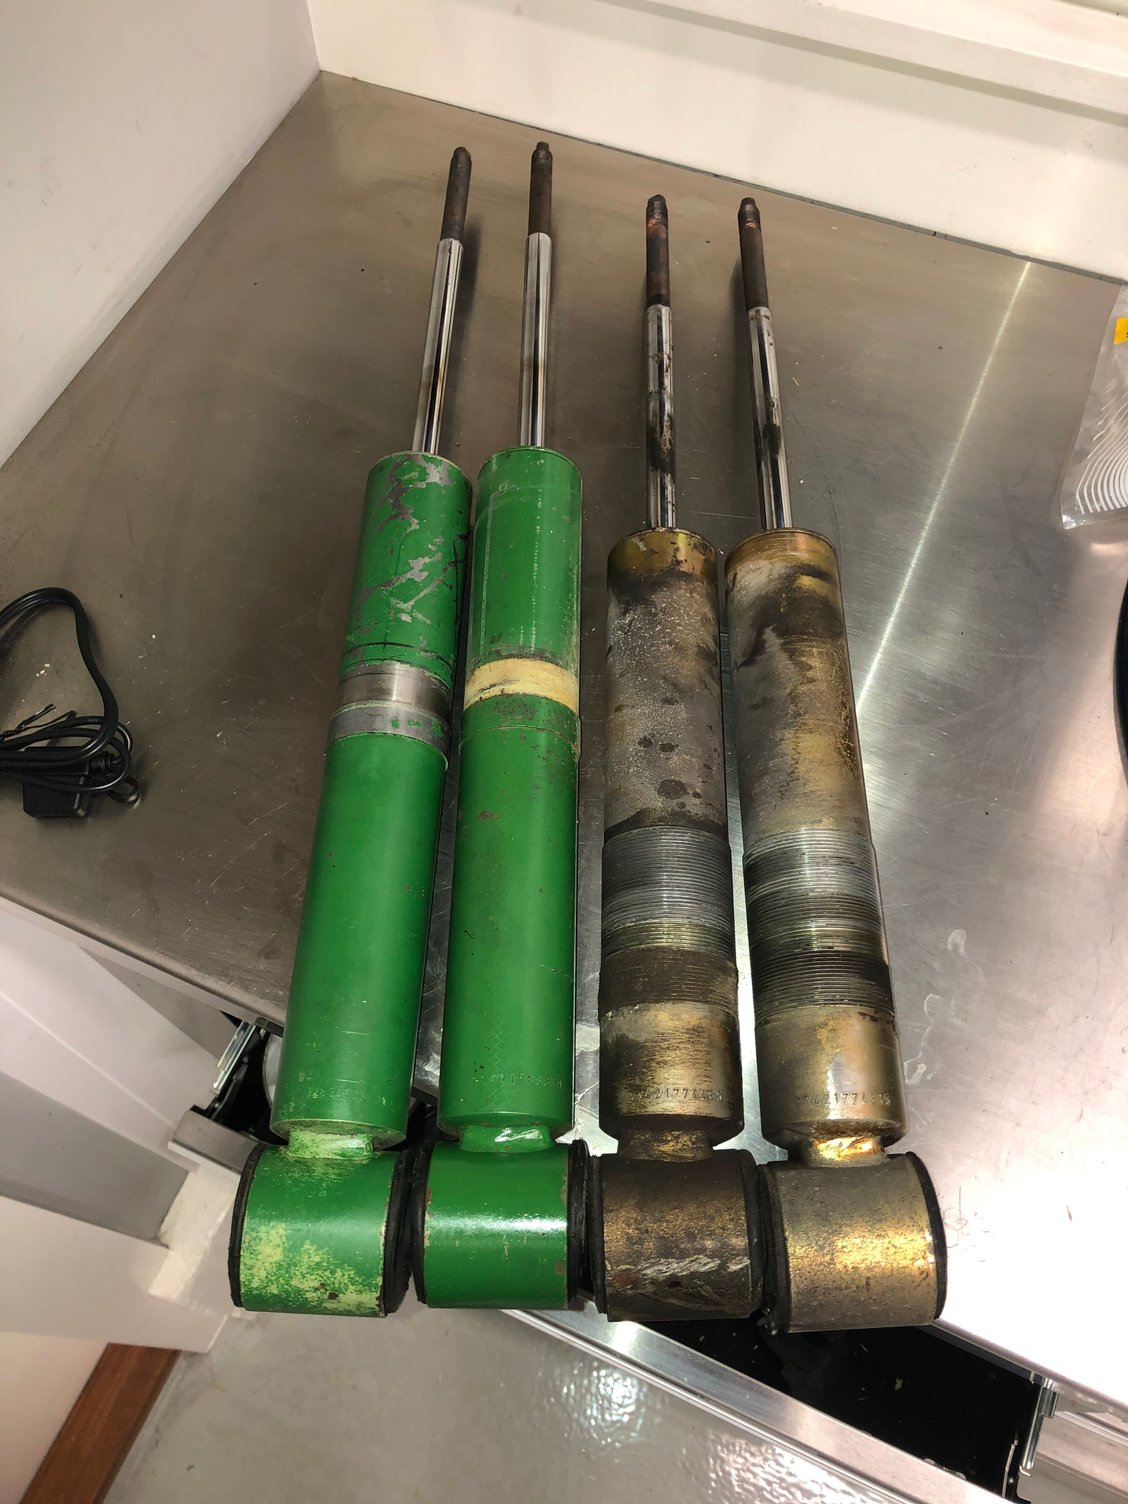
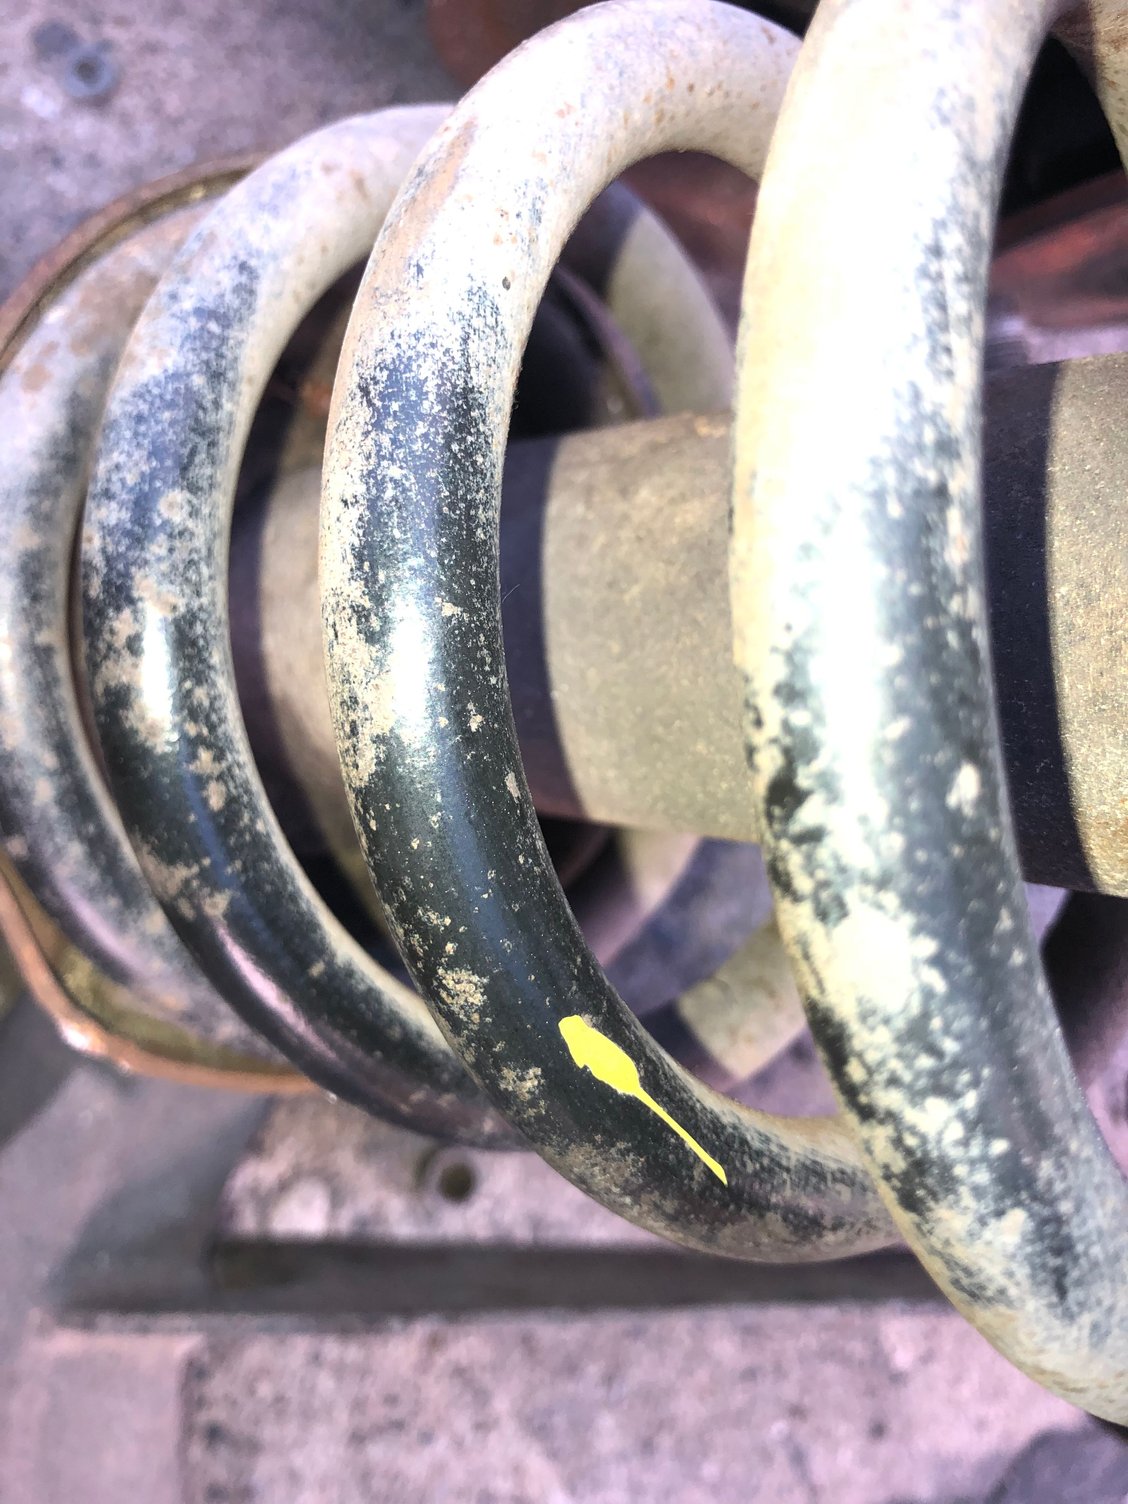
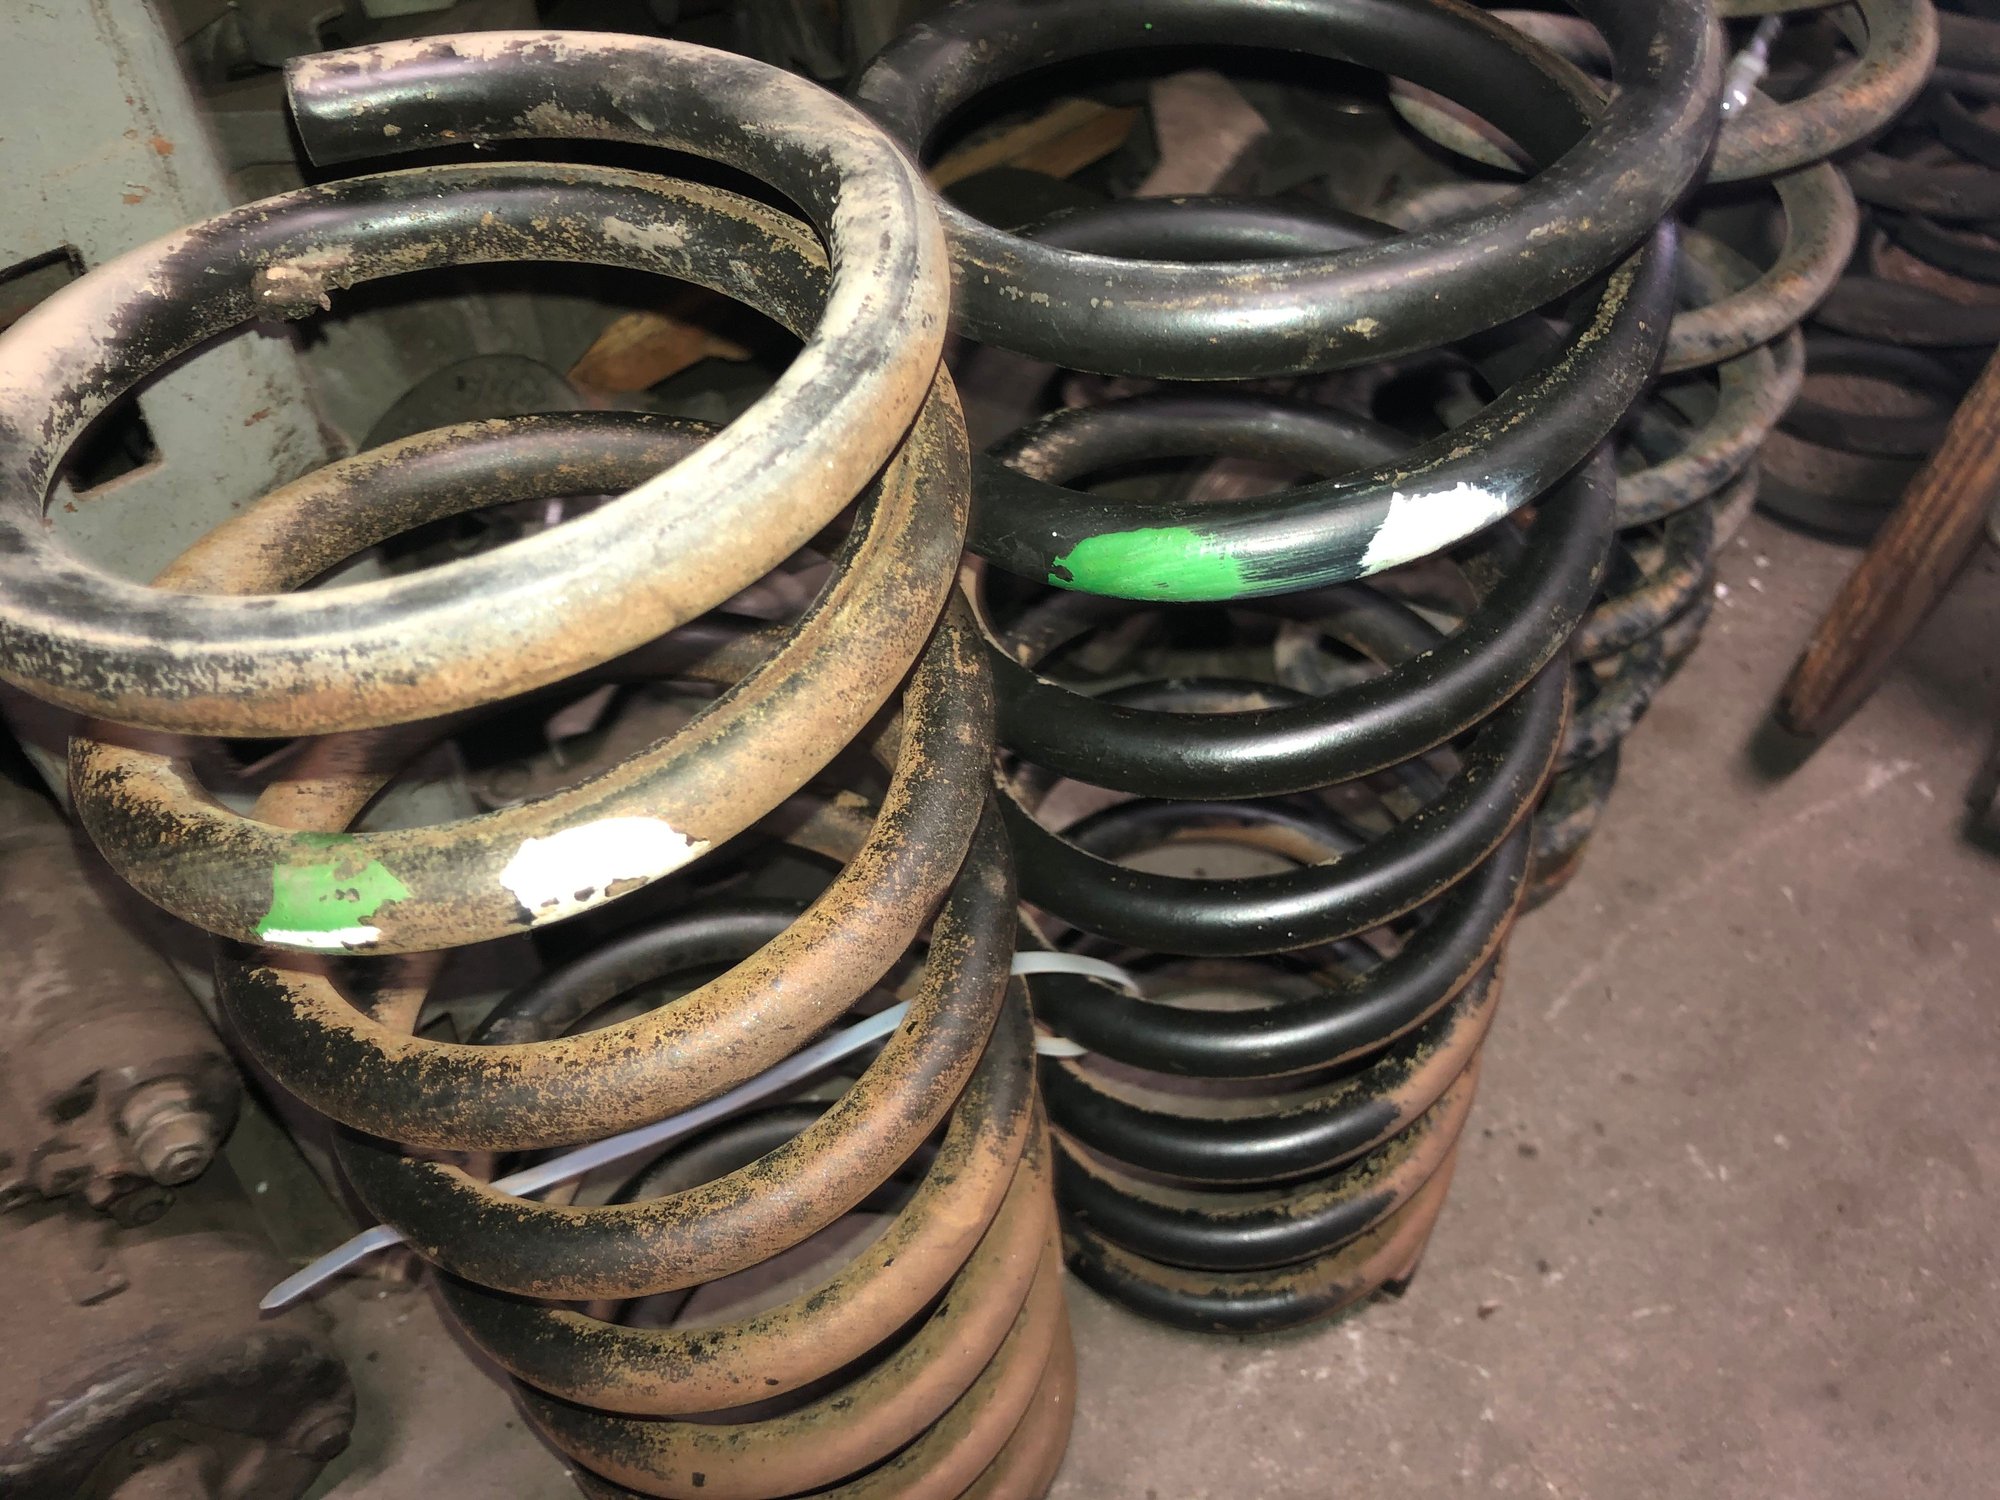
Ok, with about 200 miles on the clock the stock Boge suspension seems a little bit too soft. As luck would have it, 928 Intl had an OB on the lift getting the usual dissection. It had a full Bilstein shock and spring set! What are the chances?! I got the Bilstien part of the shock body and Contacted Bilstien USA in Poway Calif. They confirmed that they can still rebuild these units. So off they go for a full rebuild. The spring perches and hardware will get replated. I will install these as a set and test them to see if they are too firm. Also keeping the Boge spring and shocks fully assembled and on stand by if it rides like a slammed Honda. It will be a while Bilstein's current lead time is 13-15 weeks. No hurry should be a fun experiment.
Original Bilsteins as they came out of the car. The rears are ride height adjustable. The fronts as originally fitted are not. We are going to combine some other Porsche part nos. and make the fronts fully adjustable. Matching Bilstein springs rear front spring that go with Bilsteins
Last edited by mit Wasser; 12-17-2019 at 02:00 AM.
Reason: Adding photos
Great find with the Bilsteins at Mark's shop. My experience with those shocks on the 928 has been more harshness than I like for a street car. I found the Koni shocks adjusted about 1/3 of the way from full firm 'just right' for my old body in street driving. Had a set of externally adjustable ones for the track car. They were great, as I could adjust for a nice ride to and from the track, then 5 minutes to change for performance on the track.
LOL, glad you can't see it in person, the GTS has been living outdoors under a cover for ~4 years now. She needs a serious paint correction and detail.
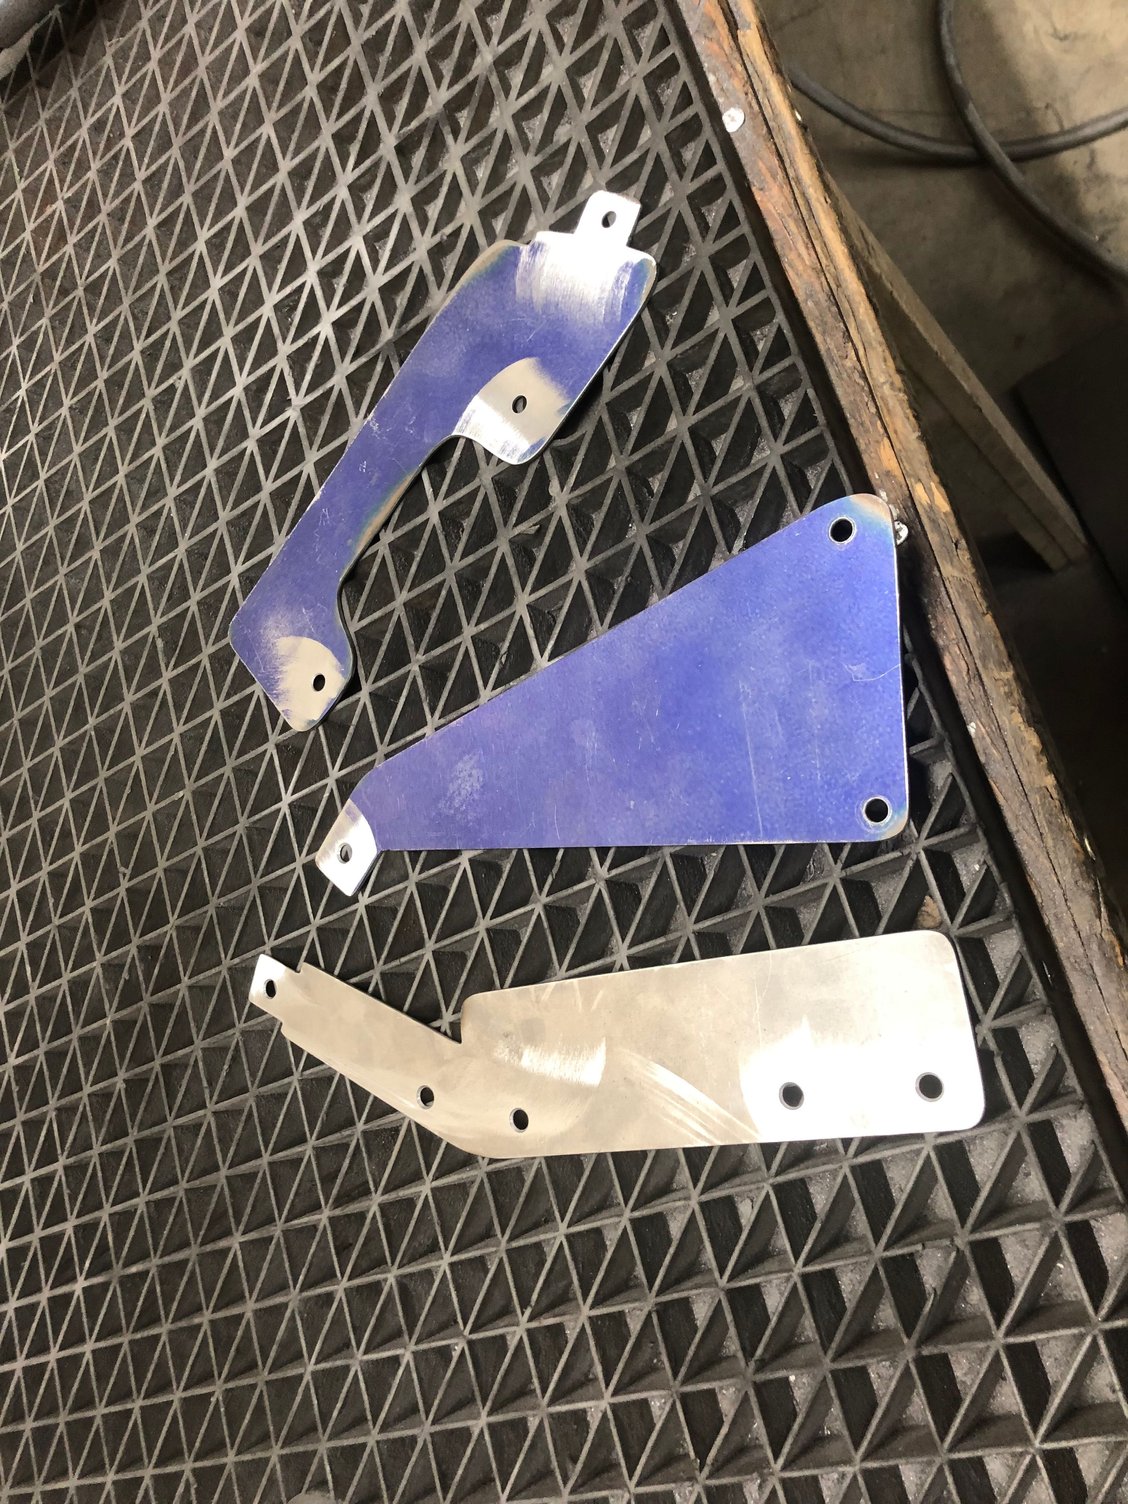
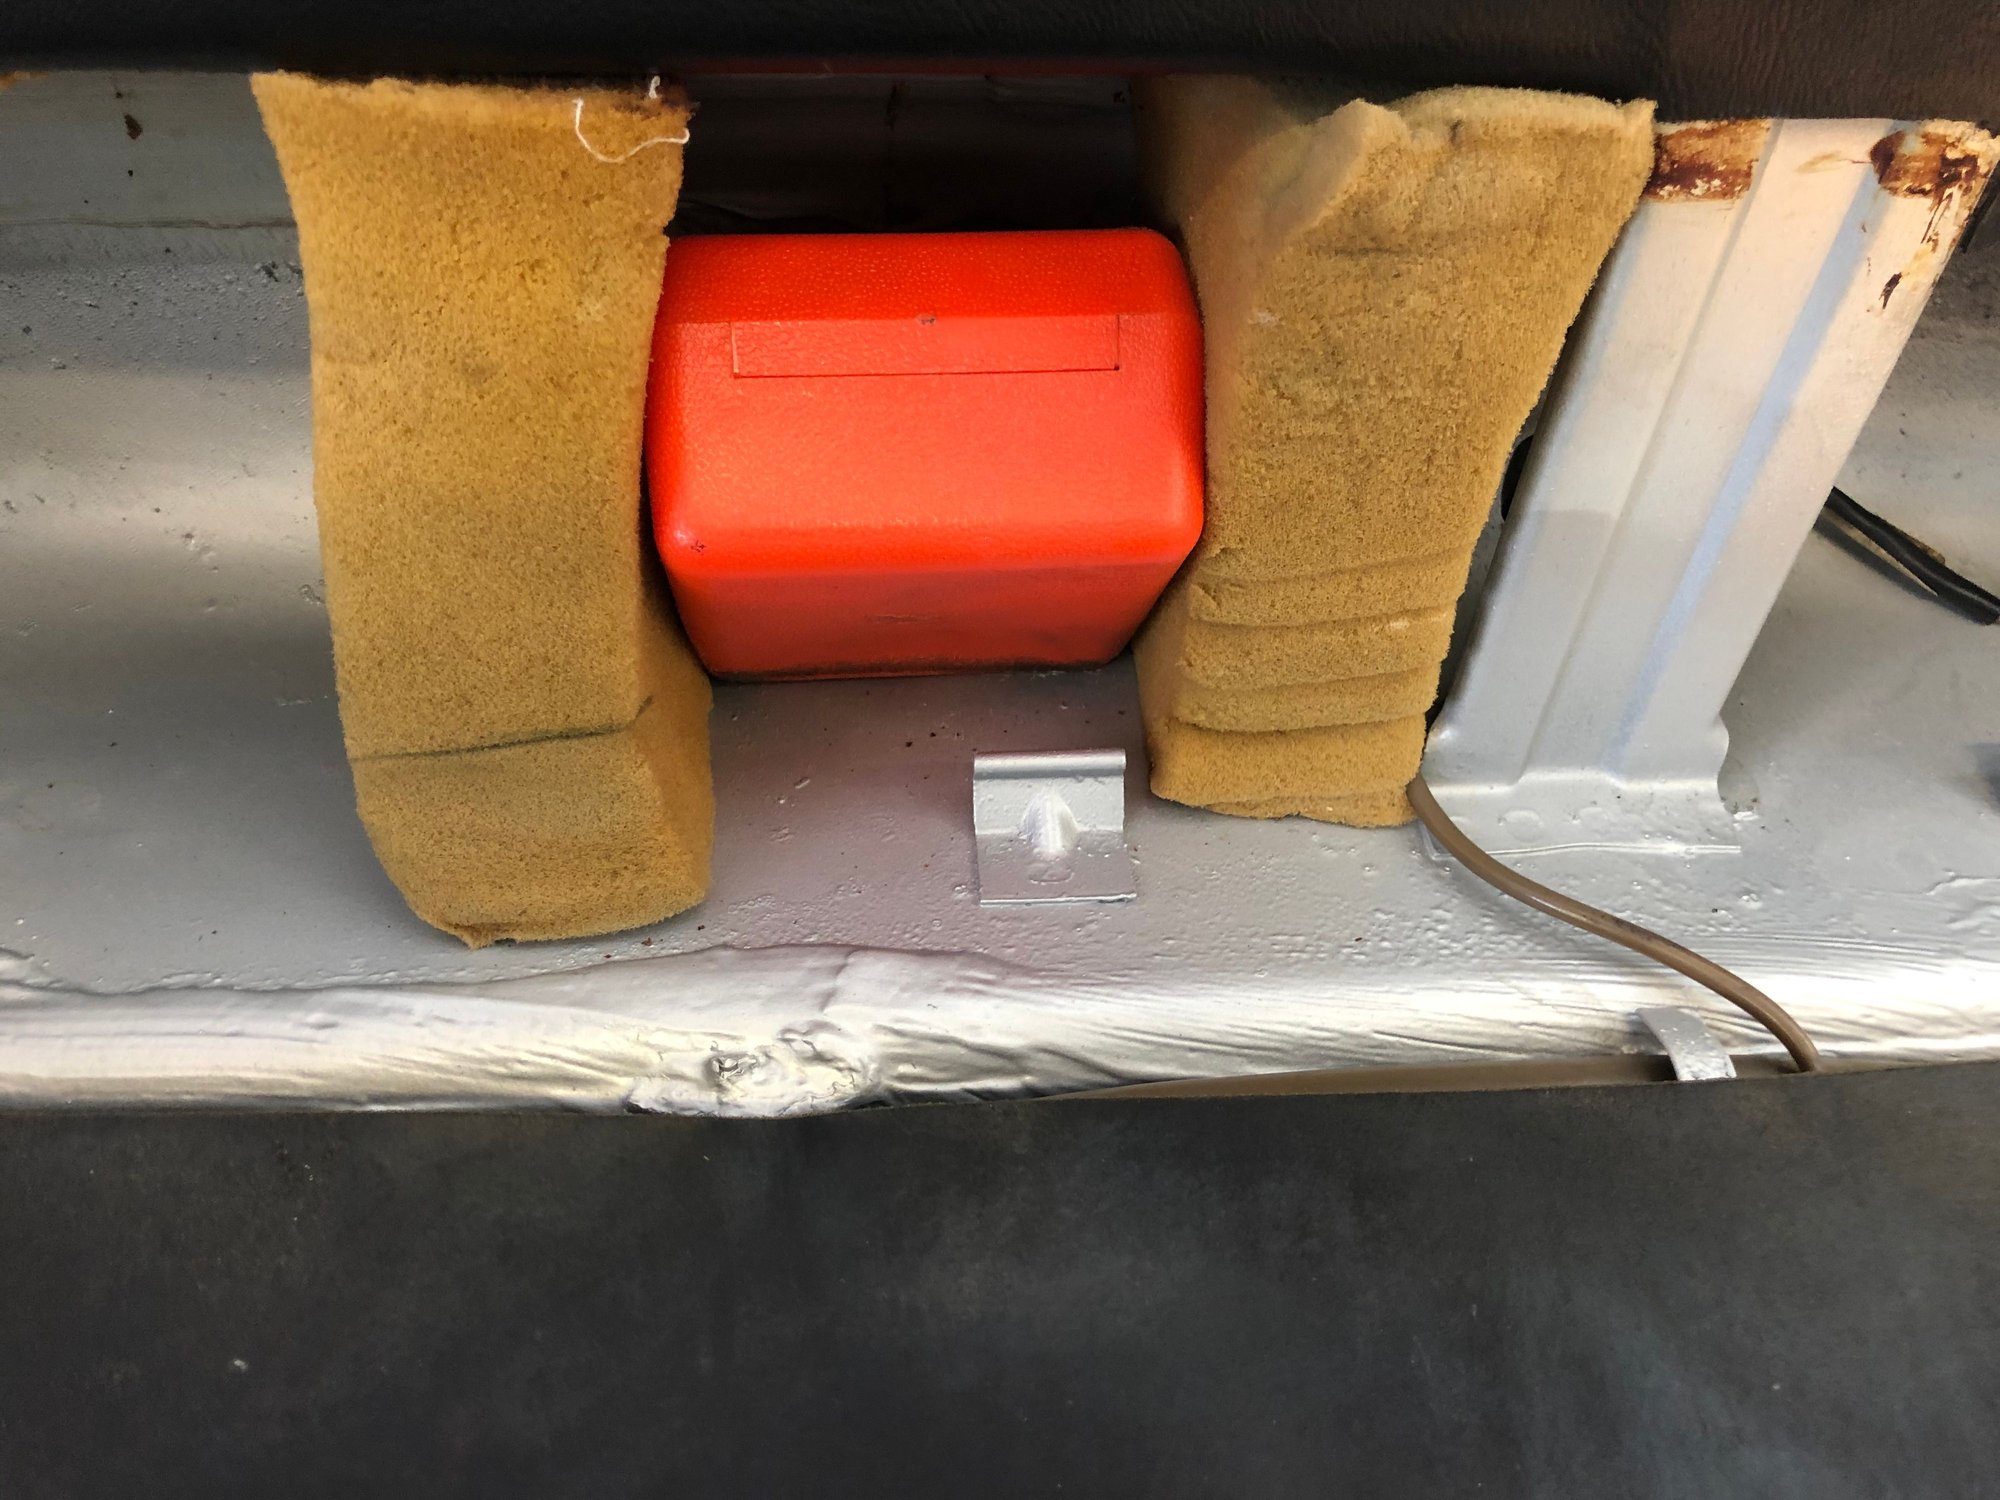
Wheel Well Shield / Right Rear / Follow up / Finishing
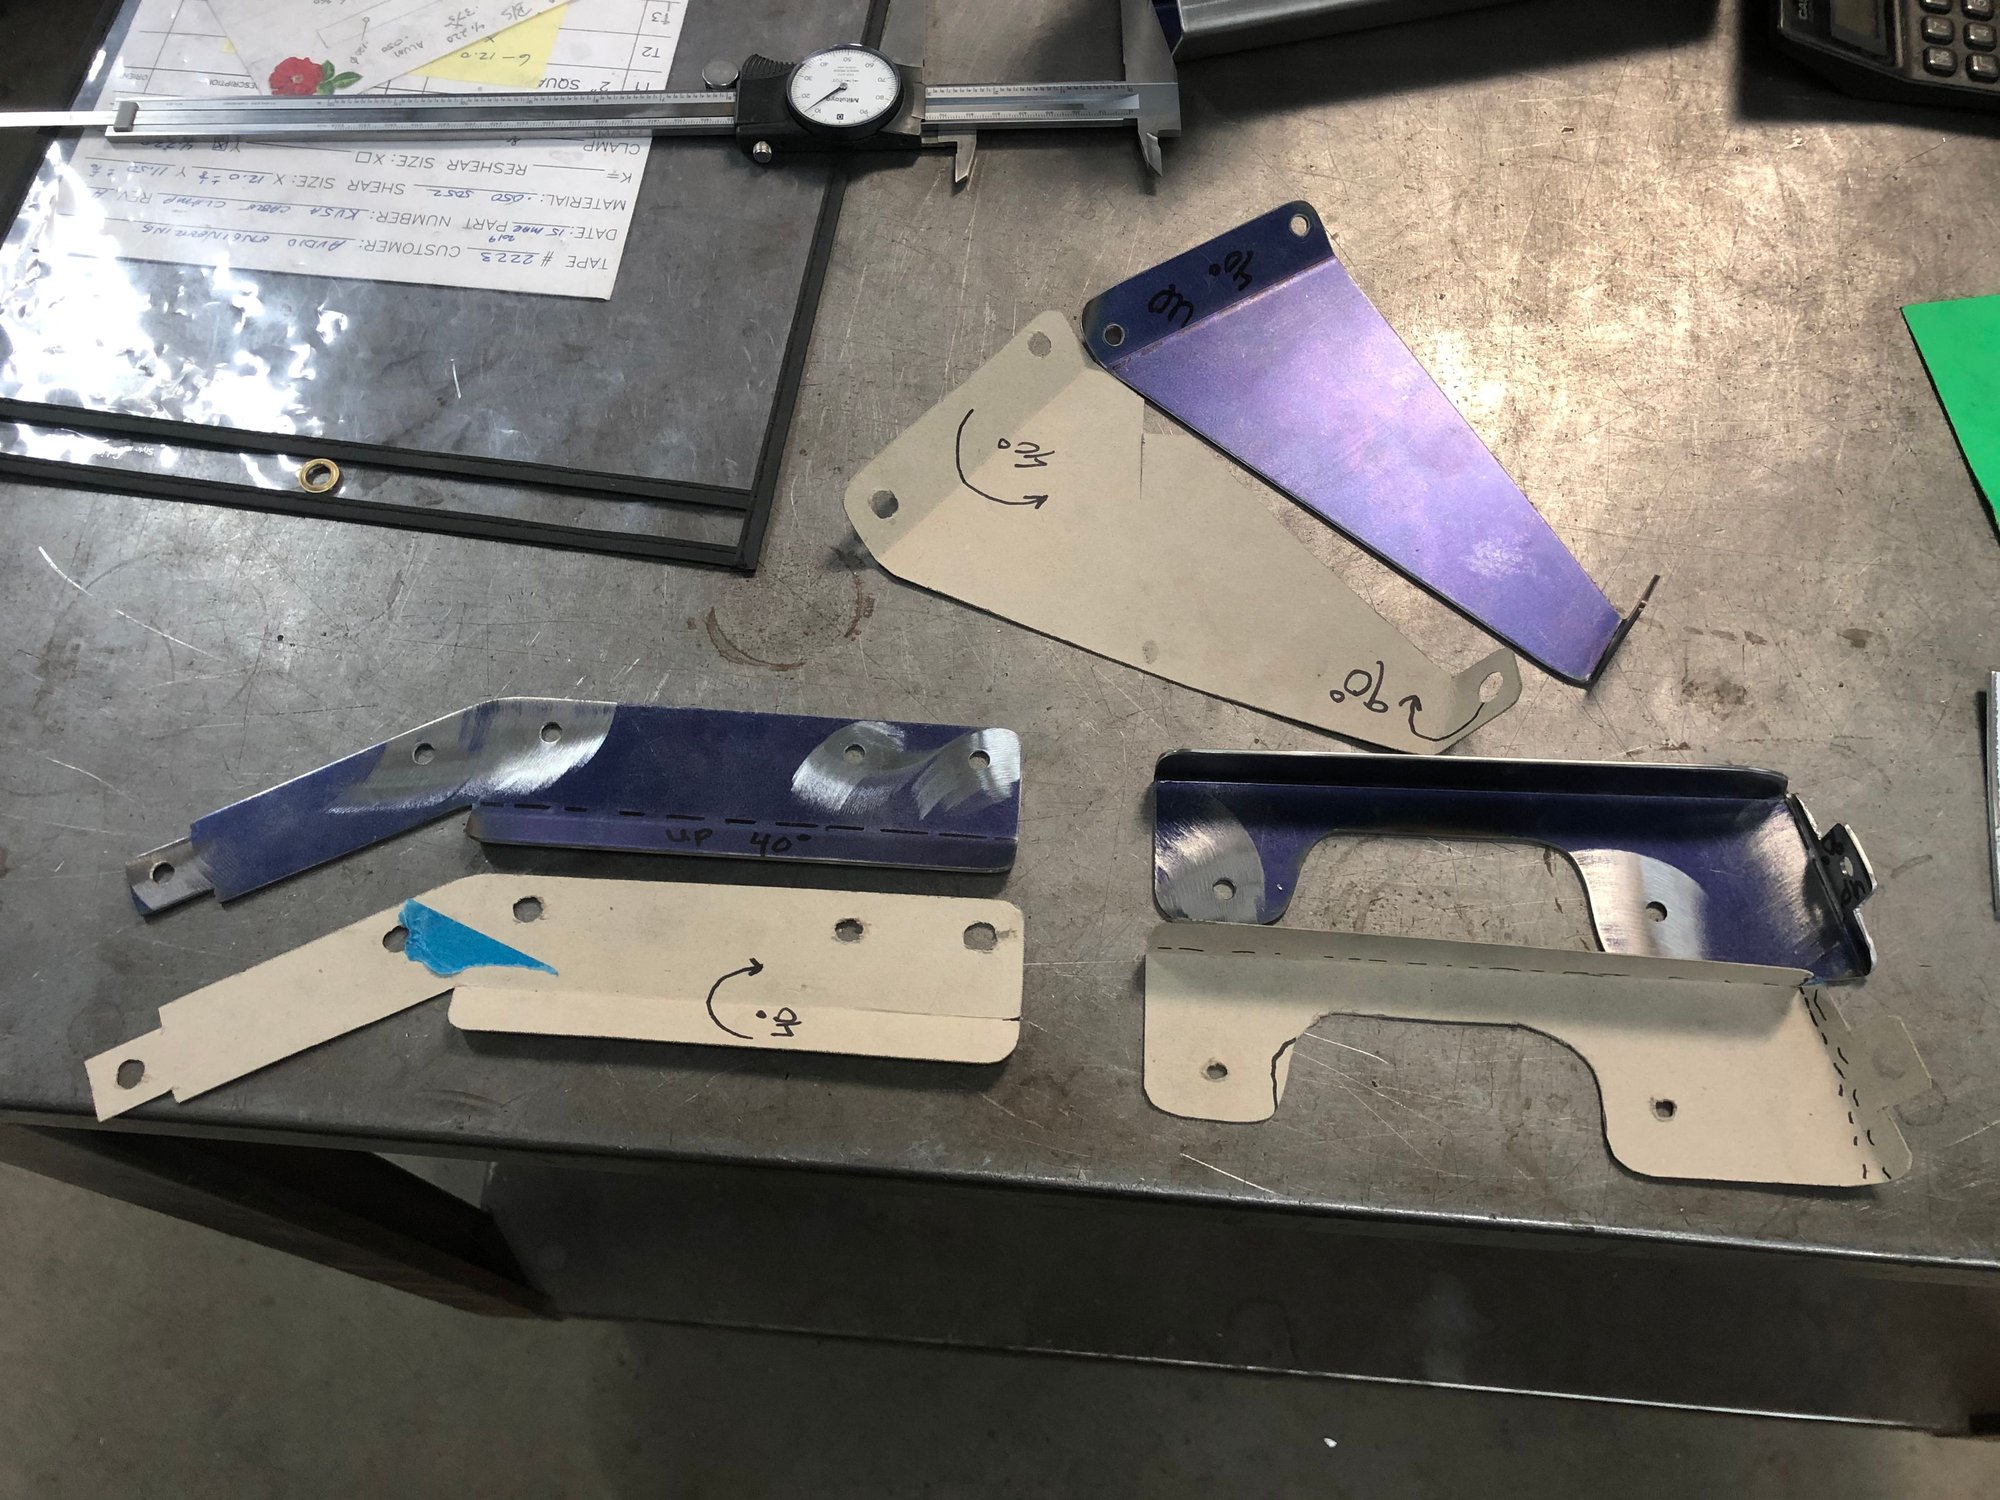
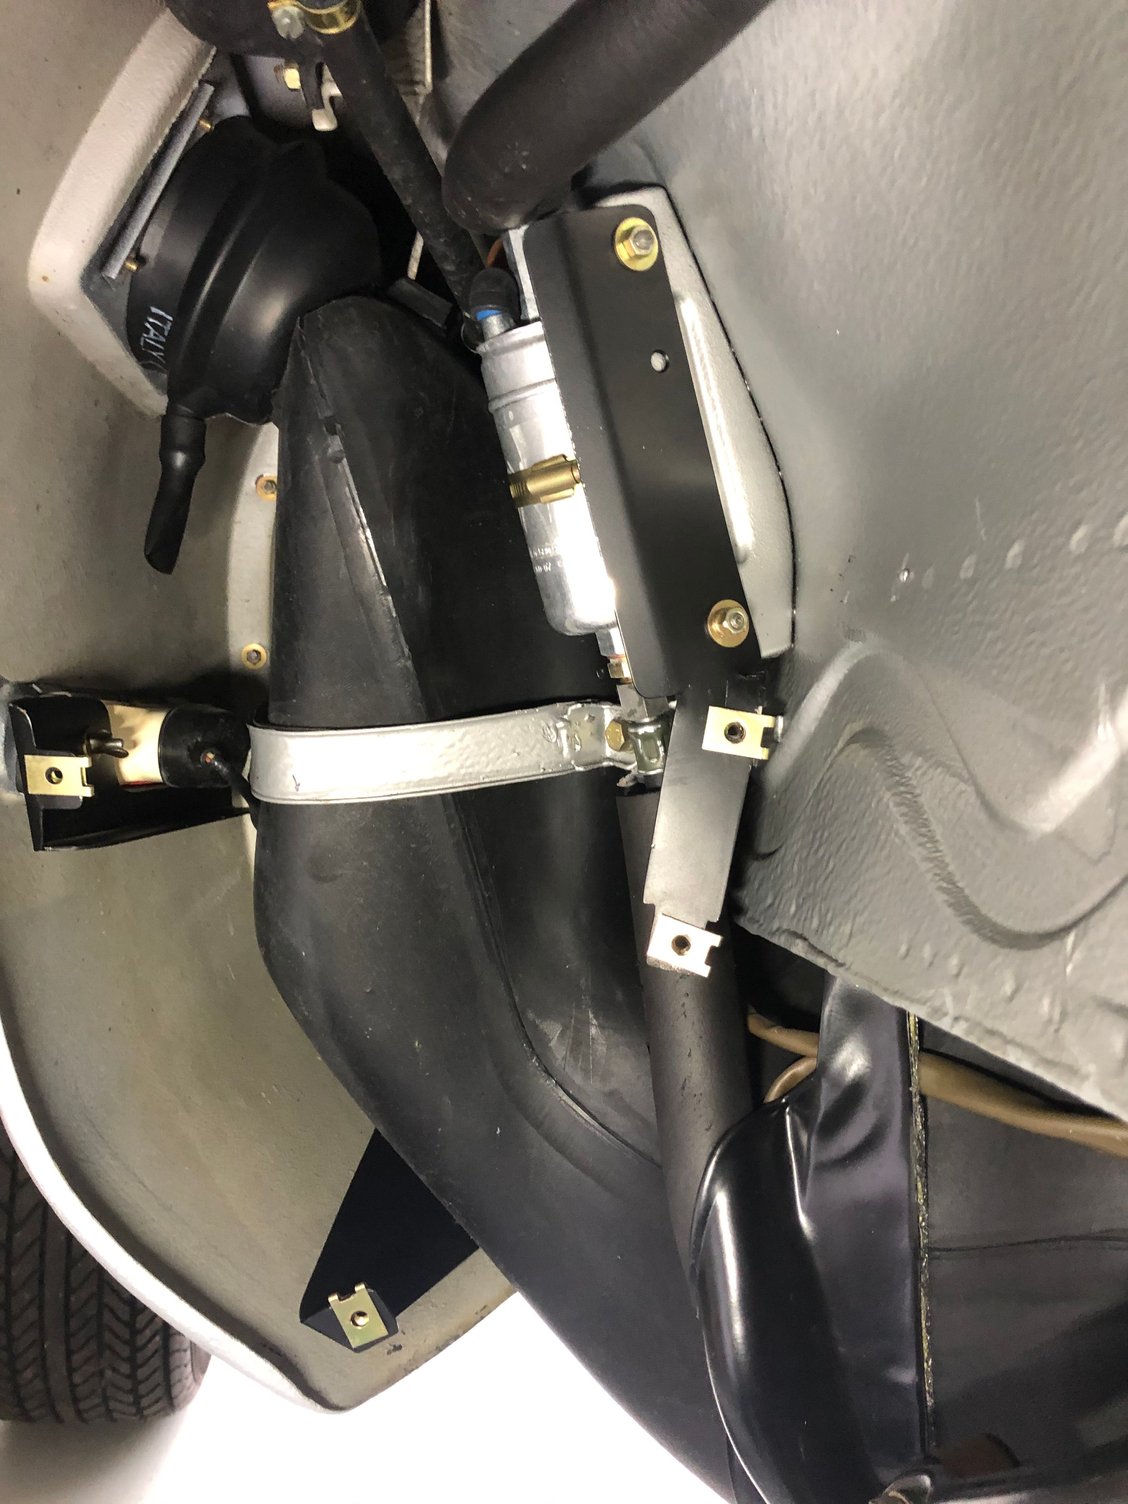
Back to the Dec. 5th topic of fabricating a factory like rear wheel well shield to protect the fuel pump.
The sheet metal is now fabricated and bent on the brake.
After fabricating in flat stock. Its on to the brake to get the clean 90 degree bends. 250 tons makes it all look so easy. There is nothing like the right tooling.
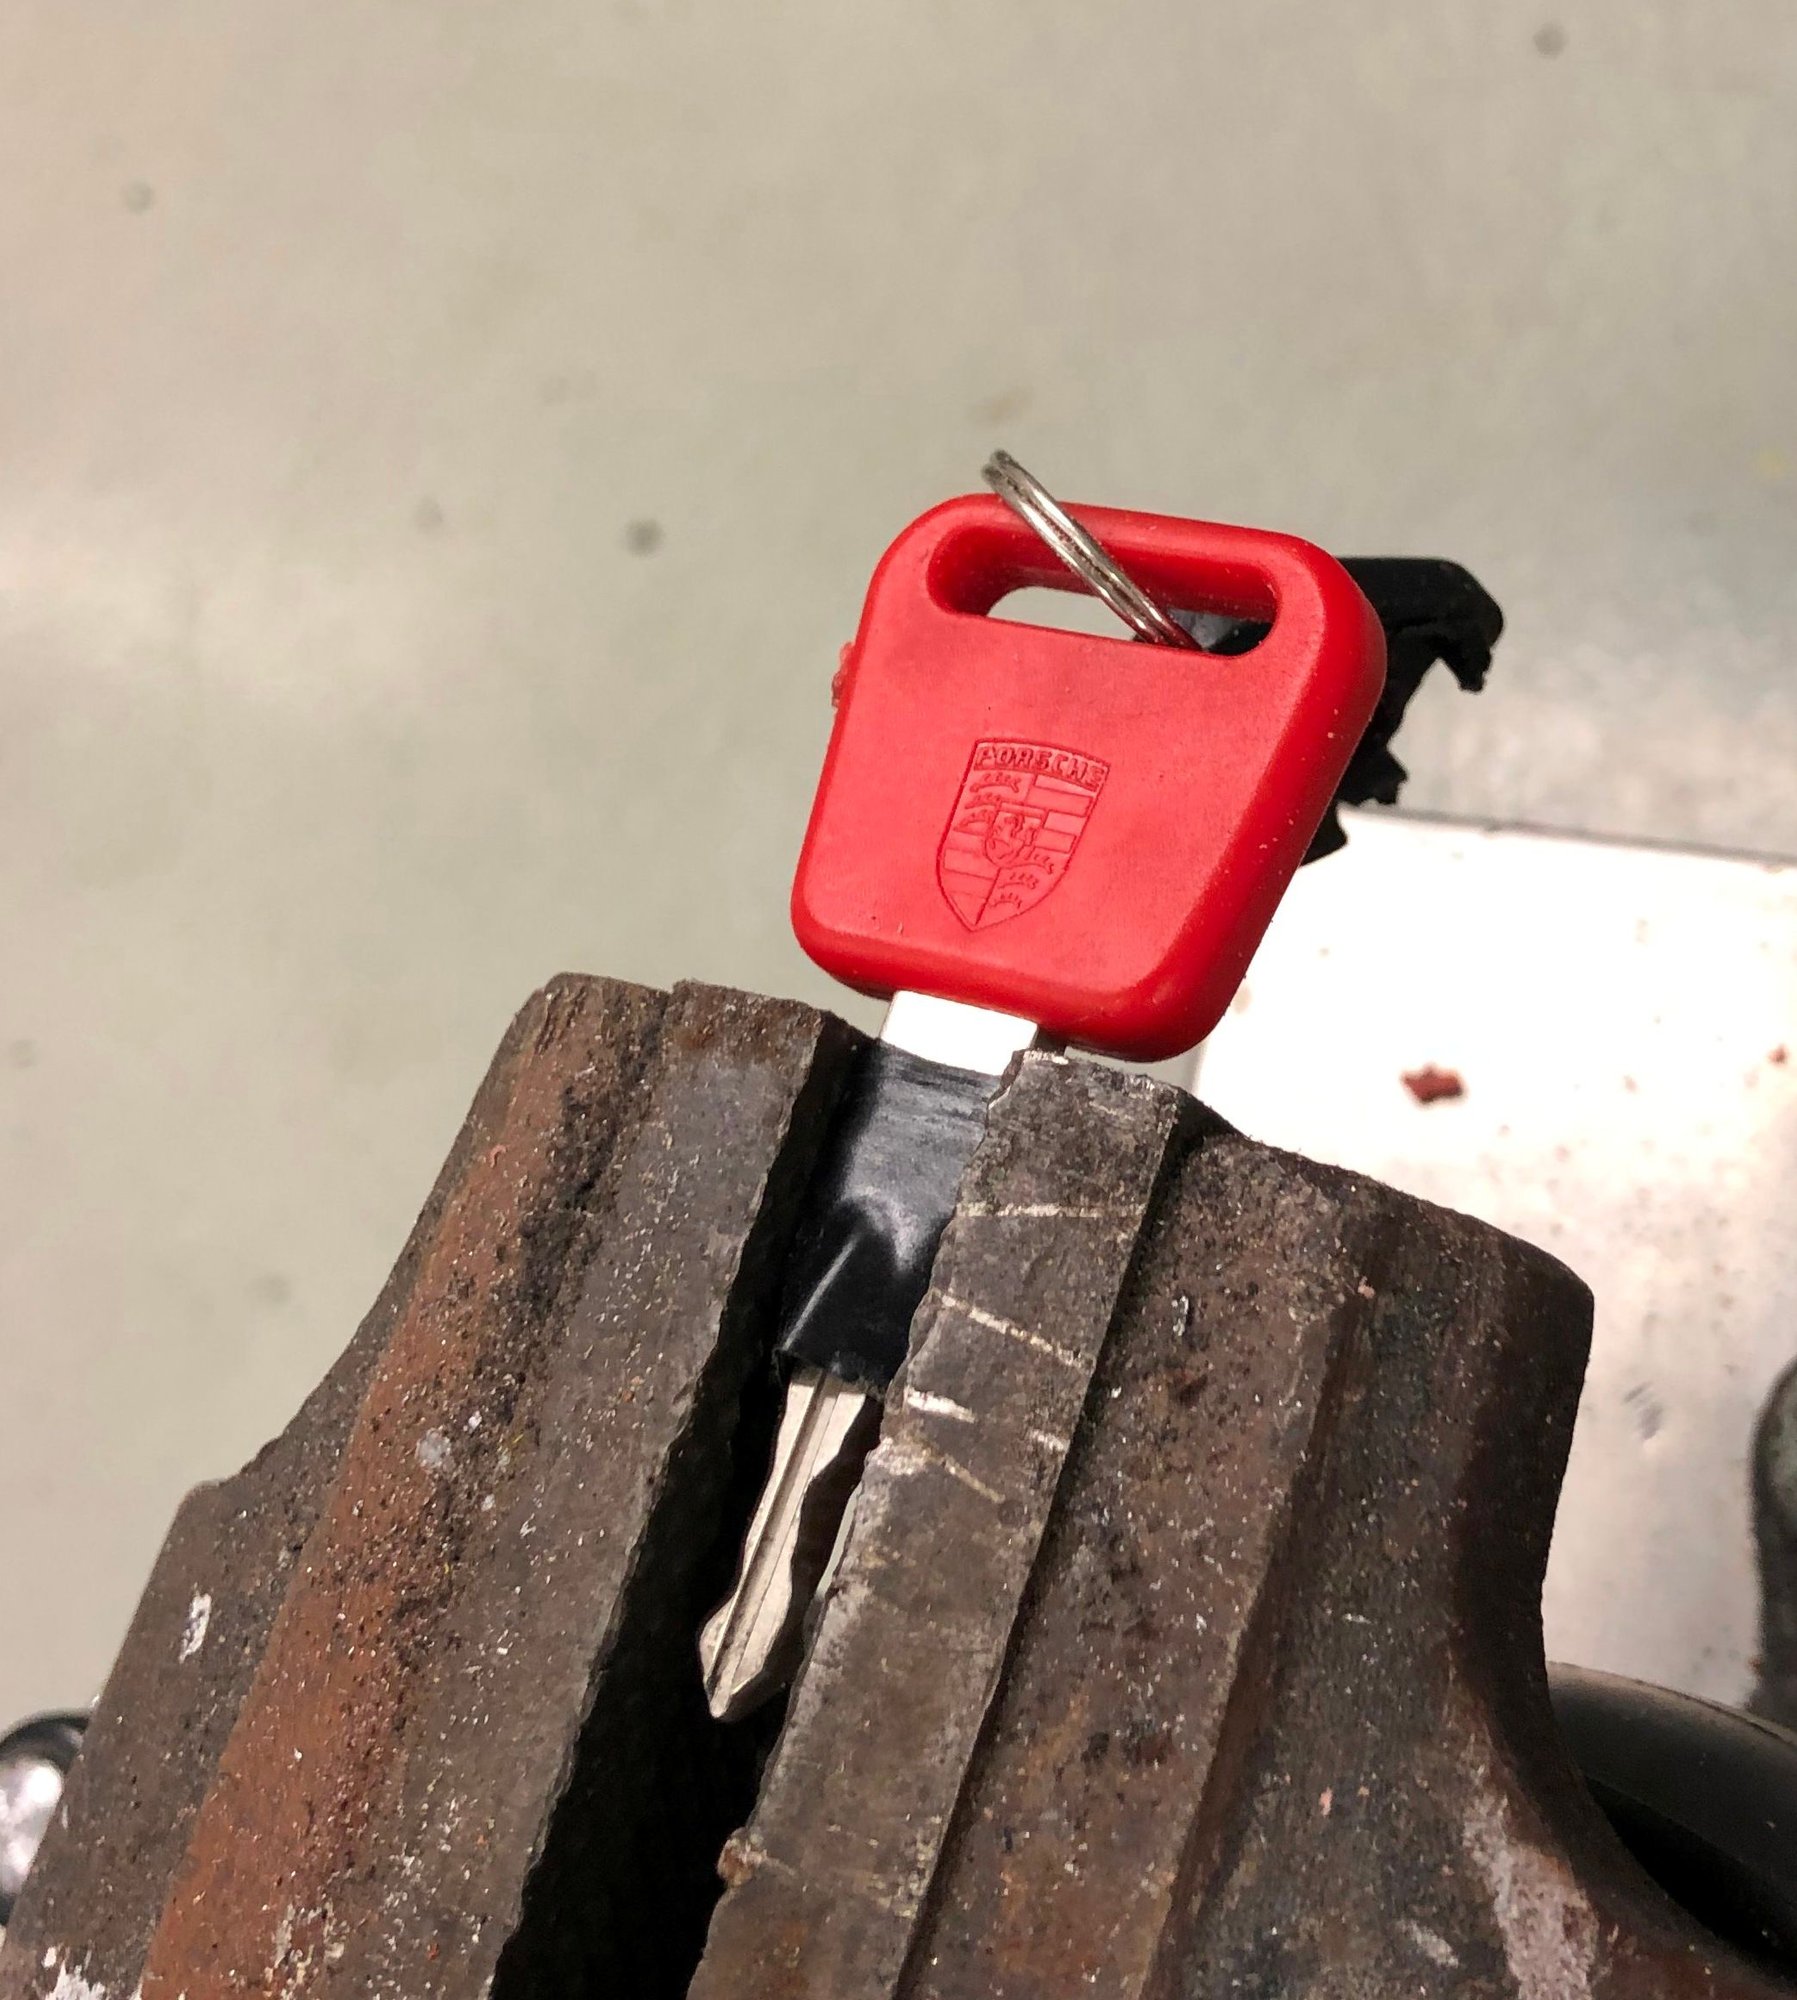
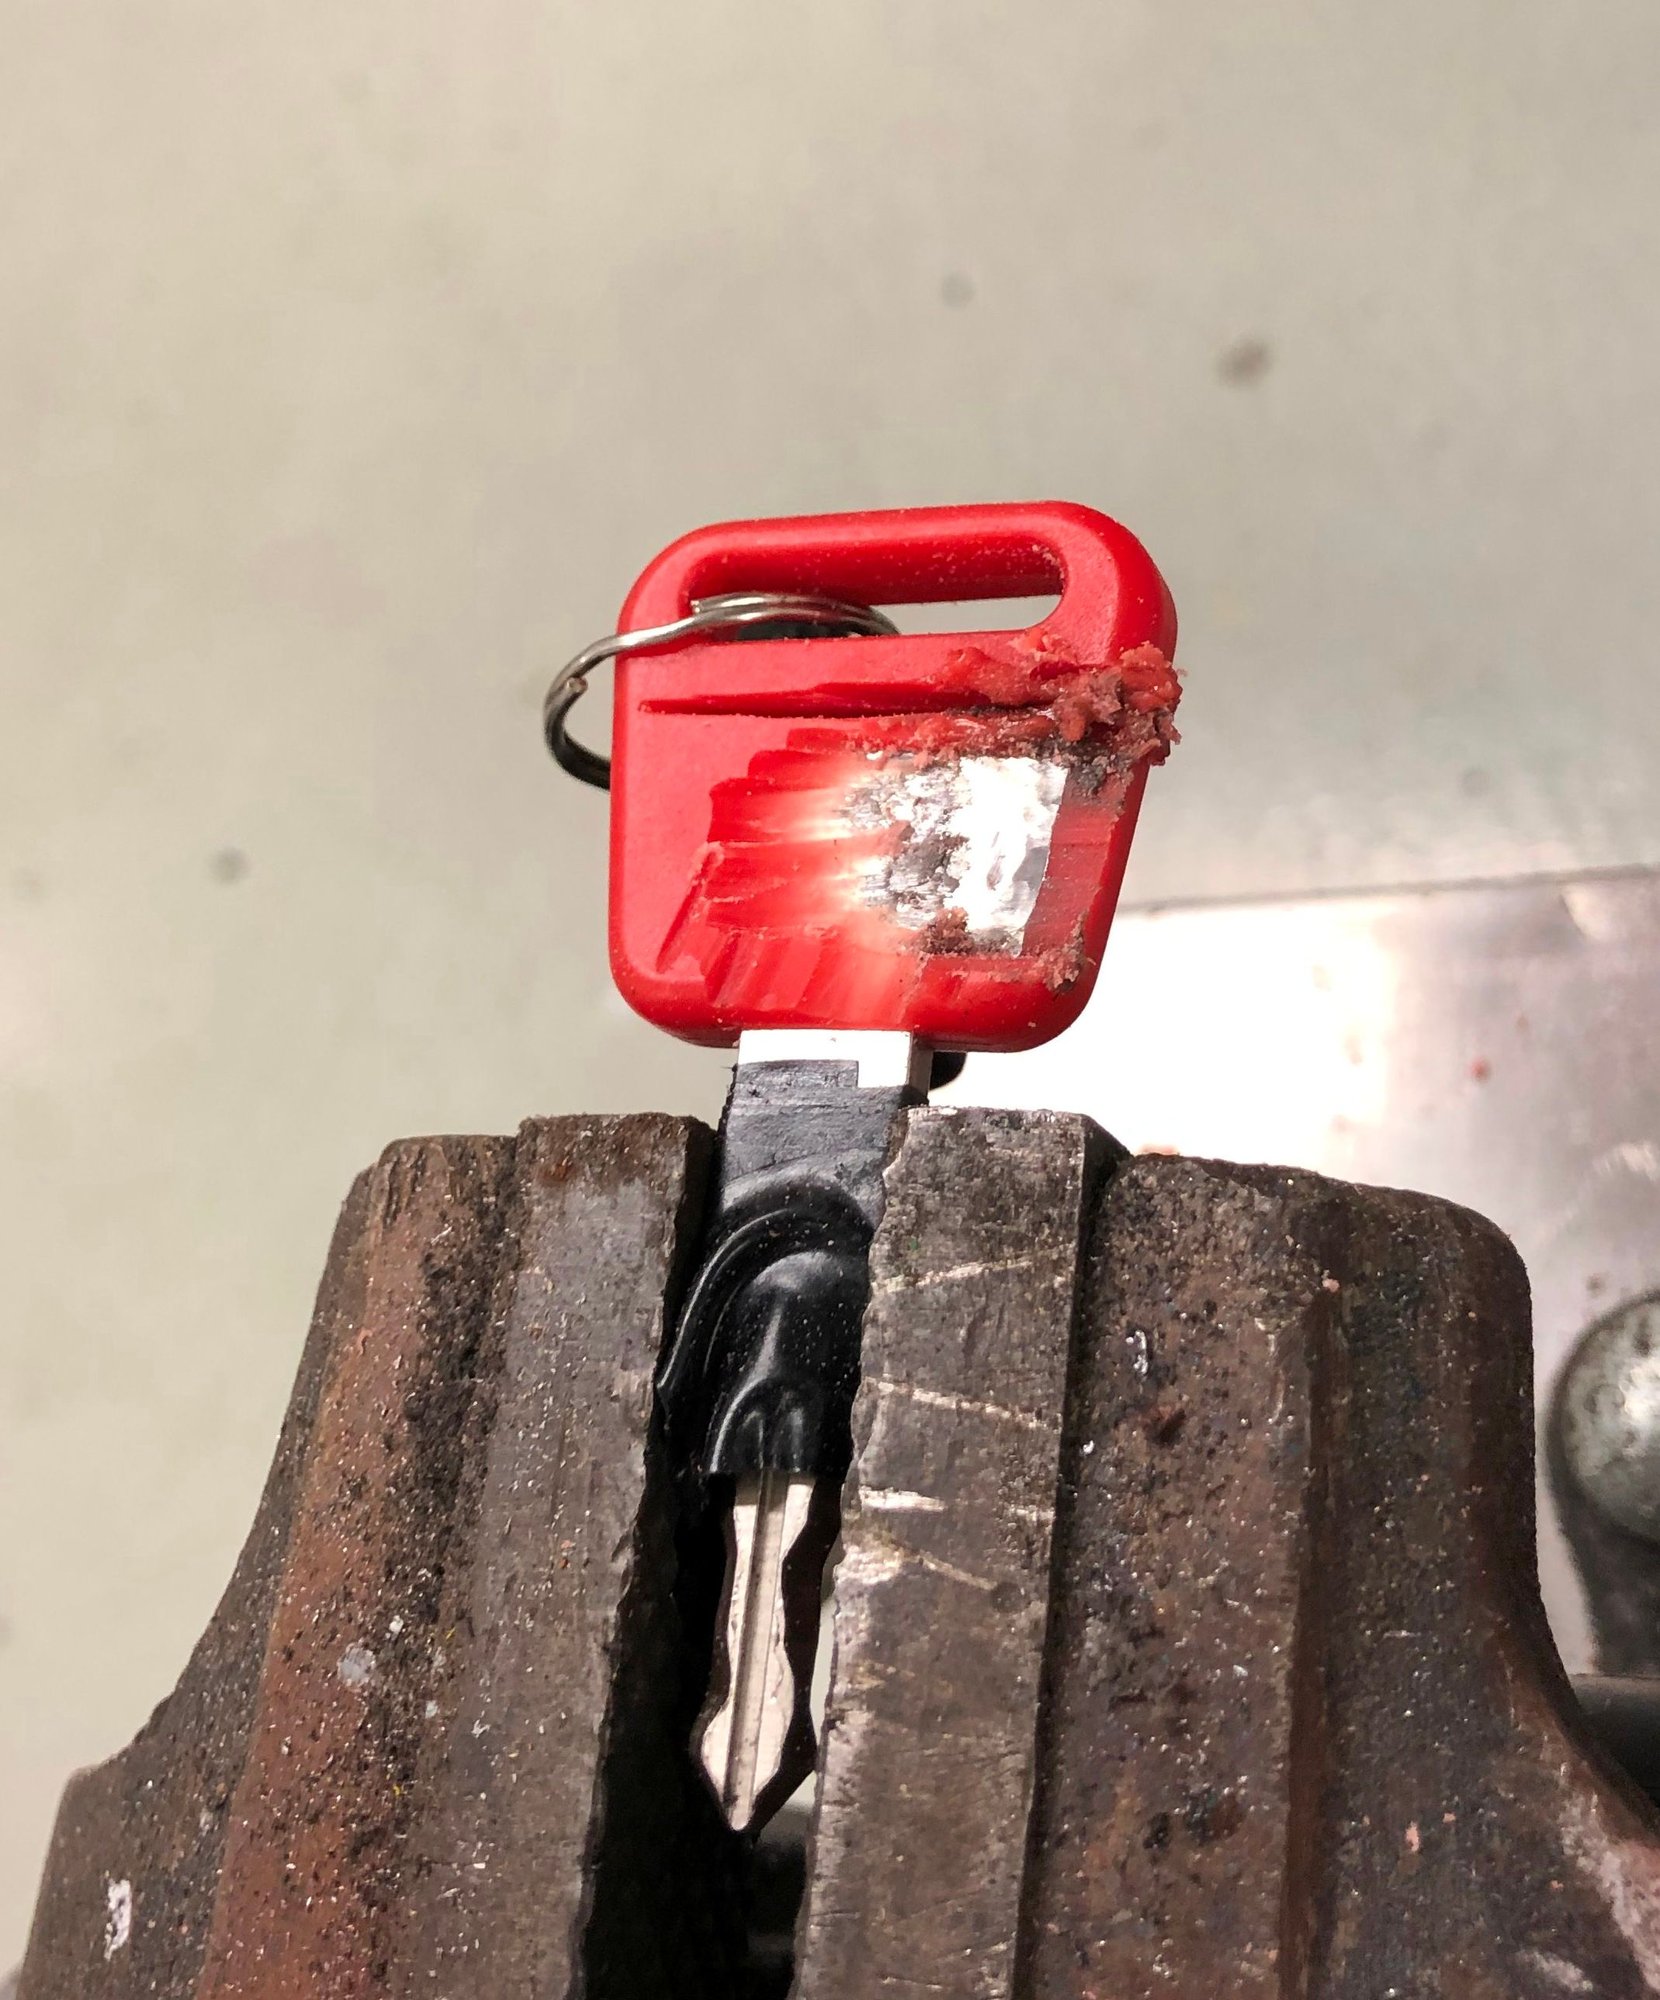
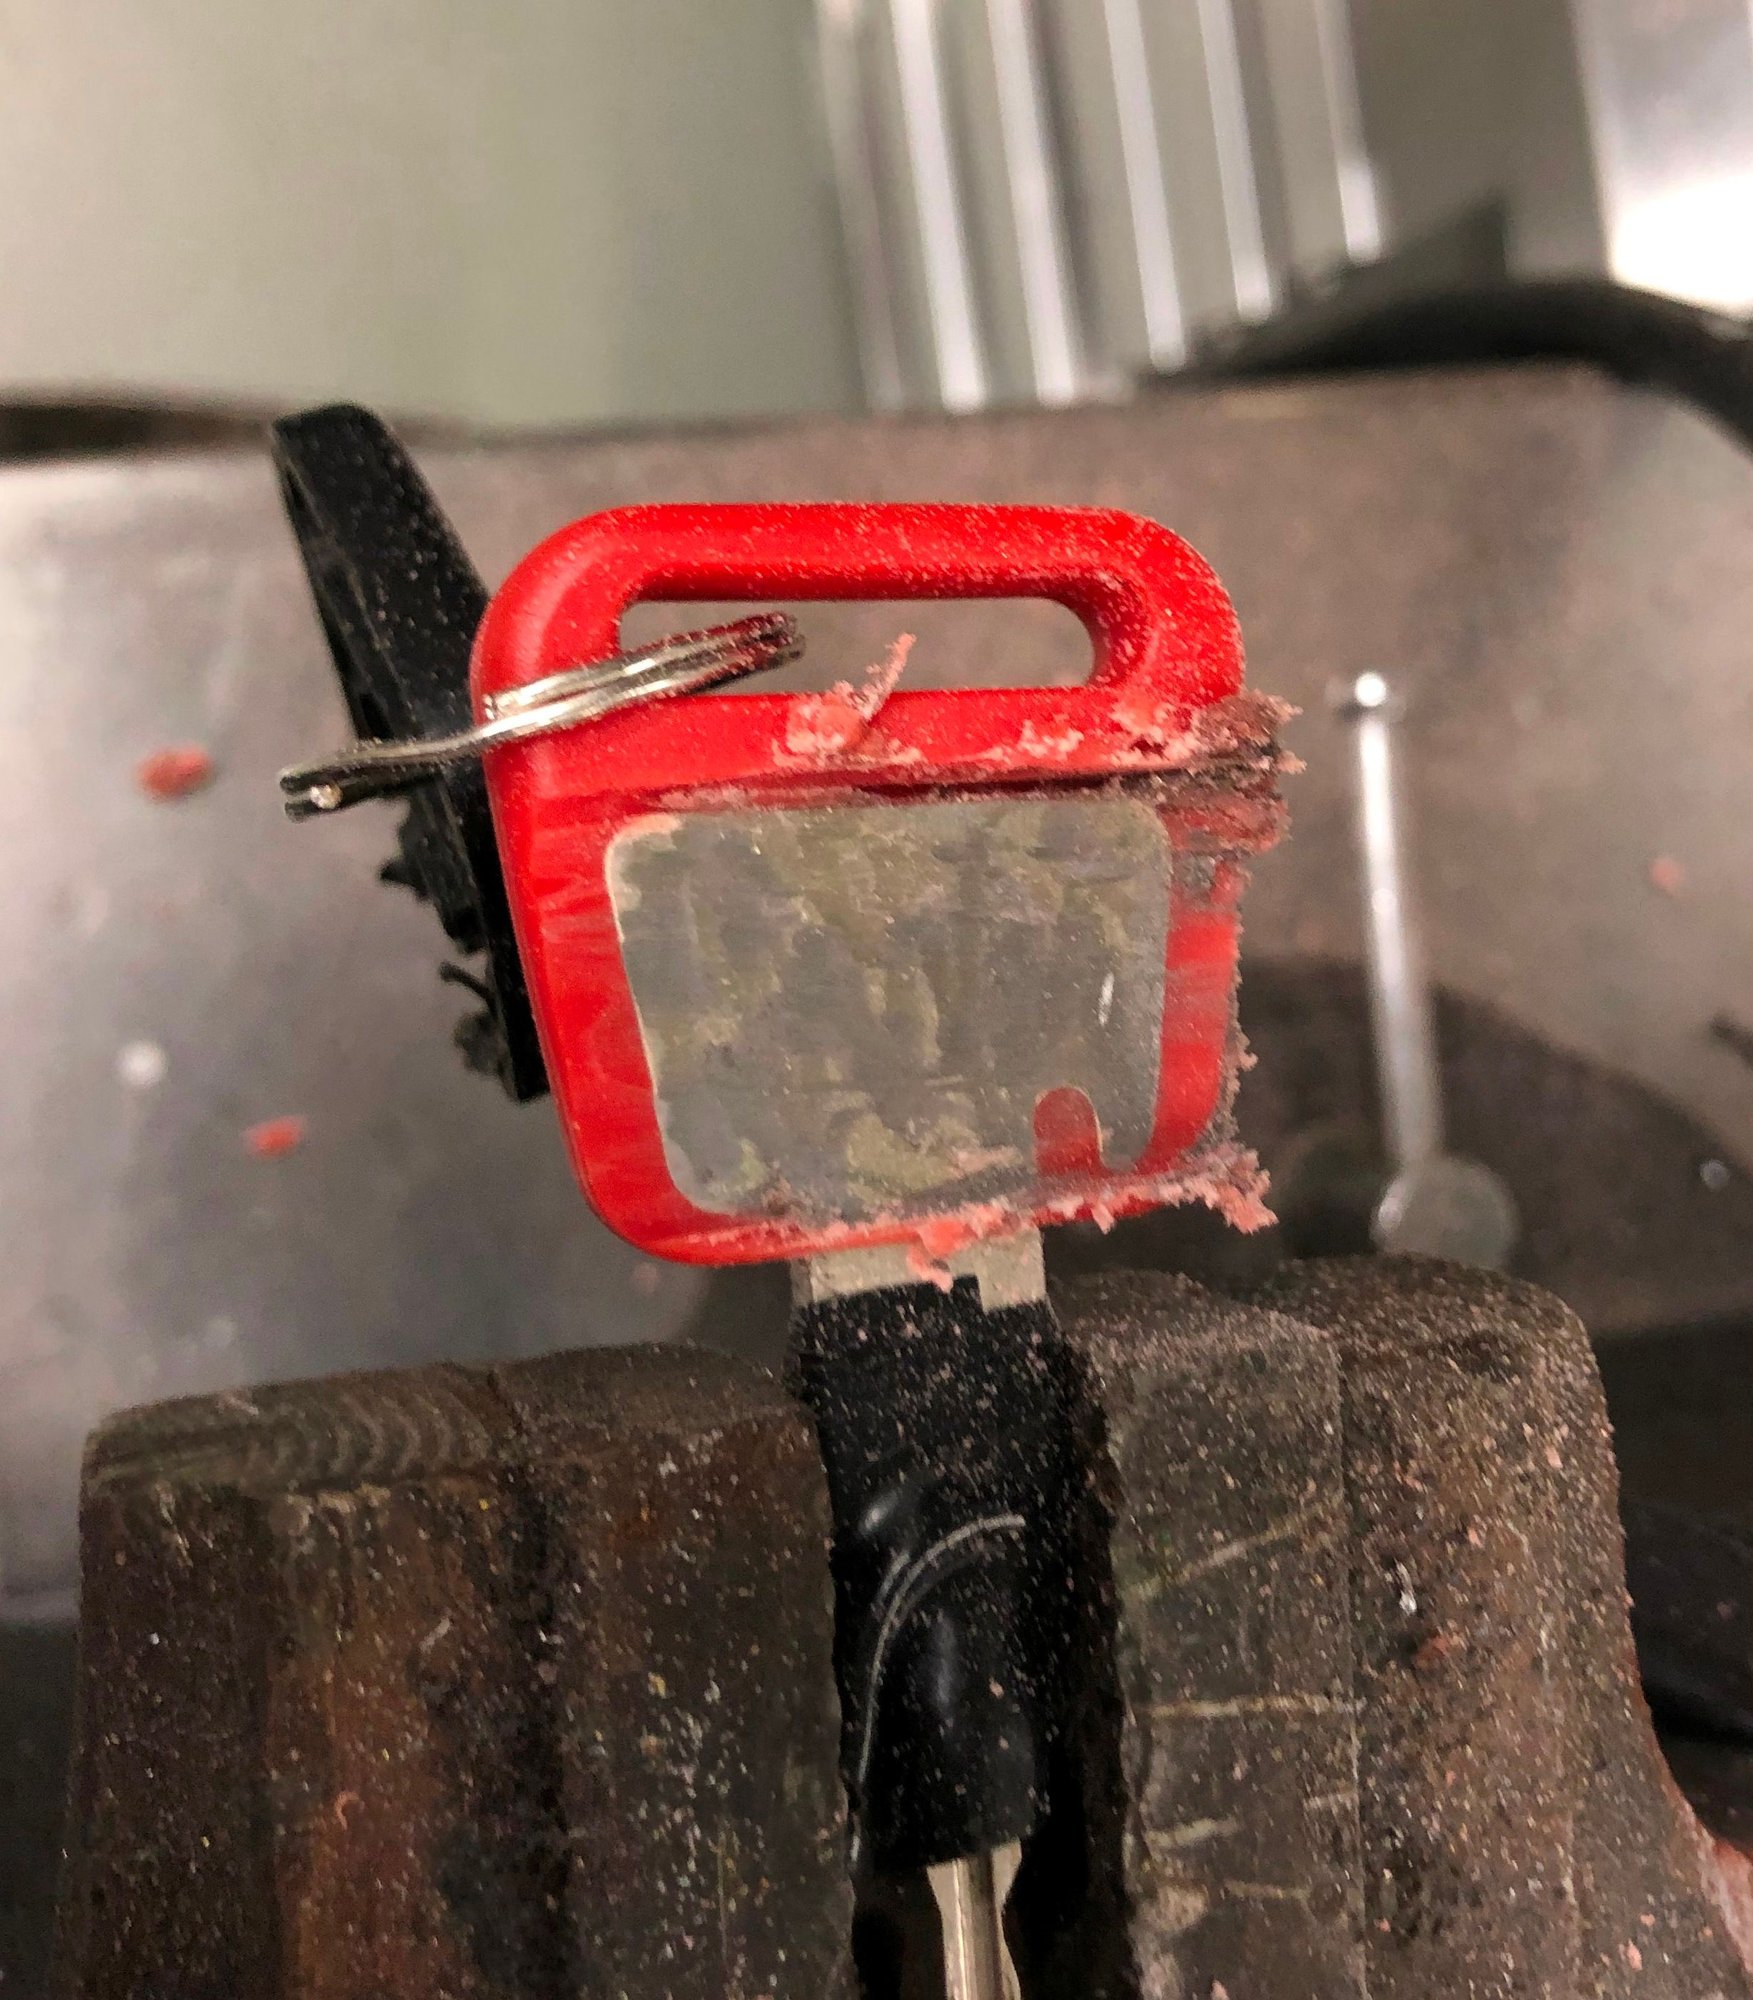
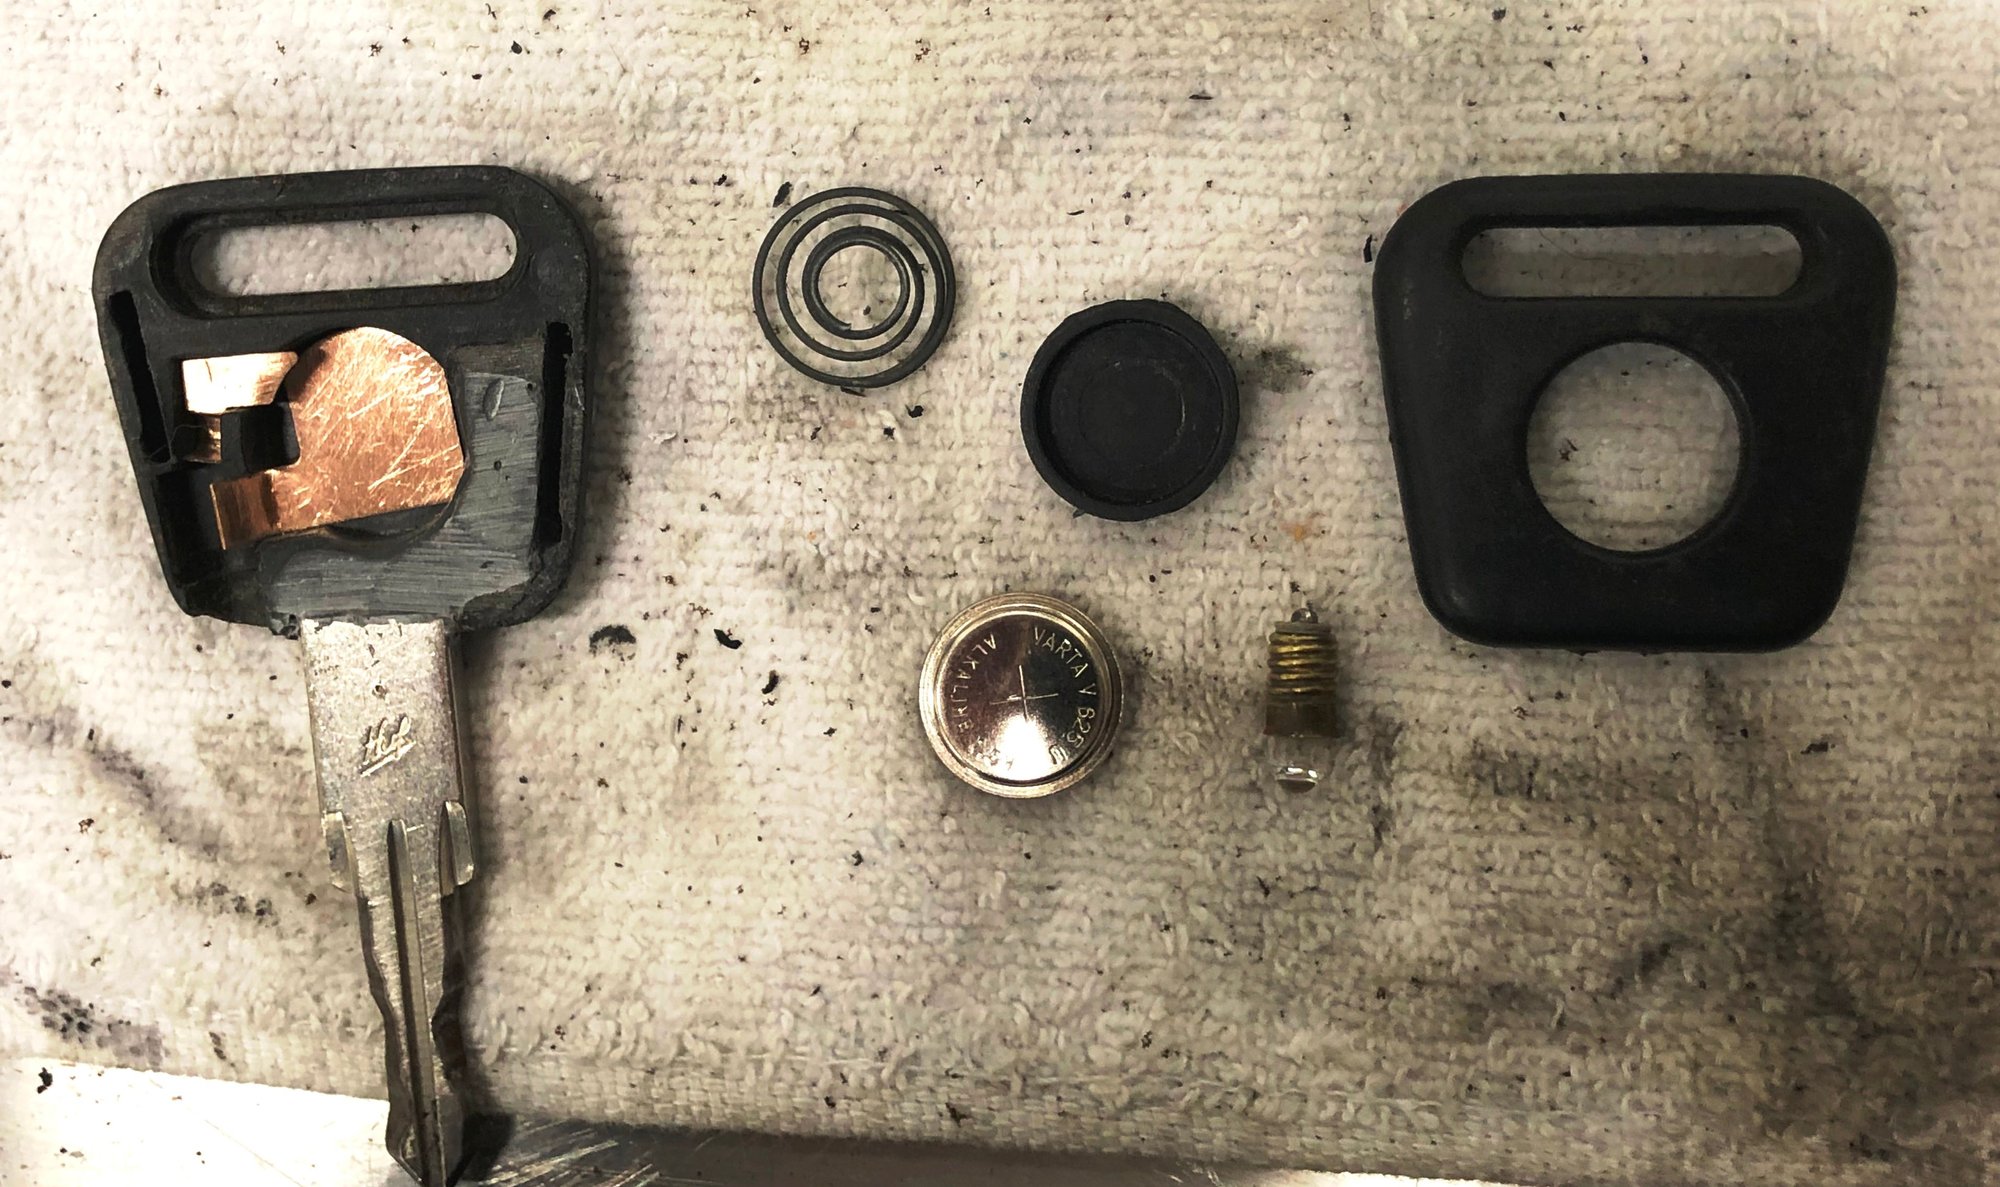
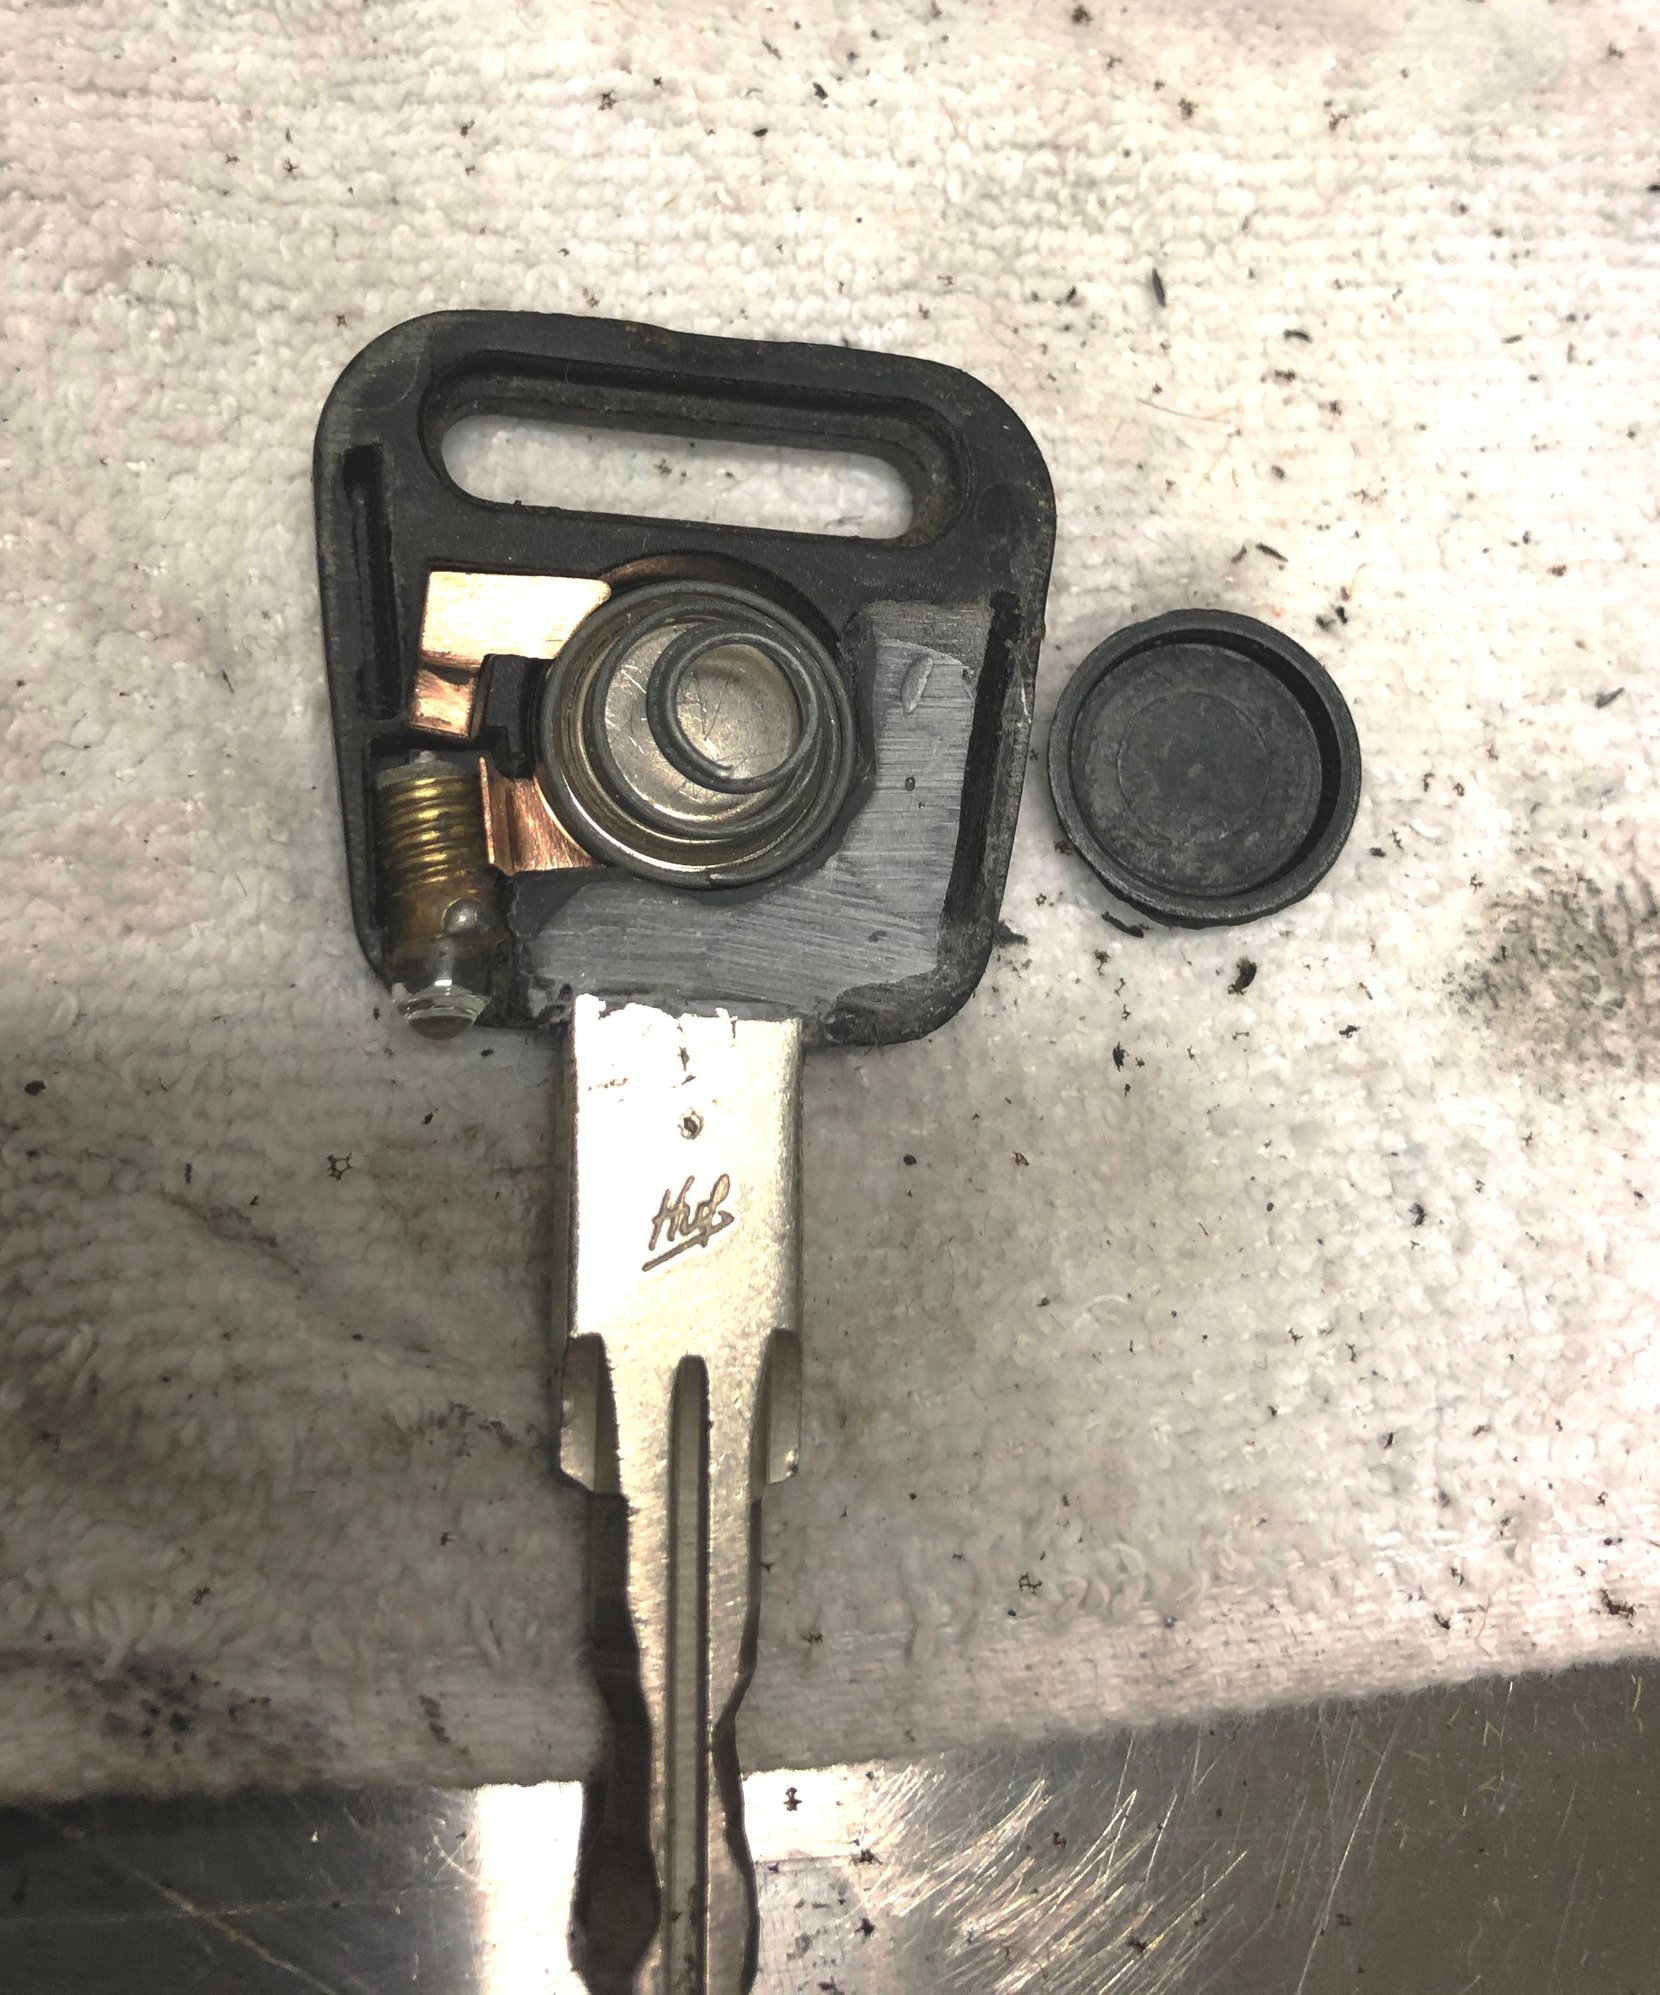
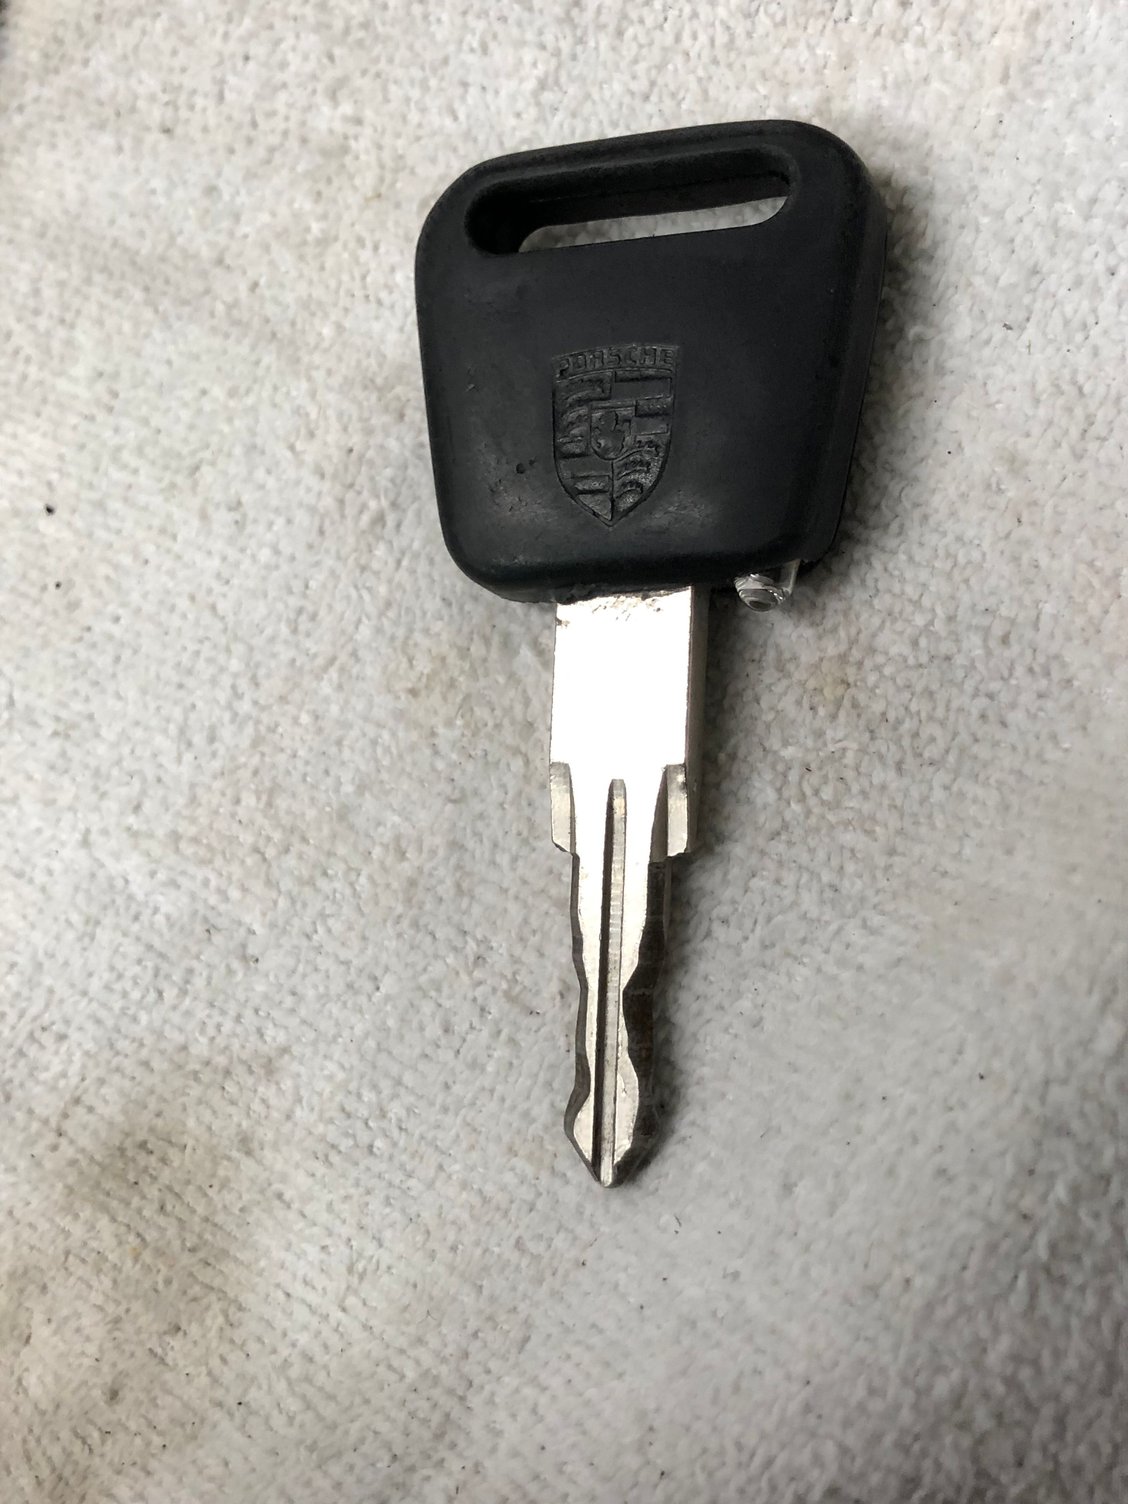
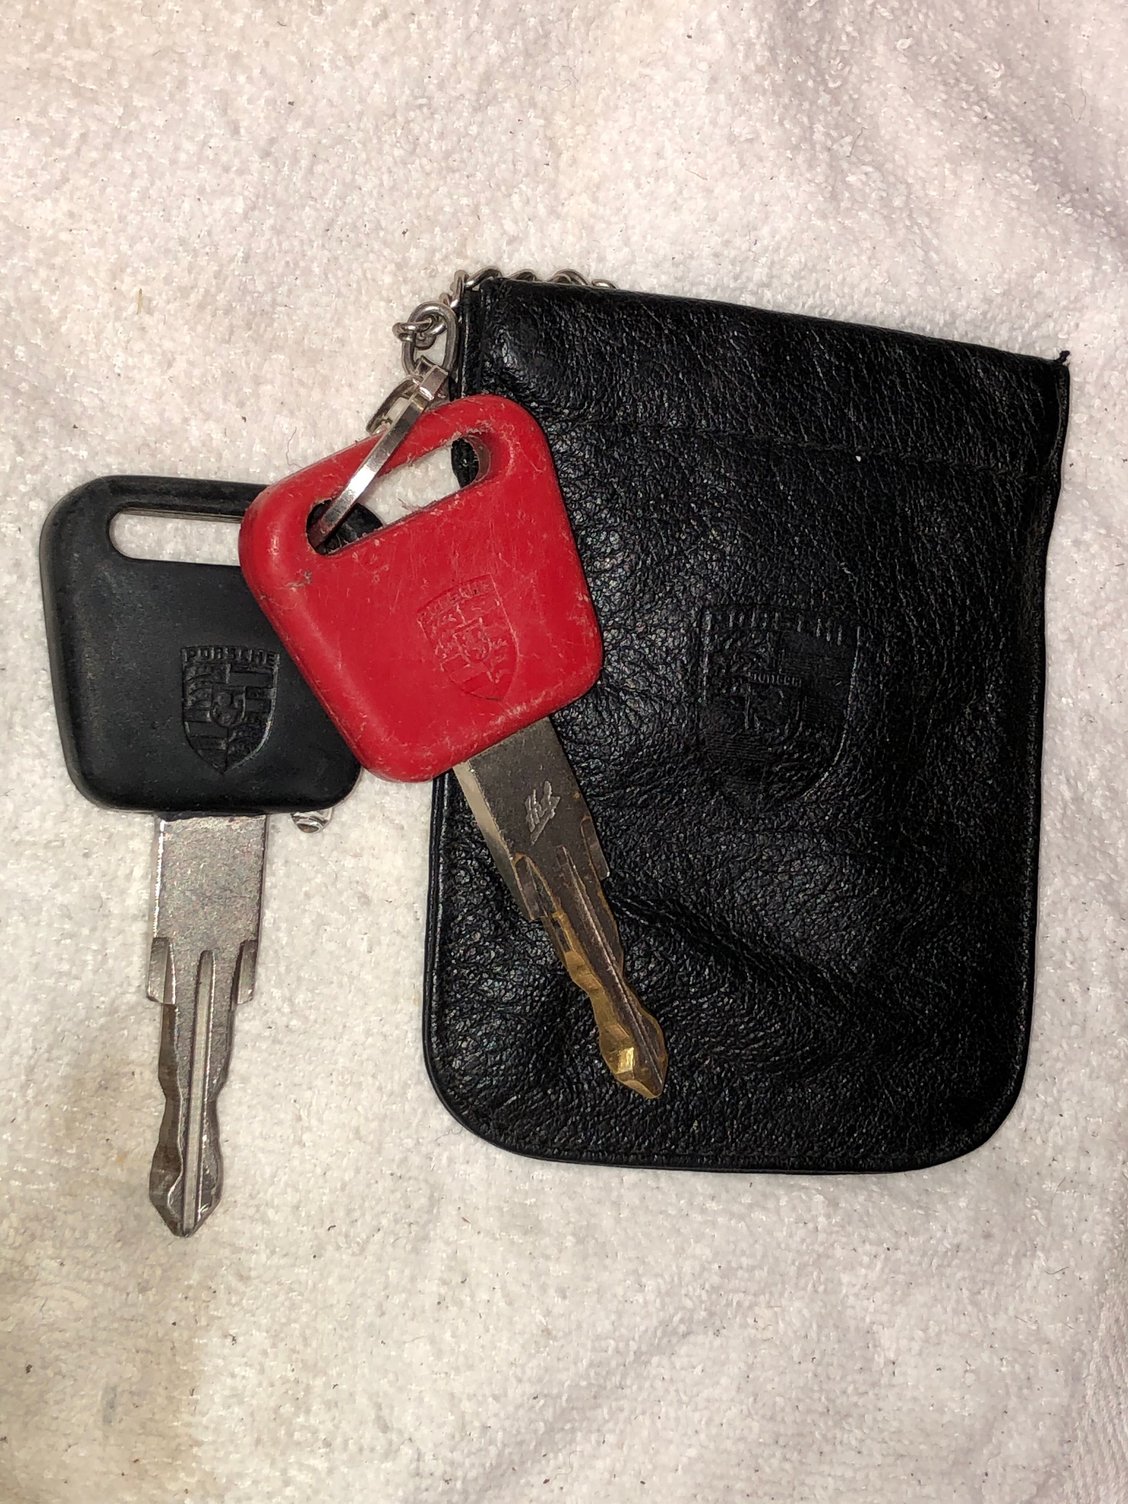
According to the experts at 928 Intl the black 'master' key with the lamp is no longer available from Porsche. 01117 came with an original red key and I wanted to finish the New Car Delivery Experience with a full set of factory keys. Mark had an old master key that did not fit my locks. We were able to cobble together all of the lamp internals to make a 'new' black master -or one that is close to an original black key.
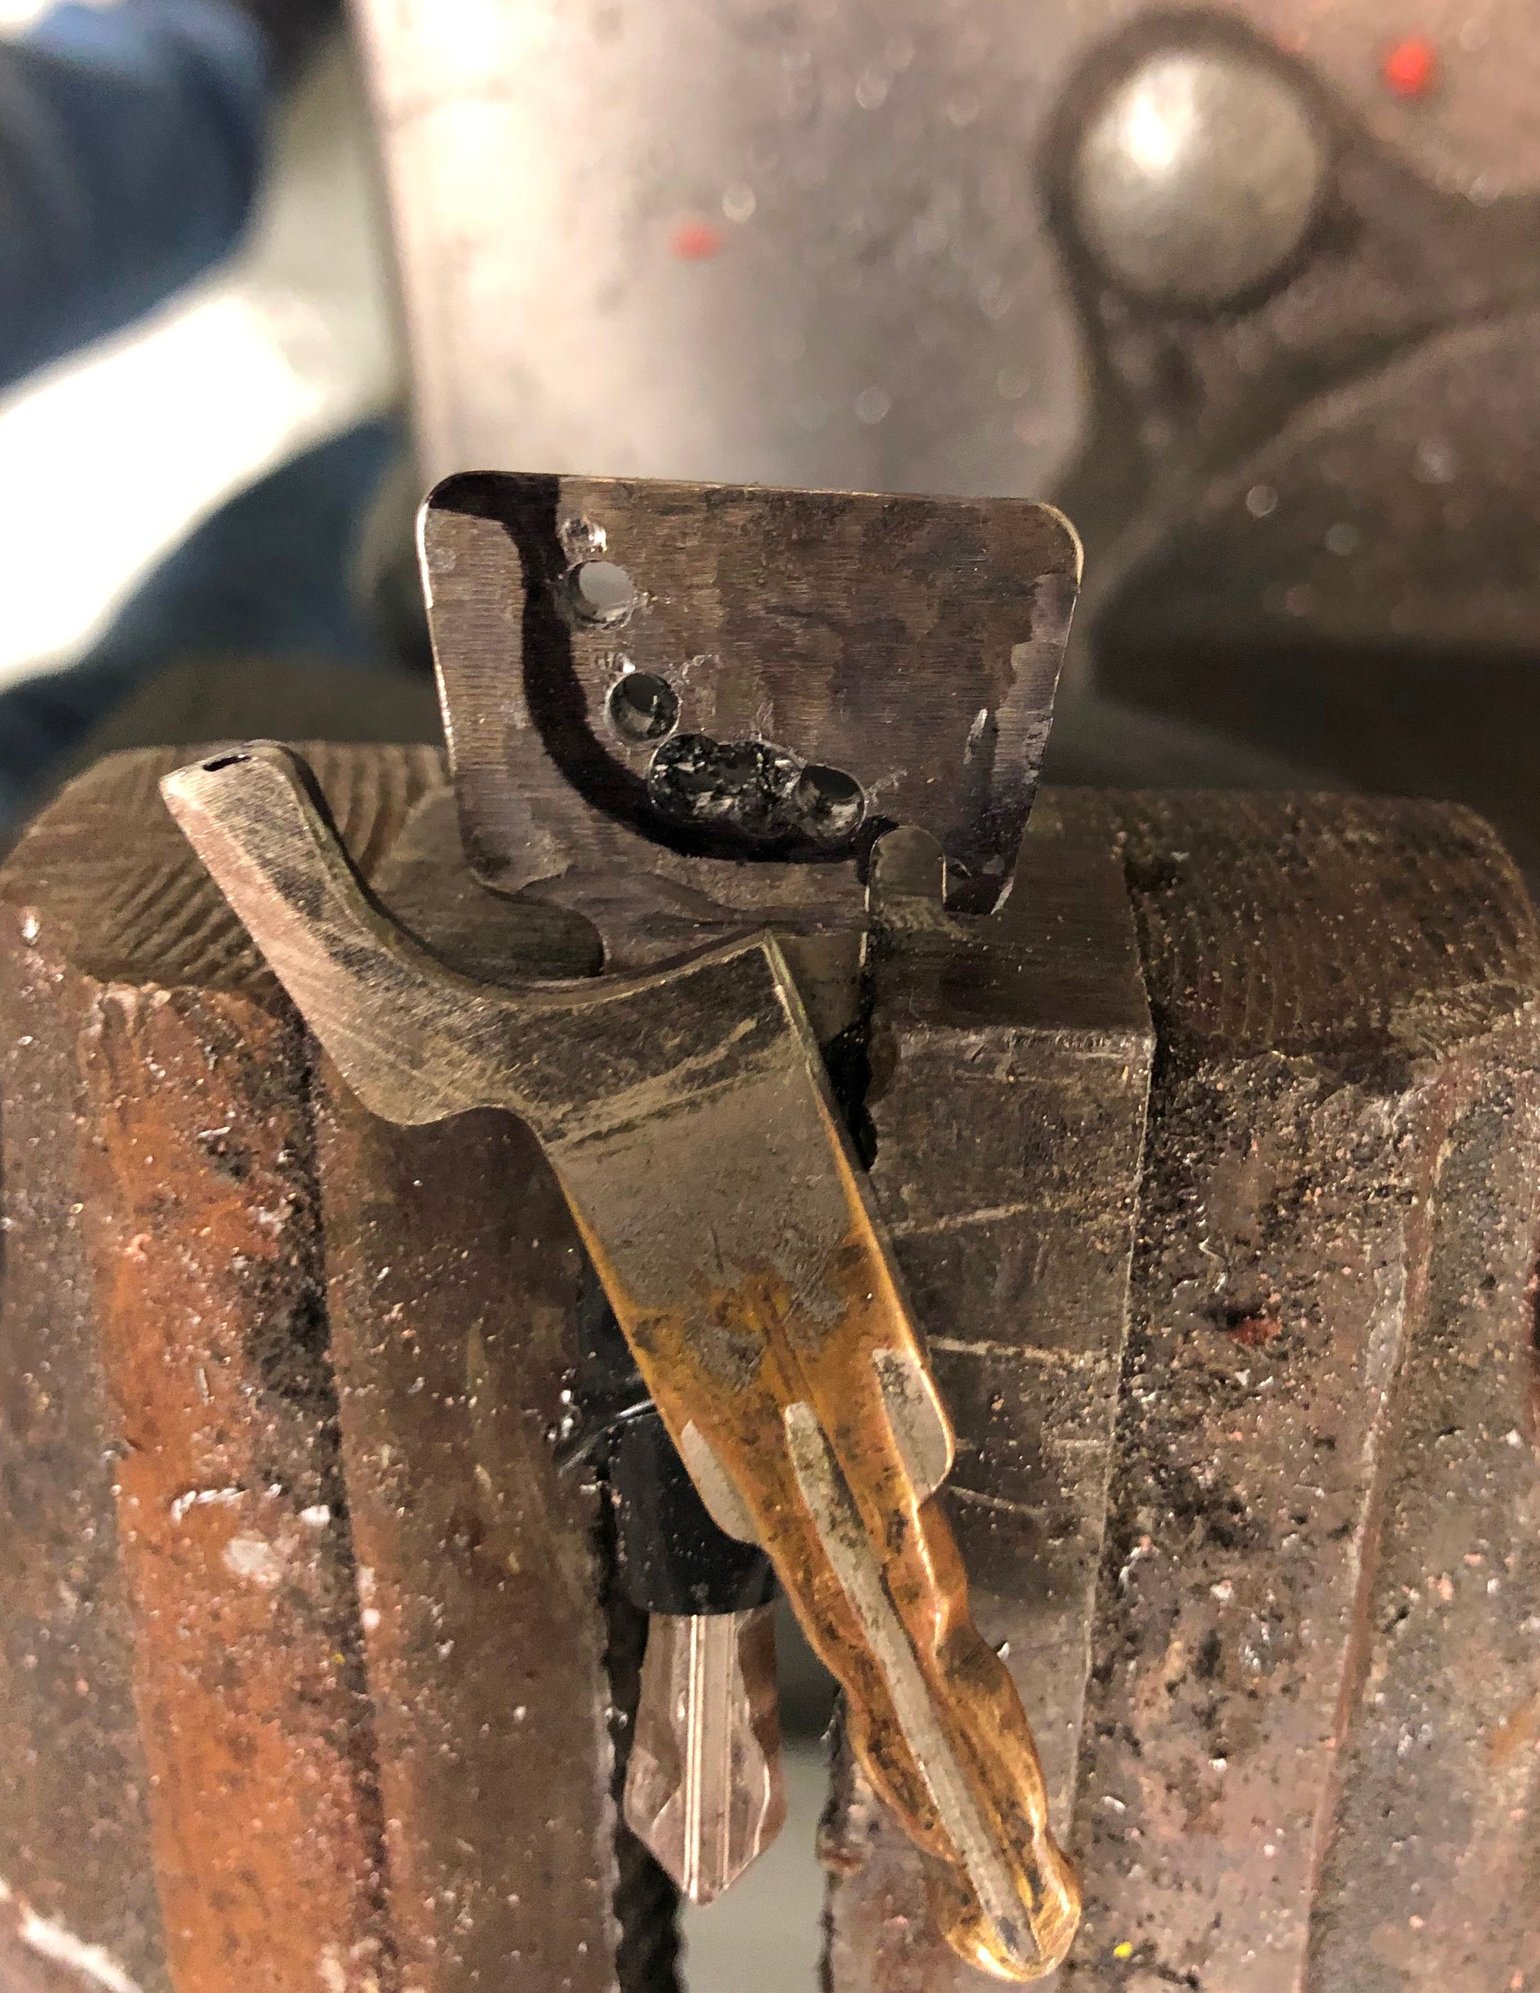
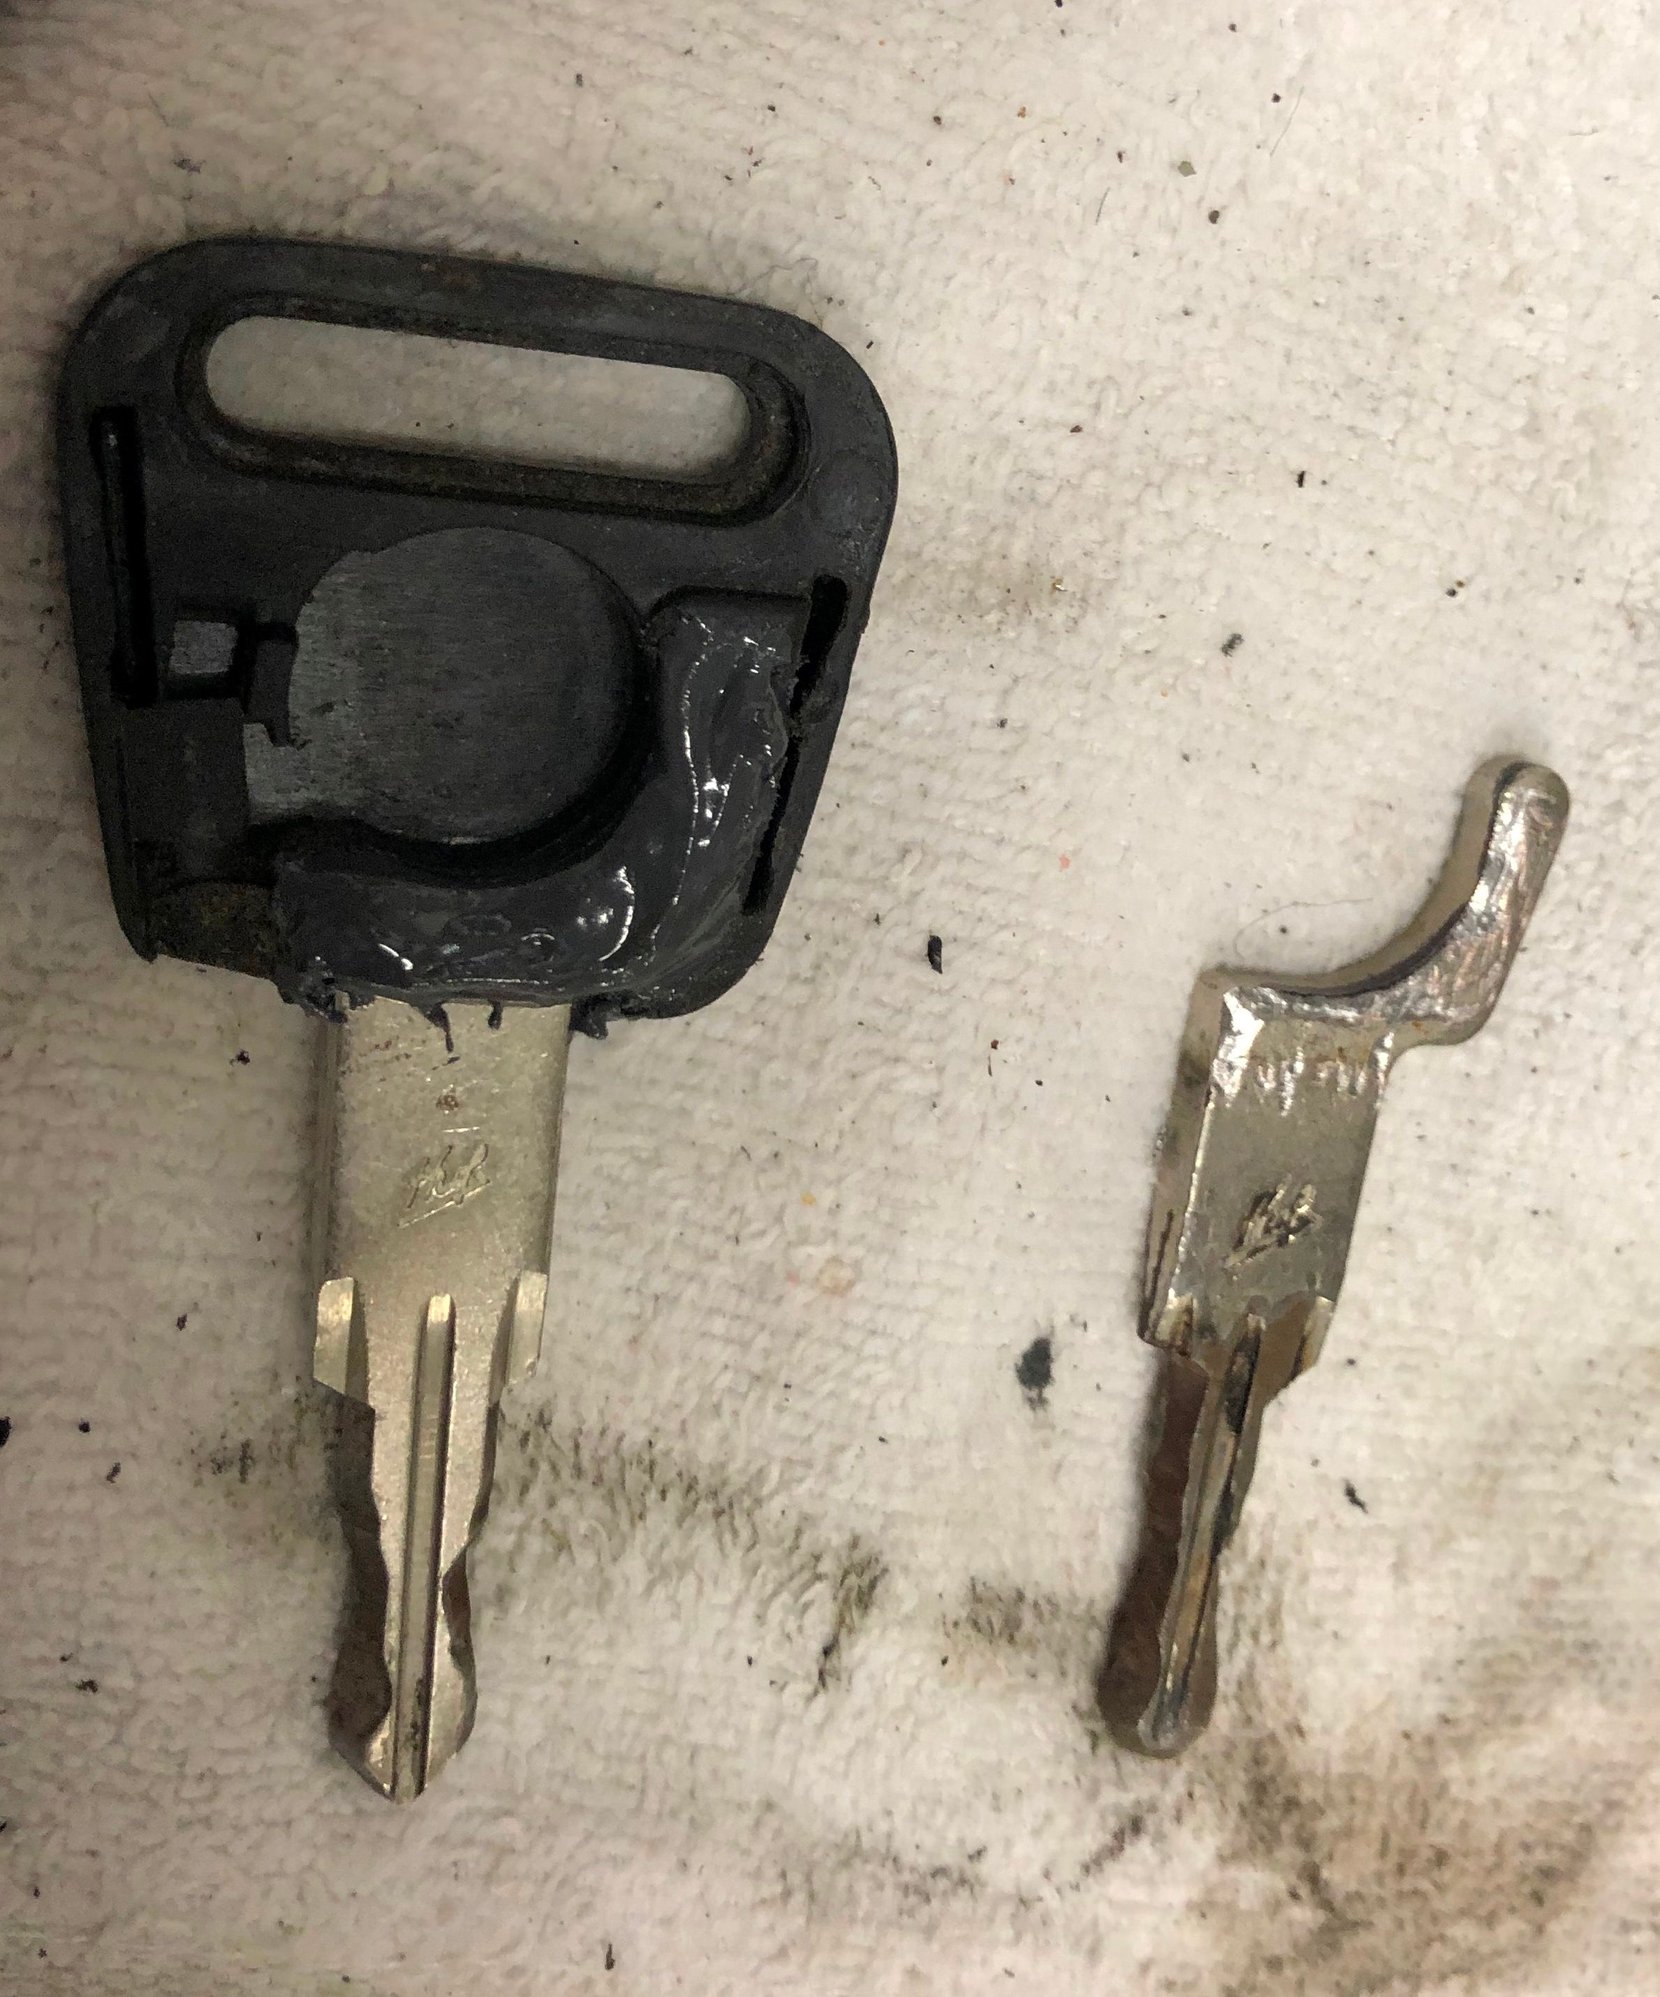
To accomplish this it involved moving my new red key metal shank over to the black molded fob.
Here goes with that 12 step process:
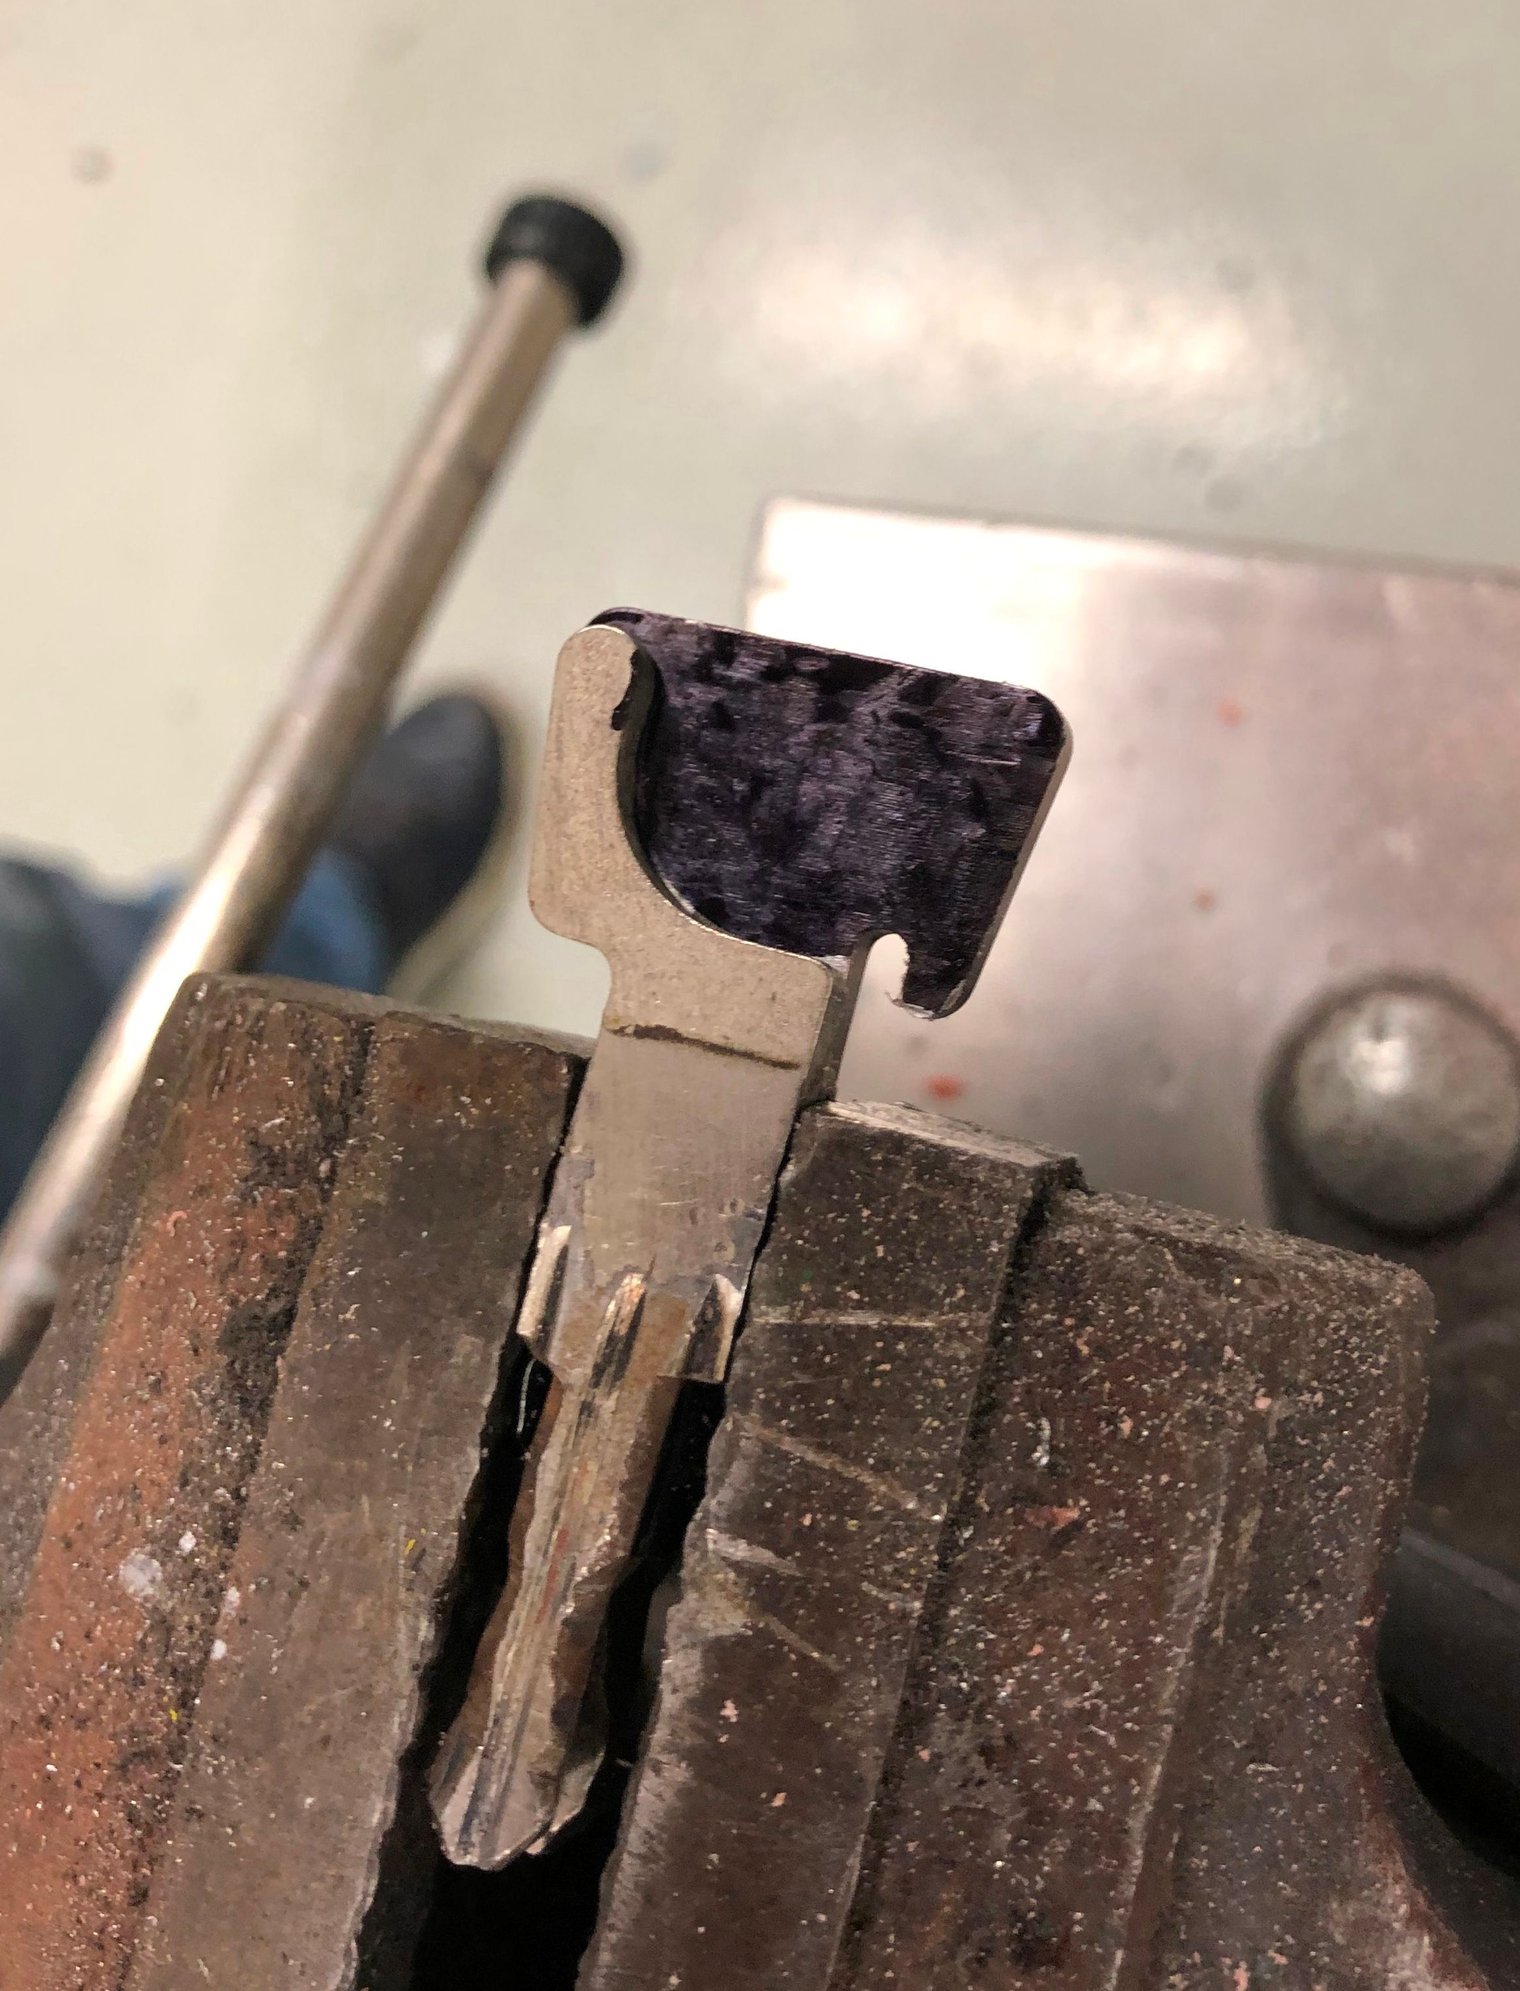
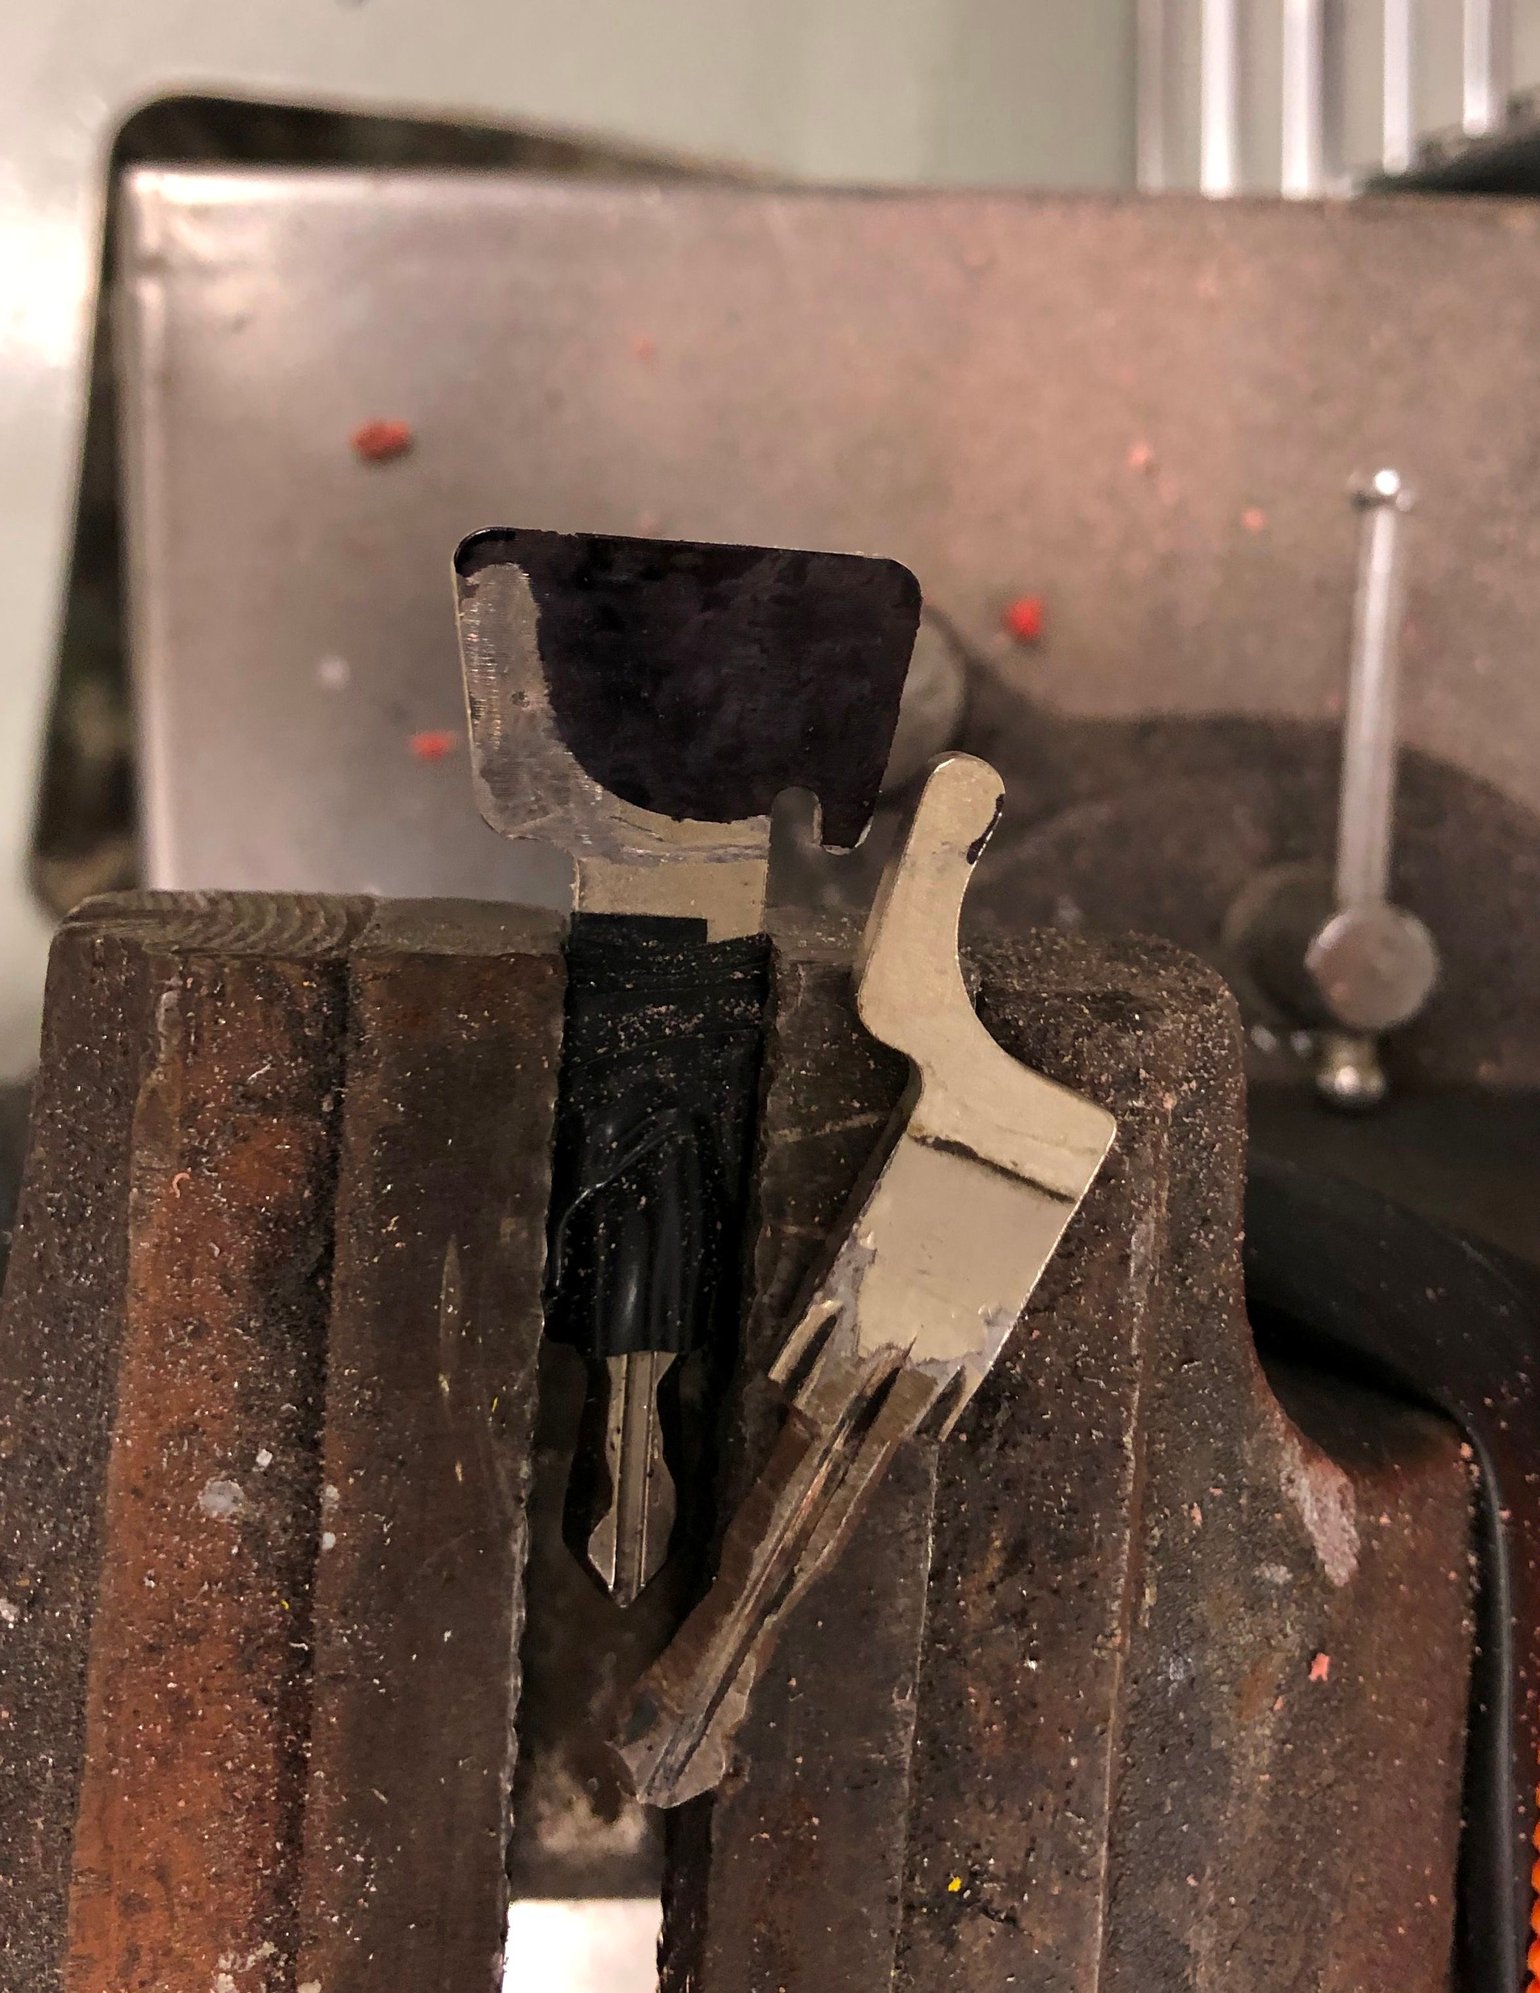
New red key protected in the vise removing the red overmold exposing all of the steel and removing all of the plastic This is image is actually two keys, the top one used as a pattern to create a 'cut line' Black ink on the lower key shows were to cut to drilling is fastest to remove most of the material using a dremel with a small cut off wheel I was able to create the same shape as the model key on the right. Red key shank epoxied into place in the 'new' black fob New battery and cleaning off all the 4 decades of gross finger oil and we have all the pieces for the switch in the fob. I am sure Huf is a great German Key manufacturer. But as a provider of basic electrical switches their design is really, really poor. The switching action is random at best. Now working and fully assembled. I got lucky again at 928 Int'l as a car came in with this bitchin black leather key pouch. I'd love to hear if this was a factory accessory or aftermarket. Anybody know?
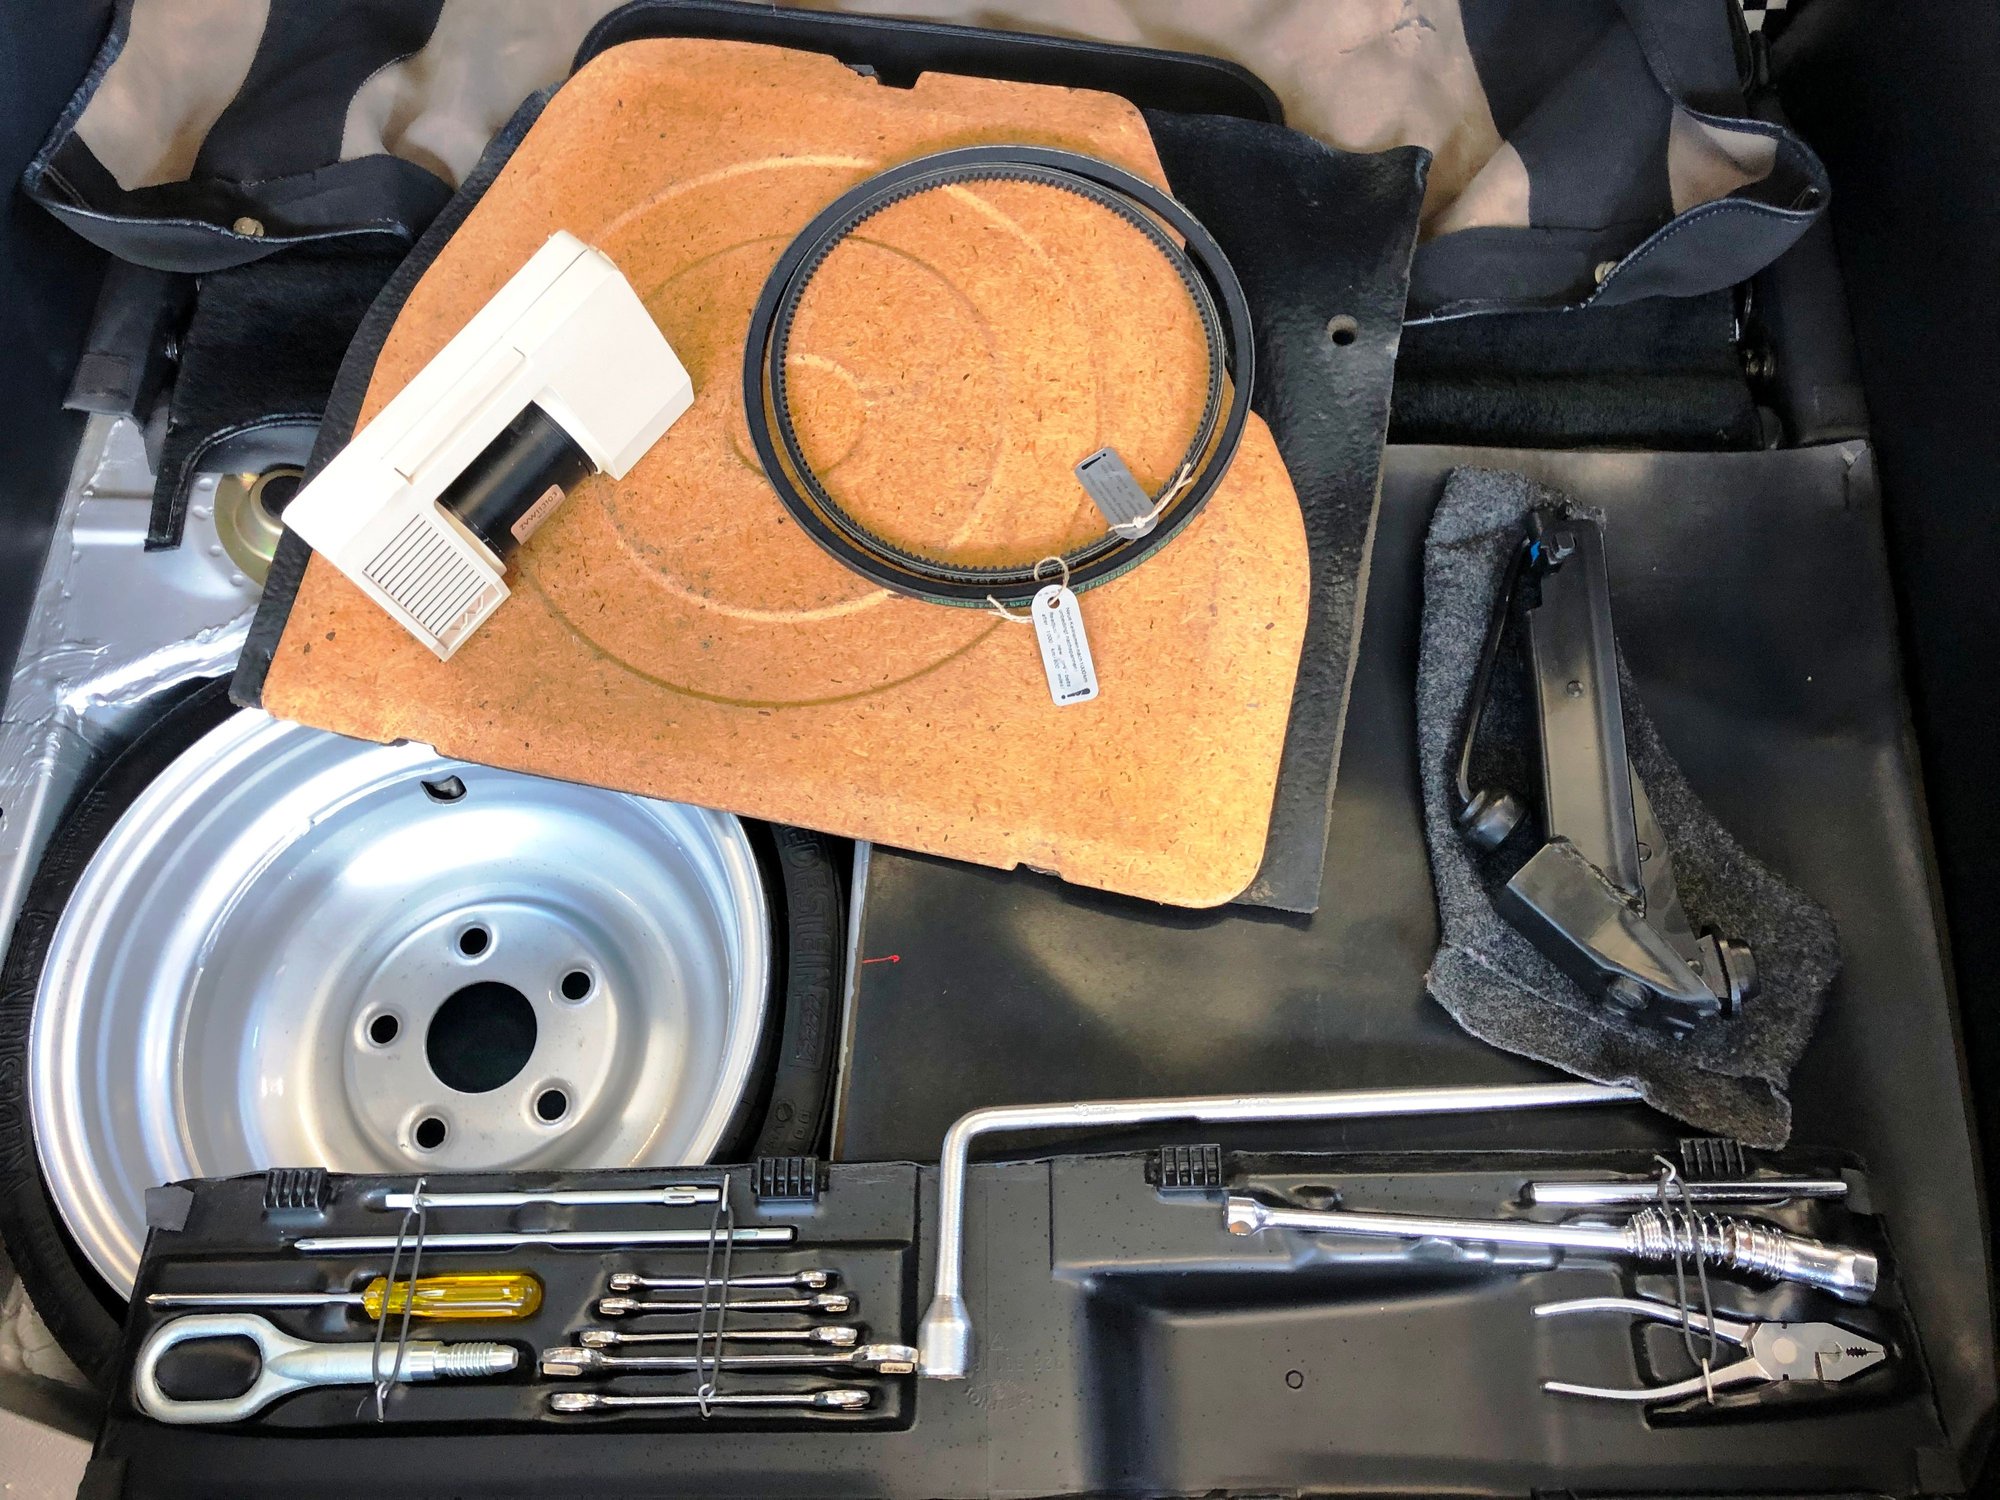
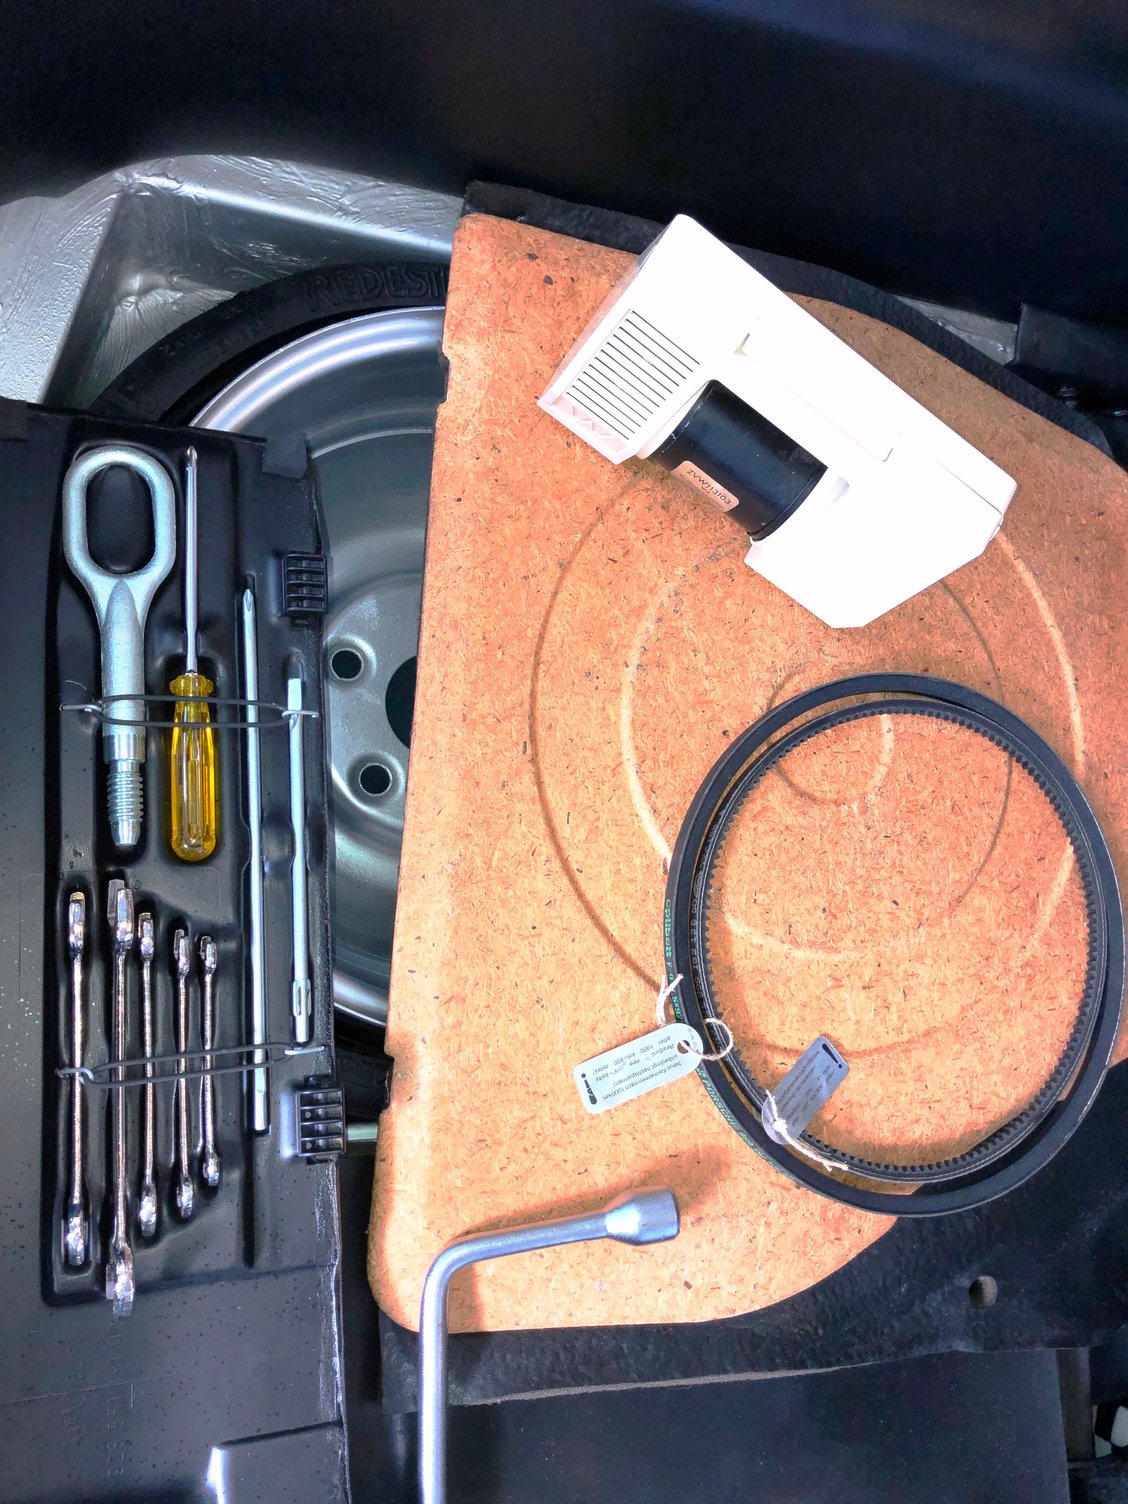
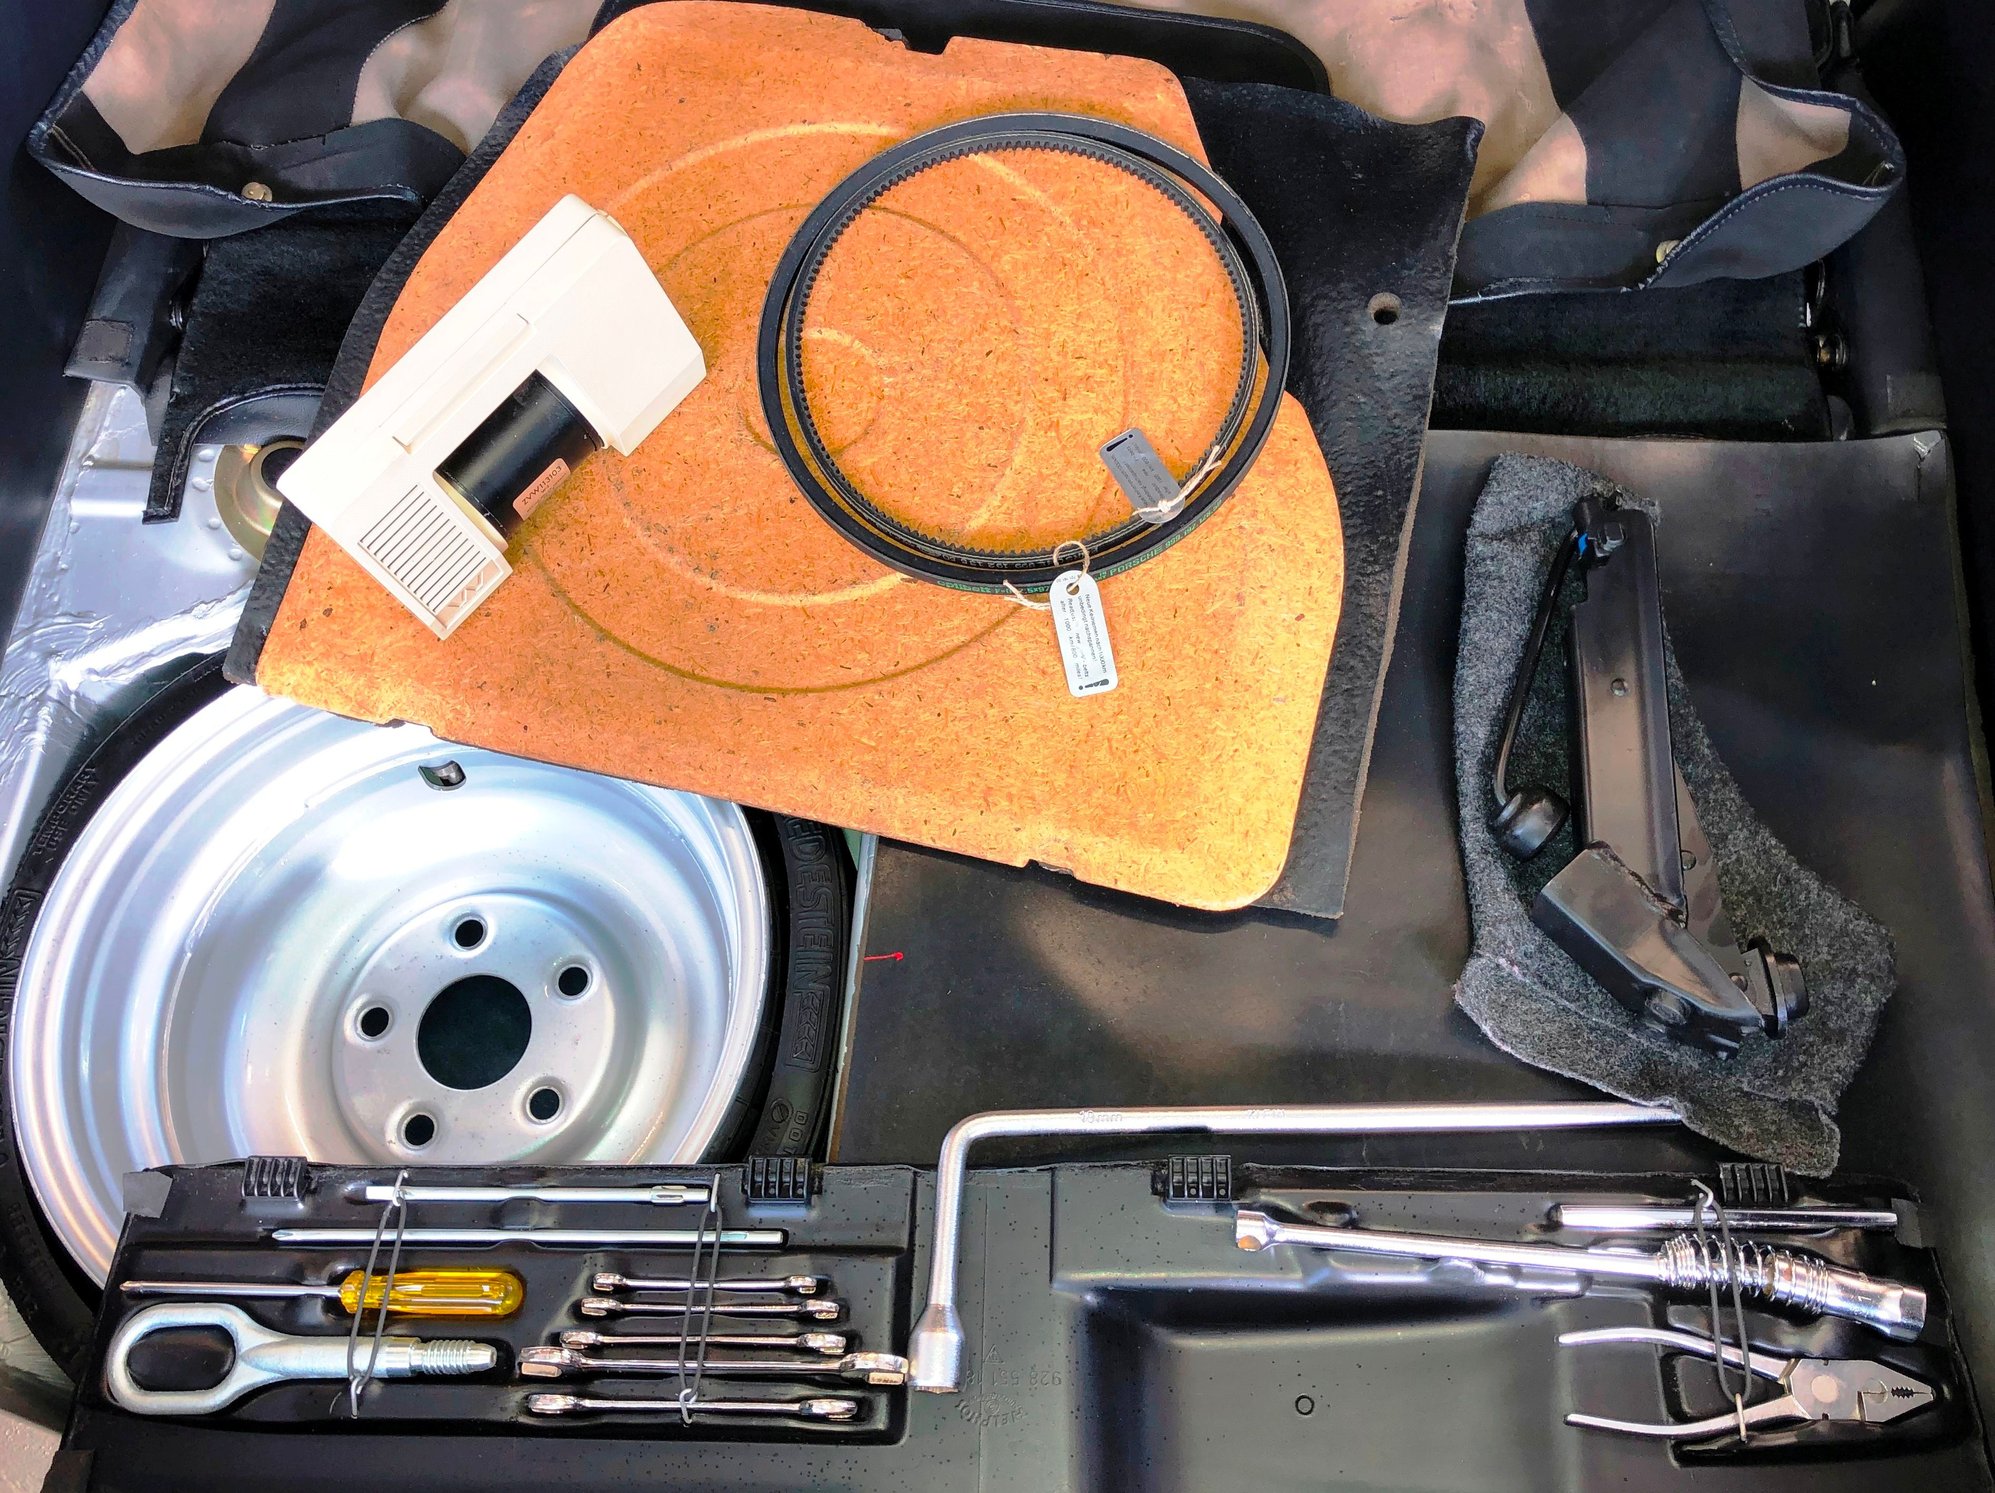
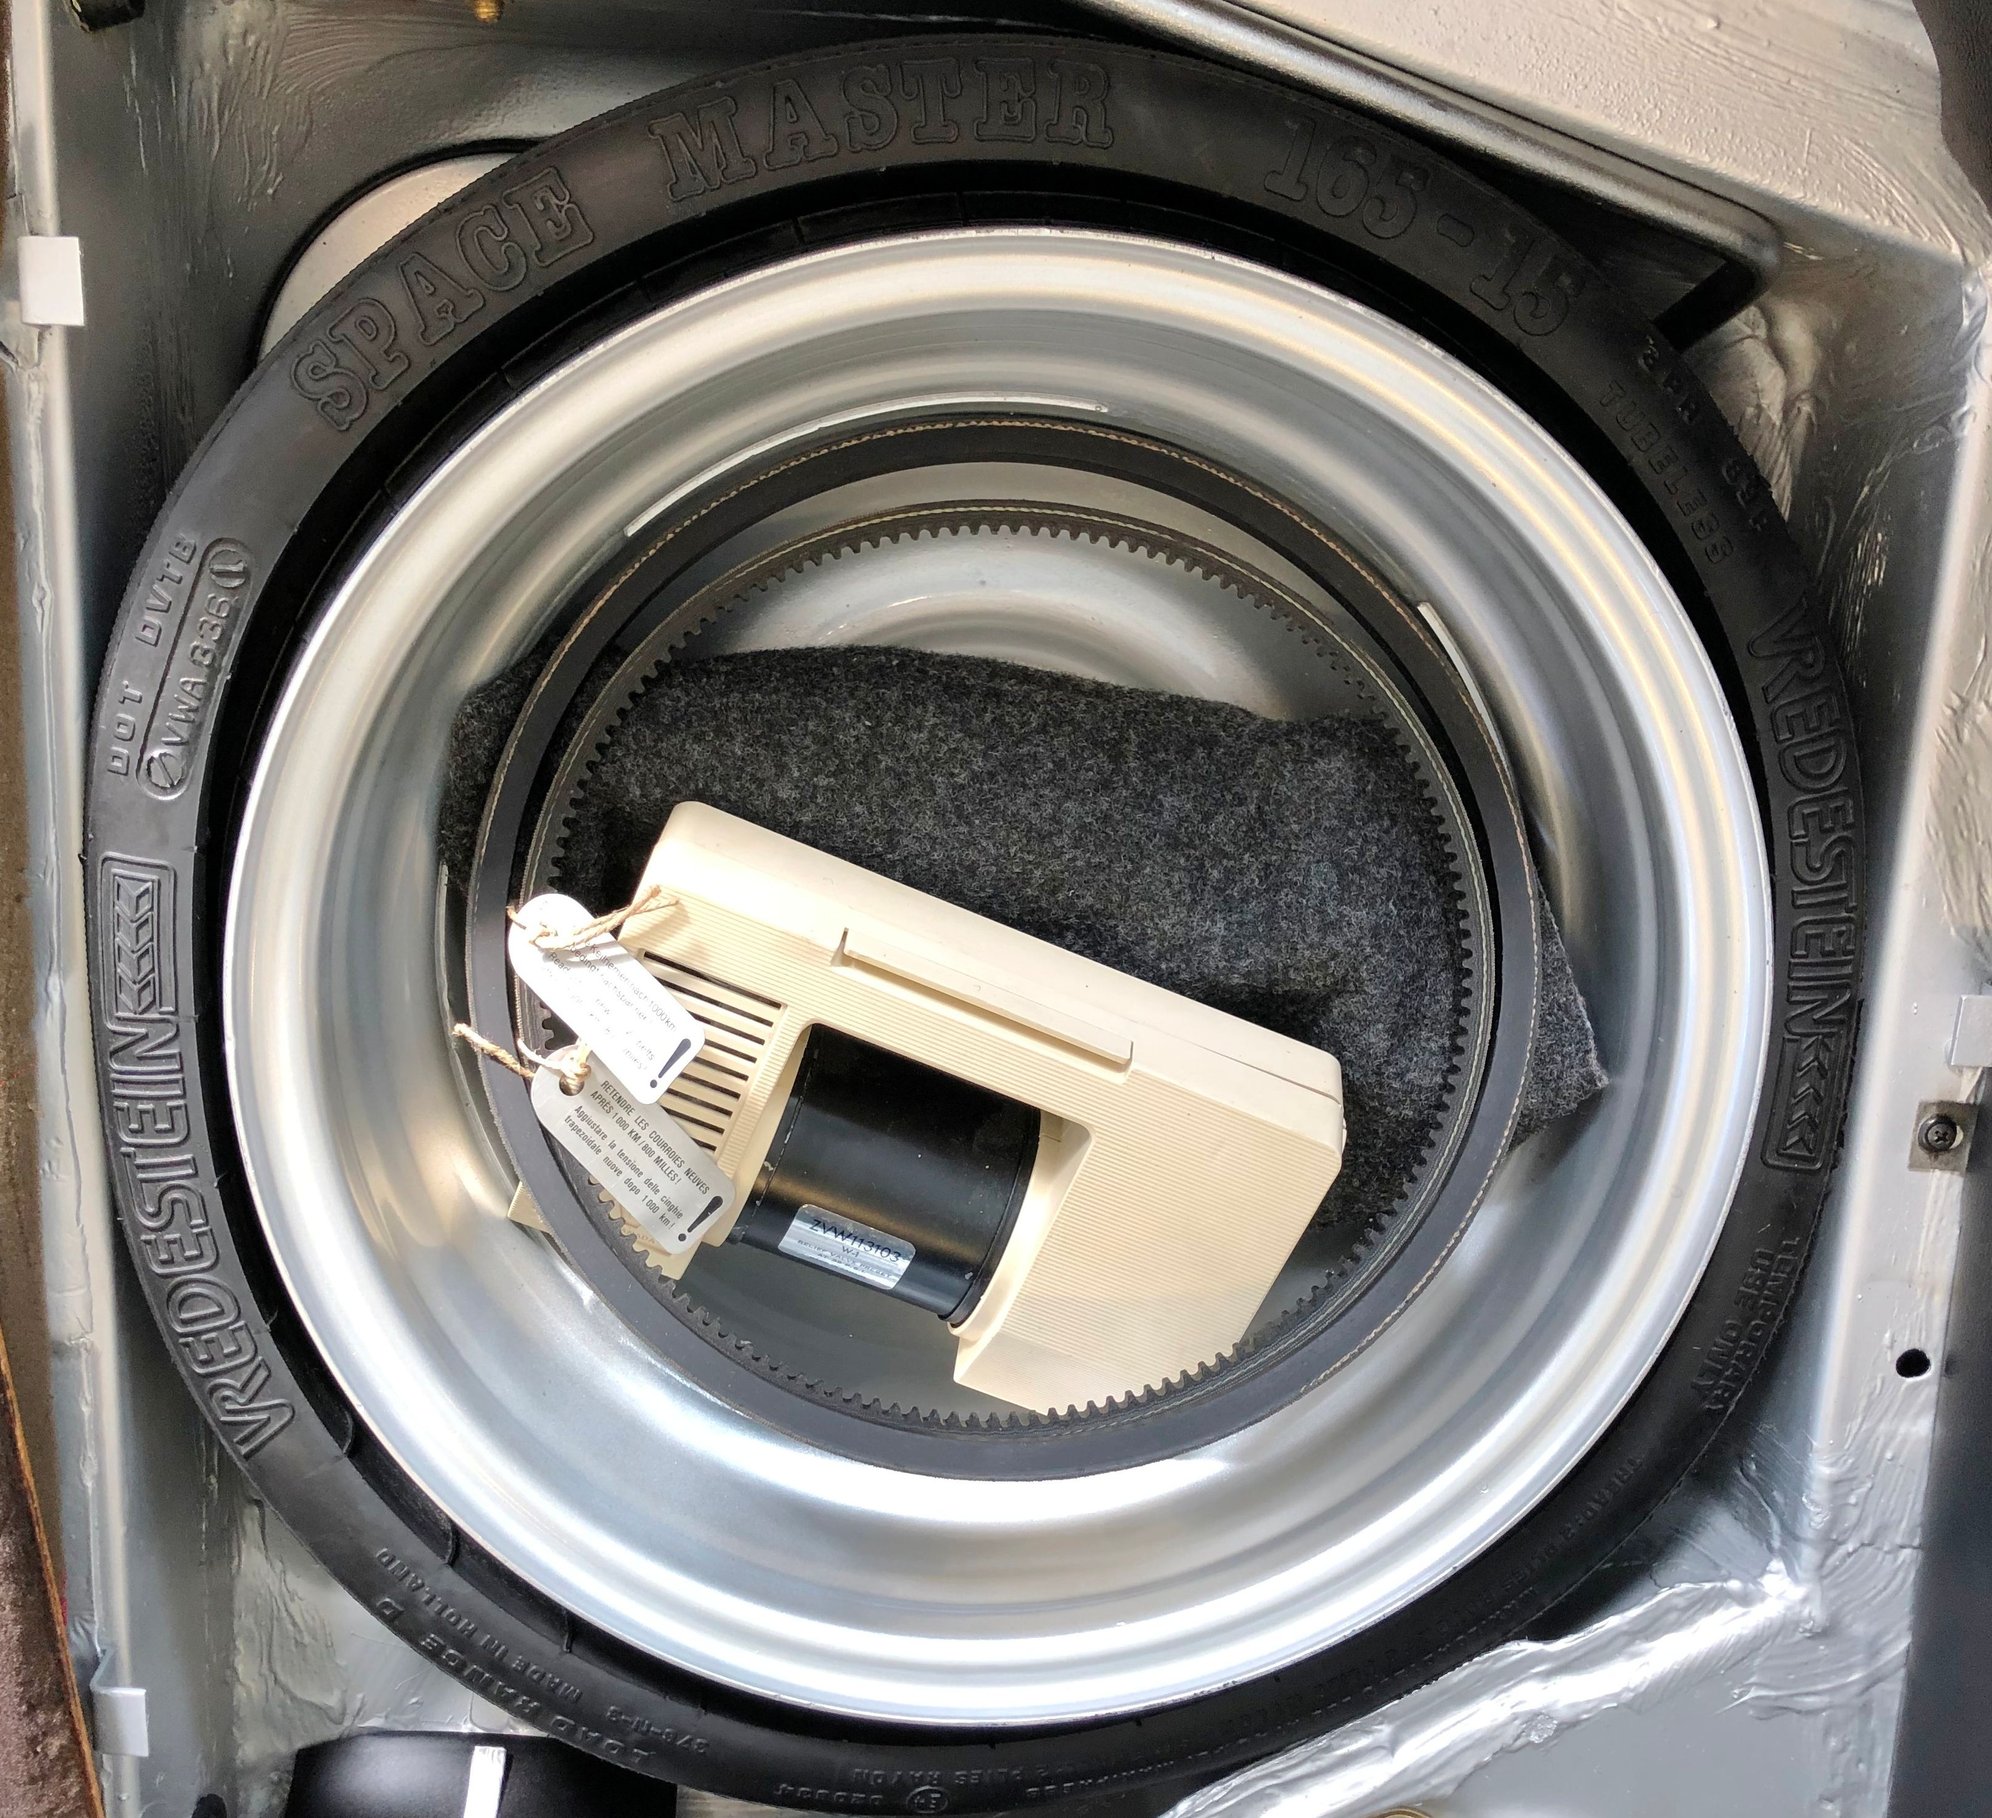
Ok, it is time to put all the small accessories together for the first time. One of my first post on Rennlist (one year ago) was the restoration of the collapsible spare tire. That got dusted off and placed in the spare tire well. Then adding all the accessories that (what I believe) came with a new 1978 Porsche 928
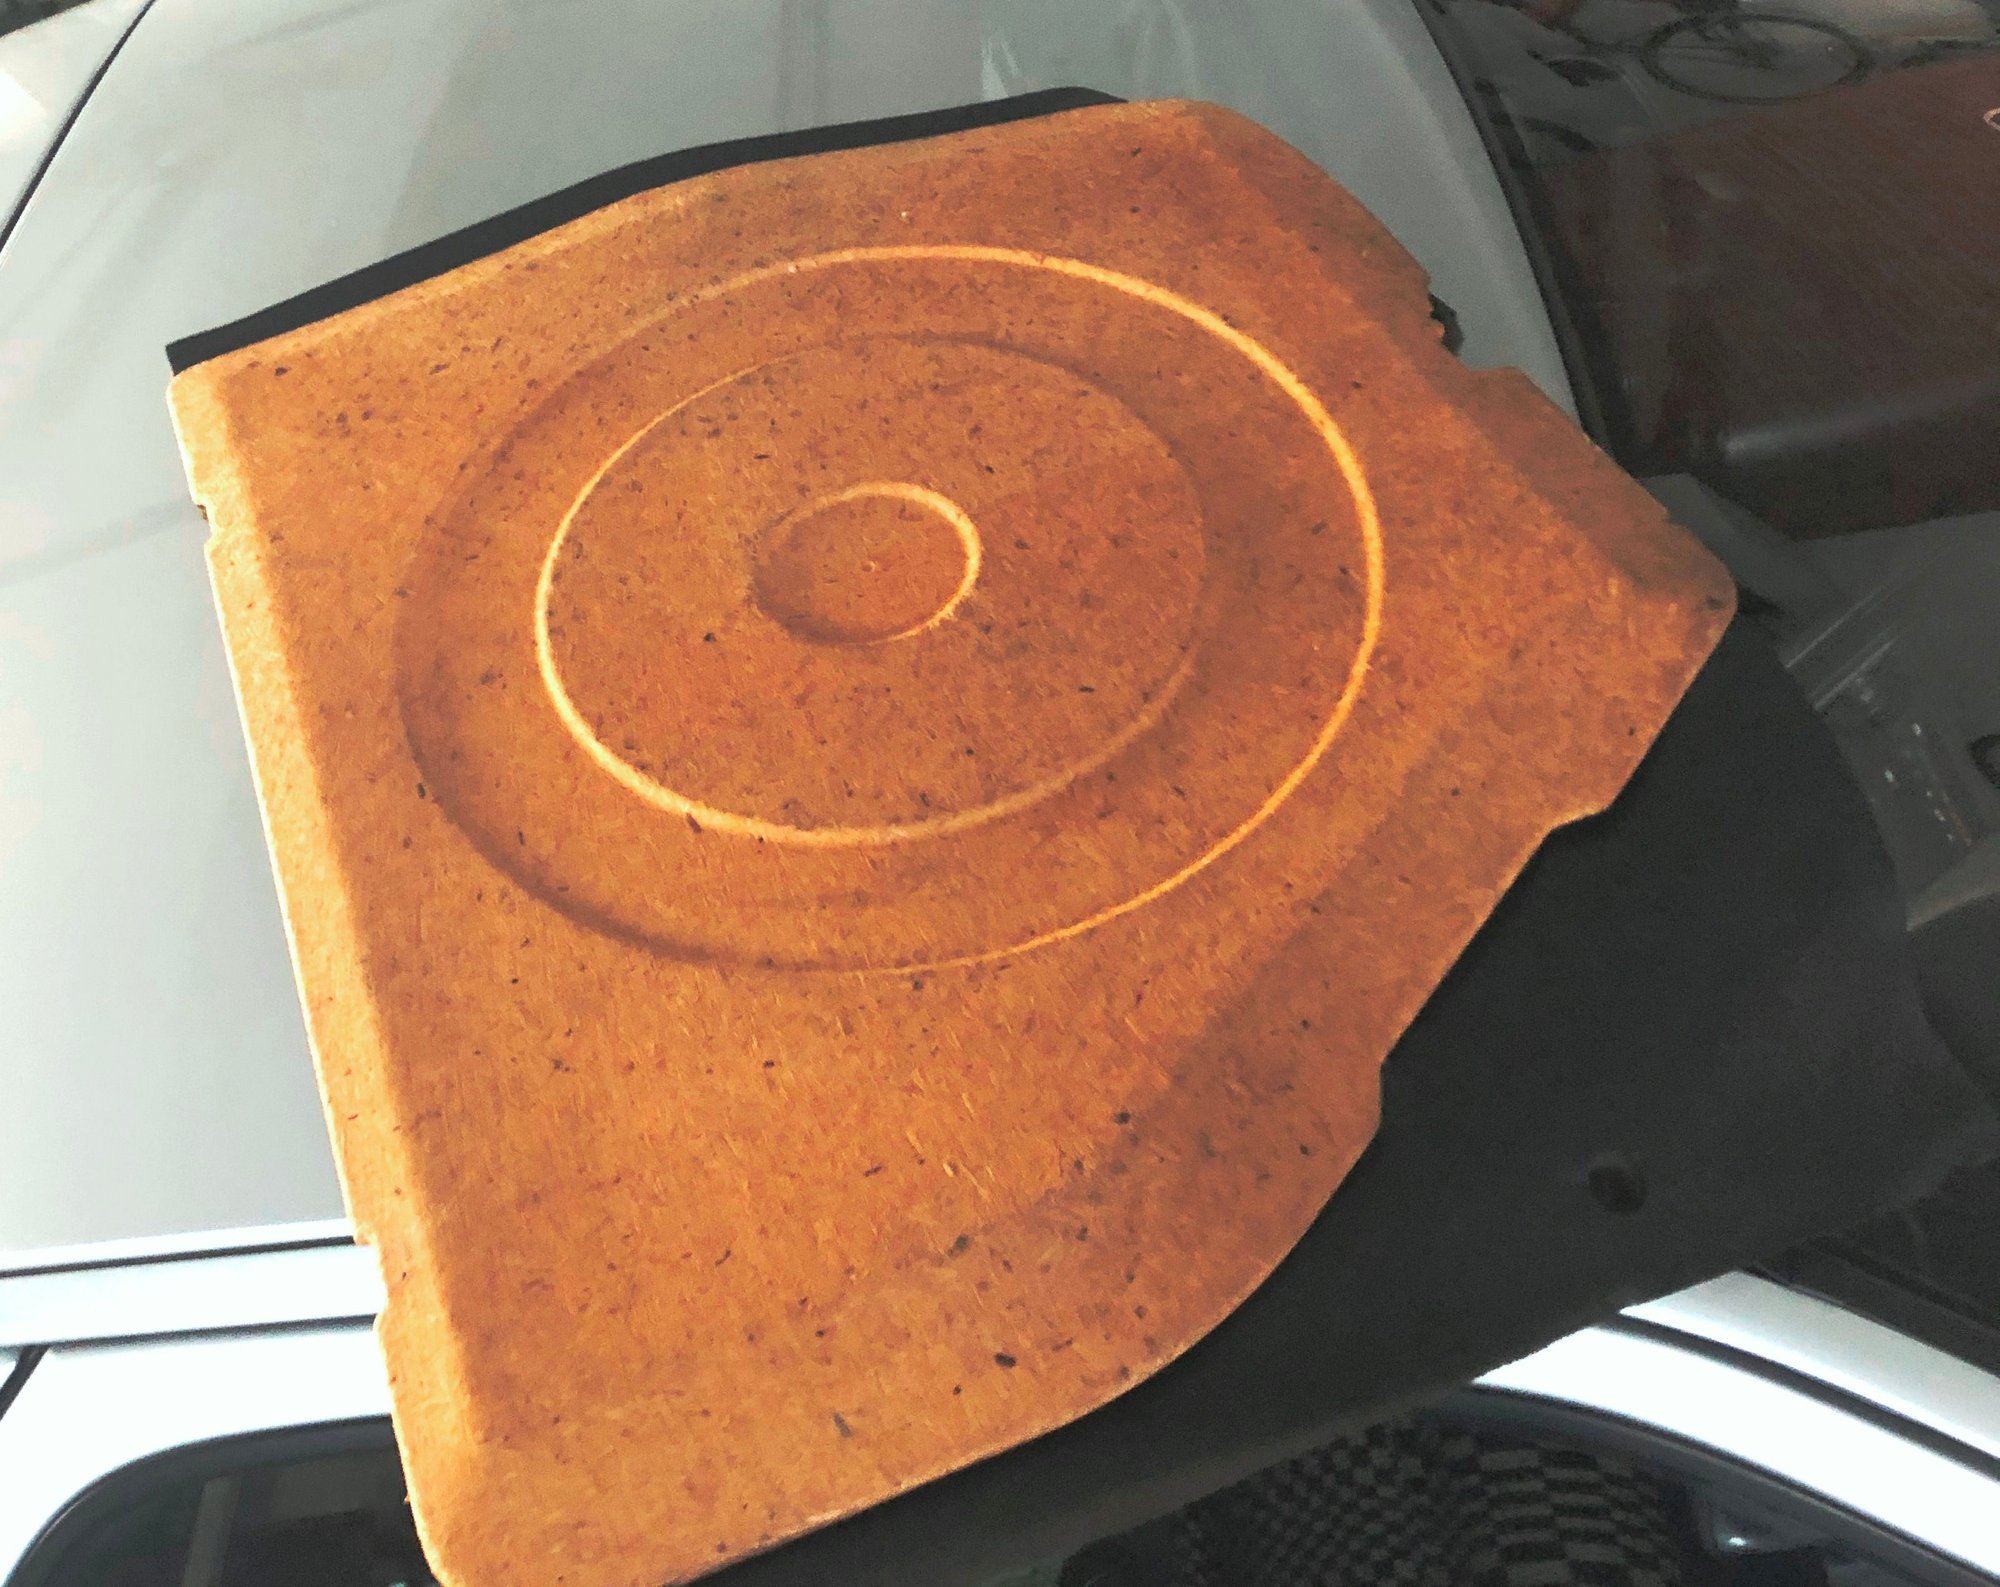
I'd love to hear if I am missing anything that came with the car when new? This was a recent upgrade. Thanks again to 928 Intl for one of their more recent carcass deliveries included this pristine original particle board spare tire well cover. Thank you Mark and Tom!
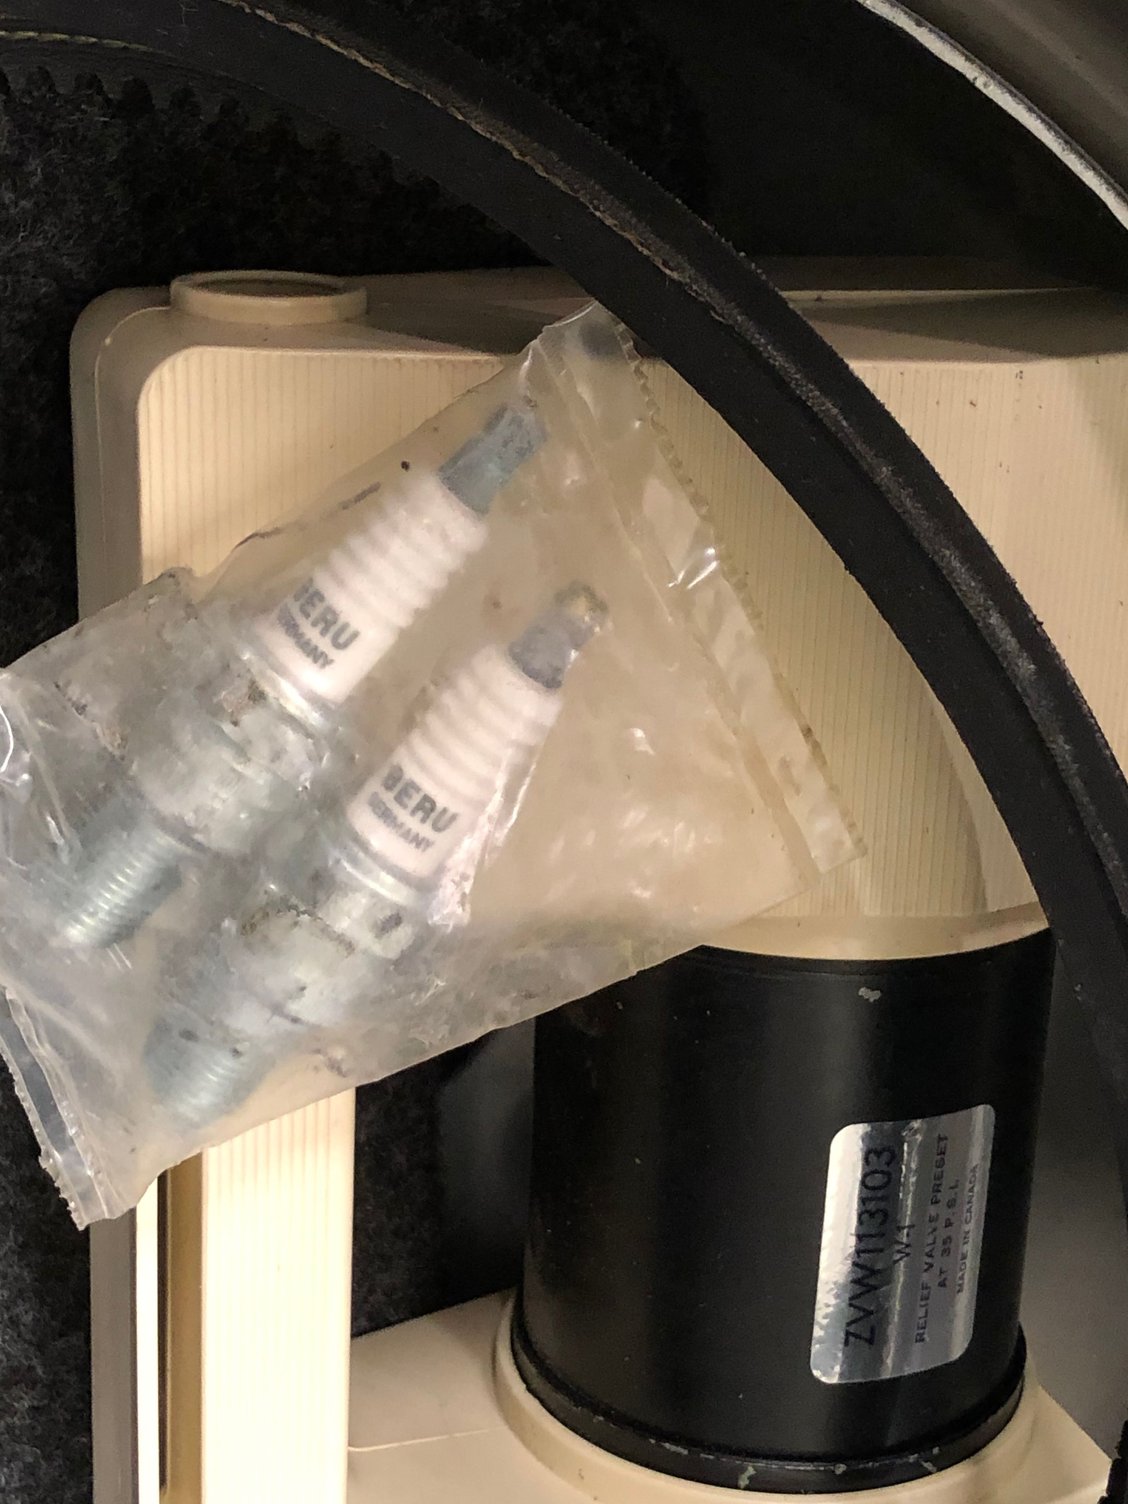
I would really like to hear what is the correct position for the lug wrench? Original Beru plugs
Last edited by mit Wasser; 01-12-2020 at 01:04 AM.
Reason: adding in a question
GREAT JOB with the master key! I actually have a master torn down and was getting ready to do the exact same thing. Nicely done and now I feel more confident on what I was planning.
The leather key pouch is factory for later cars. Have one with my GT.
Your spare area appears to be missing the plastic spare tire bag that has BF Goodrich printed on it.


 12-16-2019, 12:43 AM