When you click on links to various merchants on this site and make a purchase, this can result in this site earning a commission. Affiliate programs and affiliations include, but are not limited to, the eBay Partner Network.
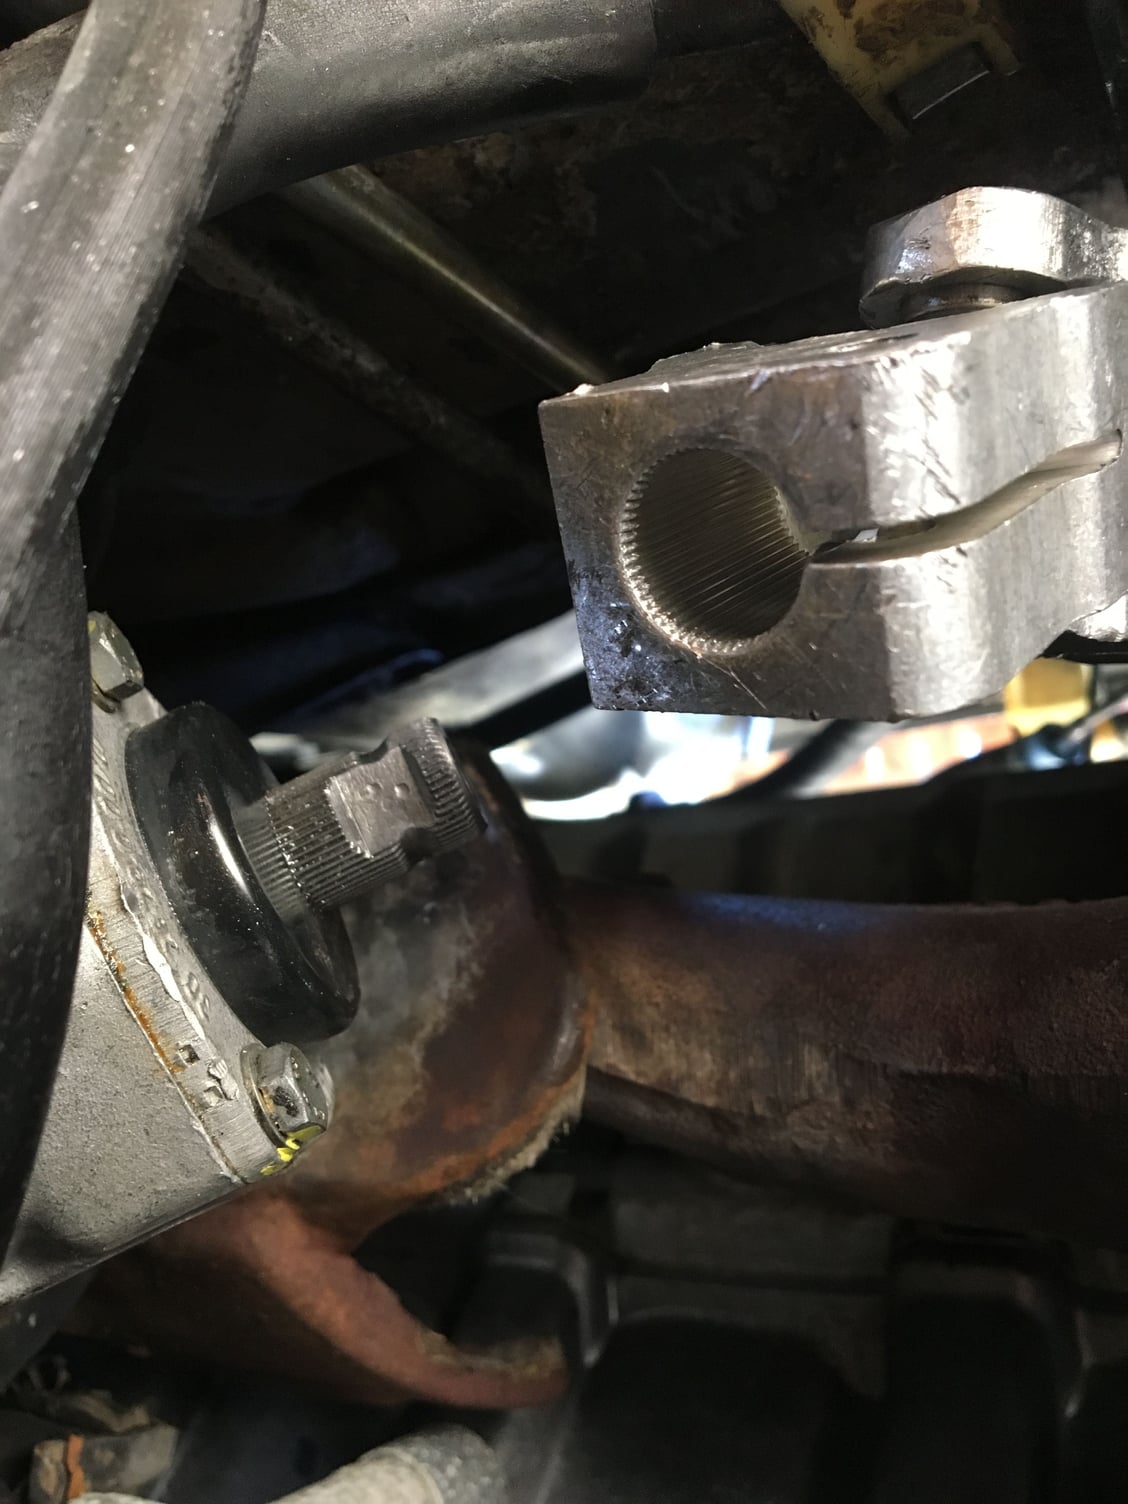
Can anyone share advice on how to get this steering knuckle on. The rack is a new rebuilt and the knuckle is new. I cannot get on to the rack. I must be out of sequence but what ever it is I have spent hours on my back trying to get this together
I have not reassembled the steering on my Red Witch yet, but I have done this on other vehicles. Drive some kind of a wedge into the split to open the end of the U-joint up.Can be a chisel, large screwdriver, etc...Just don't get medieval on it.
I have done this twice in the past year, and all I can say, is it is not fun. there is no magic elixir. lots of patience is needed.
did you push up on the joint to get it off the old rack, or just pull the rack down? you may want to loosen the bolt on the upper
portion of the joint, spread it a little, and push it up on the steering shaft.
make sure you also spread the lower portion of the joint as well. clean both the female splines and the splines on the new rack
with a wire brush. is there any paint on the new rack splines? cleaning all of them is really important. I then applied some never seize on
all the splines
I then took a long pipe, with a rag on the end to protect the joint, and from the engine bay, hammered down on the joint from above, and onto the steering rack.
takes quite a while and a good deal of patience, but it did work. hope this helps.
Van I would suggest the you remove the rag joint and test fit it on the rack
NOTE the rack has to be hanging down slightly for the joint to slide onto it
you want the bolt hole to line up with the flat side of the input shaft .
If your having fitment issues swap ends and try the other side
look carefully at the splines they should all be smooth if you see any that are flattened your going to need a jewelers file to repair them driving a wedge into the rag joint will spread it but with new parts this should not be necessary
I�ve had the best luck fitting the joint to the pinion first. I mark the shaft for alignment at the slot and for depth before removal. A wrap of painters tape is a help for both.
On other cars ive seen the splined end of the pinion mushroomed slightly from hammer mechanics rebuilding them.
Great suggestions. I just loosened the rack so it hangs down a bit but and now I will take Seth's advice and try an pry open the knuckle a bit, clean everything and give it a go. The good news is that I'm very patient. Just have to keep a lot of IPA's on hand.
Back to you soon with positive results

 06-08-2018, 08:47 PM