When you click on links to various merchants on this site and make a purchase, this can result in this site earning a commission. Affiliate programs and affiliations include, but are not limited to, the eBay Partner Network.
One goes to the pressure sensor and then up to the radiator (top on the driver's side).
The other goes to the water bridge on the back side behind the upper radiator hose.
I did the hot water bath and remove trick, but didn't replace them with some an aluminum or other pipe material. I noticed the original coolant reservoir has a short copper pipe insert, not steel.
Good man on replacing those. Hate to see a refreshed engine bay with old crappy yellow and completely opaque tank/filler neck.
I pulled those sleeves 6 years ago on my new ones too and didn't put a replacement sleeve in them. But Dave is absolutely right, I was just waiting for it to crack as I was tightening the clamp. But so far, no yellowing at all.
Thanks! - This made me look for my PET file. Dohh! I have a new vent hose. I removed the old hose....out of sight, out of mind.
Originally Posted by Wisconsin Joe
Both are used.
One goes to the pressure sensor and then up to the radiator (top on the driver's side).
The other goes to the water bridge on the back side behind the upper radiator hose.
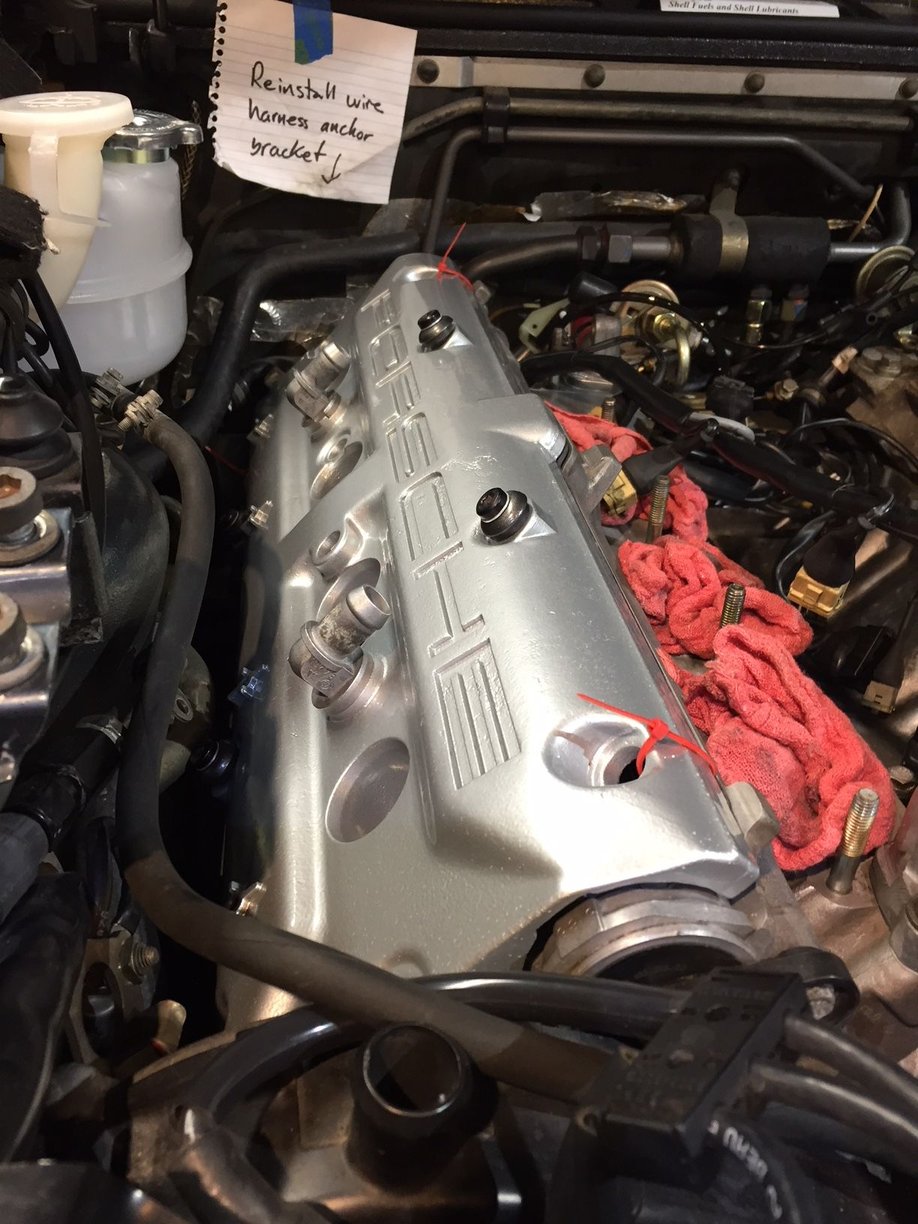
The blue painters tape was for preventing scratches on the cam cover during the test fitting and final installation. Worked well. I put on two layers, and the outer layer did get torn and scratched, but not the lower layer or the cam cover.
Prepping the cover for the test fit. Note the red zip ties to hold the gasket in place. The spark plug seals stayed put dry, but for the final install I applied a small bead of goop on the cover. Before the final installation I applied a bead of goop in the cover seal groove.
Moments before snipping and removing the zip ties (Great idea suggested by Dave C.)
Done... Forgot to take a picture of the water bridge and filler. Nothing new to share other than I used both the red O-ring seals and paper gaskets for the water bridge/block ports.
Thanks guys. Finally able to see the barn on the horizon. The stubby OTC XZN/triple square bits arrived today. Really nice quality and actually a more versatile single set to have compared to the "socket with a bit stuck in it" style. Tomorrow the driver's side rear bearing saddle comes off to put in the oil block-off pins, then I'll install the cam cover.
I'm pleased with how the anthracite umbrella washers and blackened bolt heads (with a bit of bright aluminum washer sandwiched in between) contrast with the cam covers. I didn't put enough lube on on the "grommet" seals/washers on the passenger side. On the driver's side I coated the seals top and bottom with DC111, and applied a bit to the top of the umbrella washers so the aluminum washer would slide while torquing the bolts. The anthracite paint was torn on two of the umbrella washers on passenger side (not bad...but I can see it..and you know what that means). On the driver side the DC111 did a great job preventing any problems and also made it easy to torque the bolts (not twisting the washers) - and no damage to the paint on the umbrella washers.
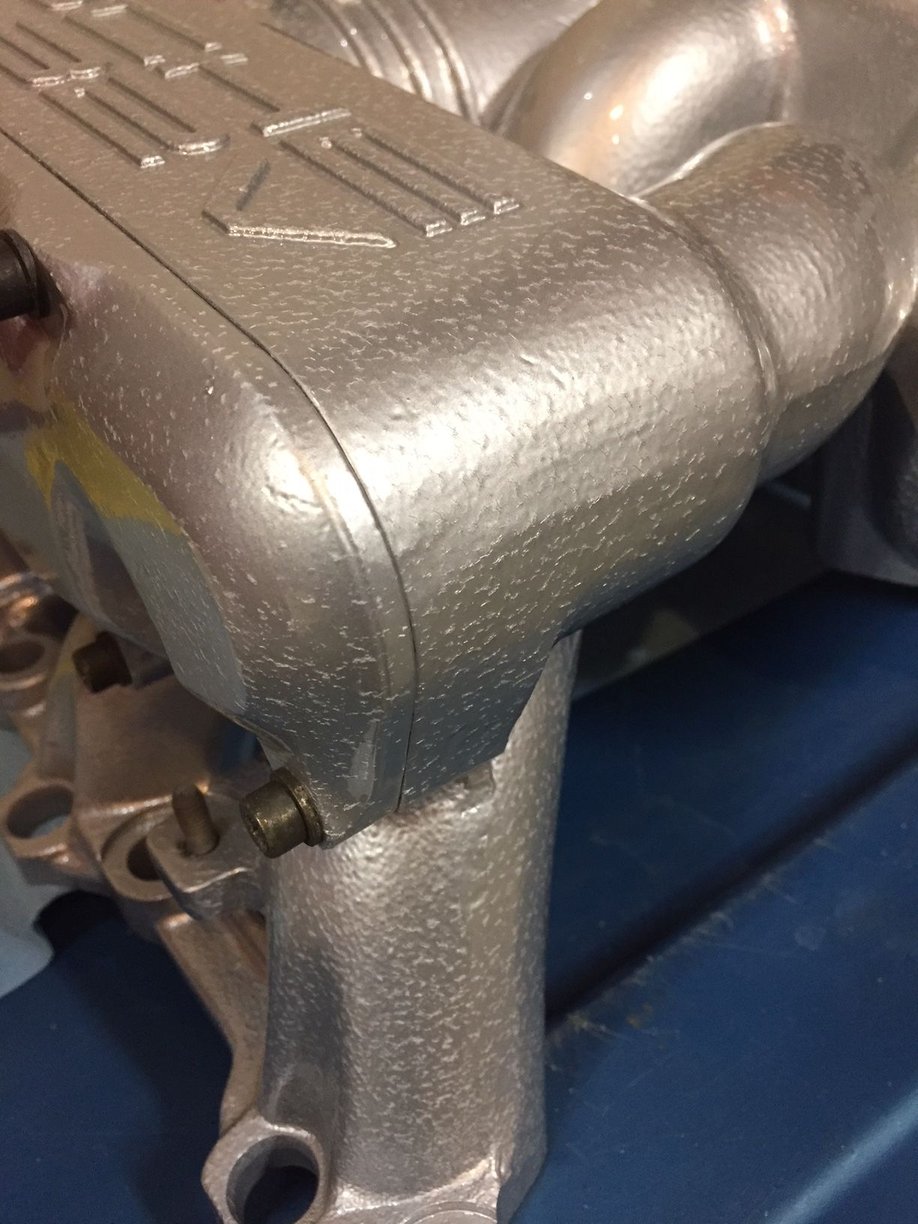
Left side (of photo) of the valley looks cleaner than the right. This is just due to a warm LED spot light on the left aimed to the right, and a cool and brighter LED on the right aimed to the left. I actually wondered why I couldn't get the right side cleaner!!
Major disappointment - top clear powder coating has "cracked glass" appearance
Many of you already know what this means. I didn't discover the beginnings of it until about the time I took the first photos of the parts on the blue tarp. Back then there were few and I hoped they were imperfections I hadn't noticed. It likely started about a month after picking up the parts. It was easy to find the cause on the Prismatic Powders website -- insufficient curing. The parts needed to stay in the oven longer and probably be cooled more slowly. Stresses were likely built up in the coating as it cooled too quickly.
I've sent these pics to NV Coatings. Given all the work I've put into bearing removal/replacement and reassembly with new bearings, side cover seals, cam cover seals (with goop), etc., I'm not inclined to start over. This could be a hobby killer for me. I have shallow pockets and they are empty.
I won't be proudly popping the hood open to show this off. I just noticed the intake continues to get worse since the last time I looked at it about a week ago. The motivation of getting this ready for Camp 928 is gone. I expect and will fight for a refund. The time this has taken has impacted my family more than it should, so starting over with new parts (to be paid for by NV coatings) isn't appealing at the moment. I probably shouldn't make a decision right now...and I probably shouldn't install the throttle body on the intake yet. Summer is coming and I will have more time. But...this has sucked my enthusiasm dry. Just removed both bearings on the TB this morning....before Googling about the cracking.
Last edited by Captain_Slow; 05-28-2018 at 07:27 AM.
Reason: Shop has responded positively
That is a bummer and very disappointing. But look on the bright side: It's actually huge improvement in appearance from the original peely mess, and it's fully functional. The car is going to run beautifully with all the new work and a little paint problem won't bother it at all. My advice would be (after documenting the failure throoughly) to put everything back on the car and drive it around. When you have time and $, use your new intake removal/assembly skills to take it off, re-refinish it, and reinstall it.
Throttle-to-intake and cam cover gaskets are probably the only non-reusable parts. Both are cheap. You can mask or replace the bearing. Powder coat comes off with methylene chloride for $10/gallon.
Since misery loves company, maybe it is some comfort to know there is at least one other, ah, disappointing intake story that is still underway. When that story is concluded it might be a Rennlist post with the good, bad, and ugly included, and it might be helpful for your rework.
Intake manifolds are just simple plumbing parts that don't move so they really shouldn't cause any problems.


 05-20-2018, 06:47 PM

 Hate to see a refreshed engine bay with old crappy yellow and completely opaque tank/filler neck.