When you click on links to various merchants on this site and make a purchase, this can result in this site earning a commission. Affiliate programs and affiliations include, but are not limited to, the eBay Partner Network.
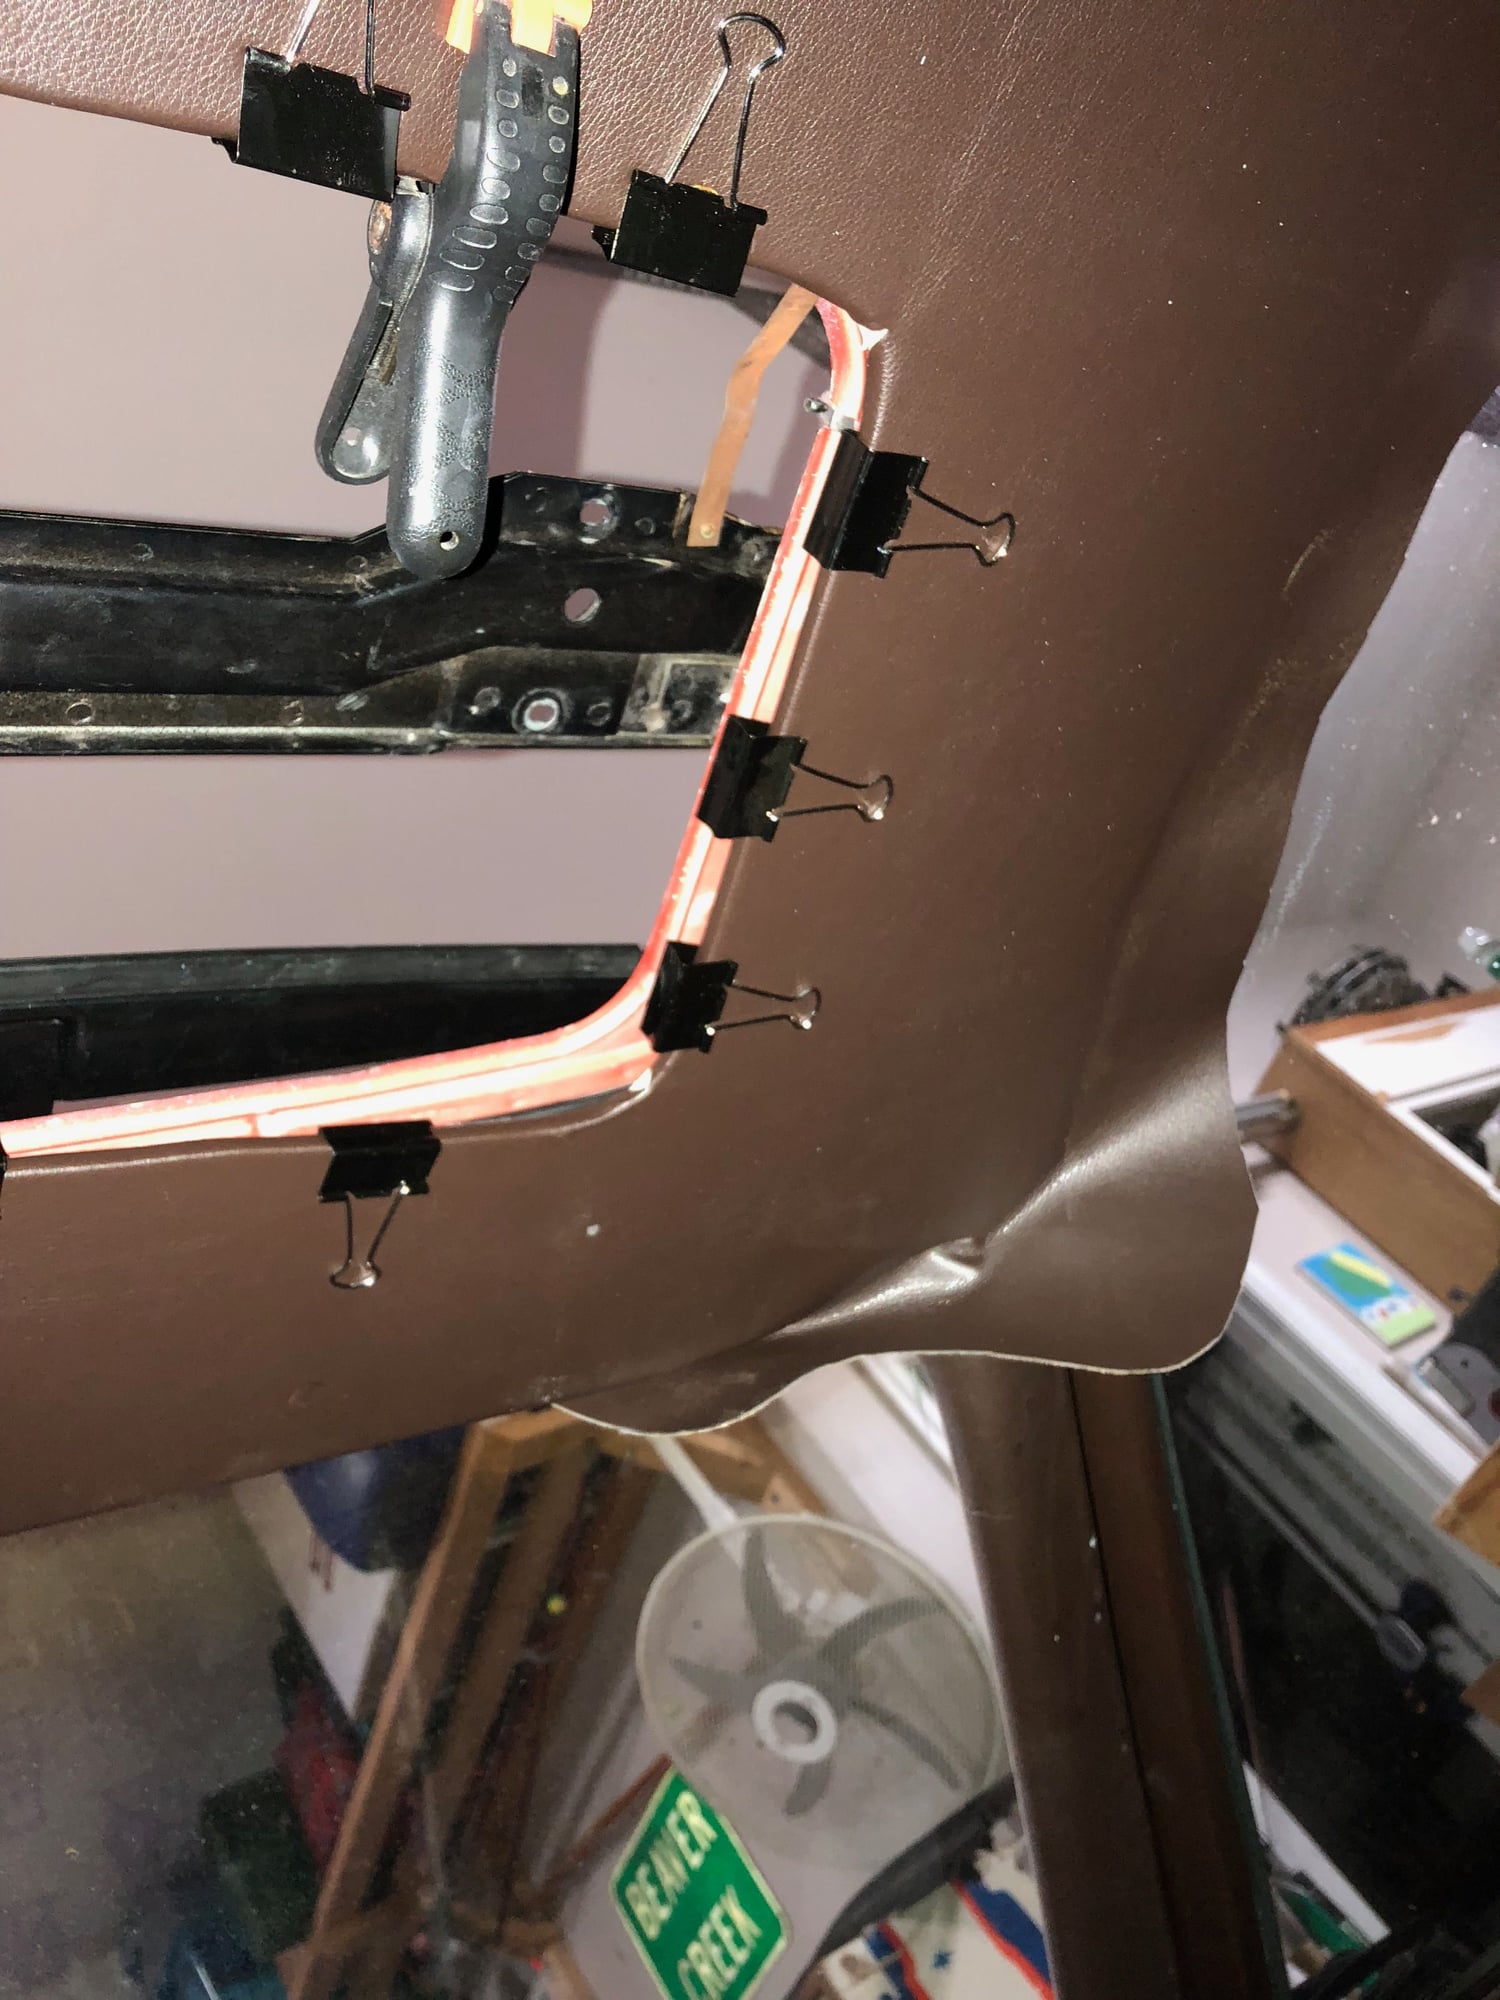
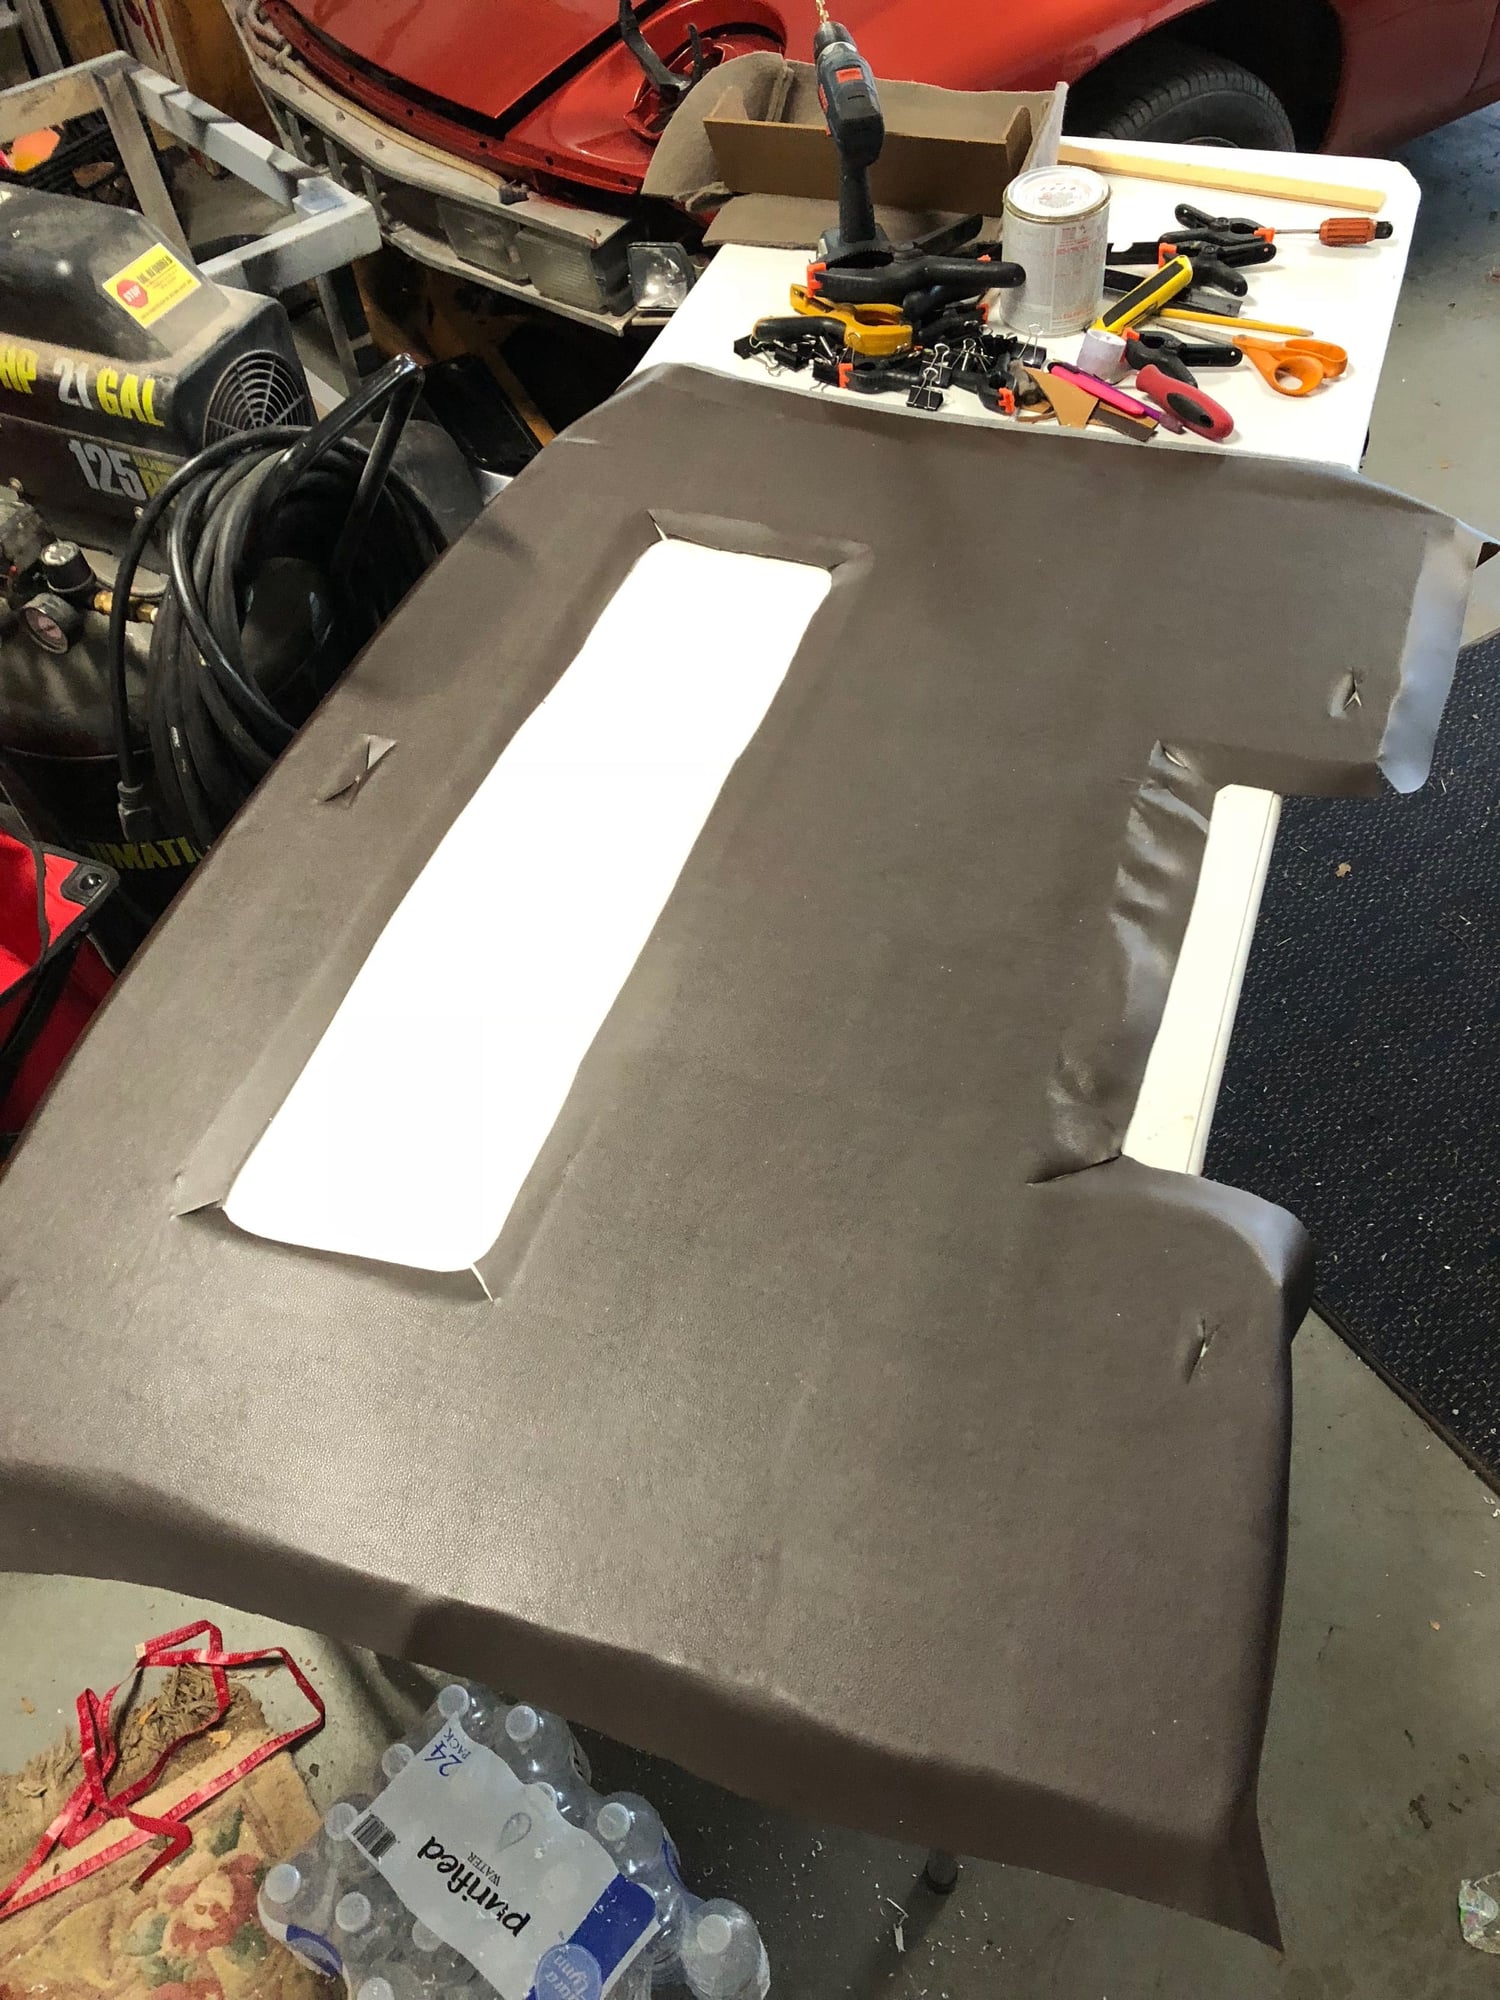
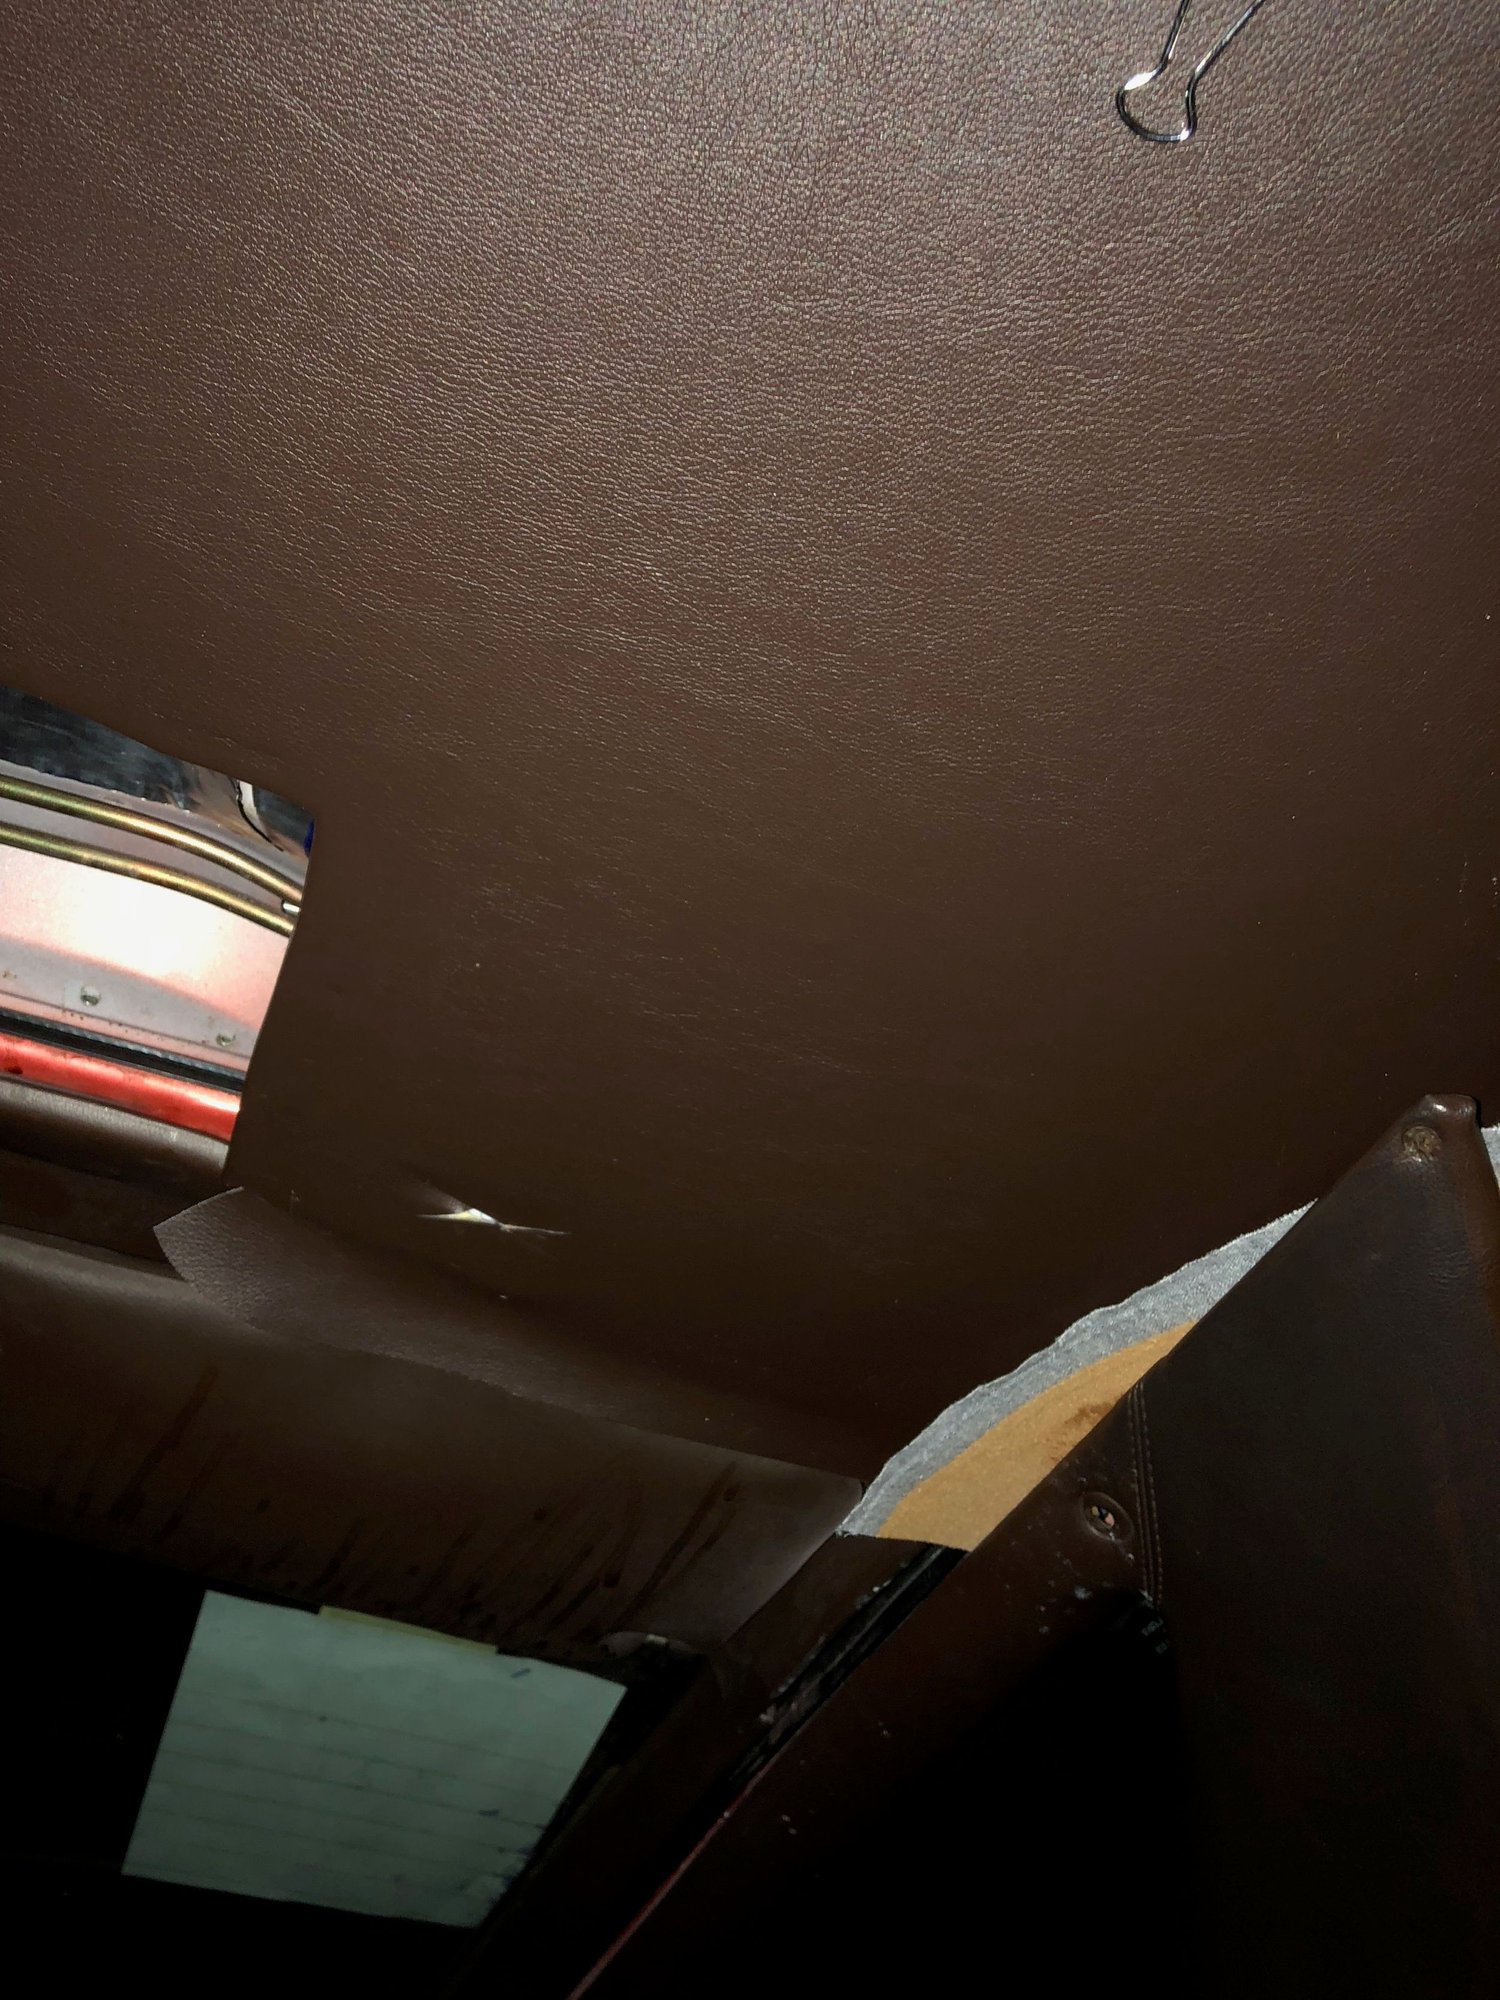
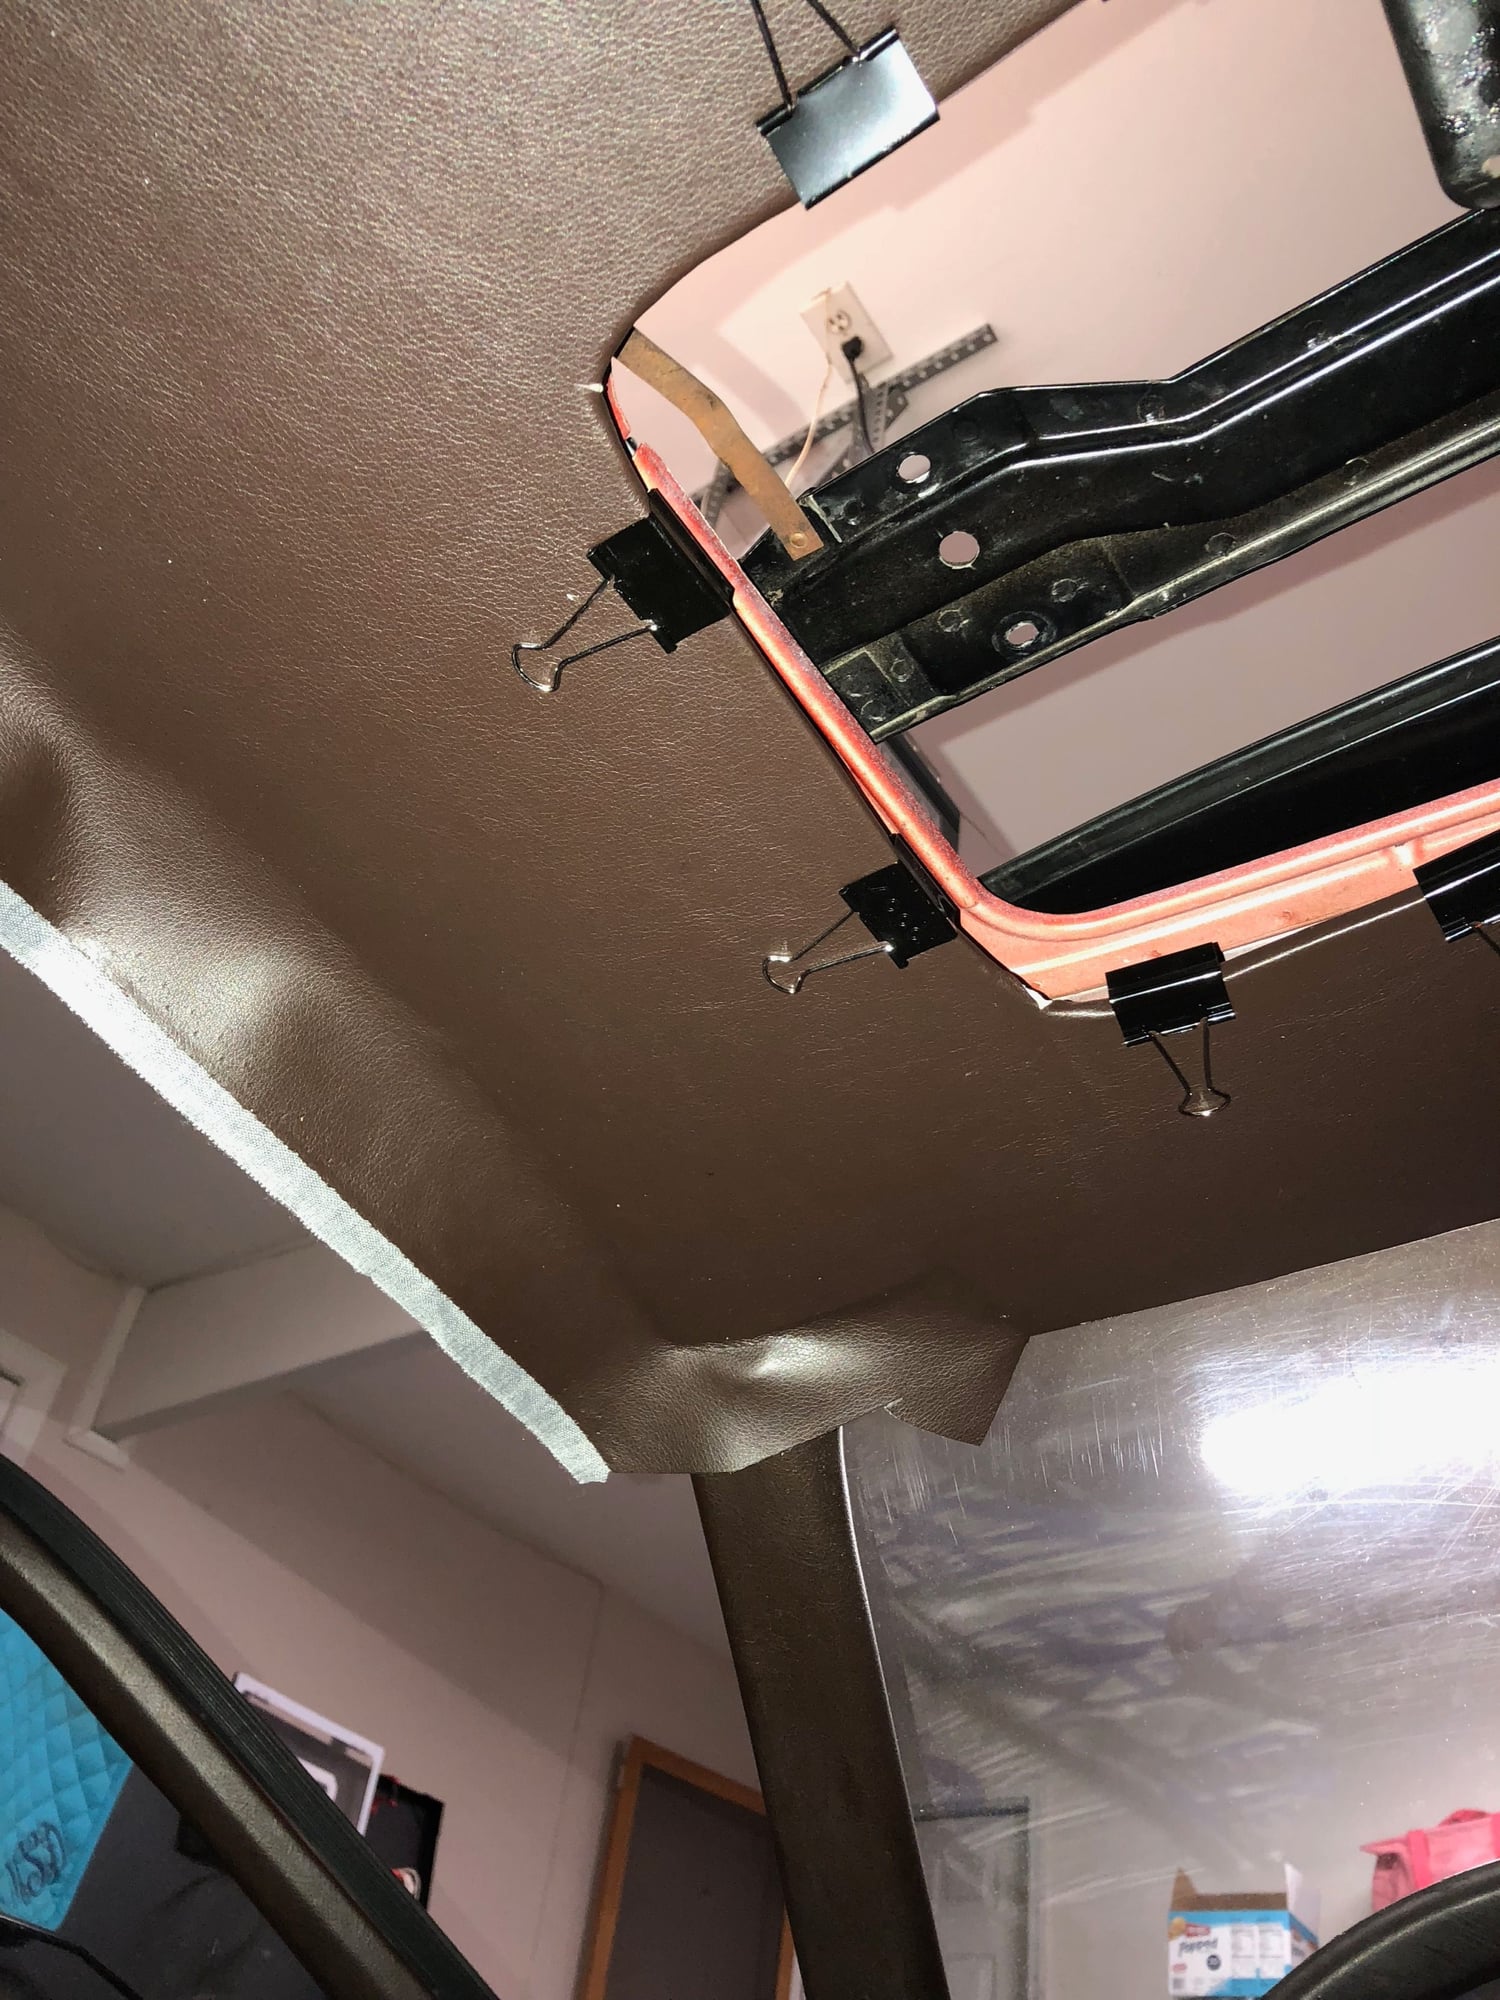
Made some interior progress this weekend. I believe I just about have the new headliner plastic shaped correctly. Will have to get another piece of vinyl to cover as I am out presently.
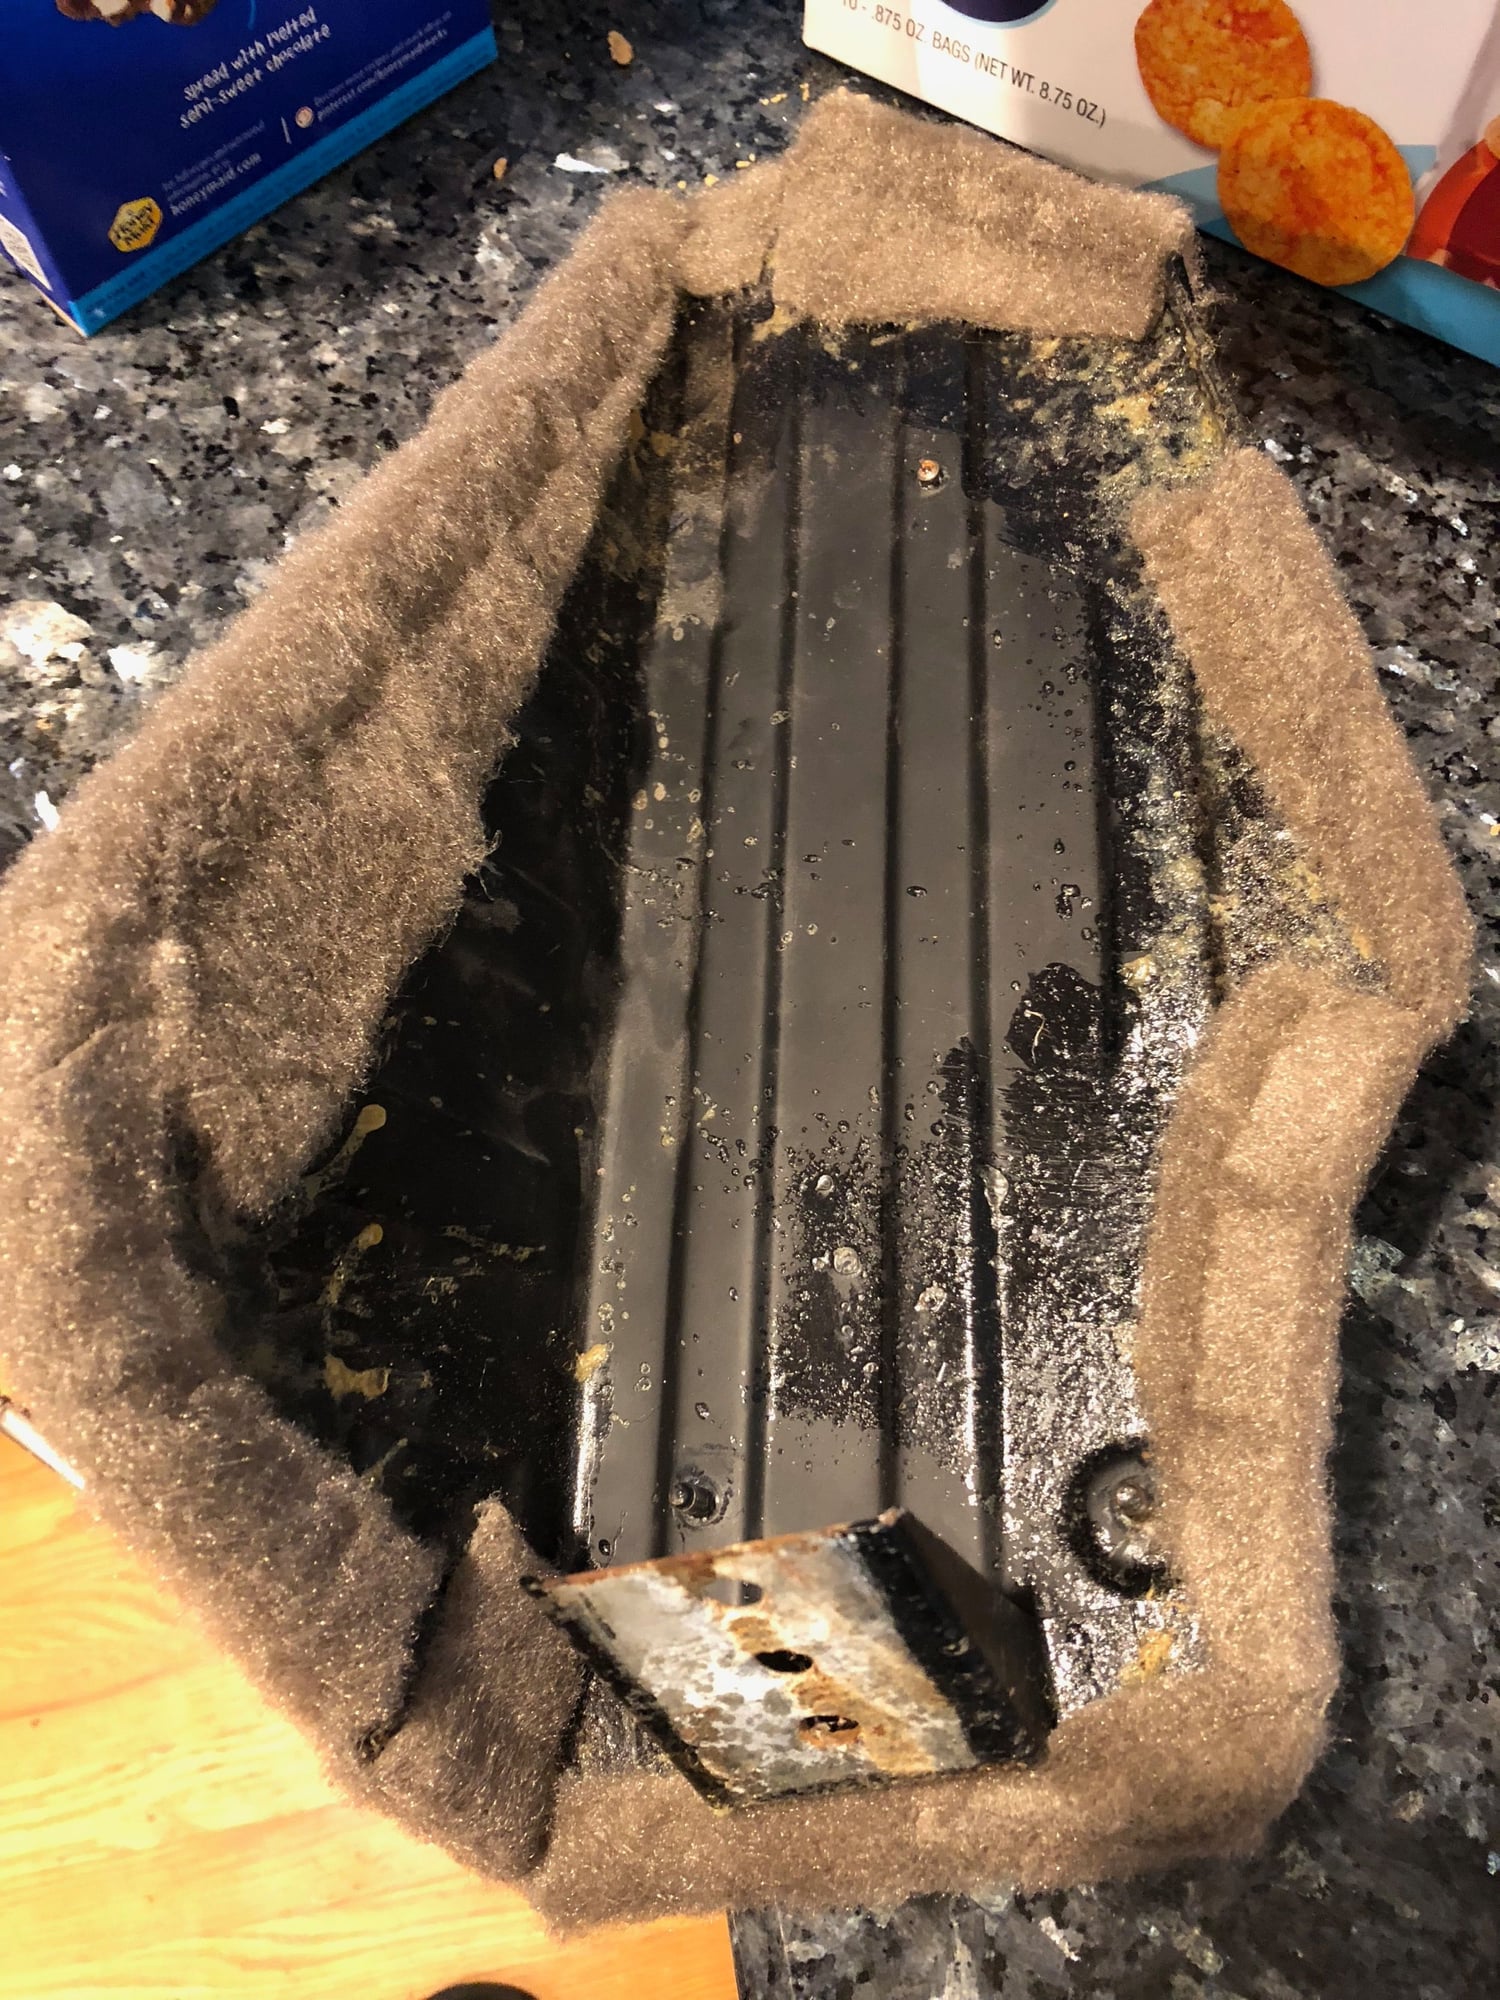
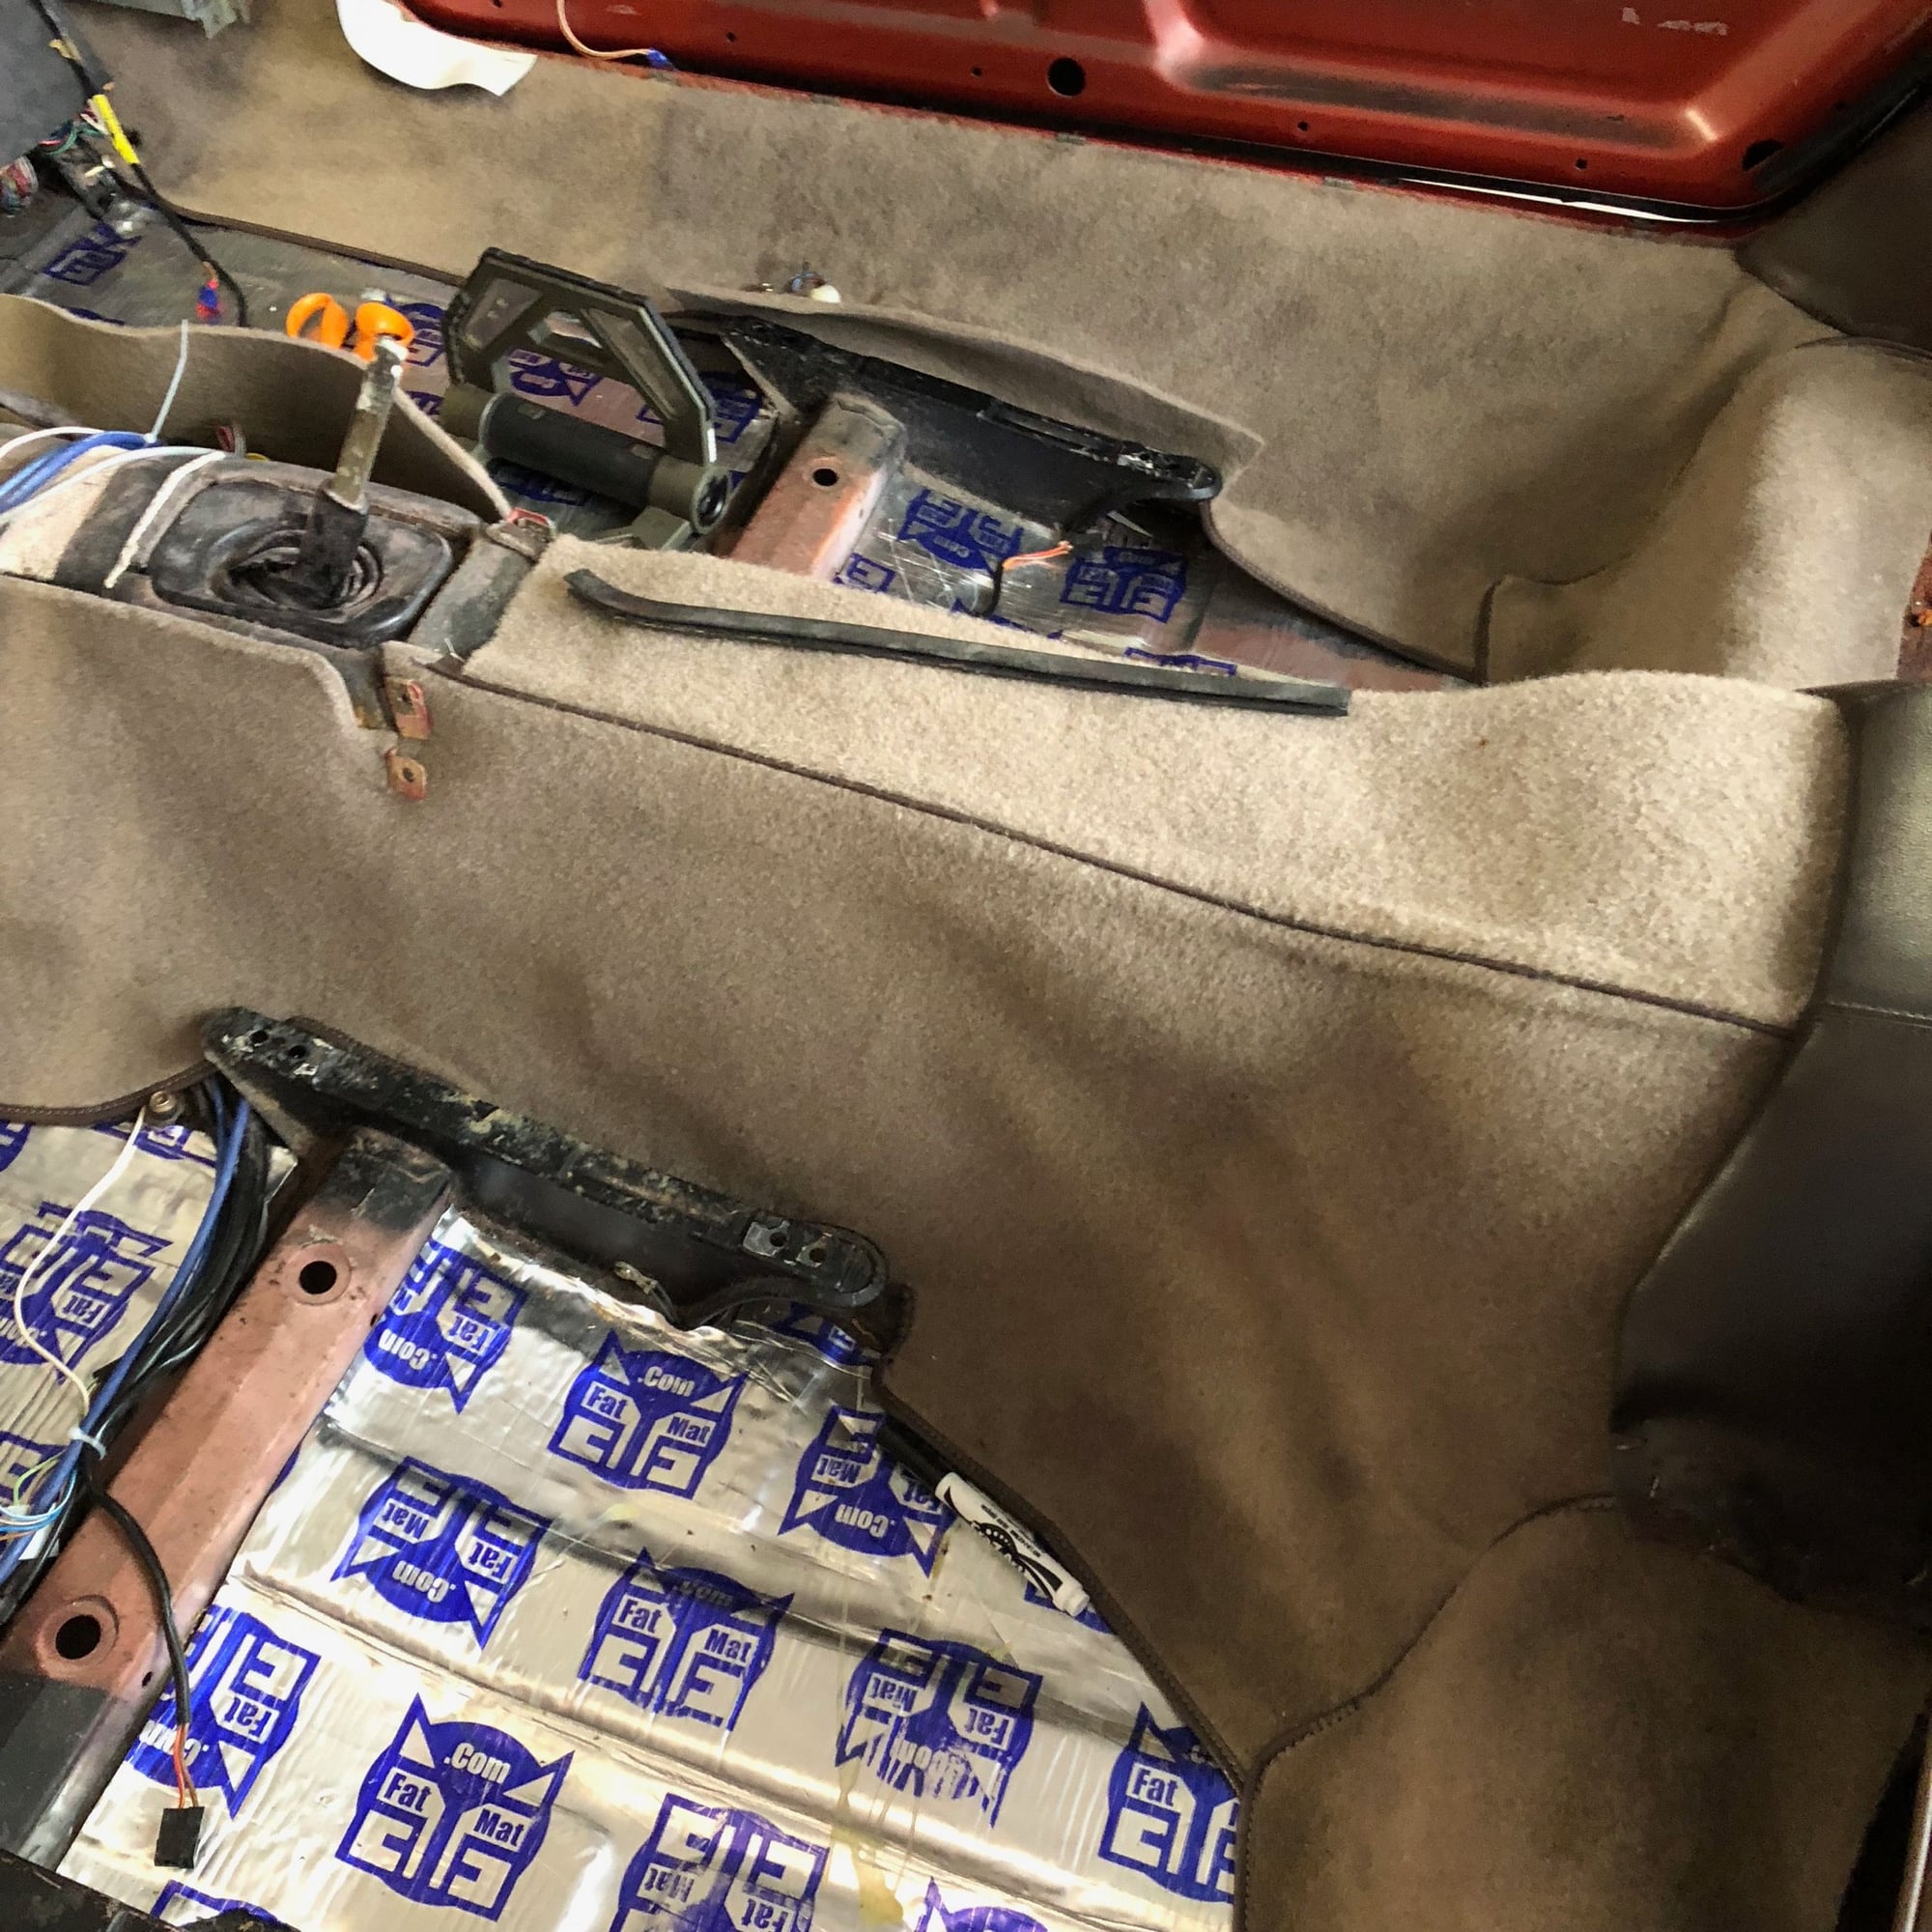
Got several small pieces of the interior covered back in carpet (handbrake cover, dead pedal, DS seatbelt cover, etc.). My pass side has a 'small box' just barely big enough to cover the OXS counter. The box itself is pretty trashed, and the carpet piece Rob sent is definitely for the larger sized box (interesting as my car had the additional audio system, which I thought meant an amp in that box).
So, I may build a larger box that the carpet will cover and add a cup holder in it for the passenger side. Wish I could fit one in the drivers side cover as well since I don't have any switches there, but don't think there is clearance below.
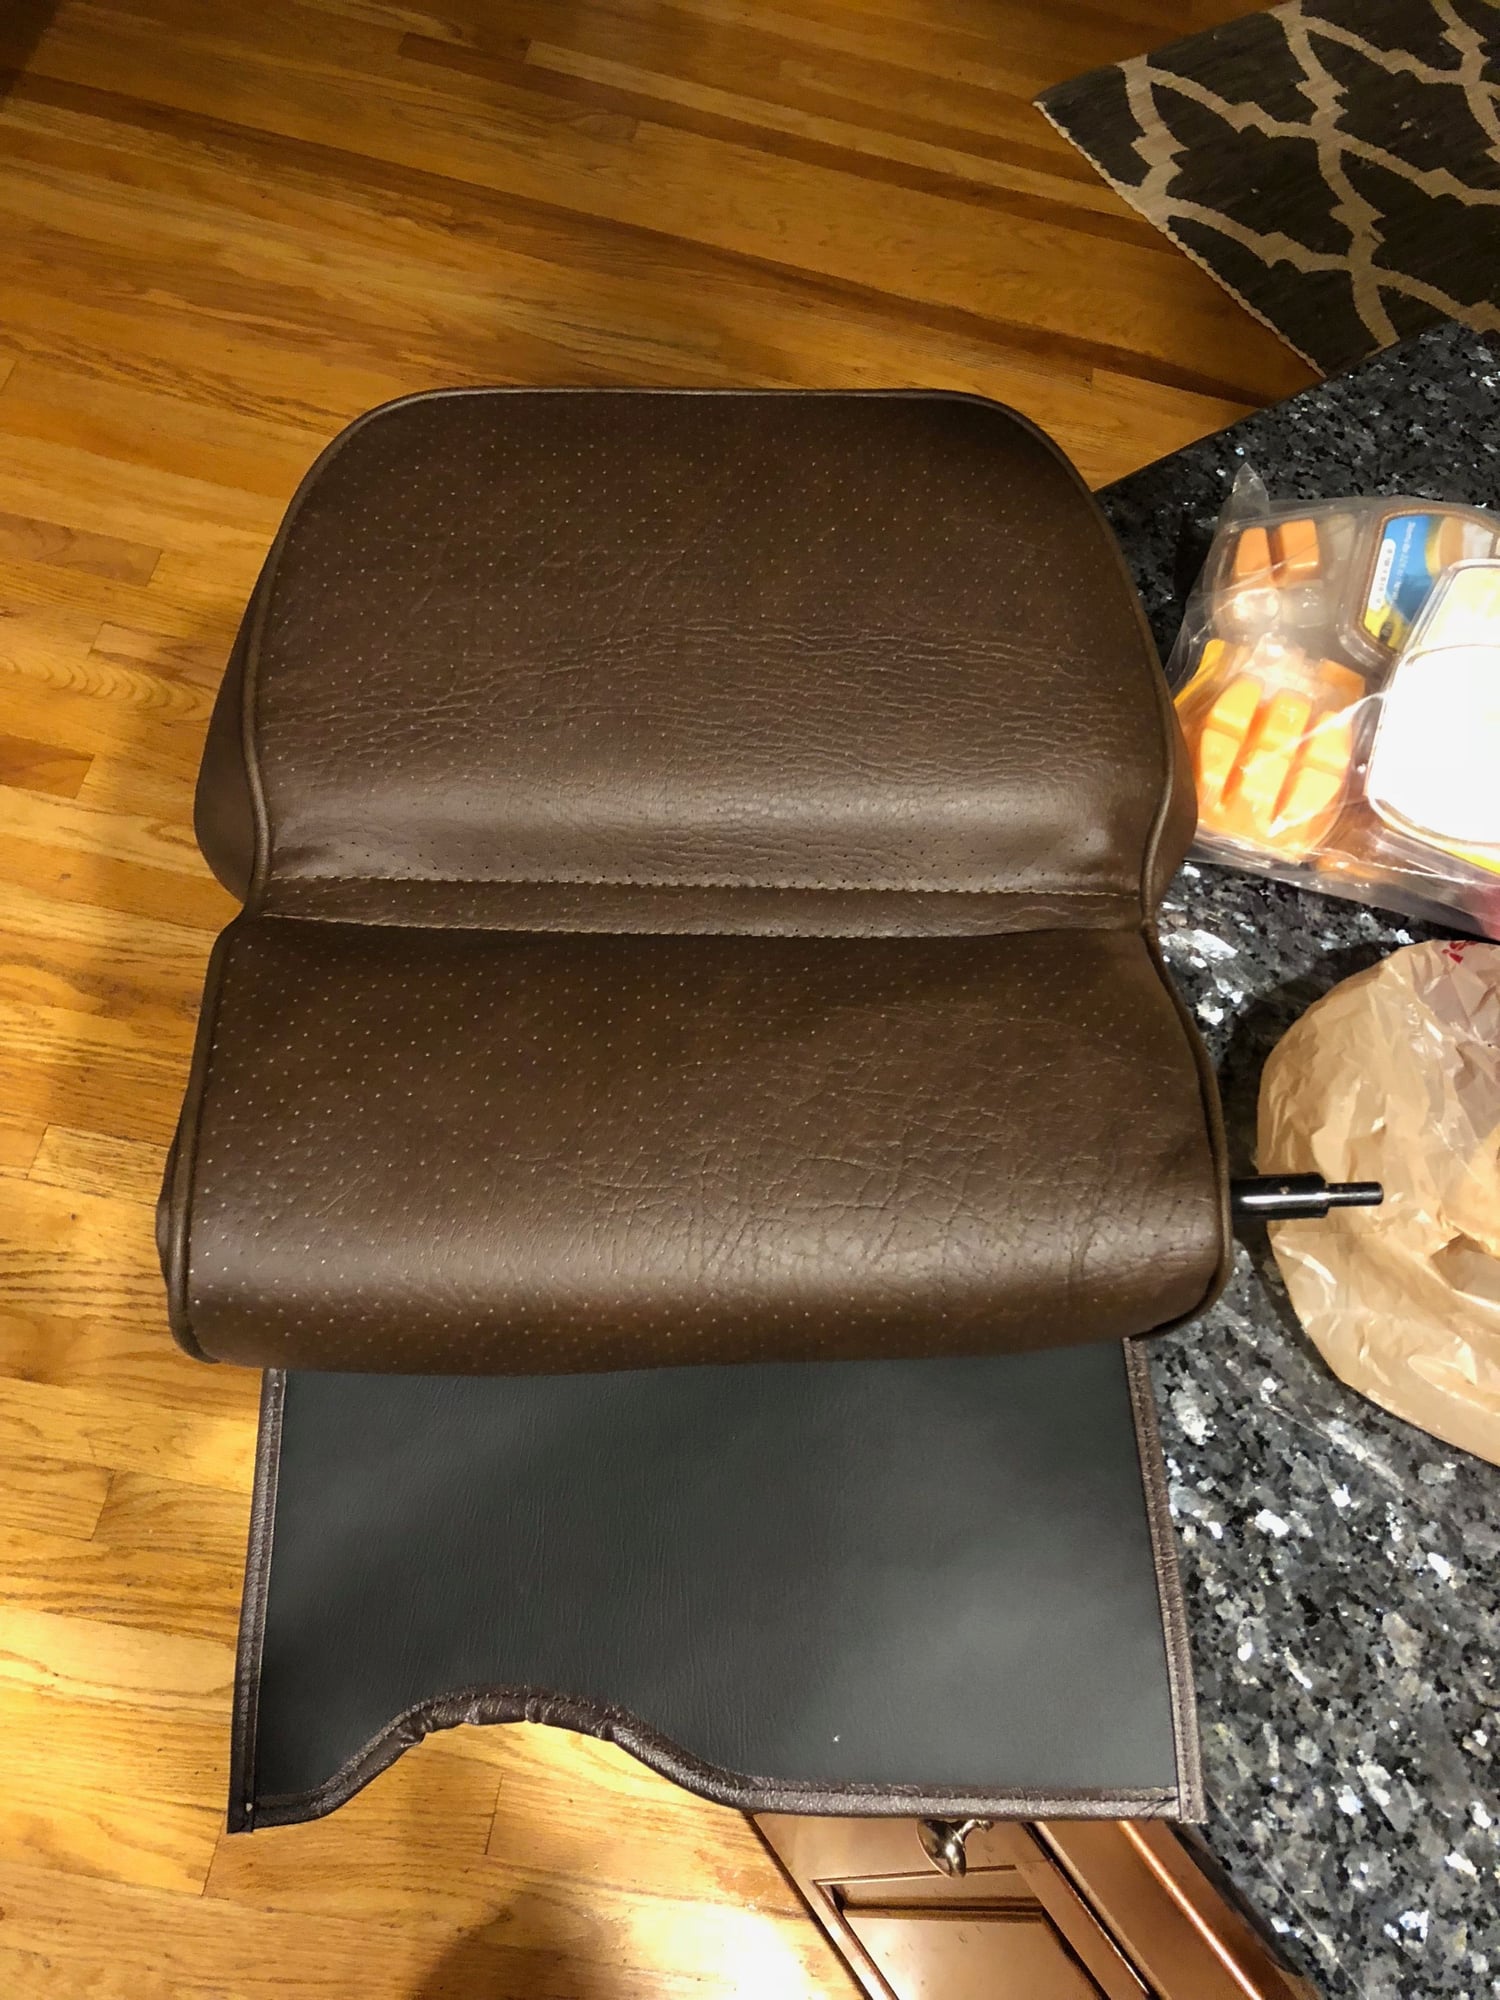
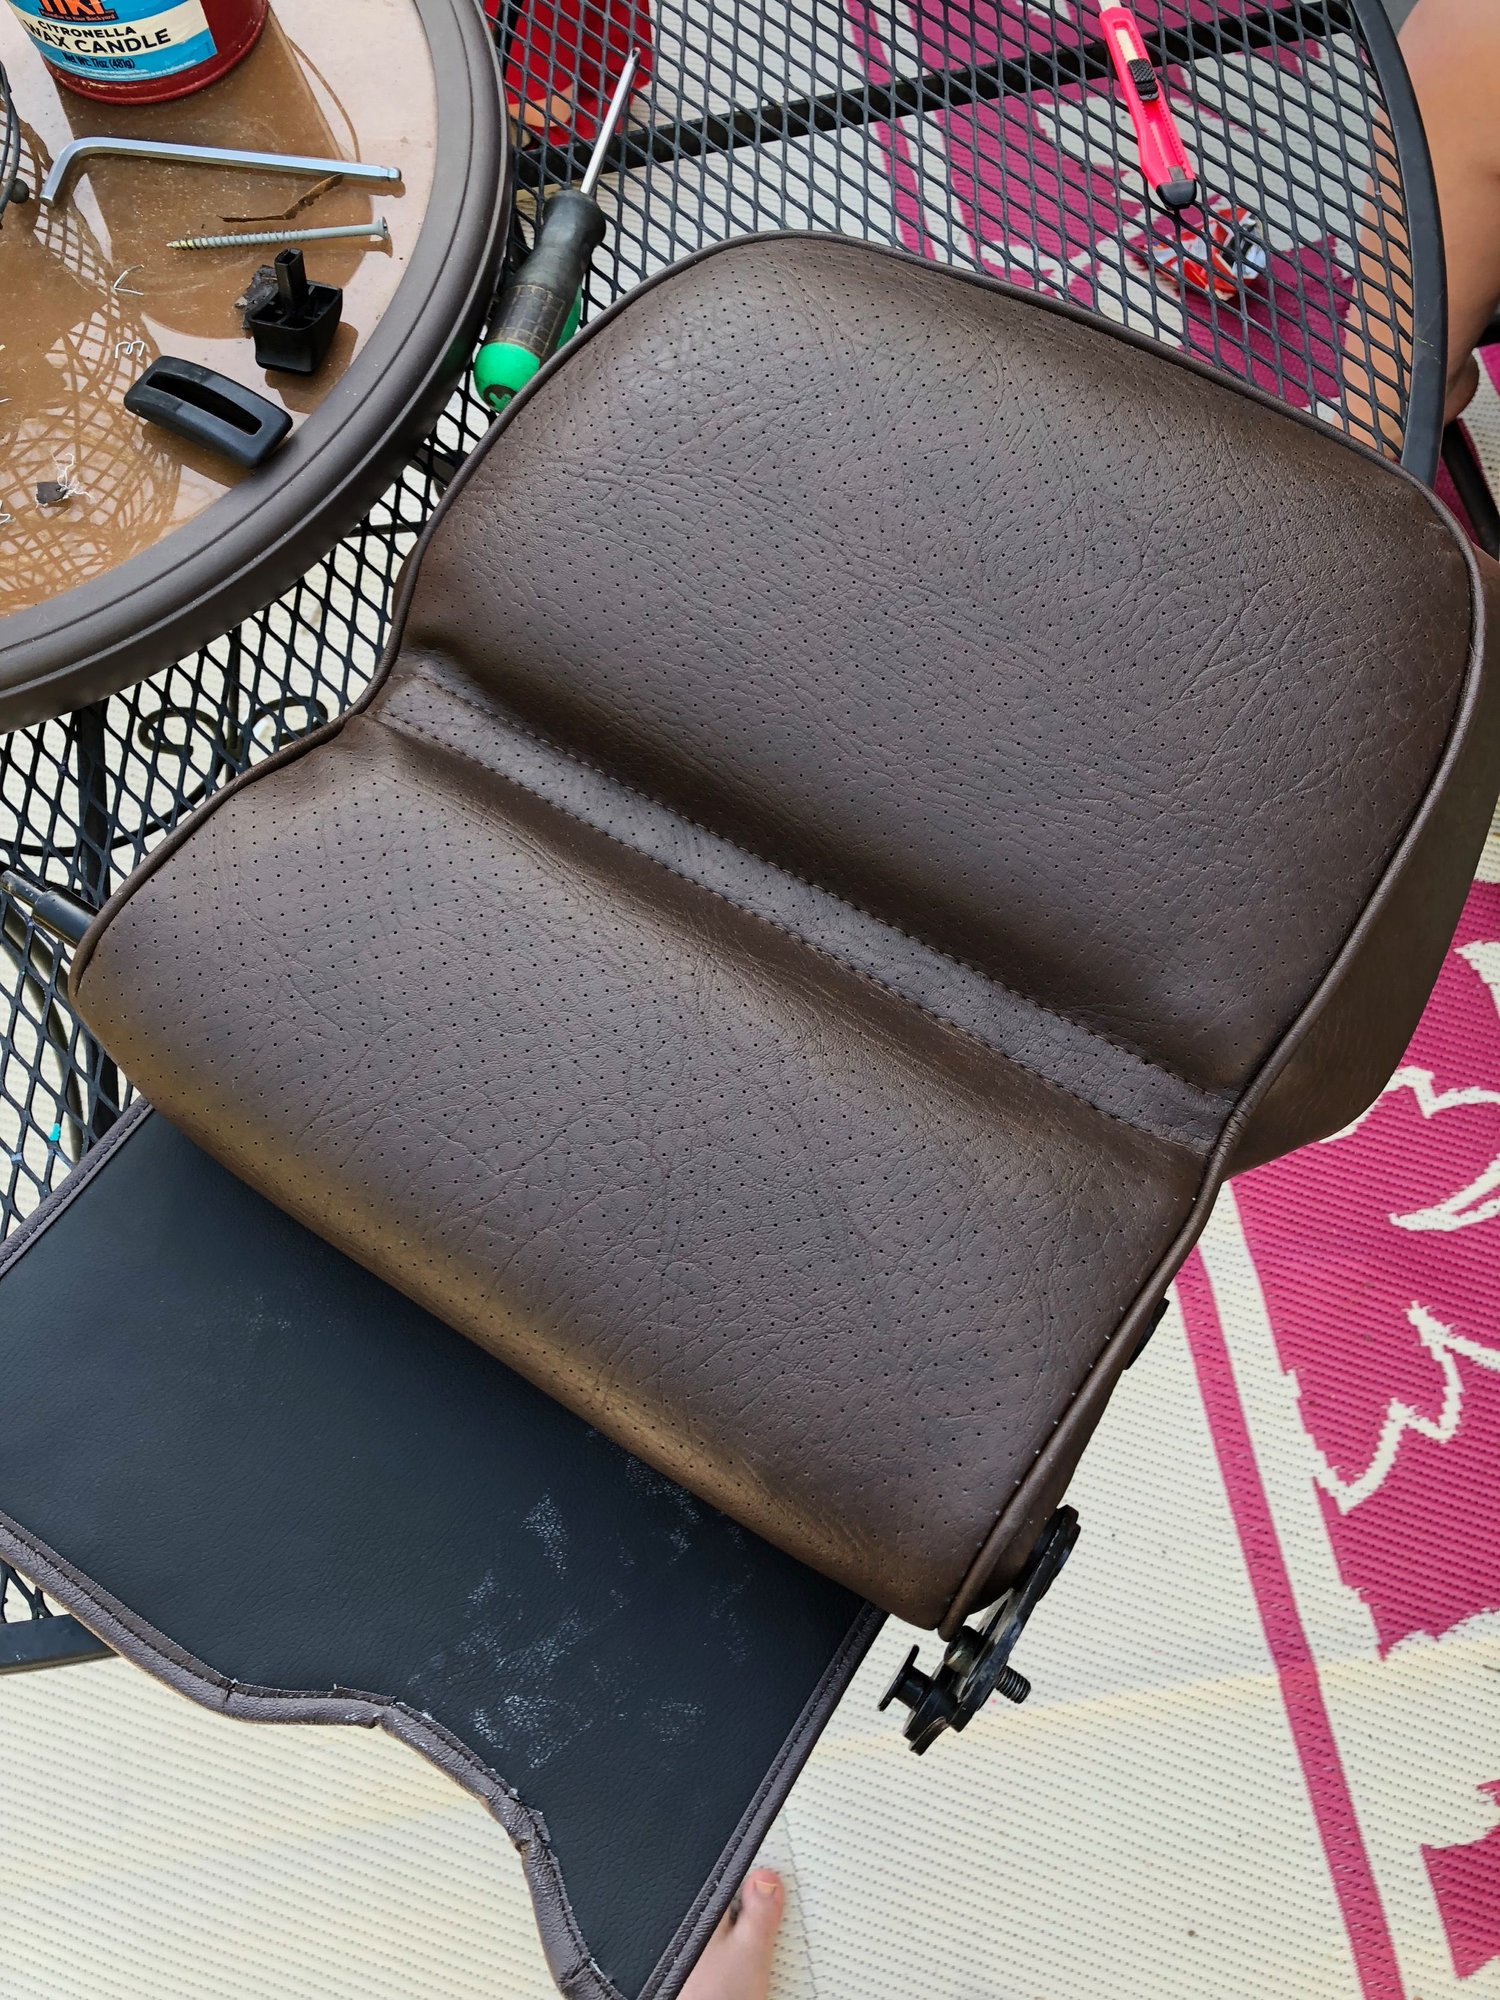
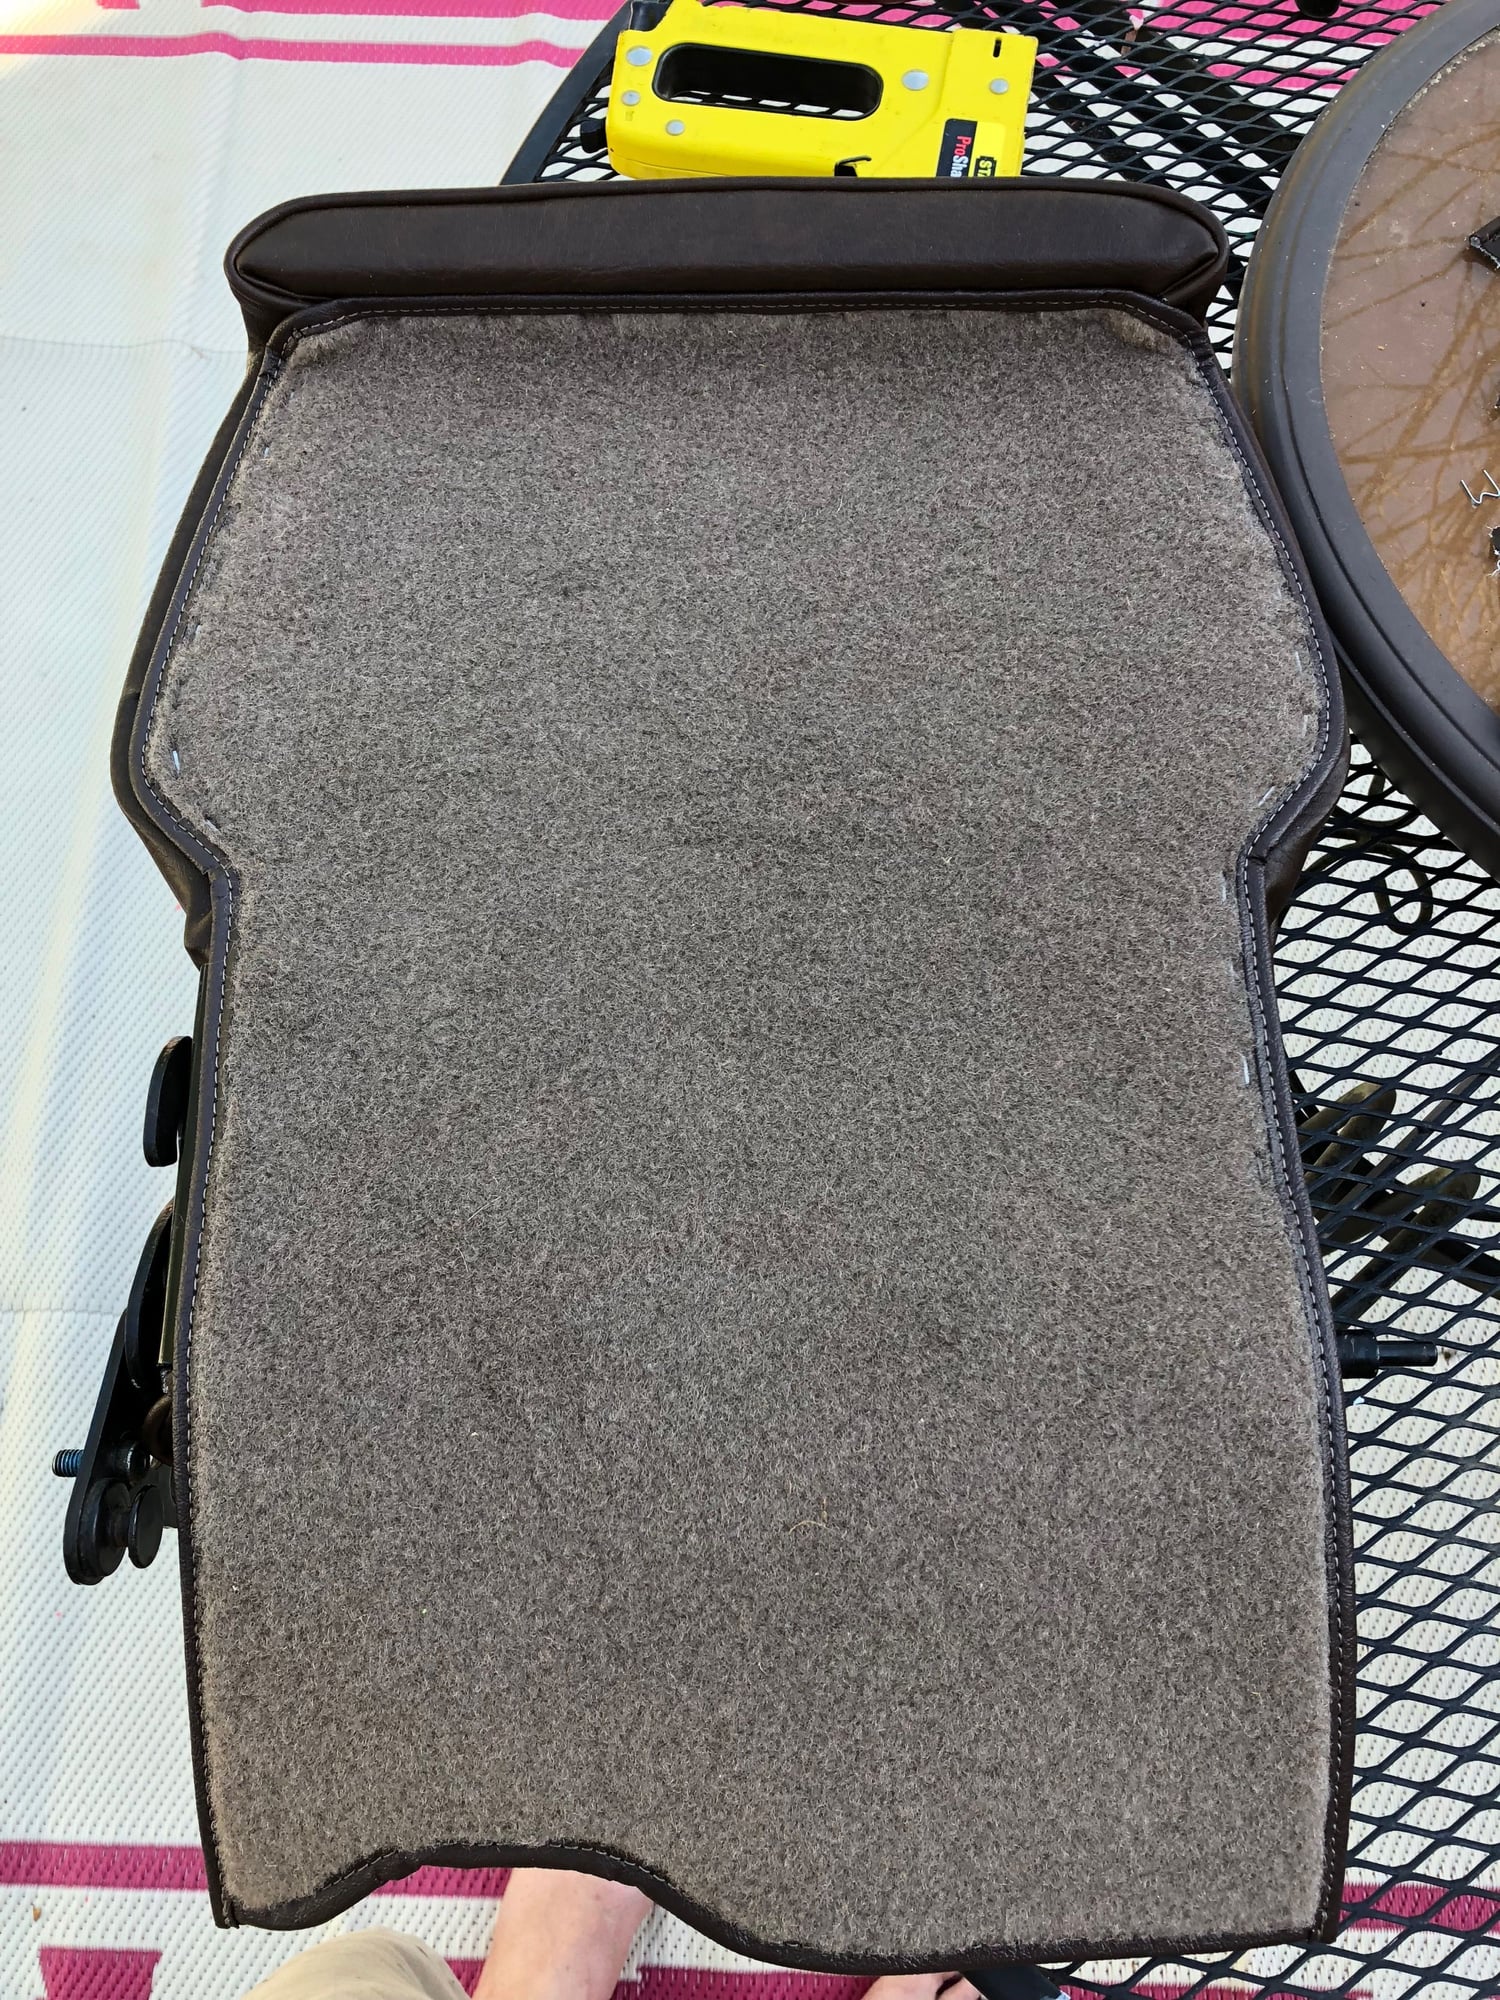
Also got both back seat uppers reworked and they are ready to reinstall.
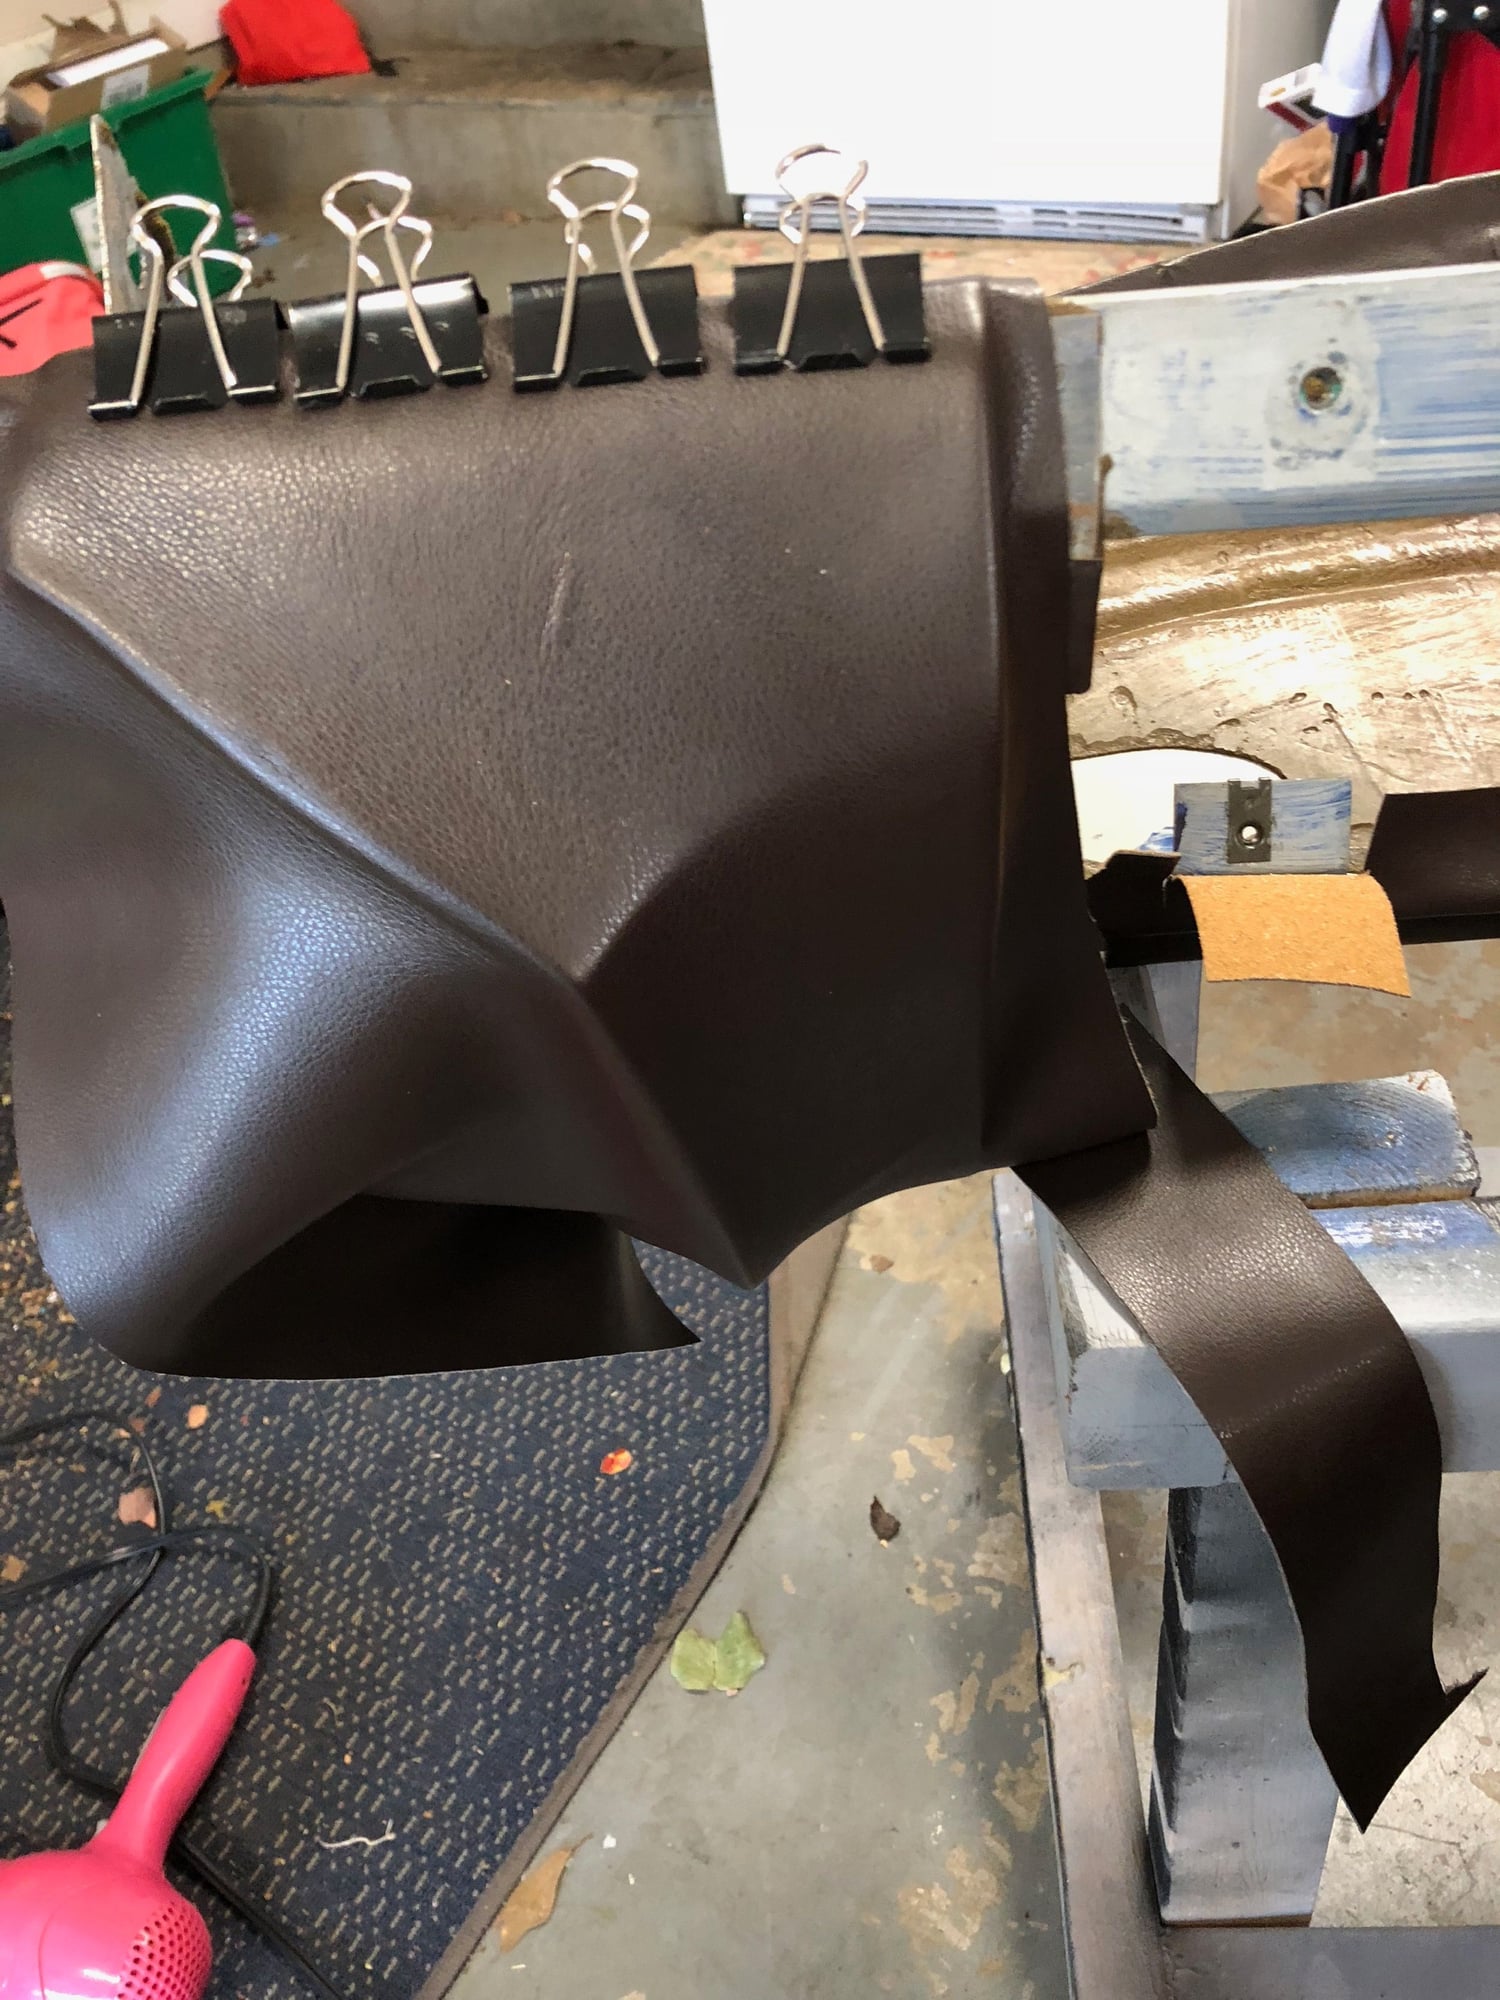
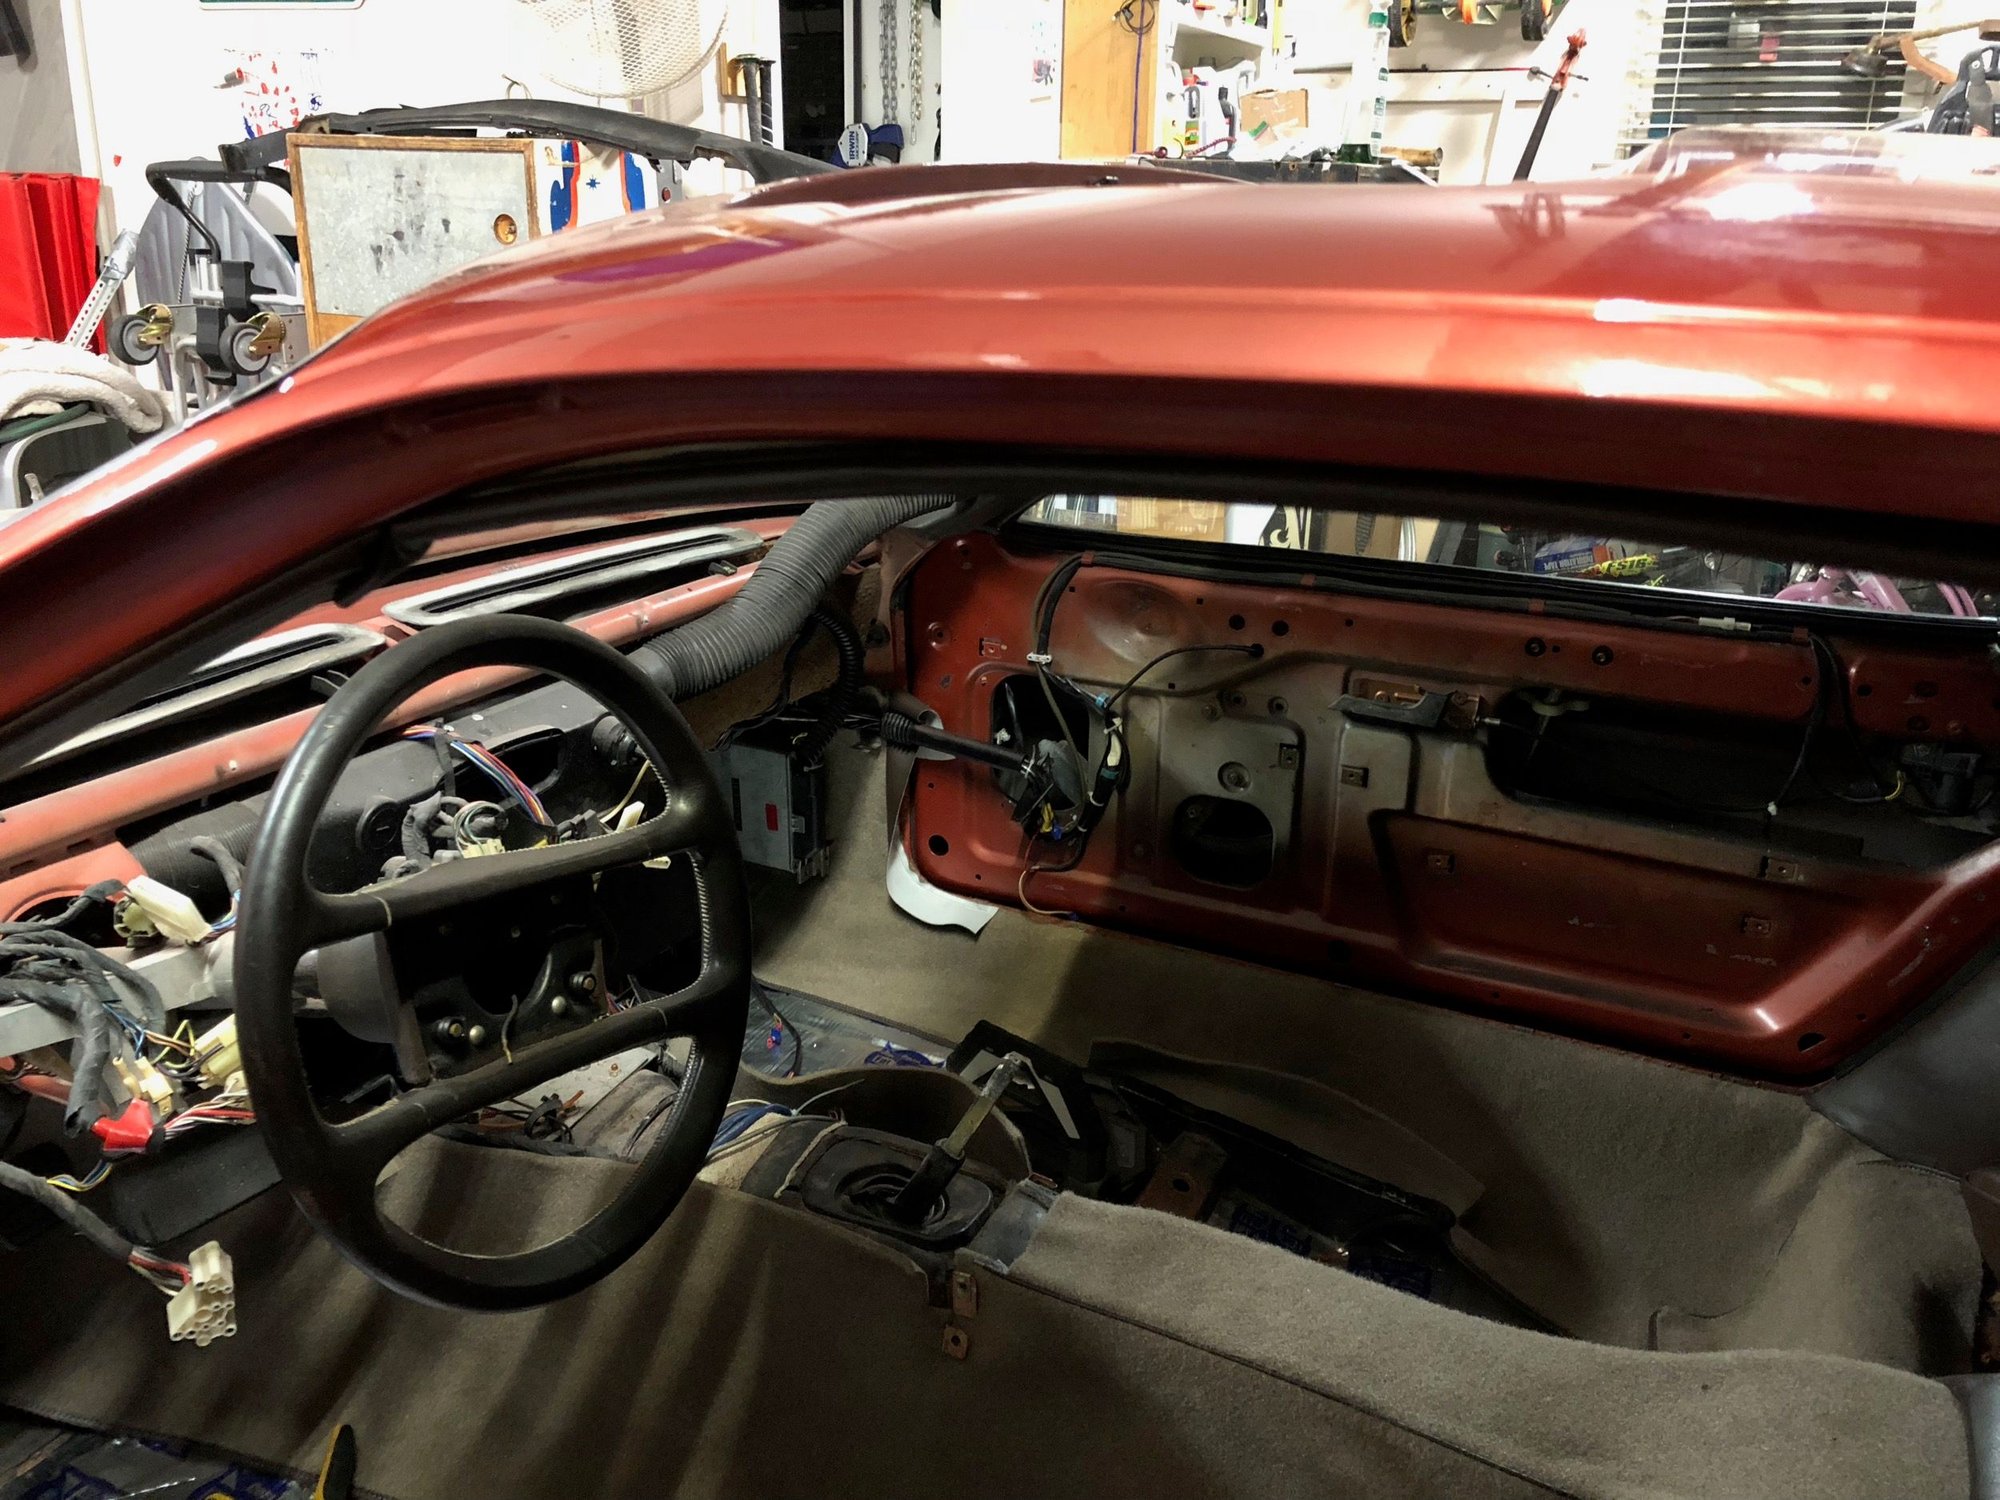
Been working on interior this week. Dash and pod are slowly having new vinyl glued in place. Not going too bad, but I am no expert at being able to visually discern the vinyl trimming process. Luckily the screwups will be hidden by other components so the finished product will be presentable. I'm now over budget (aren't we all) so I have to finish most everything else myself.
Plan is to go ahead and finish out all of the interior retrimming and have the stack of parts ready to reinstall as soon as the carpet is glued in.
New pod face. Ended up going in the style of Ladybug's stitched cover in lieu of pre-sewing...overbudget and I have no access to a machine that would do French seams.
New pod upper surround.
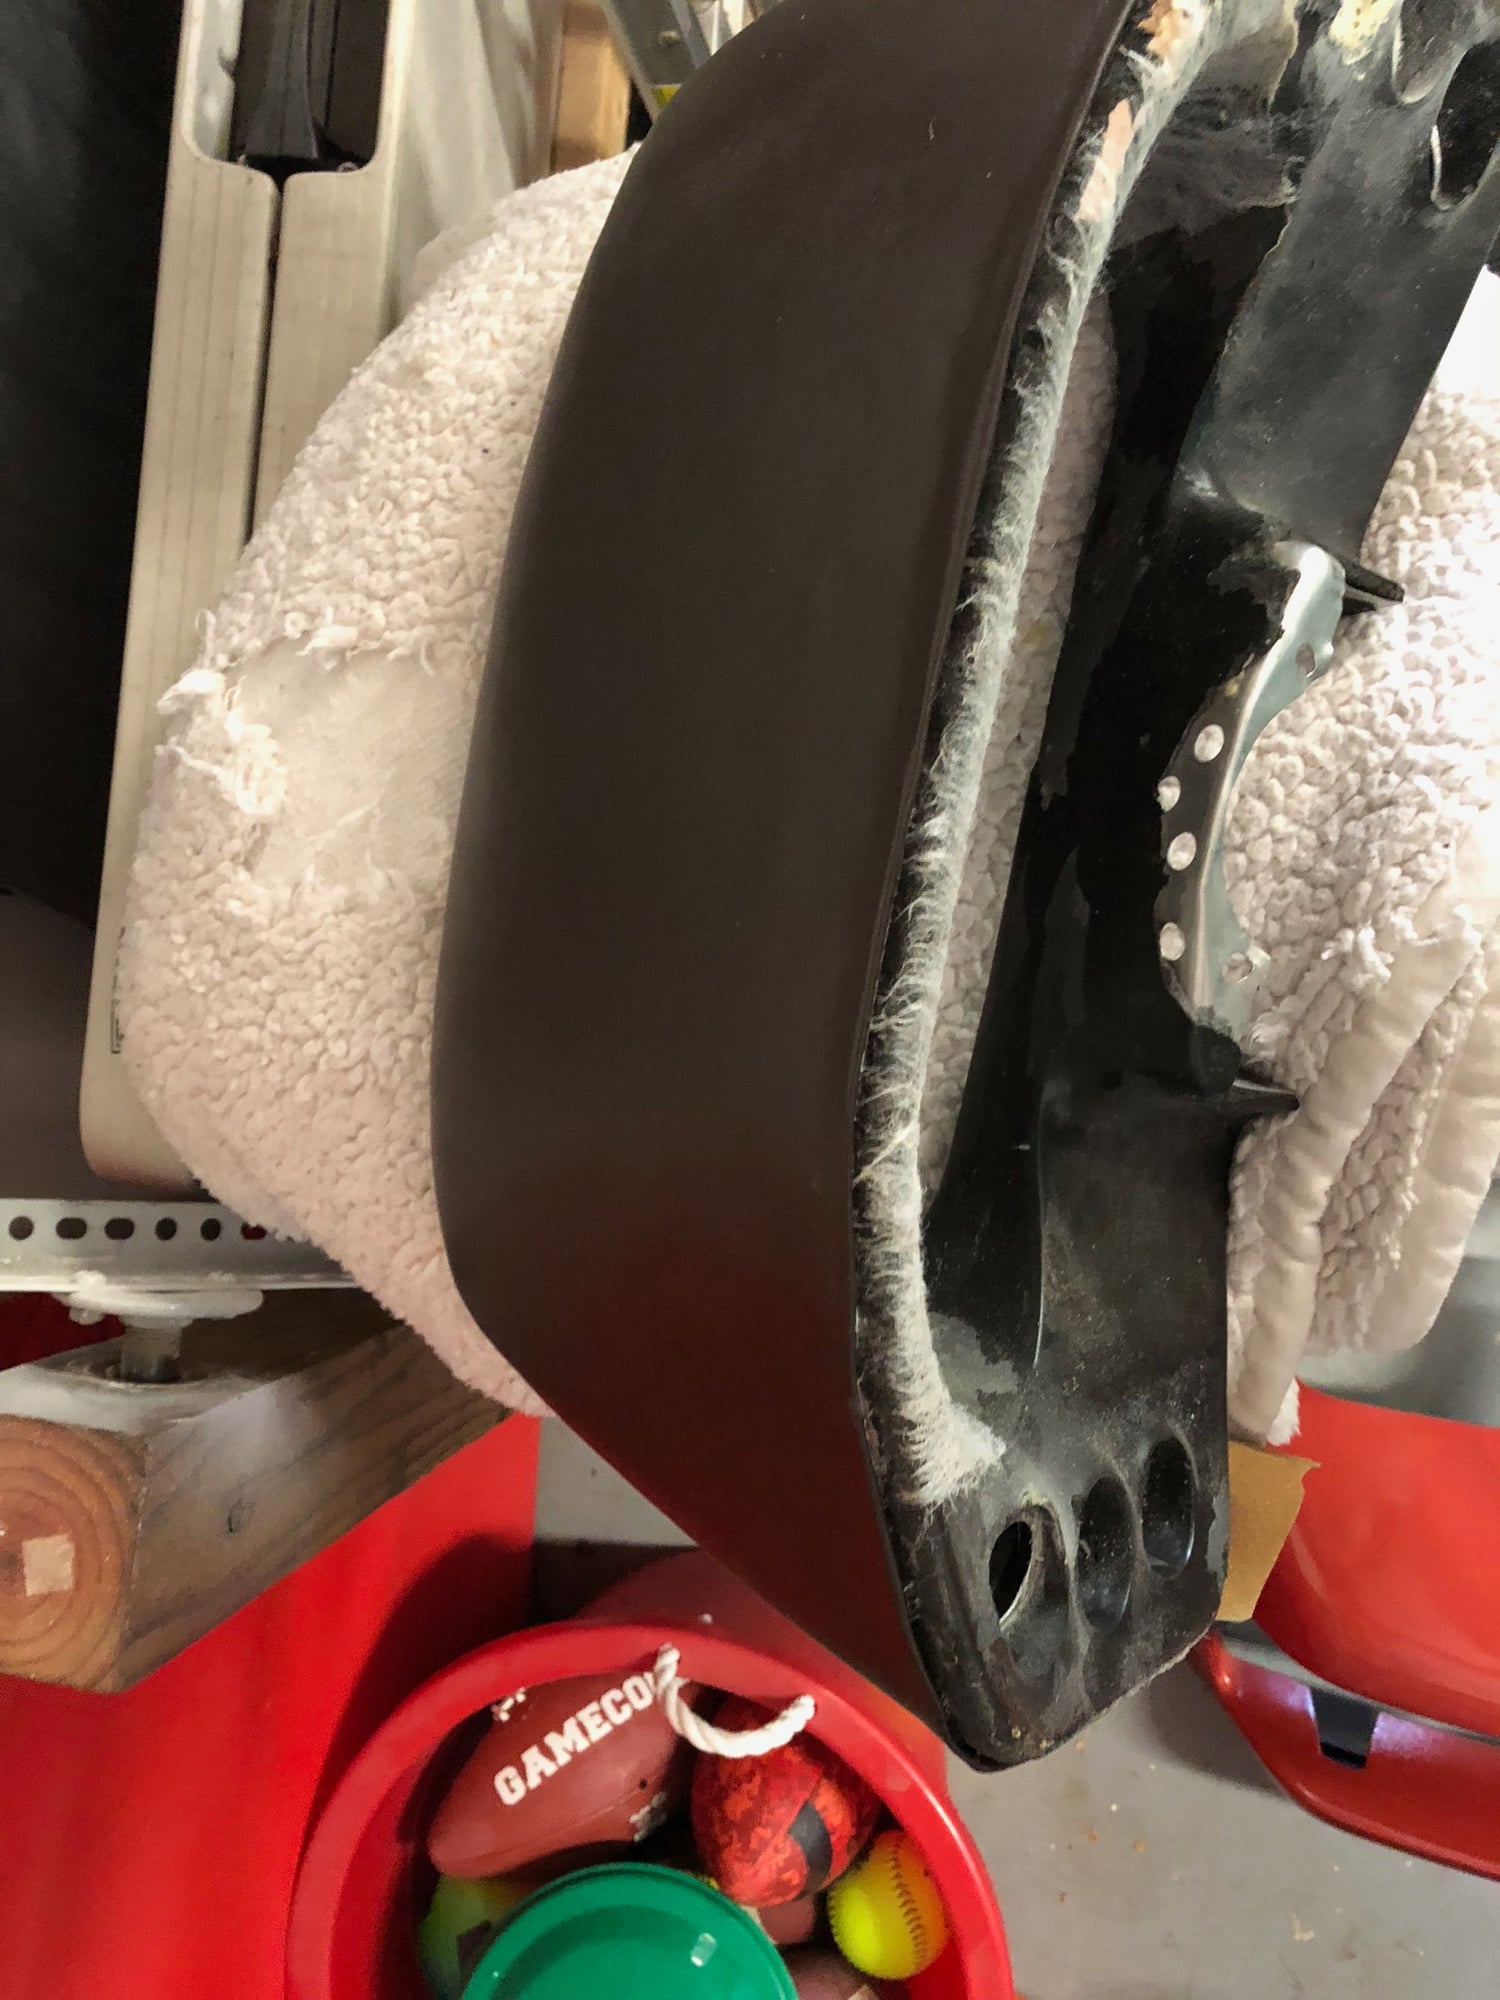
Dash work.
Since I will have stitching on the pod, I believe it will have a more consistent look to have at least one matching seam across the dash, rather than a completely flat, stock look.
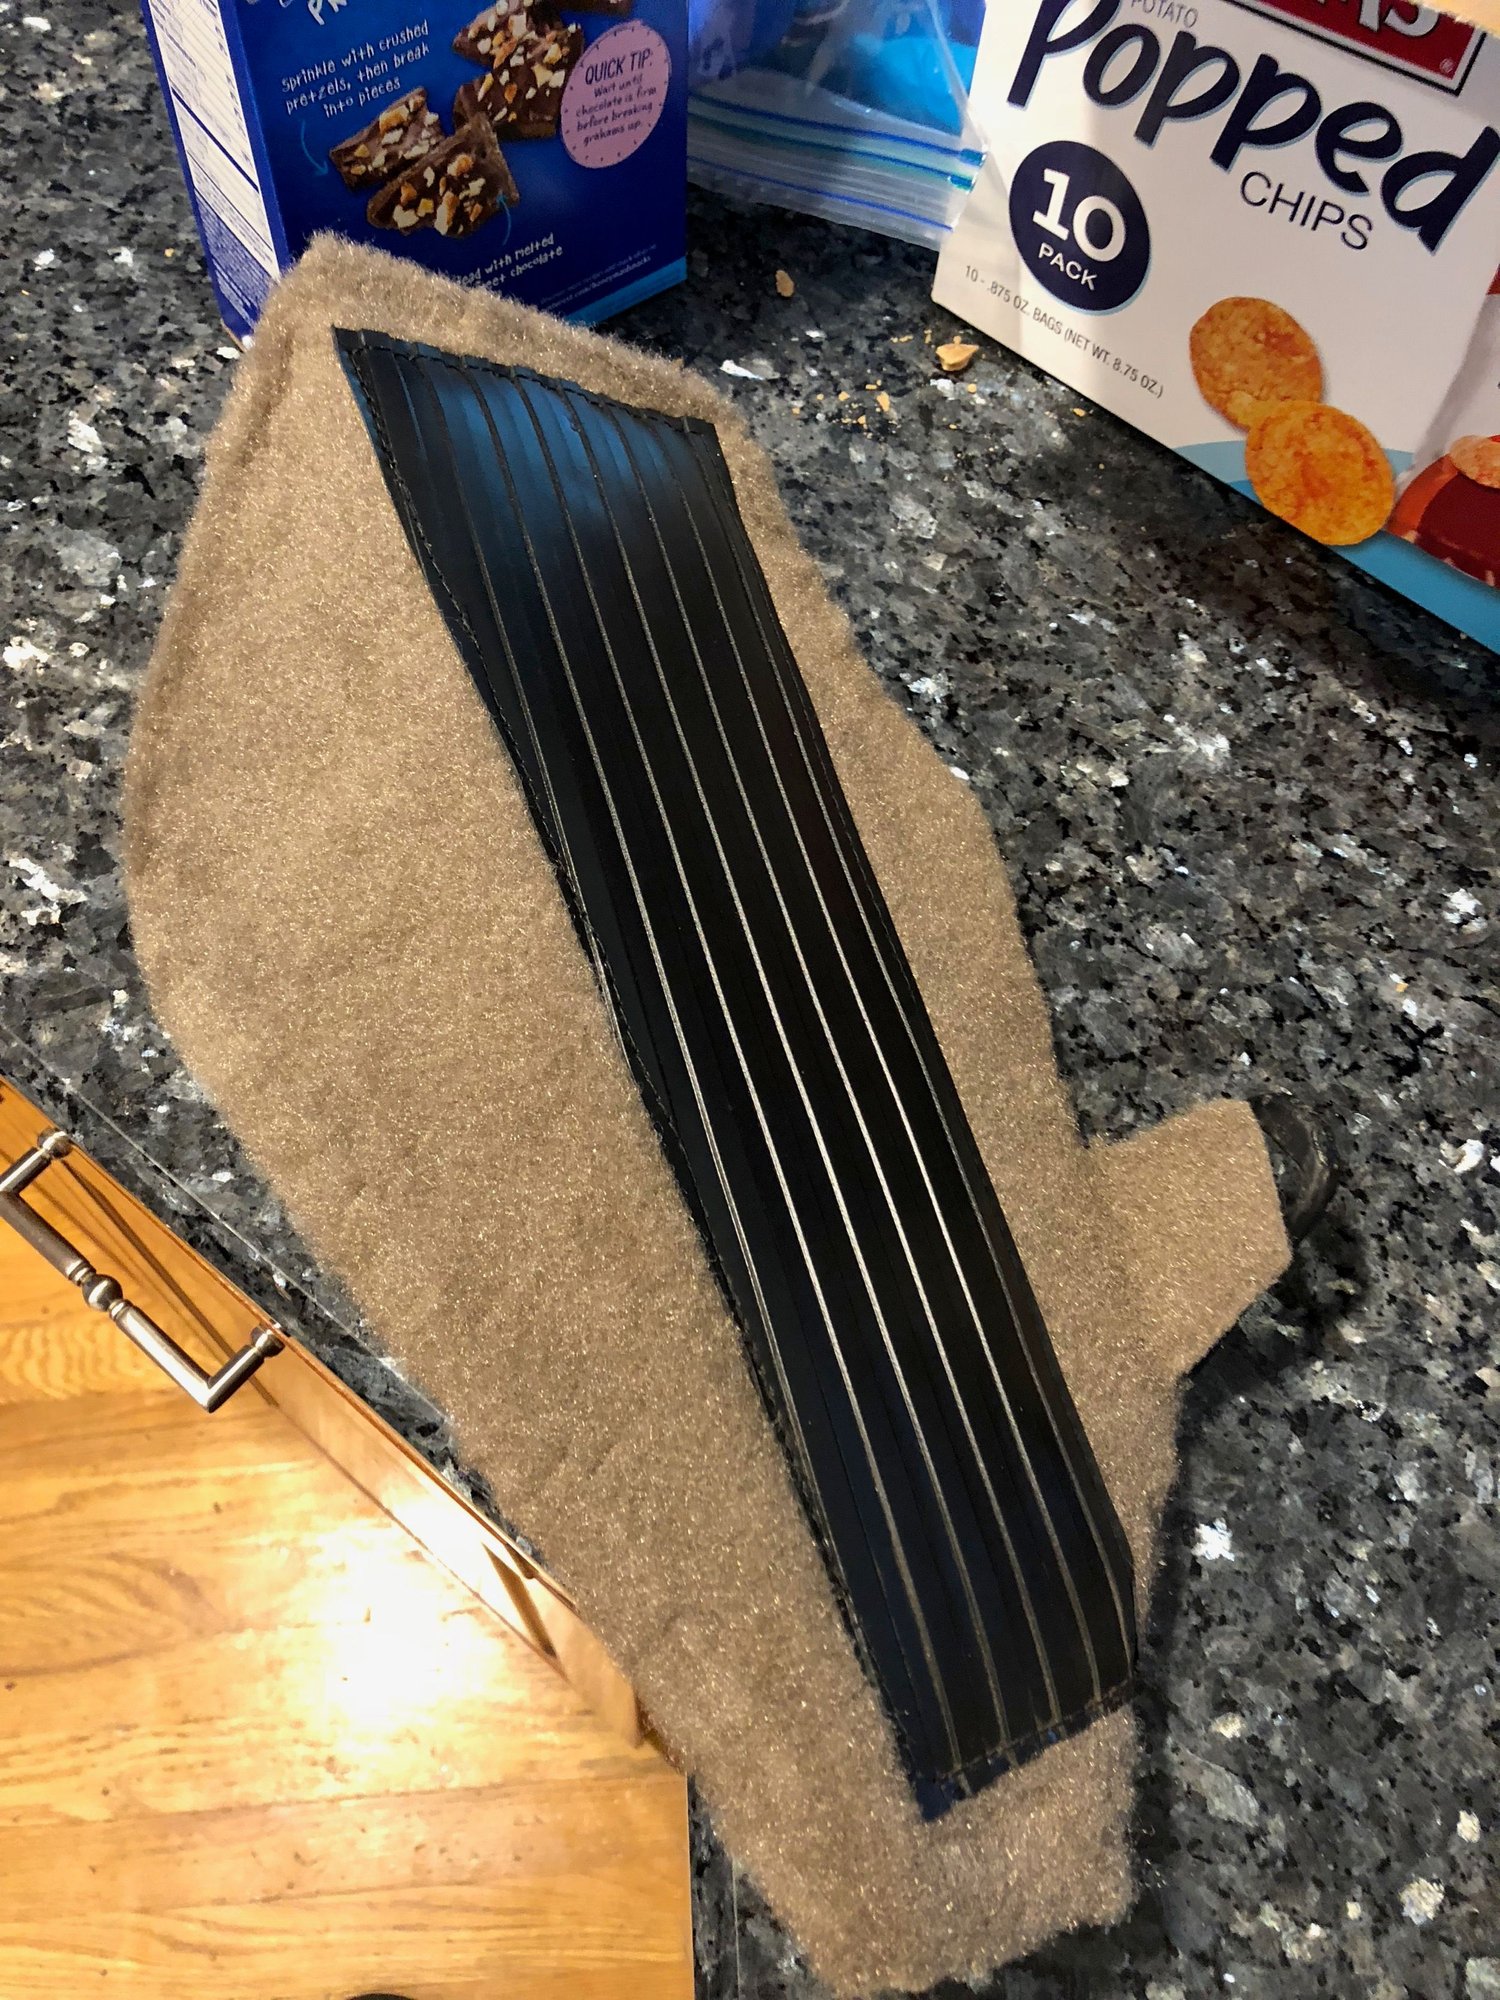
Dead pedal with new carpet.
I really like the look of the mocha carpet against the brown vinyl and the kiln red exterior.
may I suggest you use a bit extra glue on concave curves on the left and right sides of the dash. Also on the defroster holes. I�m seeing some lifting on my redone dash on hot days. More glue would have prevented this.
Last edited by Michael Benno; 05-10-2018 at 01:35 PM.
Yes - sir these are the infamous 'Internet Auction Site' seat kits from AutoInteriorKits. They really are very good looking - and I did get vinyl (just to save $$). I was really concerned about getting the scalloping correct - as that is my favorite part of the early seat design. So far it is pretty good. Anxious to get started on the fronts.
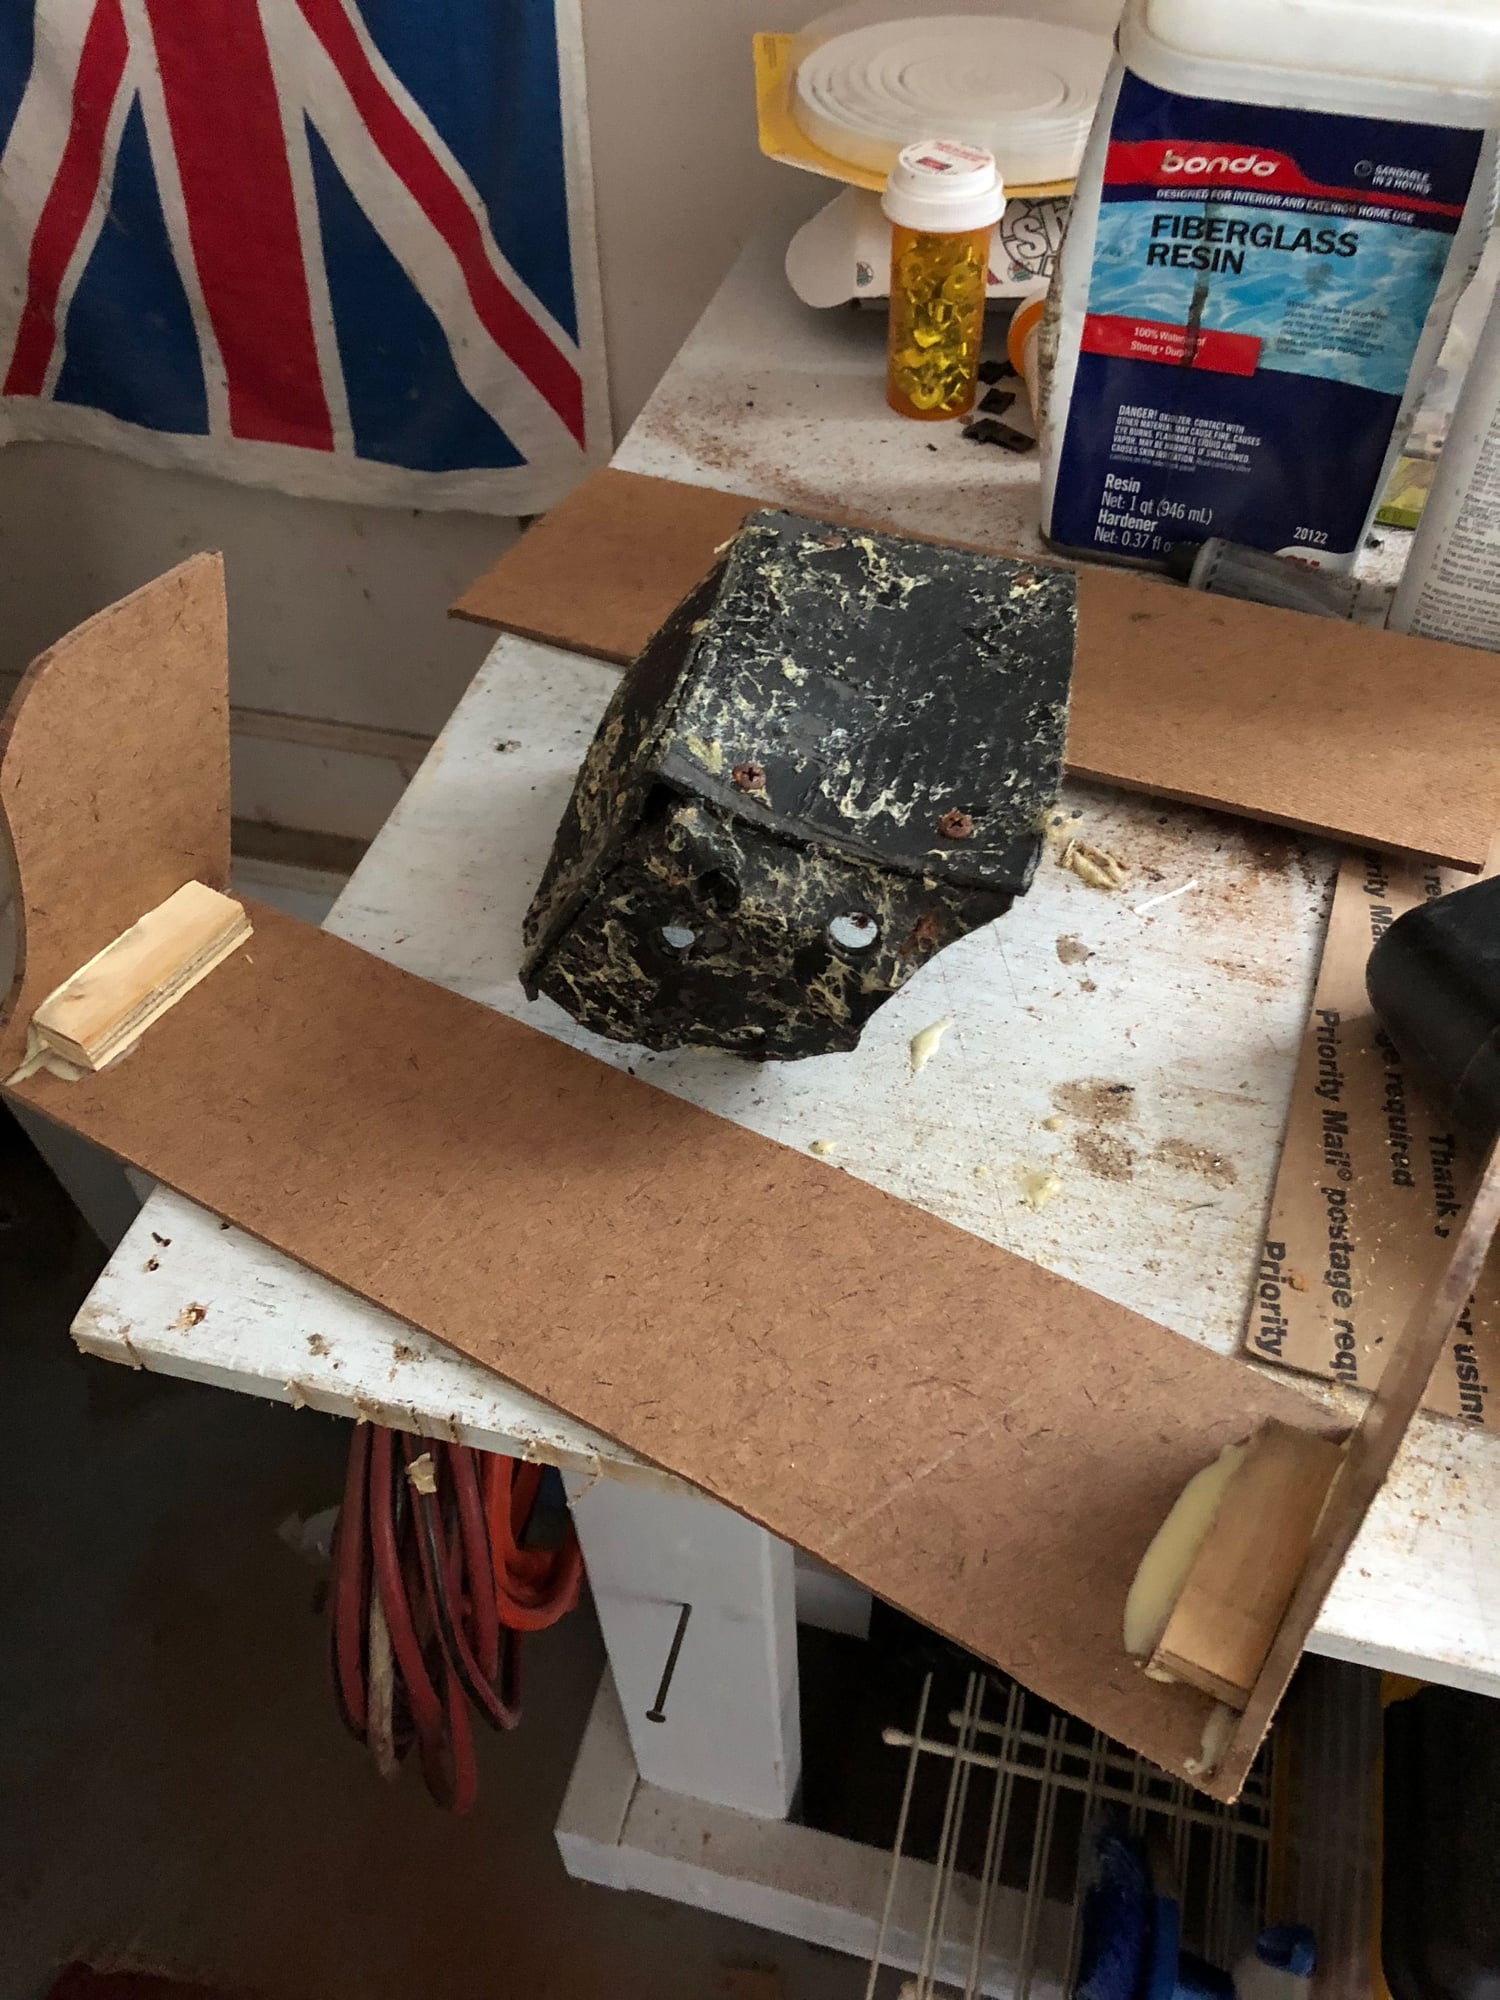
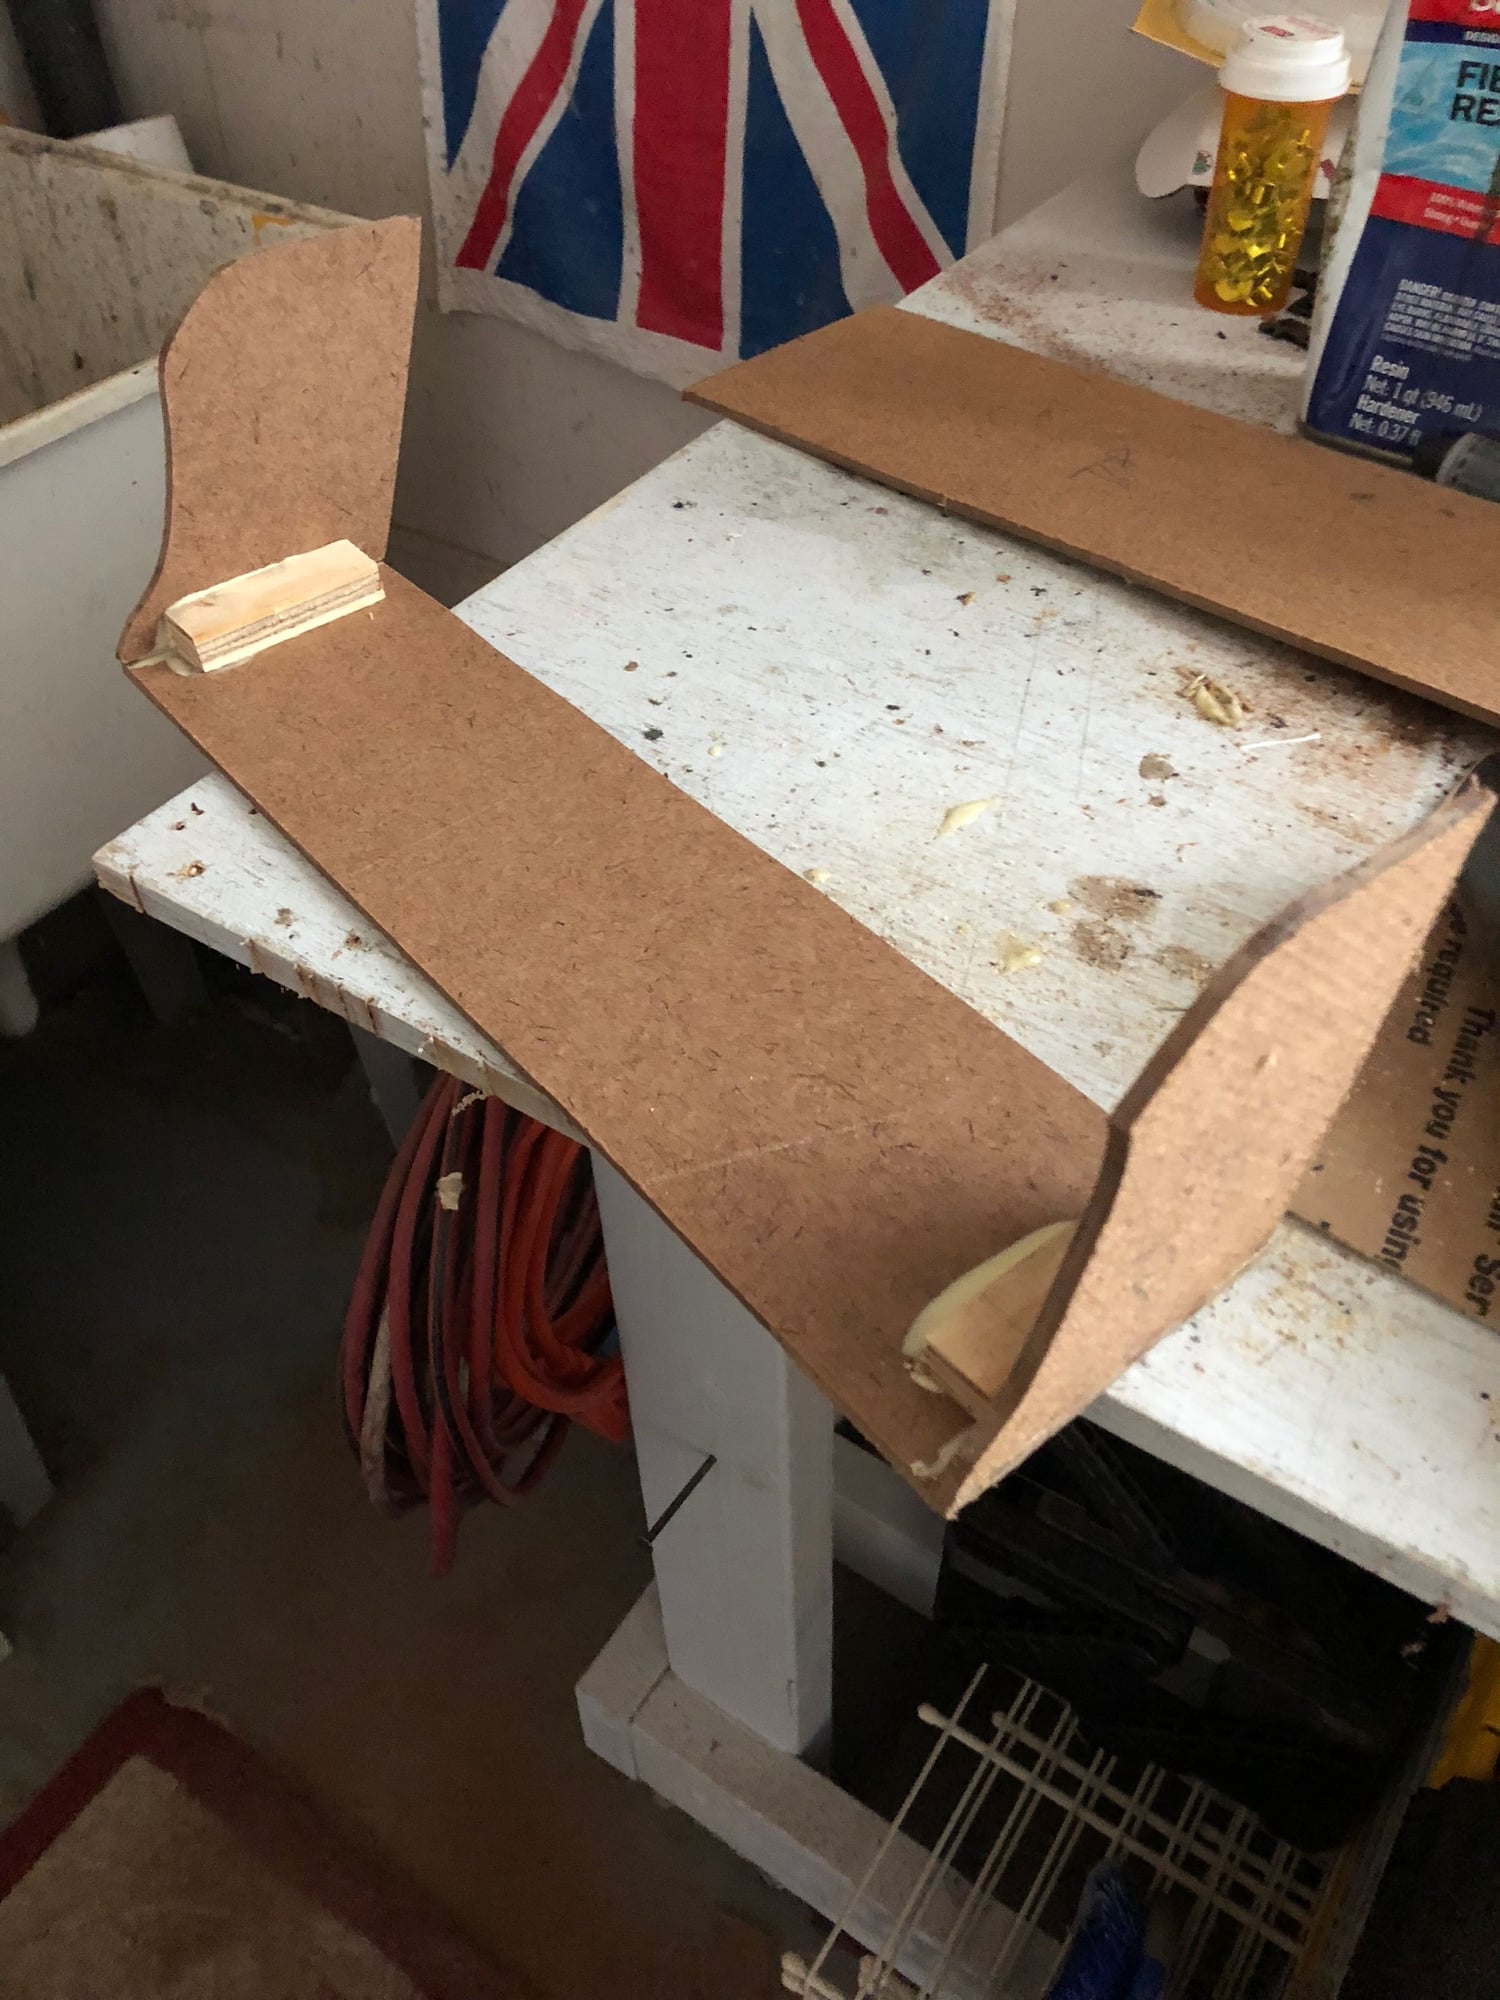
New panels being made. The cover on the passenger side was the 'small version' - only covered the OXS counter box. Rob sent the larger cover that would also cover the amplifier and the little cover was rather tatty, so I decided to make a new cover that will be larger. Probably will mount a cupholder insert behind the OXS area.
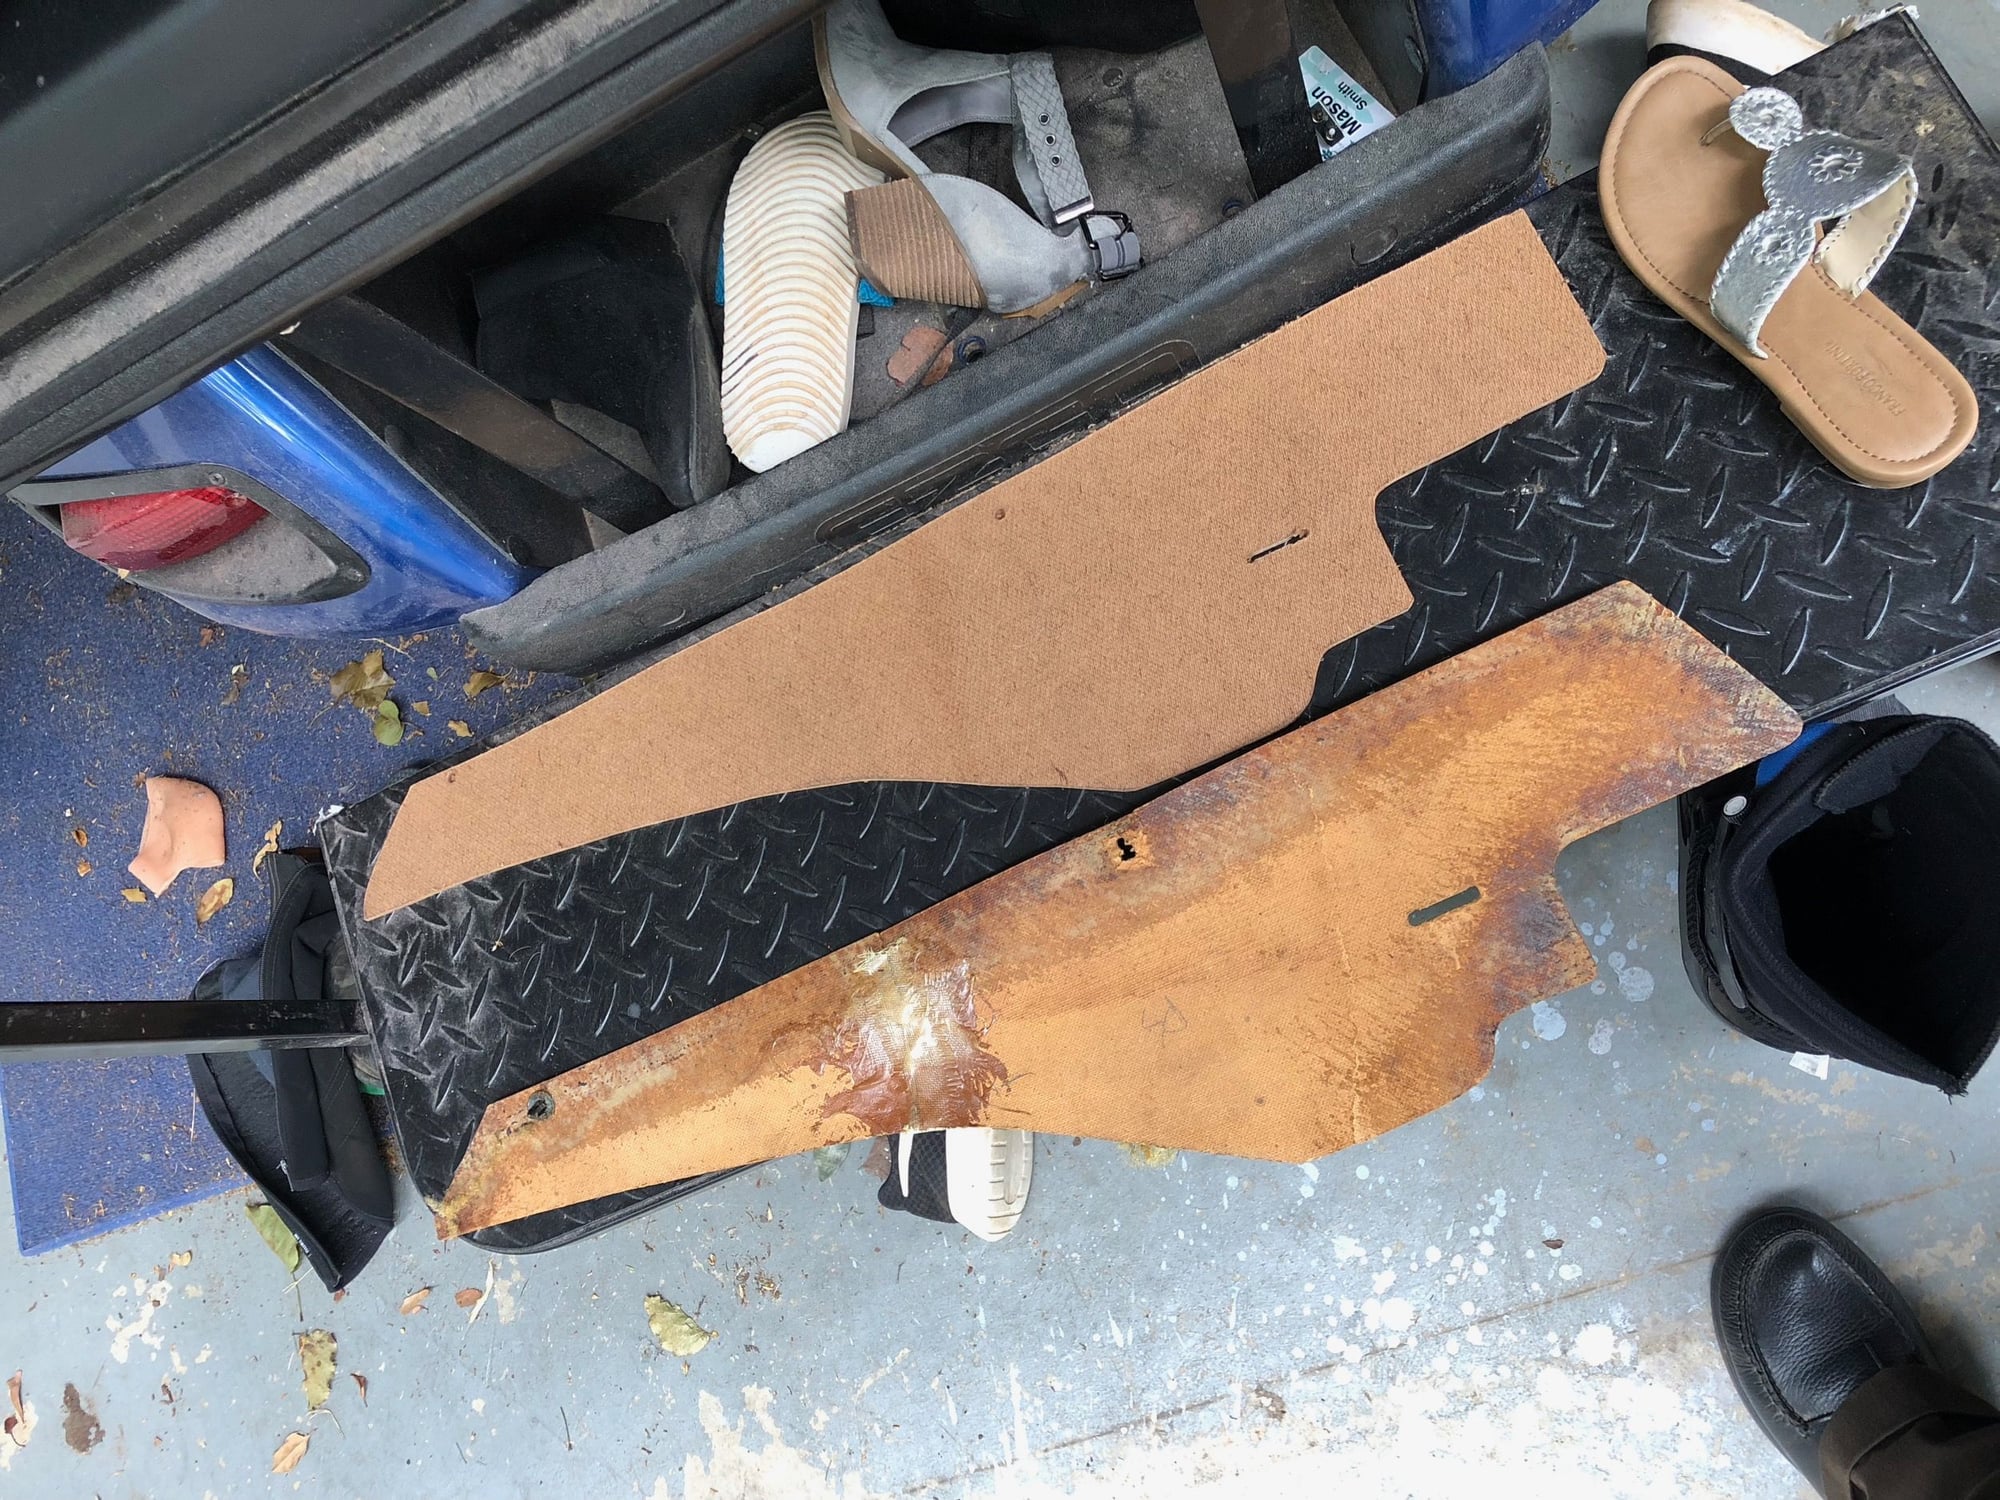
Also made two new side panels for the console. The old ones had been repaired once and were still tatty.
Will cover all this tonight and hopefully get the side carpet down so I can get the back seats and console reinstalled and feel better about progress.
Also got one CV joint off of the axle shaft to repack and install a new boot - will do the entire pass side and reinstall...much easier sans gas tank. Oh - and will try to seal that tonight one last time as well.
-scott
New larger passenger side cover plate beside old ratty small cover for OXS counter.
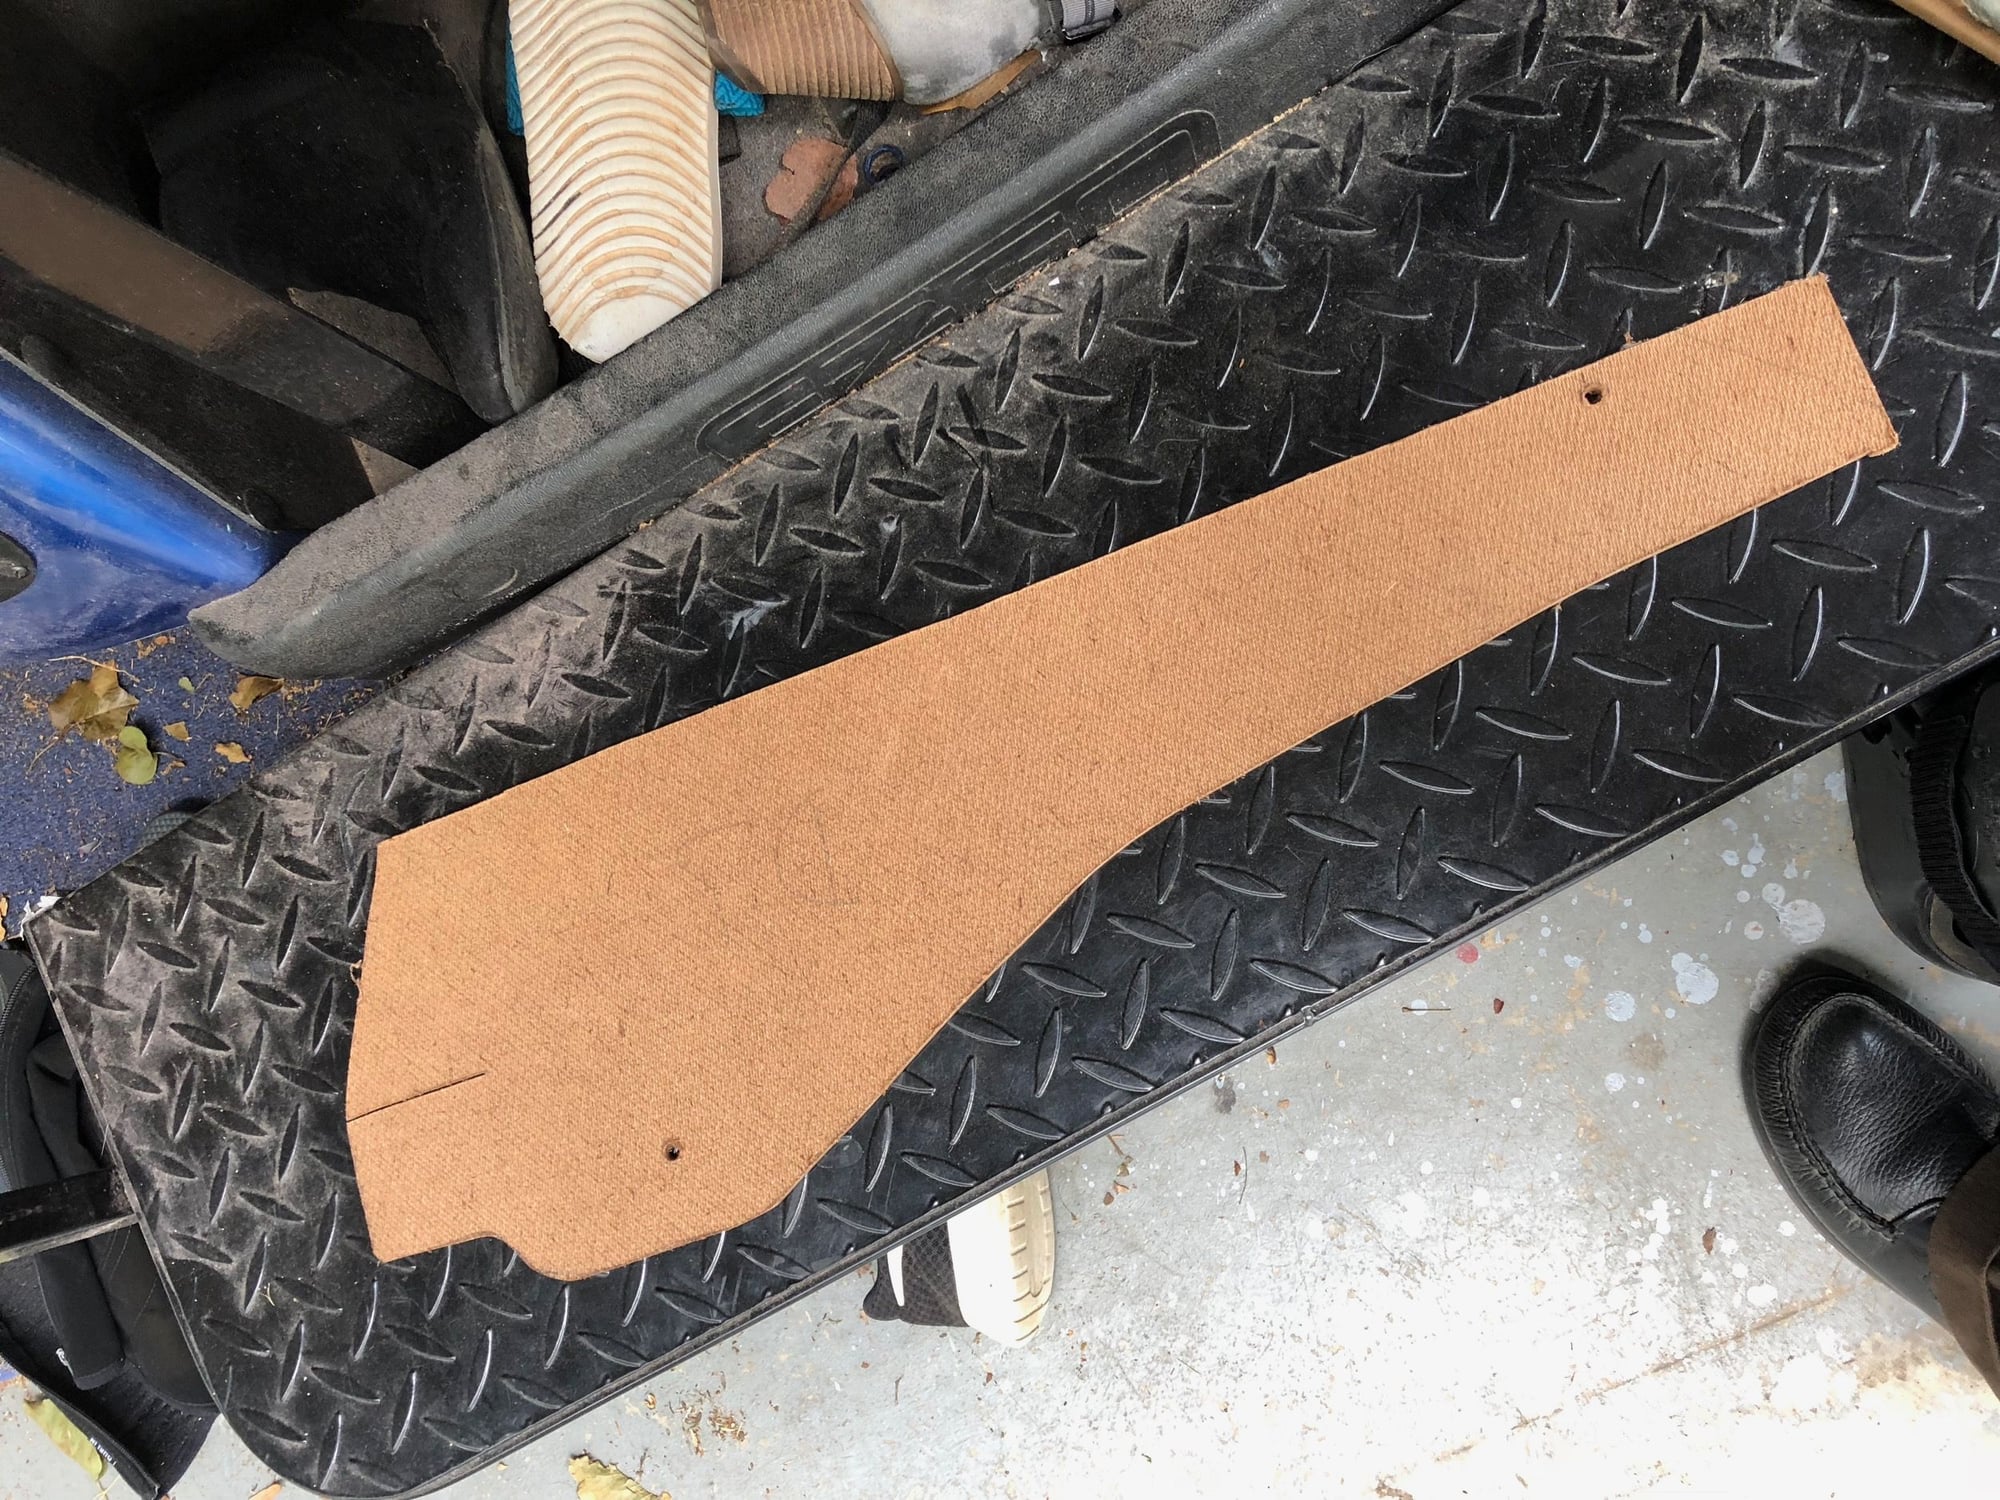
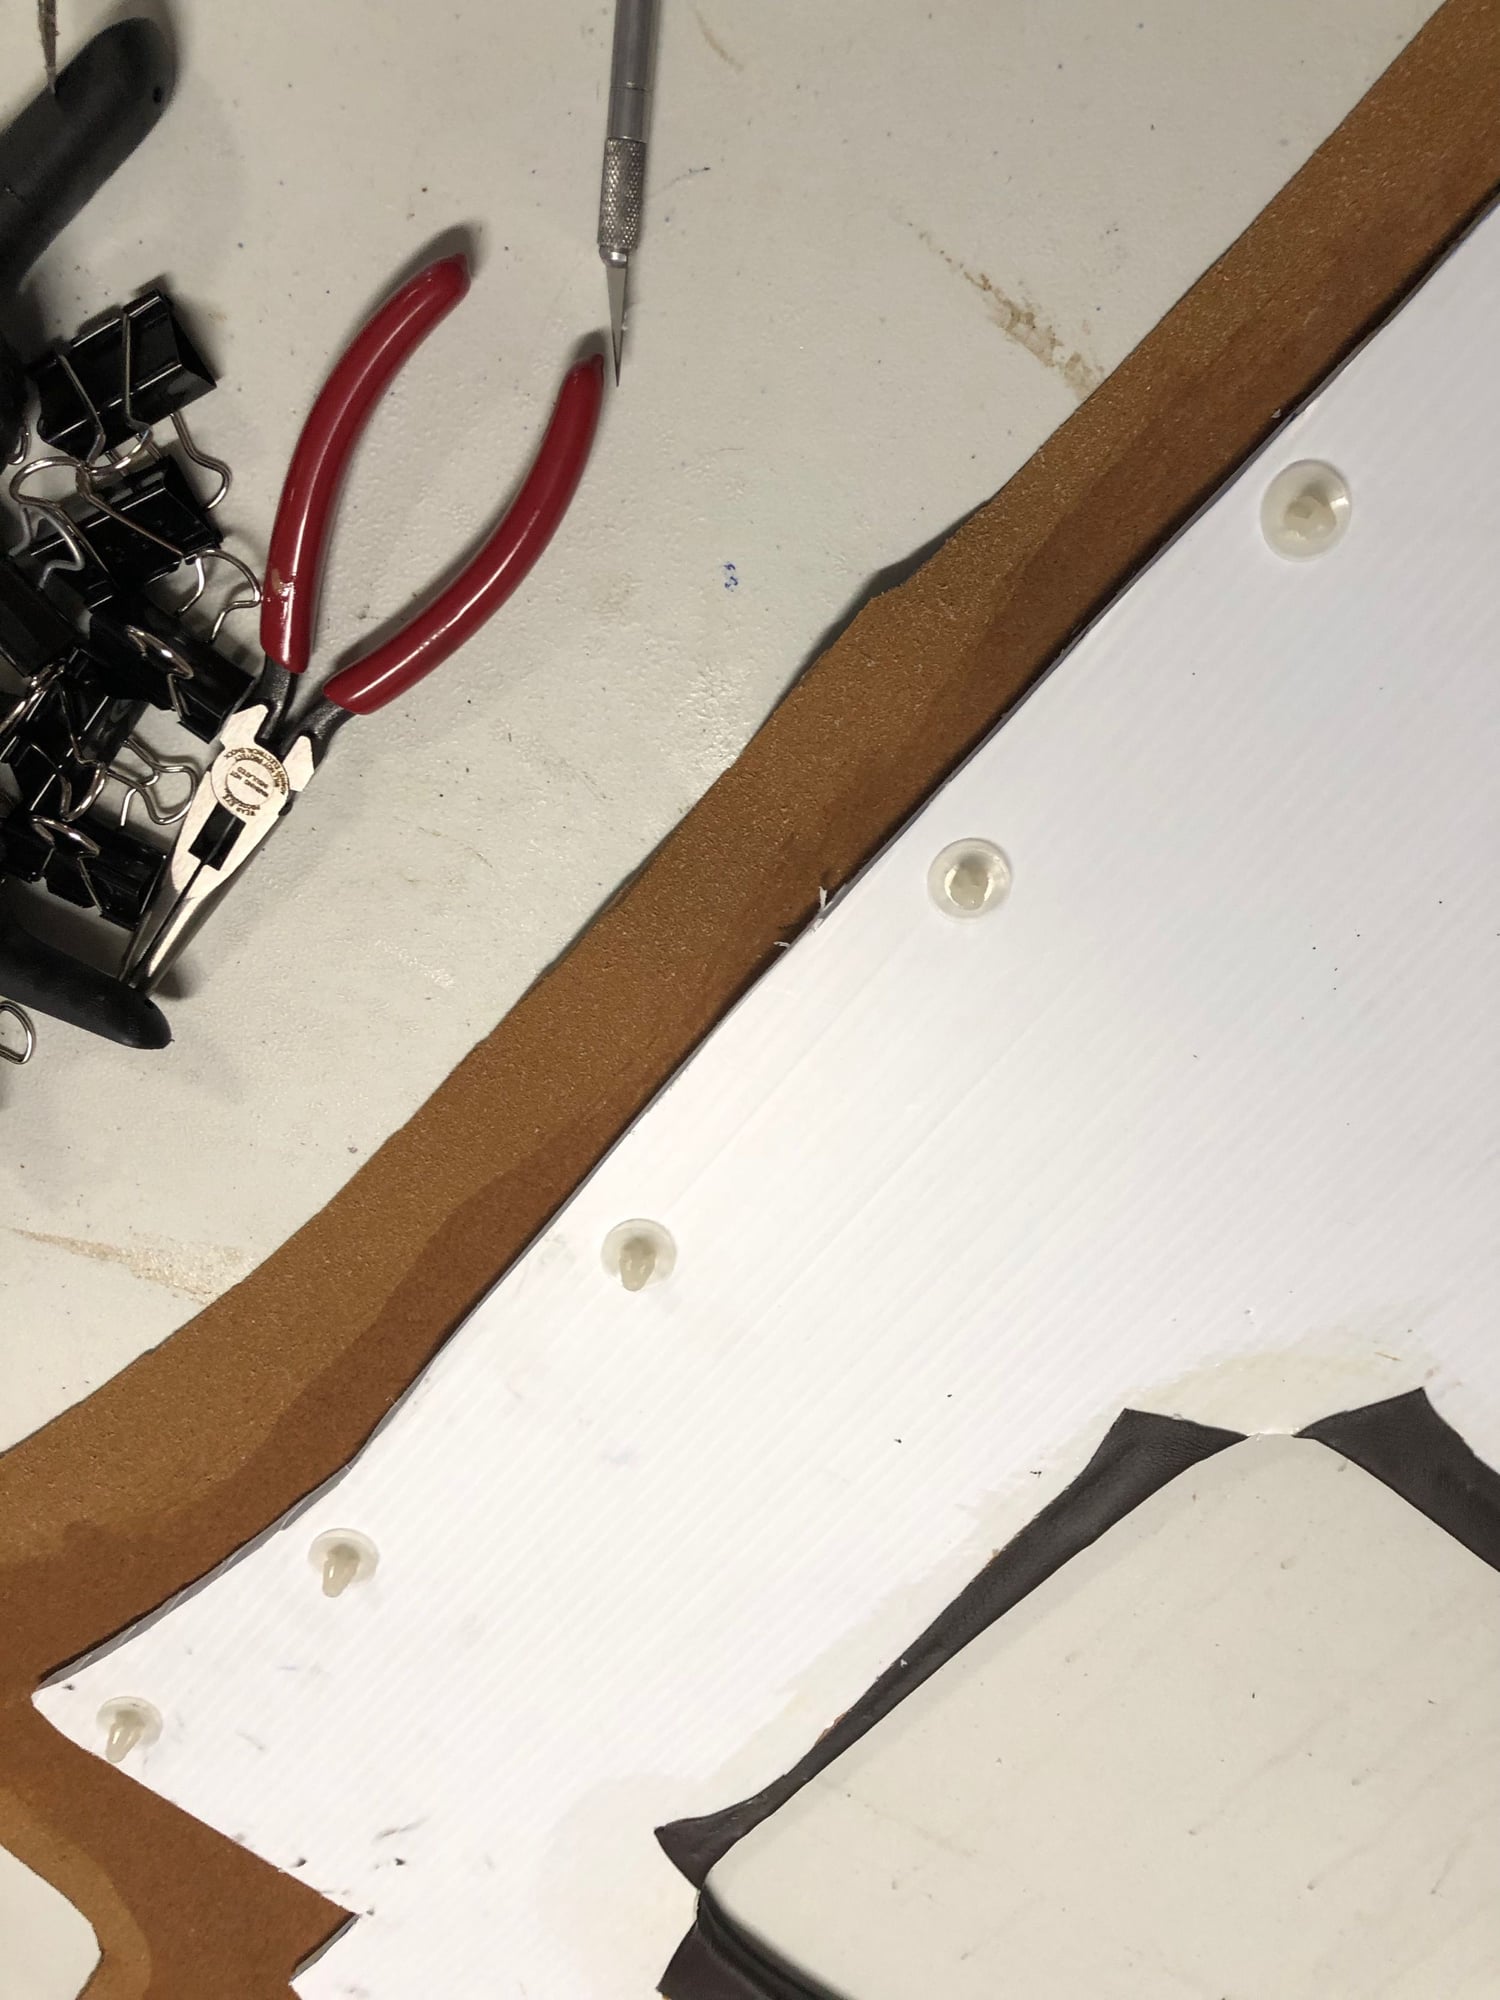
Just used eucaboard - cheap at Lowes. Same basic hardboard used for indoor trim panels. Used the original as a template for the end pieces. Carpet covered anyway...
New and old console side panels side by side
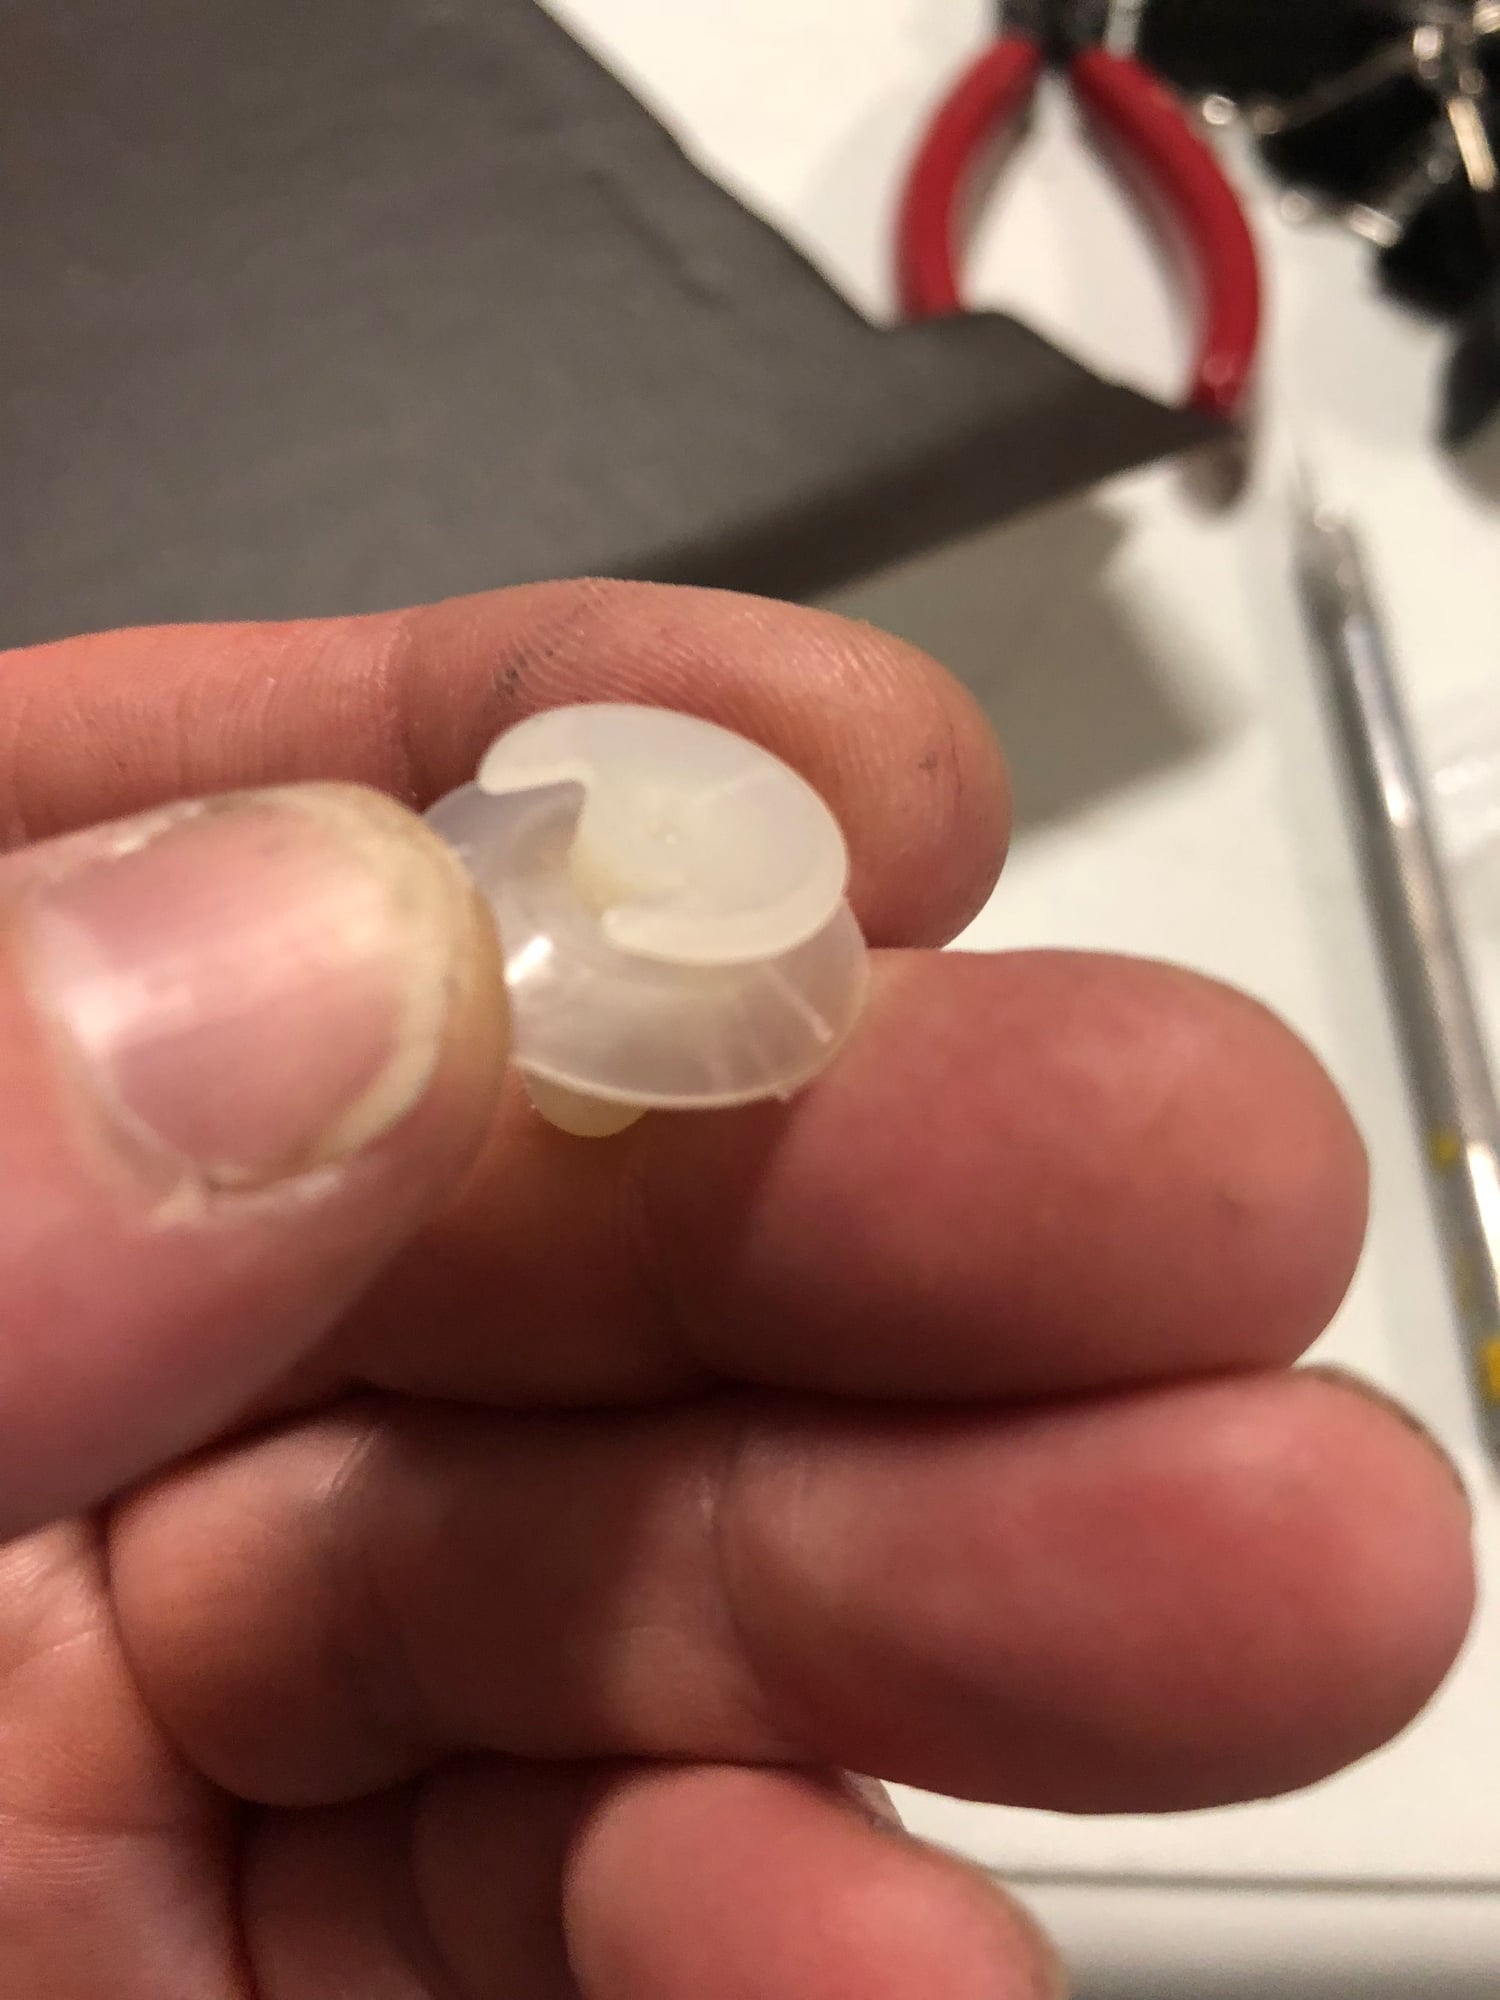
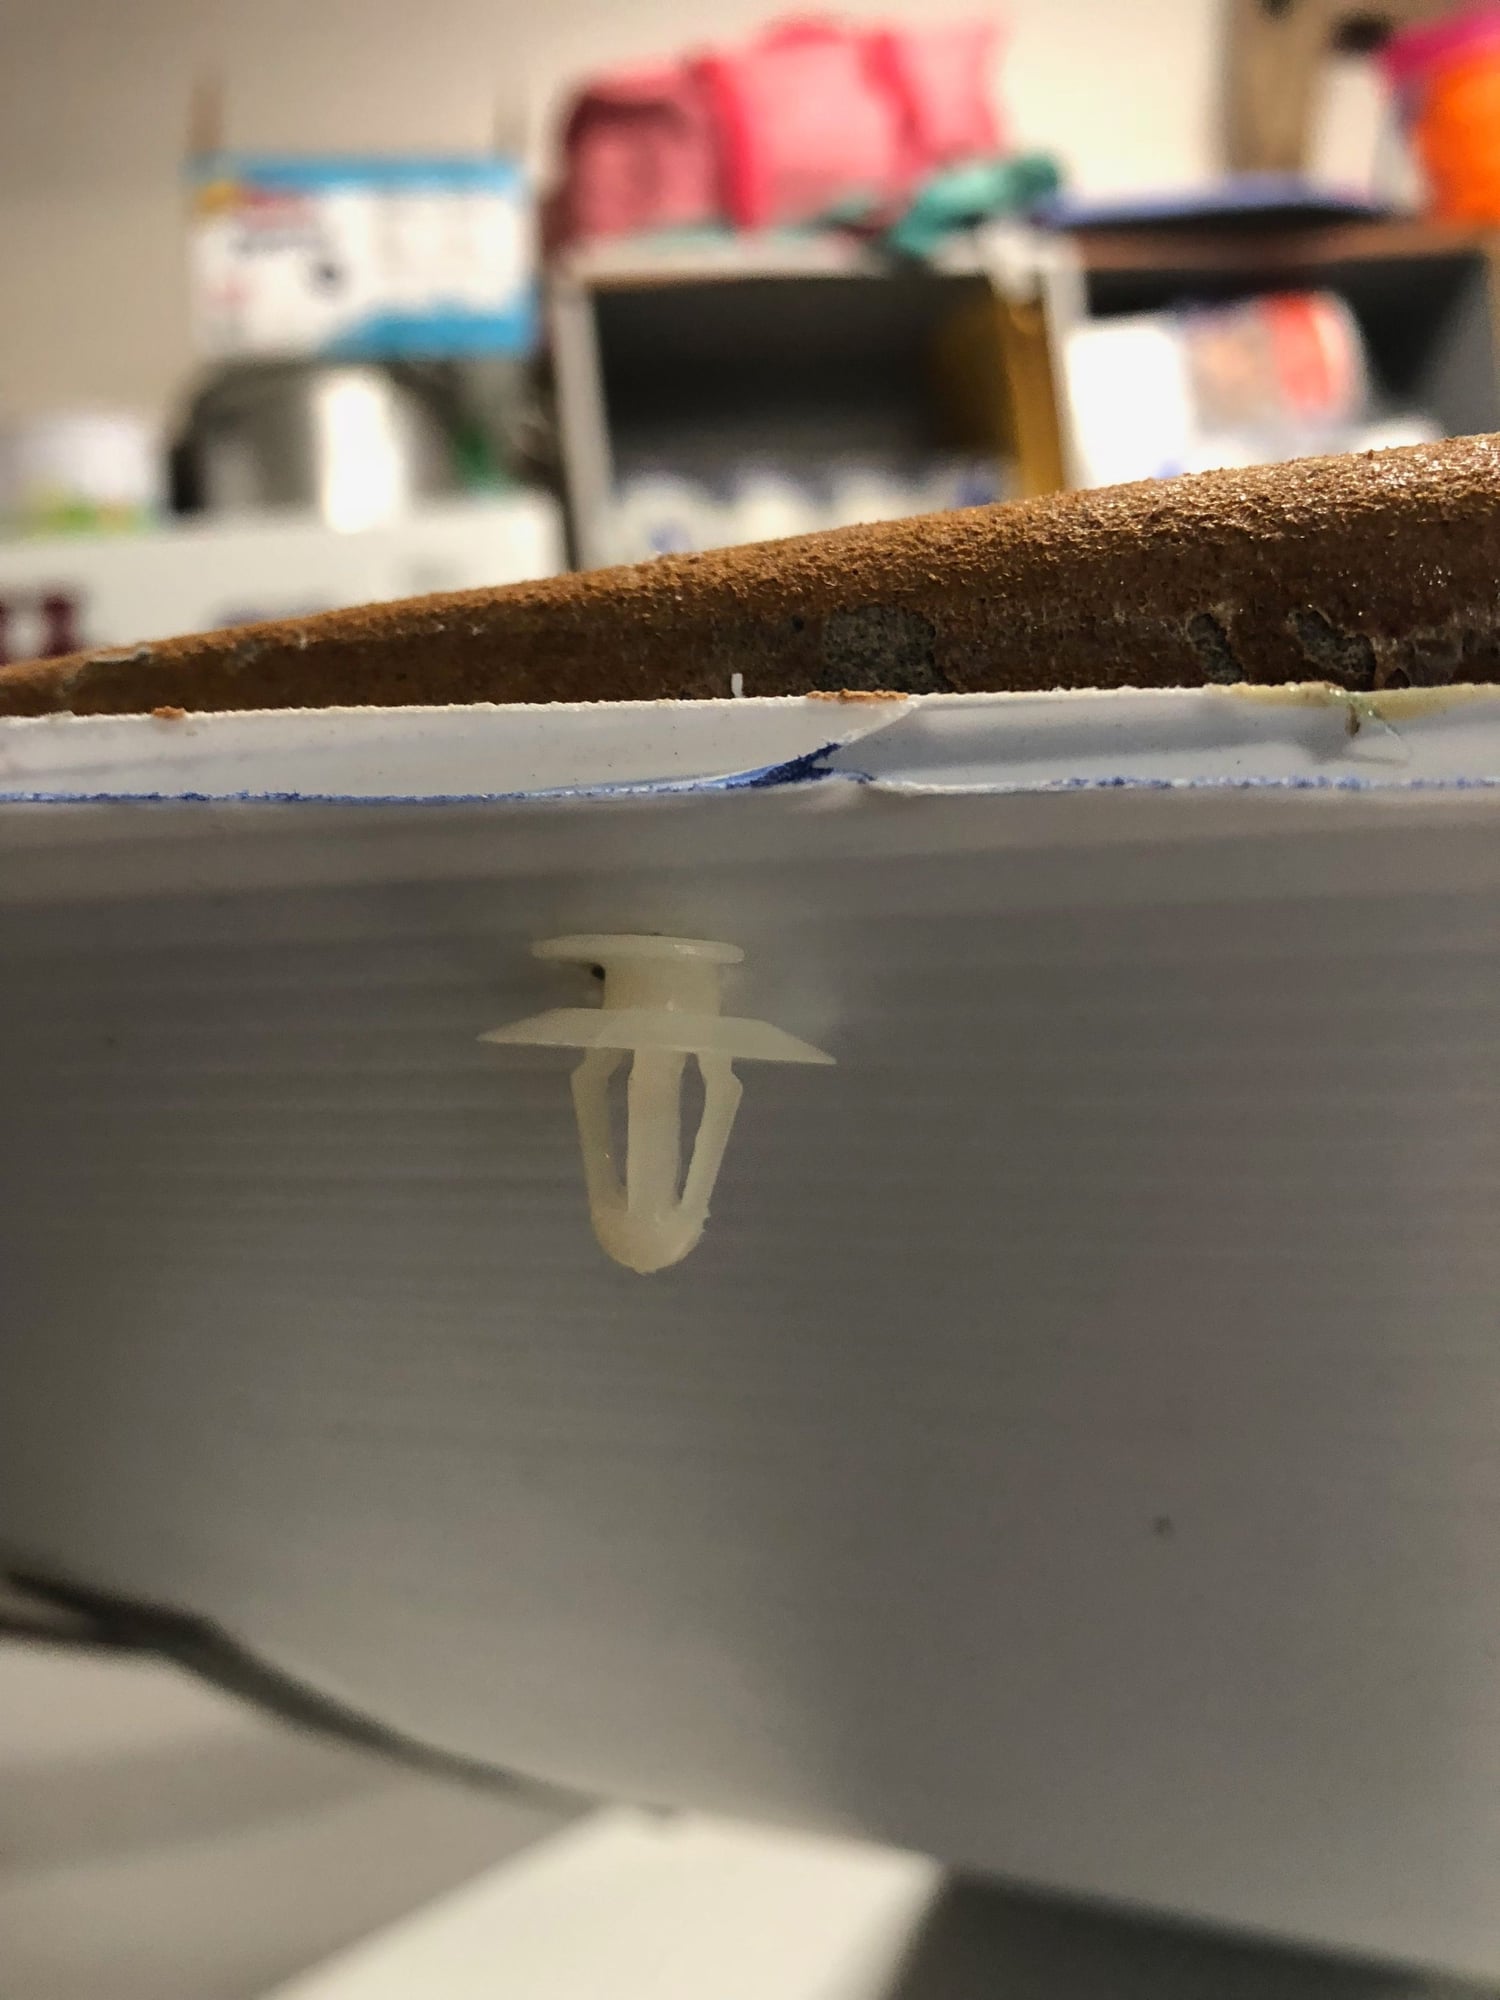
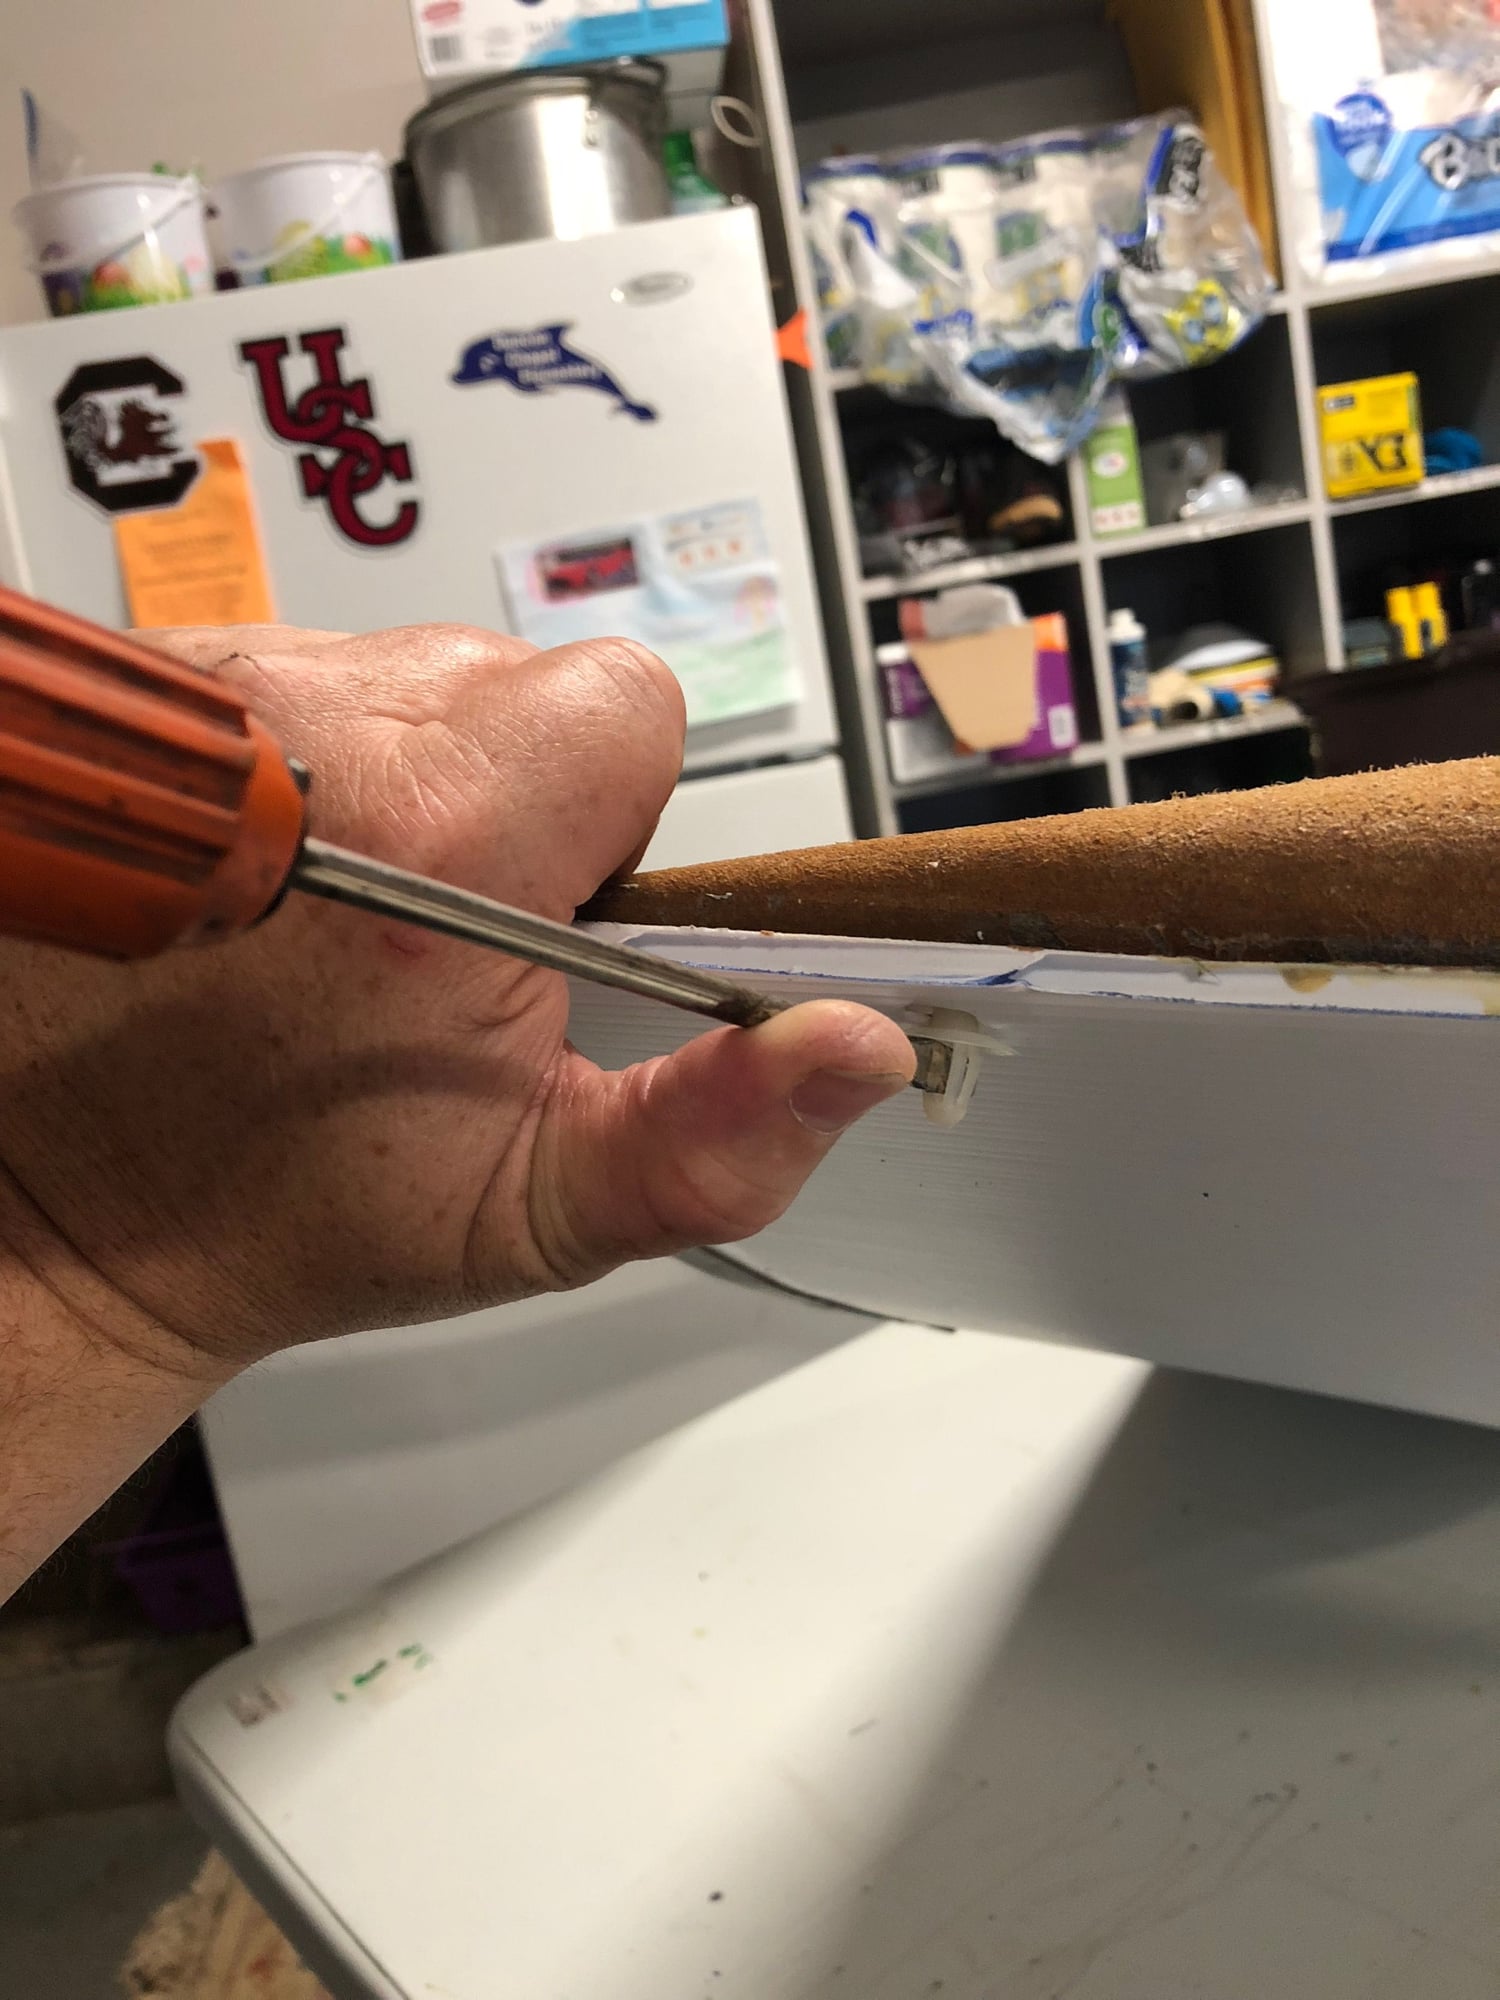
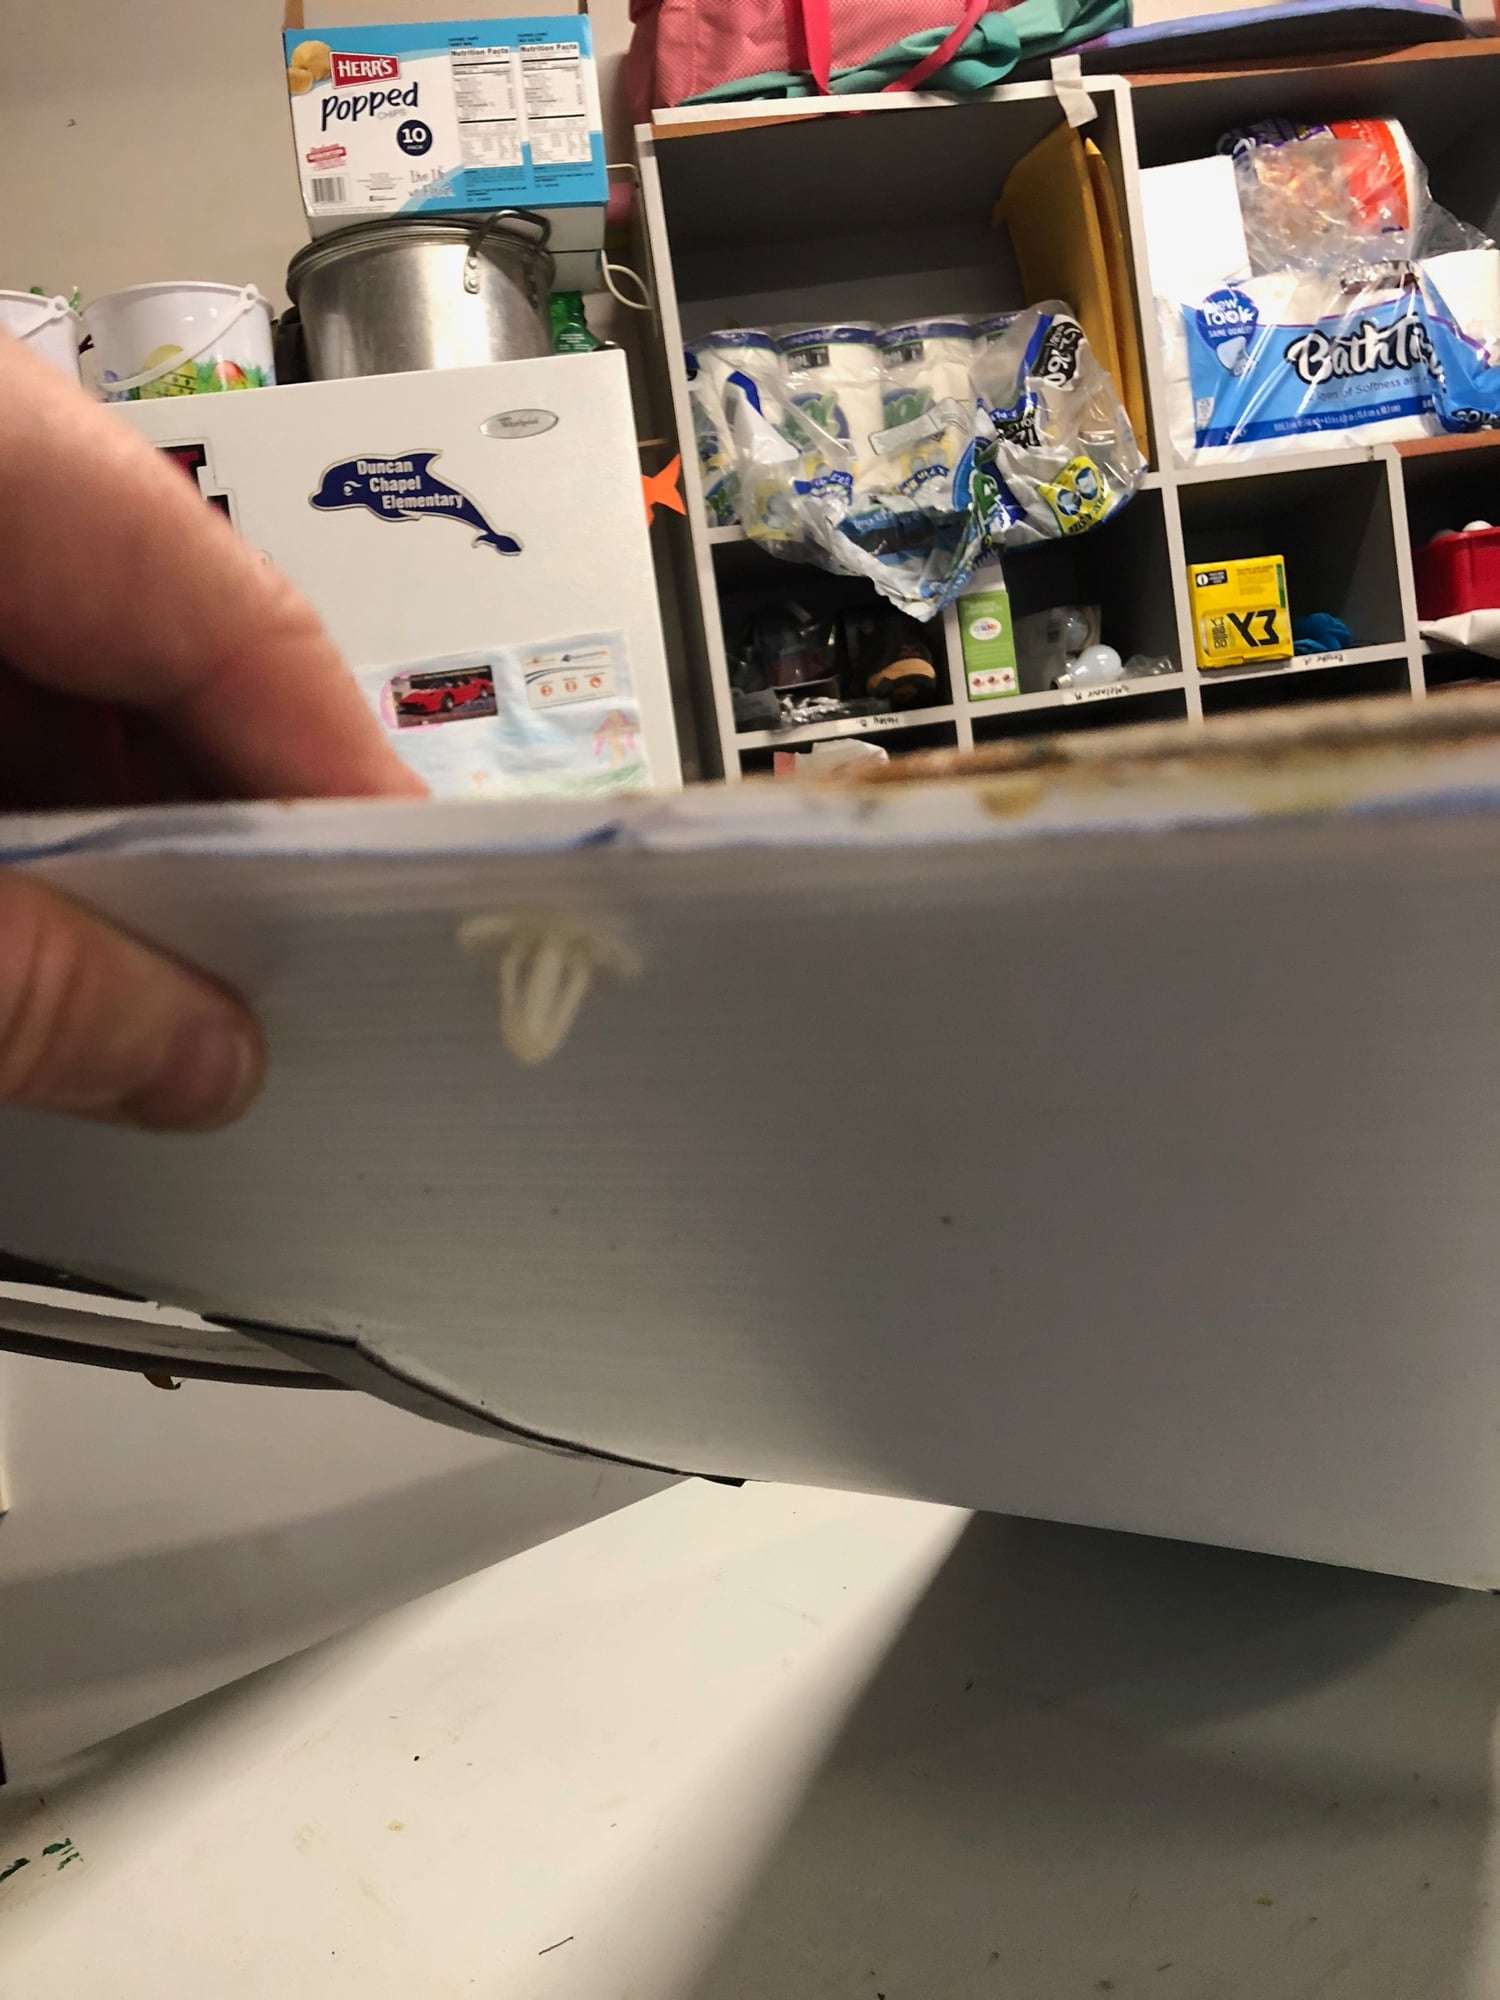
New DS console panel. The eucaboard is a little thicker than factory, so may have an issue with the plastic grommets that hold everything together. Working on a solution.
All - quite a bit of work this weekend. See pics below. Headliner replacement is coming together. More carpet is glued in place. Ready to reinstall rear seatbacks and cushions now.
See other thread on the passenger side axle shaft...ugh! Can't wait to get the other joint cleaned up so I can see where that chuck of metal came from!
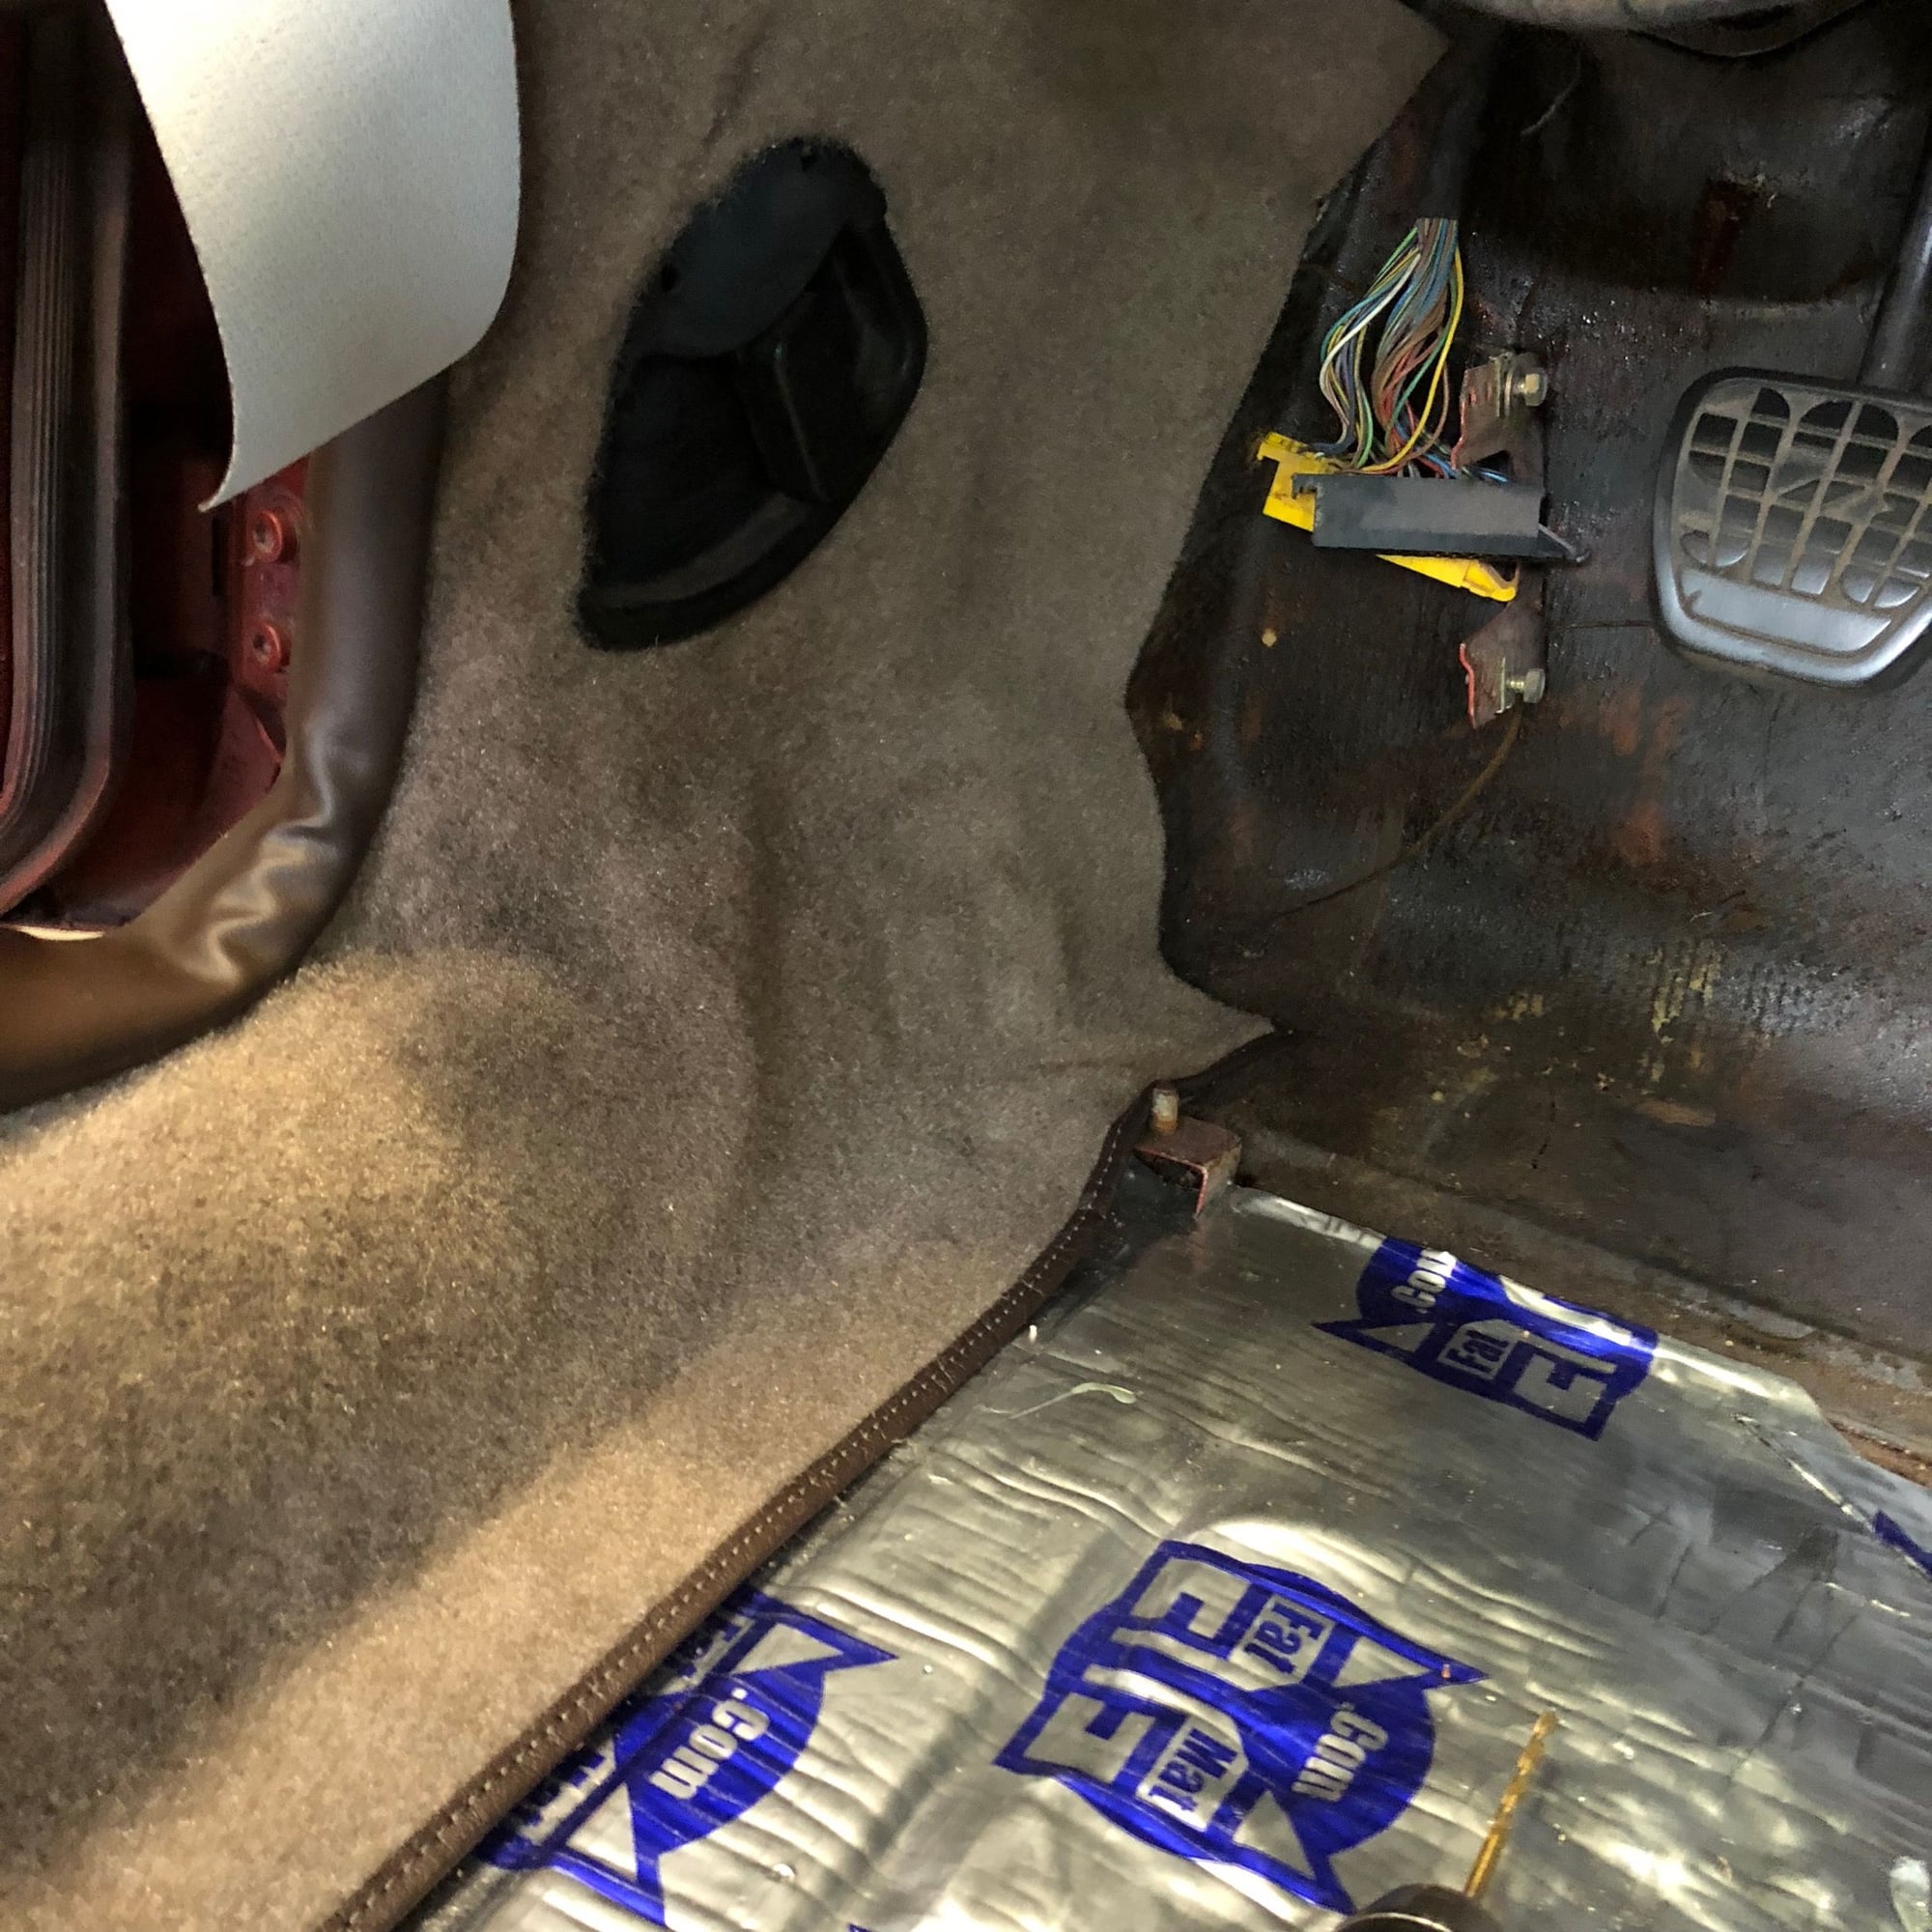
Carpet install - working around the hood release was surprisingly easy. New carpet is not as "thick" as original, so you can see things under the carpet (wires, cables, etc.) a little better - no big deal.
around handbrake area
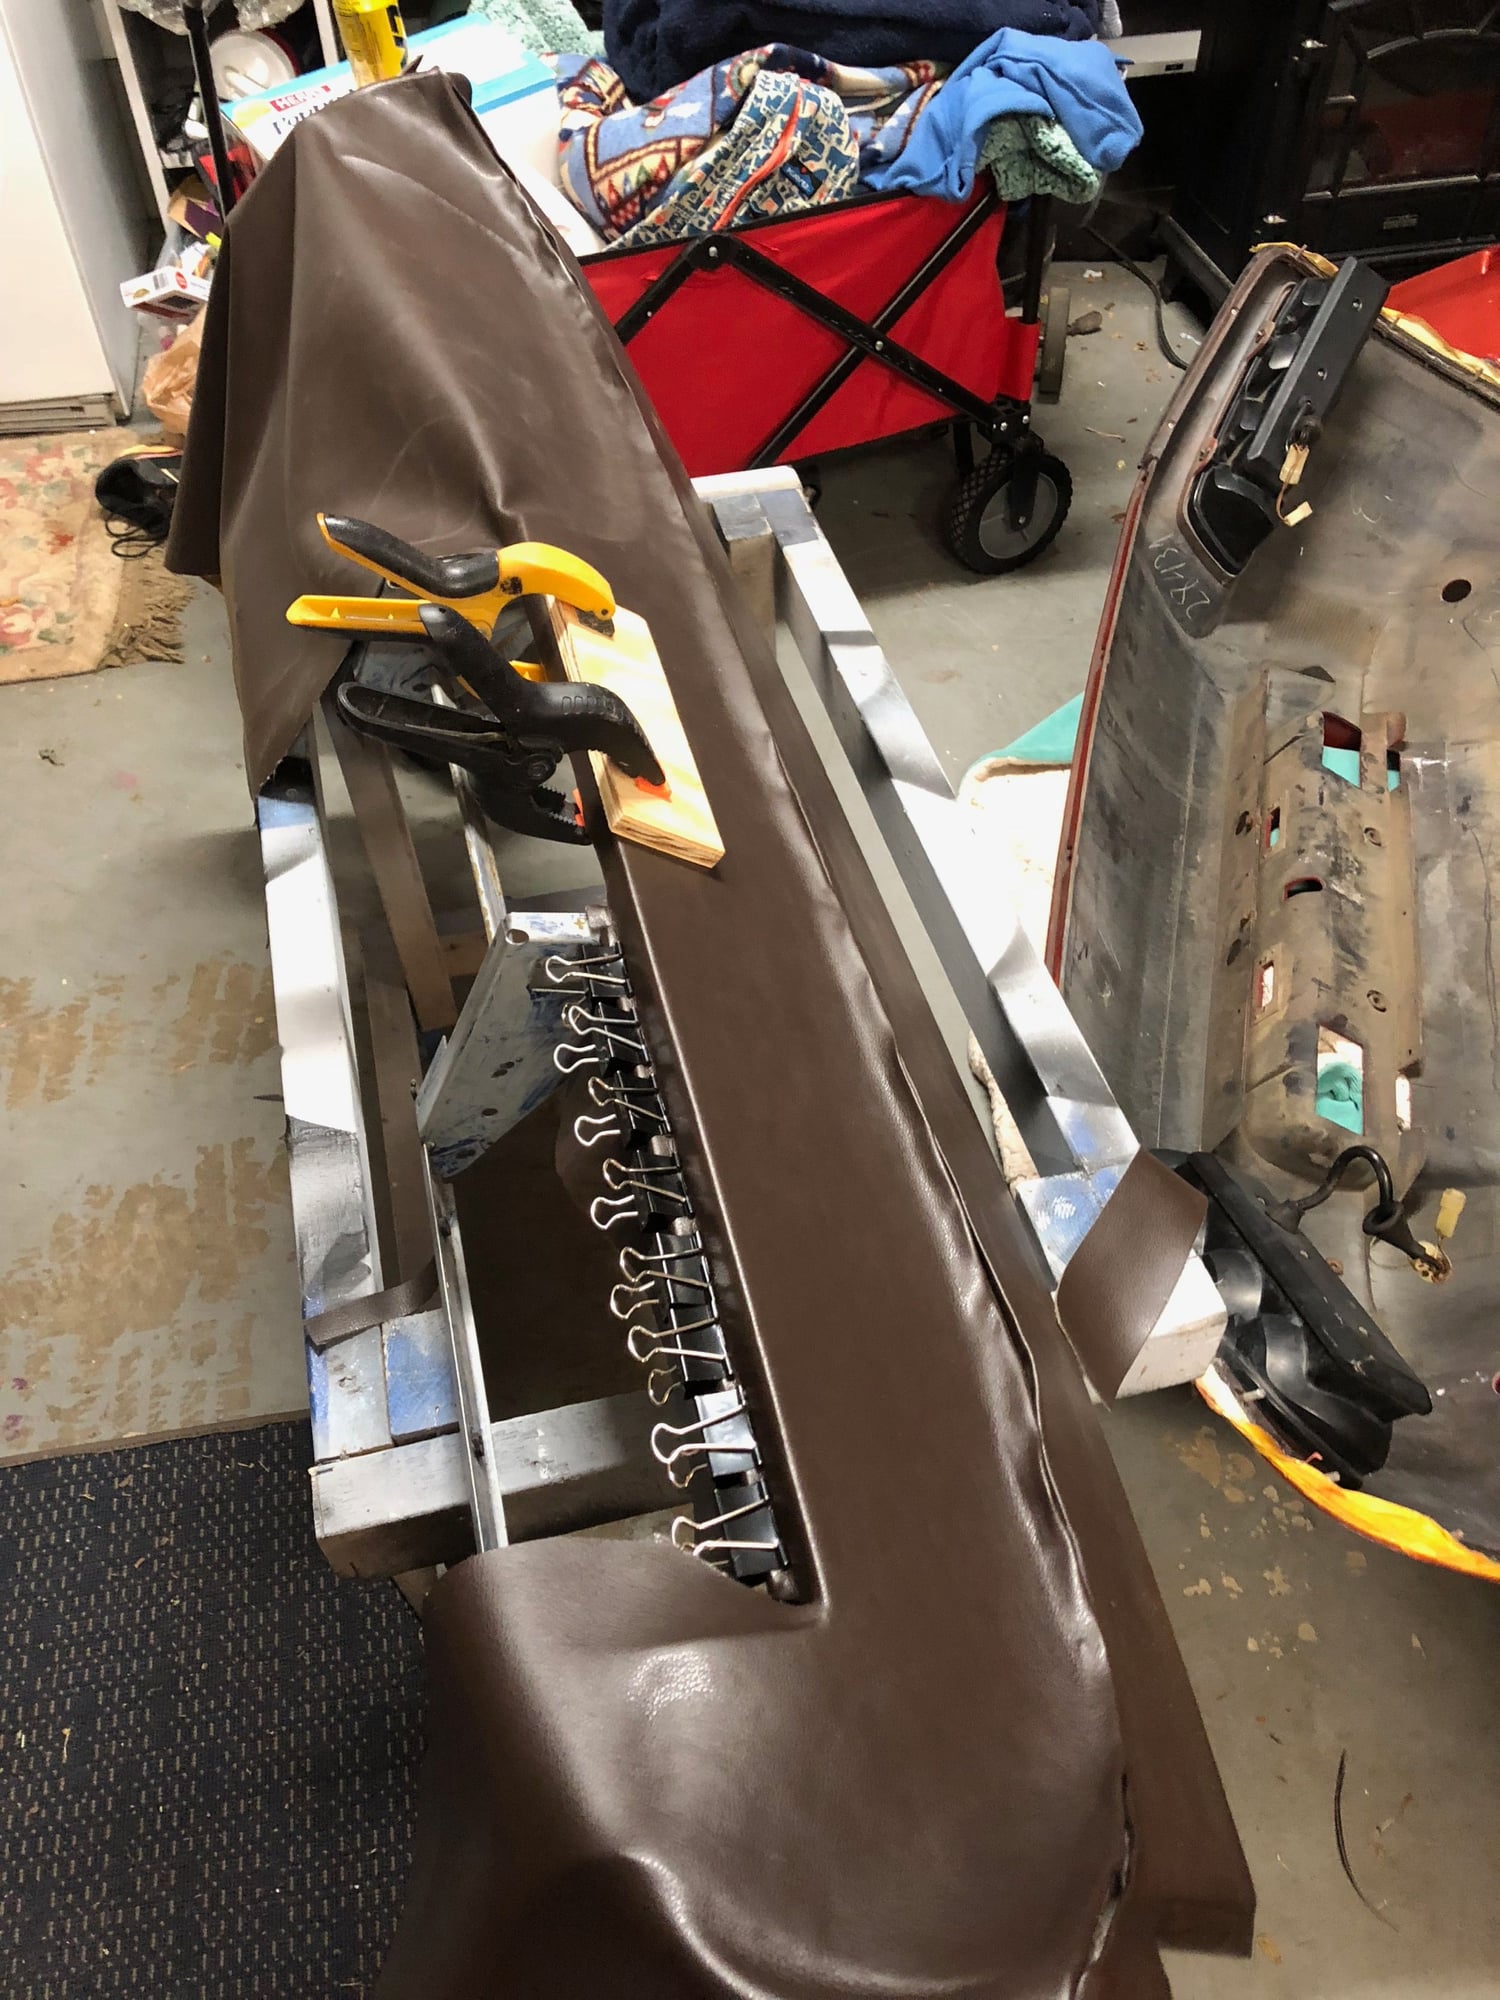
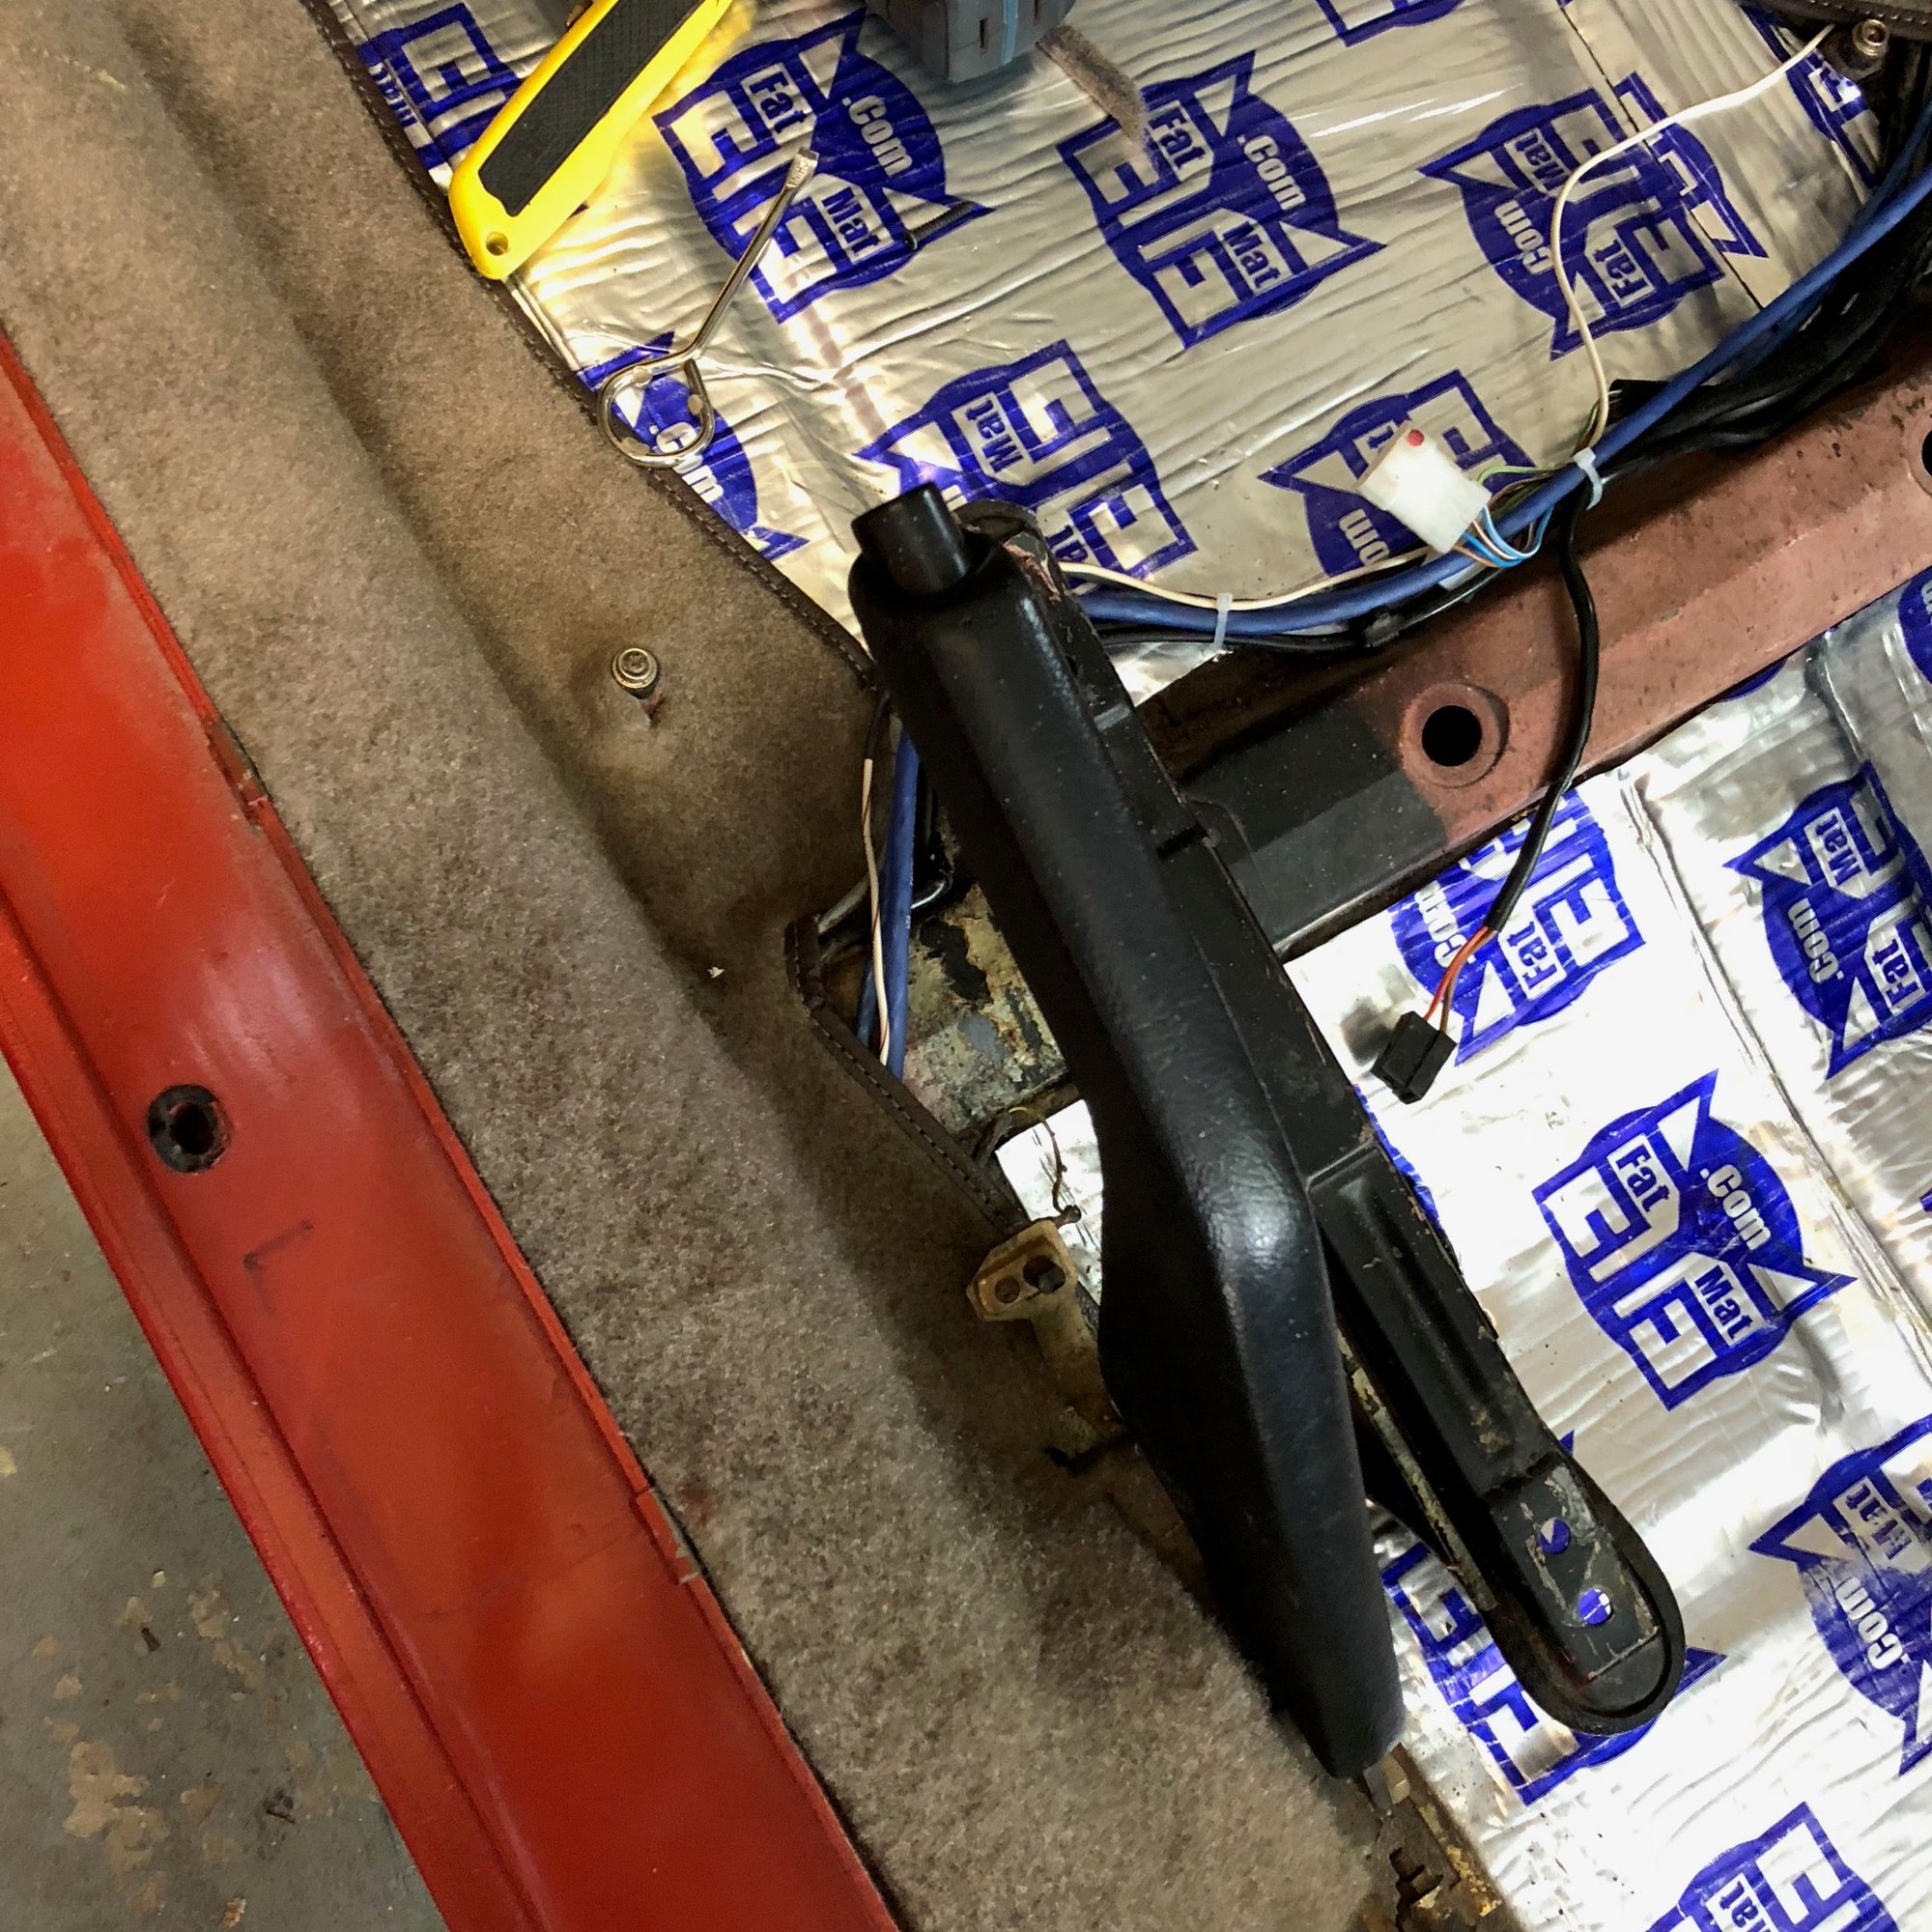
Center section from shift lever back is glued. Door sill sides are fully glued. Love the new color (mocha) against the Kiln red.
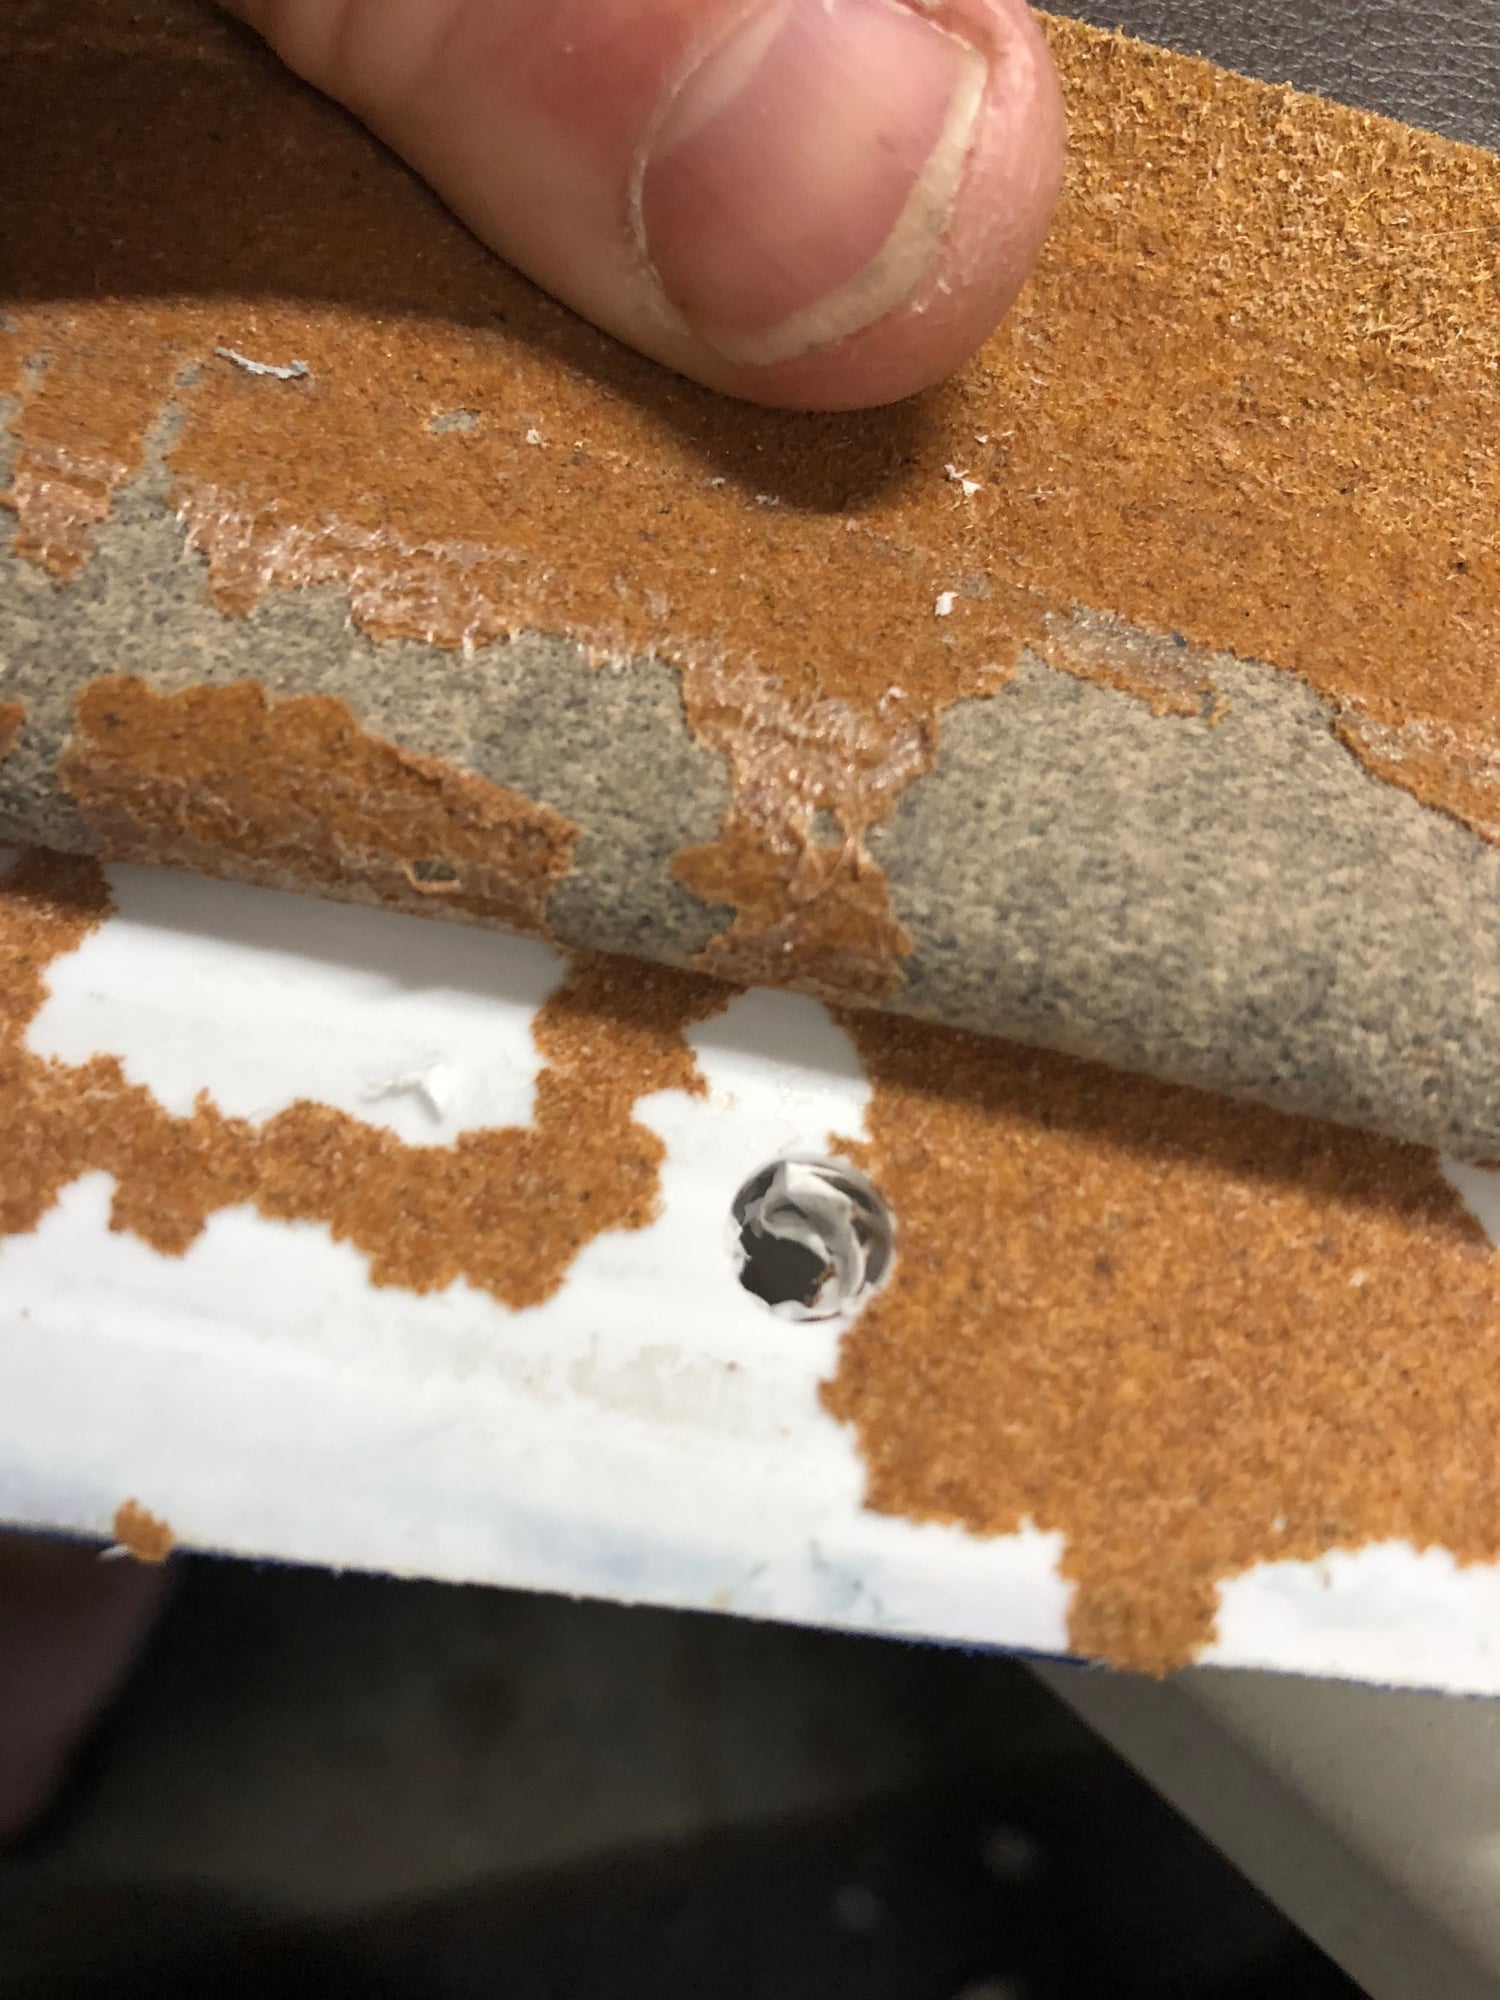
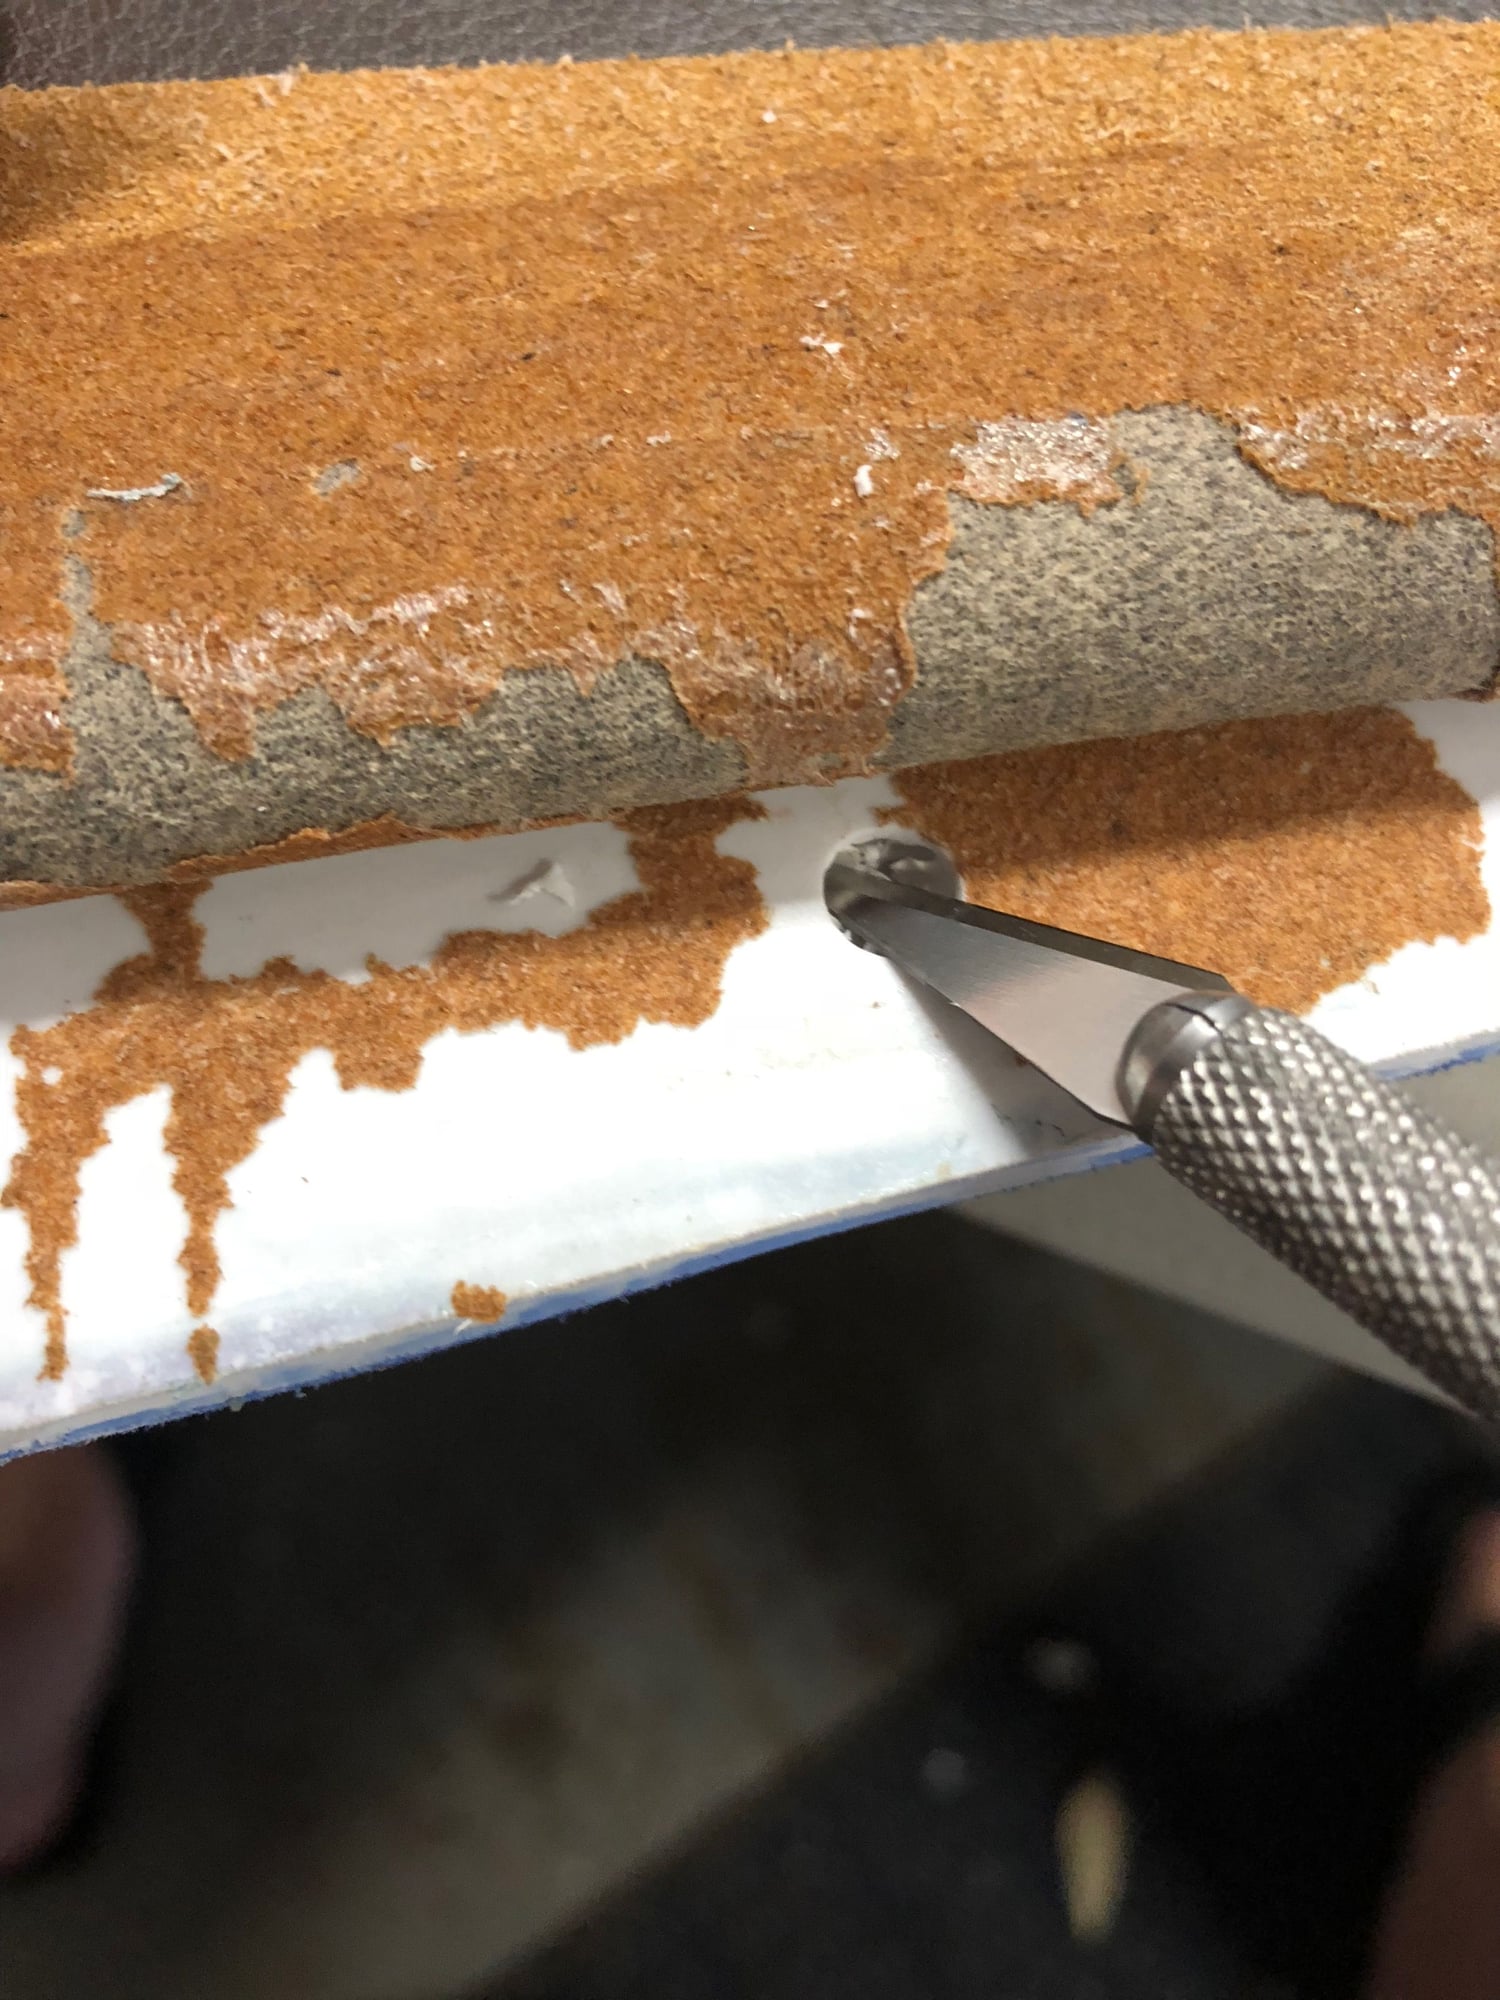
You can see that dum dum here forgot to drill those holes before I attached the front side of the vinyl, so I had to peel the edge back up to drill. I must say it held pretty well. It's simple Weldwood from Lowe's. I let it tack up for about 5 minutes and held with clamps over night.
Been using it for the vinyl on the headliner, dash, etc. as well as for the carpet.


 05-07-2018, 02:50 PM