When you click on links to various merchants on this site and make a purchase, this can result in this site earning a commission. Affiliate programs and affiliations include, but are not limited to, the eBay Partner Network.
Checking in again. Ready to throw my money at you.
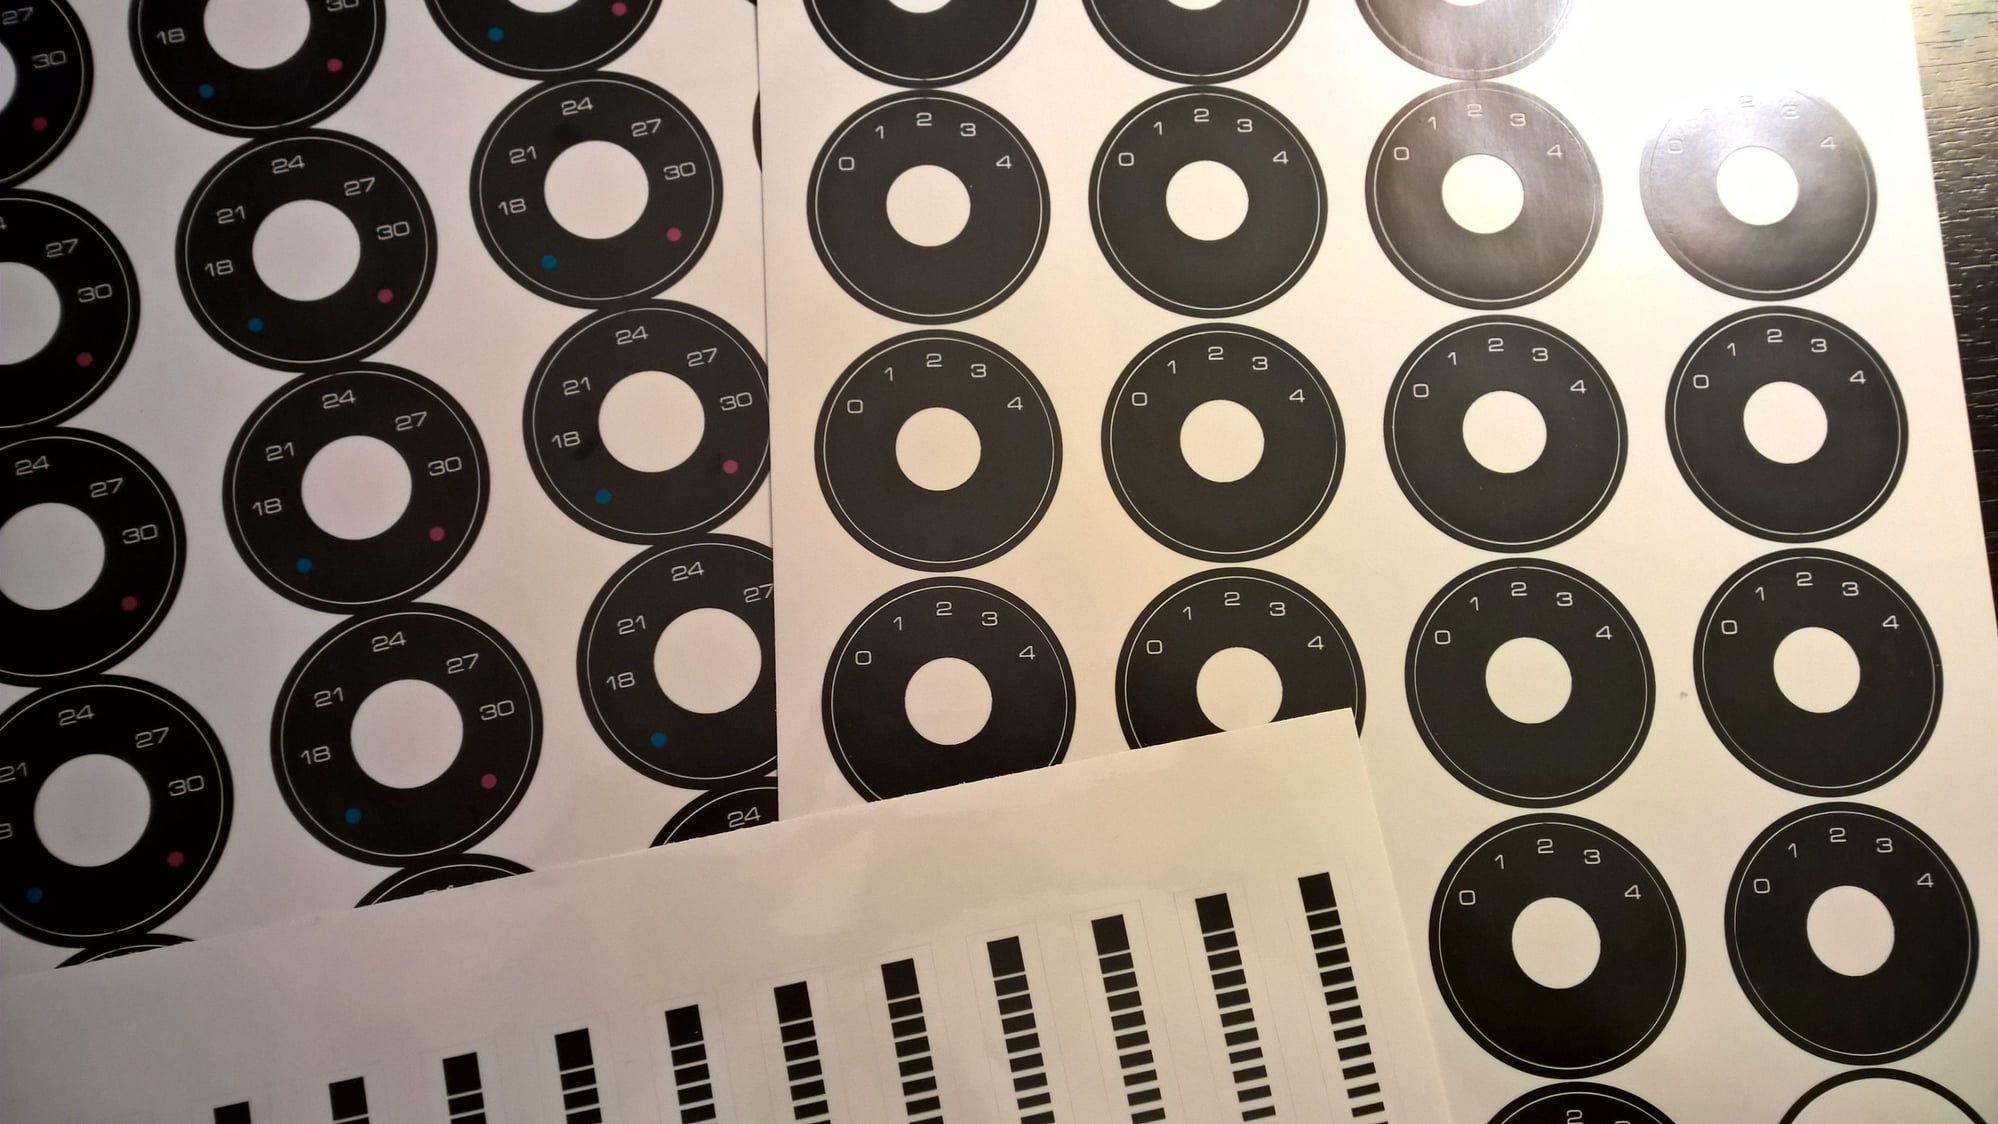
Held up on sourcing the labels. I'm not happy with the daylight visibility and general 'feel' of these stickers.
I need to find something a bit more 'textured' and less resistant to scratches.
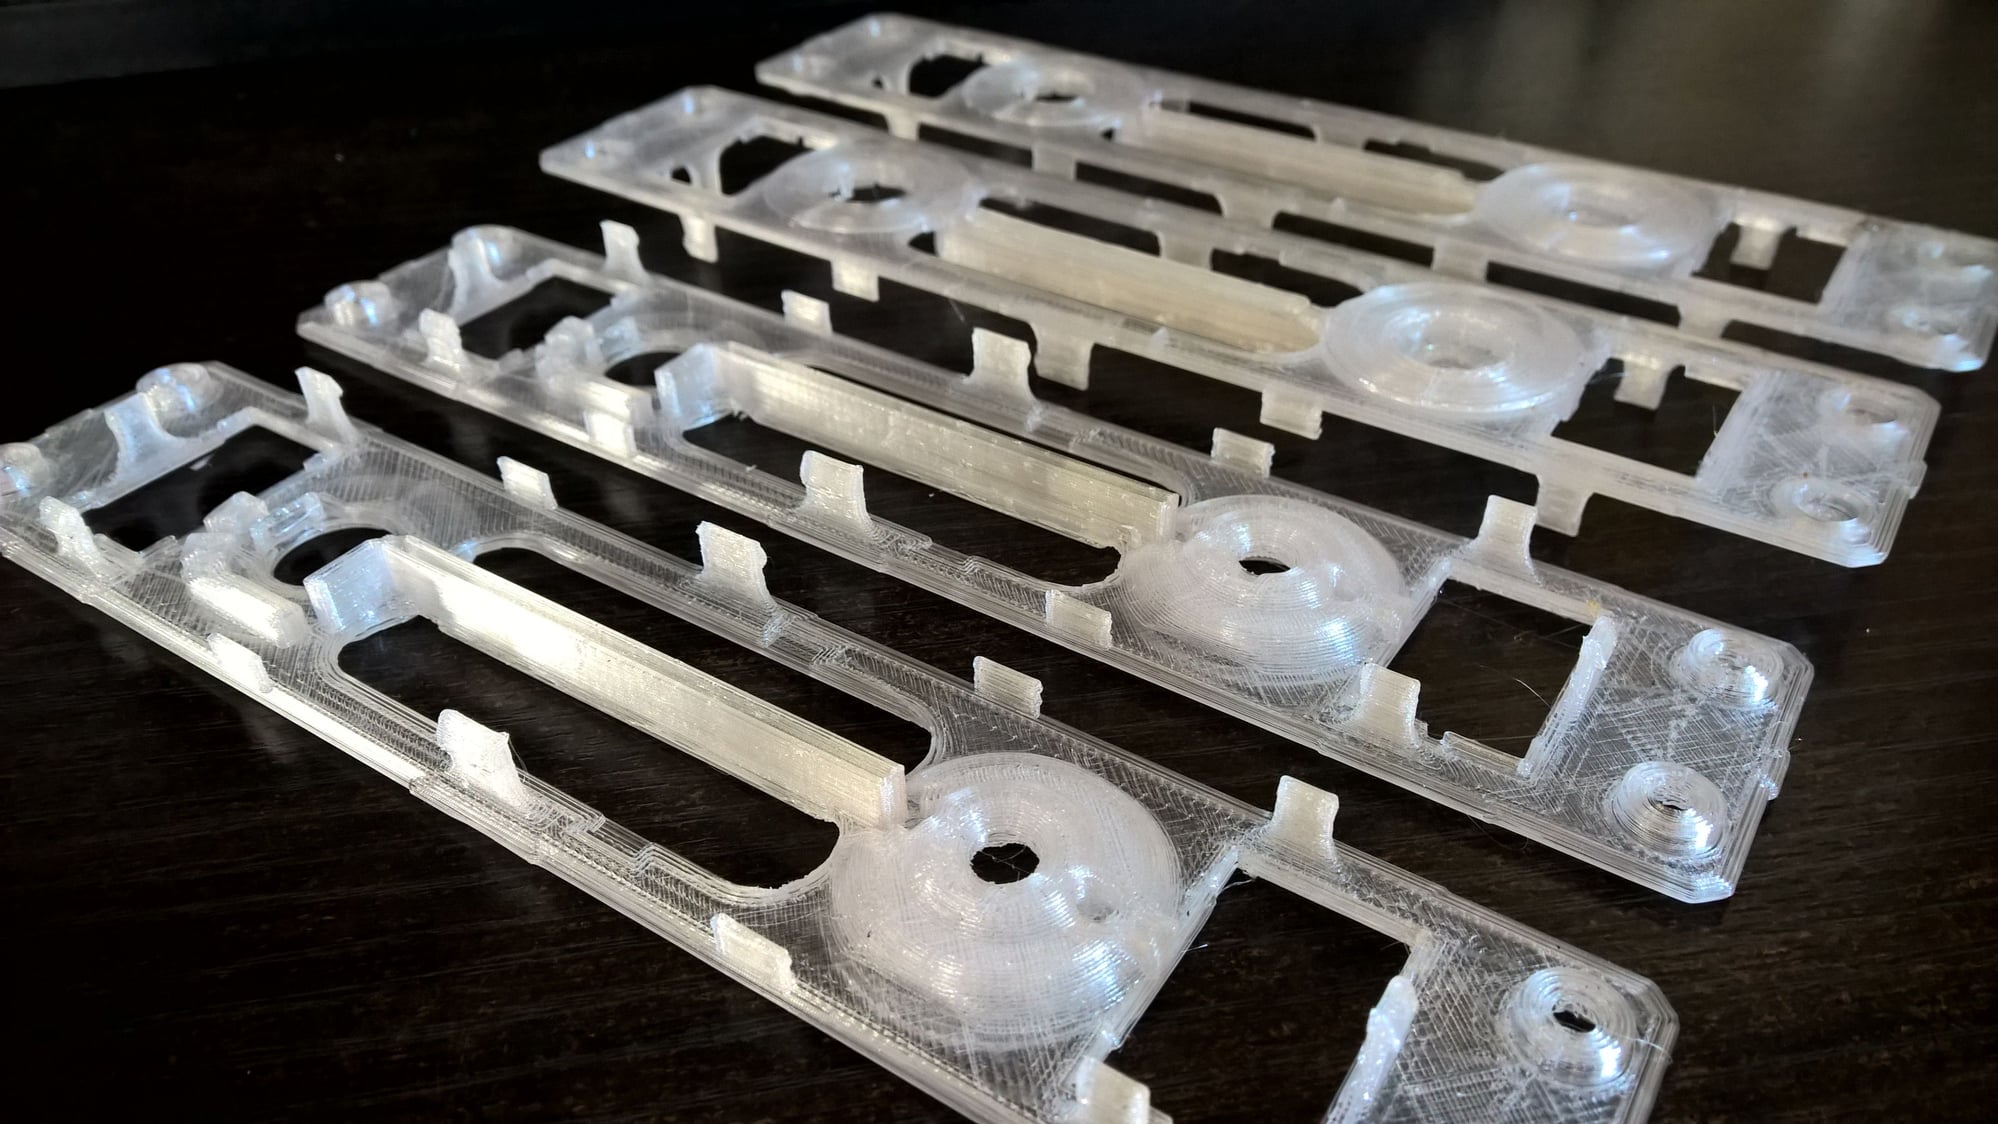
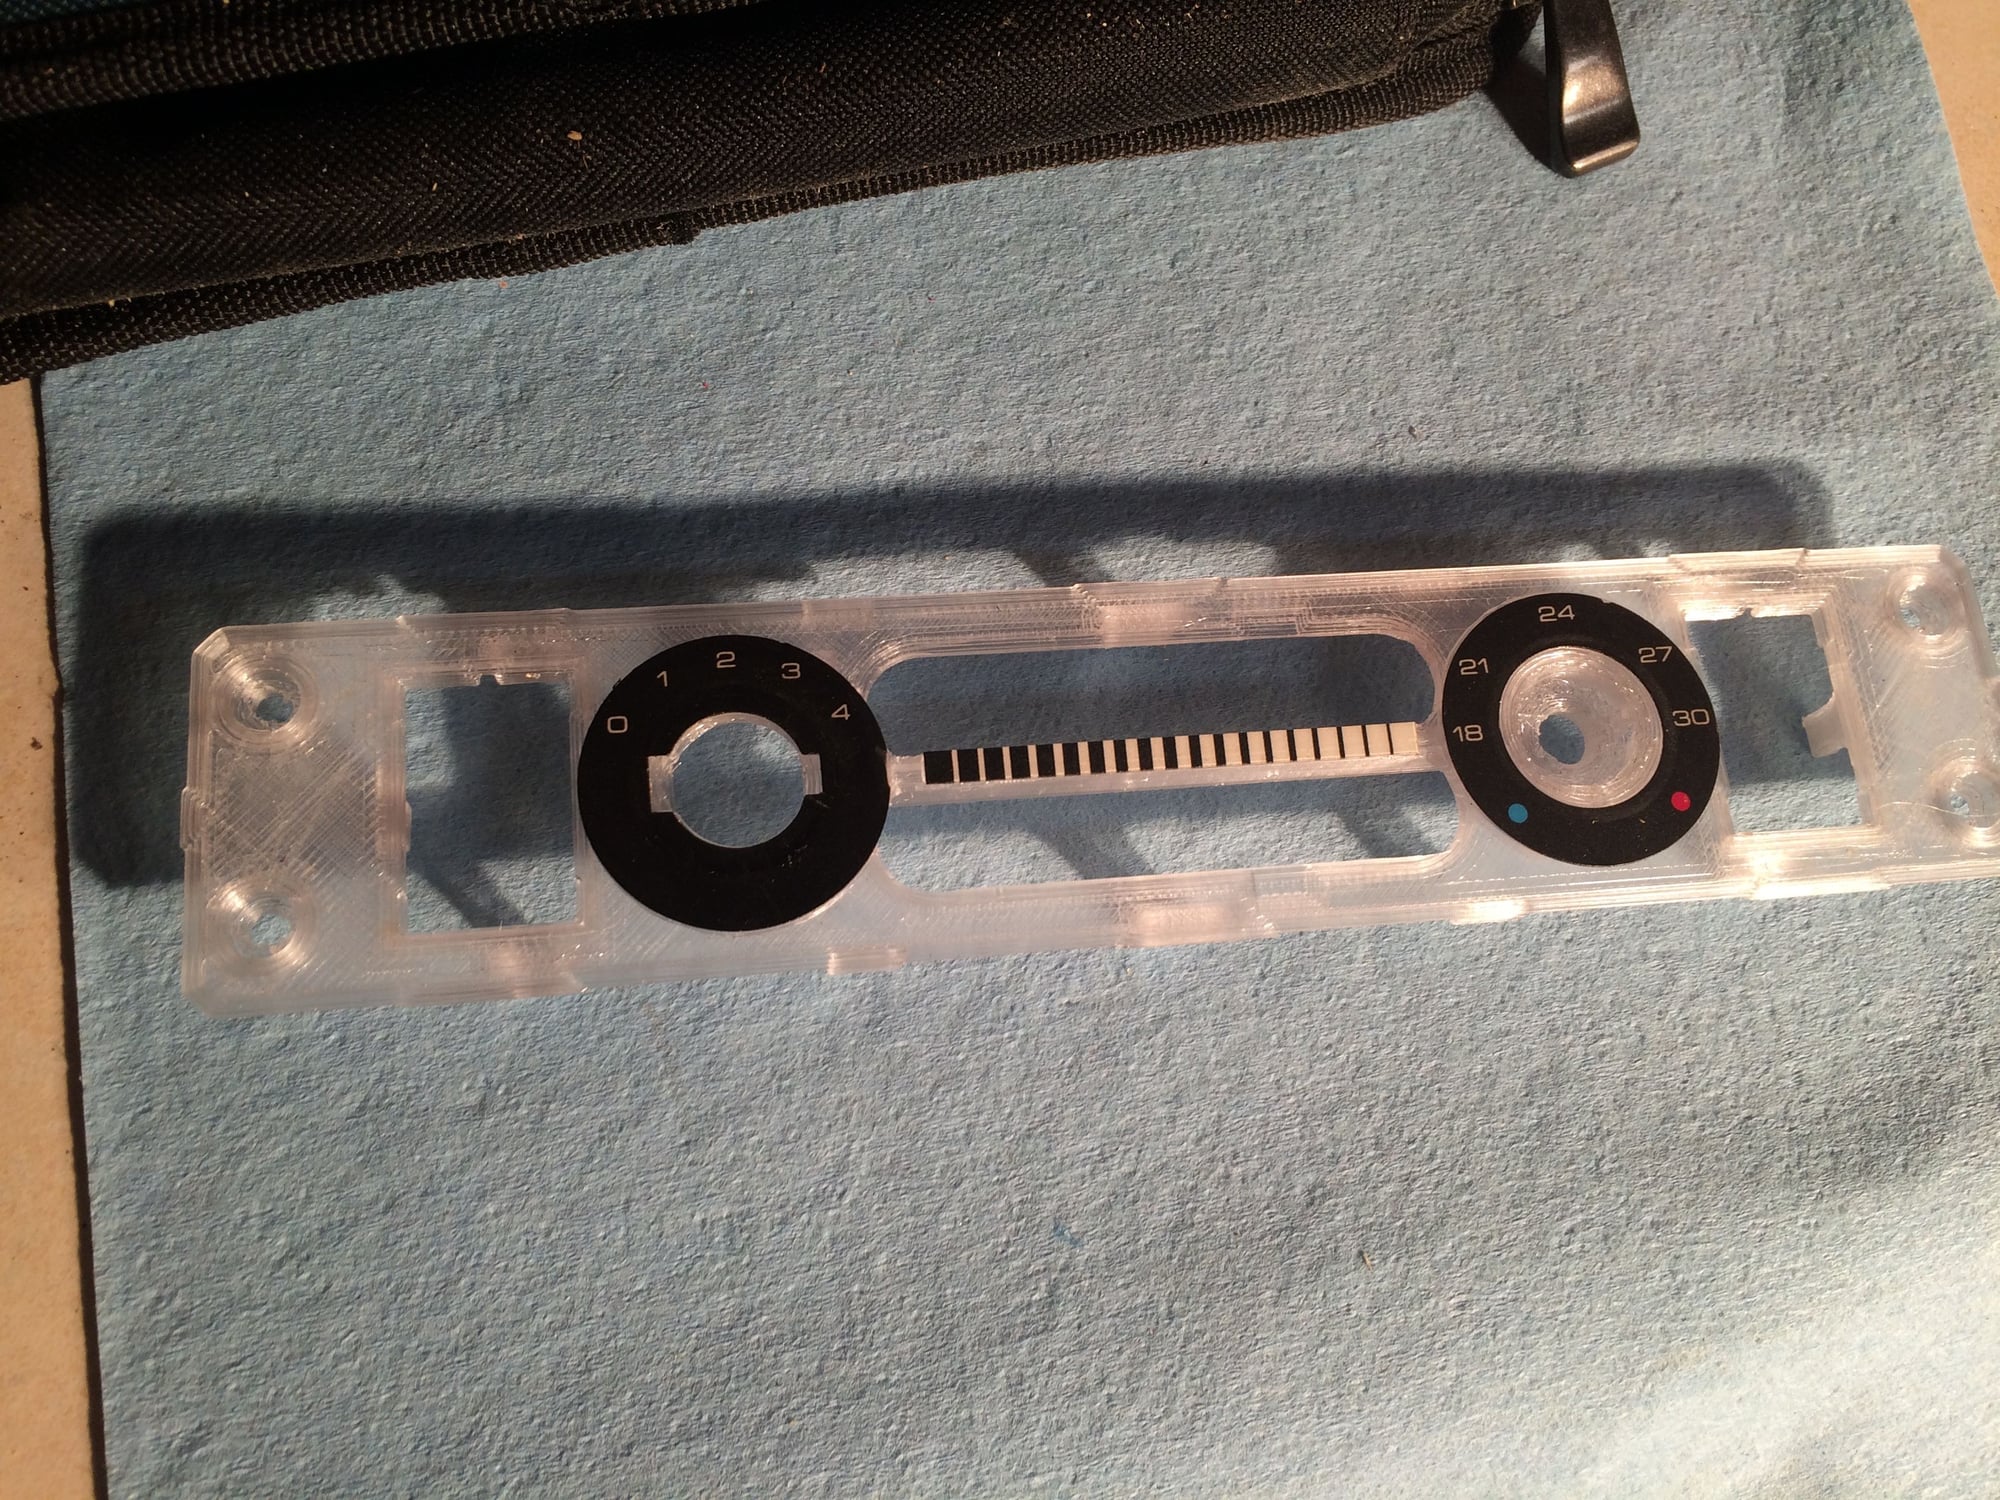
The replacement plate itself is perfect. I beefed up the snaps a bit and reduced some of the sharp changes in geometry (stress risers).
I won't be working on this the remainder of the month, but I hope to have the completed product available in late January.
Nice work, this is definitely one of those things that every 944 owner needs or will need.
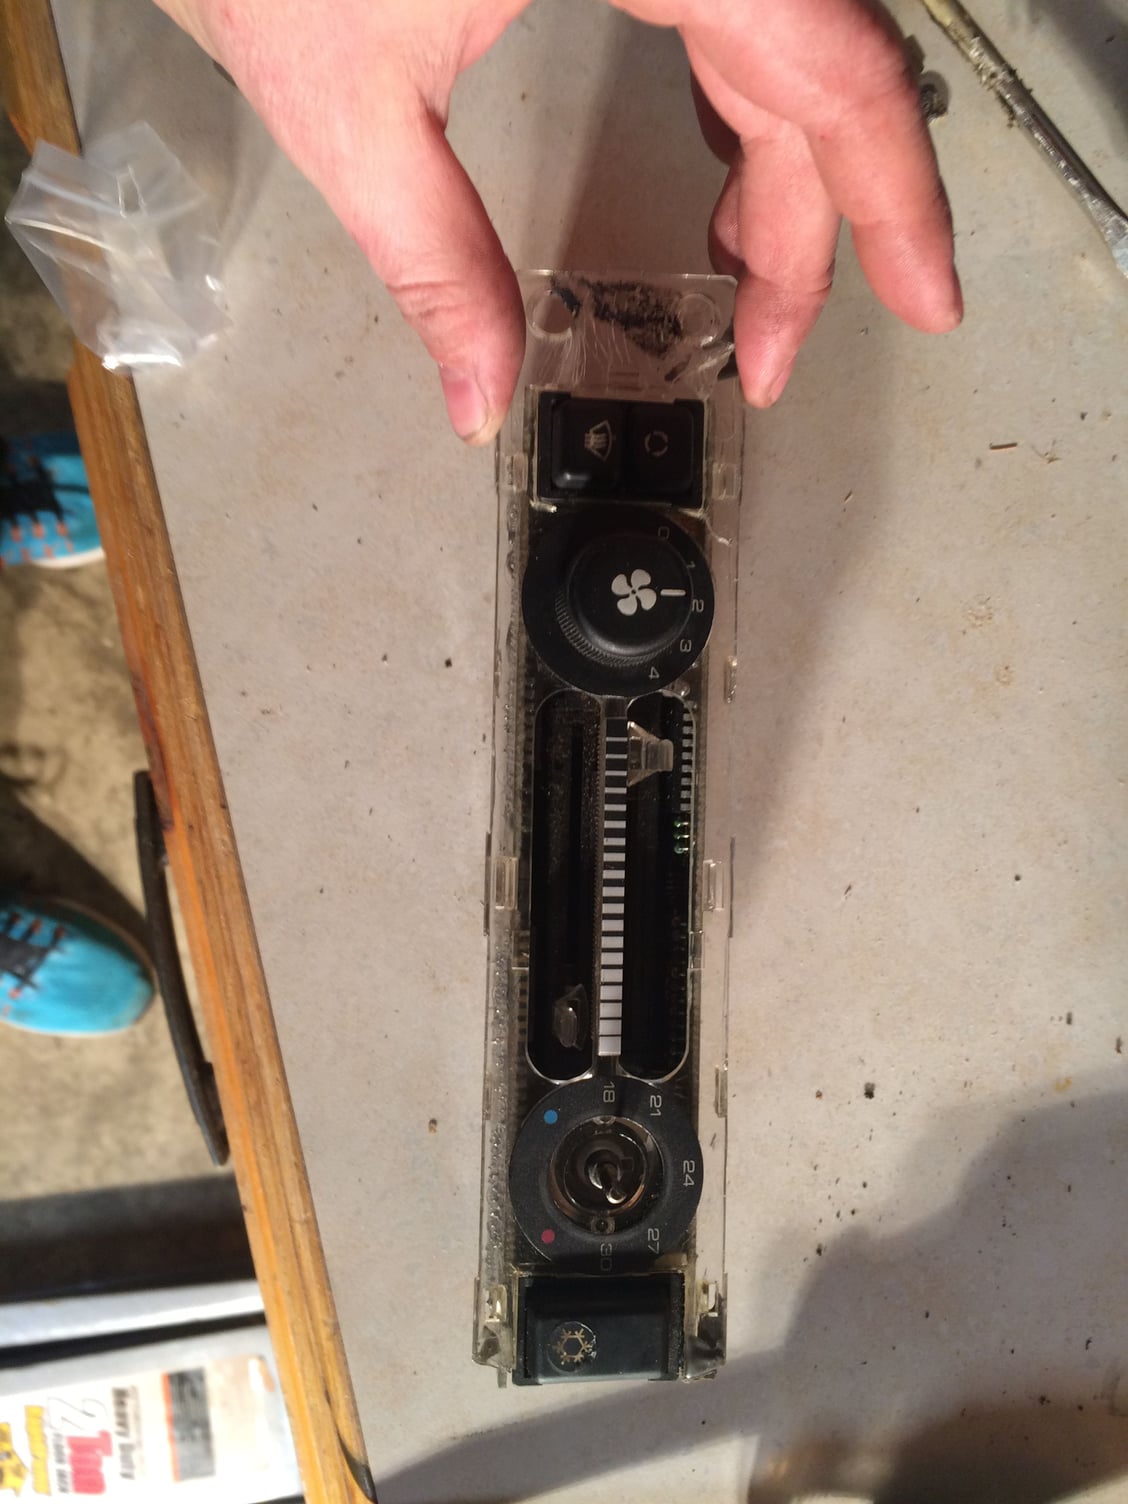
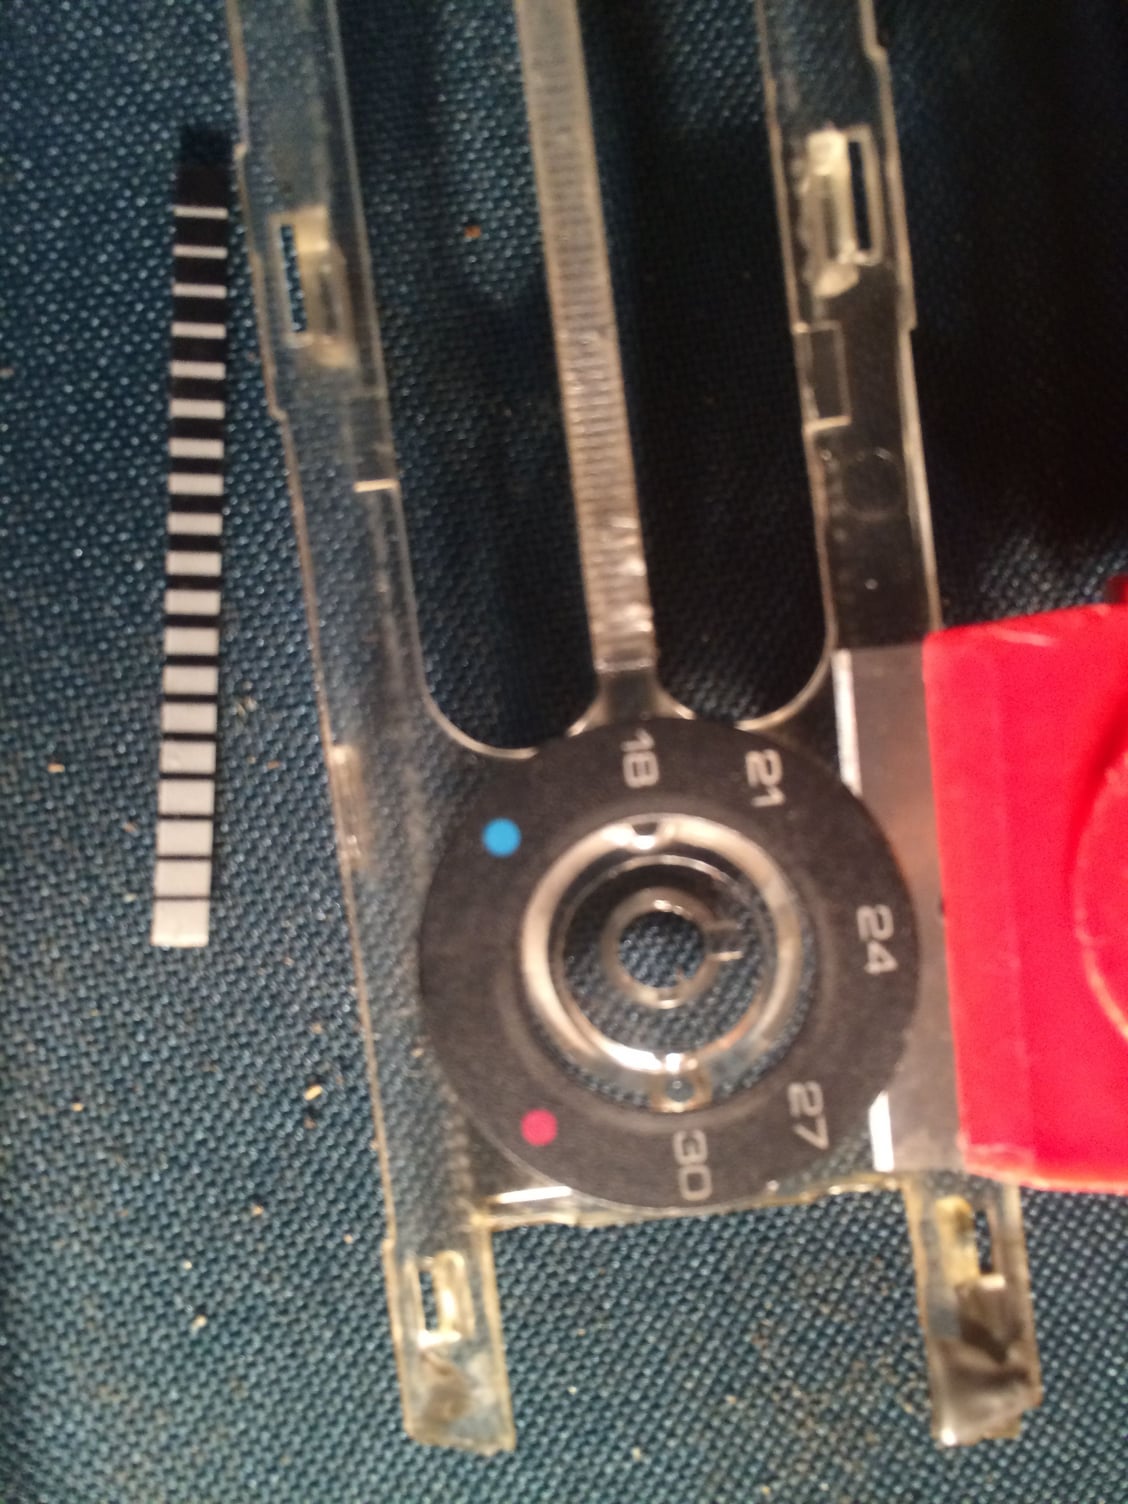
I was surprised to see that blue-red gradient graphic around the temp **** on non-AC euro-market units. I thought we got the dumbed-down versions here in the US? But they decided to give us the precise numbers? And, they're in Celsius, LOL!
While I appreciate the effort to get proper labels, I was able to remove the labels in less than 30 seconds using a plastic chisel from Harbor Freight. You could probably do this with a dull knife since the adhesive is not very strong, but that could vary with the age of the part.
I think that anyone could easily transfer the fan and temperature labels to the new plastic frame.
...I was surprised to see that blue-red gradient graphic around the temp **** on non-AC euro-market units. I thought we got the dumbed-down versions here in the US? But they decided to give us the precise numbers? And, they're in Celsius, LOL!
Personally cannot see the point of the numbers, the gradient makes more sense. I've never been able to relate interior to exterior temperatures, when it's says 72 degrees in my car I'm in a t-shirt, when it's 72 degrees outside I'm in a sweater. Maybe it's just me
If you guys are willing to be 'beta' testers I can ship a few of these at a discount without the stickers. I would appreciate feedback and suggestions for the final version.
$20 USD + shipping ($5 to the US, $7.50 international).
Send me a PM with your Paypal email so I can generate an invoice.
I'll be out of town over x-mas, so if you want one sooner than mid-January, you'll need to order one before this Sunday. Would ship Monday/Tuesday and arrive within 5-8 business days.
While I don't expect there to be any issues with these early versions, I will send corrected replacements for the cost of shipping if necessary.
Edit - oh, and if you wanted anything else I make (www.944parts.ca), now would be a good time to save on shipping.
Personally cannot see the point of the numbers, the gradient makes more sense. I've never been able to relate interior to exterior temperatures, when it's says 72 degrees in my car I'm in a t-shirt, when it's 72 degrees outside I'm in a sweater. Maybe it's just me
I'm with you. 99% of the time it's set to fully cold. When I need to defrost, it's set to fully hot. When I feel chilly, I set it about halfway.
Here is the offending unit:
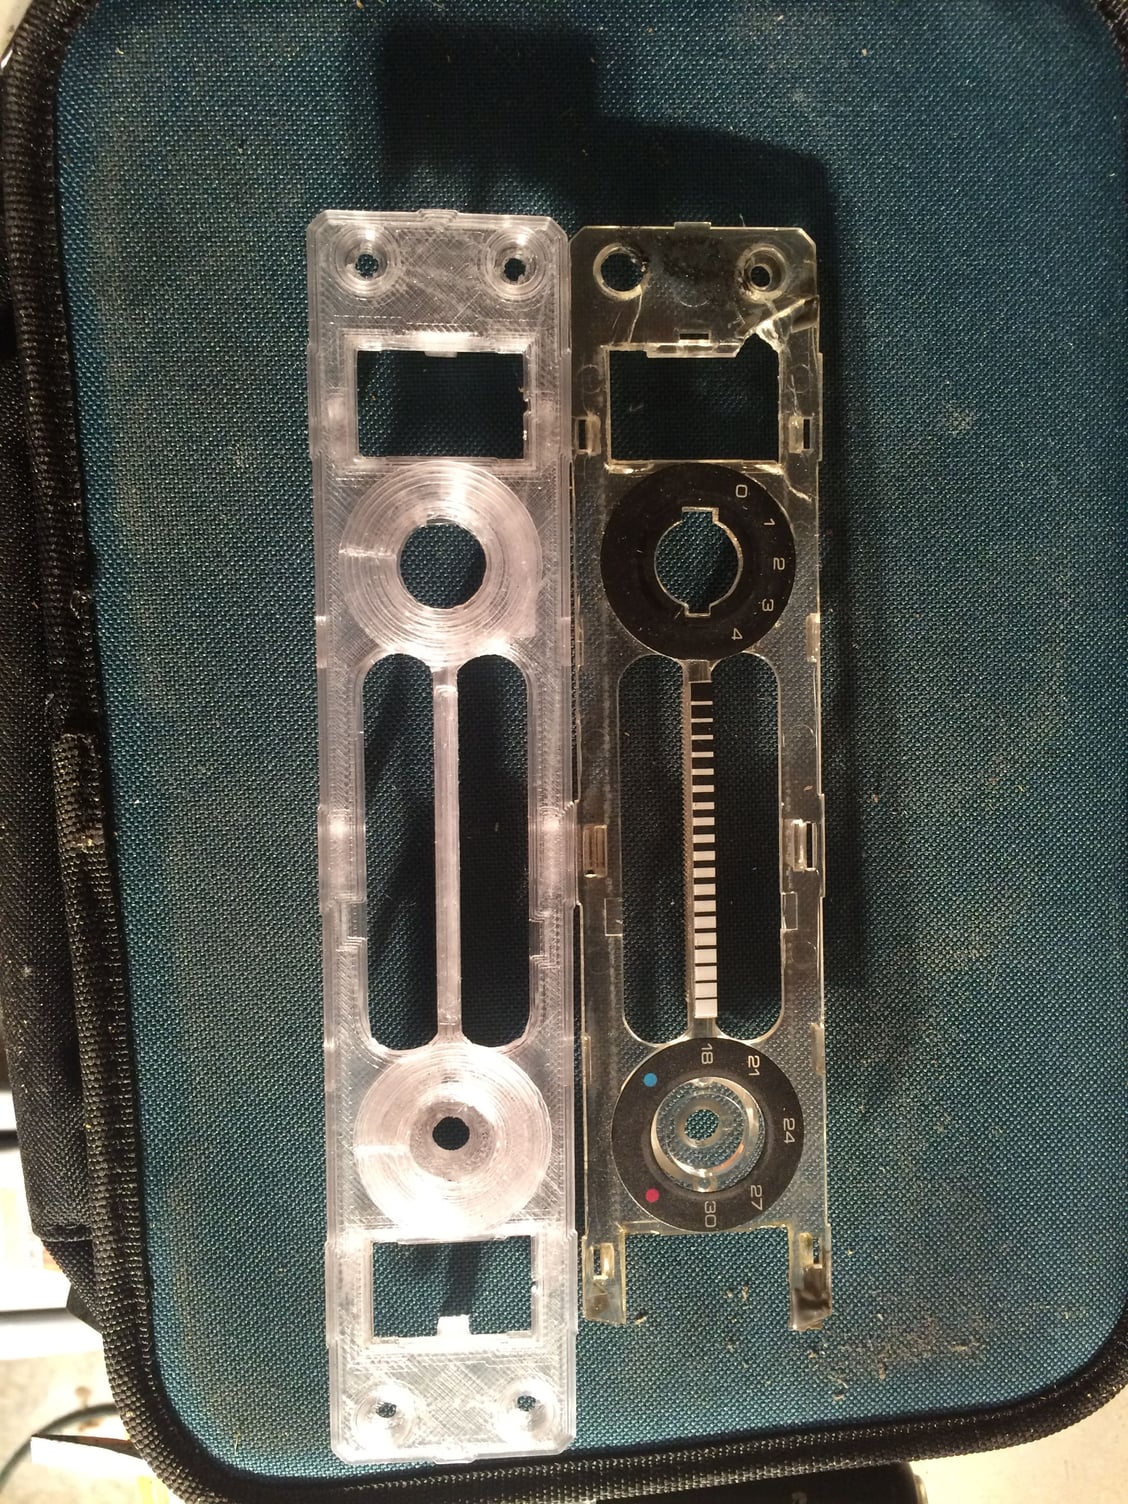
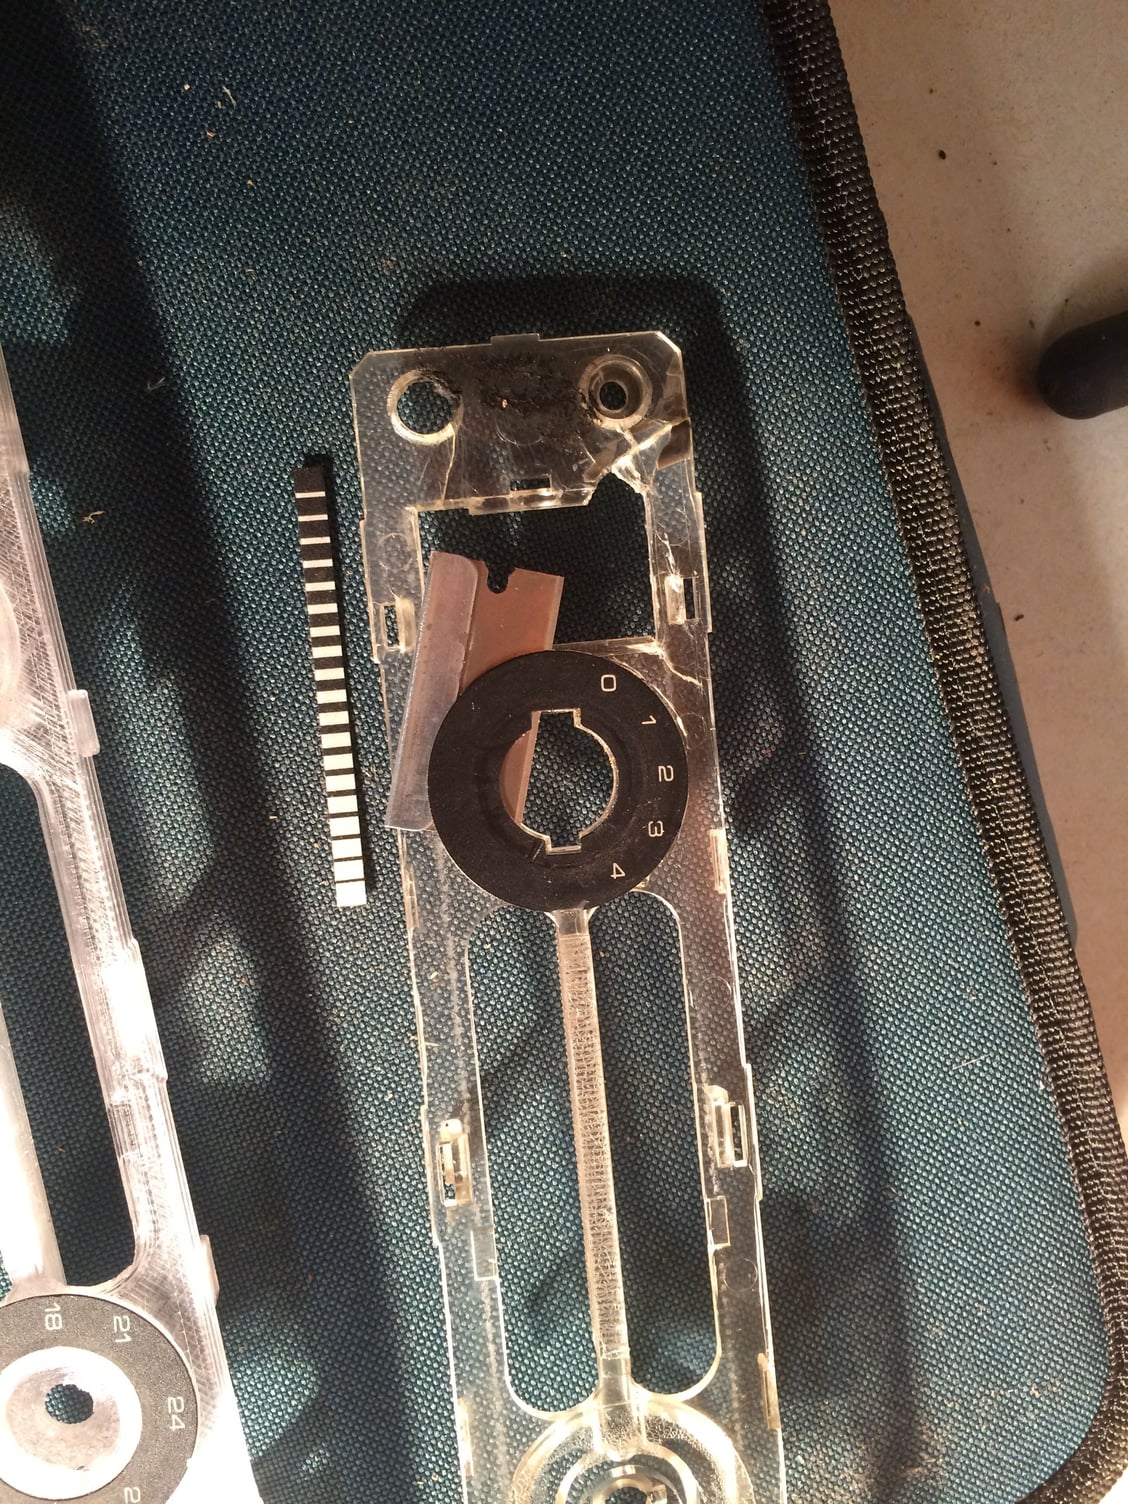
And here they are side by side:
Use a razor to remove the stickers:
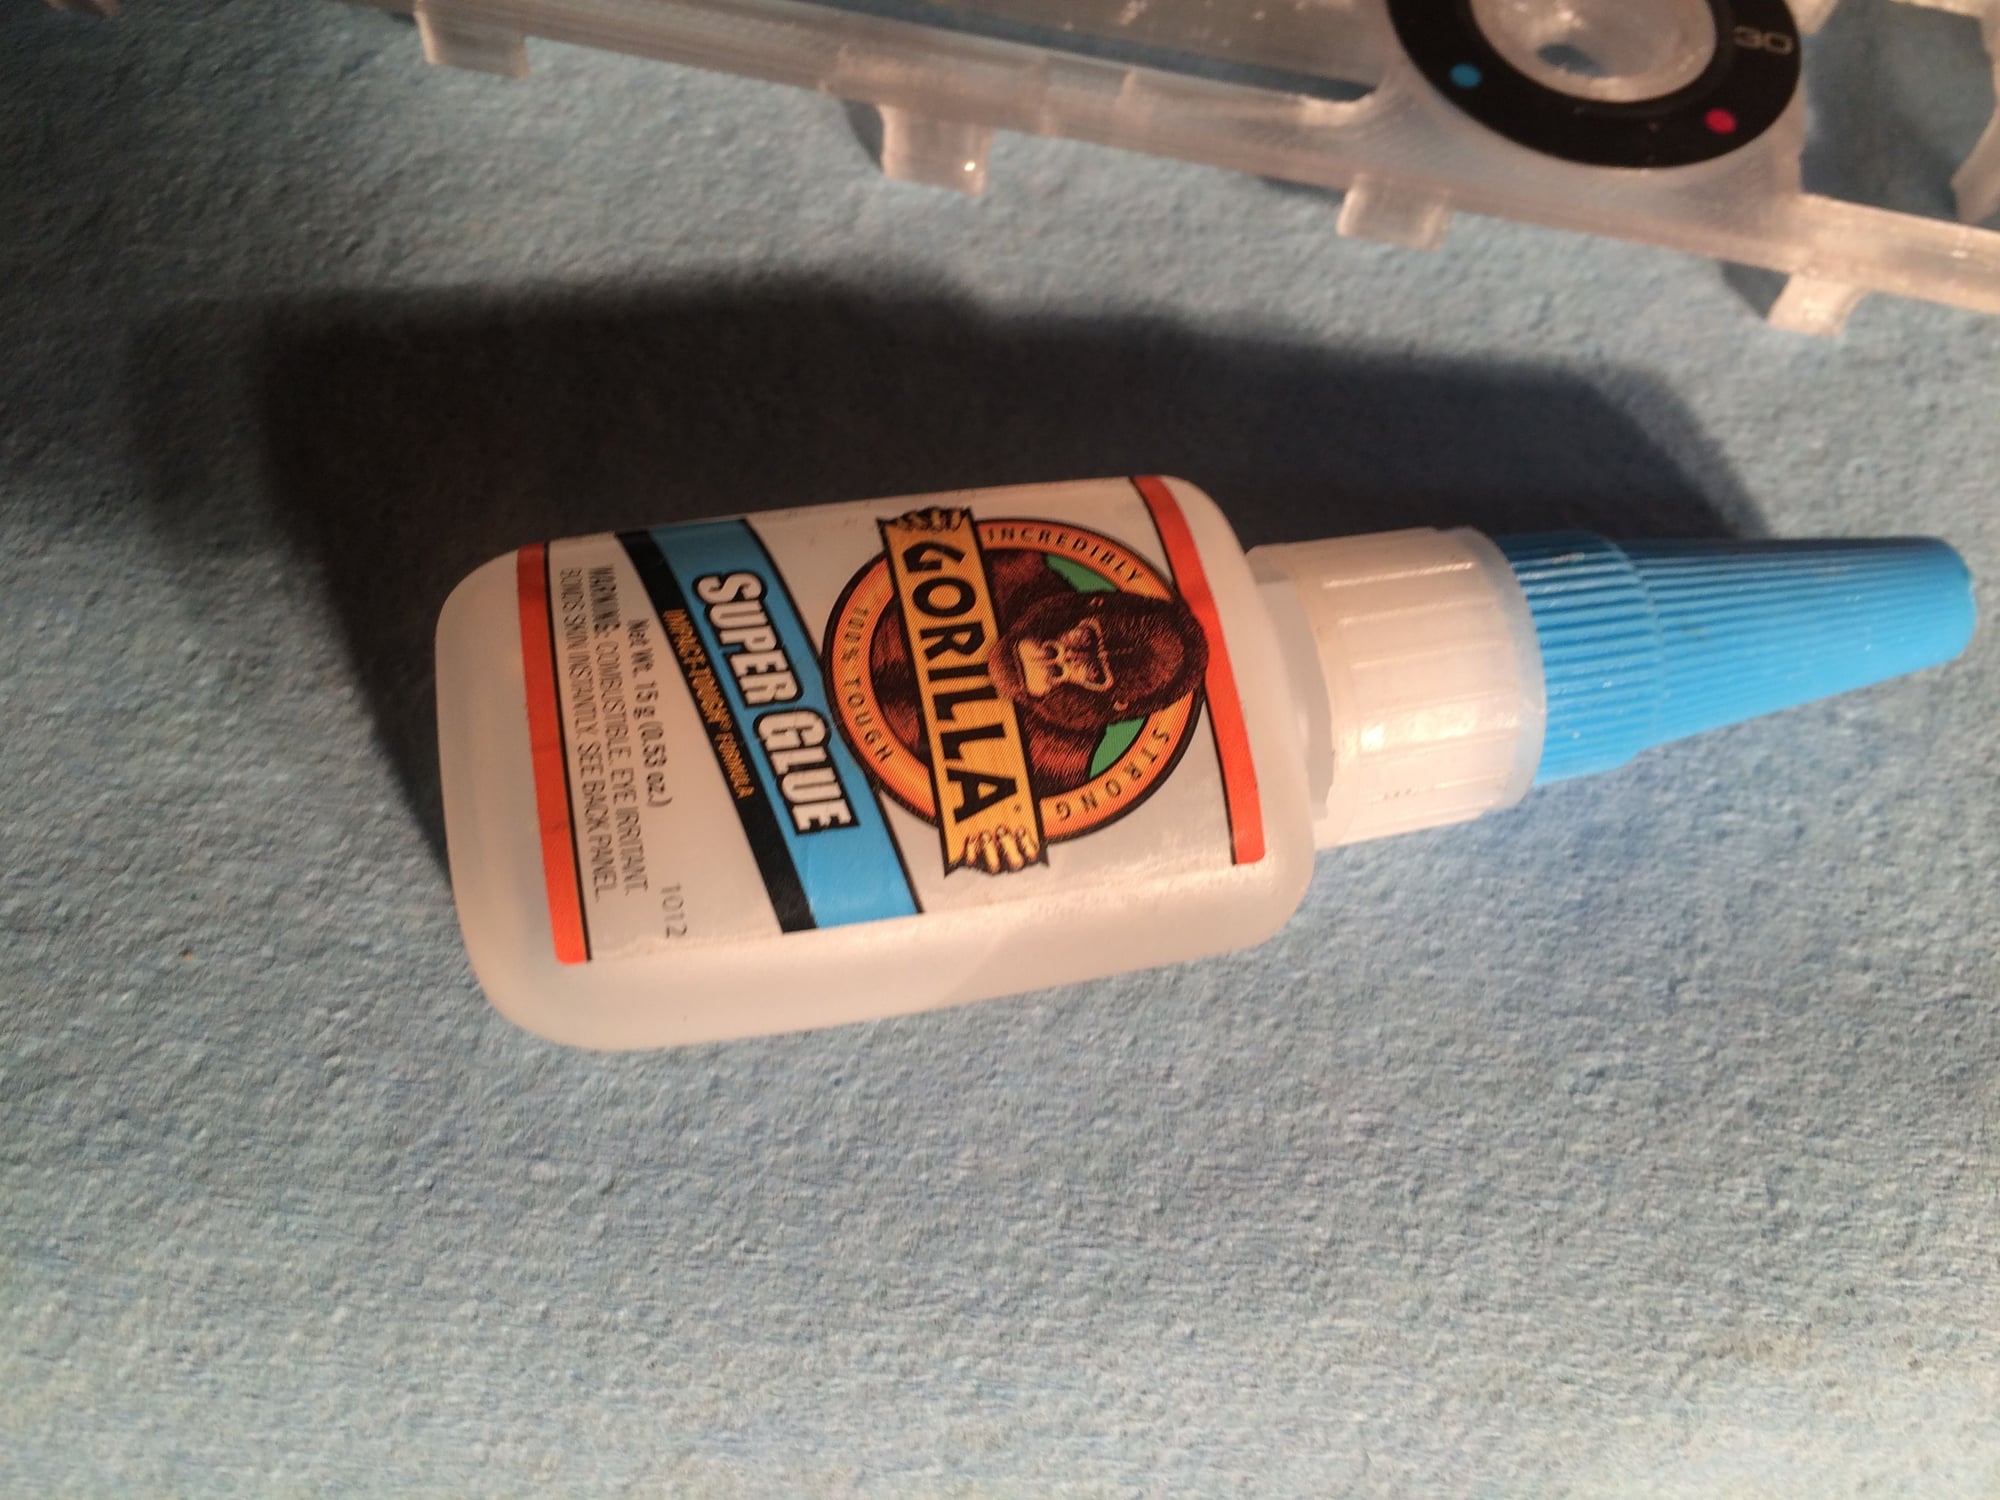
I used primate-brand crazy glue. Just a bead on each surface:
TRY AT YOUR OWN RISK! I haven't verified this works all the way.
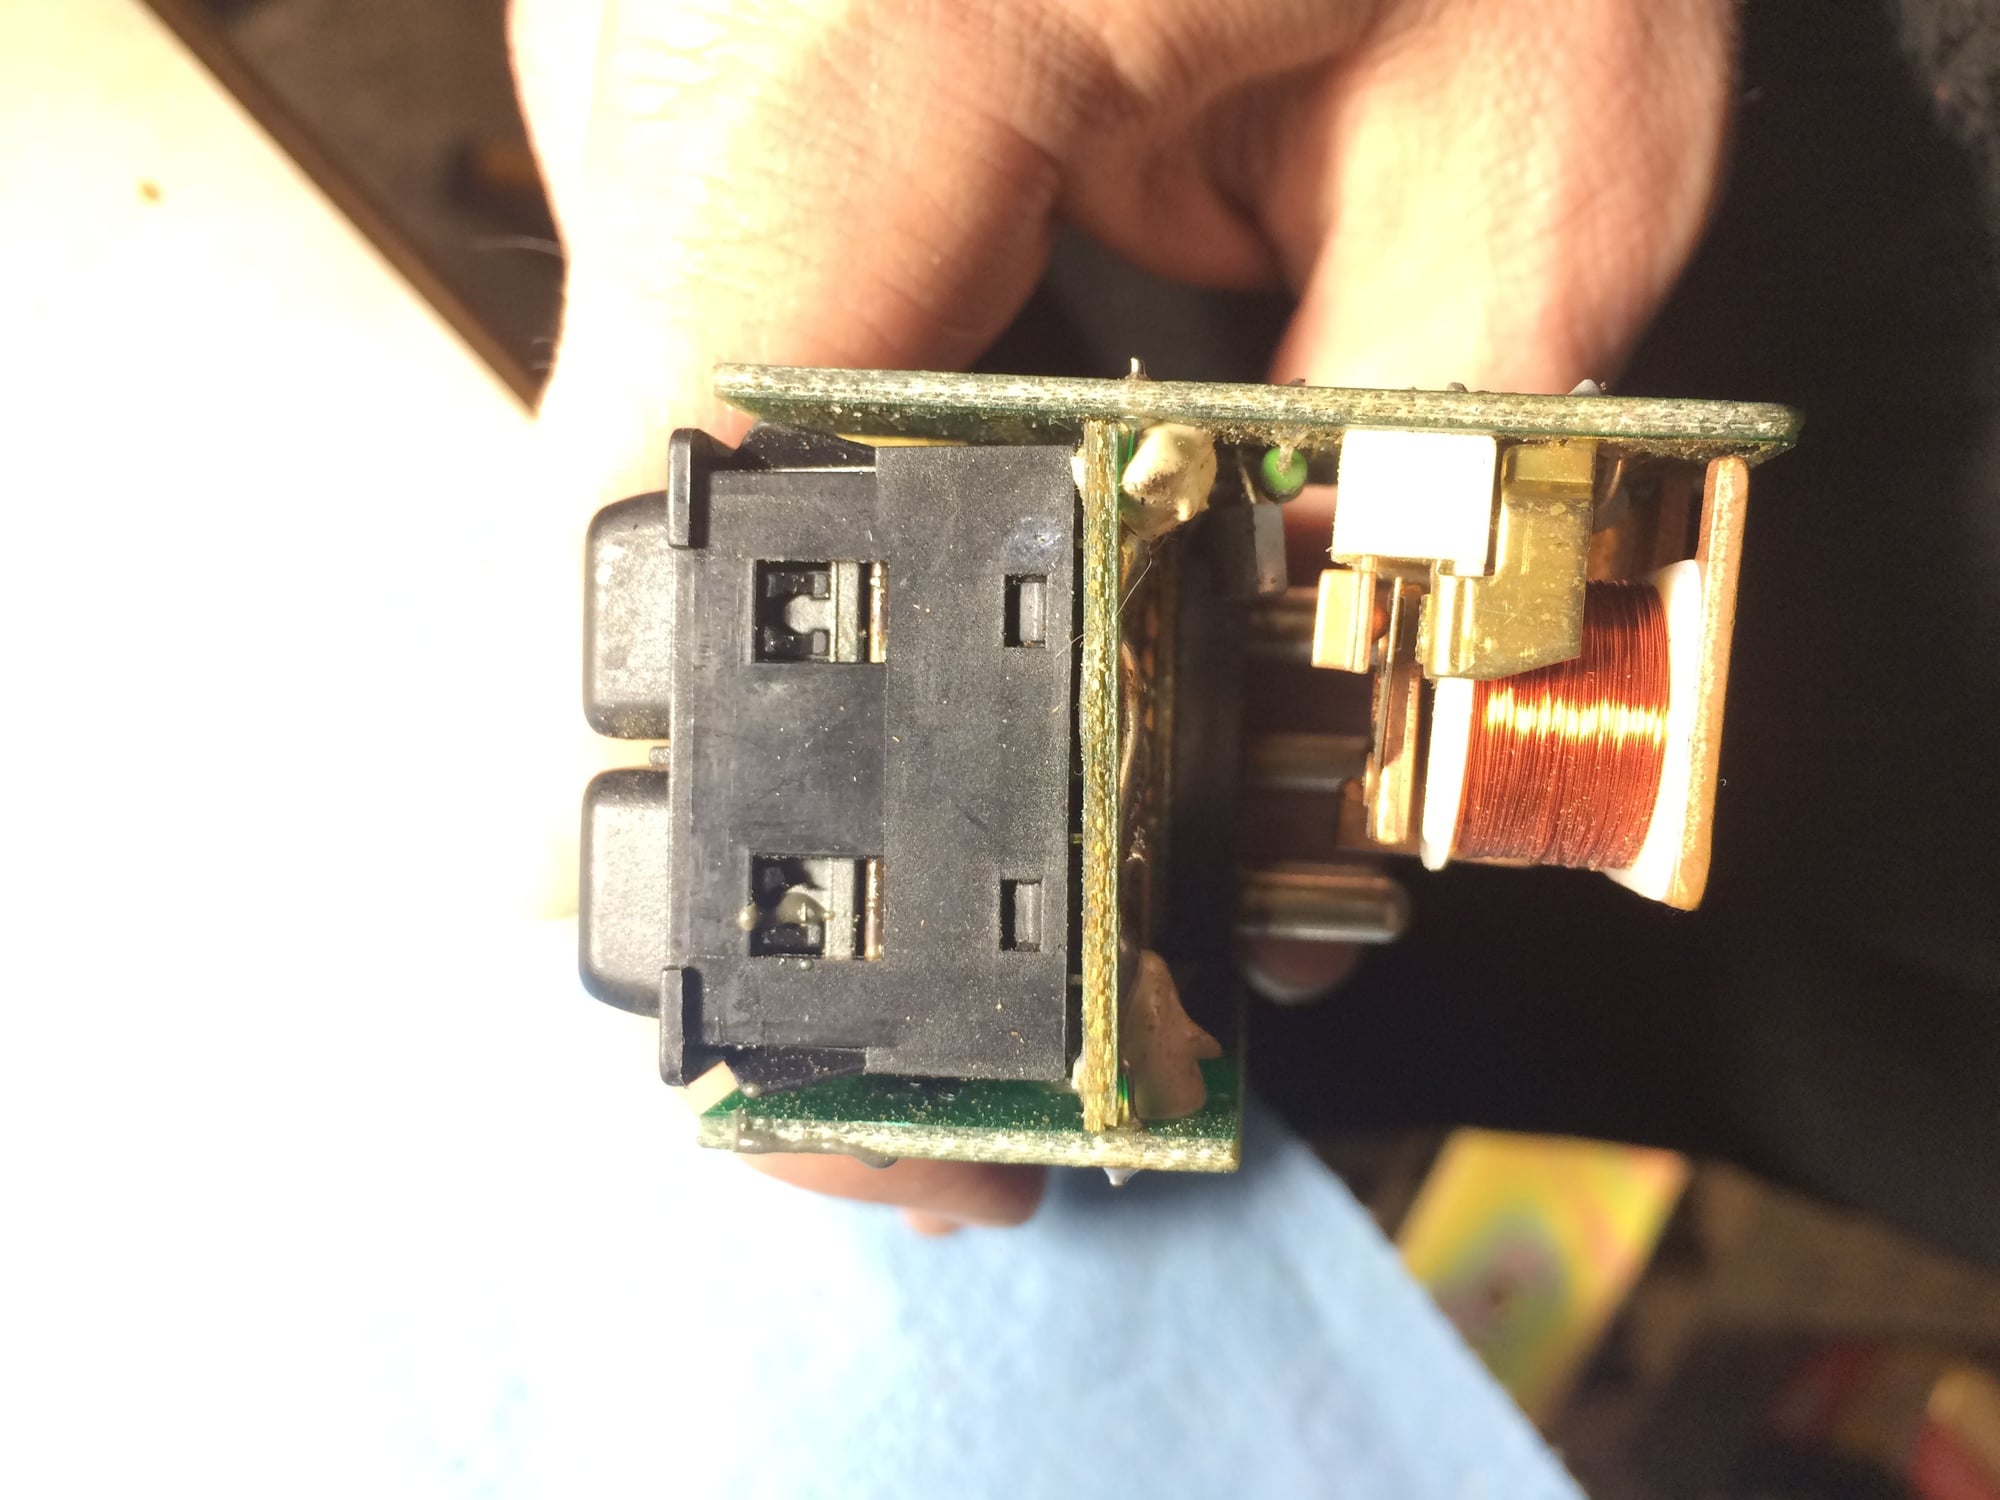
So here's an idea to avoid desoldering. The sides of the button housing are snapped to the bottom by two tabs per side. Pry the outer ones with a flathead screwdriver.
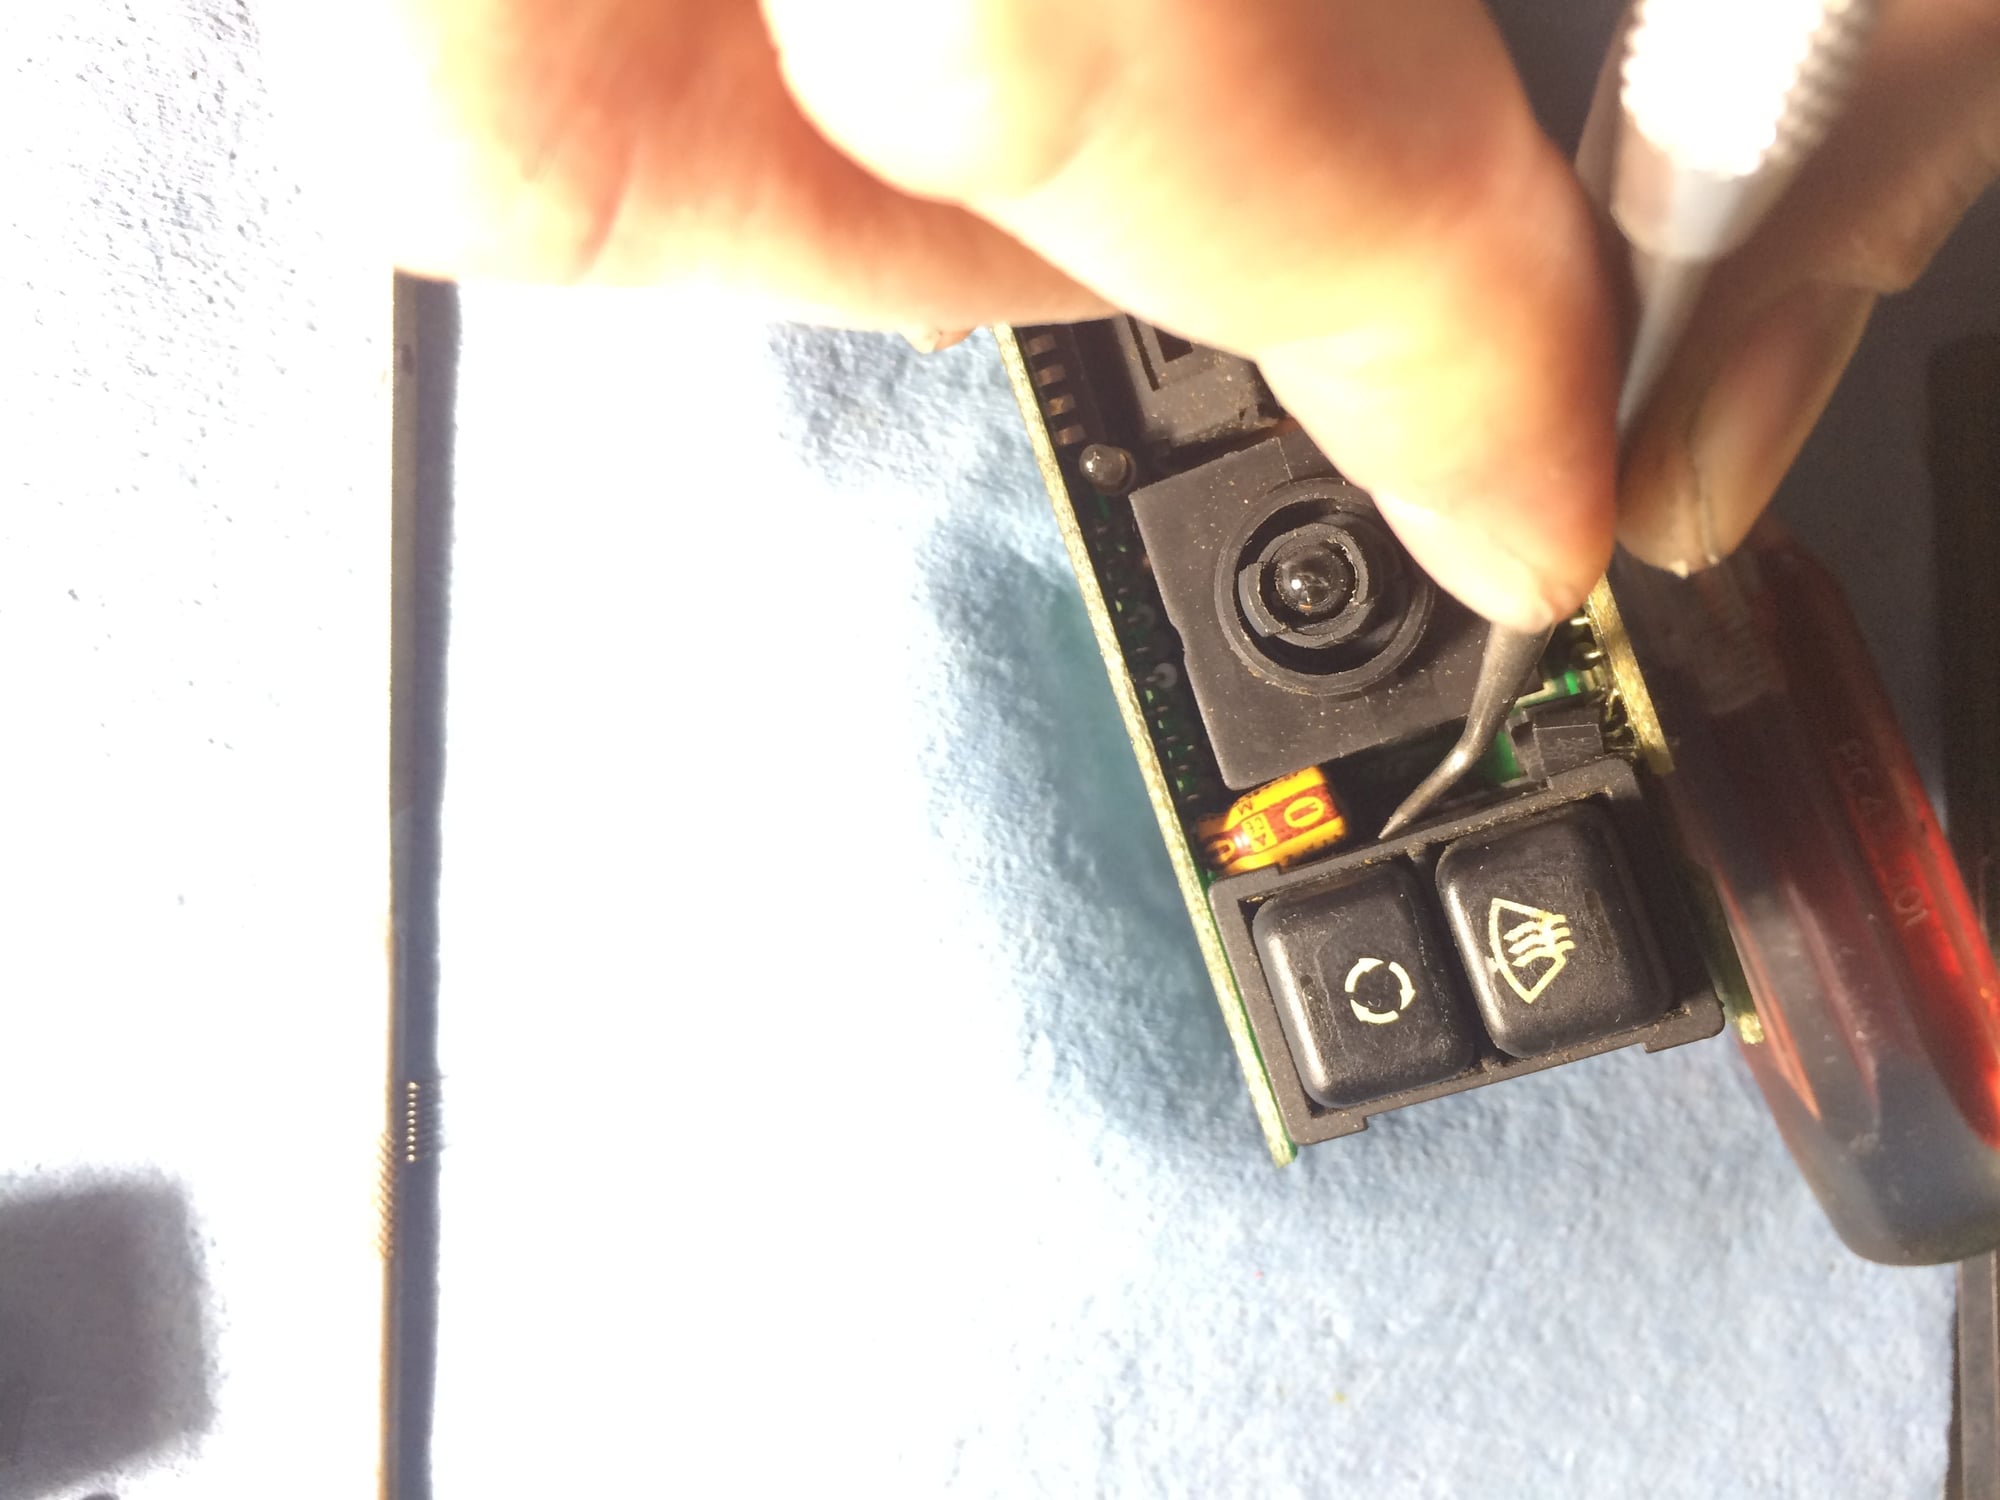
The inside tabs are harder to get to. I used a right angle pick to pop them. Be warned, there are four springs that will pop out, so be ready to catch any that fly off:
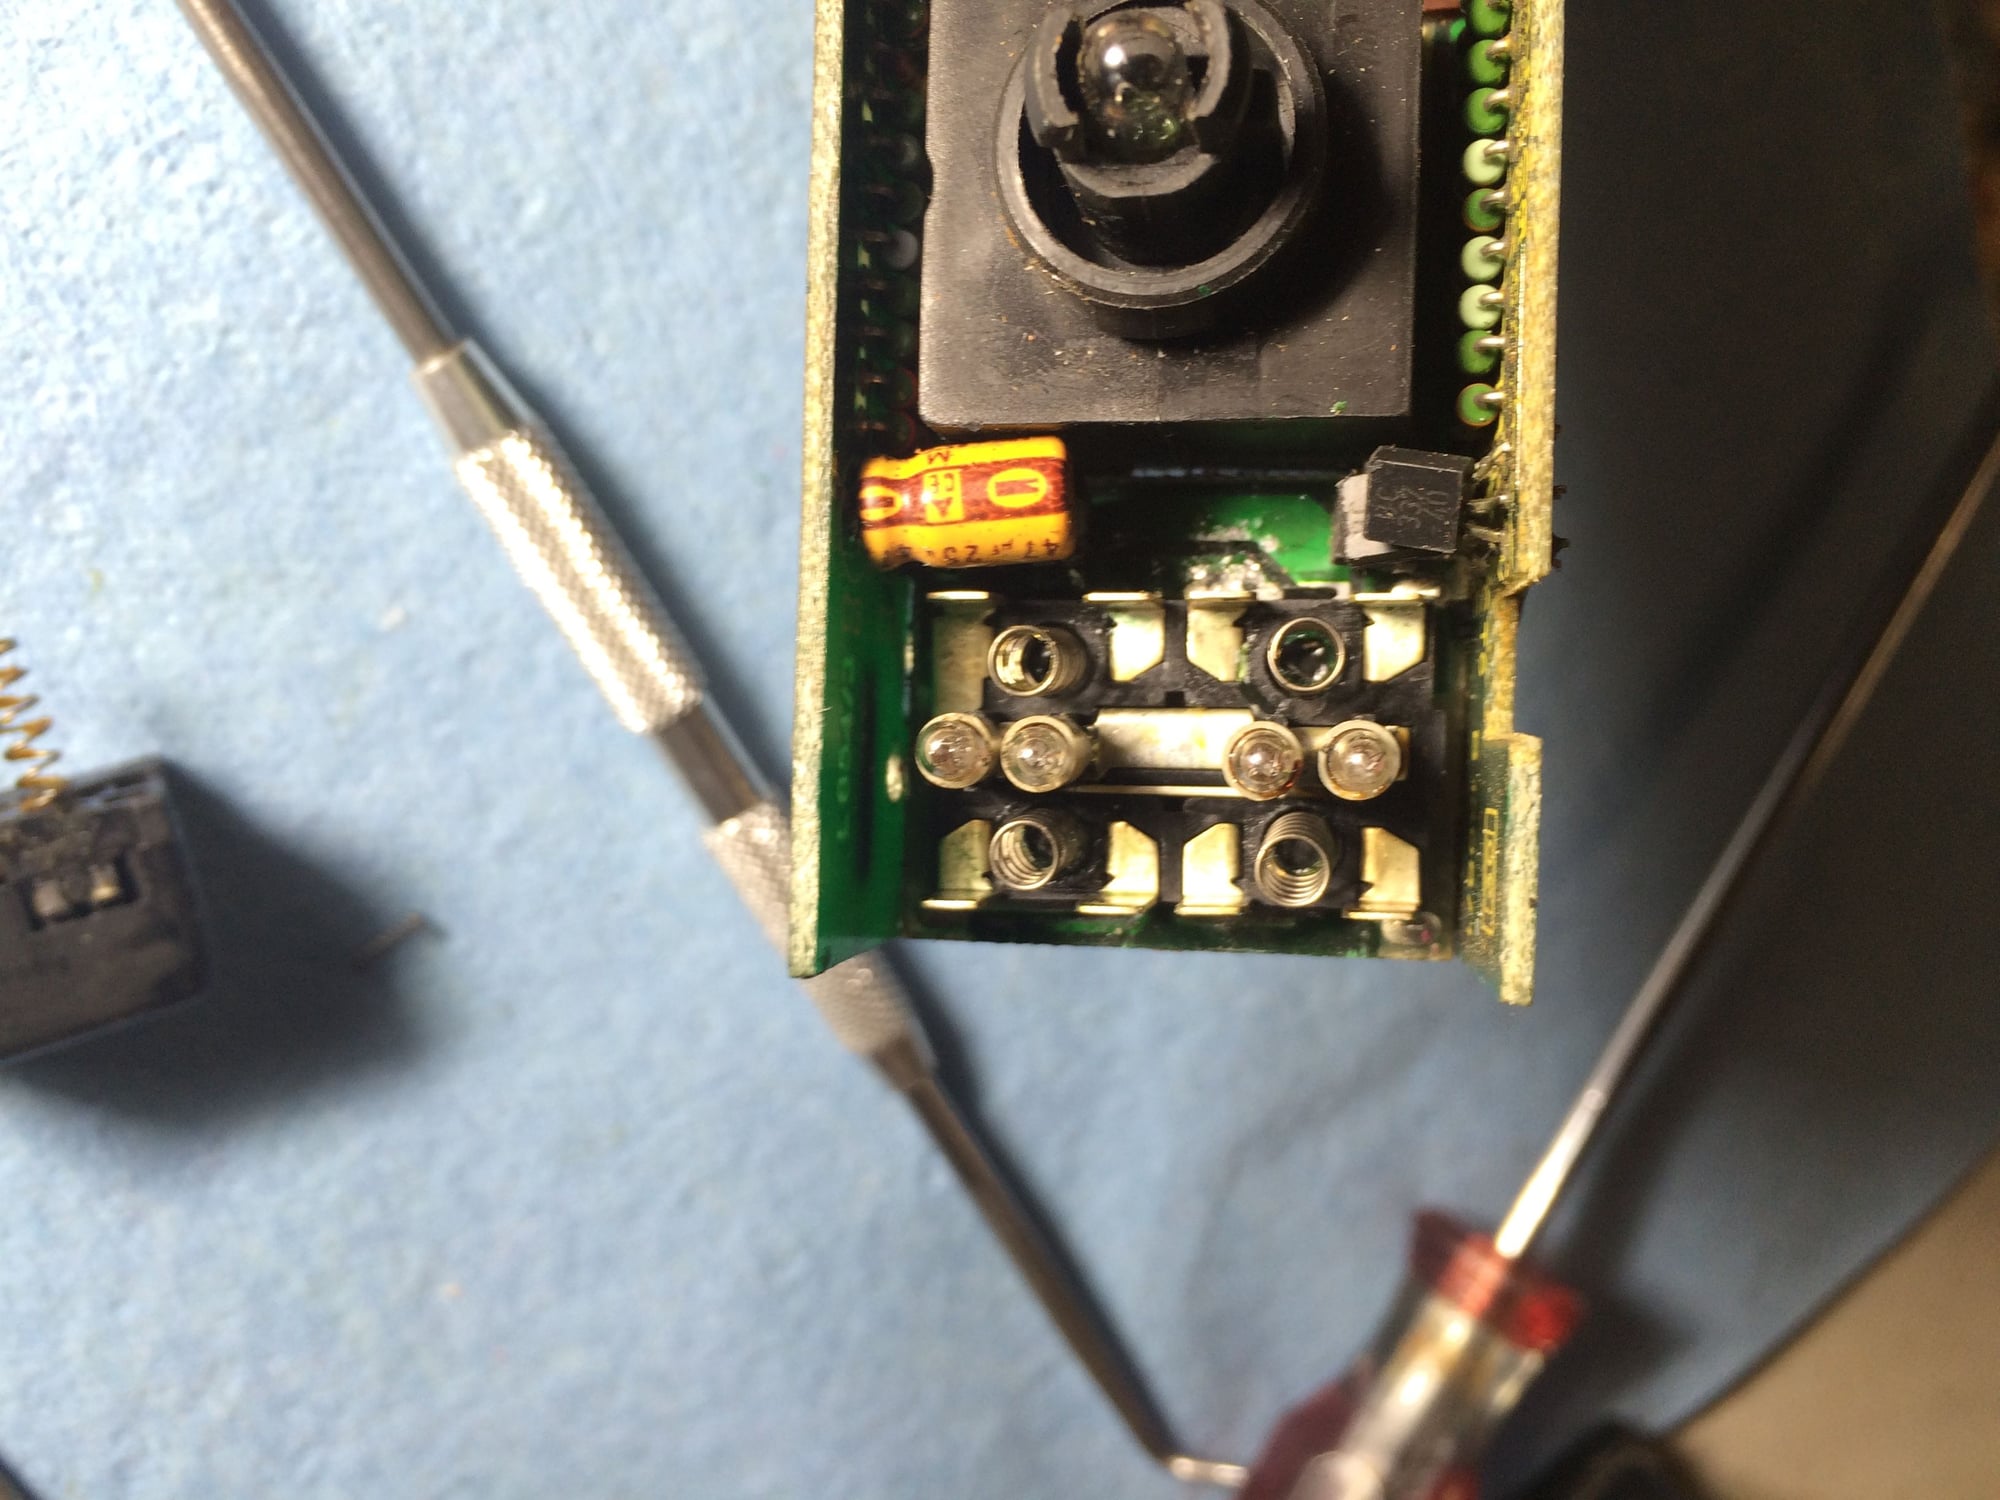
here's what the button floor looks like after you pull the top:
NB: do NOT pull the button faces out of the sides. You will be very, very sorry as you search for 6,000 microscopic springs.
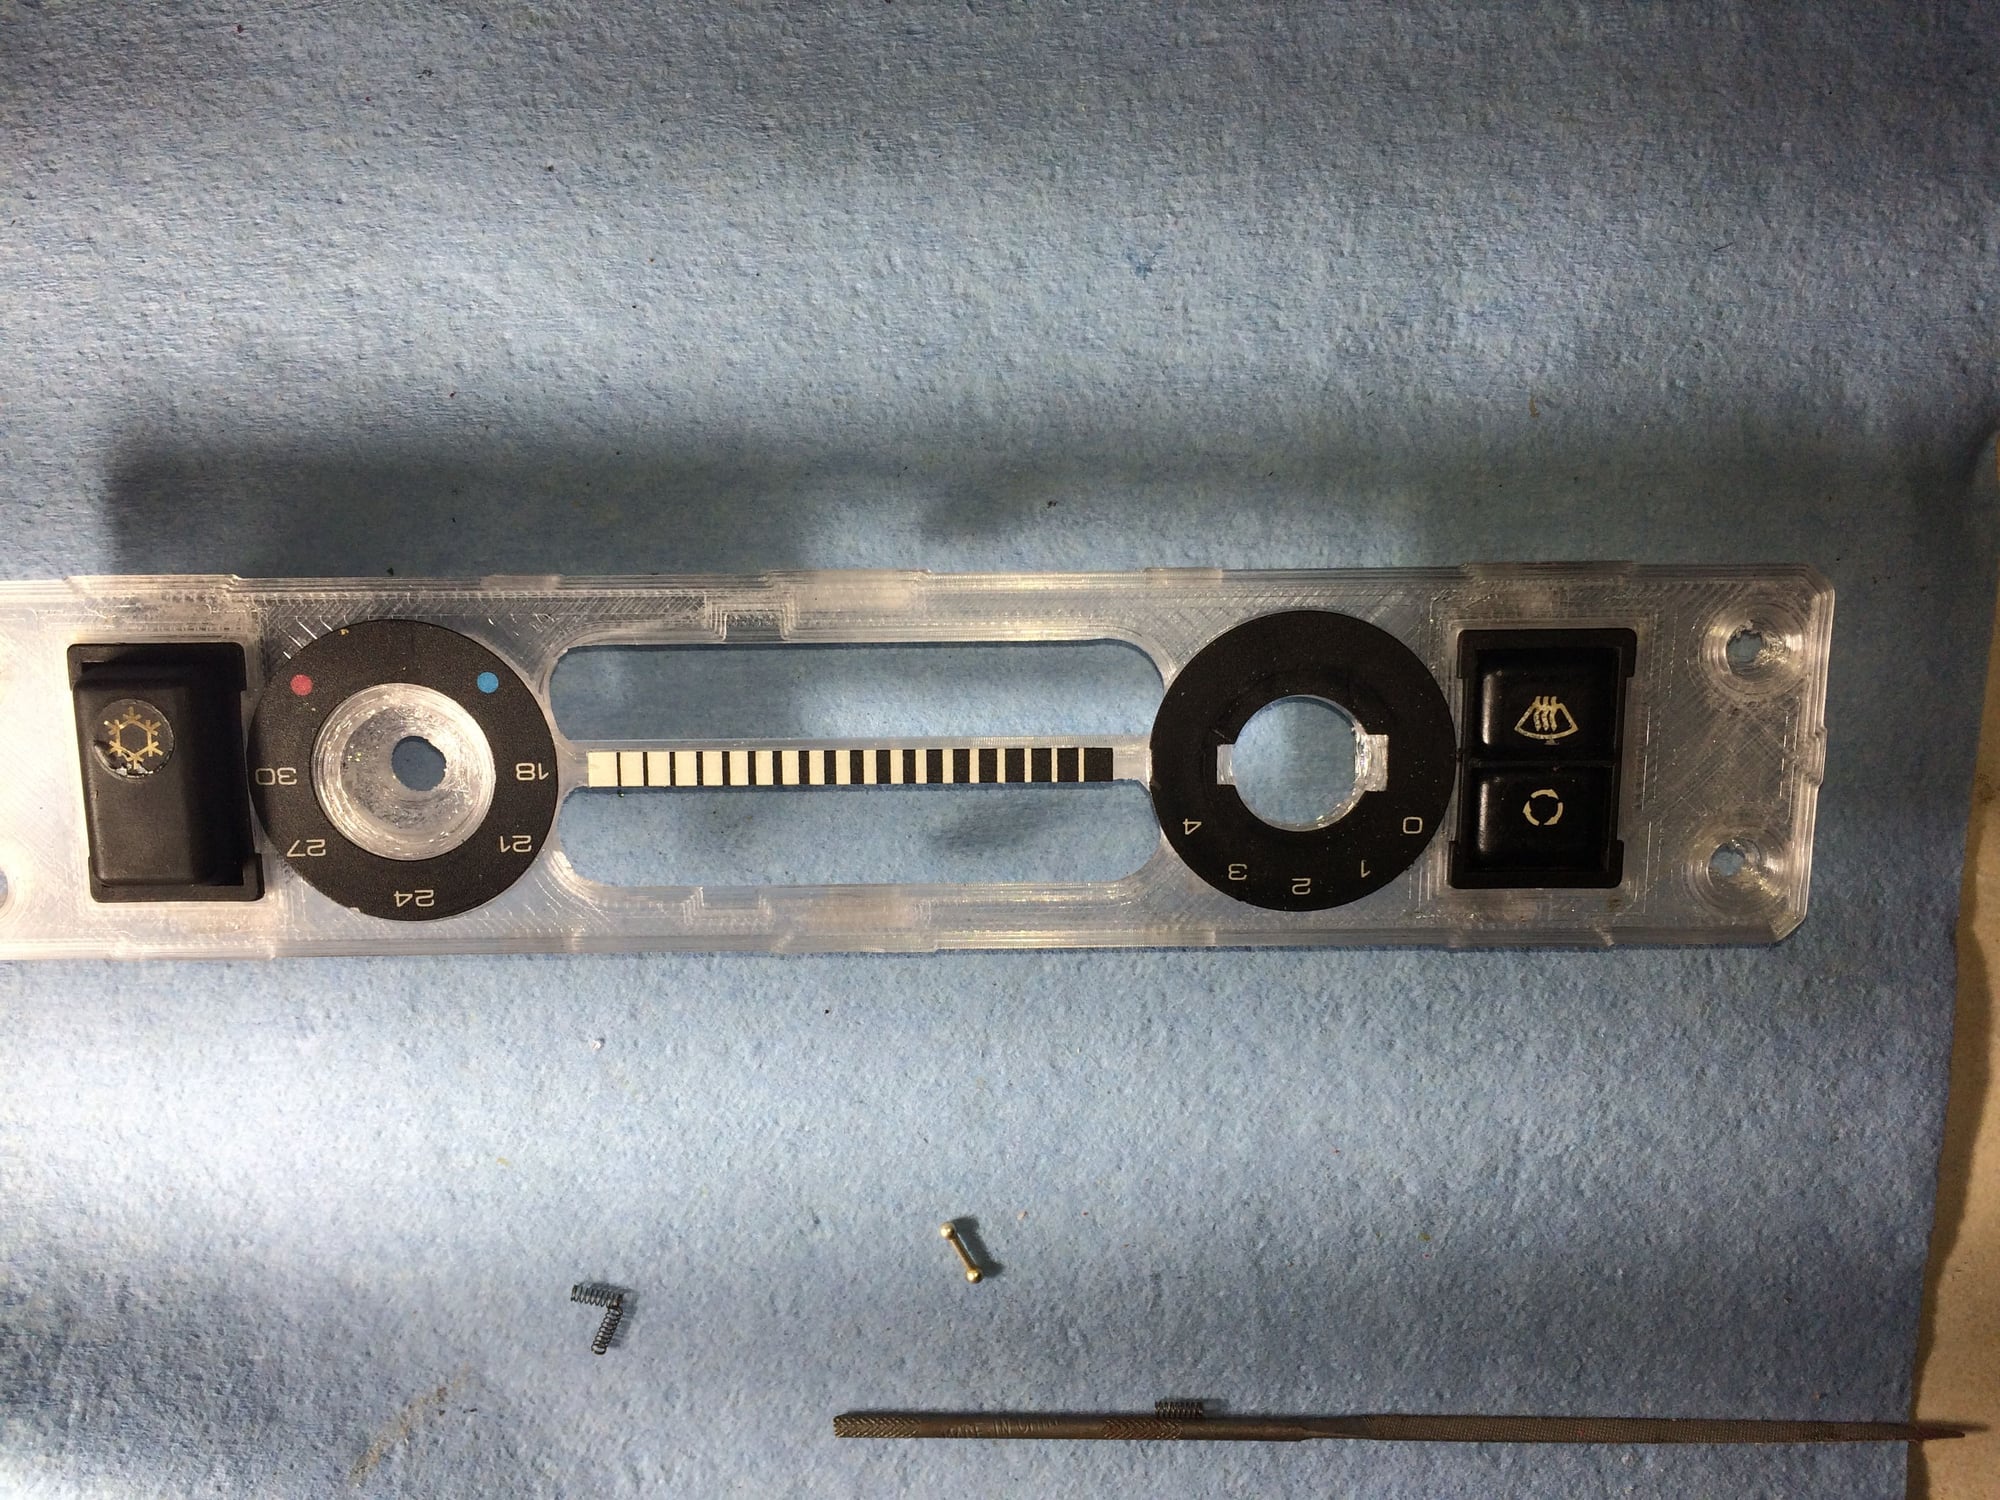
Here is the face with buttons in. The face needed a little filing to get them to fit, but nothing to serious.

 12-09-2016 | 01:40 AM