
16V "S" Reference/Speed Sensor Question
 06-06-2015, 07:51 PM
#1
Rennlist Member
Thread Starter
Folks,
I've been searching but have not found the parts list for my variation of water cooled pcar. It's a 16V S (1987). (...I believe that they were the same both years.)
I can do the repair, whats the parts list? Do I need the bracket and the cylindrical spacer?
I should mention that I have the "installed a new starter now there's kickback and rough start" problem.
Thanks!!
 06-06-2015, 08:59 PM
#2
Rennlist Member
I believe it's one of the Bosch sensors (0 261 210 002) on the bellhousing and there's a hall effect sensor on one of the camshafts pulleys. The starter kickback is EMF from the starter corrupting the VR signal from the sensor on the bellhousing, causing the car to fire at the wrong time and working against the starter. The sensor needs to be shielded from the noise.
06-06-2015, 10:52 PM
#3
Rennlist Member
Thread Starter
Right, the signal is getting magnetic interference from the starter. The part to correct this seems to be:
http://www.paragon-products.com/Refe...101.320.00.htm for all late 944
http://www.paragon-products.com/Refe...101.320.00.htm and
http://www.paragon-products.com/Refe...101.320.00.htm for all early 944
and a similar combination for the 16V engines? Or no difference?
http://www.paragon-products.com/Refe...101.320.00.htm for all late 944
http://www.paragon-products.com/Refe...101.320.00.htm and
http://www.paragon-products.com/Refe...101.320.00.htm for all early 944
and a similar combination for the 16V engines? Or no difference?
06-08-2015, 06:56 PM
#4
You need the new bracket and sleeve, your sensor is likely fine. I had the same problem on my s2 (notched bellhousing) and the bracket/sensor fixed it instantly. I kept the same sensor.
06-08-2015, 07:42 PM
#5
Addict
Rennlist Member
Rennlist Member
If hall sensor is shot, this is the sensor, you only need backing plate from the old one. And connector.
http://www.ebay.com/itm/151368362905?_trksid=p2060353.m1438.l2649&ssPageName=STRK%3AMEBIDX%3AIT
http://www.ebay.com/itm/151368362905?_trksid=p2060353.m1438.l2649&ssPageName=STRK%3AMEBIDX%3AIT
06-16-2015, 07:39 PM
#7
Rennlist Member
Thread Starter
Thanks for the help!!
Will I screw up the alignment of the sensor when I reassemble?
Trending Topics
06-16-2015, 07:53 PM
#8
Hit travis up over at rennbay, he has a ref sensor tool that makes it super easy to set the gap. Less than $20 for the tool.
06-16-2015, 08:58 PM
#9
Freedom Enthusiast
Rennlist Member
Rennlist Member
 06-18-2015, 05:20 PM
#11
11-14-2015, 07:38 PM
#12
Rennlist Member
Thread Starter
Boys! My 87 S has only one sensor position on the bracket. The updated bracket has two positions...
So the S gets the bracket, but only for the sensor shield width on the ref sensor? No speed sensor?

So the S gets the bracket, but only for the sensor shield width on the ref sensor? No speed sensor?
11-15-2015, 06:12 PM
#14
Rennlist Member
Thread Starter
Since there is not a ton of information on the two year 944 S cars, I will do a short write up on this. Looking back, it was a pretty easy job. Hopefully this will let future owners know what they are getting into.
I removed the air box, MAF sensor, and plastic intake runner to make room to work over the bell housing. I also unfastened the 3 accessible hex head bolts on the throttle body, allowing me to swing it down slightly. I moved the throttle cable, and other loose bits out of the way.
The result is space for one arm to reach down behind the intake manifold. This job was a few hours elbow deep in that space!
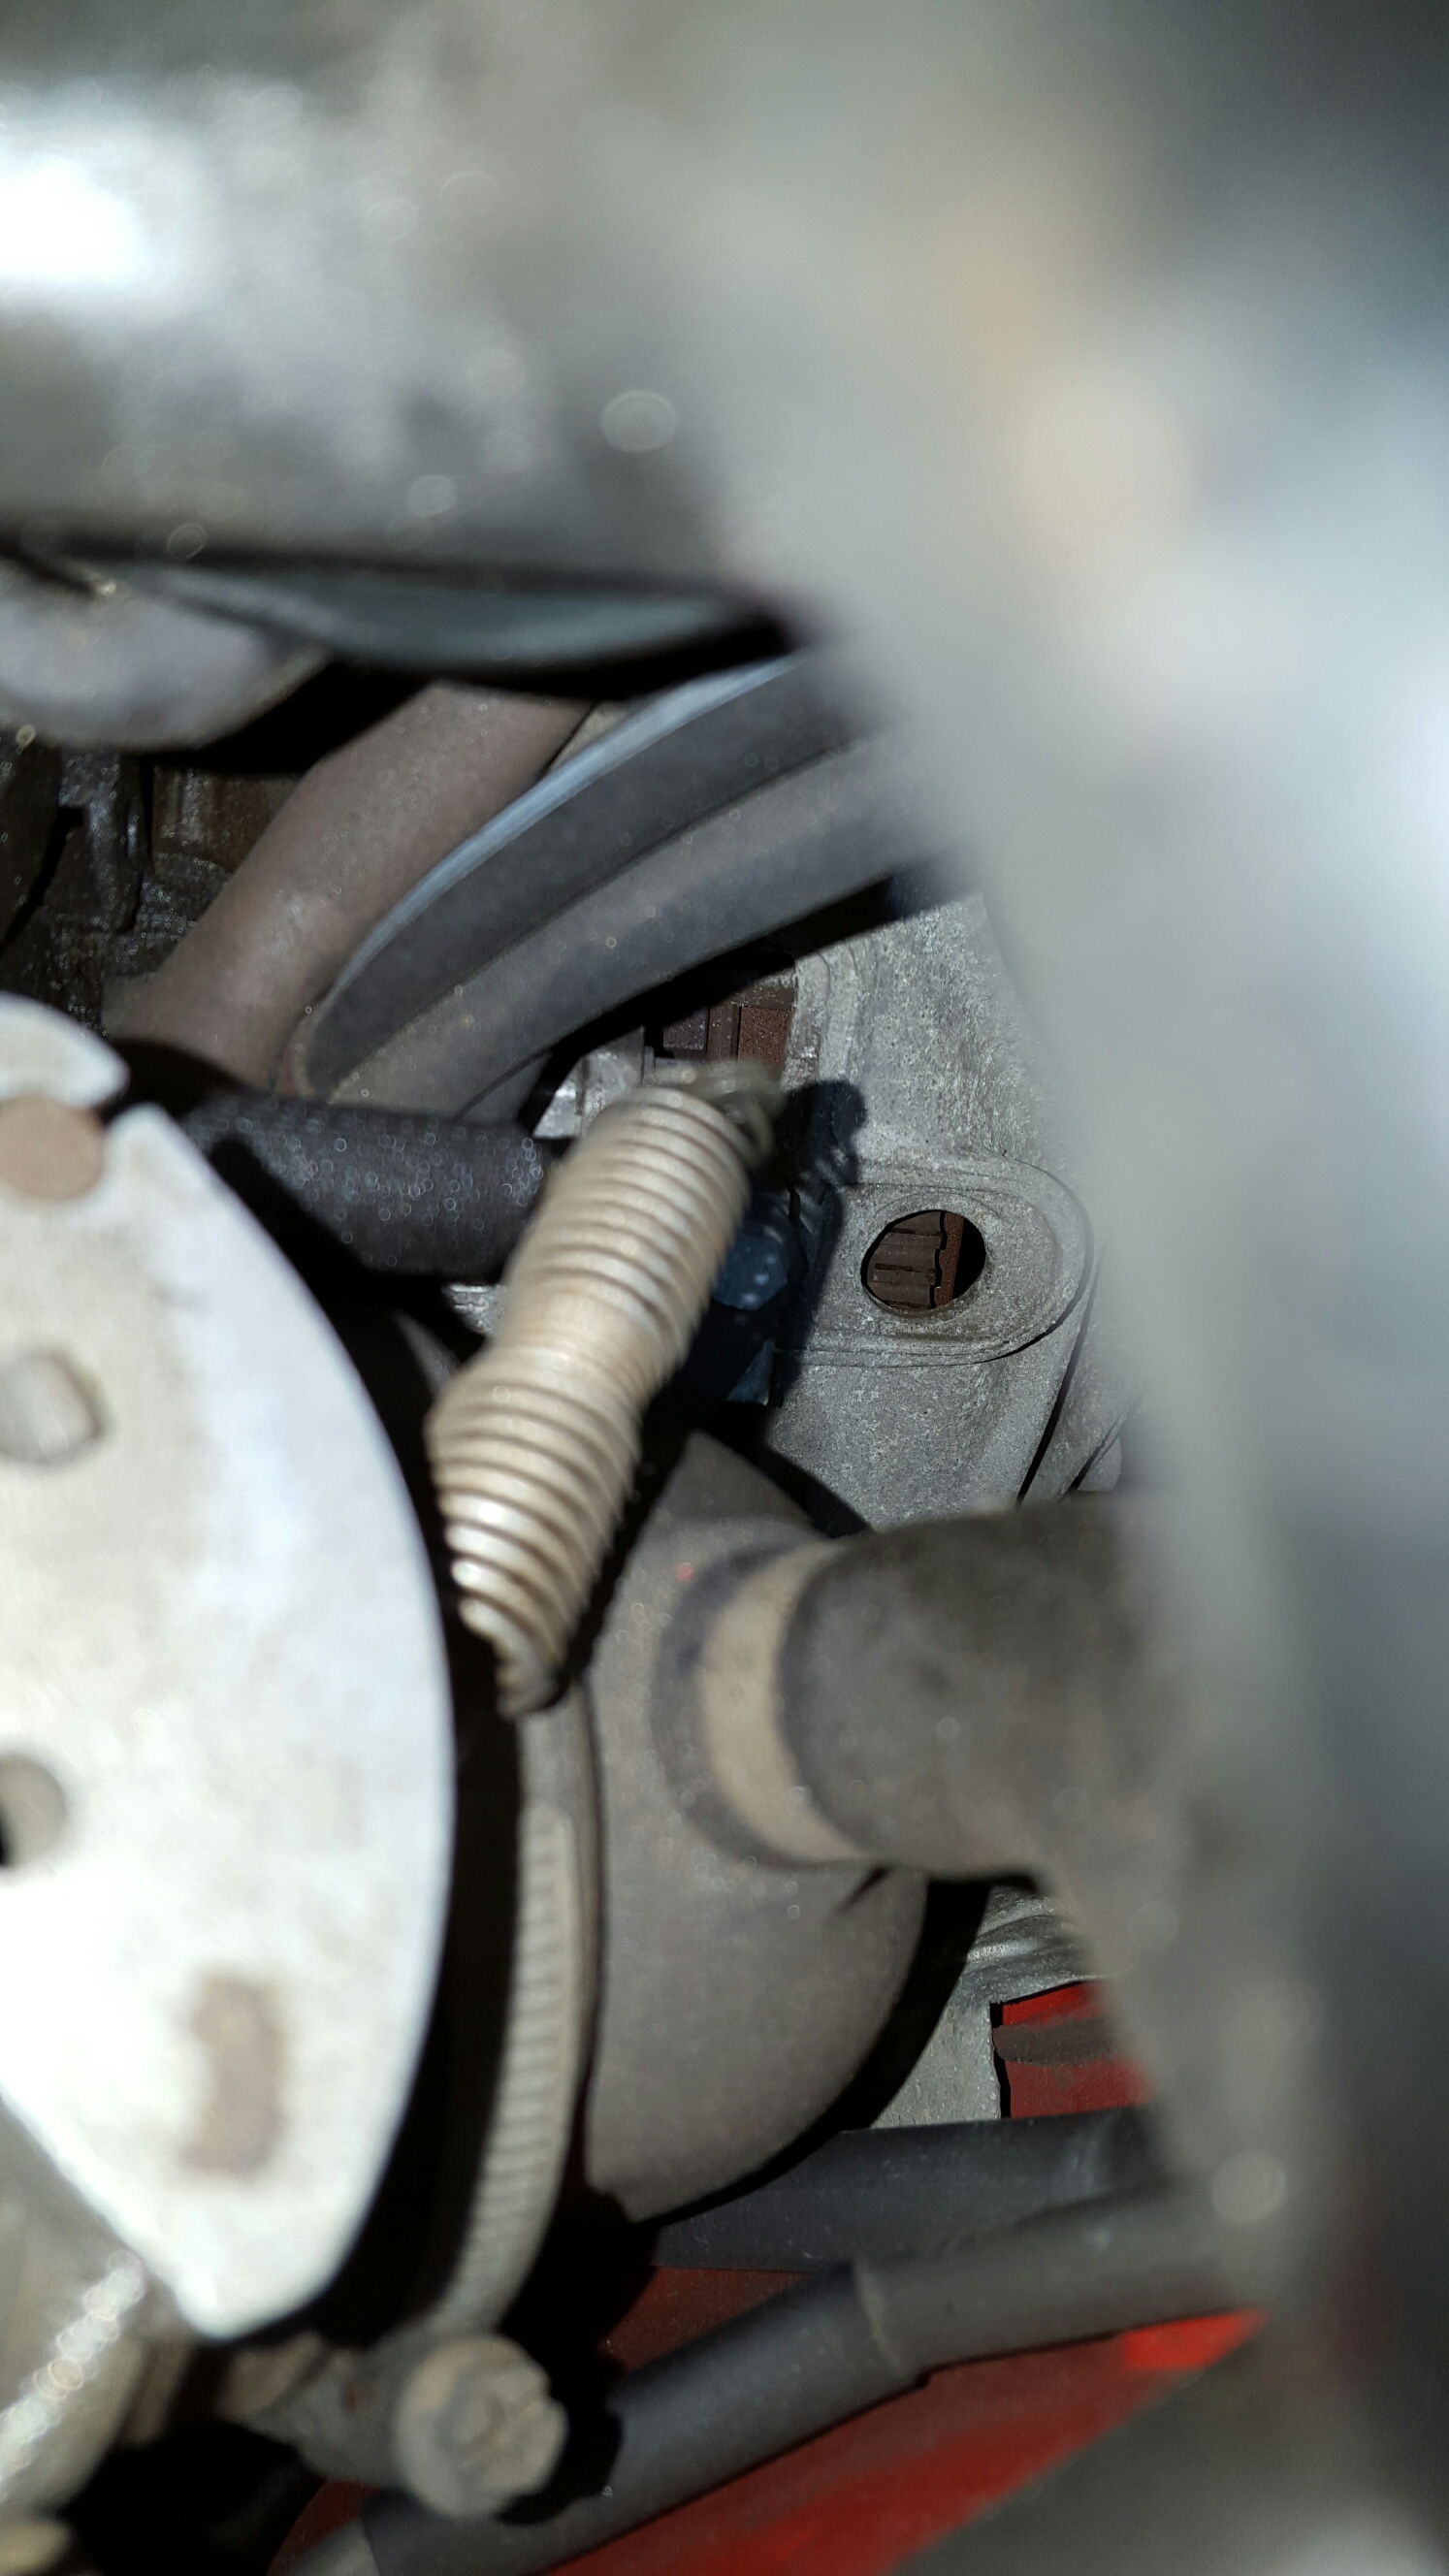
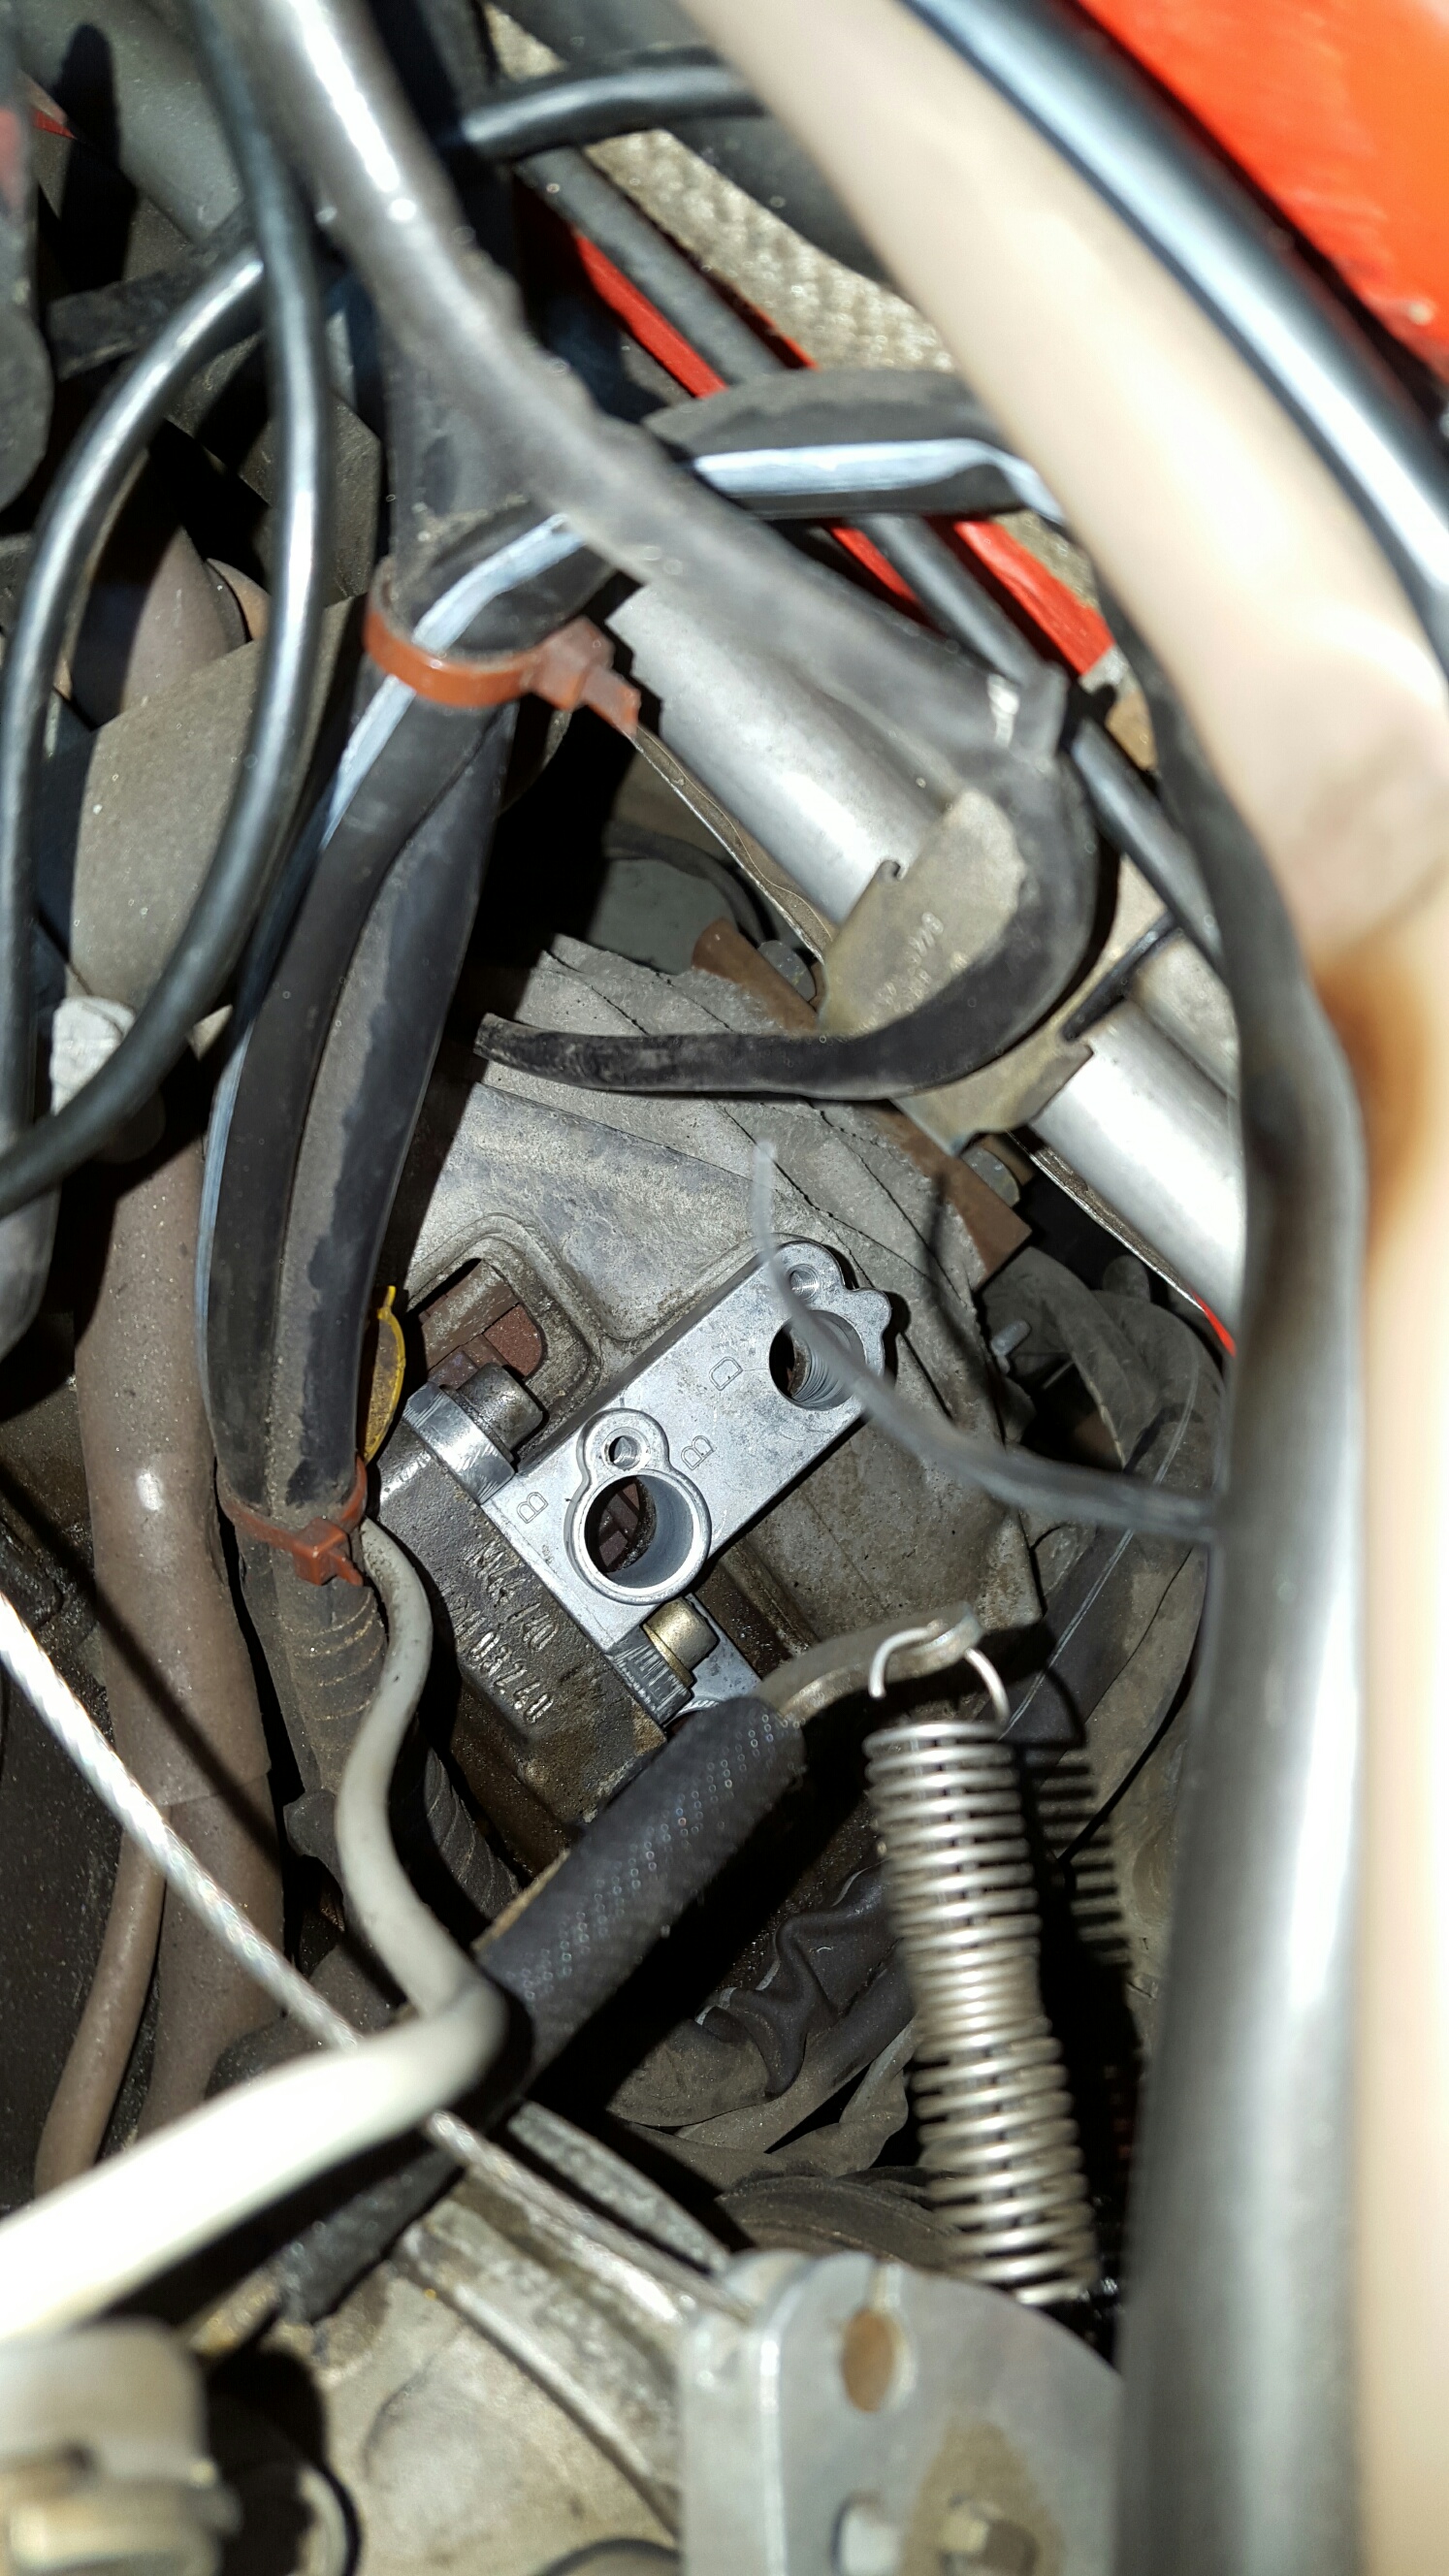
Here's what the old bracket looks like: you can almost see it behind the throttle return spring.
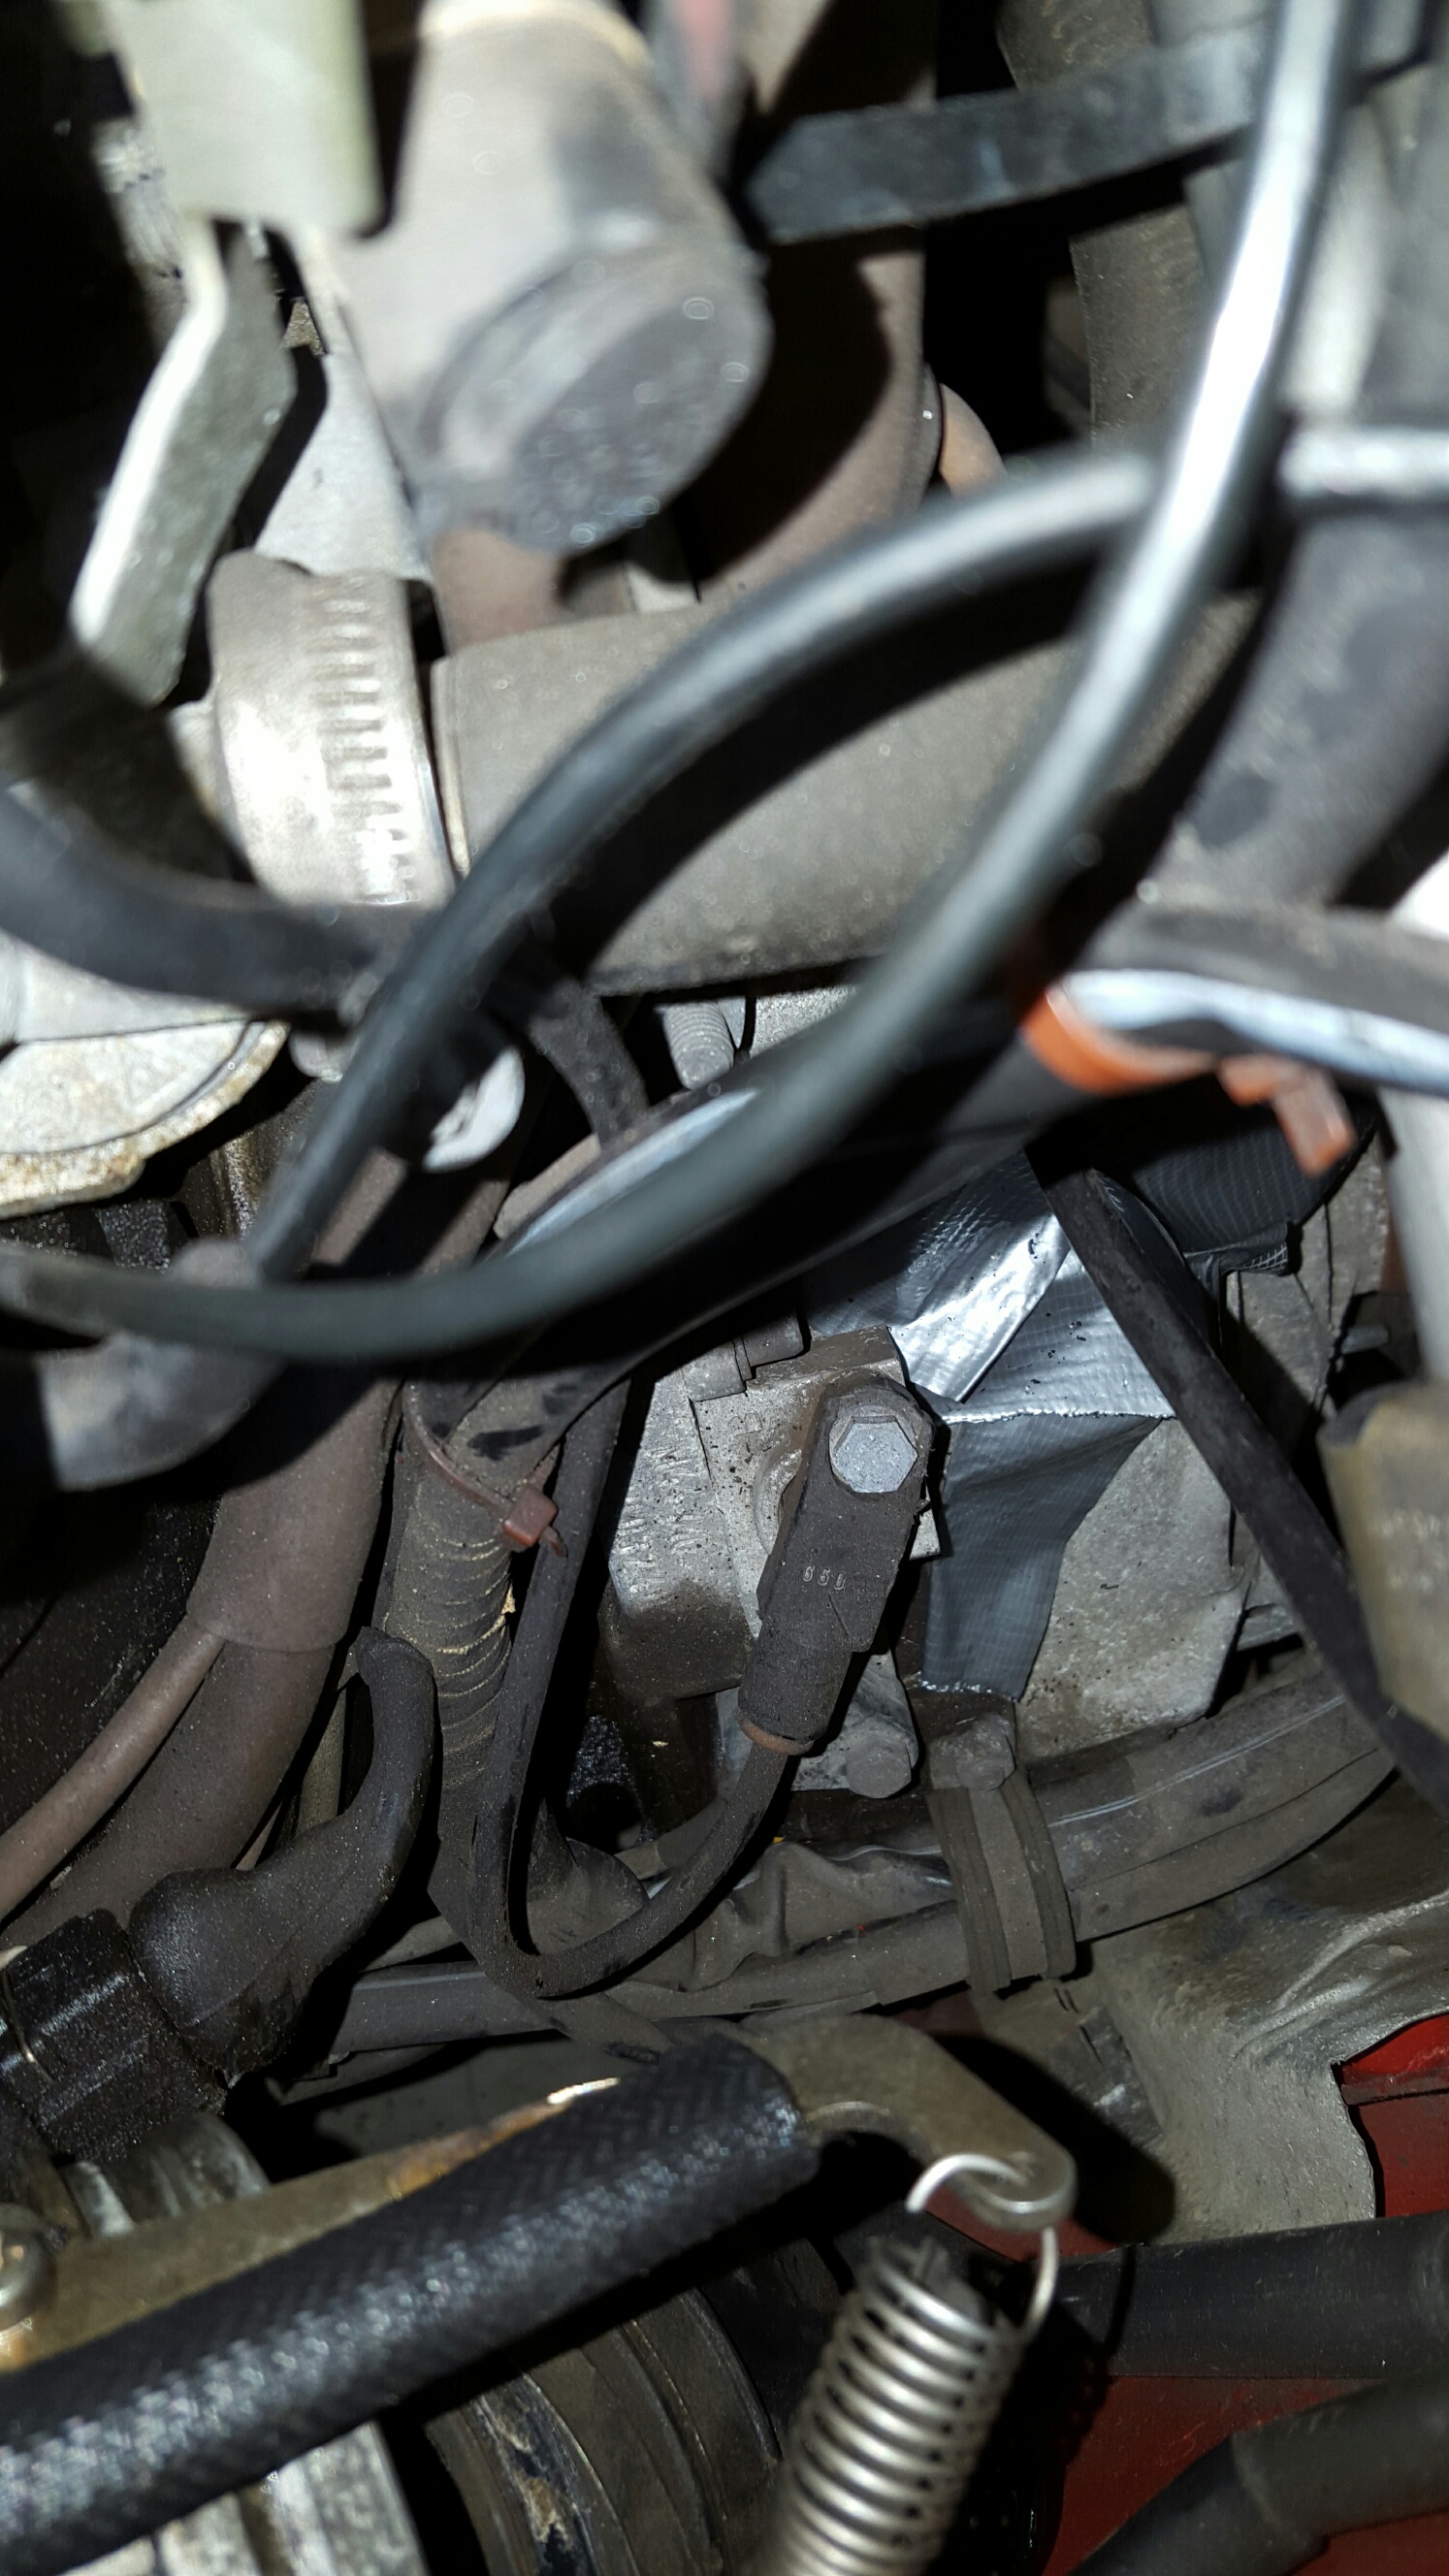
Here is a better shot with the throttle body out of the way. THe duct tape is keep errant pieces from falling in the bell housing.
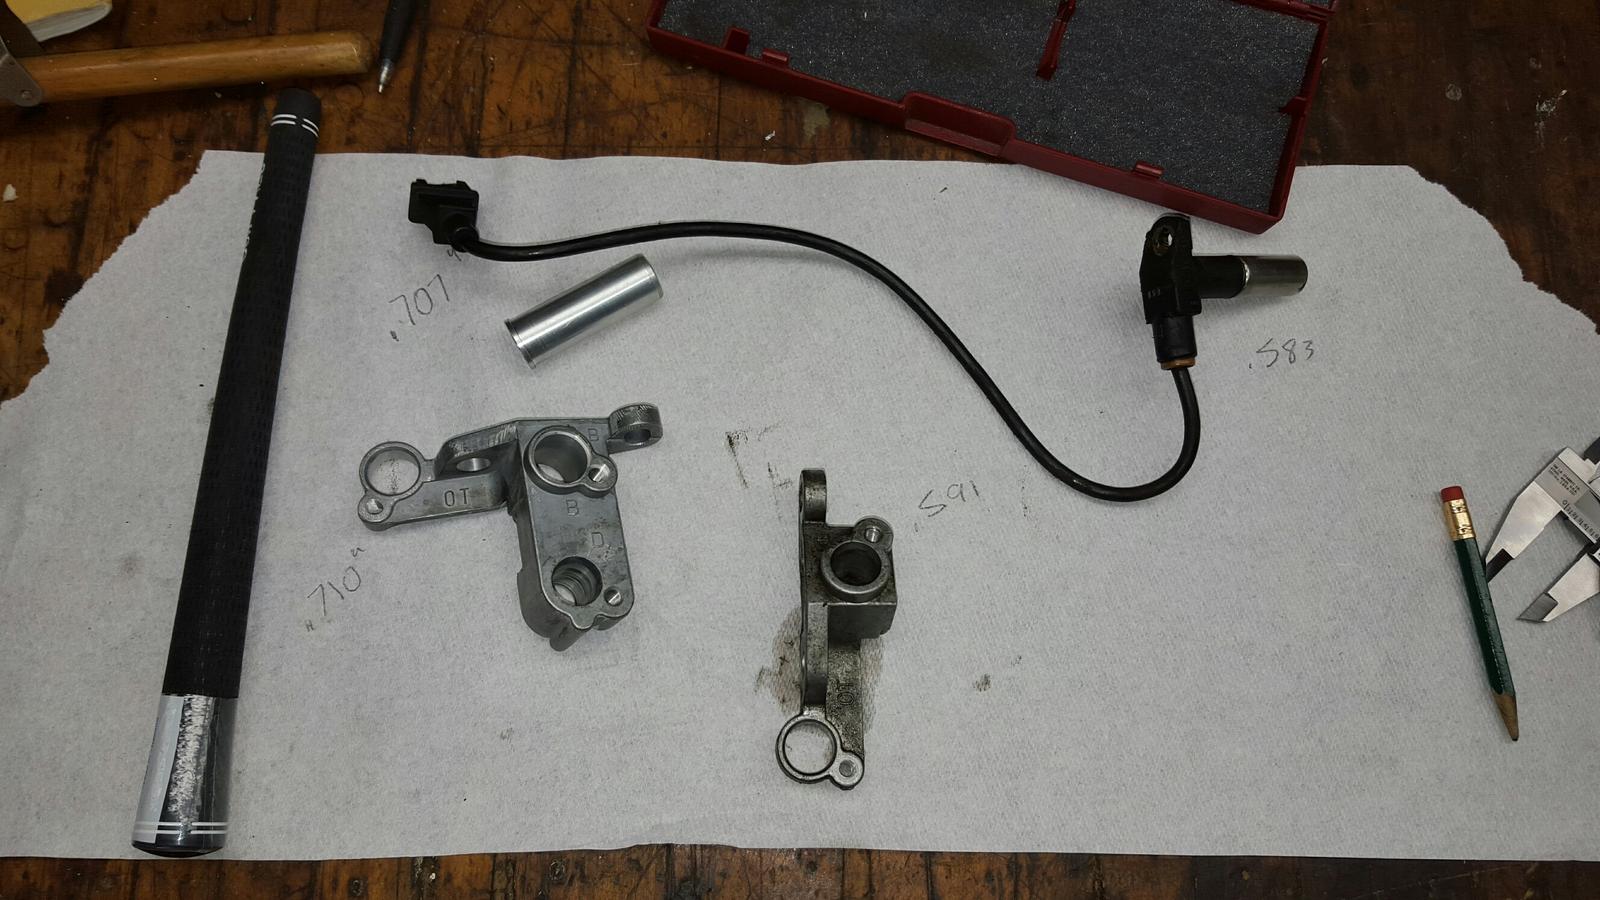
Here are the old and new brackets, sensor, and tube with inner/outer diameters as is appropriate.
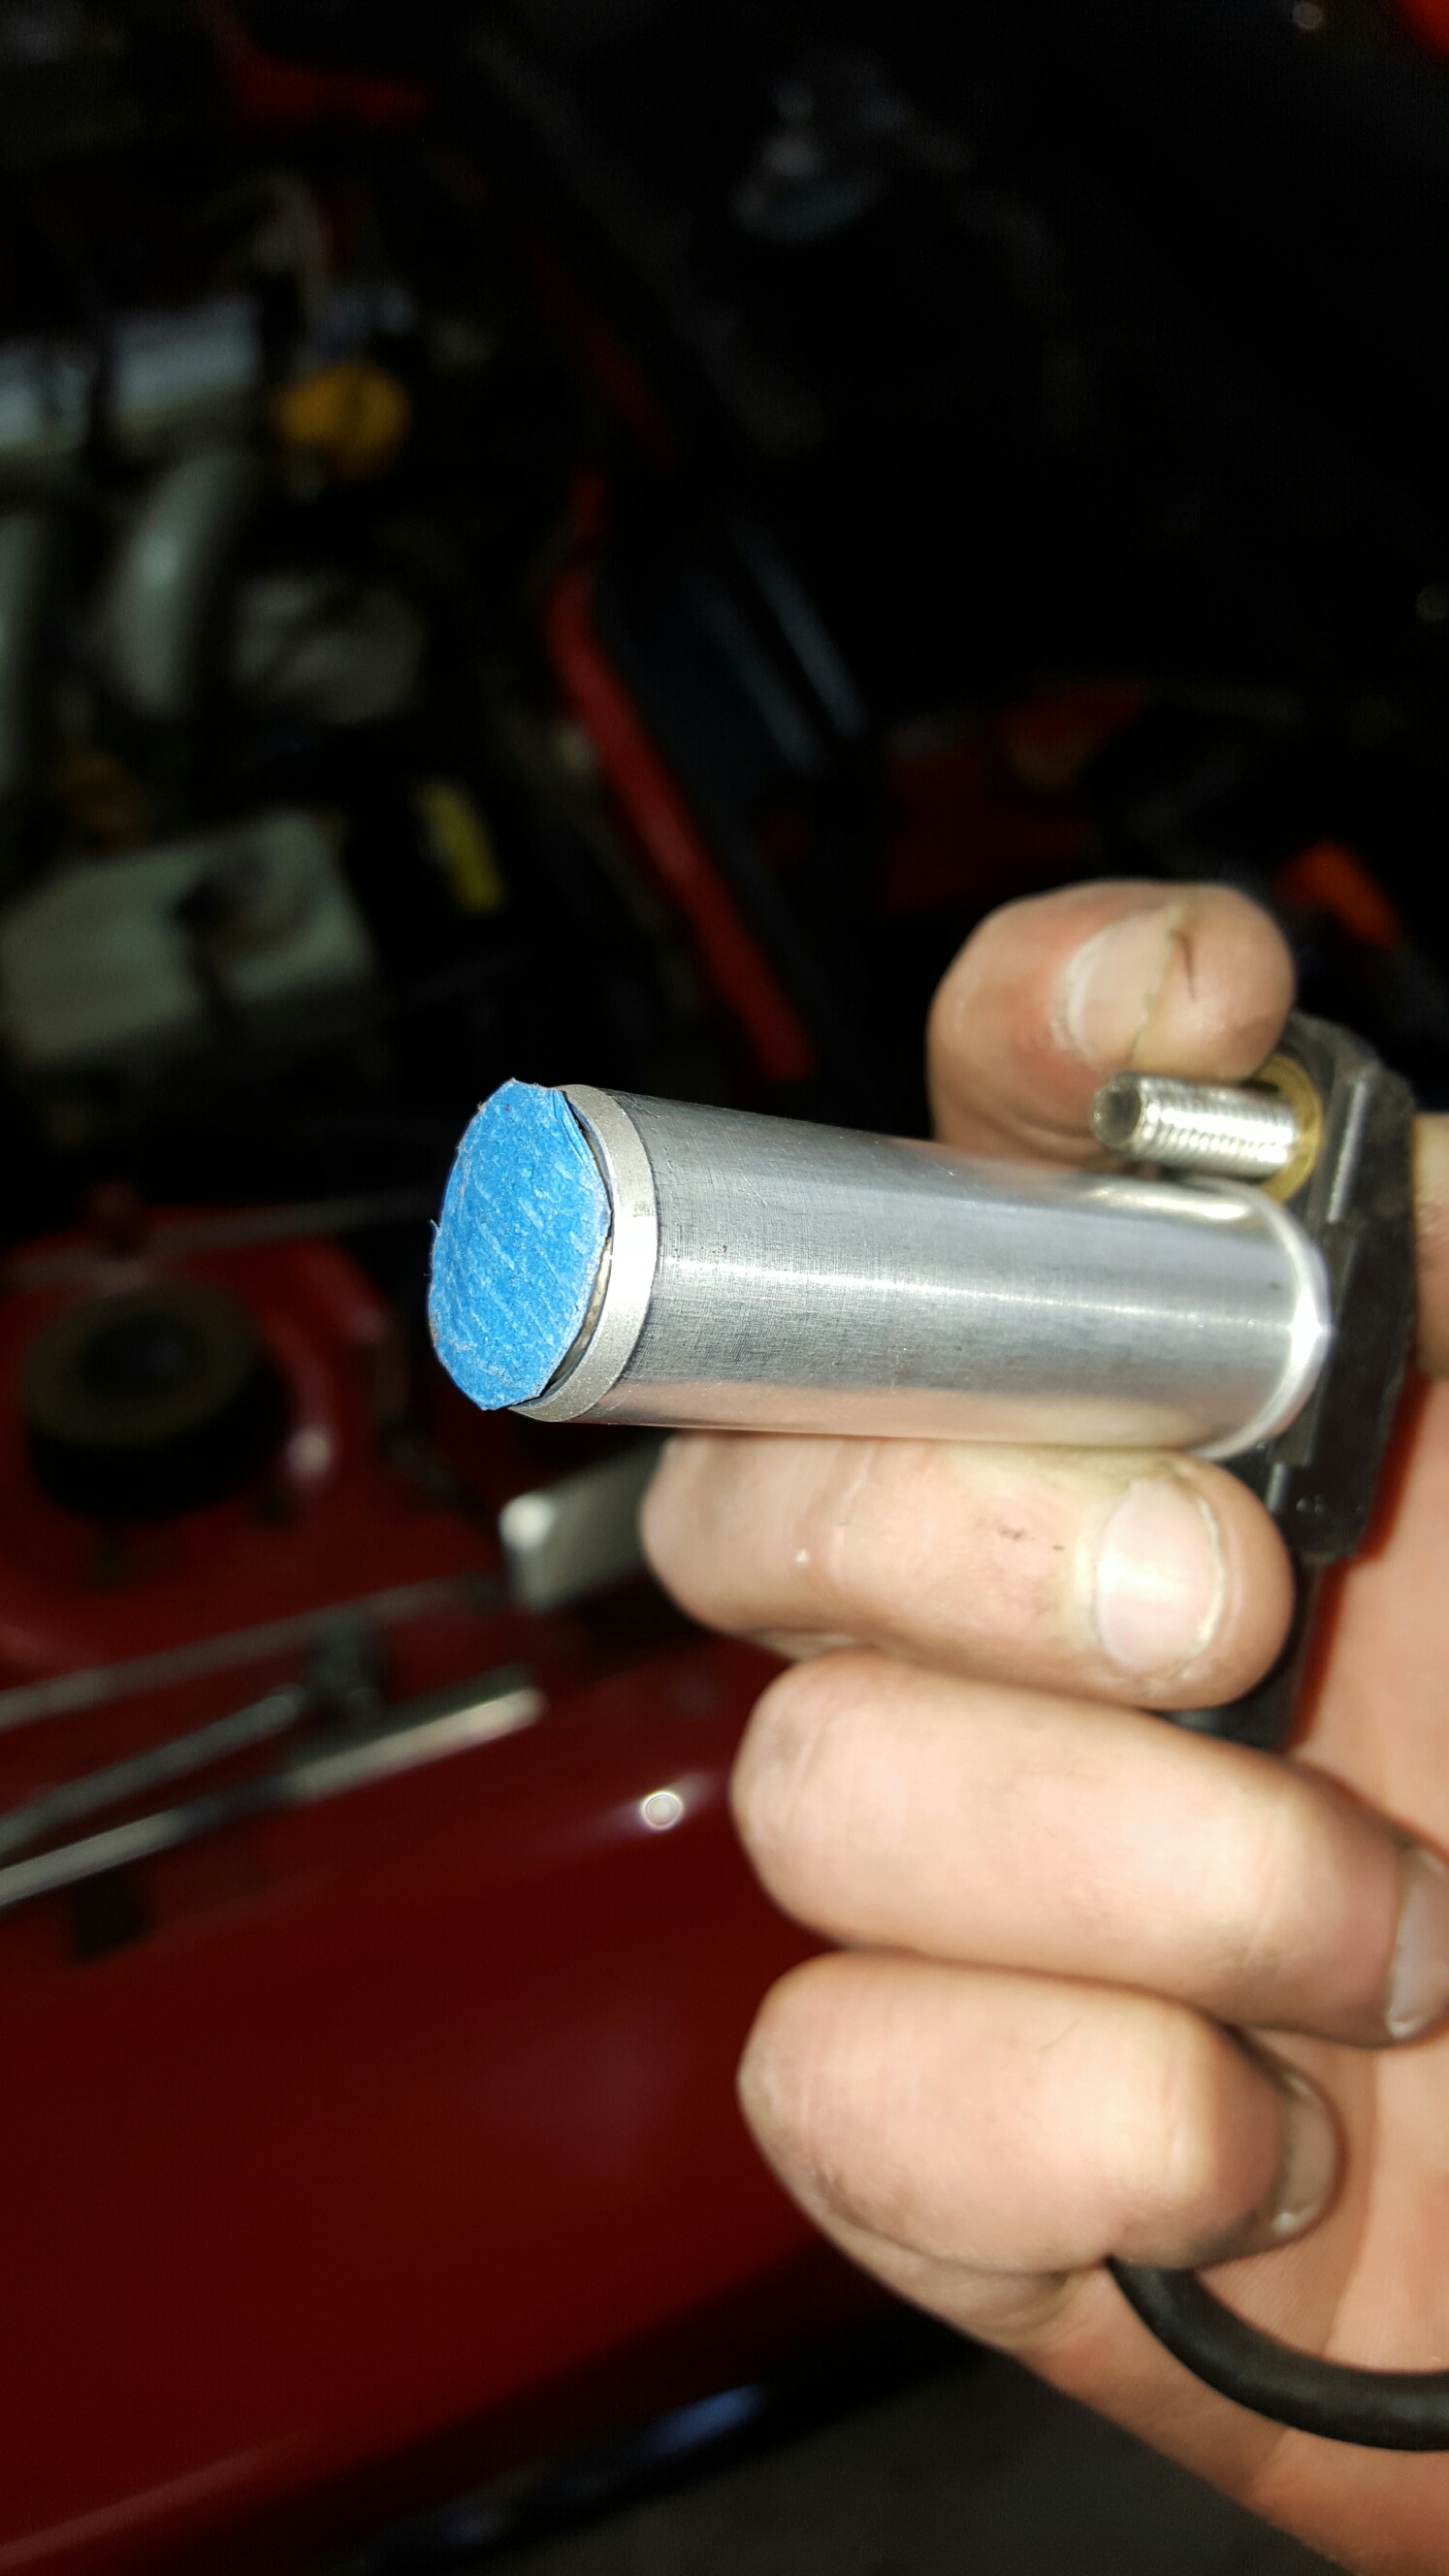
I ignored the glue and washer suggestion. Instead, I built up some painters tape on the sensor until I was able to get a consistent measurement with my calipers of .8mm additional length. I calibrated them at +.001 in and got readings +/- .0015 on my ghetto tape system. I was happy with that.
Here is the new bracket installed. 2 oclock position hole is not used.
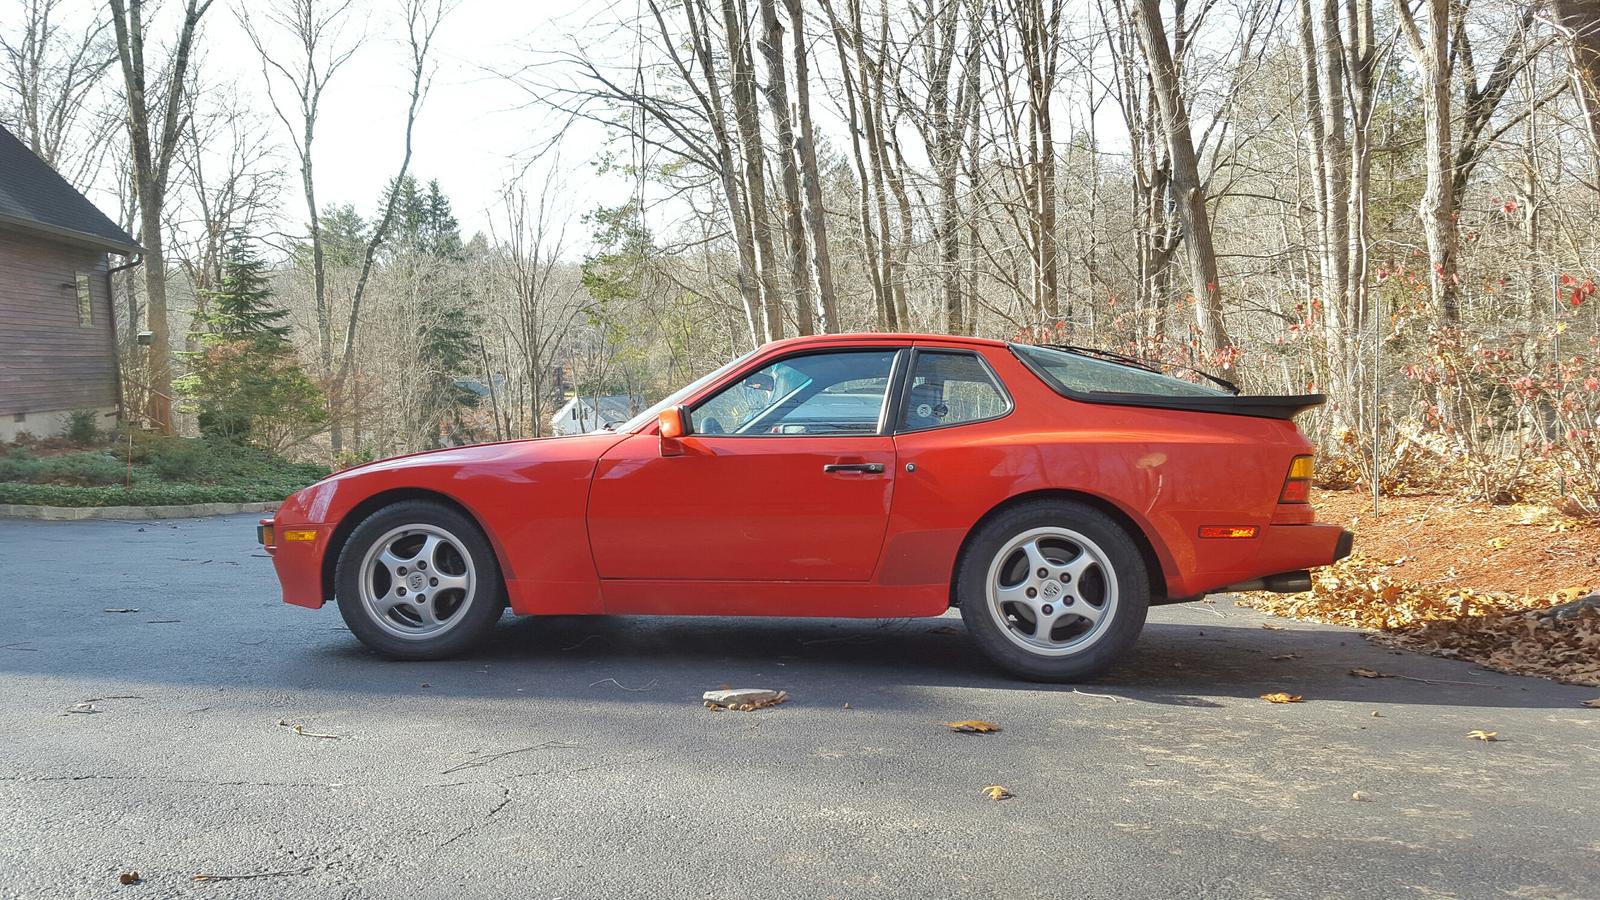
Here is a 944 S that starts right up with no back or mis-fires.
I removed the air box, MAF sensor, and plastic intake runner to make room to work over the bell housing. I also unfastened the 3 accessible hex head bolts on the throttle body, allowing me to swing it down slightly. I moved the throttle cable, and other loose bits out of the way.
The result is space for one arm to reach down behind the intake manifold. This job was a few hours elbow deep in that space!
Here's what the old bracket looks like: you can almost see it behind the throttle return spring.
Here is a better shot with the throttle body out of the way. THe duct tape is keep errant pieces from falling in the bell housing.
Here are the old and new brackets, sensor, and tube with inner/outer diameters as is appropriate.
I ignored the glue and washer suggestion. Instead, I built up some painters tape on the sensor until I was able to get a consistent measurement with my calipers of .8mm additional length. I calibrated them at +.001 in and got readings +/- .0015 on my ghetto tape system. I was happy with that.
Here is the new bracket installed. 2 oclock position hole is not used.
Here is a 944 S that starts right up with no back or mis-fires.

