When you click on links to various merchants on this site and make a purchase, this can result in this site earning a commission. Affiliate programs and affiliations include, but are not limited to, the eBay Partner Network.
Joey that looks LEGIT! I'll be following in your footsteps if the fiberglass doesn't go as I planned.
I edited the OP a lot, I made it more oriented toward prep work and crack repair more than actually a finished product. The vinyl upholstery route is clearly viable.
Can you link to the material you used? Could you have done it without the seam below the instrument panel? That looks great, and at first the seam drove me crazy but I guess it must be very difficult to actually see once it is installed in the car.
Hi Konak,
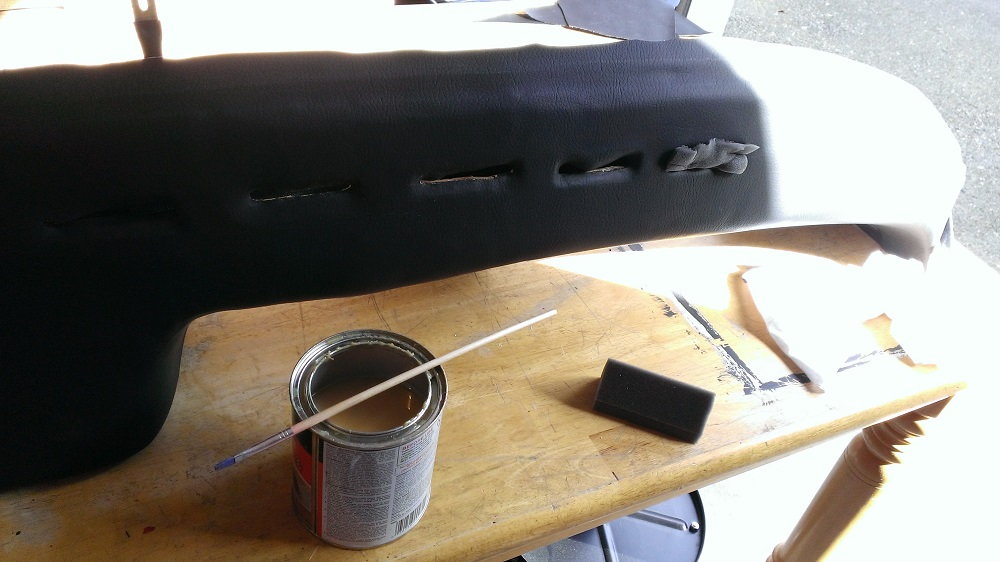
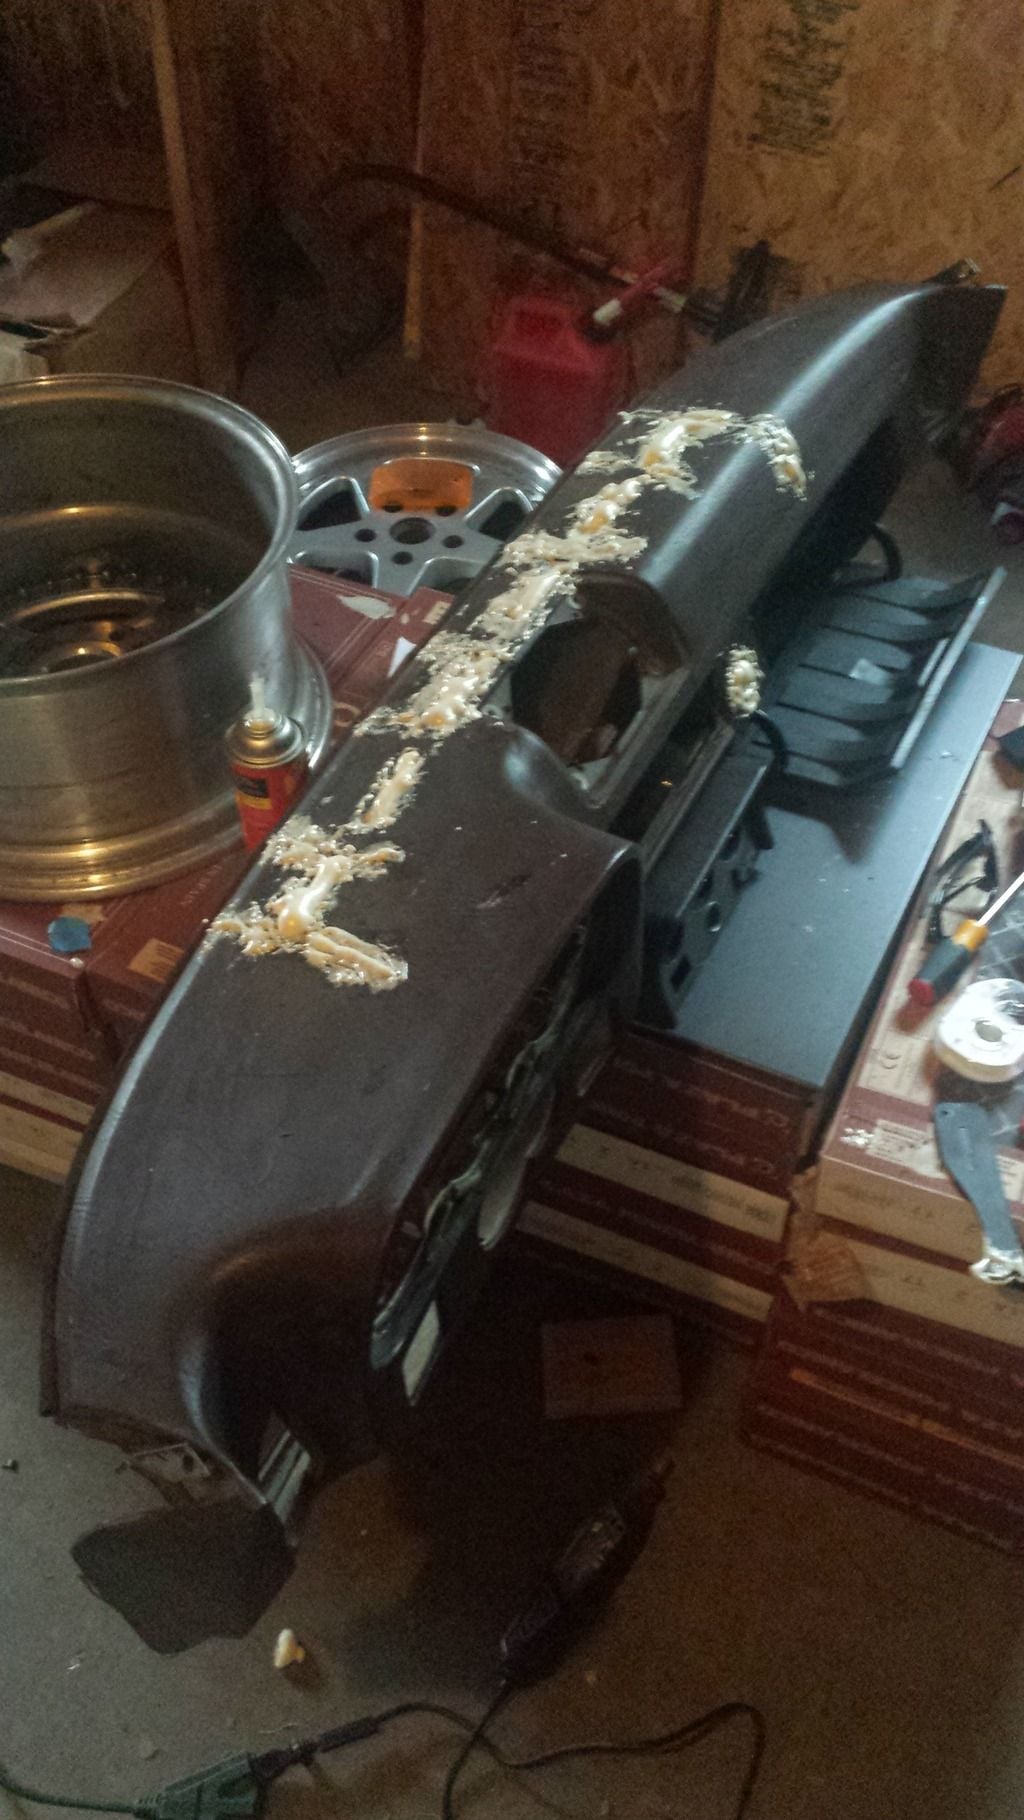
For the repair and rebuilding I used Great Stuff Foam:
The seam is due to excess left over from the fitting and stretching. Unavoidable ;-)
I positioned it where the steering wheel goes. I may look a for a little vinyl repair kit or just see how it looks after the vinyl painting. Either way it was pretty invisible already but i can see it.
Also for everyone...
For the vents I will be using packing foam when I glue the vinyl down in the vent openings. This will provide a good adhesion.
In retrospect if and when I do this again I will use bags of rice or something over the vinyl when gluing it to help with a firm adhesion.
leather can shrink over time due to heat/sunlight (in abundance here...while the east has been snowed in it was 85 yesterday here and breezy).
if its too tight it could potentially break the fibreboard dash in the early cars!!
i actually have a made-to-fit leather cover for my early dash but i dont really have the time to try and fit it, but i have money for other people's time.
Would you (or the sausage merchant) do the dashboard repair and vinyl covering for $200?
Oh V2... no amount of money would have me do that for anyone else.
It was an experience to be shared with a car I own and love.
I would strongly encourage you to give it a shot.
I am very proud of my efforts and wouldn't trade it for anything.
And of course if you need any advice or help we are here for you.
Would you (or the sausage merchant) do the dashboard repair and vinyl covering for $200?
Until I'm 100% sure that my work will hold up for the long haul, not taking any money. However I'm game to do the prep work (i.e. repair the damaged foam and make it ready for applying vinyl or something).
Hi all.
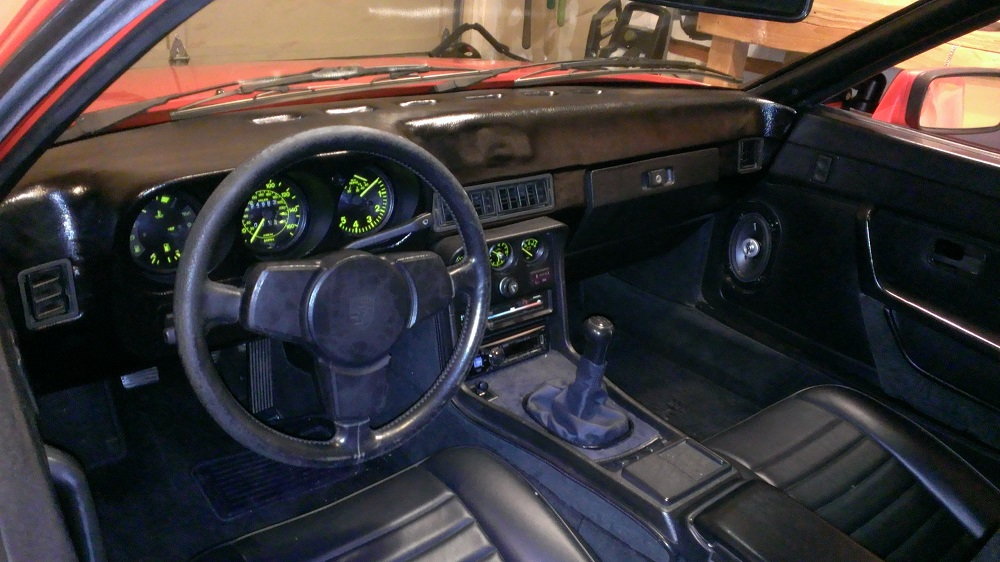
So I got the dash back in the car and I'm kinda happy with it.
The fill in of the speaker cavity has popped out a little but I will live with it. Also the vinyl paint I used was a bit glossy. It looks kinda pimp and makes me smile.
Next year, after any expanding is done, I will pull the dash and it's vinyl and sand it down a little and maybe change up the vinyl, who knows ;-)
Here are some pics of the final steps.
I used stuffed foam in the vents to help the glue set
I sprayed with vinyl paint because the Joann's Fabric black vinyl was too dull.
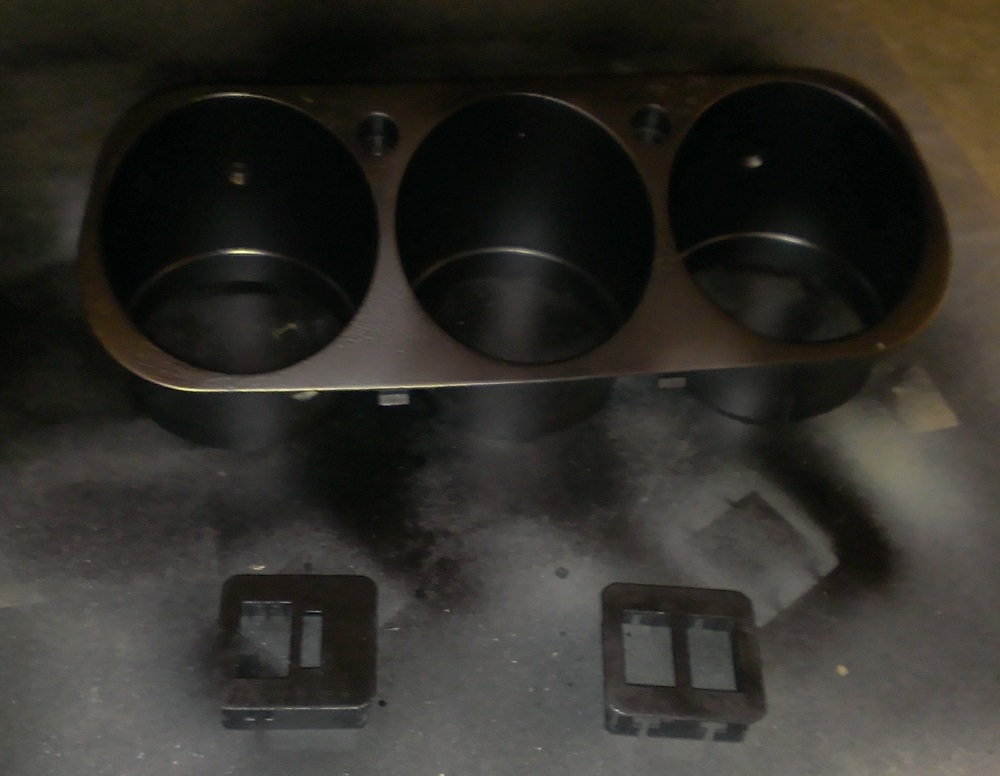
I spruces up some of the dash pieces with some satin black paint
And there she is, glossy lump and all.
I had so much fun driving her again today, just wonderful.
The wiring work I did came out perfect and the car functions better as ever.
Now to replace the timing belt, gaskets, and rattling exhaust.
Funny, I did notice a little glare today.
Perhaps after the maintenance I will re-spray.
In the meantime I could track down a decent rattle can of satin black for vinyl.
It's the same Great Stuff foam as before, pressed down to remove a lot of the air pockets. The foam density is a good match to the original foam, and when pressing down with a finger, 'gives' about the same amount.
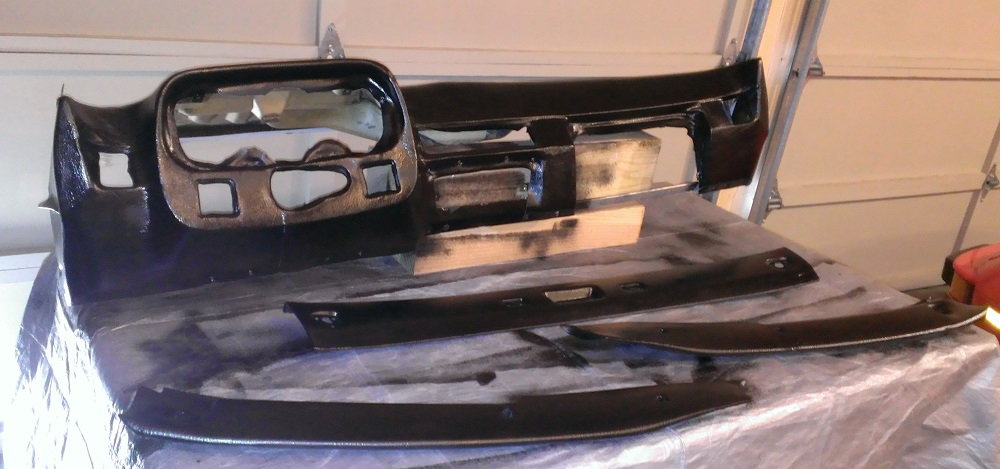
I got started on mine yesterday. It will be a plug to make either a fiberglass or carbon fiber race dash that retains the original gauge cluster.
I'm going to fill all the vents/speaker holes, seal off the glove box, and use that green planters foam to sculpt a console with removable switch panel that extends down to the tunnel. Then cover it all in bondo to smooth it out, paint it, brace it, and finally pull a mold.
Hopefully it all goes to plan lol
To block the back of the large holes for filling I'm thinking duct tape but if anyone has other ideas let me know.
 03-06-2015, 02:51 PM