When you click on links to various merchants on this site and make a purchase, this can result in this site earning a commission. Affiliate programs and affiliations include, but are not limited to, the eBay Partner Network.
Thanks for those pics Michael, very interested in seeing how the late dash comes along! Is it going to be finished in the same manner? Looks like that vinyl covering came right off leaving the foam quite intact. I started work on my donor dash - it is in extremely good shape (too bad it is not dark brown) It only needed a couple small cracks dug out and filled - I hope to have a couple pics later today.
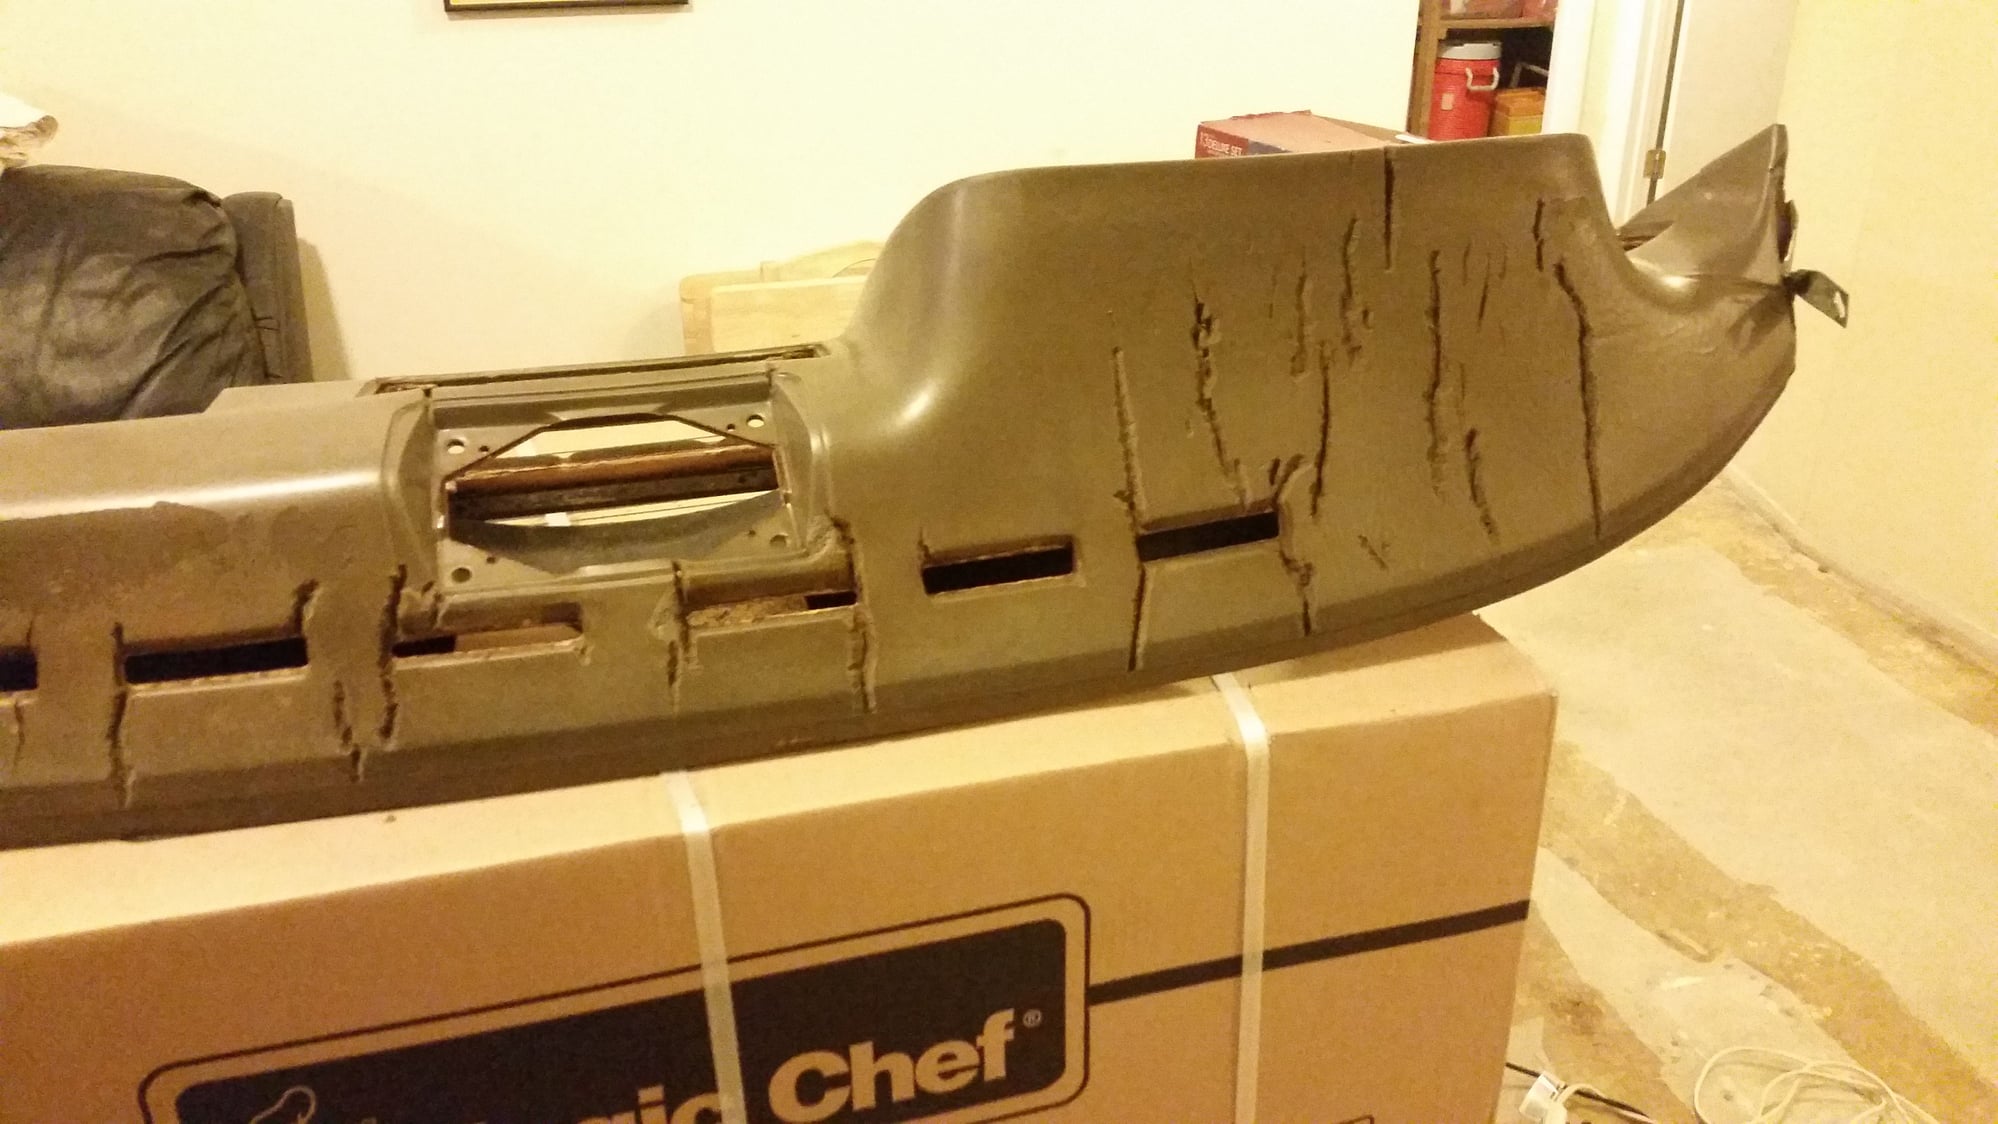
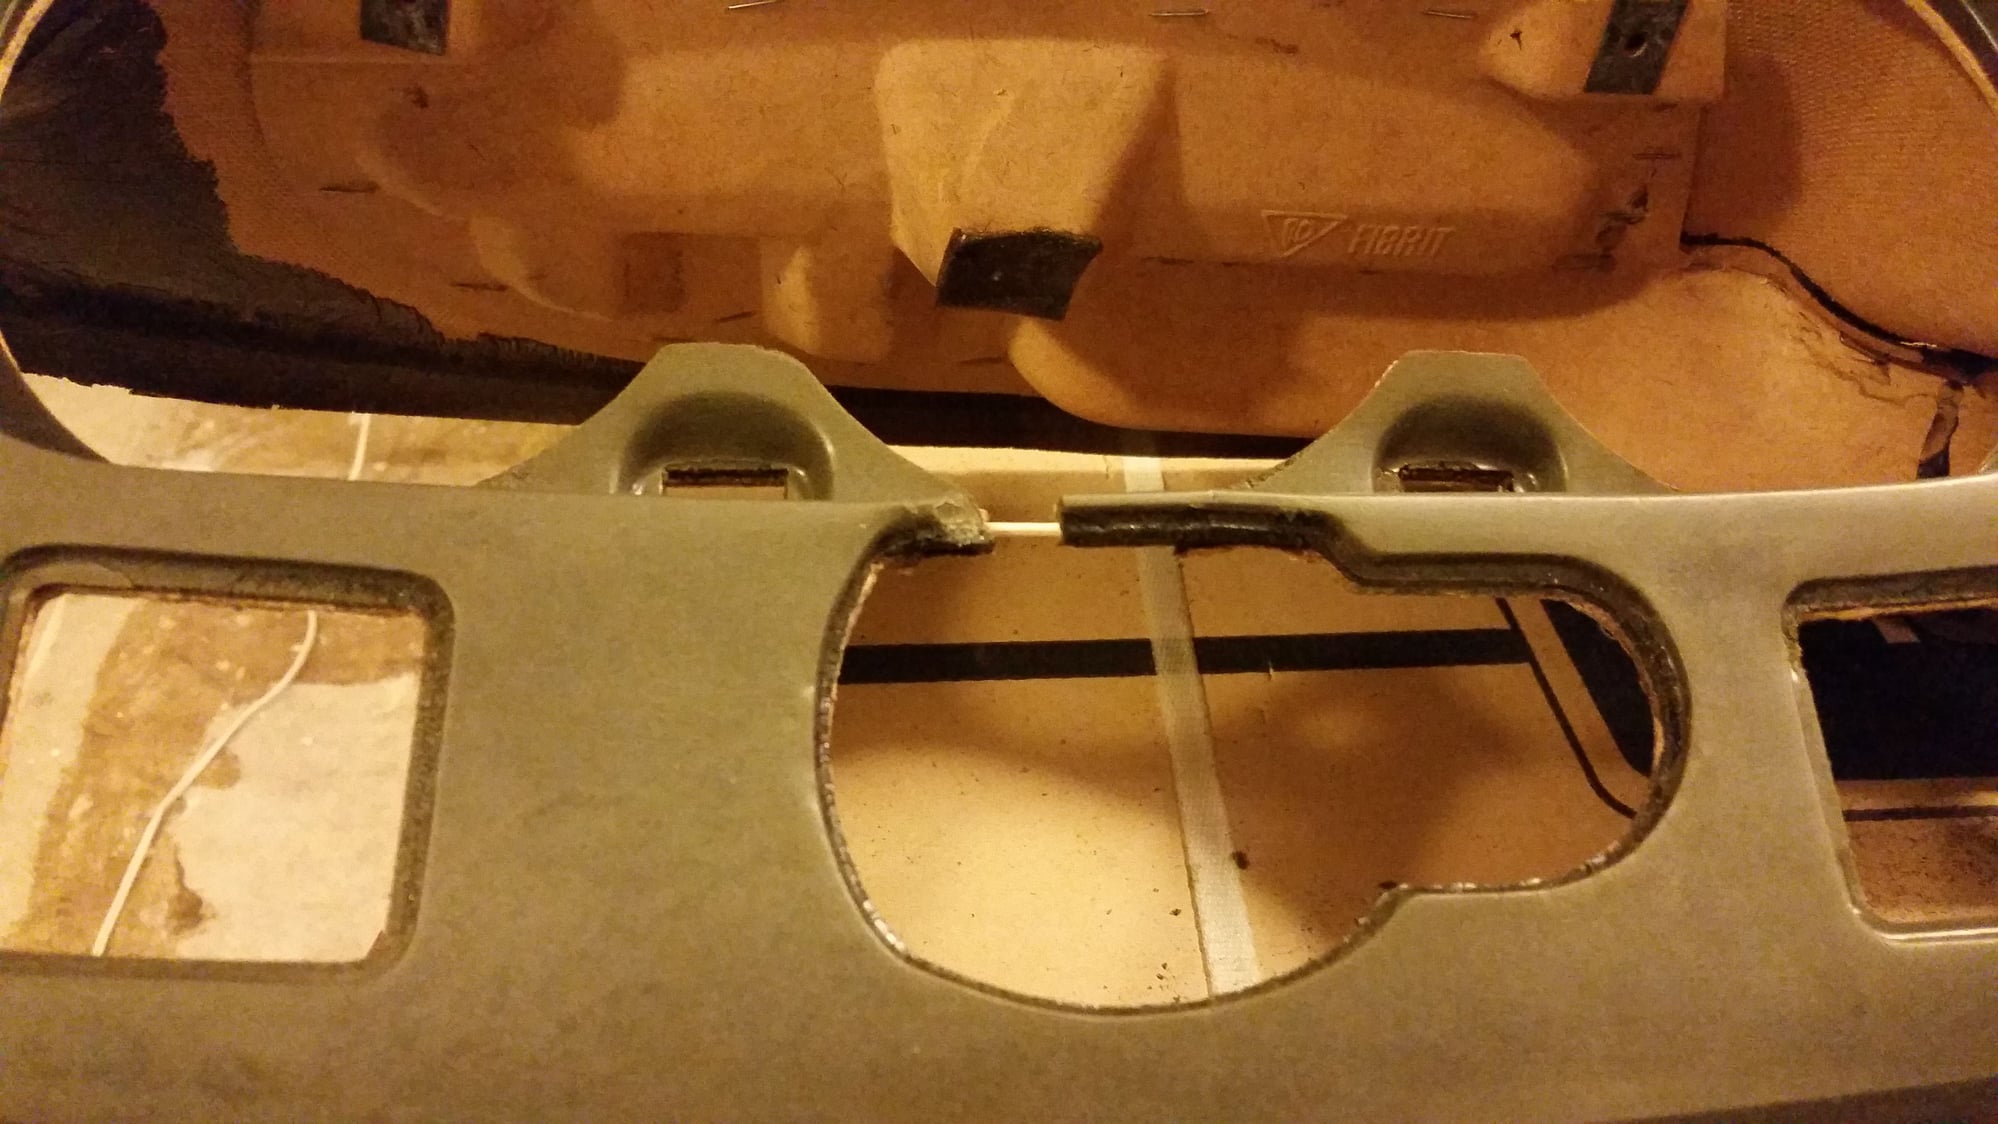
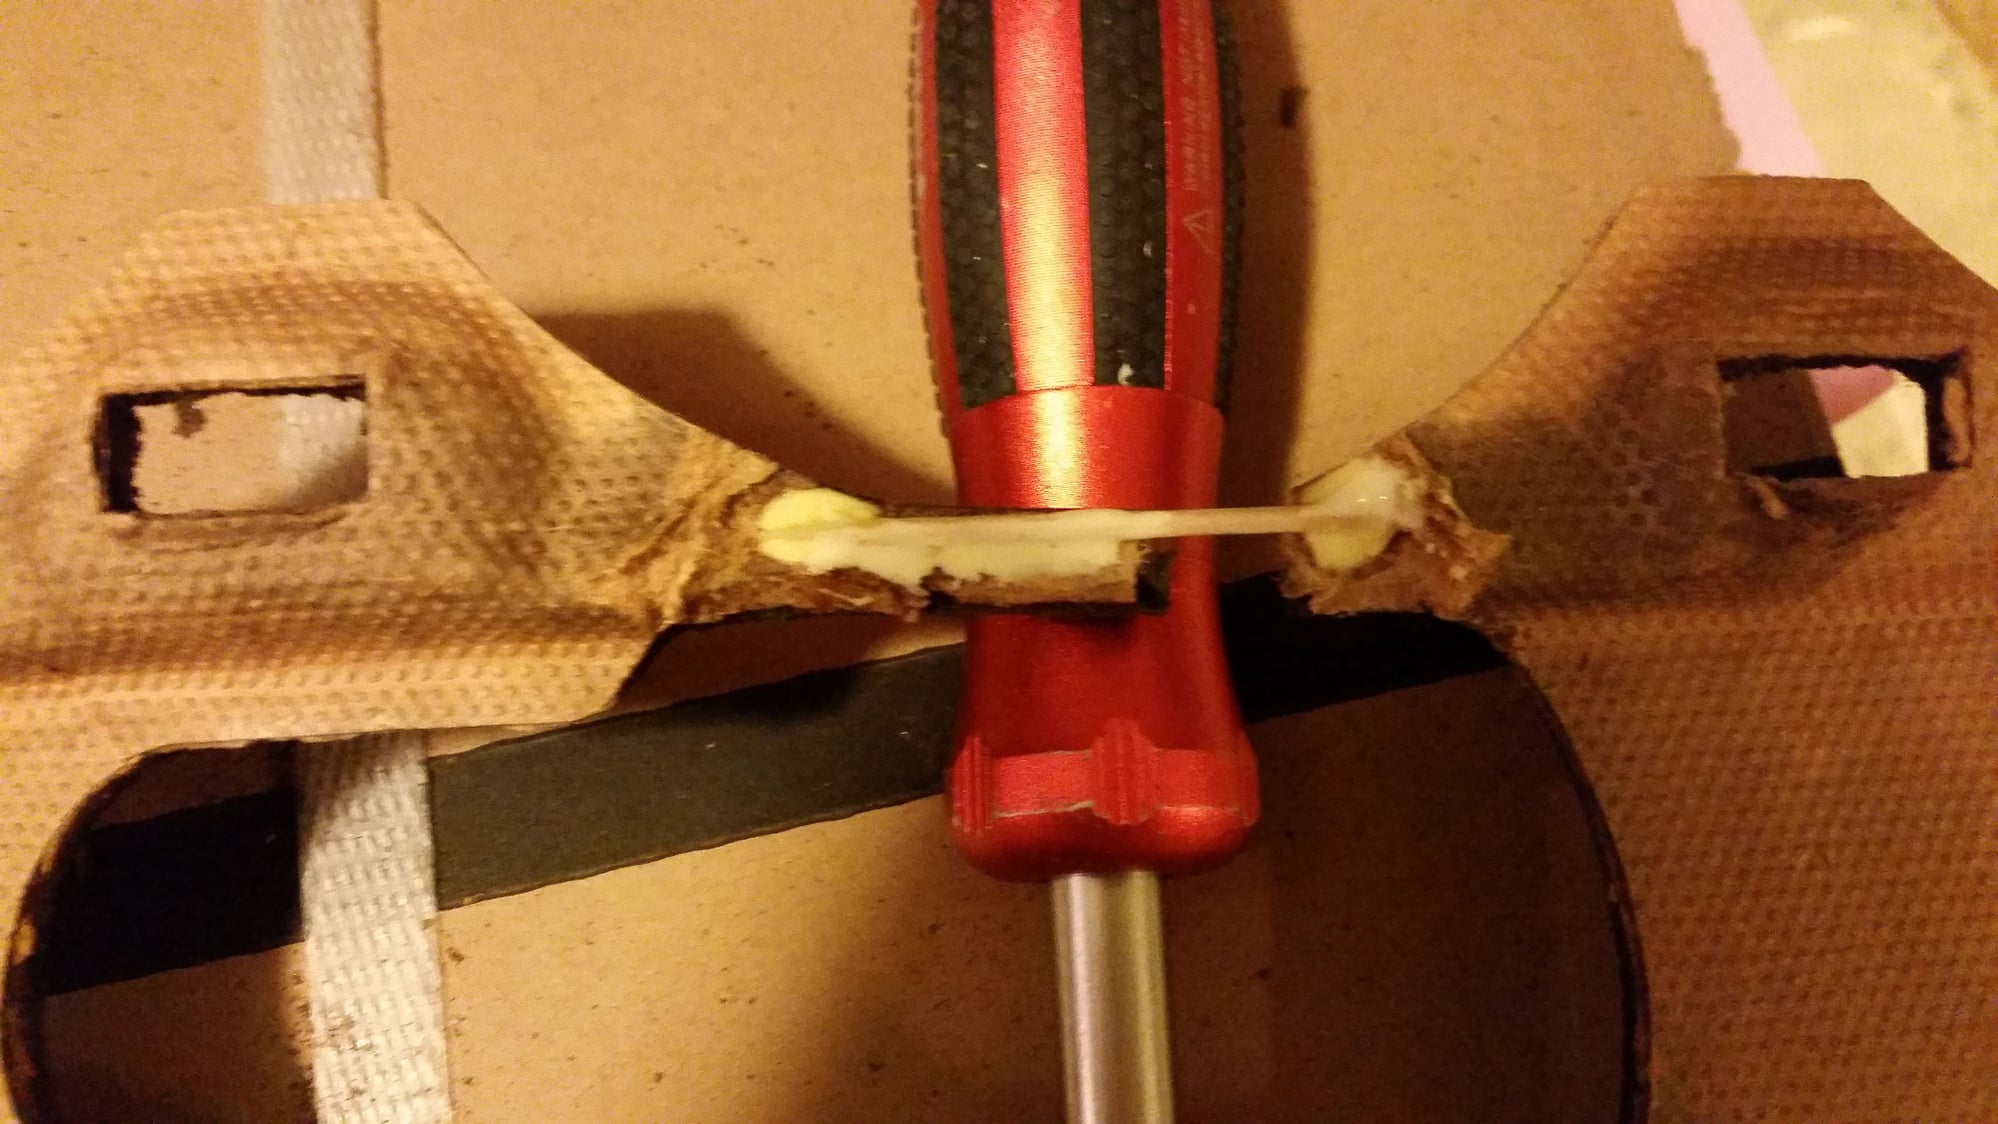
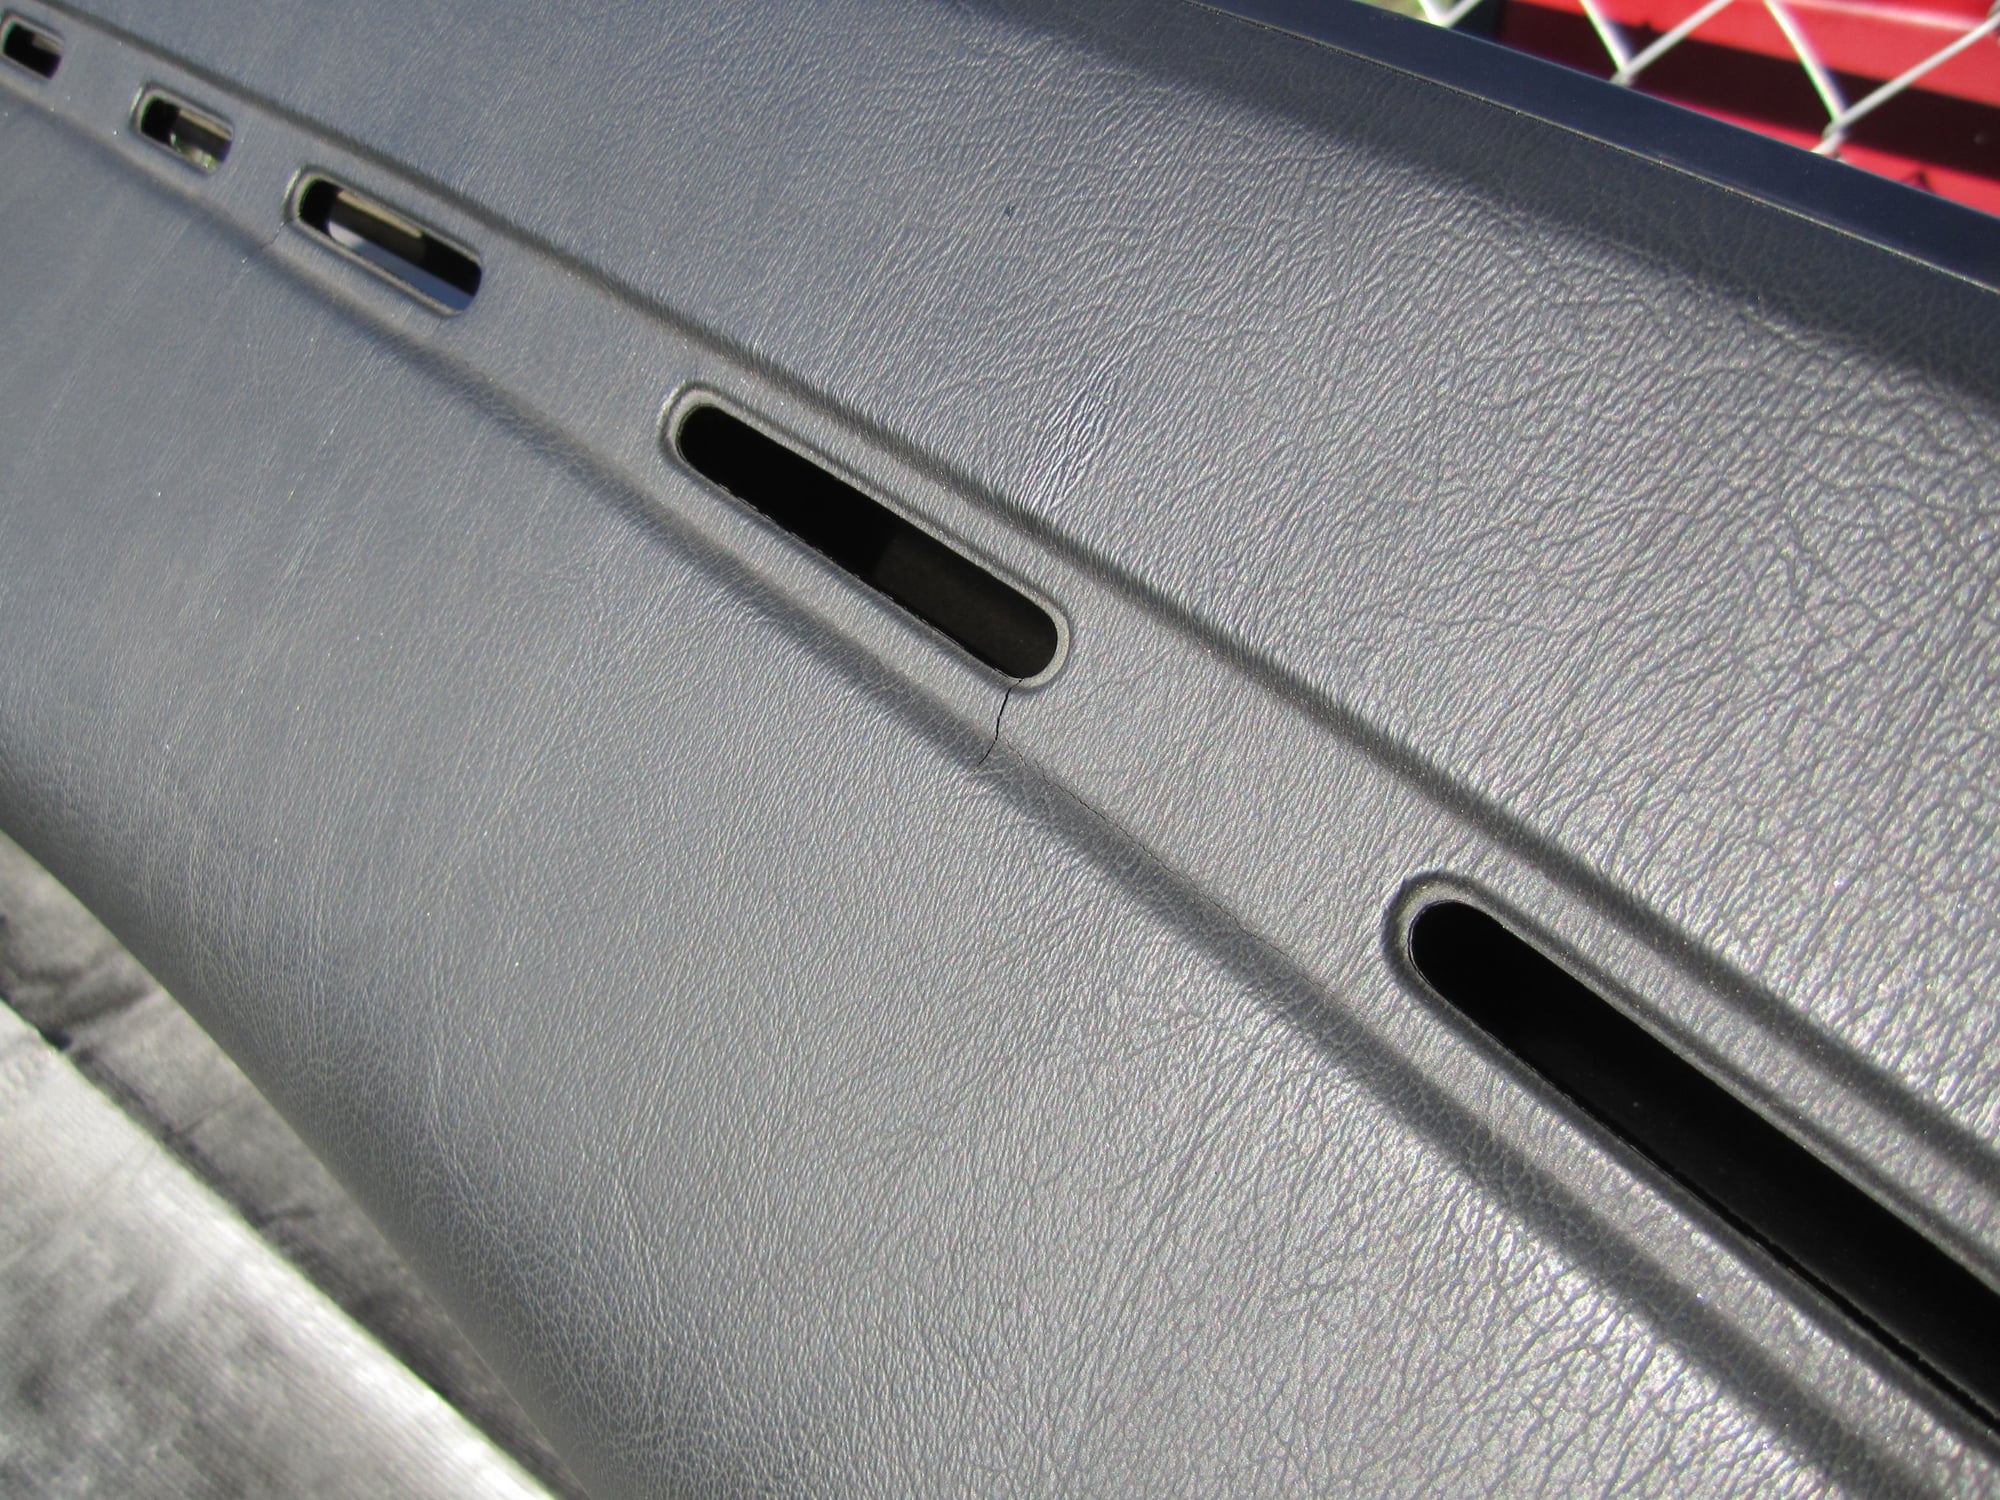
You inspired me to give this a shot. It was too cold to work in my unheated garage this week, so I decided to pull out the spare dash I got at the junkyard and get to it in my basement. My dash was in significantly worse shape than yours, with the vinyl cracking all over, so I tore off all the vinyl to start. This was much easier than I anticipated. No foam got pulled up and I just had to cut around the rivets along the edges. It took me about 2 hours with a Dremel to cut all my grooves, including cutting down the edges of the grooves like you suggested. I also used a toothpick and glue to try and add some structural support to a small missing section below the instrument panel. Foam work will begin tonight or tomorrow night
.
Thanks for those pics Michael, very interested in seeing how the late dash comes along! Is it going to be finished in the same manner? Looks like that vinyl covering came right off leaving the foam quite intact. I started work on my donor dash - it is in extremely good shape (too bad it is not dark brown) It only needed a couple small cracks dug out and filled - I hope to have a couple pics later today.
For the late dash I want to actually reupholster it with vinyl or leather (probably vinyl for cost reasons) after the cracks are repaired. On the early dash I originally wanted to do the same, but the complex shape isn't easy to work with unless you buy a kit. Classic 9 sells an amazing looking kit, which is pre-stitched and ready to go, but it wasn't in the budget so... rattle can it is
Originally Posted by konakat
You inspired me to give this a shot. It was too cold to work in my unheated garage this week, so I decided to pull out the spare dash I got at the junkyard and get to it in my basement. My dash was in significantly worse shape than yours, with the vinyl cracking all over, so I tore off all the vinyl to start. This was much easier than I anticipated. No foam got pulled up and I just had to cut around the rivets along the edges. It took me about 2 hours with a Dremel to cut all my grooves, including cutting down the edges of the grooves like you suggested. I also used a toothpick and glue to try and add some structural support to a small missing section below the instrument panel. Foam work will begin tonight or tomorrow night
Excellent! I'm going to be following this, I had no idea the vinyl came off that easily. A lot of pictures I saw took foam with it. Definitely keep us updated, the lack of vinyl will make that a lot less annoying because it will all be uniform foam.
Just got email from Classic 9 that bottom kit is on FedEx! Hope to see by the weekend - those guys are great - very quick turn around and great customer service.
Sweet! I wouldn't be afraid to rectify the defrost vents on the other dash. Maybe use a sharpie and a stencil to draw some new holes, and grab your dremel. The prep work looks solid.
Just a quick procedural tip. It is much easier to apply the foam if you do a 1/2 second spray into a cup and stir it a few times first. This knocks down the foam so it is much easier to apply and work into cracks. It still expands plenty and will still need knocked down after 15 minutes to get the density right.
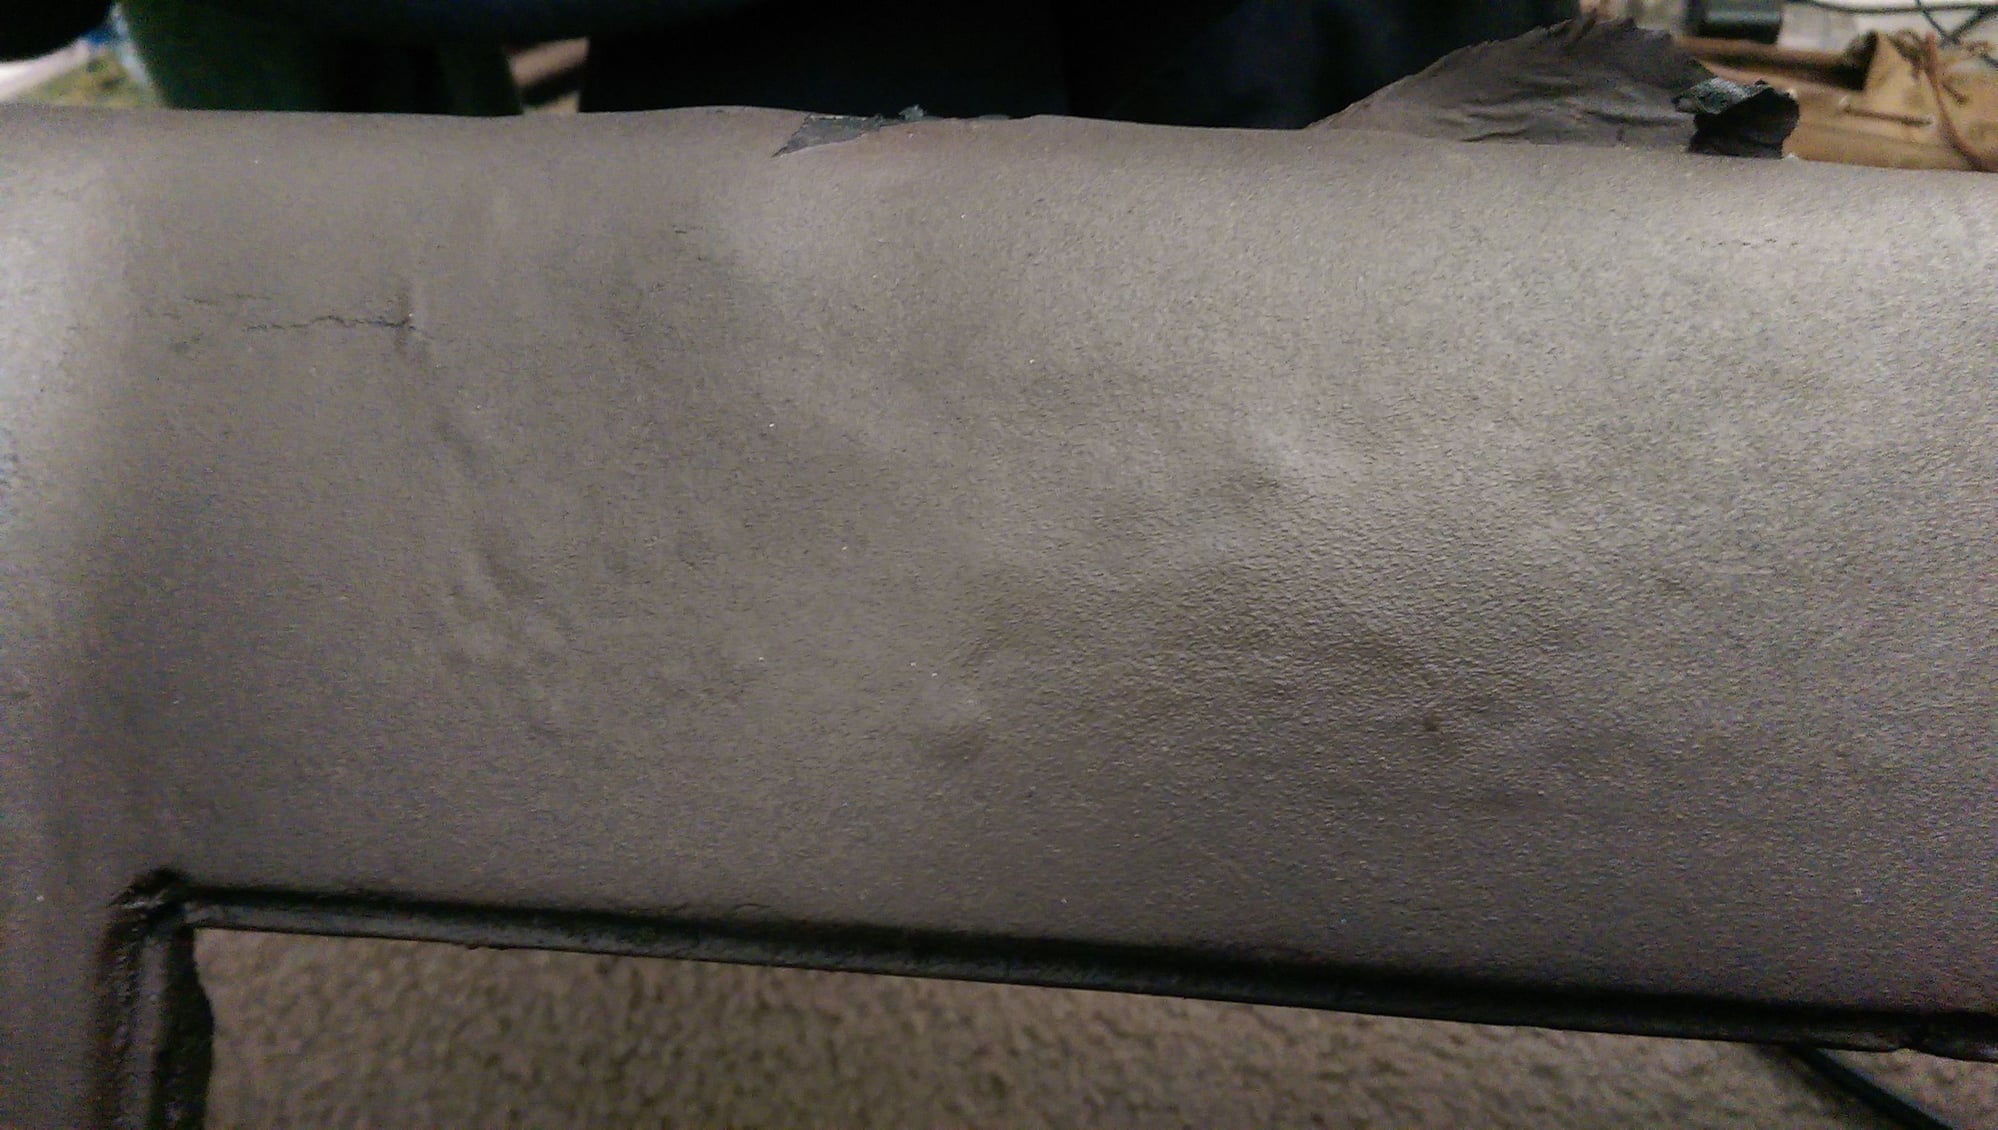
I decided to hit the dash with a heat gun to see how it holds up to heat, and got some bad bubbling on the area where the center speaker used to be. That was the last straw for me, so I gutted the foam there.
I was able to reproduce the bubbling on other areas if I held the heat gun there for a while (hotter than I would ever expect the dash to get in real life). I took a razor blade to the bubbling and it turned out to be the undercoating (!) that was basically melting and giving off gas.
I'll update the guide accordingly, I'm pretty sure it was layer of truck bed liner I used (which is not in the instructions, it was one of my experimental ideas at first).
I'm doing what konakat did and ripping all the vinyl off my dash, that seems like the way to go.
Years ago I took one of my dashes and filled the cracks with bondo, smoothed them down, applied the spray-on rubber coating and then painted the dash brown to match the old interior.
It looked really good. I never had bubbling problems (so. cal gets as hot as TX in summer) but the cracks came back fairly soon (bondo isnt strongly bonded to the foam i suppose).
bear in mind that even a gentle heatgunning is probably 400*
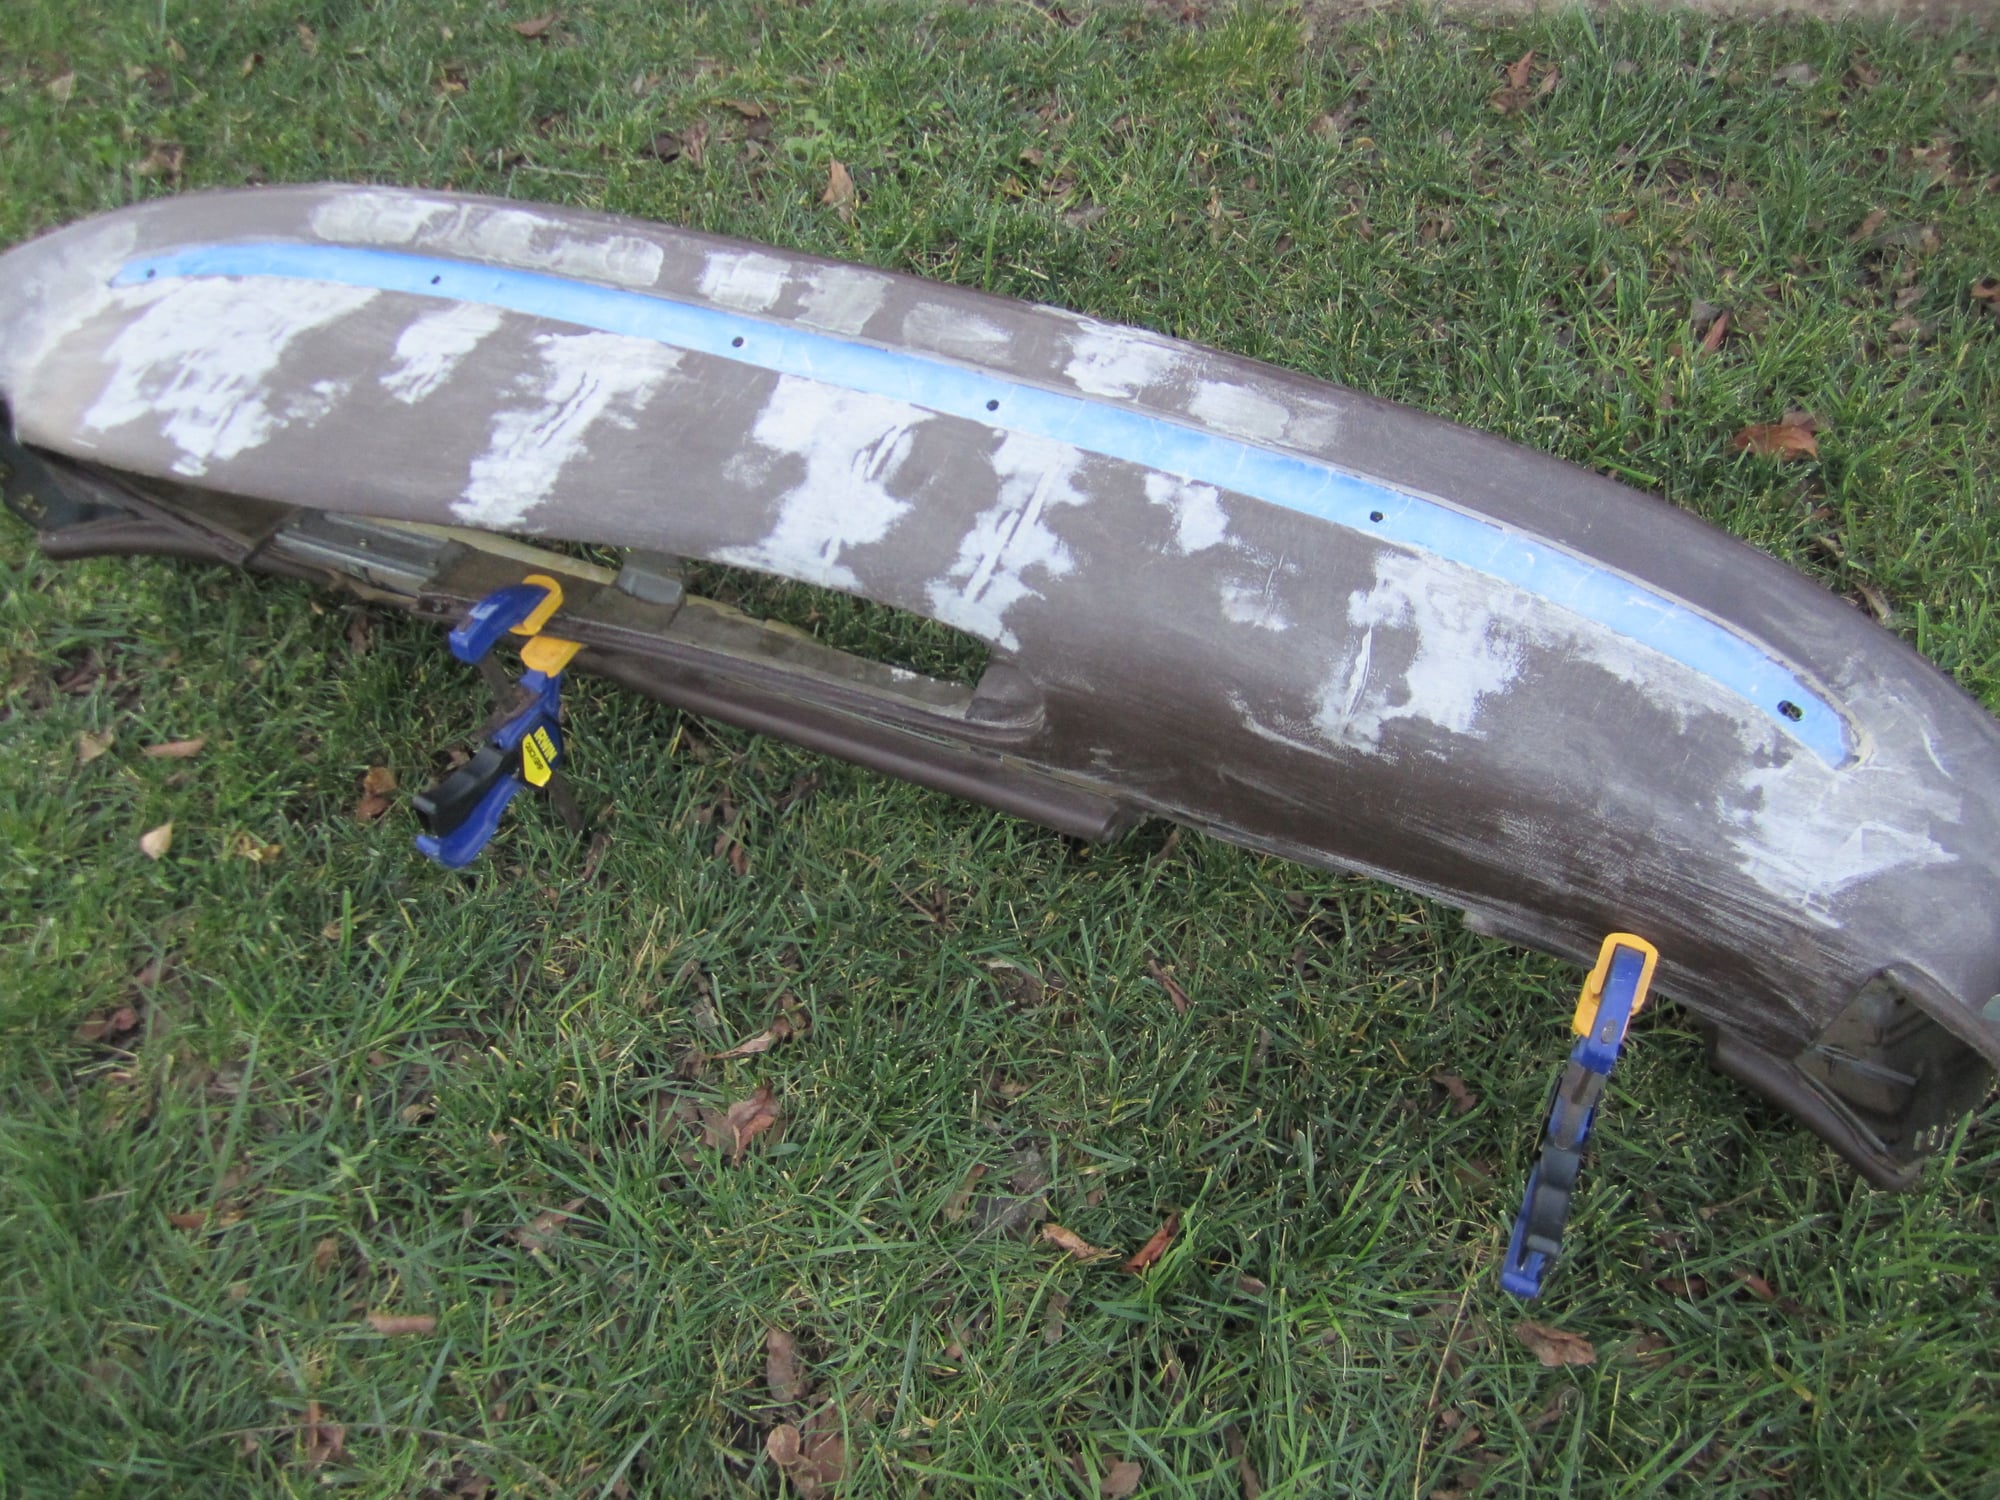
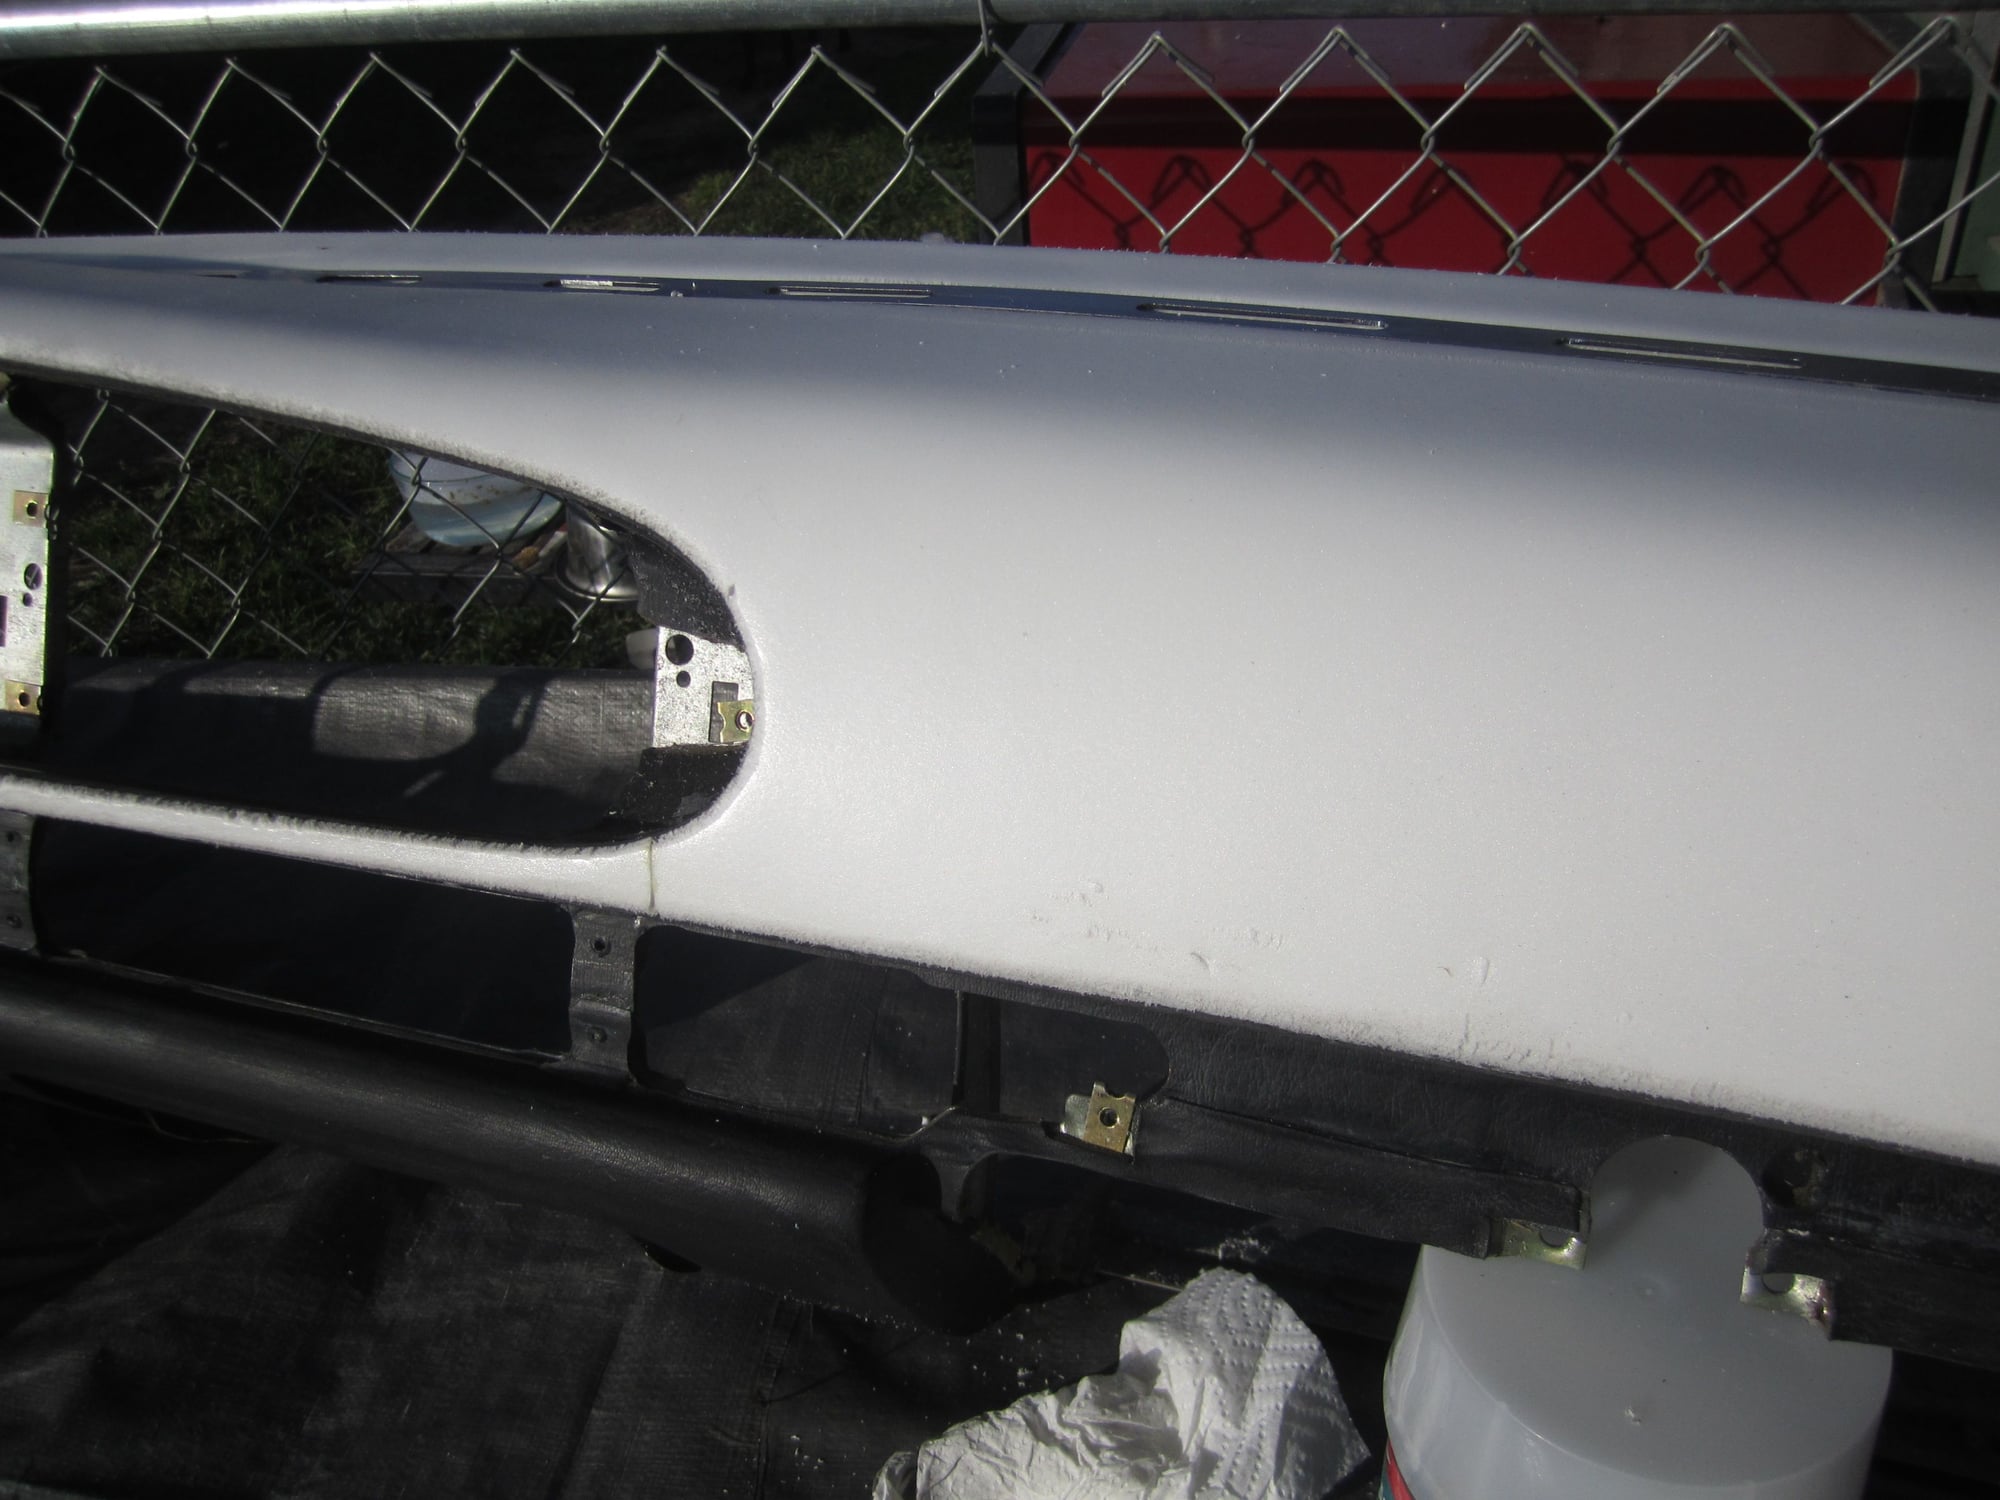
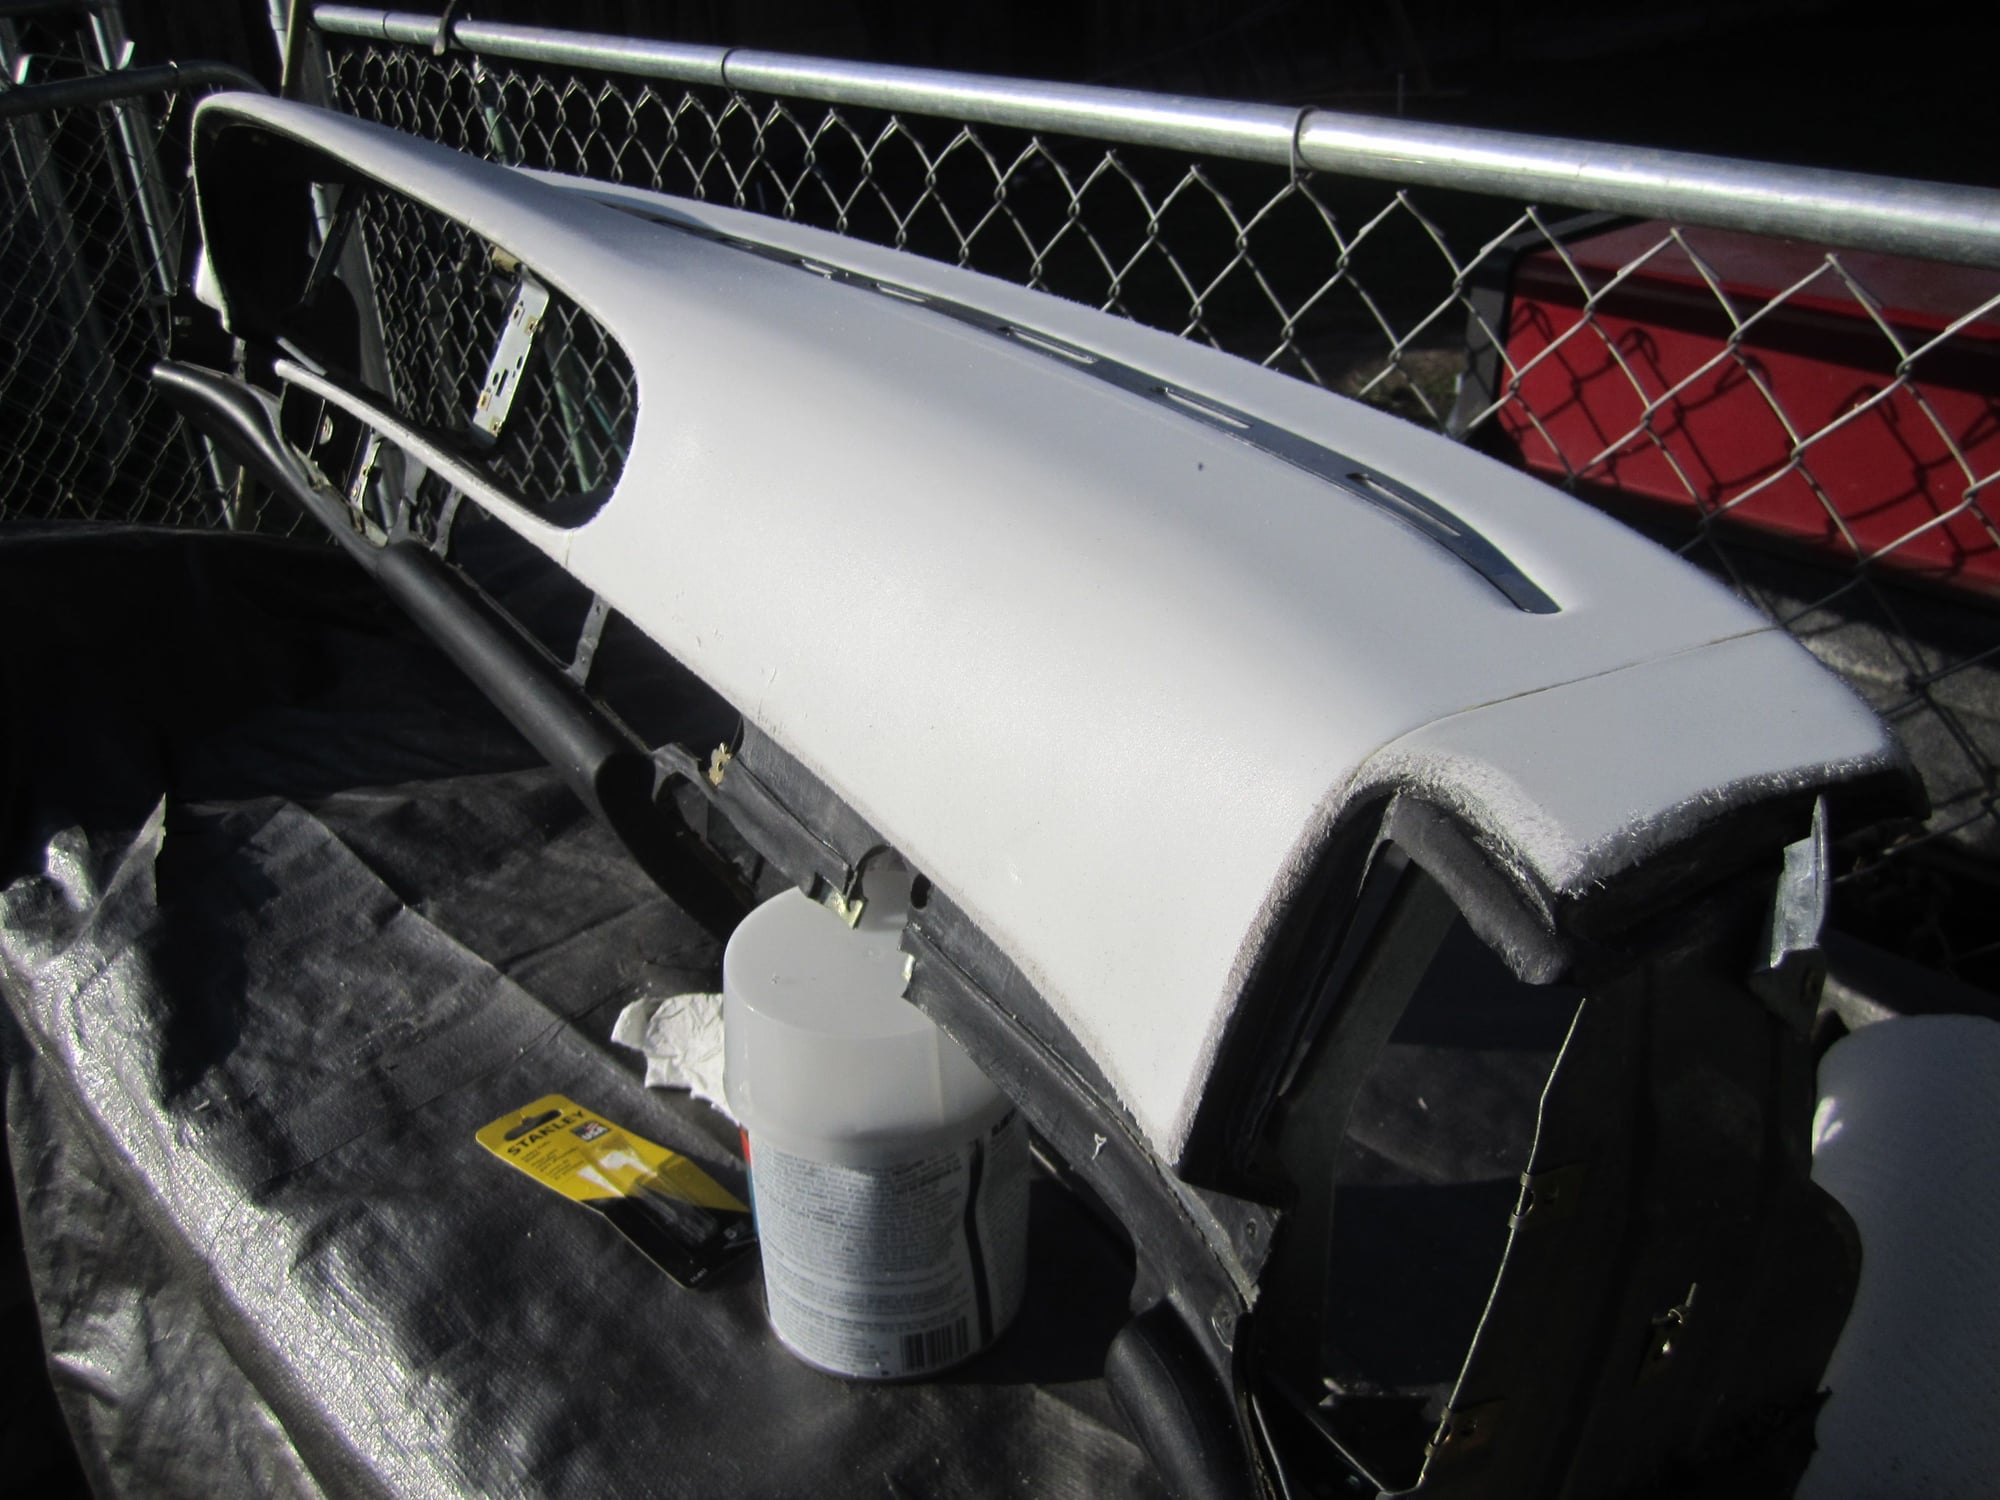
Been trying to go slow - here is an update. Foam underlayment going on and beginning to contour it:
Going to attempt recover of glove box door first as it is smallest. Gonna be interesting lining up the french seam around the cluster! Notice the new defrost trim piece - part of the kit from Classic 9 - planning on painting it satin black. More soon -
Years ago I took one of my dashes and filled the cracks with bondo, smoothed them down, applied the spray-on rubber coating and then painted the dash brown to match the old interior.
It looked really good. I never had bubbling problems (so. cal gets as hot as TX in summer) but the cracks came back fairly soon (bondo isnt strongly bonded to the foam i suppose).
bear in mind that even a gentle heatgunning is probably 400*
I'm pretty optimistic that this foam will work better than bondo. It is basically aerated adhesive and may be the stickiest stuff I have ever dealt with. Incredibly sticky when wet, then hardens like super glue where the only way to get it off your skin is to peel the skin off. Only question is whether the foam will still be soft enough to deal with vibration and expansion/contraction. I think it is a bit denser than the stock foam, but it has some sponginess to it.

 01-07-2015 | 11:47 AM