When you click on links to various merchants on this site and make a purchase, this can result in this site earning a commission. Affiliate programs and affiliations include, but are not limited to, the eBay Partner Network.
Classic 9's instruction mentioned a Fiberglass body filler or SEM flexible filler. I could not locate the SEM product so I went with Bondo Glass (http://bondo.com/products/fiberglass...ler-00277.html) I found it did crack soon after my application. I think it cracked because I didn't fill the void properly. I should have used something like a pick instead of a putty knife to make sure it was fully in the crack. Then the putty knife to smooth final surface. I would try the product that Porscharu mentioned in place of the SEM product. Good luck and keep us posted.
Could be something else as there are tons of products.
One other idea is to call a place that sells only auto paints and bodywork supplies and find out what they would use. I'm sure they could point you in the right direction.
Last edited by pdxfj; 01-30-2015 at 02:31 PM.
Reason: additional thought..
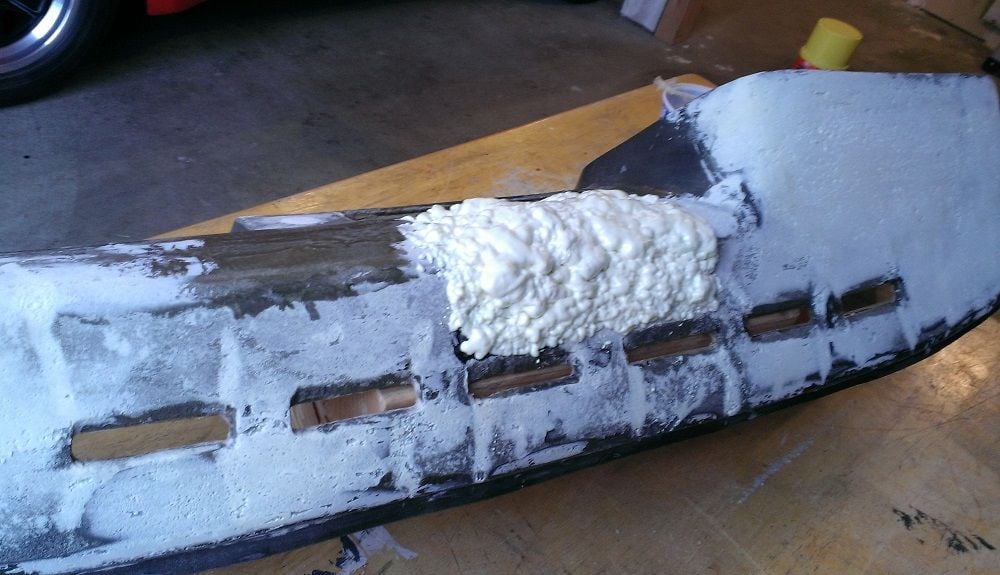
The great thing about the Great Stuff foam is how well it adheres to the surface, and has similar mechanical properties. I think most other products will end up cracking or falling off due to incompatibility with the foam surface.
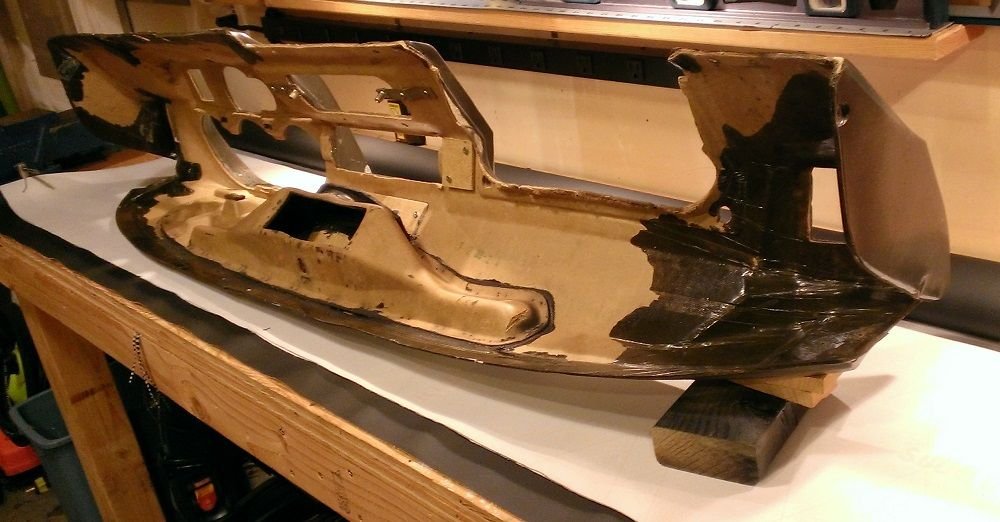
This weekend a local 944 owner (also wanting to fix up his early dash) and I visited a local boat repair yard - Fiberglass Masters Boat & Motor Repair. They sold us some fiberglassing materials for a very fair price ($15/each). I brought in my prepped dash and Jim (really small place...I think he was the owner?) gave us some solid professional advice for material choice given the curves and core material. Stand up guy, took almost 45 mins out of his day just to help out a couple college kids with a project he saw relatively low profit on.
According to Jim, mat is preferable to weave (with regard to the fiber choice) and polyester resin is the way to go, because it will adhere very well to the foam in the dash (because the vinyl has been peeled off). He recommend a single layer of glass... and hence 1 square yard of fiber and 1 quart of resin per dash. Side note for those who aren't familiar with fiberglass...you need to also buy a hardener (also called catalyst) for the resin you choose. He also recommend a paint roller, because an ordinary paint brush will ruin and bunch up the mat when you try to apply the resin.
As soon as it's not raining and above 50 deg.F here, I'll be outside laying up the fiberglass, and will take pics and share results. After it's cured, I plan on sanding it smooth and applying texturizer/paint like I did for the first attempt.
Holy Smokes Mike :-)
I am excited to see how this attempt goes.
An update for you.
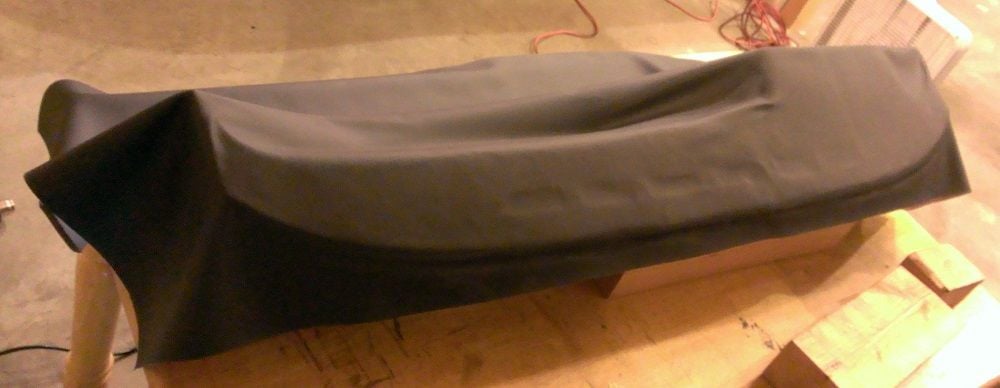
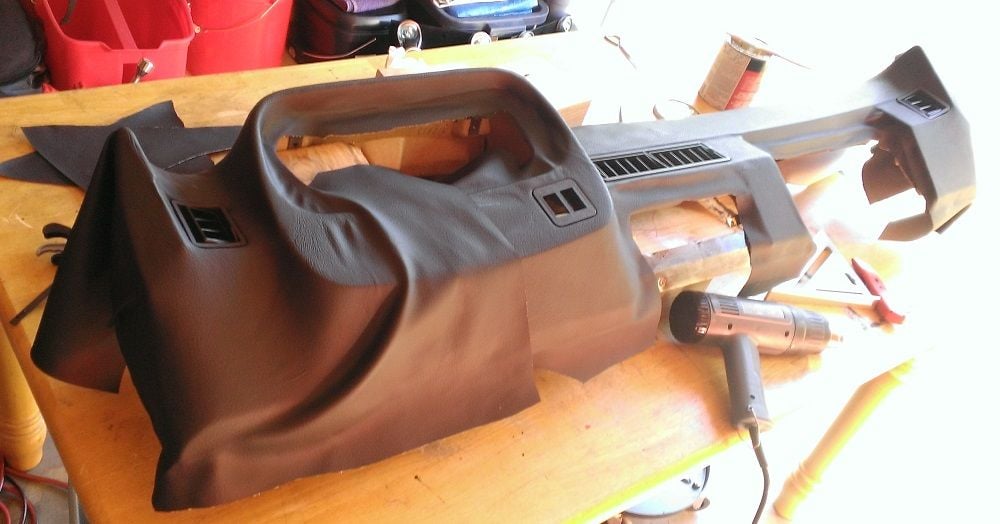
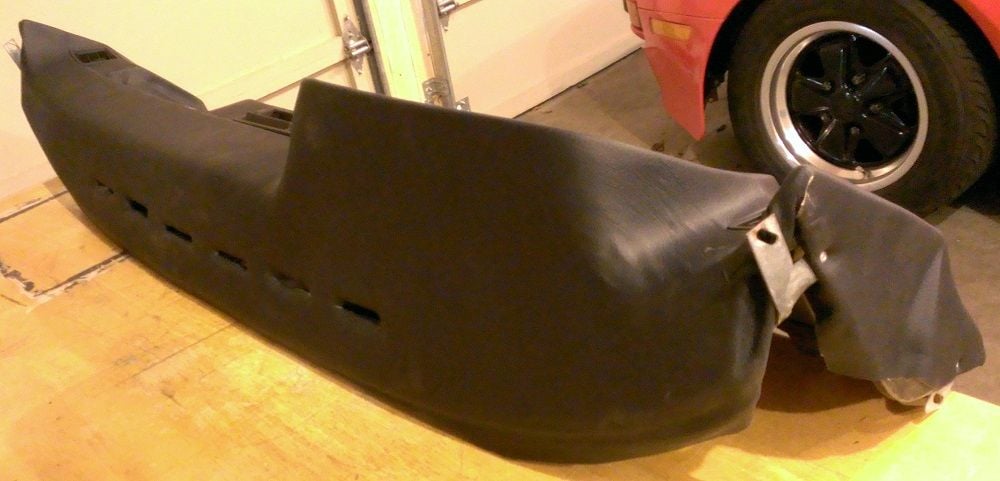
After about 2 1/2 weeks of shaping and gluing the vinyl is applied.
It looks a little rough in places and the speaker fill shows a little.
All in all not perfect but mostly good looking.
I have a little trimming and reassembly then I can re-install.
And of course, pictures are coming ;-)
I had a little issue.
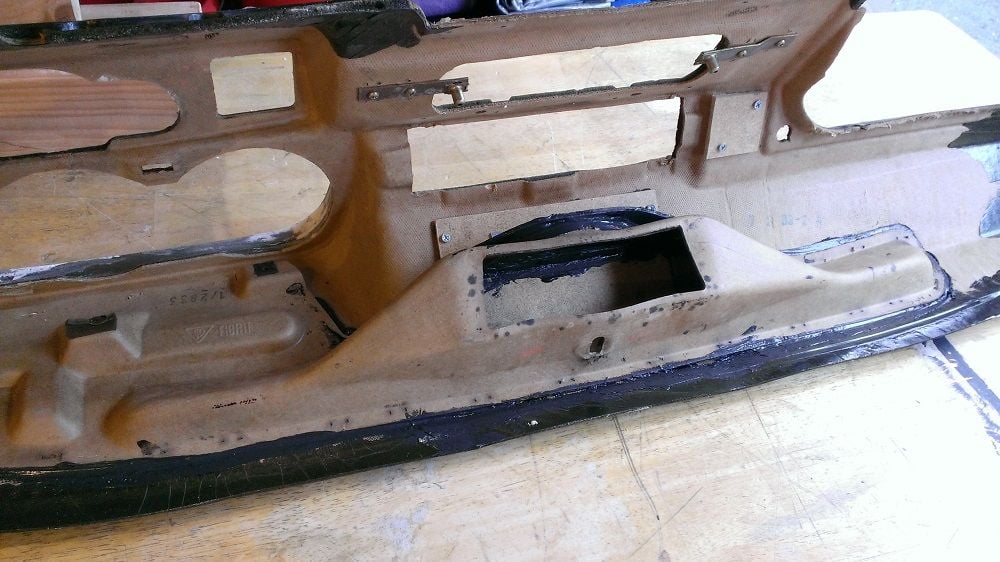
When trying to remove the interior pillar pieces the top of three screws on each side does not seem to exist.
I put my screw driver in the hole and it won't grab anything.
The pieces are hanging from something but I can't seem to find out what is holding them up.
I think if I pull any harder I will ruin the pillar pieces.
Any advice here?
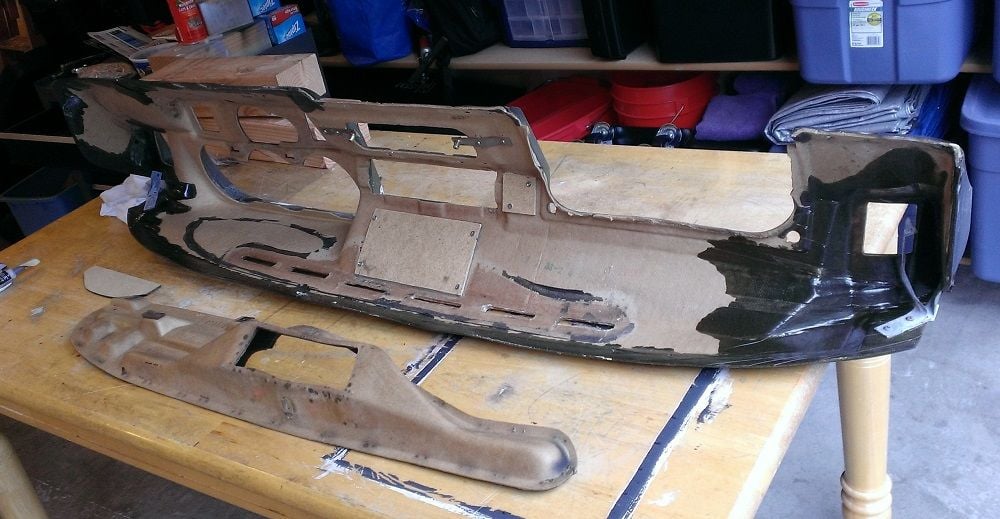
I have come to the conclusion that with the vinyl stripped off, the undercoating spray will not be tough enough to keep the dash nice, any impact will probably cut into the foam. I'm thinking of trying to do the spray bedliner over the undercoating to get a harder finish, and if that ends up not working out I can always try to do vinyl. I don't like the idea of a fiberglass dash, so I'm going to rule out that option. Any thoughts on using the bedliner?
Holy Smokes Mike :-)
I am excited to see how this attempt goes.
I had a little issue.
When trying to remove the interior pillar pieces the top of three screws on each side does not seem to exist.
I put my screw driver in the hole and it won't grab anything.
The pieces are hanging from something but I can't seem to find out what is holding them up.
I think if I pull any harder I will ruin the pillar pieces.
Any advice here?
Joey
Awesome! Pics! My car also had some of the screws missing, just remove as you normally would. IIRC you need to peel off the weather stripping from around the door frame. You pop off the black plastic corner piece and it comes off easily. In my car I had to pry it off the A pillar (gently!) using a few flatheads. I guess a PO put sealant or something in there.
Originally Posted by konakat
I have come to the conclusion that with the vinyl stripped off, the undercoating spray will not be tough enough to keep the dash nice, any impact will probably cut into the foam. I'm thinking of trying to do the spray bedliner over the undercoating to get a harder finish, and if that ends up not working out I can always try to do vinyl. I don't like the idea of a fiberglass dash, so I'm going to rule out that option. Any thoughts on using the bedliner?
Bedliner was a dead end on my dash. At medium heat levels (which could easily be achieved during a hot day parked in the sun) it liquefied and gave off gas. There are probably better quality ones out there though, the one I used was a 3M product I think.
Hmm. It sounds like Duplicolor Bumper Coating might be a good option. Apparently it is a very tough coating that has a slight texture and matte finish.
First I need to get the dash completely smooth. The areas that the foam was sanded have a much rougher texture than the untouched areas after a few thick coats of undercoating. How did you sand the undercoating? It is so sticky it is really difficult to mess with.
I tried to sand it and it the coating balled up and came off. In some cases is peeled off, indicating it wasn't adhered well in the first place.
I was able to get the foam to be very smooth by compacting down with my fingers when it was semi-set and sanding with ~220 grit on a power sander. Smoother than the surrounding foam (when the veneer is peeled back).
Instead of Great Stuff, which gushes from the can and then foams up to about twenty times the volume you want, so you then must trim and clean it, consider: Gorilla Glue from a small squeeze bottle. This stuff is an excellent adhesive, gap filler, and foams more modestly than Great Stuff. Trim with razor blade or Exacto knife, sand, paint.
Gorilla Glue is chemically about the same polyurethane makeup as Great Stuff, just without the foaming agent, which may make more mess than it's worth.
Water causes the chemical foaming reaction in either product, so experiment with misting the part with water before application of Gorilla Glue, Great Stuff, etc., or apply in humid conditions.
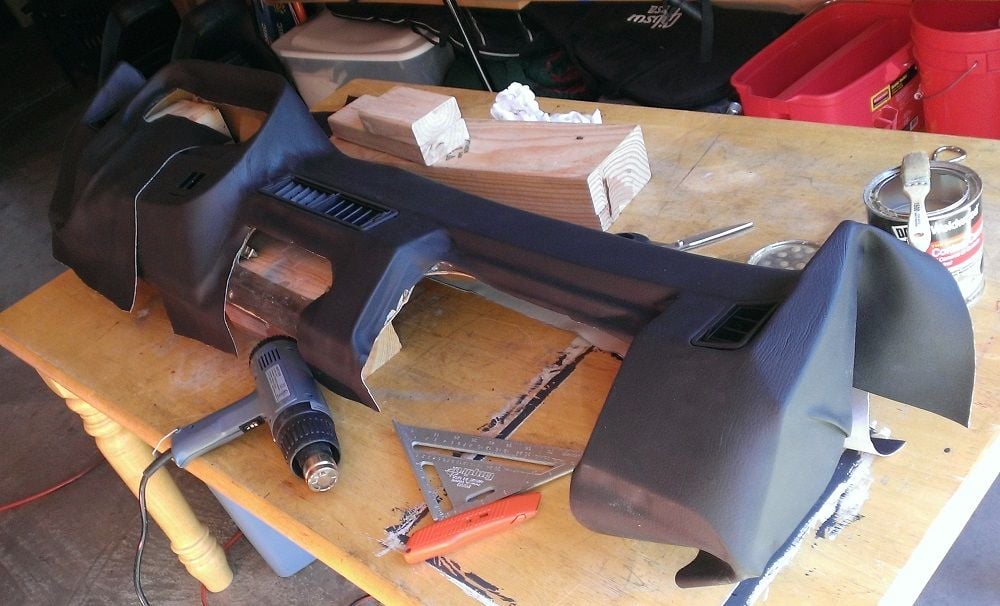
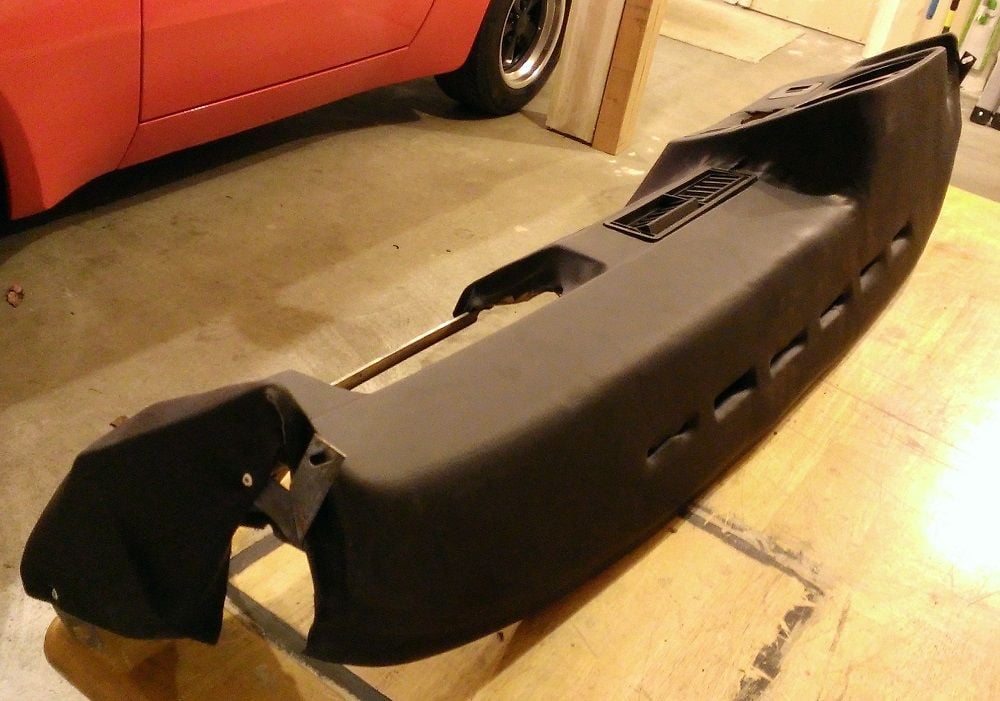
Update:
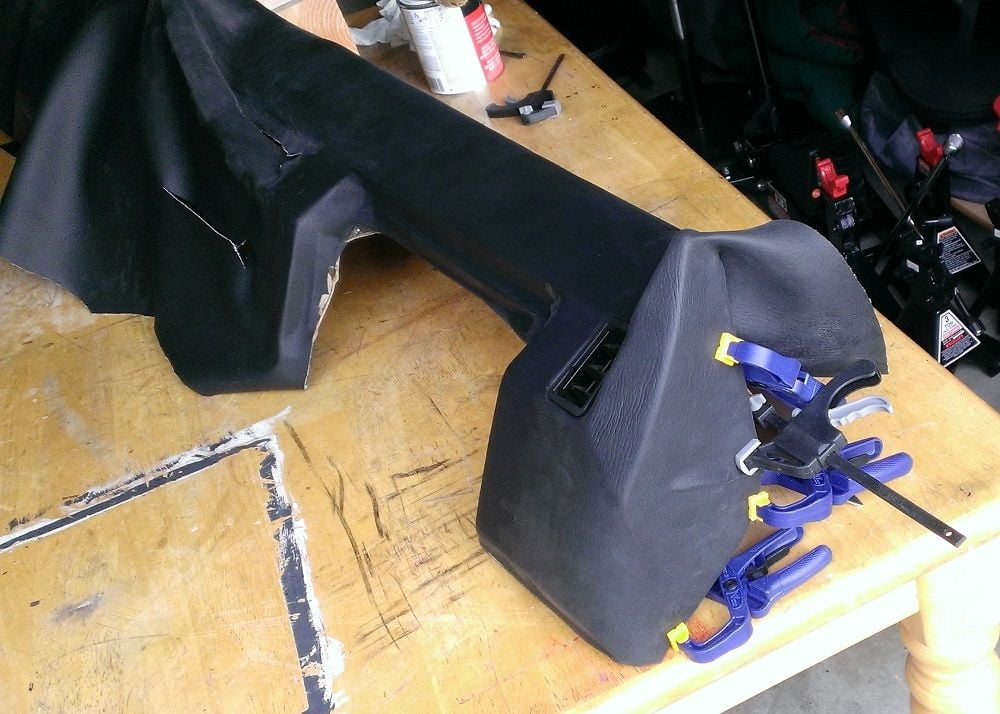
There has been many little sessions of heat gun and contact cement.
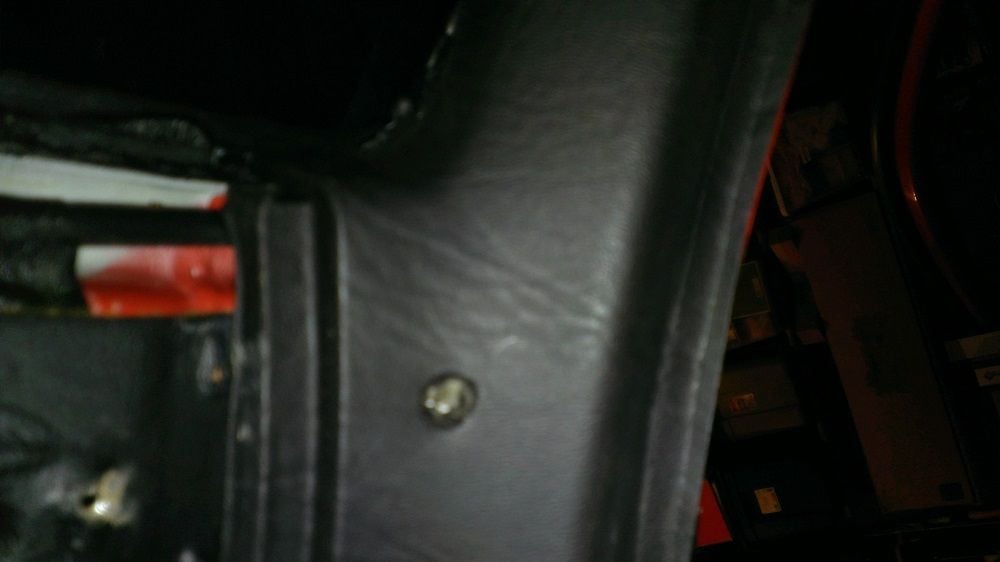
And today there was rivets!
I still have a little gluing left to do and then the vinyl paint.
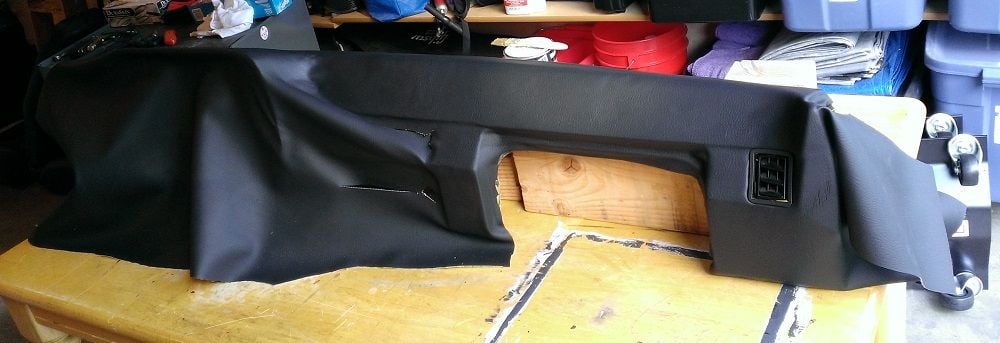
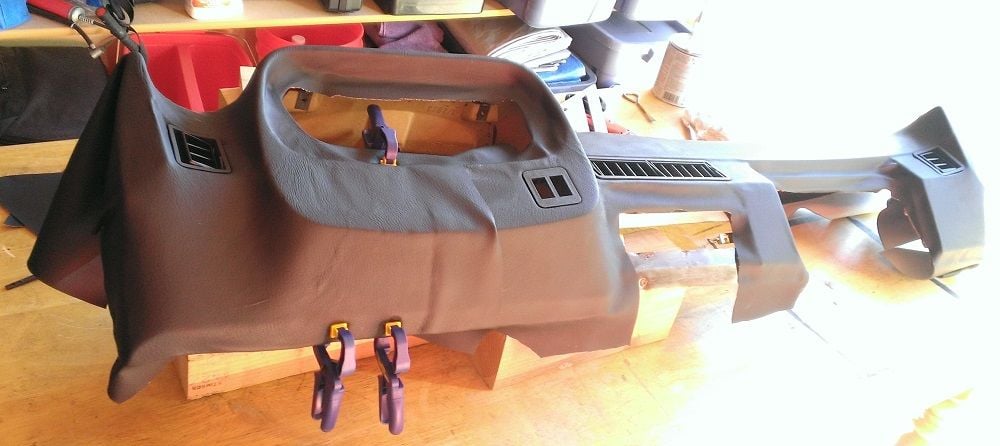
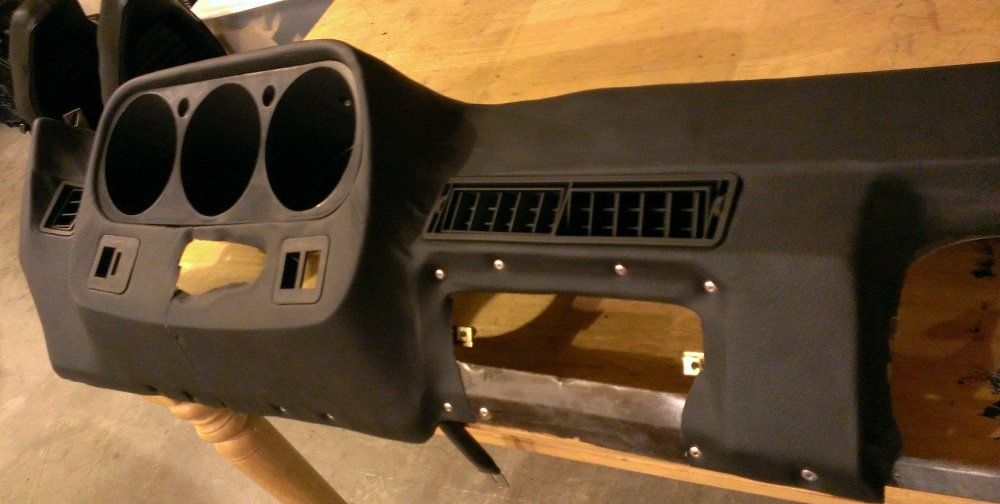
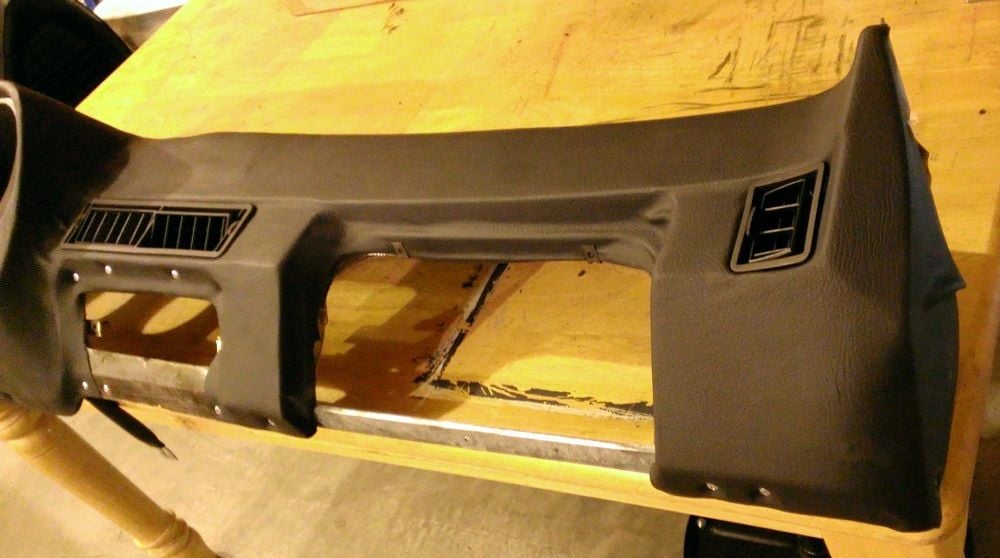
Well it has been a while guys but here is some pics.
Wow V2, I must say, I don't think there is a price for this one.
With all the patience, time, and love needed for this one, only an owner's love could do it justice.
I wish I ended up with a smoother surface over the speaker hole but I will live with it for a while. The project had to end at some point and there is always the next time ;-)
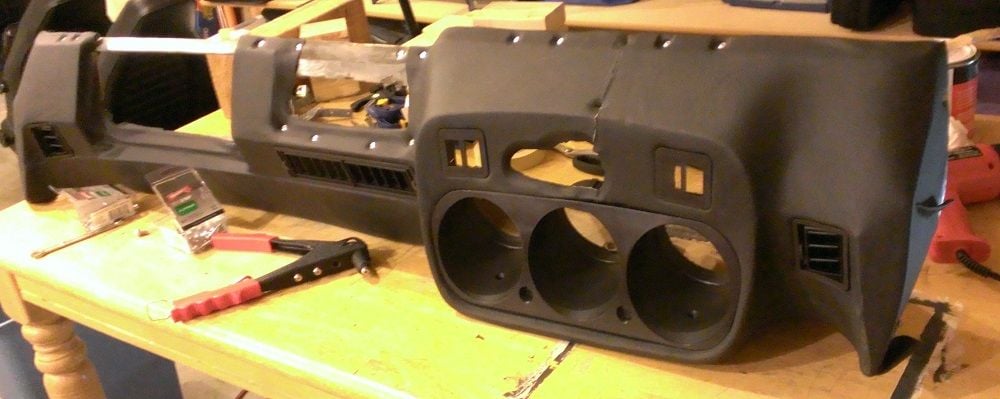
Can you link to the material you used? Could you have done it without the seam below the instrument panel? That looks great, and at first the seam drove me crazy but I guess it must be very difficult to actually see once it is installed in the car.
 01-30-2015, 01:02 PM