
feedback: gutting the car
 09-27-2010, 07:33 AM
#46
Drifting
Thread Starter


 09-28-2010, 07:52 PM
#48
Drifting
Thread Starter
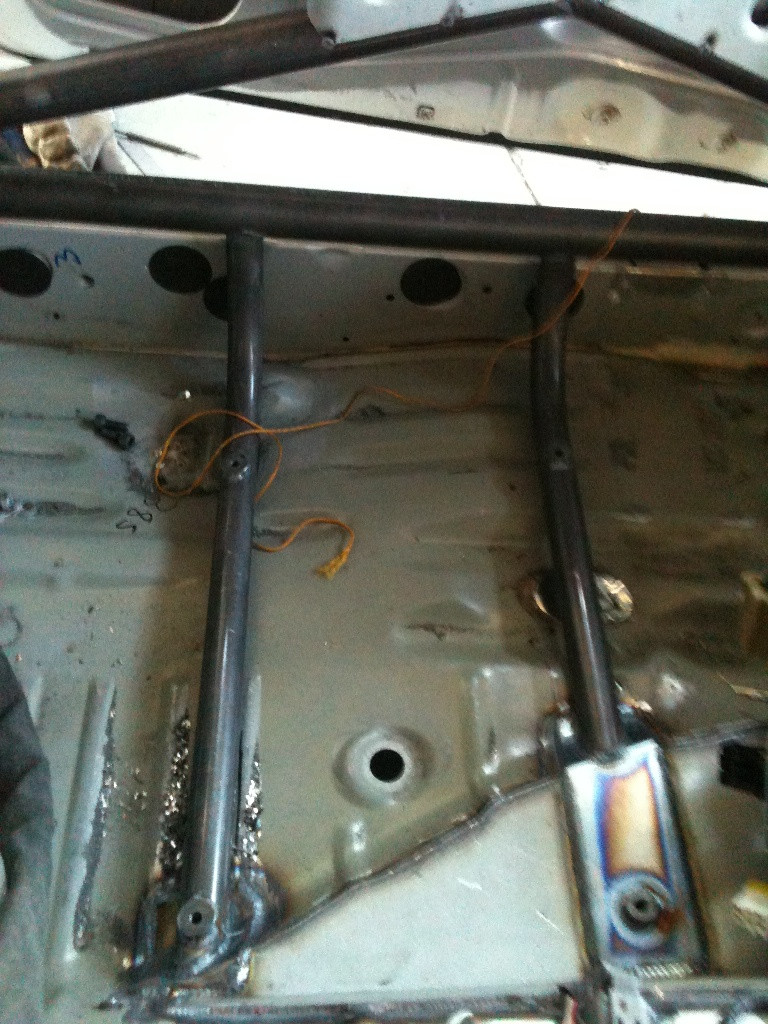
oh damn man! wow! I wanted it to stay there, I kinda took some off of the back seat area, then decided I'd rather leave it in place
that looks NICE too! HAHAHAH!
that looks NICE too! HAHAHAH!
09-28-2010, 09:13 PM
#50
Drifting
Thread Starter
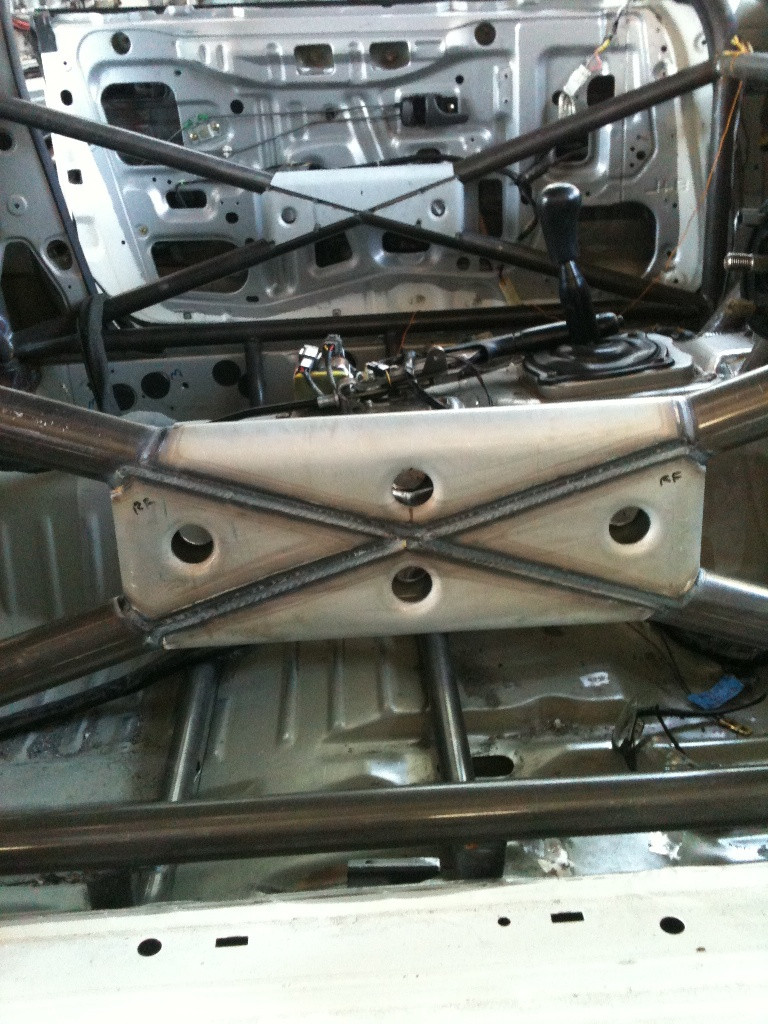
I can show you what I used for "adaptor"
I only needed to space the bolt about 1/2" (probably less) - so we cut out "squares" out of the 3/8 thick bar stock, drilled holes, and that's my adaptors
still using stock holes - just drilled them out for 3/8" x 2 1/2 F and x 2 R bolts through the floor
also, I used eye-bolts through the floor (around 1-2" IN FRONT of the stock seat-belt holes) - and eye bolts in stock seat belt holes
09-28-2010, 09:35 PM
#52
Drifting
Thread Starter
lol I didn't take any pics of when I mounted it to the slider ... I could try and squeeze my camera down and see if it captures what I did though, tomorrow - 'cause it's dark out now
but for me its different, my seats are REALLY wide, I don't think even people with Sparco Evo 2/3's go through as much trouble as I did
I want Recaro's, but I'll do it once I have to get new harnesses (for year 2014) - these will do great for now
I'd love a set of GT3 seats, but I don't know if my "lard ***" would fit in them
 09-28-2010, 10:02 PM
#54
Drifting
Thread Starter
lol you have way more options, I'm 6'0 and 250 (ish?)
you may not even need adaptors
seats that have the bottom spacing form outer edge to outer edge of the shell around 16" - all you will need is side mounts
anything bigger, and you'd have to come up with something like what I did
I forgot the dude's name, but we had a seat-mount back-and forth - and he had some pretty cool adaptors made for his seats
09-28-2010, 10:52 PM
#56
Drifting
Thread Starter
should be, you can still play around with the sidemounts too, make them both go L L or _I _I
once you have them you'll know what I mean ... some sidemounts have a bigger bottom part of the sidemount etc so you have a bunch of options
once you have them you'll know what I mean ... some sidemounts have a bigger bottom part of the sidemount etc so you have a bunch of options
09-29-2010, 01:04 AM
#57
Three Wheelin'
looking great!!
for your interest two things.
More info on using dry ice to remove sound deadening:
And i thought this was pretty cool, as i haven't seen it done on any fully caged 944's with race seats. this is the same guy on my local forum members R32 skyline gtr build. his raceseat mounts have been integrated into the cage;
looking at it from outside:
for your interest two things.
More info on using dry ice to remove sound deadening:
It's really just:
Step 1) Apply dry ice
Step 2) Win
We bought 10kg to start with and went back for another 10kg (I think)... I read it's better to put into plastic bags and sit on top rather than just pouring all over (like we did).
Either way it should just start cracking off in large chunks. Hit with a rubber mallet, scrape with a scraper etc.
We still had to use the heat gun on some extra gluey bits that weren't keen to come off.
To clean up the residue just use IPA or turps (I'm not responsible for any paint that removes). Sit a rag on any serious buildups that has been soaked in IPA or turps.
looking at it from outside:
Last edited by J1NX3D; 09-29-2010 at 02:21 AM.
09-29-2010, 07:43 AM
#58
Drifting
Thread Starter
so you went all the way down to bare metal? I went over quiet a bit with the wire wheel and was able to get A LOT off, used a few chemicals too (Acetone, Kerosine included)
I really don't think that bare metal would be great for daily driver
also, if you guys are wondering - the stuff on the front driver's and passenger's floors is NOT sound deadending ... its primer
I really don't think that bare metal would be great for daily driver
also, if you guys are wondering - the stuff on the front driver's and passenger's floors is NOT sound deadending ... its primer
09-29-2010, 06:33 PM
#59
Drifting
Thread Starter
drove my mom from work to home today
I told her to be careful when getting into the car because of the seats, she wasn't ended up bumping her back a little
she said its really loud/noisy inside
she called my car a "can on wheels" lol
but it was a good drive, first time she's taken a ride in it
I told her to be careful when getting into the car because of the seats, she wasn't ended up bumping her back a little
she said its really loud/noisy inside
she called my car a "can on wheels" lol
but it was a good drive, first time she's taken a ride in it