My DIY Dash thread (zillions of pics 56k beware)
 04-06-2008, 12:05 PM
#1
Rainman
Rennlist Member
Rennlist Member
Thread Starter
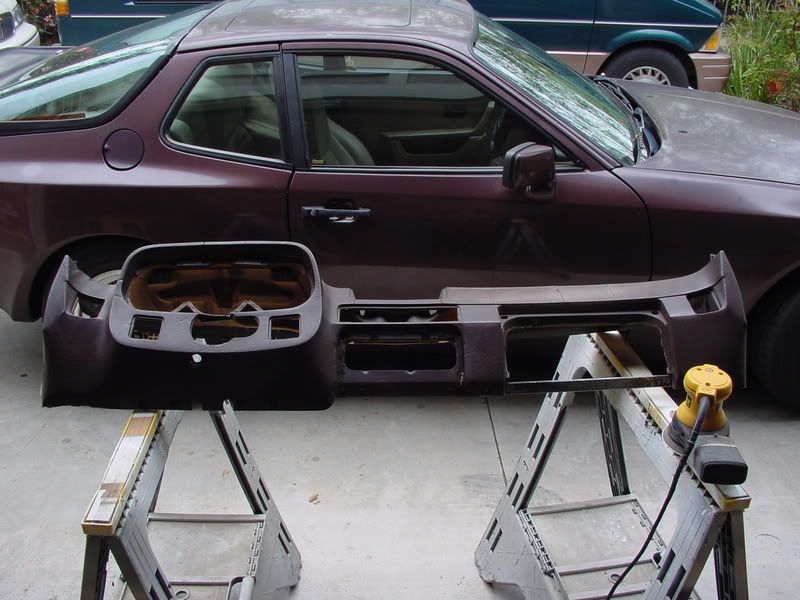
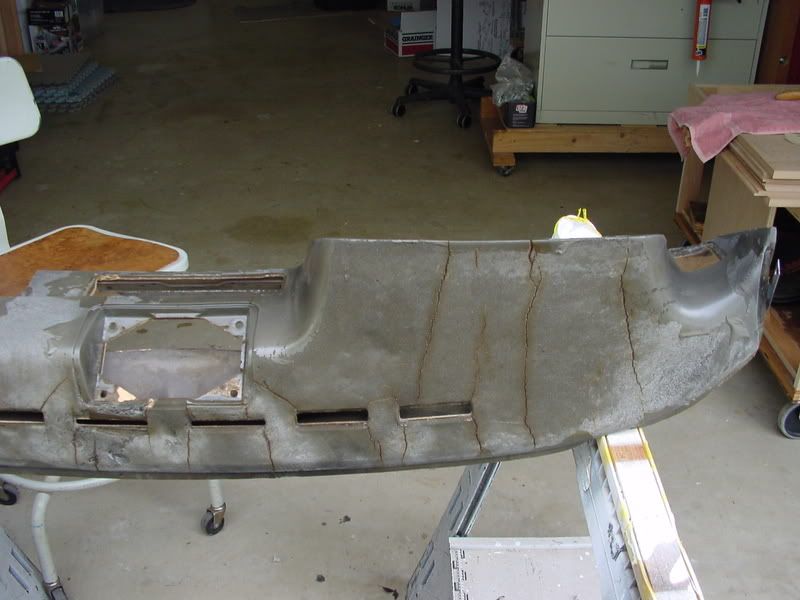
Ok, like many of you my car suffers from chronic dash cracks. It wasn't too bad when I bought the car 2-1/2 years ago but as it got exposed to the hot San Diego sun the cracks started coming in droves, one time even while I was driving (scariest sound ever). I put a bandaid on the problem by fitting a plastic dashcap "guaranteed not to warp" which it did after about 3 months. It looked ok but never fit quite right.
After I pulled off the dashcap the regular dash was looking pretty ugly. The prepwork for installing the cap (sanding, scraping down crack ridges, etc) had left some pretty nasty marks. I decided to do something about my dash and started looking at stuff by 928 leathershop, 944 online, etc. It would take a hell of a long time for me to save up for a professional job so with a few trips to the fabric store I decided to do it myself.
Alex (empiredsn) was generous enough to let me come up to his ranch and let me take another old dash from one of his parts cars. When we got to the car the windshield was busted and so we ripped it out completely and set to work on removing the dash. My Spring Break started yesterday so I've gotten to work.
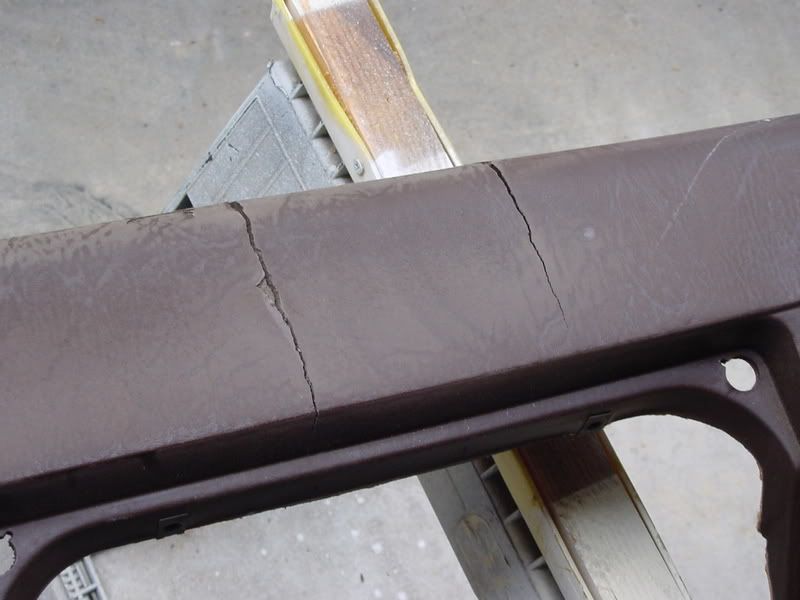
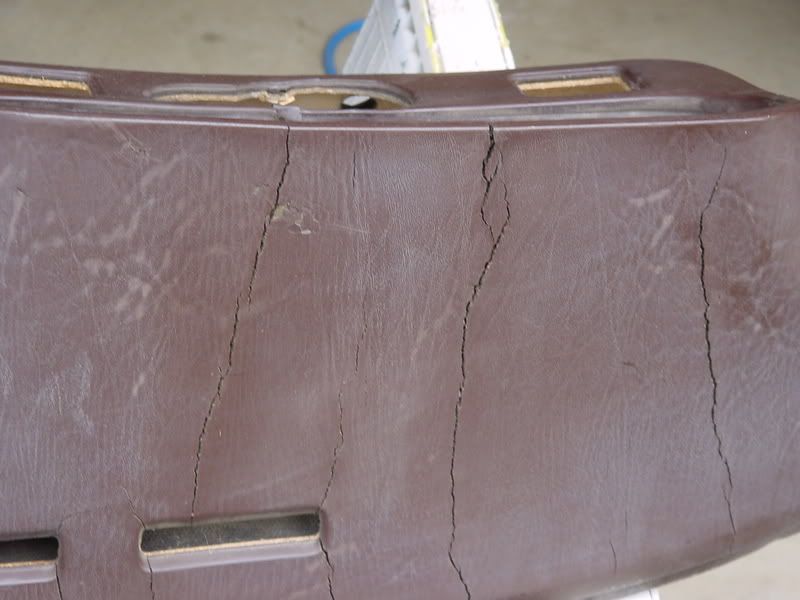
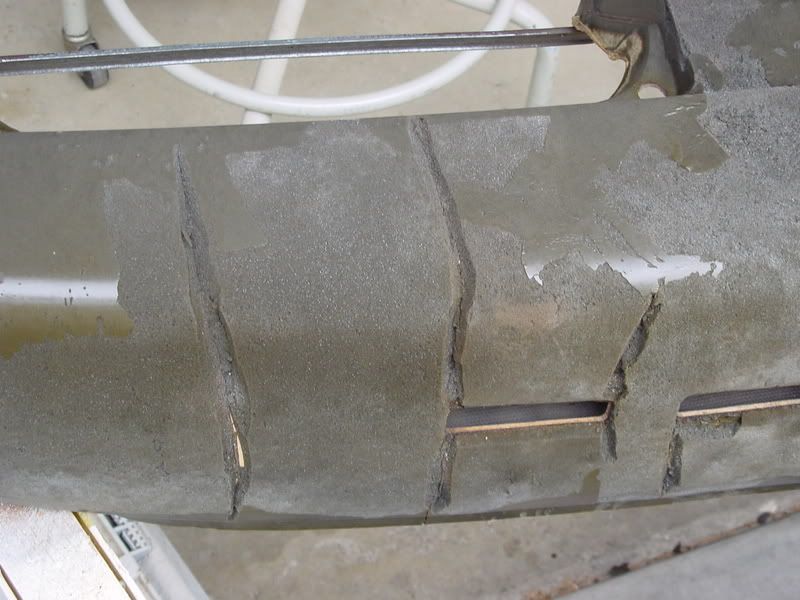
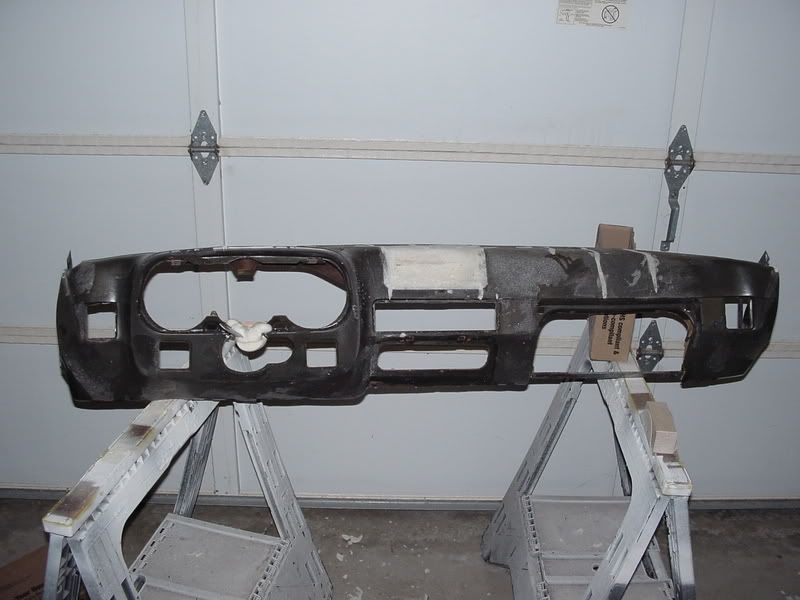
The dash, pretty cracked to hell but not as bad as the one in the car.
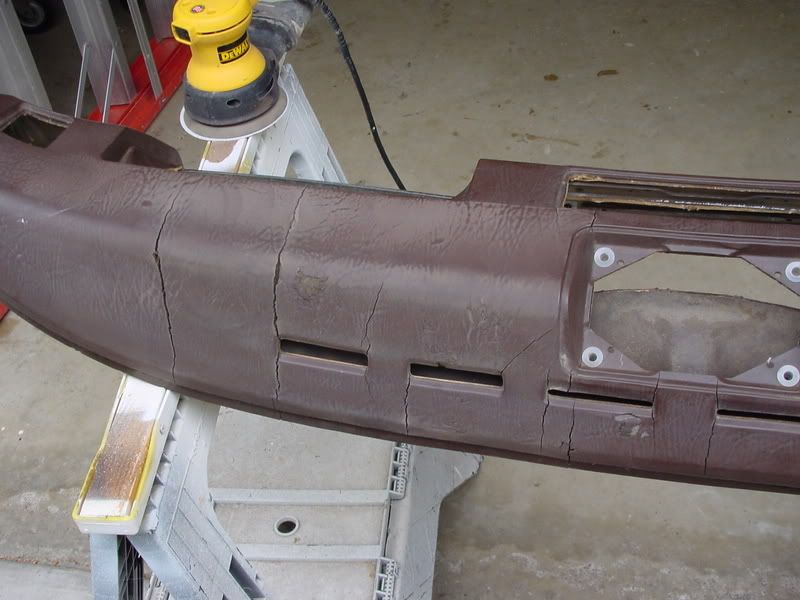
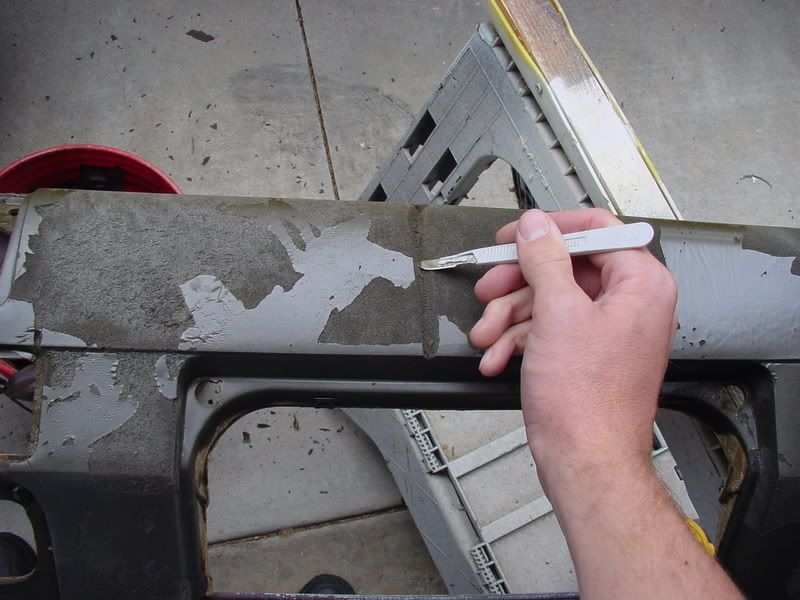
Heatgun works wonders (this is a 900 degree unit but we had it on low)
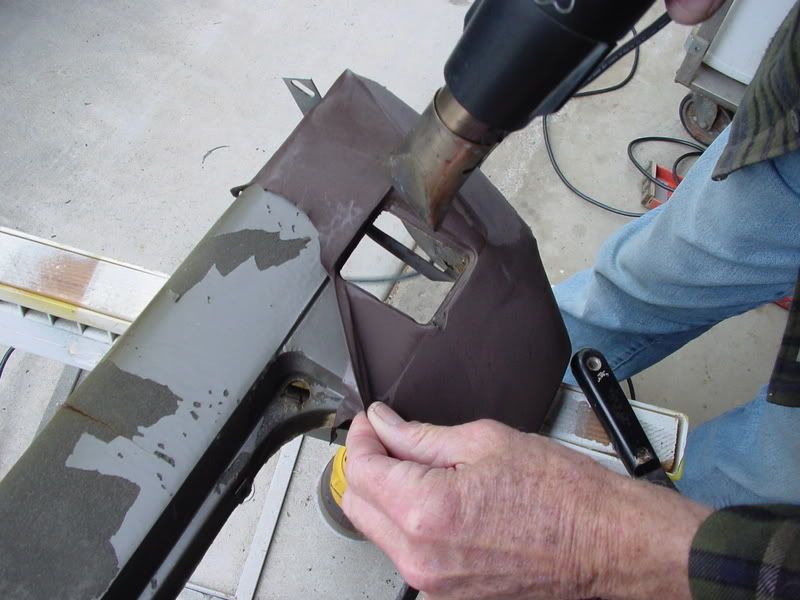
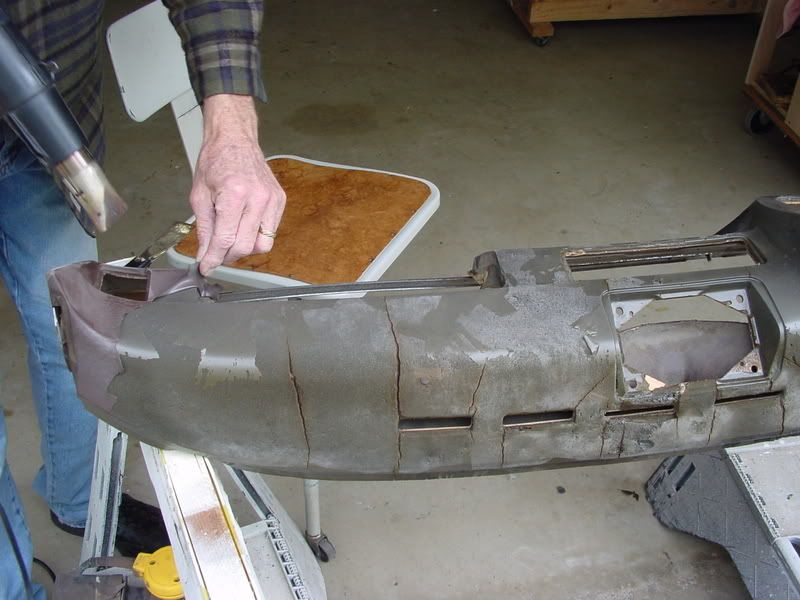
Stripped of vinyl
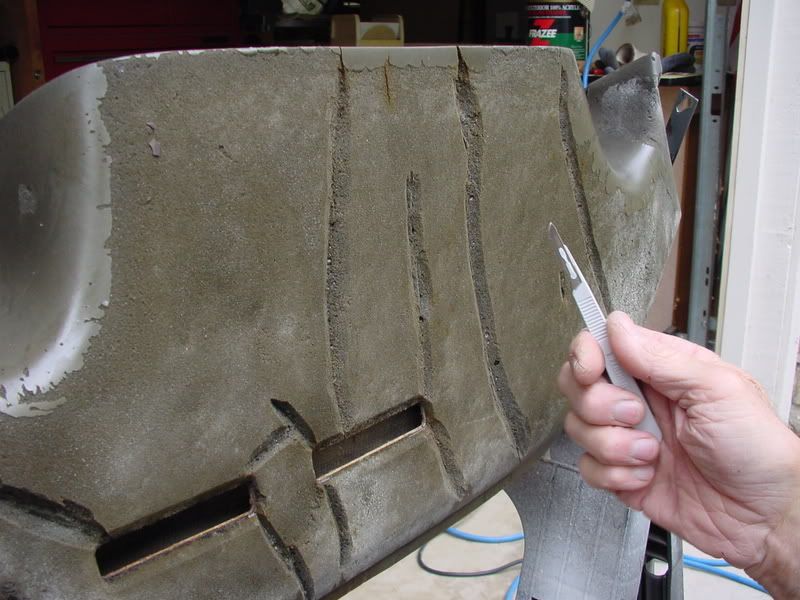
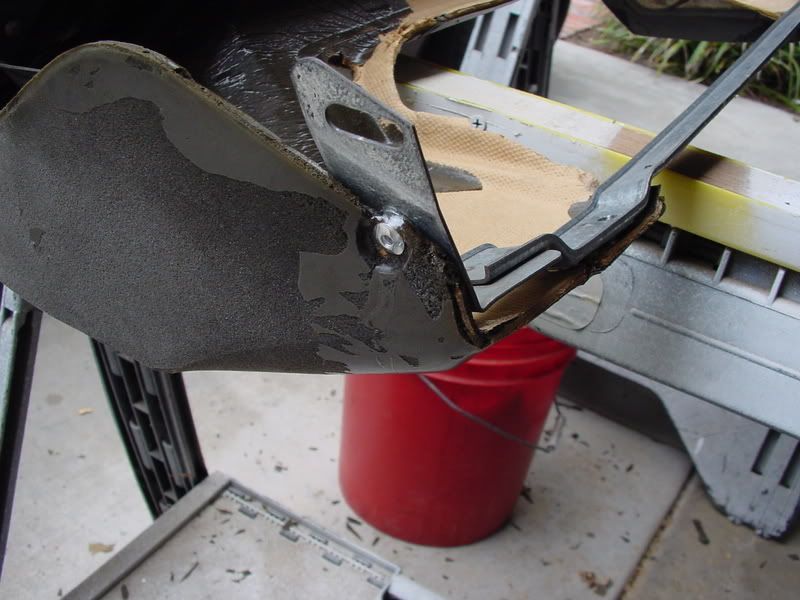
Removing cracked, rotted foam.

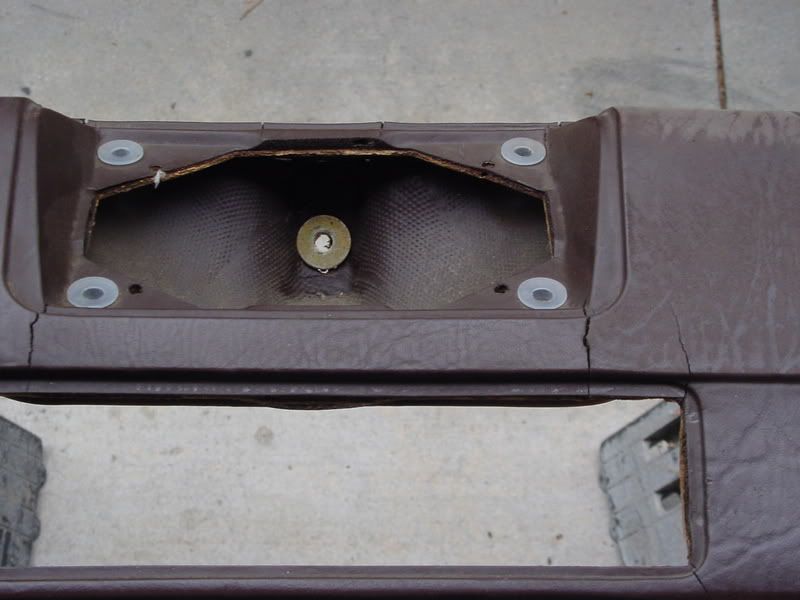
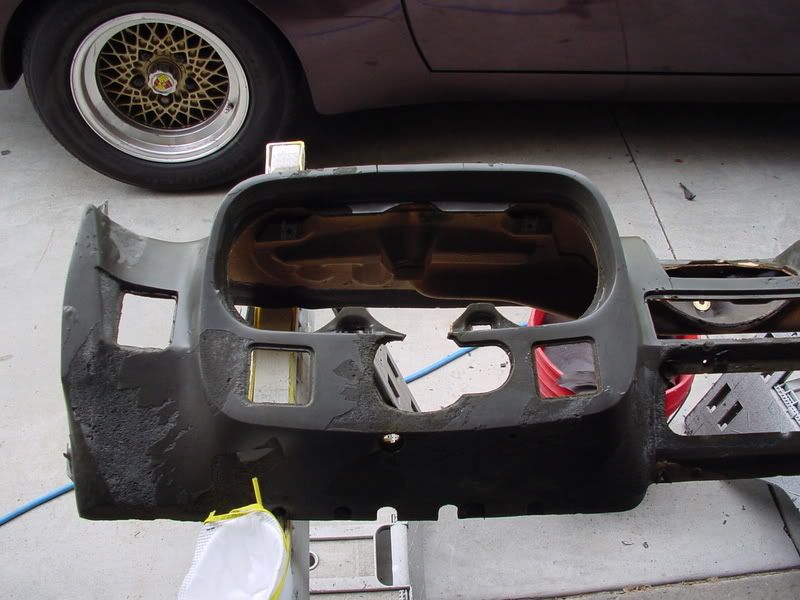
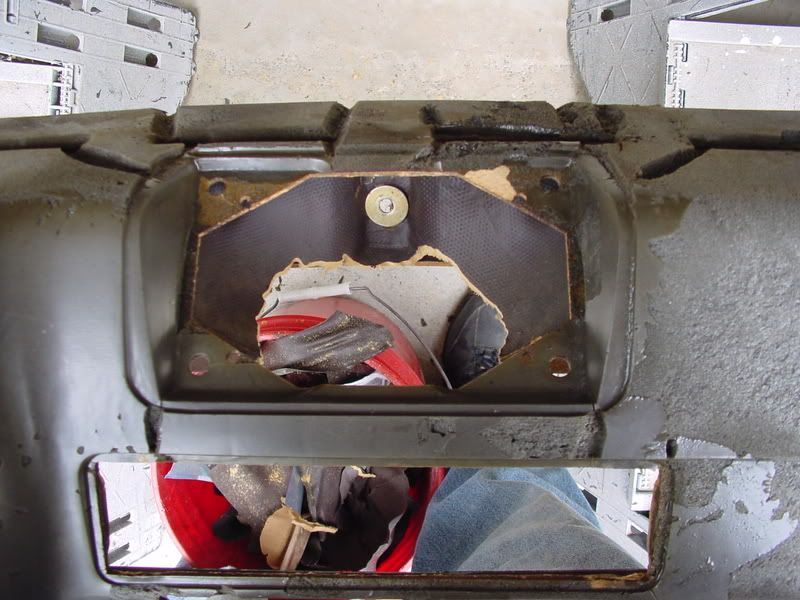
I'm doing a speaker delete and so I made a filler for the hole out of wood to give a general shape to mold with. Sizes there if someone else wants to do it too.
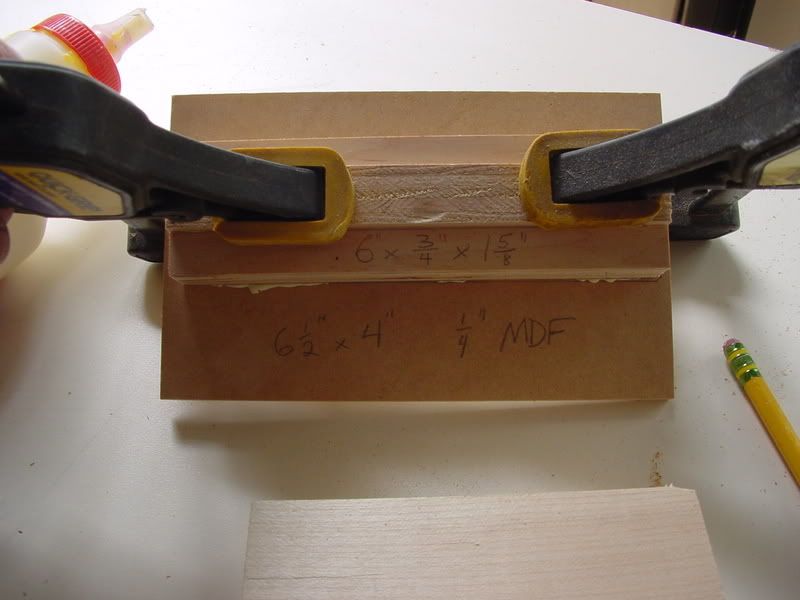
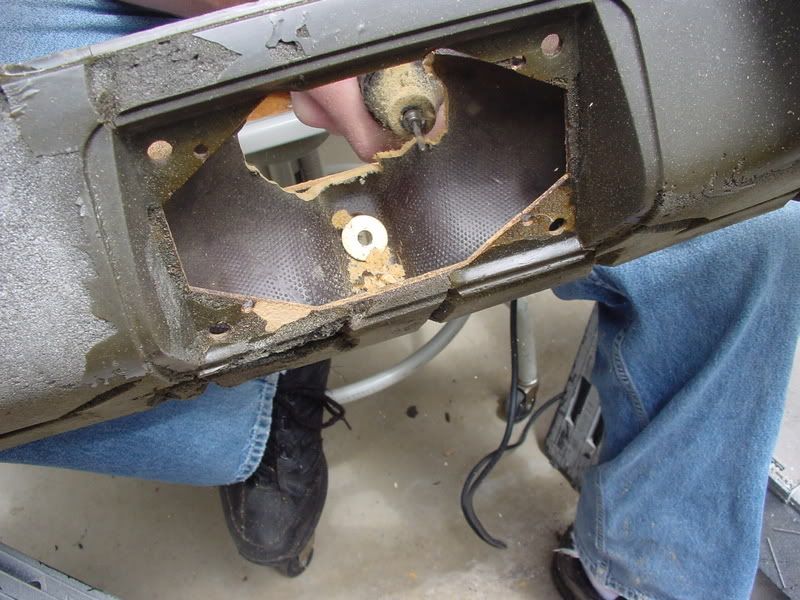
With the speaker hole to be covered I needed access to the inside of the dash during installation to put the center nut on, so I dremeled a hand-sized hole in the board.
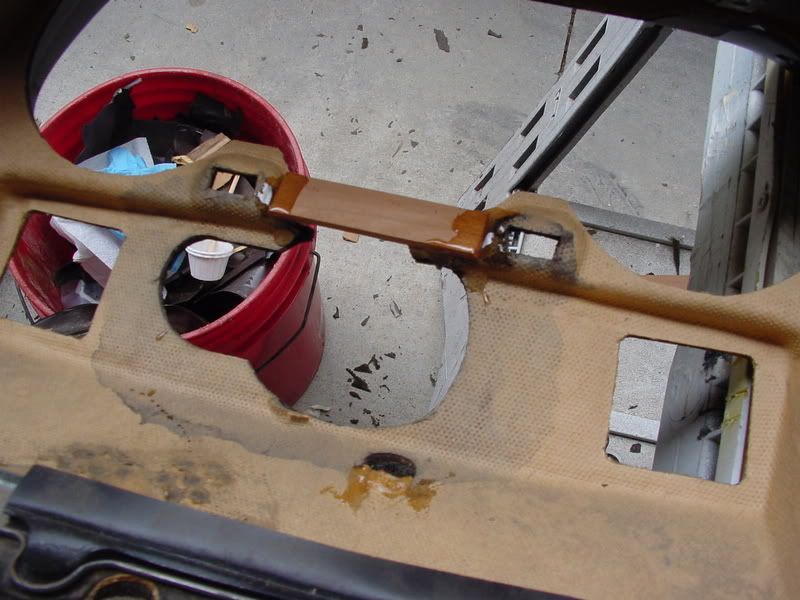
Brace for broken column, will be trimmed later to fit gauges.
New pop rivets to secure metal frame.
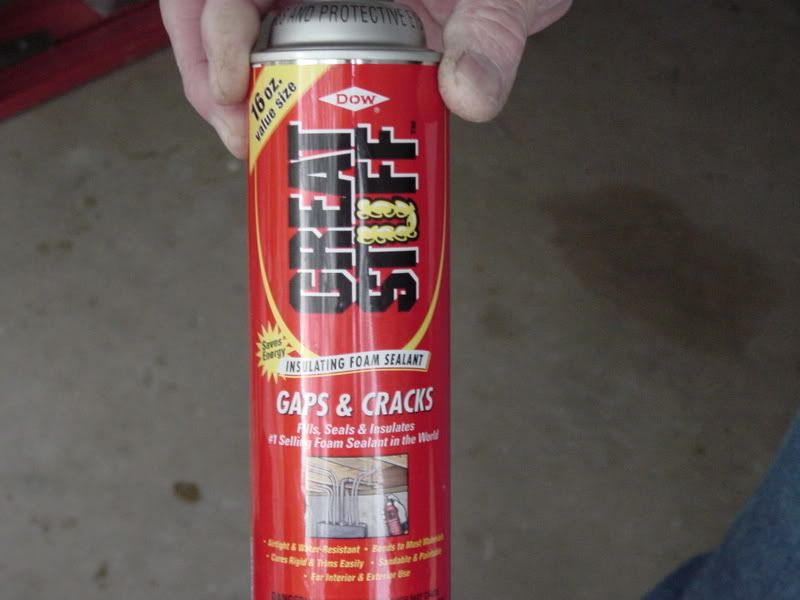
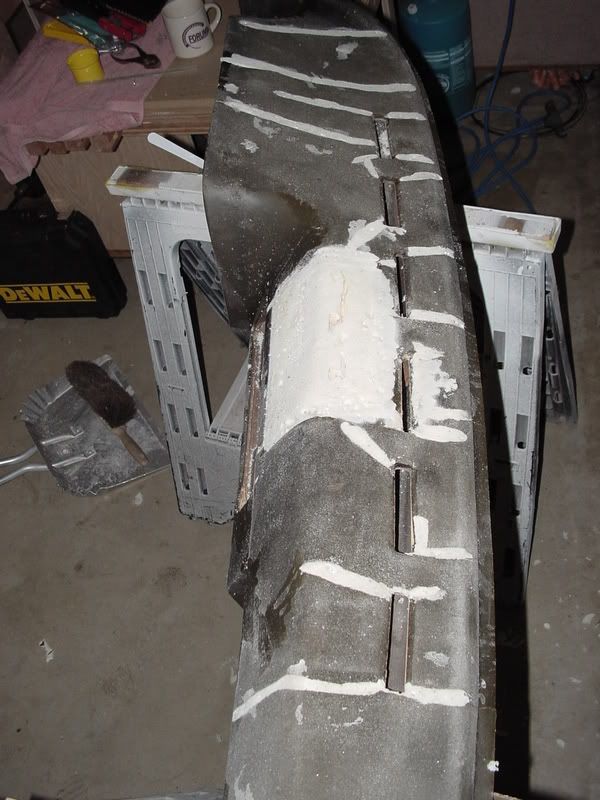
Used some great stuff to fill the cracks, its canned insulation foam from Home Depot, like $6 a can.
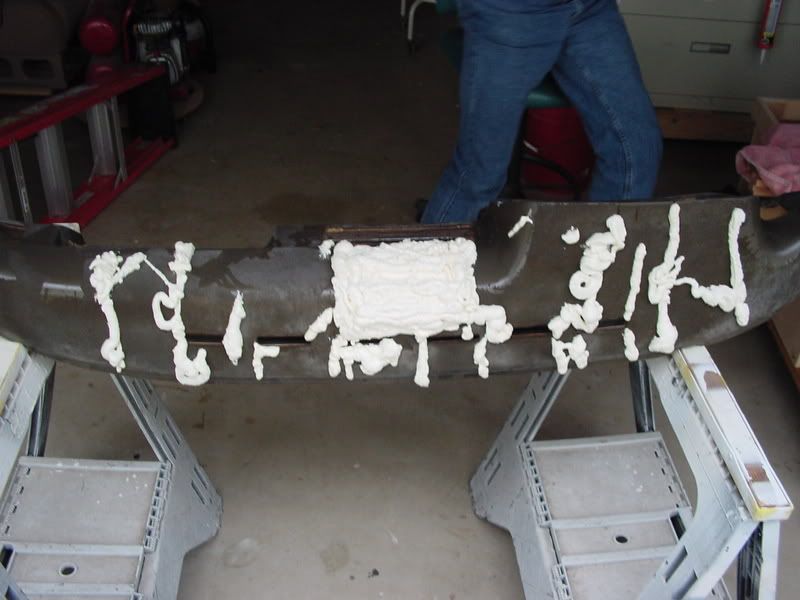
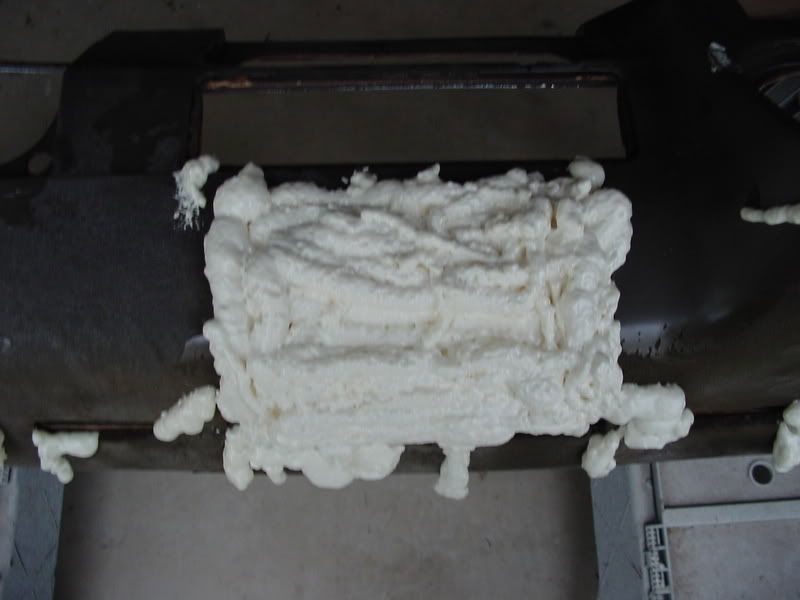
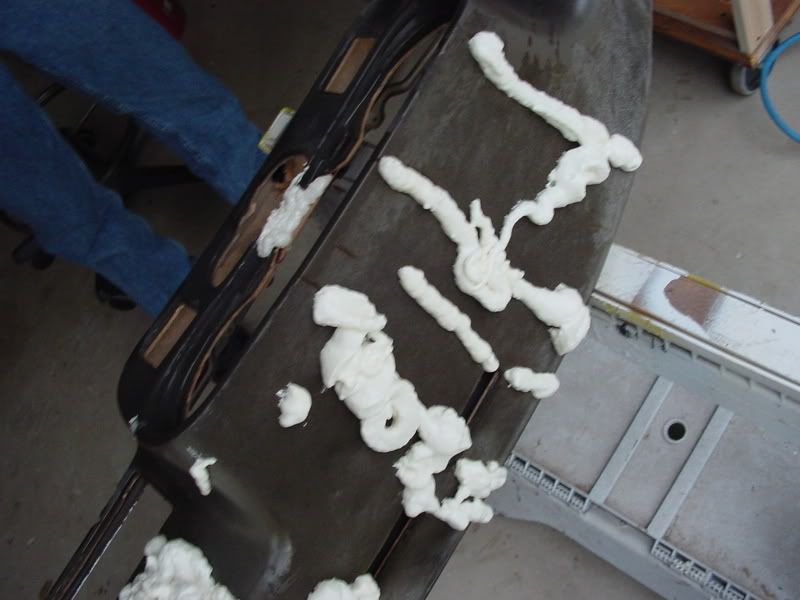
After it dried overnight I got to trimming it down. This stuff can be sanded very easily to be flush with the dash. It is almost exactly the same squishyness as the original foam so you won't be able to feel a difference with vinyl on it.
Right now I'm taking a break but I'll start measuring and make some templates to cut new vinyl a little later. More pics will be added to this post once that is done.

After I pulled off the dashcap the regular dash was looking pretty ugly. The prepwork for installing the cap (sanding, scraping down crack ridges, etc) had left some pretty nasty marks. I decided to do something about my dash and started looking at stuff by 928 leathershop, 944 online, etc. It would take a hell of a long time for me to save up for a professional job so with a few trips to the fabric store I decided to do it myself.
Alex (empiredsn) was generous enough to let me come up to his ranch and let me take another old dash from one of his parts cars. When we got to the car the windshield was busted and so we ripped it out completely and set to work on removing the dash. My Spring Break started yesterday so I've gotten to work.
The dash, pretty cracked to hell but not as bad as the one in the car.
Heatgun works wonders (this is a 900 degree unit but we had it on low)
Stripped of vinyl
Removing cracked, rotted foam.
I'm doing a speaker delete and so I made a filler for the hole out of wood to give a general shape to mold with. Sizes there if someone else wants to do it too.
With the speaker hole to be covered I needed access to the inside of the dash during installation to put the center nut on, so I dremeled a hand-sized hole in the board.
Brace for broken column, will be trimmed later to fit gauges.
New pop rivets to secure metal frame.
Used some great stuff to fill the cracks, its canned insulation foam from Home Depot, like $6 a can.
After it dried overnight I got to trimming it down. This stuff can be sanded very easily to be flush with the dash. It is almost exactly the same squishyness as the original foam so you won't be able to feel a difference with vinyl on it.
Right now I'm taking a break but I'll start measuring and make some templates to cut new vinyl a little later. More pics will be added to this post once that is done.
 04-06-2008, 12:26 PM
#3

Good luck. It's a serious pain in the *** to get all of the templates to lay nicely. Then once stitched together, it's an even bigger pain to wrap the dash. We went through 2 covers before the final results, which still is no where near as nice as Rob's dash cover option.
I will say it was a fun experiment though. If I had to do it all again, I'd either:
A. Save my pennies, and send a dash to Rob for his treatment.
B. Go the SEM route.
I will say it was a fun experiment though. If I had to do it all again, I'd either:
A. Save my pennies, and send a dash to Rob for his treatment.
B. Go the SEM route.
04-06-2008, 12:31 PM
#4
Official Rennlist
Borat Impersonator
Rennlist Member
Borat Impersonator
Rennlist Member
Holy faded paint Batman!!! Spencer you still riding with the gangsta lean in yo seat???
LOL just bustin ur chops, nice start on the dash, looks like quite a project!!
LOL just bustin ur chops, nice start on the dash, looks like quite a project!!
04-06-2008, 12:48 PM
#5
Rainman
Rennlist Member
Rennlist Member
Thread Starter
Thanks guys
Airflite - yes I'm still gangsta leanin'. But it gets me like 2 or 3 inches of headroom lol. And my arms are long enough that I can reach comfortably to the wheel.
88BlueTS - I was thinking about the SEM route but couldn't find anyone who had a close enough color around here. Do you still have any templates made out? It would save sooo much trouble
04-06-2008, 02:01 PM
#6
 Hey, she claims to be a seamstress of sorts
If we do, I can see about transferring templates to paper, and mailing them to you.
If it helps, I somewhat plagiarized Rob's work to get a general layout of where seams are required for fitment.
Trending Topics
04-06-2008, 03:28 PM
#8
Rainman
Rennlist Member
Rennlist Member
Thread Starter
its a similar color brown, not quite exact but i doubt anyone will seriously notice the 1/2 shade difference lol. probably the only way someone will know its not original is by the french seams ill be putting on it or by noticing the different grain on the vinyl lol.
04-06-2008, 04:01 PM
#10
Defending the Border
Rennlist Member
Rest In Peace
Rennlist Member
Rest In Peace
I don't know why you don't just pop your cherry and get a late car.. might as well make it a Turbo while you're at it.
Consider the thermal excursions and durability of that foam.
Consider the thermal excursions and durability of that foam.
04-06-2008, 04:11 PM
#11
Rainman
Rennlist Member
Rennlist Member
Thread Starter
as for the foam, like i said it is used for insulation instead of that cottony pink stuff in houses. its designed for temperatures from -50F to over 200 (some attics will approach this during summer, mine for instance was like 170 and its got a fan constantly on). i dont see any problem with the foam.
04-06-2008, 11:25 PM
#12
No, not Mosquito!
Rennlist Member
Rennlist Member
That foam is fine. Perfect for what you're doing.
Good luck on your project. It will really make your interior feel a bit better.
Good luck on your project. It will really make your interior feel a bit better.
04-06-2008, 11:56 PM
#13
Three Wheelin'
Join Date: May 2003
Location: Houston and Austin
Posts: 1,423
Likes: 0
Received 0 Likes
on
0 Posts
i started doing one that I plan to sell today as well. it looks menacing. but it's not
there are some very good threads on this
one using short hair fiberglass bondo mix over the entire dash, then after sanding, texture and paint
I am convinced it will look great as well and I agree on the speaker delete
I will post one as well.
great job spencer
there are some very good threads on this
one using short hair fiberglass bondo mix over the entire dash, then after sanding, texture and paint
I am convinced it will look great as well and I agree on the speaker delete
I will post one as well.
great job spencer