Photo Diary - Painting a Race Car
 12-14-2005, 04:42 PM
#1
Race Director
Thread Starter
Ok here is the Paint sequence. Warning there are lots of pics
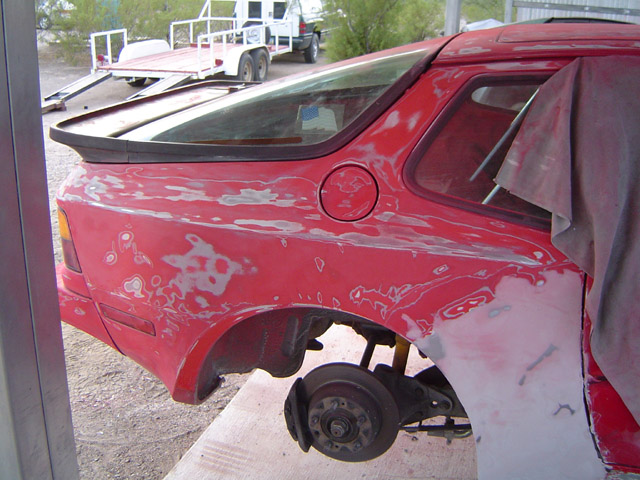
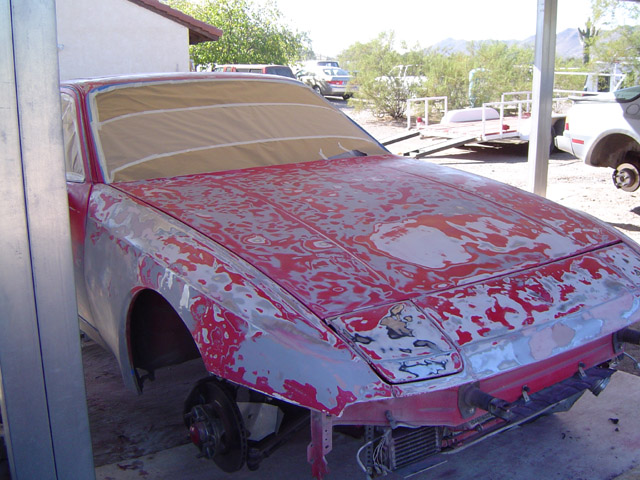
Day 1 Consisted of decal removal and lost of sanding. Plus some bondo work needed to repair a crumpled panel that my father was helping out with. Sanding was with an electric hand sander and Dual Action Air sander. Paper was mostly 120 to 150 grit with lots of paint to remove.
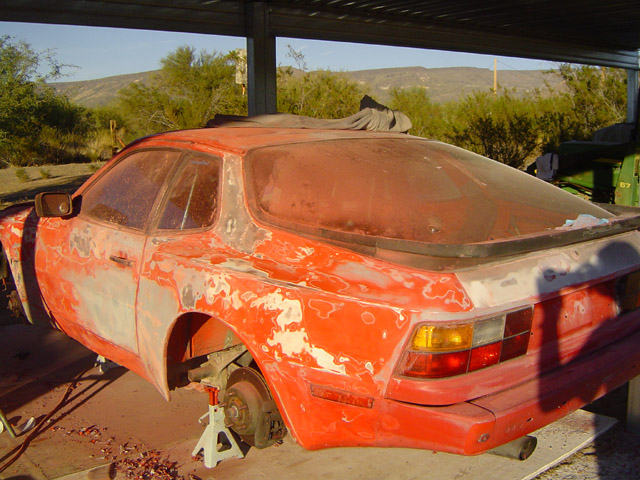
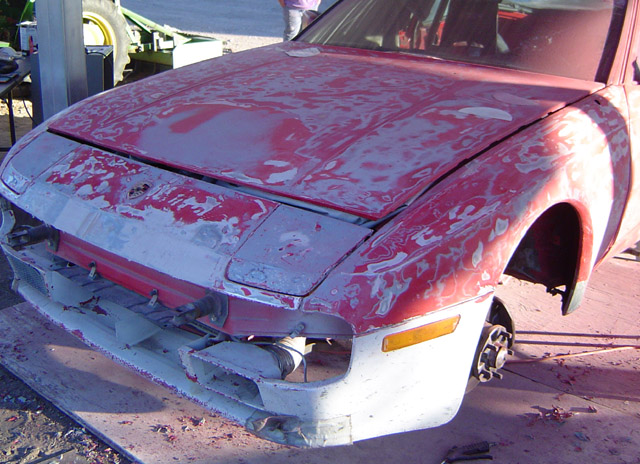
Day 1 Consisted of decal removal and lost of sanding. Plus some bondo work needed to repair a crumpled panel that my father was helping out with. Sanding was with an electric hand sander and Dual Action Air sander. Paper was mostly 120 to 150 grit with lots of paint to remove.


 12-14-2005, 04:43 PM
#3
Race Director
Thread Starter
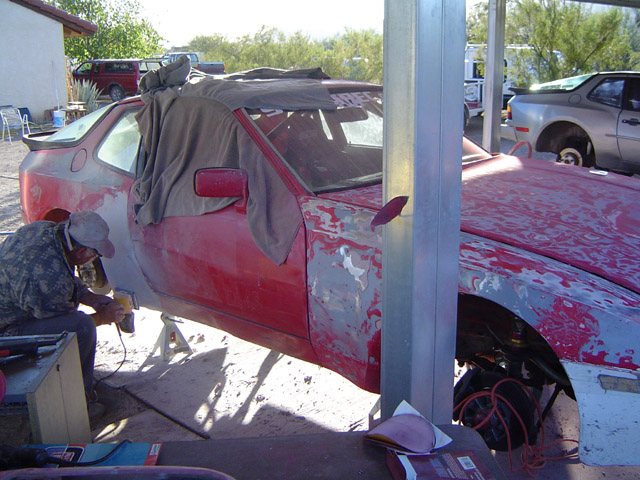
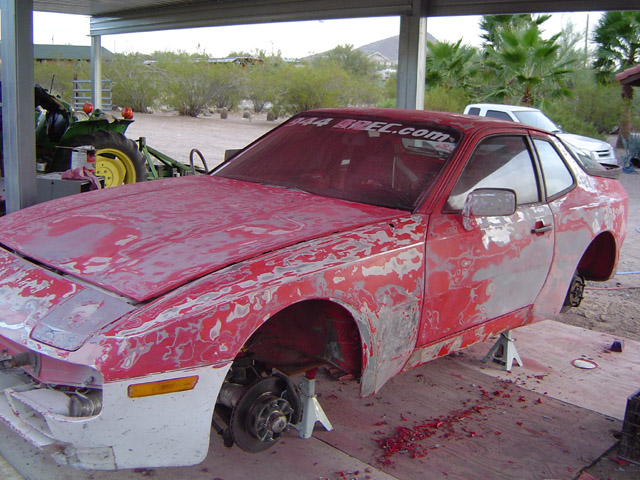
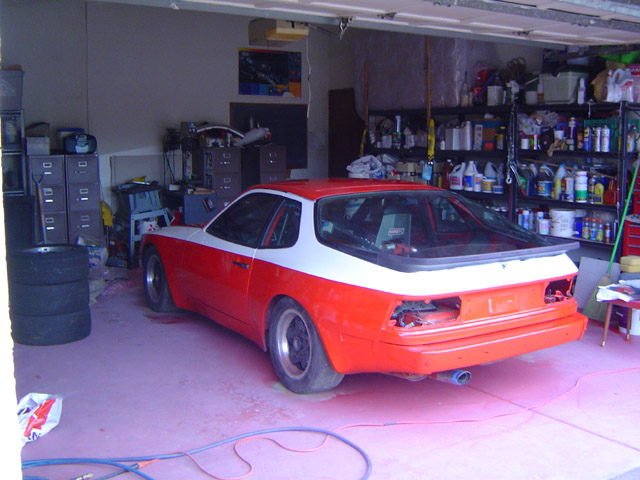
Day 3 started with more sanding and replacing the pass door. The glass had been broken out in the same incident that caused the damage to the rear fender. Since the car lives outside I wanted my window glass back in the car. Simplest way was with a door from one of my parts cars.
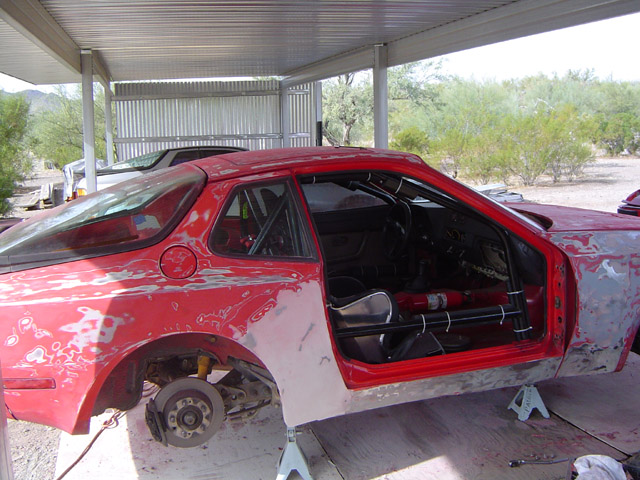
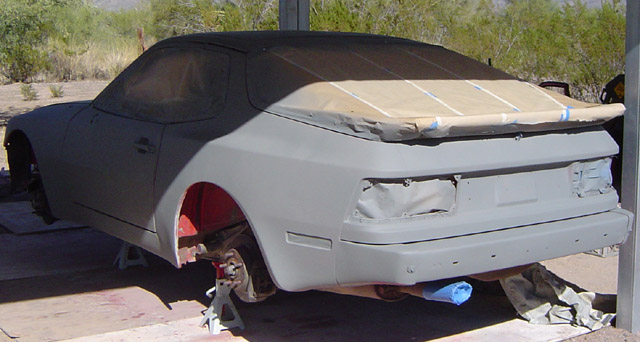
At this point I figured it was time to try to apply primer. Due to some gun setting issues and air tank pressure issues I came out rather blotchy, However hat was perfect for the lower section of the car.
At this point I figured it was time to try to apply primer. Due to some gun setting issues and air tank pressure issues I came out rather blotchy, However hat was perfect for the lower section of the car.
 12-14-2005, 04:44 PM
#5
Race Director
Thread Starter
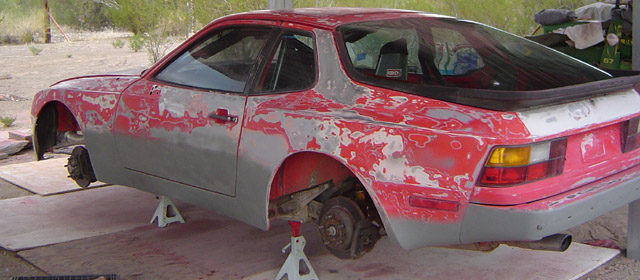
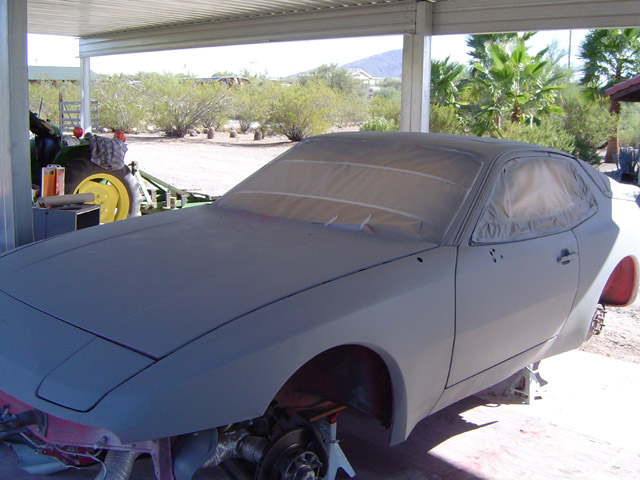
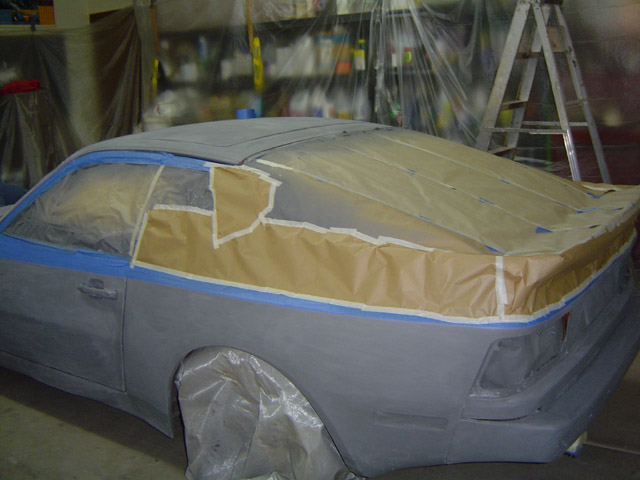
Day 5 Primer applied and it was time to wet sand the primer with 500 grit paper.
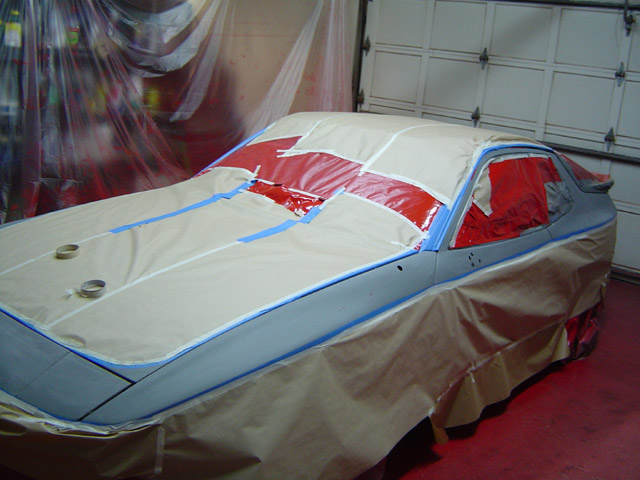
Then mask where the white would go and shoot it with red. My parents garage was used as the paint booth since it was too windy outside and we could not wait for a calm day. So in the garage with lots of plastic it went.
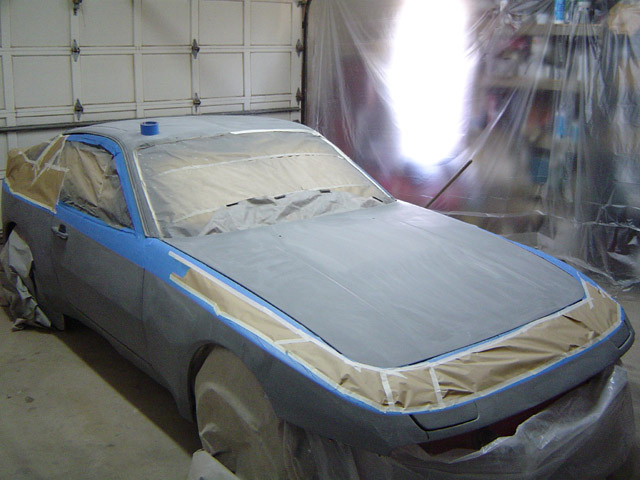
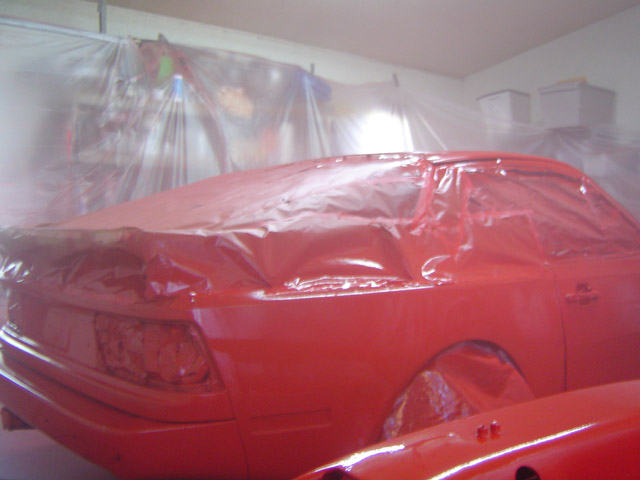
Due to the �Paint fog� I could only staying the garage for 20 min before I could not see. It was for that reason that we shot the red in two stages about 90 minutes apart. Total paint used was about � gallon

With the paint fog settled you can see some of the red better now.
Then mask where the white would go and shoot it with red. My parents garage was used as the paint booth since it was too windy outside and we could not wait for a calm day. So in the garage with lots of plastic it went.
Due to the �Paint fog� I could only staying the garage for 20 min before I could not see. It was for that reason that we shot the red in two stages about 90 minutes apart. Total paint used was about � gallon
With the paint fog settled you can see some of the red better now.
12-14-2005, 04:45 PM
#6
Race Director
Thread Starter
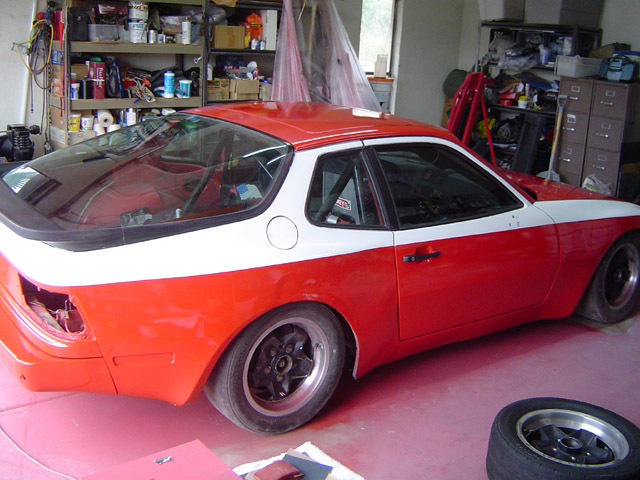
Day 6 - With the Red paint dry the masking for the white was removed. Seems like the edge came out pretty good.
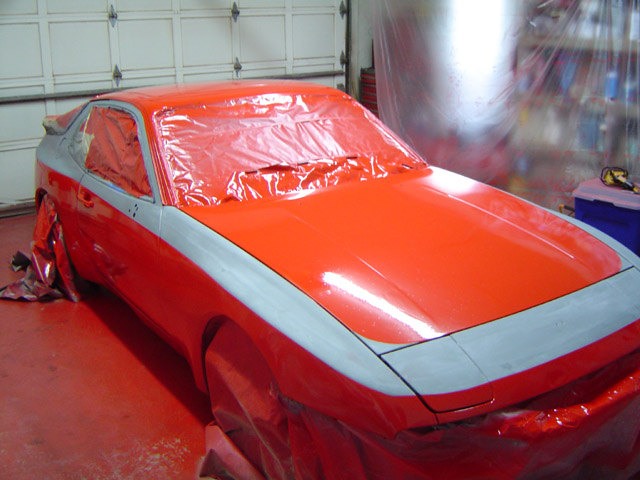
Now masked to apply white. Time consuming part was to match the existing paint line.
Now masked to apply white. Time consuming part was to match the existing paint line.
12-14-2005, 04:45 PM
#7
Race Director
Thread Starter
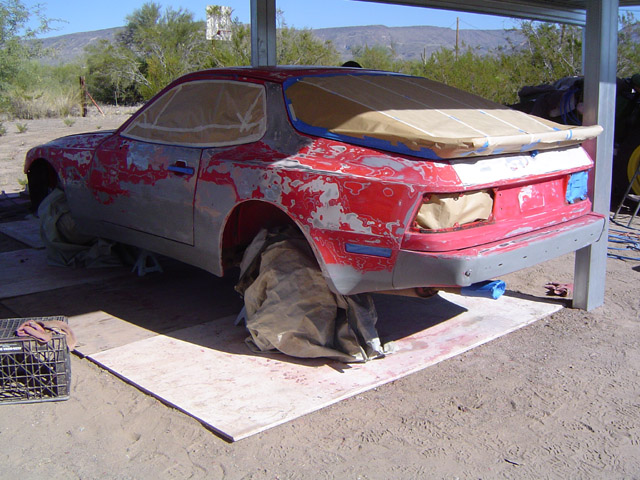
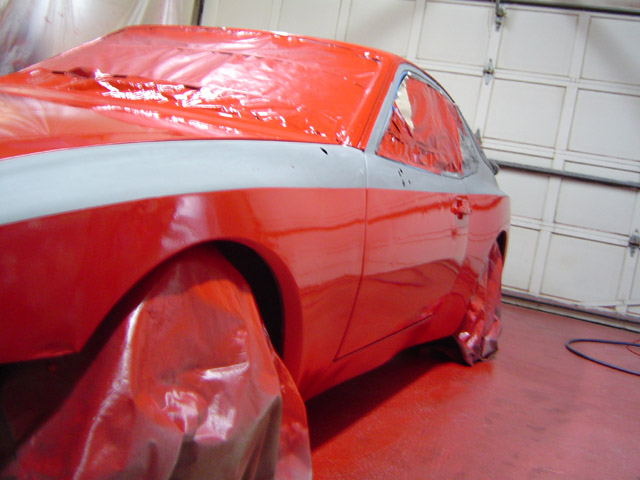
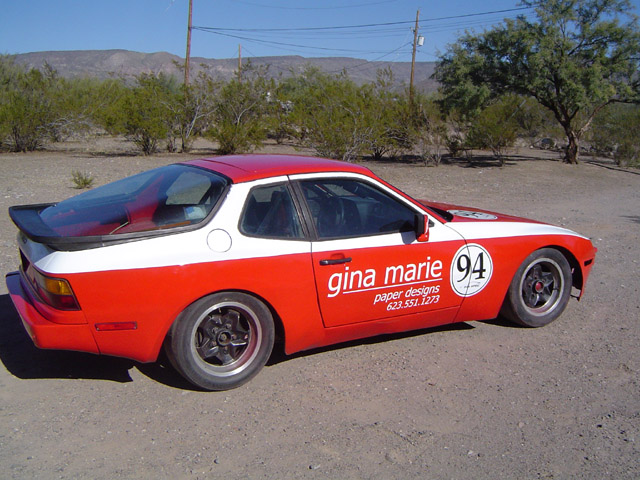
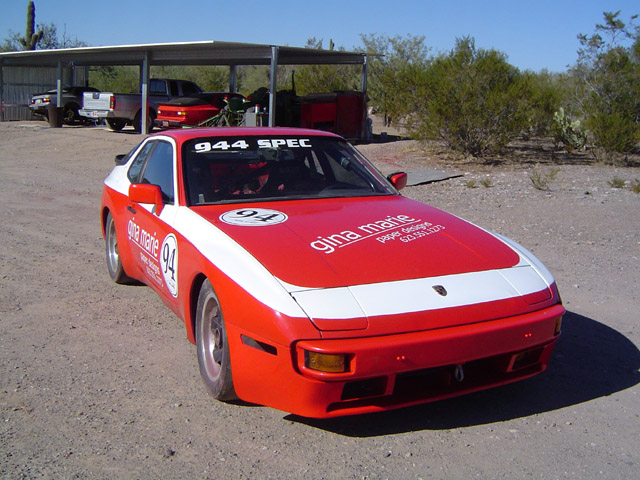
Day 7 Paint is done and masking removed.
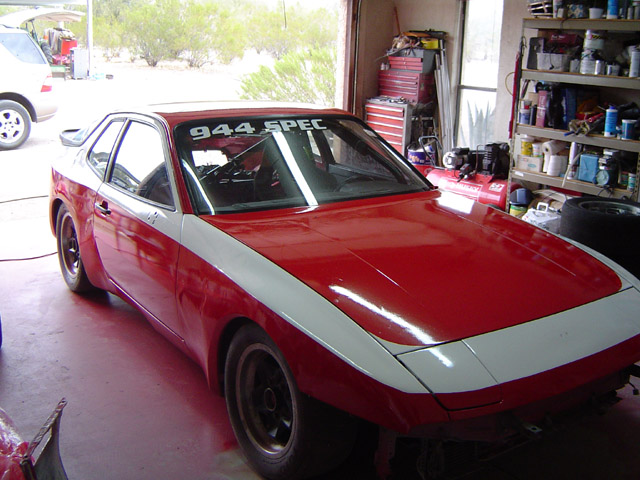
I painted the front spoiler, bumper and mirrors separately since they needed to come off the car and it was easier that way.
I painted the front spoiler, bumper and mirrors separately since they needed to come off the car and it was easier that way.
Trending Topics
 12-14-2005, 04:57 PM
#9
Three Wheelin'
Very cool Joe, thanks for the pics. We need to talk about racing options in Phx- I'm thinking about a company sponsored car for the employees if my partners go for it. Yes I said for the employees, absolutely no personal motivation here.

12-14-2005, 04:59 PM
#10
Race Director
Thread Starter
Originally Posted by kevincnc
Very cool Joe, thanks for the pics. We need to talk about racing options in Phx- I'm thinking about a company sponsored car for the employees if my partners go for it. Yes I said for the employees, absolutely no personal motivation here.
Well great for the employees, but it will need a test driver right.

Yes we should talk.
 12-14-2005, 05:19 PM
#11
Drifting
Lookin' good!
Another method of applying the white stripe is to paint the white section first without masking it off, then when it dries tape over the white and spray the red. That way you don't have worry about lining up your tape with the paint line and you only have to mask the area once.
Another method of applying the white stripe is to paint the white section first without masking it off, then when it dries tape over the white and spray the red. That way you don't have worry about lining up your tape with the paint line and you only have to mask the area once.
12-14-2005, 05:21 PM
#12
Race Director
Thread Starter
Originally Posted by Cory M
Lookin' good!
Another method of applying the white stripe is to paint the white section first without masking it off, then when it dries tape over the white and spray the red. That way you don't have worry about lining up your tape with the paint line and you only have to mask the area once.
Another method of applying the white stripe is to paint the white section first without masking it off, then when it dries tape over the white and spray the red. That way you don't have worry about lining up your tape with the paint line and you only have to mask the area once.
 12-14-2005, 05:49 PM
#14
Nordschleife Master
Join Date: Aug 2003
Location: Los Angeles
Posts: 9,558
Likes: 0
Received 0 Likes
on
0 Posts
thats the kind of paint job that gets more attention. cars the get more attention attract more photographers. Cars with more attention attract sponsors. Hey, whadya know, I may be looking to throw a few decals on a few race cars. PM me if you're interested.
Eyal
Eyal
