When you click on links to various merchants on this site and make a purchase, this can result in this site earning a commission. Affiliate programs and affiliations include, but are not limited to, the eBay Partner Network.
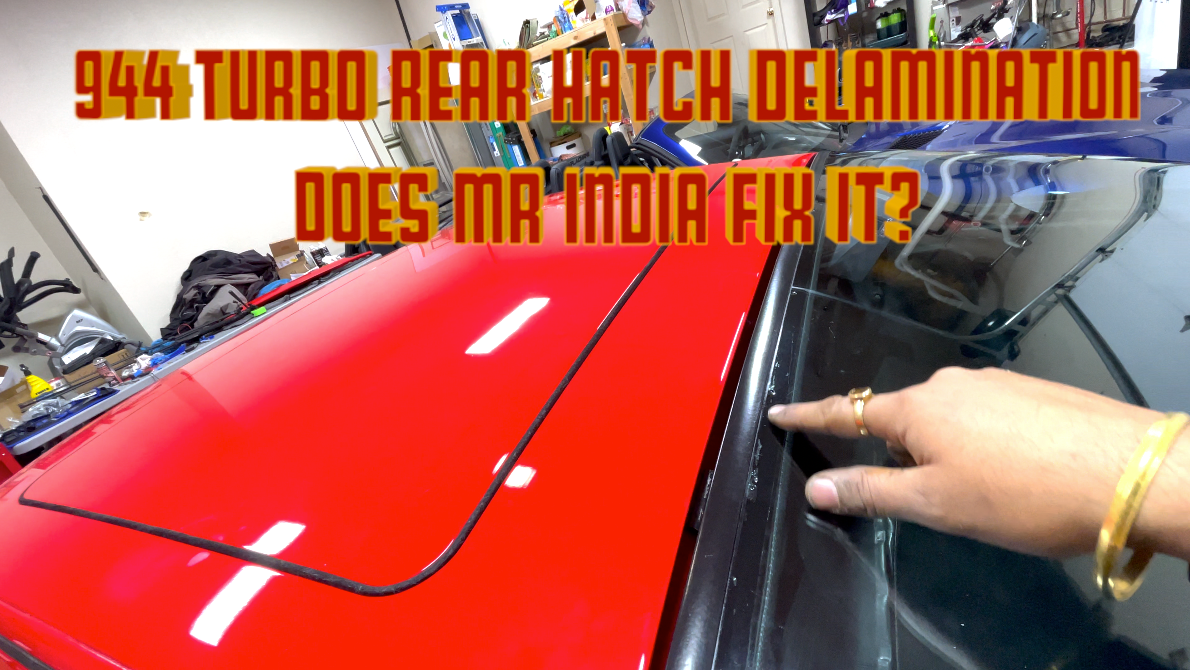
All Porsche 944’s will surly face the dreaded rear hatch de-lamination problem. Mr India shares his research on the problem with pro’s and cons to the different ways to fix this issue. The vlog also has the repair option used a basic strength test. There are chapters so you can go to the bit that is of interest.
I've heard something about the dimples in the glass should be hidden by the frame, and if the dimples are visible, the frame has pulled away from its original point some. I'm not sure if this is accurate or not.
I also thought the same. I checked many other sources and it looks like the dimples are in the right place. The frame was fully seated in place. The gaps around the frame look good. However I don’t know the absolute right answer . However for now the fix is holding and the hatch works well. I hope it can last many years, because the fix cost me $31 and just my time .
I have read just about EVERY report of hatch fixing (as I need to do this on a 968 hatch) and not one has been successful, longest one lasted about a year, even the one recommended for glass didn't hold
My best suggestion is: use JB weld, yes really:
I am not sure that the video on epoxy is particularly scientific or correct. Also to relate the use of epoxy to rubber and glass is not really following manufacturers advise on the use of the product.
To get a good bond with epoxy you need to follow a few basic rules 1. clean surface 2. both surfaces abraded 3. both surfaces glue applied 4. the fresher the mix the better 5. and most importantly apply pressure to the joint to squeeze out most of the mix while drying, the more pressure the better. This is why boat builders use vacuum bags in the building process. Epoxy does not like these sort of sheer loads, loves compression. The test over a short period of time has no relevance to long term adhesion.
For the purposes of gluing the hatch I would be using acrylic as it will stick to glass as it does not require a coarse surface and can put up with a slight amount of movement. Epoxy will not be forgiving to movement.
I like the way Mr India inserted the glue with the aid of a assistant. My wife would never do that!!
Doubtful, just because its not separated doesn't mean it hasn't moved. One sign is that the hatch sticks when you try to open it
After the third time taking our car back under the manufacturer's warranty, the delivering dealer informed us that Porsche had informed them that the latch unlock only released the pins, and didn't guarantee that the hatch would come up by itself. I think you need a different metric for determining that separation has occurred.
After the third time taking our car back under the manufacturer's warranty, the delivering dealer informed us that Porsche had informed them that the latch unlock only released the pins, and didn't guarantee that the hatch would come up by itself. I think you need a different metric for determining that separation has occurred.
No, Im correct, and porsche is correct. the hatch doesn't pop up. I never said that. When I say sticks, i mean you unlock it, and you have to yank on it to get the pins loose. THAT is a sure sign.
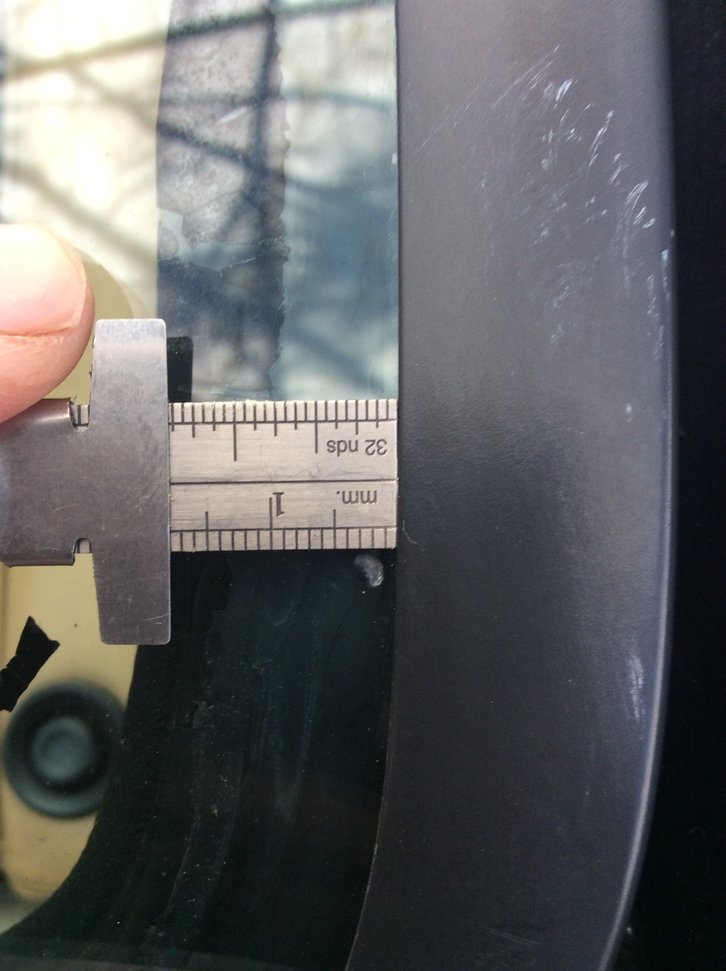
Re: Dimples.. my understanding is they are 3-5mm as original and anything greater indicates movement
Here I am measuring mine which appear within that range. I don't believe I have this issue yet as the hatch doesn't leak and seems to work properly
The delamination indicator in this example is that the bond interface between glass and frame are gray in color, not black. The area between 0 and 3/4" on the ruler has failed, it may not be leaking (yet) and it may not be squeaking (yet) but anywhere along the frame that does not appear black has a compromised bond.
I have read just about EVERY report of hatch fixing (as I need to do this on a 968 hatch) and not one has been successful, longest one lasted about a year, even the one recommended for glass didn't hold
My best suggestion is: use JB weld, yes really:
I think epoxy is too rigid. It will probably struggle over time with the hatch flexing when opening. Hence the research led me to a urethane based adhesive with some flexibility
 01-23-2022, 06:02 PM