When you click on links to various merchants on this site and make a purchase, this can result in this site earning a commission. Affiliate programs and affiliations include, but are not limited to, the eBay Partner Network.
Depends on where you clamp it.. You can go higher and shorten the rod or I would think you can mount it to the Left, so the tang sticks out to the left of the clutch... Pretty simple setup really... You could make one easy enough.. Golf huh? I had a Mk4 Jetta TDI … When I sold it had 303,000Miles on it.. and STILL had the original clutch...
...and I thought I did good with 300,000km on the MKIII diesel... but US miles? Nice
Tonight, I quickly filmed the fork travel, paying attention to the pedal travel. In the video, I move slowly until the back of the pedal is just above the carpet. Then, I push a bit further into the carpet, and you can see the slave continues to travel...
I didn't hit the firewall, but it's close. If anything, to ensure the full travel, an added stop would still allow it to touch the carpet. I think I'm just going to put something behind the carpet enough to keep the pedal from going through the carpet but still reach it
Finished the fork install and tried it out. Drives like a dream.
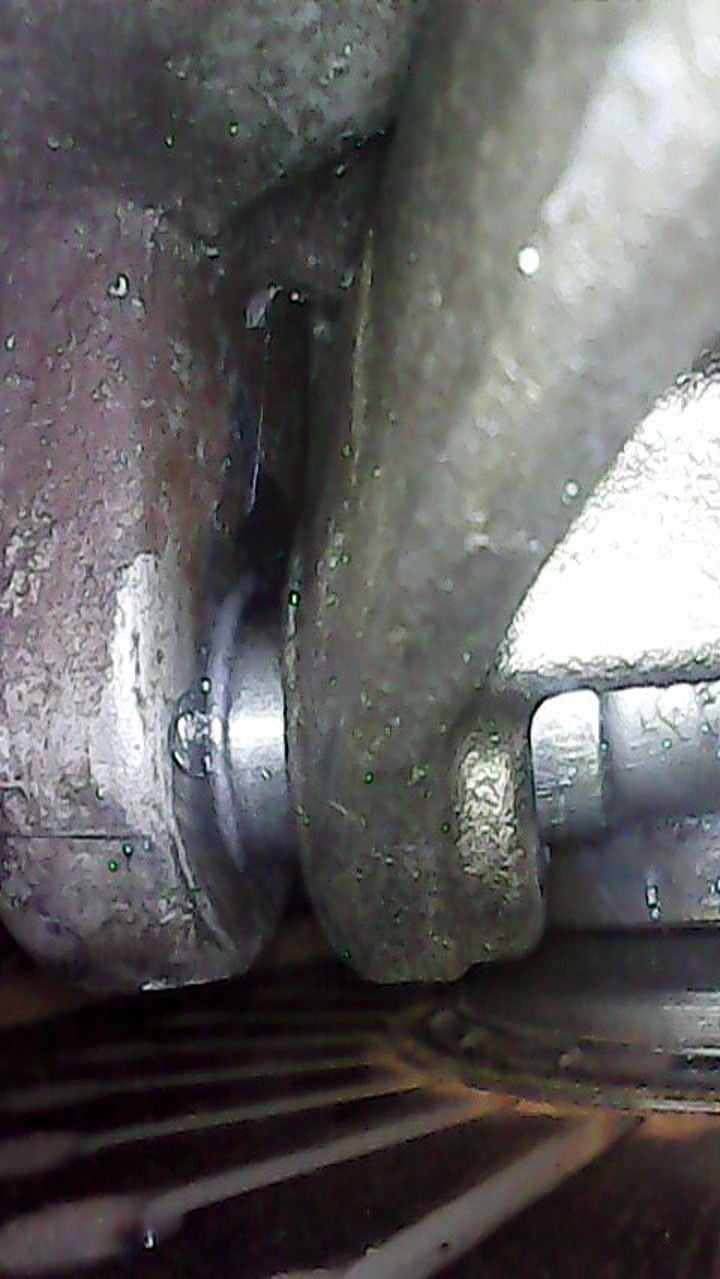
Here is the movement of the new fork. Yes, I put grease on the shaft and even the TOB, maybe too much, but the boroscope does seem to exaggerate it. Sorry it's upside down
I thought it looks a bit off on one side, but the boroscope was rotated funny and I think I got a curved view from the angle. Just to make sure, I went further to each finger and they seeem evenly spaced to the TOB. Actually, I'd say this new fork maybe fits a bit tighter than the original.
Left (top) finger
Right (bottom) finger
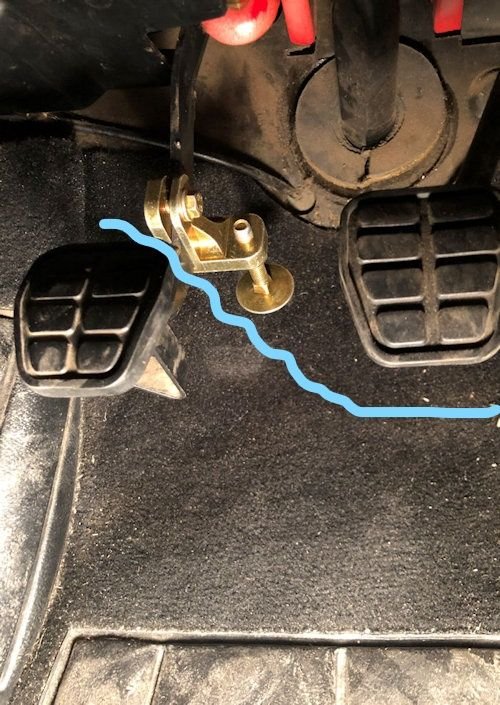
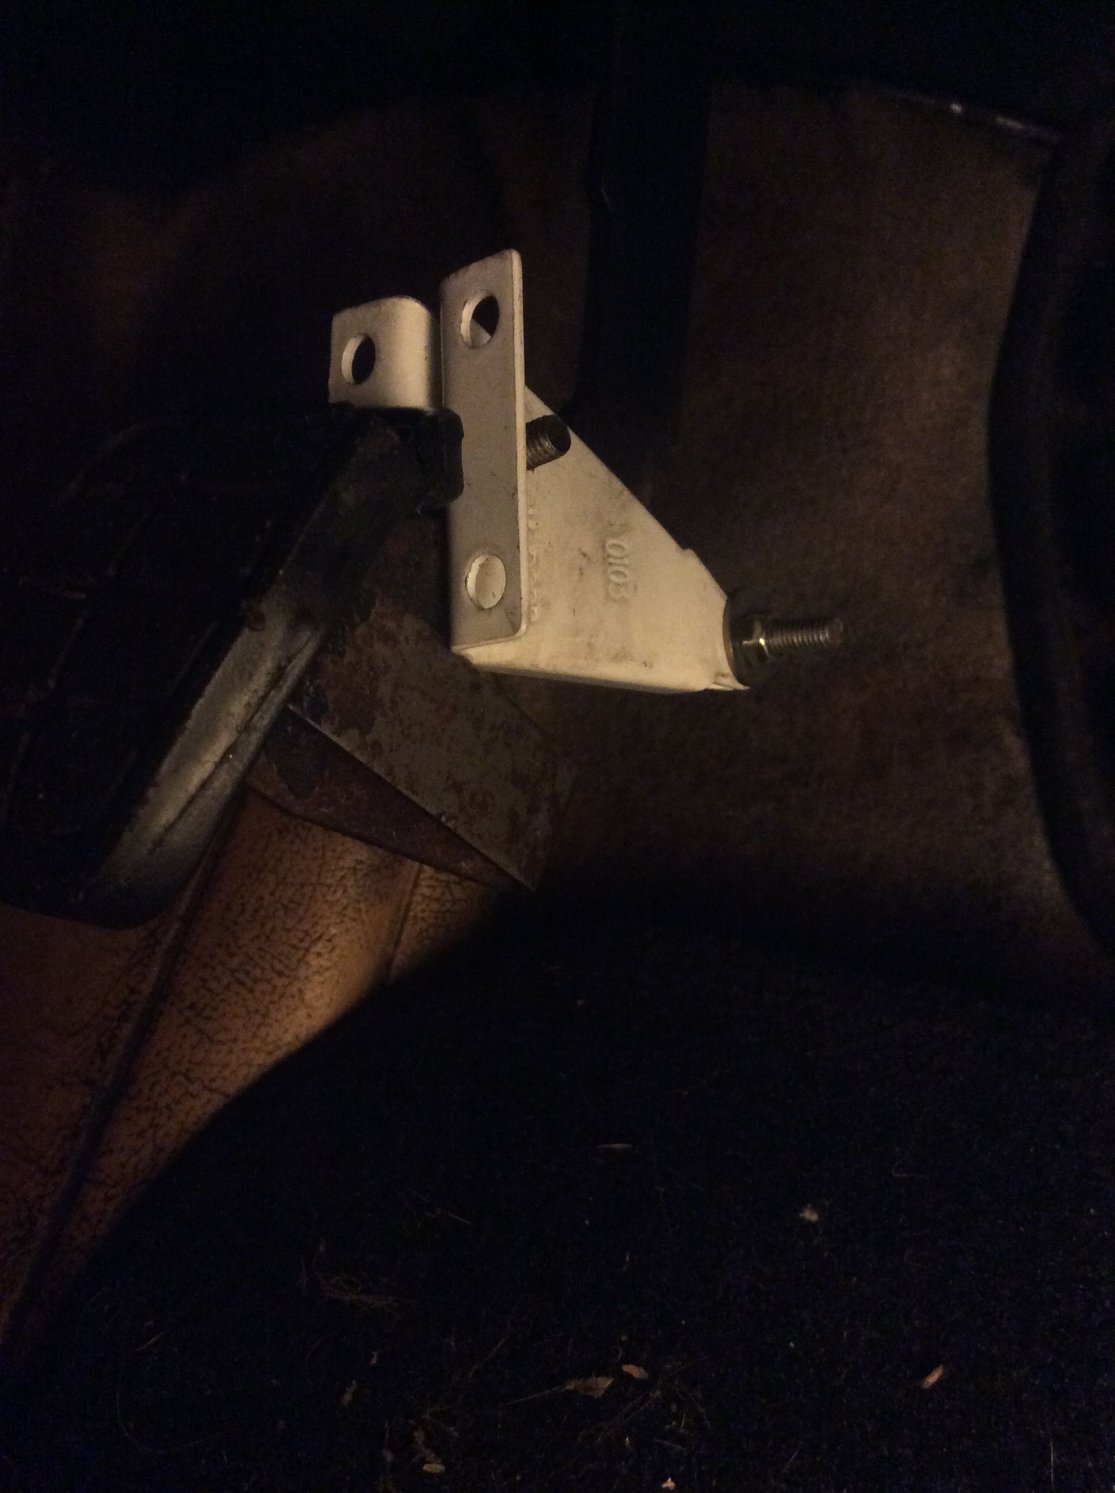
As for the pedal travel situation, by some odd stroke of luck, I happen to find a bracket that appears to fit the bill nicely. Finally... keeping all these odd extra pieces of junk from various around the house projects has paid off! I think this piece comes from a closet door
This thing has the exact inner width to slip onto the pedal arm and nicely spaced holes to put bolts and squeeze it tight. It's even the right length: the extra distance catches just at the point where the real pedal stop touches the carpet--exactly where I observed the slave's travel reaches its maximum.
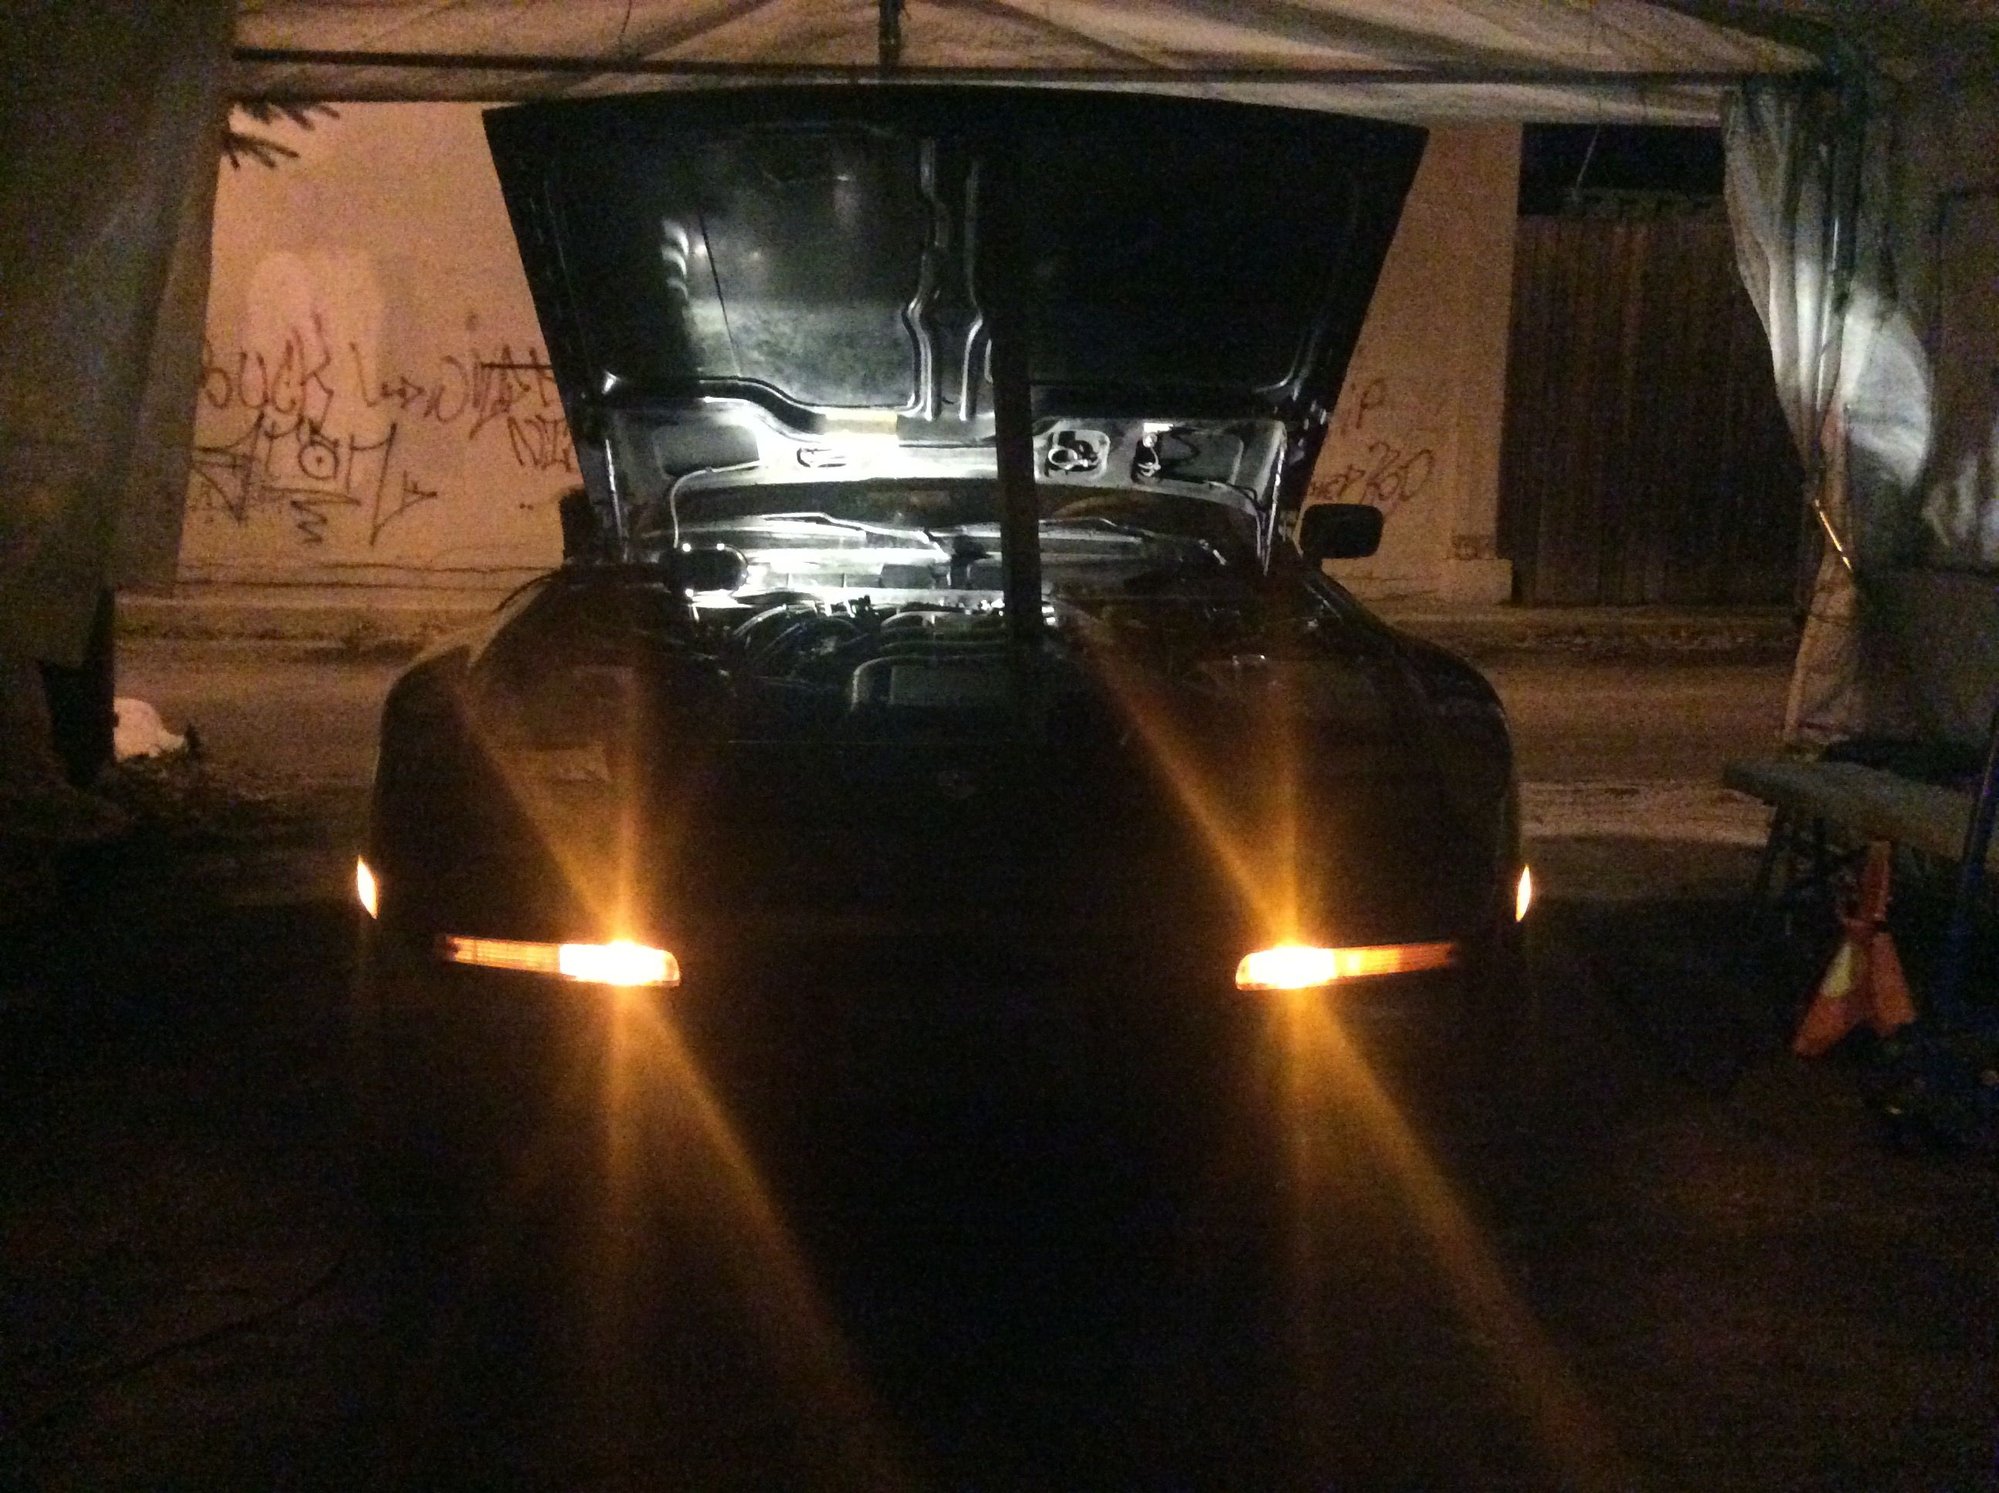
All is not perfect I'm afraid. After putting the car down and testing out the clutch, I left it idling as I cleaned up. Such a nice moment listening to it purr after all that work. Pure heaven! Then... a funny smell... kinda sweet... the high-speed fans turning on like a plane taking off.... and staying on unusually long... I look over and that's when I see it: a massive coolant leak, almost pouring down in a steady stream driver's side, just behind the batwing (I didn't put the second cover on yet).
Looking from the top, I can't see evidence of anything; all seems dry. But something's up. After changing the clutch fork, however, no coolant leak can bring me down!
Ahhh... so nice to see it on the ground again.... if only for a brief moment.....
Last edited by Dan Martinic; 01-28-2020 at 11:58 PM.
Reason: Fixed wrong video; spelling
Oh! Almost forgot: as if it's trying to tell me "not done yet buddy", I can't get the hood to fully close and latch! It just won't push in that last bit where it locks down. It's stuck at the popped up / saftey latch position.
The car and I have become intimate. It now talks to me
I was poking around on the 944 to look at how to route an upgraded headlight harness and it appears that I, too, have a coolant leak. There's a nice green puddle down in the belly pan. I anticipate good times under the car come spring, and once my other work, currently in progress is done.
Please post what you find with the coolant leak, I'd like to know how you chase it down and fix it.
Please post what you find with the coolant leak, I'd like to know how you chase it down and fix it.
Cheers
Ask.. and you shall receive...
Dan's Made-In-Canada Coolant Leak Tutorial
1. Prepare by dressing appropriately. Canadian wrenching outfit: undershirt, tucked into underwear; short-sleeved shirt; insulated ski pants; long-sleeved shirt; cord-type jacket; coveralls; and of course, lumberjack jacket. Not pictured: toque, double socks, large insulated snow boots
2. Park car in work area and admire. Bonus: sunny day and you almost forget it's minus ten out in your Canadian tent garage
3. Drive onto ramps, homemade of course. This allows you to roll the Big Jack underneath the Batwing
4. With piece of wood on the Big Jack, centre under the crossmember, carefully avoiding the oil pan. Jack high then put oversized stands under frame rails, using strips of plywood to spread weight. Everything is overkill up here
Now you've got space to crawl under and not get your toque caught in rotating engine. Yes, at some point the engine will be running. Note the plywood to keep you off the cold asphalt
5. Attach the coolant pressure tester you bought from the Canadian tire store that happens to sell all the cheap Chinese tools. Due to currency conversion issues, choices are limited
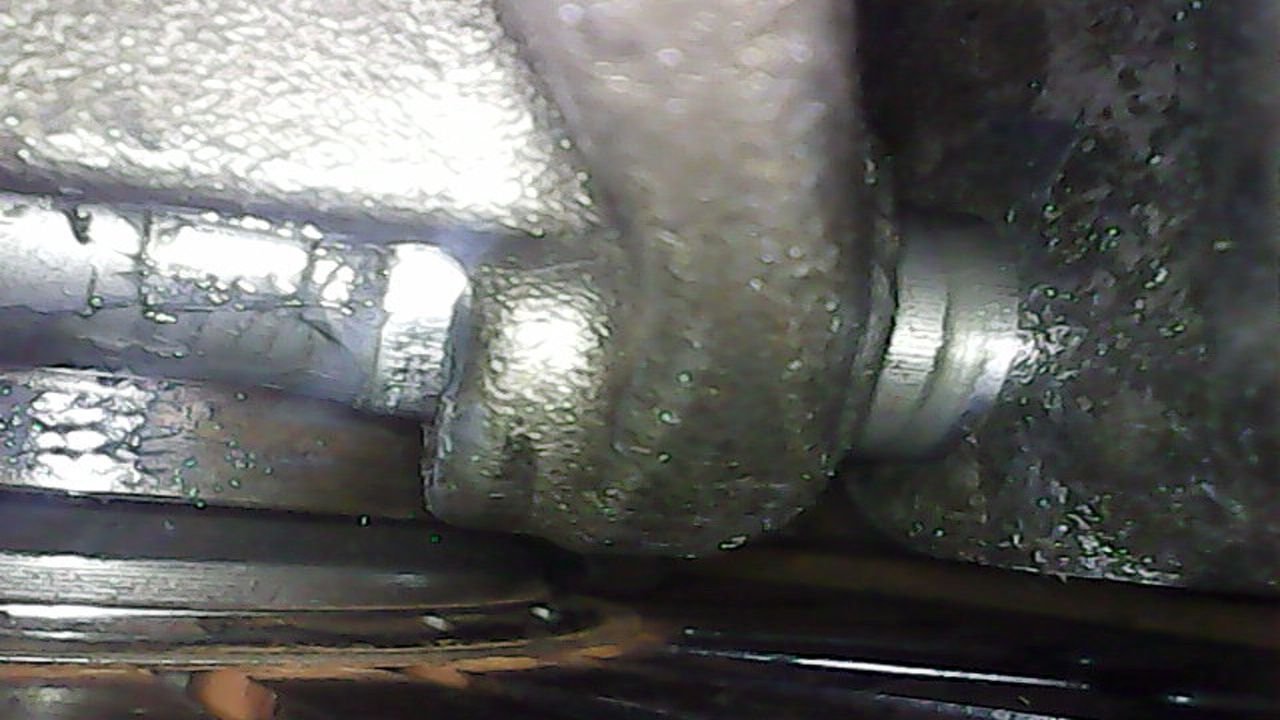
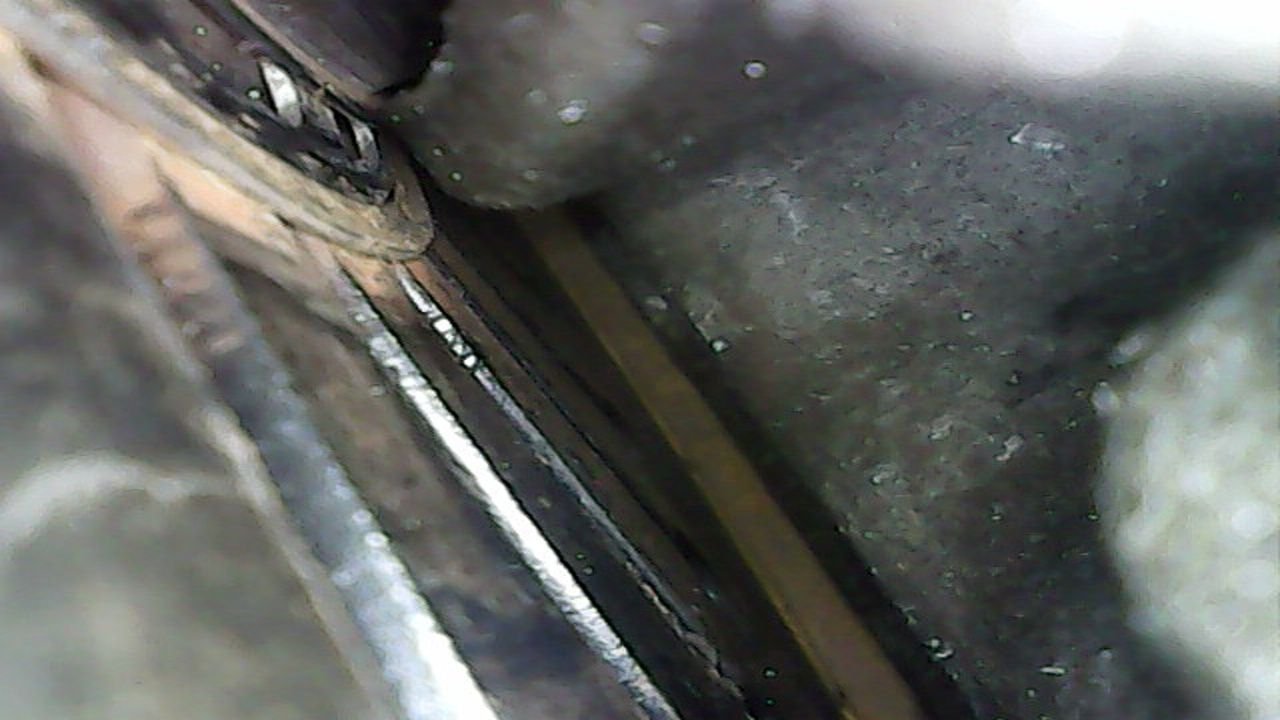
6. Pressurize to 7psi or the "green zone" and crawl under engine. Note the surprise coolant leak from a random hose connection
7. Fix random leak then watch in awe as no further leaks detected, especially not the big one you witnessed under the driver's side the day before. However, coolant leak hunting is a patient game. Go grab a beer, drink it, and return to your post. You will now discover the source of the major leak. It will be the tiniest of bubbles and you'll need you special narrow-beam high intensity LED flashlight to find it
8. Go above and tighten the clamp. Of course it will be accessible: you orientated the clamps anticipating forgetting to tighten at least one until after you've installed the intake manifold, heat shield, and air cleaner box. You are amazed how dry the problem connection looks fro the top
9. It is now time to top up the coolant and bleed. After filling coolant to the proper level--a total guess with the yellow-ed out tank--you re-pressurize with the pressure tester and crack open the bleed screw a bit. When coolant come out without air or bubbles, close it. Just for kicks, repeat a few times. You now have pools of coolant in The Valley (area between head and upper balance shaft). No amount of stuffing rags around bleed screw prevents this
10. Spend 20 mins removing this liquid. Ten minutes to make a tool (paper towel wrapped & taped to a long thin wire) and ten trying to fish your tool in there and soak up the coolant. Or, just use the large syringe you bought while trying to bleed the clutch which turned out to be a broken fork, not a bleeding issue
11. Finally, start the car. You will notice new leaks. This will totally kill your buzz. Crawl under and watch leaks seemingly appear out of nowhere and in areas with no logical reason, such as the crossover pipe..
12. This is when you remember: it's a patience game. Go grab another beer and drink it. Let the engine run the whole time. After 15 mins and a couple of cooling fan cycles, crawl back under and witness the new leaks no more. The spilled coolant from the bleeding has finally burned away and is no longer finding it's way down to mysterious places
Congratulations! You fixed your coolant leak. Now, the third and final beer.... (USA readers may consume a few more; they are different up here)
Nice coolant leak tutorial. You almost lost me at -10 degrees. I've been complaining lately because it's been like mid 20s in the morning here in New Mexico!
Nice coolant leak tutorial. You almost lost me at -10 degrees. I've been complaining lately because it's been like mid 20s in the morning here in New Mexico!
Dan is likely quoting degrees C instead of F. Either way, it's still very cold. I try hard to not do any car work that requires significant time in the garage in winter.
 01-27-2020, 11:00 AM