When you click on links to various merchants on this site and make a purchase, this can result in this site earning a commission. Affiliate programs and affiliations include, but are not limited to, the eBay Partner Network.
DIY Guide: Turbo and S Fog Light Upgrade Requiring Zero Modification (Cost: $15)
DIY Guide: Better Lighting for the 944 Turbo and 944 S -- Fog Light Upgrade Requiring Zero Modification (Cost: $15)
The goal and purpose:
To improve the lighting and visibility while driving your iconic 944, this fog light upgrade makes use of the inner, unused portions of the Turbo or S fog light housings. This is completely reversible and non-invasive. With absolutely no drilling, cutting, gluing, bending, or other type of hard modification at all, you can add a parabolic reflector and a halogen light bulb to each fog light housing. The end results are 2 bulbs in each housing for a total of 6 front-facing bulbs including the headlights. Your dream car never stops getting better. The future is bright.
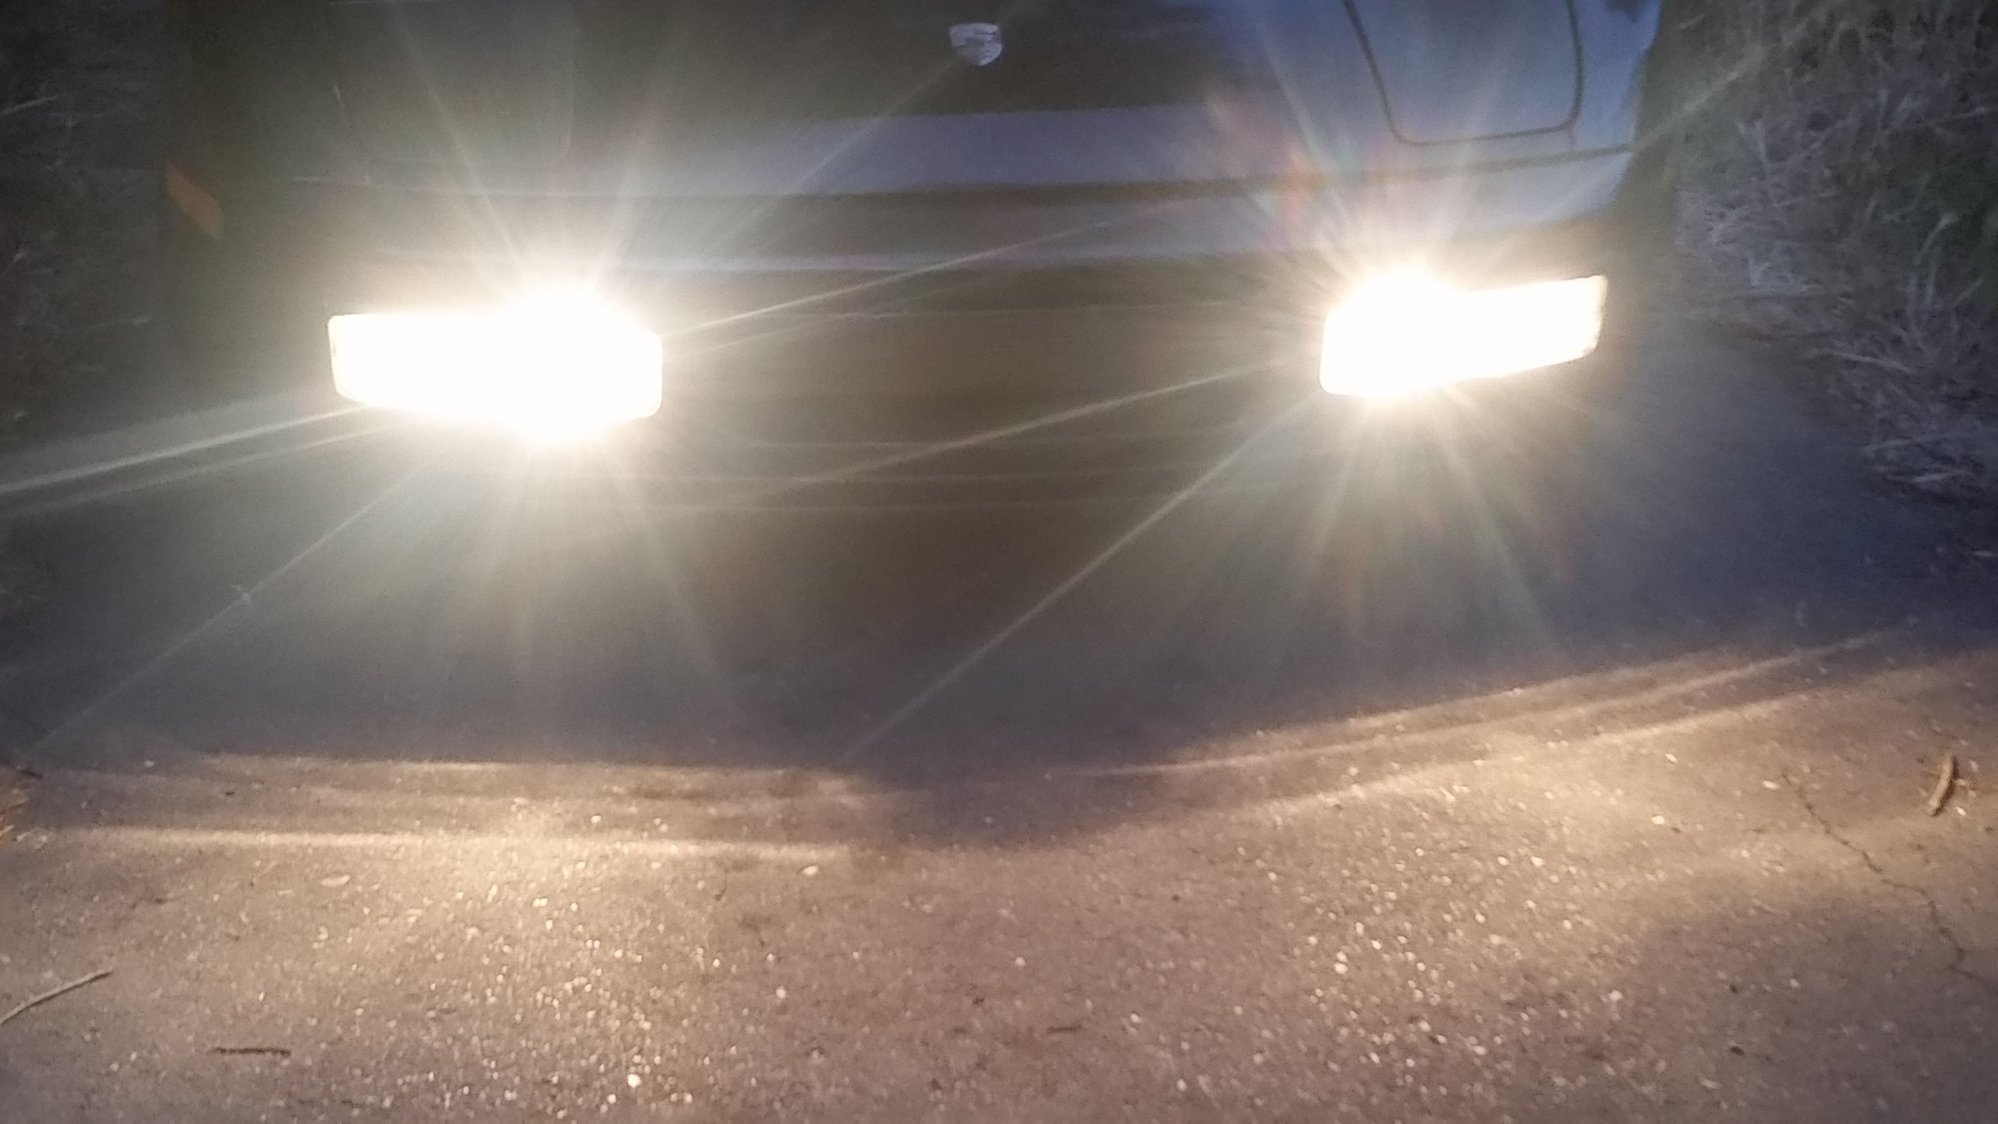
The finished product:
Bonus modification (not described here):
If you’d like, you can modify your fog lights to turn on and off separately from the headlights and the brights/high beams. Done correctly, the fog lights still turn off when the key is in the ‘off’ position.
2) 6” of 5 – 6mm inner diameter high-temperature vacuum hose (at any auto parts store, ask for the bulk hoses sold by the foot or inch). Vacuum hose works well because it is compression-resistant (see the instructions and the picture below for its use here).
Tools:
1) Screwdriver
2) Scissors or similar to cut wire and expose the endings
3) Razor blade to cut the rubber hose
4) A tool to help you gently adjust the angle of the lens
Leftover Parts:
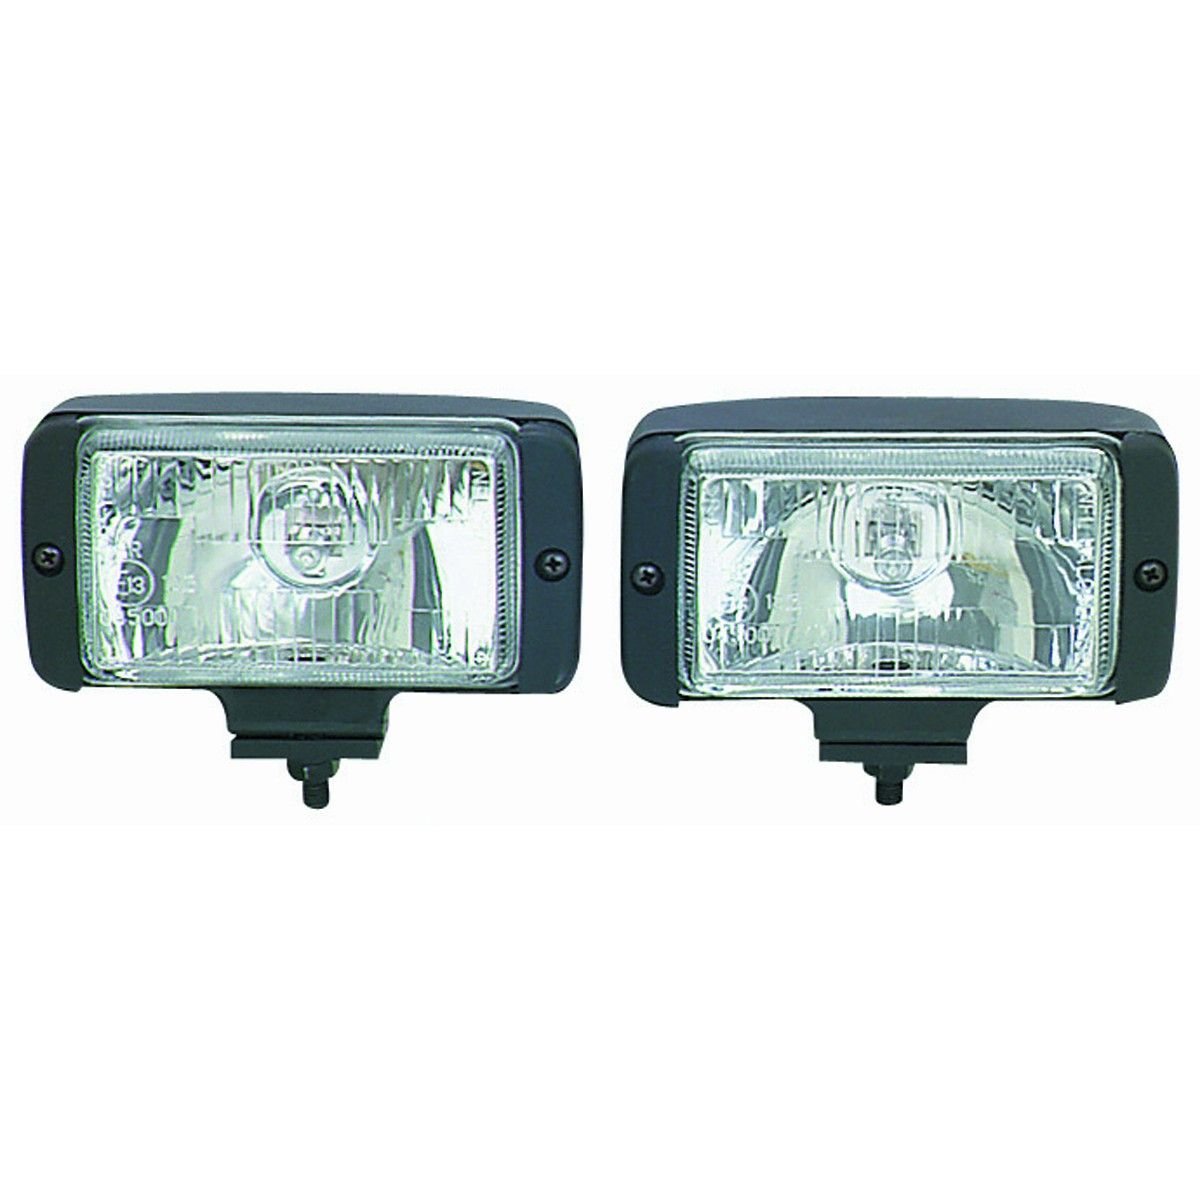
Harbor Freight fog light housings and glass lenses
Harbor Freight On/Off switch
3 lengths of Harbor Freight wiring (one with a 15 amp inline fuse)
Save:
The two factory parabolic reflectors or dummy reflectors that are removed from the Turbo housings
For your reference:
Directions:
1) Remove the Turbo fog light housings (first remove the plastic side pieces (1 screw each), then the entire housing (4 screws each). Take out the front of the housing.
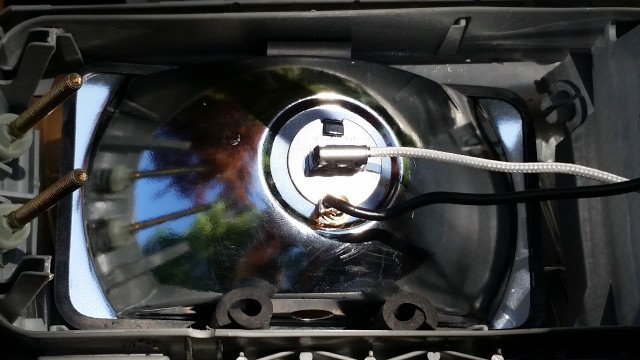
2) Disconnect the positive and ground wires on each of the Turbo housings and take the assemblies to your work area. Remove the unused parabolic reflectors or dummy reflectors from the inner portions of the housing.
3) Take the Harbor Freight fog lights and remove a plastic side piece (1 screw each). Remove the glass lens, and then remove the reflector along with the bulb (you will need to slide the wires through the grommet). You will only be using the reflectors with the bulbs and wiring attached (no other parts from the purchased fog lights)
4) Cut the ends of the wires on the Harbor Freight reflectors so that a few millimeters of the metal is exposed on all of them. Retain as much of the length of wire as possible. If you haven’t already, this is a good time to test the Harbor Freight lights.
5) Cut a total of six 3/4” to 1” sections of hose (3 for each Turbo housing). Cut 4 of them lengthwise to open up the hose (leave the other two as is).
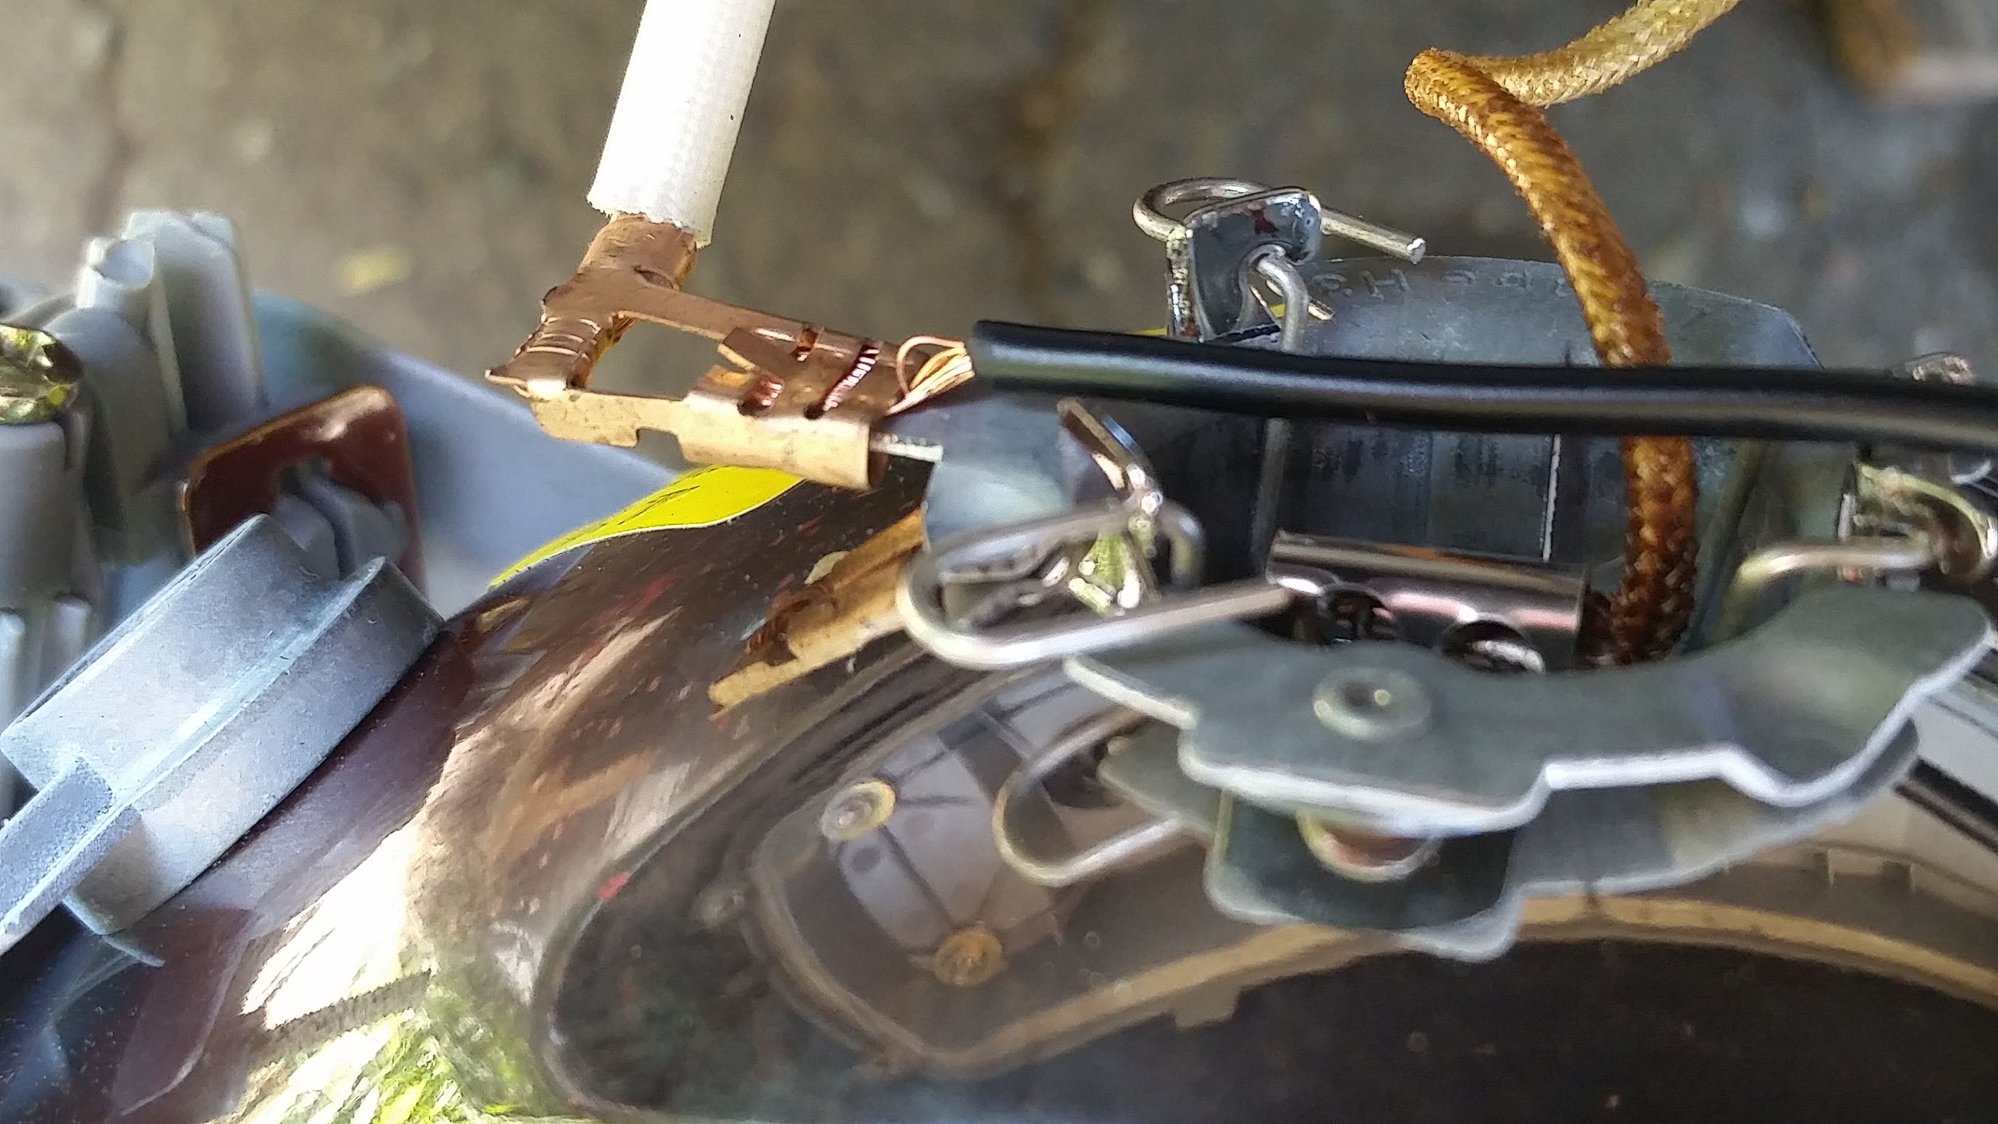
6) Arrange the Harbor Freight lenses and the hose pieces to accomplish a durable and long-lasting fit (see below for an idea). If done correctly, it will be very stable. The rubber is supposed to brace the reflector while accommodating for vibration. Adjust the angle of the reflectors as desired. On the top of the reflector, you can place the intact hose piece sideways between the reflector and the housing. On the bottom of the reflector, you can place the two opened hoses on either side of the water drain hole. (Although no water should be entering your Turbo or S housings, take care to install the Harbor Freight reflectors with the drain hole on the bottom.)
7) splay the exposed metal of the wires on the Harbor Freight reflectors so that they can be added between the male and female connectors of the Turbo housing wiring. Be careful to attach ground to ground, and 12V to 12V.
8) Install the Turbo housings back onto your classic 80s Porsche. Tighten the screws and test the lights. All done!
So the HF lights are wedged in there with the rubber, no screws or brackets?
That's right. It may not look like much, but the fit is very tight and the reflectors don't budge at all. I've road tested these quite a bit on a variety of road surfaces, including bumpy ones, and they do not move around at all.
All questions and comments are very welcomed.
Yes, I used the existing wiring so that they come on together. You could choose to incorporate the HF On/Off switch and wire up the lights separately with the 15 amp fuse so they work independently.

 08-02-2019, 07:55 PM