When you click on links to various merchants on this site and make a purchase, this can result in this site earning a commission. Affiliate programs and affiliations include, but are not limited to, the eBay Partner Network.
You are right about the ABS - it is purely stand alone system, it has it's own separate harness that does not communicate with DME or other computers except for dash light.
This is the first time I can see zip ties like this - very interesting! How are they called?
Thanks for the info, it will save me research time
The zip ties I got were from Omc/Json/Erude but all outboard manufactures have them. They are "fuel line zip ties".
This is a better explanation of what I was going for. I figured if it works on fuel lines it should be even better for vacuum lines.
Since silicone is soft and slippery I wanted a way to secure them so they do not fall off when poking around the engine. I also wanted to make sure I eliminated as many air leaks as possible.
I just did a search and stole those images above from fuelhoseziptie.com I should have gone here first, much cheaper then anything that says "marine" on it
Always surprises me how technologies take forever to migrate from one area to another. I have been using these for decades on my outboards, and it was common sense to transfer the concept to vacuum lines. Here you have a website that only sells this product, yet they have not figured out that people who care about leaking vacuum lines would use it too. If they advertises it for vacuum lines they would sell a lot more. Think outside the box!
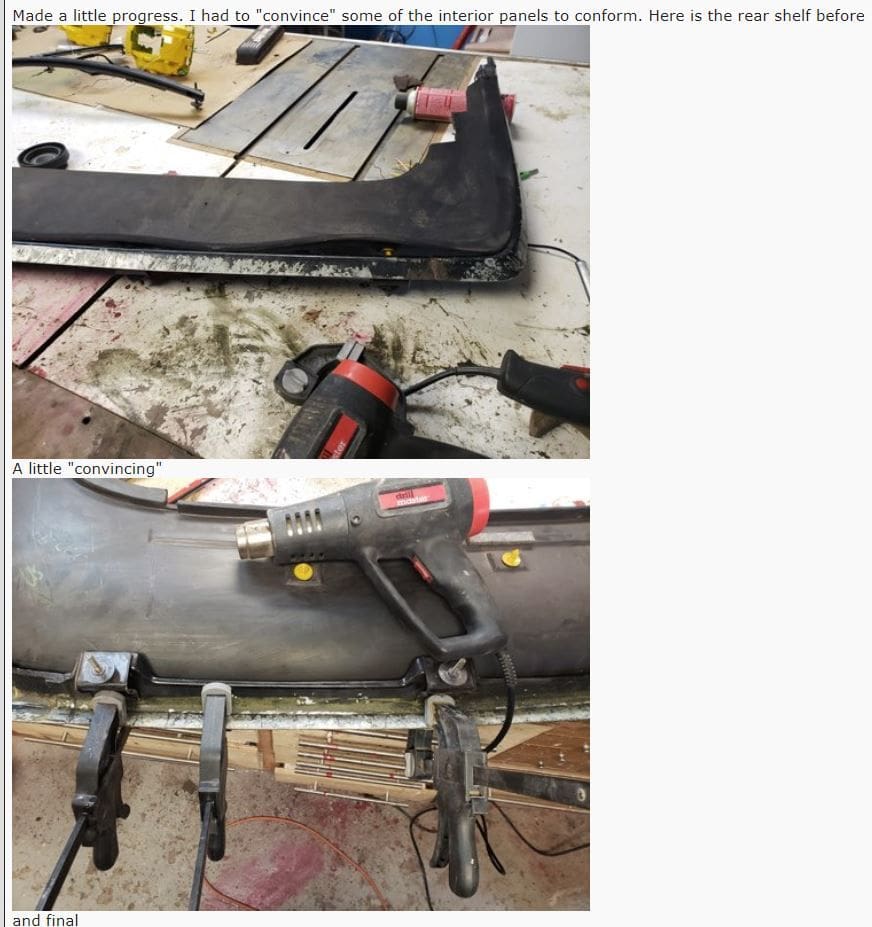
Nice job on straightening your rear shelf liner! I tried something similar on my liner and several other interior parts by heating them with a heat gun and various bracing, but I could never get the warps out.
My rear shelf liner still has warps in it after heating and bracing. How straight were you able to get yours, and did it keep its straight shape?
Could you go into more detail about how you got it to straighten and stay that way?
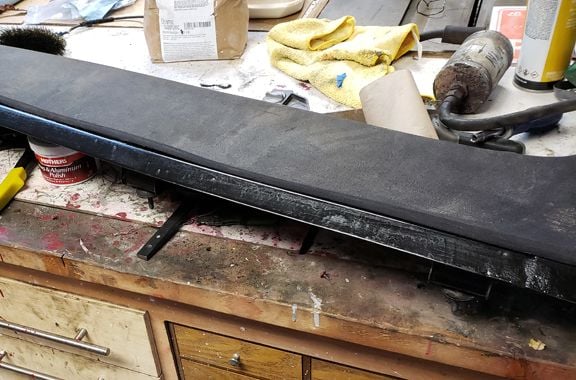
Swanson11 - I was able to get most of it out. The back section is under the top and not really seen
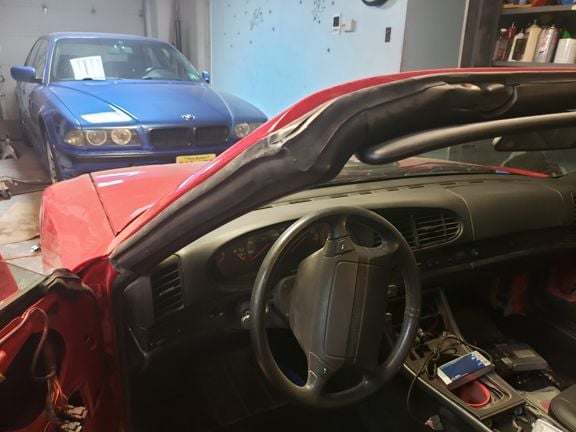
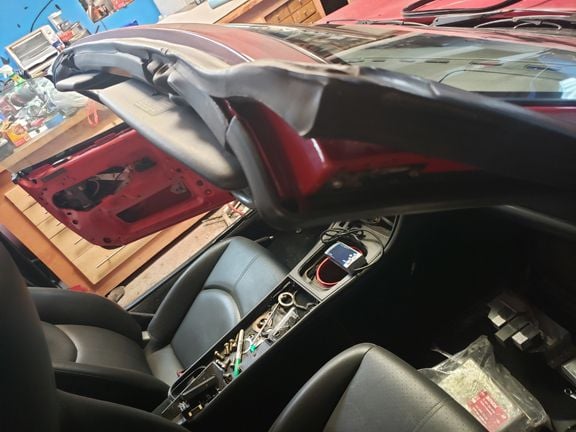
You can see in the above picture there is still a 1/8" gap in the middle. Like I said no one will ever see it and I am ok with it. Close enough for government work! The section with the huge hump on the right is pretty much dead on. I have been putting my straightening efforts more into the a pillar and the part that goes between them on the top. Do not have good before pictures but if you look at the picture below, at the top corner of the windshield, you can see the a pillar trim twisted and sticking out past the rubber seal.
here you can see it fitting perfectly, the weatherstripping is still adjusting to the "proper" shape, but the panel is straight.
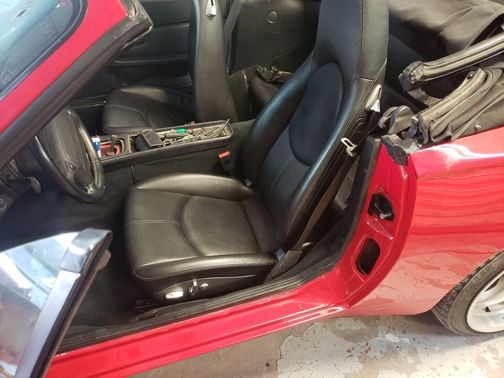
both sides were like this. Below is a picture of the other side below the weatherstripping, you can see it fits perfectly flush with the top and side. Used to be twisted and pulled away 1.5" or so.
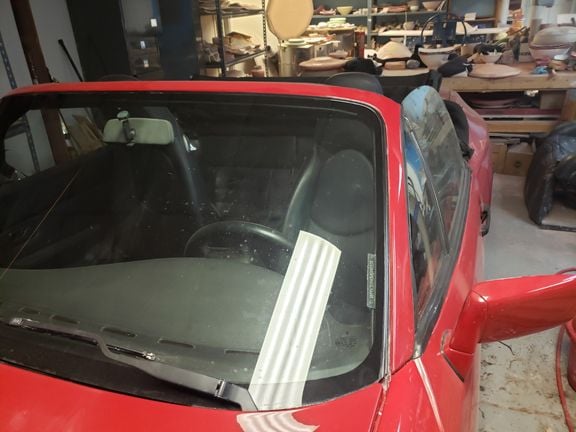
Still working on the center piece. From the front shot below you can see the sides of the a pillar is straight, they were both warped. Also the middle piece is a straight line across the top of the windshield. When I get some time I will continue to shape the middle piece.
So far everything has kept the shape. They were warped by heat, heat will unwarp them.
I just used heat on the back side of the piece. Just move the heat gun back and forth over the area you want to adjust until it gets hot. The tricky part is getting it hot enough without melting it. Use as much heat as possible! Then apply pressure to shape it how you want and hold it there till it cools all the way down. Then do it over, over and over again till it reaches the shape you want. That top part between the a pillars is the hardest because of all the curves. Use clamps if you can, but a lot of the time because of the shapes you have to hold it by hand, pushing the piece against something, because of the awkward shapes.
Thanks Breakaway. What you describe is basically how I've been doing it as well. Some parts straightened out nicely, others (like my liner) not so much. What we need is the ability to 3D print these old plastic interior parts
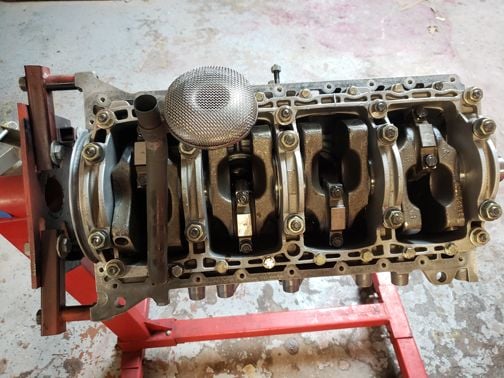
Started polishing the car, but more importantly started piecing the engine together
Drilled and tapped the head for steam vent
Installed the crankshaft and rear main seal at same time.
Also installed new freeze plugs and the pilot bearing
Installed pistons
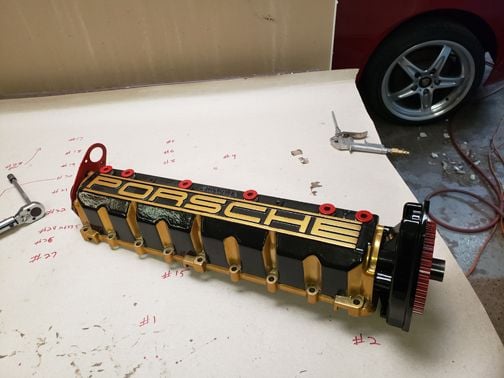
Put cam tower together
I need to order the right seals for balance shafts, meanwhile will continue with the rest of engine while I wait for them to come in
When you installed the crank shaft, did you use all brand new nuts, bolts and washers? I know the nuts that go on the main studs have spinning washers that are attached to the nut. I can't find a source for them. I'm building an engine on the side for my 1987 951 and the block I bought had a few of those nuts missing. They aren't available from Porsche. I don't want to reuse the old ones. I don't know if regular washers would work. I also don't understand why Porsche made the stud holes through the girdle so much larger than the diameter of the main studs. My line of thinking is that there should be as little play as possible so the crank is always 100% secure. Maybe it's just me, but I would rather have a more snug fit and minimal room between the main studs and the inside diameter of the girdle's holes. There must be some reason why Porsche did this. Thanks, Kevin
I reused everything. The wsm says that is ok. The nuts that go on the girdle do not have attached washers. The washers for both the 12mm and 10mm nuts are very specific. The washers are CURVED. The concave part goes towards the upper housing and the convex side against the nut (nut should have lettering on top) I see this mistake all the time (during my research). If you look at the sides of the washer they are slanted. You need to mark the washer location in relation to the block, they should not move while torquing the nuts. I am sure many of the vendors here have the washers and nuts.
The girdle only has one locating roll pin (?) in the back. One of the front studs is machined for one but they never put one in there. Do not know why. Now you have to depend on the crank to line up the girdle straight. I would rather rely on another locating pin up front to make sure girdle is straight. It is machined as one piece after all
As an aside during my research I found a post by you where you installed isky springs. I am doing the same. Could you look at my post I just did about valve springs and help a fellow nj person?
Thank you for the info. Yes I used the 280Z ISKY valve springs that Sean Deal discovered would work on the 944. Yes I will check out your thread about the springs. Thank you, Kevin
I double checked the nuts that are on the main studs of the block I have and they definitely have a washer with a course textured bottom attached to them and they do spin. It would perform the function you wrote about when they get tightened the washer isn't supposed to move but the nut can turn
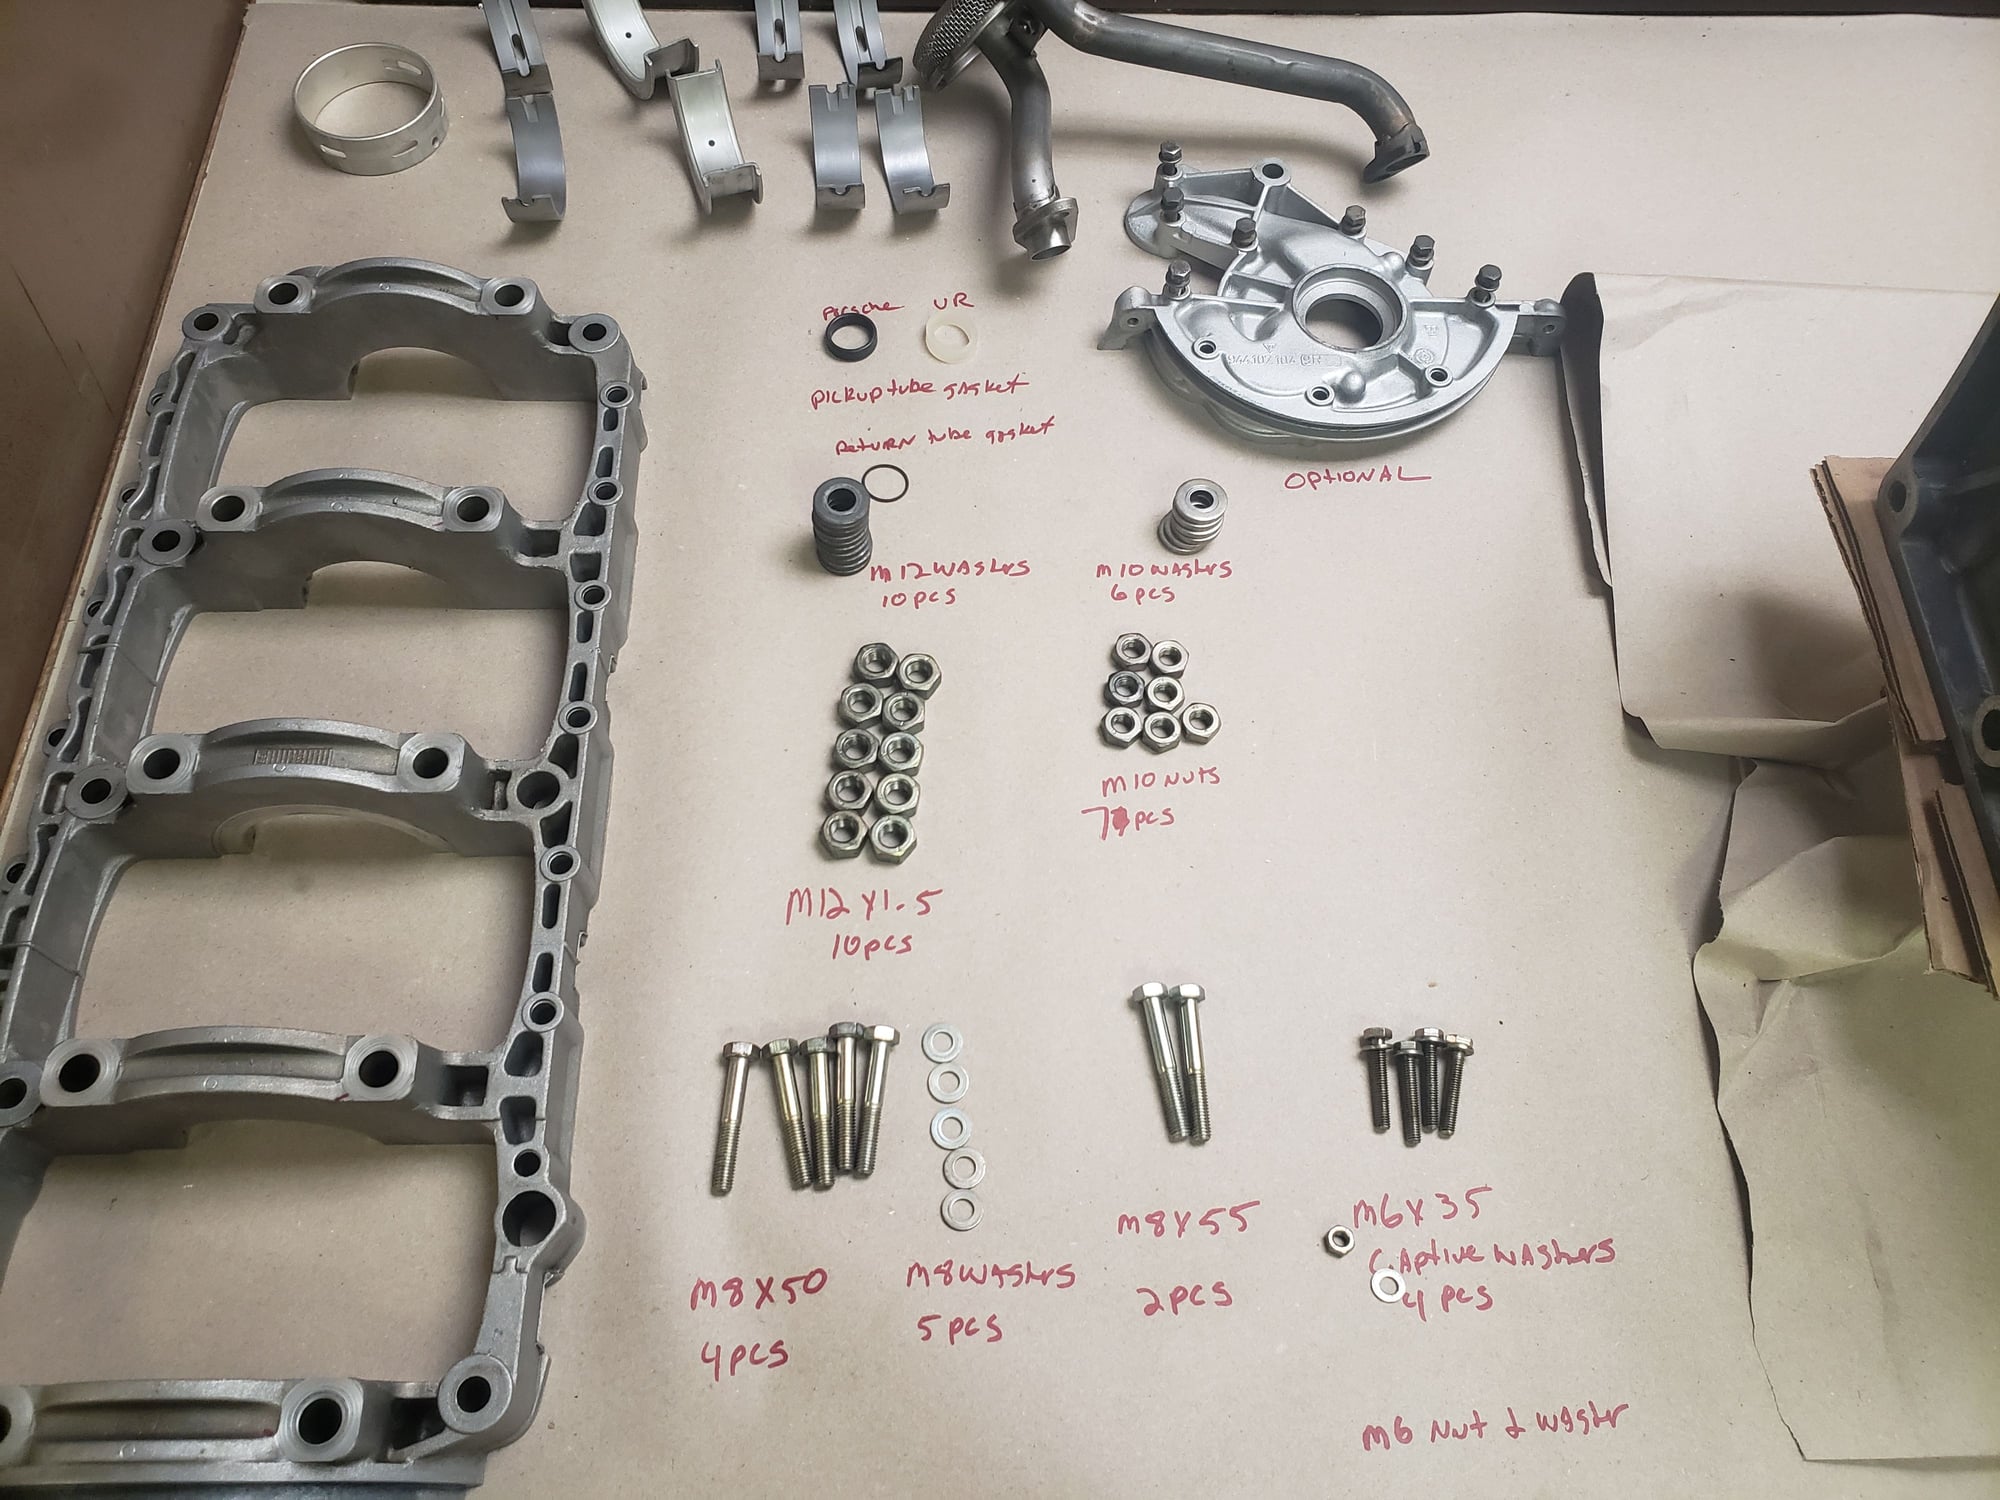
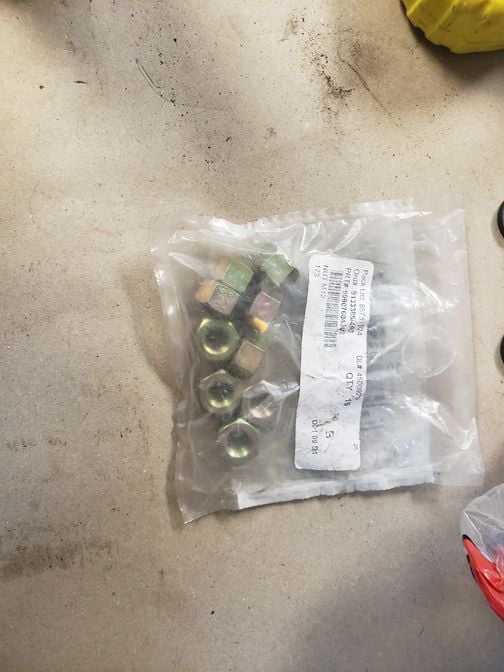
Here you can see the parts needed
note the m8x50 should be 5pcs and the m6x35 should be 5pcs if you have a stud, or 6 if you do not.
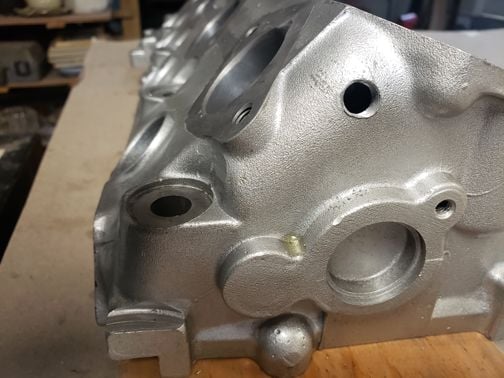
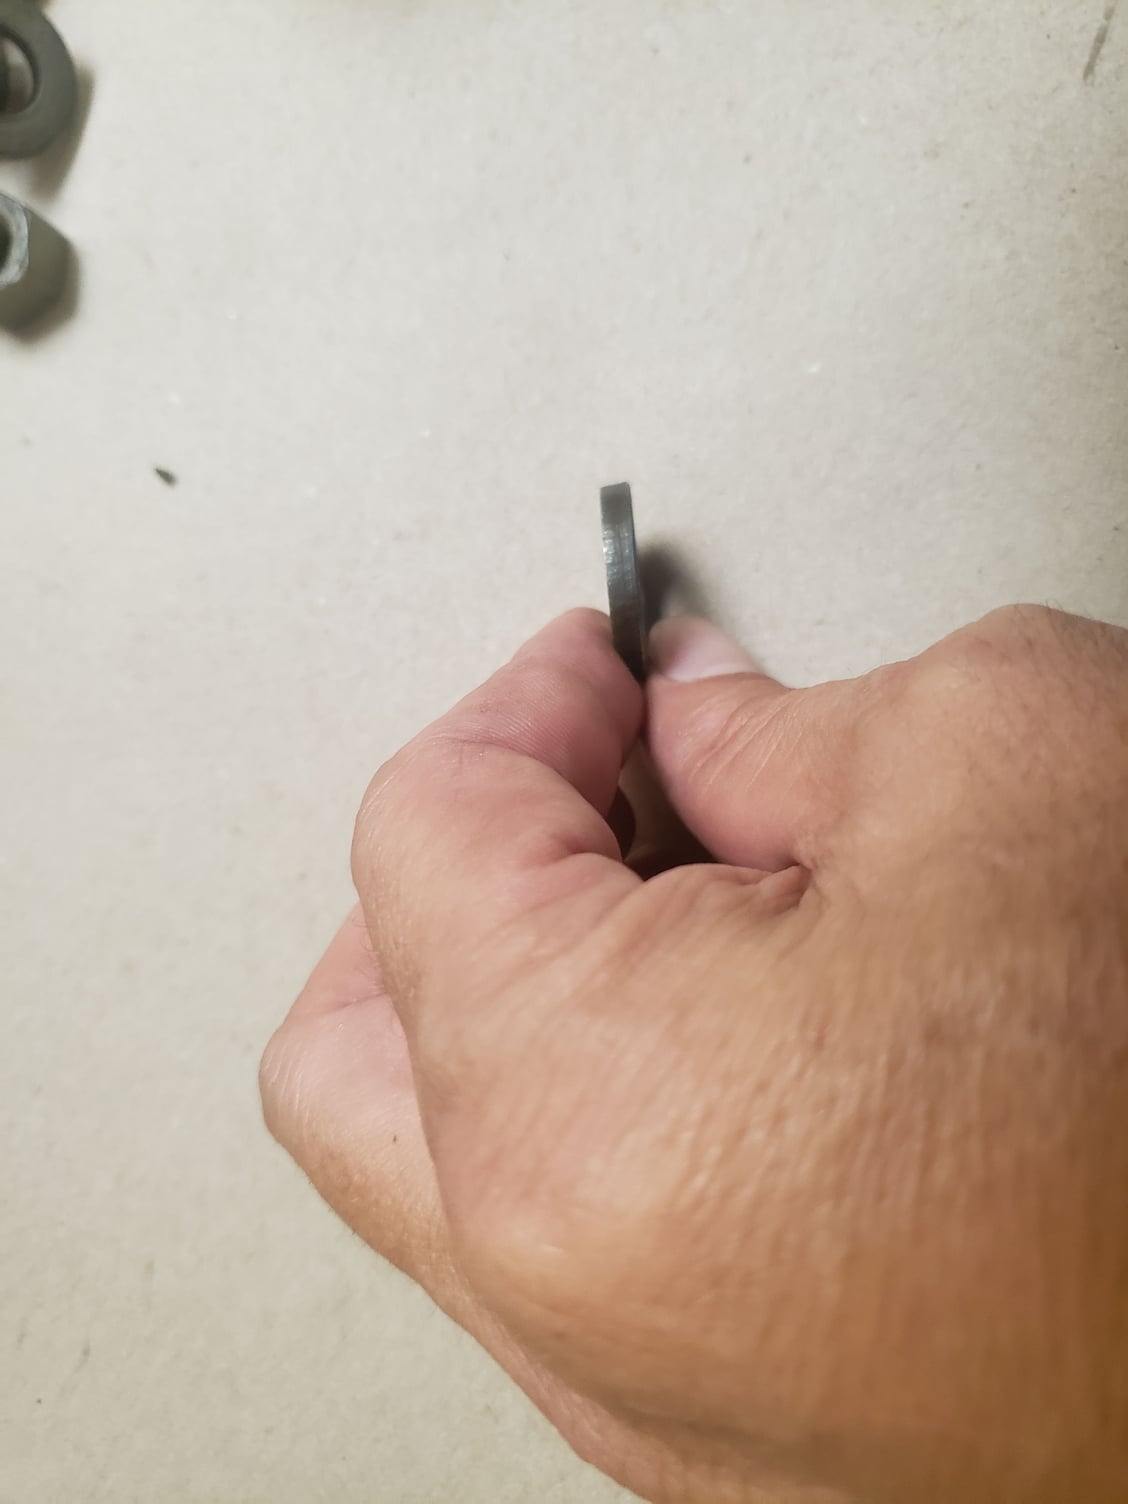
here is one of the washers. You can see the side is slanted in from the curving procces. All 3 PET's - 85, 85-88 and 91 - show the same washer and separate nuts.
M10 nut #n 011 010 13
M10 washer "928 101 303 00
M12 nut # n 011 020 8
M12 washer # 944 104 229 00
M6x35 bolt (picture shows captive washer description only says bolt) # 900 075 345 02
M8 washer # 900 025 007 02 - normal washer from what i can tell
M8x50 bolt # 900 074 040 02
Maybe the PO put in the wrong parts
The better question to ask is "should there be loctite on the m6 and m8 bolts?"
I could swear i just read a post where someone found one of the bolts on his drain plug magnet.
Thoughts?
I videotaped everything so i could put it up and show the process and pieces it takes to assemble an engine, at least how i did it. Then everyone can comment on what was right, what was wrong and ideas on how to do it differently. I was thinking it would be a good resource. A lot of work though! If I get motivated i will edit and post
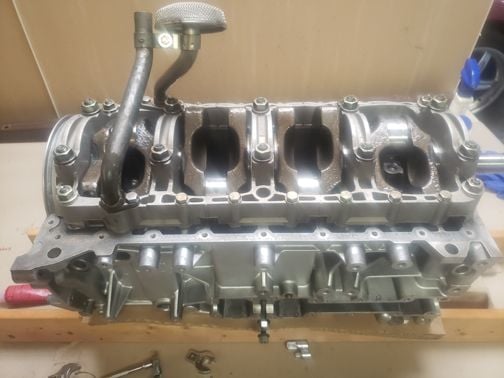
Starting to look like an engine finally!
Would have put the rest together but my package of head bolts seems to be missing one. Also need another water pump, the laso I bought was for the 4 valve cars. All the spacers I ordered had the 30mm od so need to order a 30mm oil seal. Why is it so hard to get the correct parts!
Made a list of the parts missing from the gasket kits and ordered from Porsche. Of course half is not in stock.
Quick note on what gaskets not to order from Porsche. Do not get the aos o rings - they are small and thin. The VR o rings are a much better fit, unfortunately I used the Porsche ones. Hope they work. Do not get the oil return pipe gasket. When I took the engine out it was missing. Probably fell out and ran through the engine. I did not put it in. The mounting area is real sketchy, and I do not think it is really needed.

 06-20-2019, 11:57 AM