When you click on links to various merchants on this site and make a purchase, this can result in this site earning a commission. Affiliate programs and affiliations include, but are not limited to, the eBay Partner Network.
Dan Martinic
All of my heat shields have been powder coated silver. This way they look new and are easy to clean since it is a smooth non porous surface.
Several factors led to the Lindsey/k&n setup. Here is the first
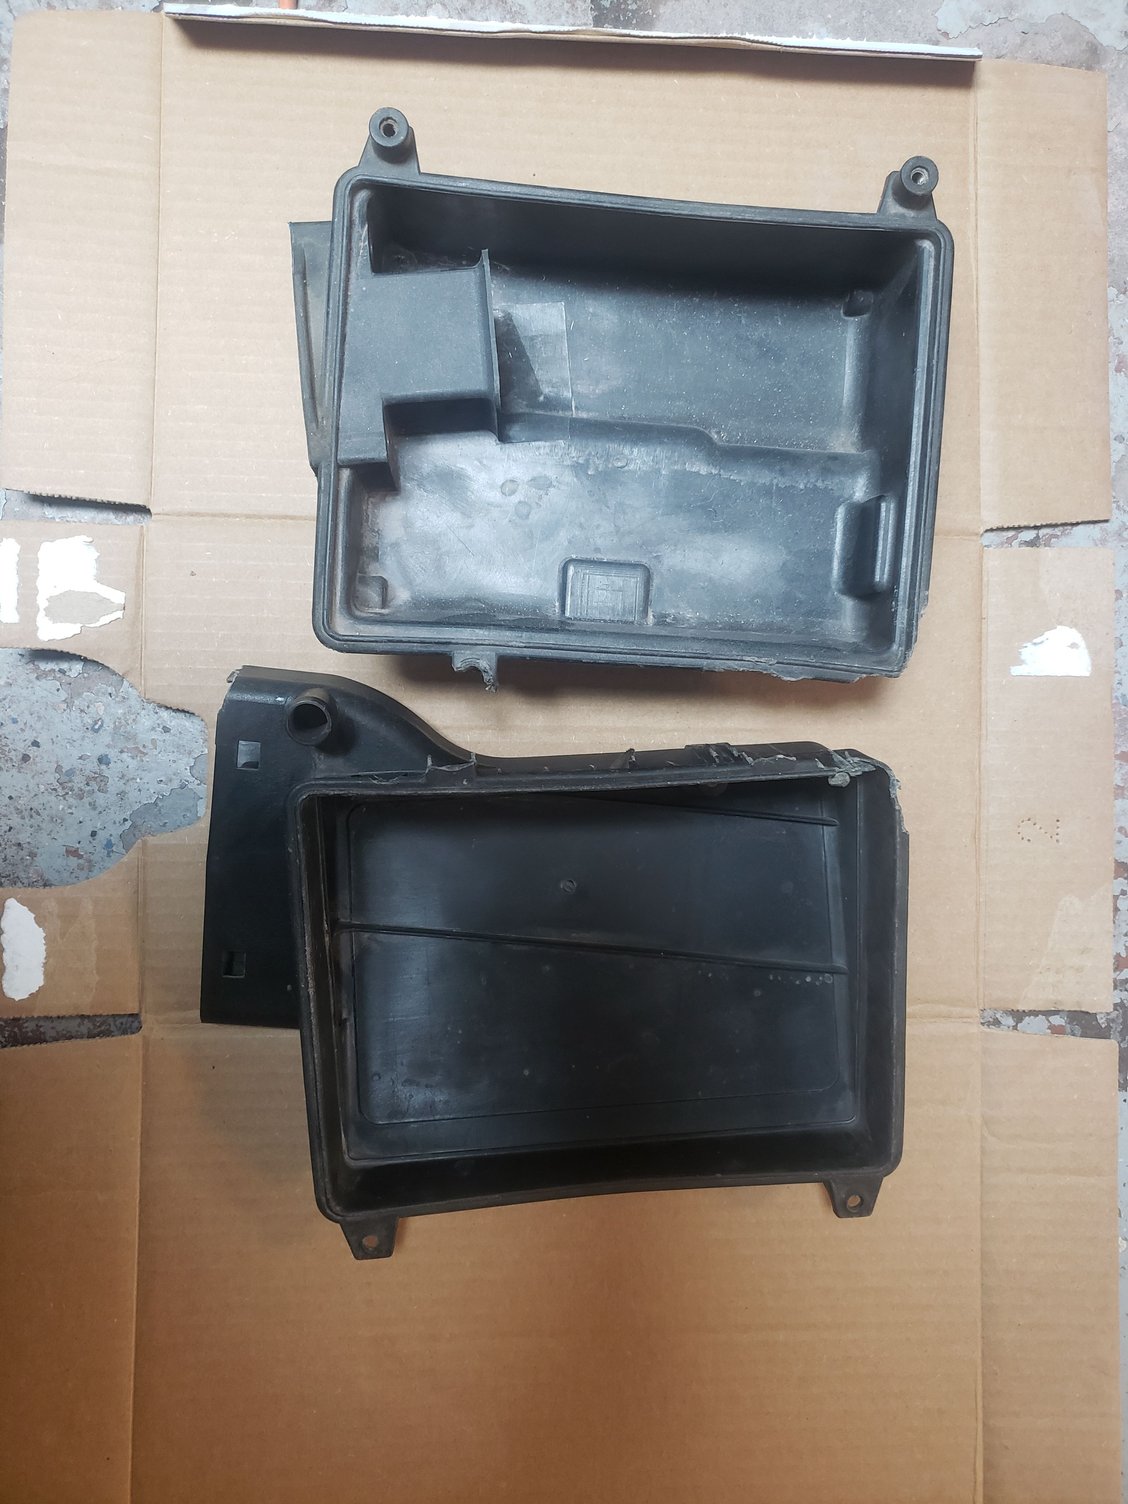
Not exactly sure how it goes together, but it looks to me that the two tabs that hold it together in the back are broken off the top and bottom pieces.
I could buy another one but my wallet started asking me cost/benefit questions.
Then this setup showed up super cheap and I bought it as a cheap alternative
Does it add hp? I highly doubt it. I have put k&n filters on many cars. Aside from the 5hp added by the noisier engine (louder = more hp. doesn't it?) There really has not been any noticible "butt" dyno difference, with one exception. I had a 95 firebird formula and put the k&n cai kit on it. Easy 10-15hp gain. This was a full cai, not just a filter. I loved it, until I hydrolocked the engine and got a $6000 bill.
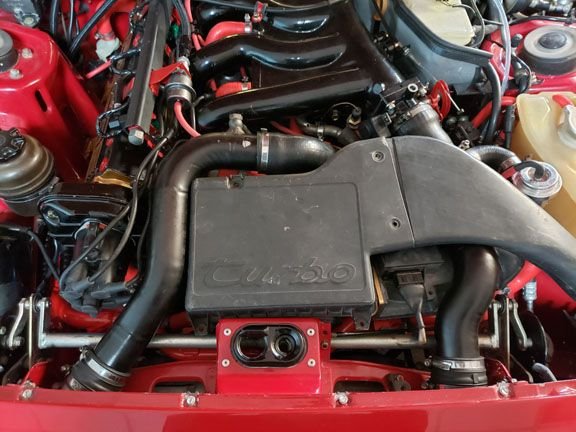
The stock box has to suck air from way down in the fender, it is not a ram air setup. This vs the hot air, at idle, the k&n sucks in is a trade off. If I could turn the k&n around like they do with the maf setups I would do that and make a block off plate. This for me would be ideal.
Another benifit of the k&n is the blow off sound should be a lot louder.
To be honest, I think I prefer the stock setup overall. I think it looks better and performs as well. I might play with it and see if there is a way to close the back end up without it being ugly.
I know the airbox-plastic-has-gotten-brittle thing all to well. [EDIT: PS.. your boxes rear clips are completely broken and missing] So far, I'm managing with driver's rear cracked but holding and passenger rear destroyed. For the broken-off corner, I'm creatively using a metal clip with two tiny screws drilled into the top acting as a lip to hook the clip over (the clip--a leftover piece of IKEA hardware shaped like a super wide U--hooks onto the bottom and the screws).
Personally, I suspect the stock setup provides plenty of cooler 'outside' air for an AFM-based system at least. It does look cool. In fact, I'm quite fond of the Vitesse Stealth MAF that keeps the stock air intake!
It will not do anything, but it looks better! Just joking! Actually when I get some time I will try and make the stock box work without it looking ugly.
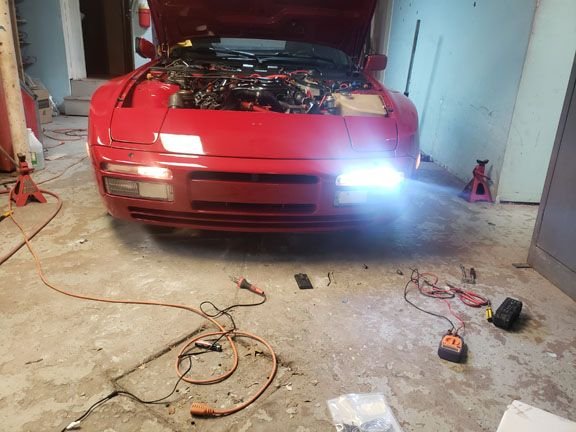
More important things - I started the car today
I connected everything then tried to start. I cranked it three or four times and all I got was a cough here and there, but no start. First thing I checked was the TPS. No click, I thought I had it adjusted correctly. I tried to adjust it but could not
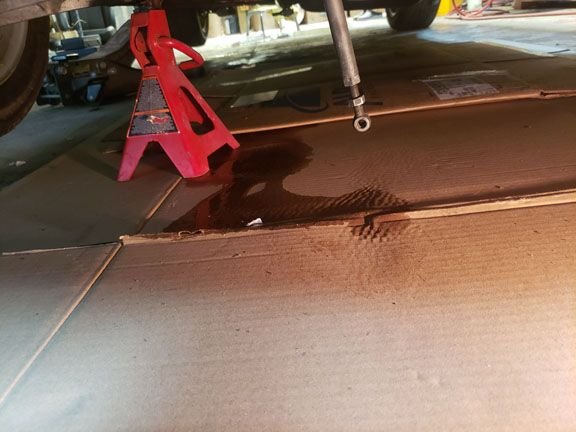
Even with fully adjusting it, including taking the bolt off the other side for more room, I still needed a couple of mm. For now I just unhooked it to see if it was the problem. I turned the key and it started right up!!!!!!!!!!!! I let it run for a couple of minutes to check things out. A couple lifters were pretty loud. Before I started it I put some clean cardboard under the car to show any leaks. After turning it off I looked around.
Oops, forgot to put the a/c tensioner on. My bad. Now to figure out the big wet spot. Looked around and could not find it, it was not coming from any hose. It looked like it came from the front of the block. Time to start it back up and try and find the leak. Started right up. Let it run for a bit. The battery was now charging, who would have thought a little tension on the belt would do that! After a couple of minutes I saw a wet spot starting to form again. Started staring at water pump trying to find the leak. I saw a trickle on the top. Followed it and it led to........the coolant bleed screw that I had unscrewed to bleed the system! I feel like an idiot, but at least nothing is wrong! I started it a third time to make a quick video.
I have no point of reference as to how these engines sound so people who know take a listen and let me know if it sounds normal. The lifters have quieted a bit and by this point the engine has run a total of less then 10 minutes.
Yep... lots of lifting.. rotating.. and a little whining. Sounds good to me. Congrats!
Thank you. I did not have any time yesterday to play with the car. Today I will try and figure out the problem with the throttle cable and see if anything else is amiss. I am just happy that it ran without blowing up!
I notice that you've extended the throttle cable all the way out. You do know that it's the TPS itself that adjusts on its mount to get the click, right?
Dan
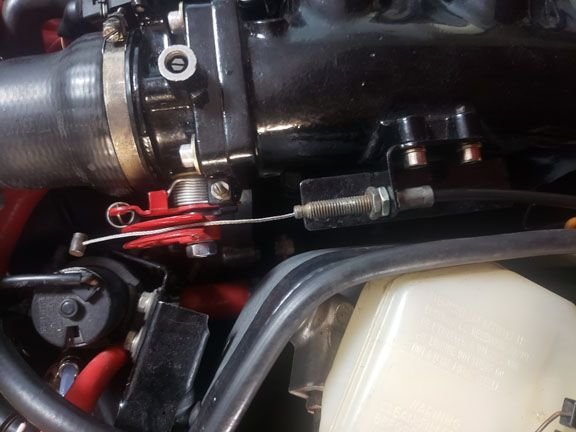
yes I know the adjustment is at the tps box. Thing is I had it all adjusted before. The problem is coming from the throttle cable, it got shorter (it is always giving some throttle) and no amount of adjustment will make it long enough. Went to the most likely point
Need to reroute everything back there, lots of fun!
Your car sounds and looks great. Congrats on getting it running.
Thanks, almost crashed it on the first attempt to drive it...story below
If you remember when I was redoing all the brake stuff the lines I bought were the wrong ones, the fronts were for M030 brakes. Rockauto sent me a closeout list and had front lines for $6 each, even though they are rubber I went for them (wiper blades $5 too). I do have the M030 lines for the front if anyone wants $30 shipped.
Now I had to rebleed the brakes. I was having problems bleeding them, the pedal was staying softish. Ran out of brake fluid so decided it was good enough for the parking lot until I got more fluid.
Now that the car was running I needed to start testing things. I drove out of my warehouse to test the clutch, trans and turbo. I made it out, so far so good. I give it some gas and went to brake at the end of the parking lot. Hit the brakes, and straight to the floor! As I headed towards the fence I grabbed my e-brake to stop the car. Pulled it back into the warehouse I found the problem.
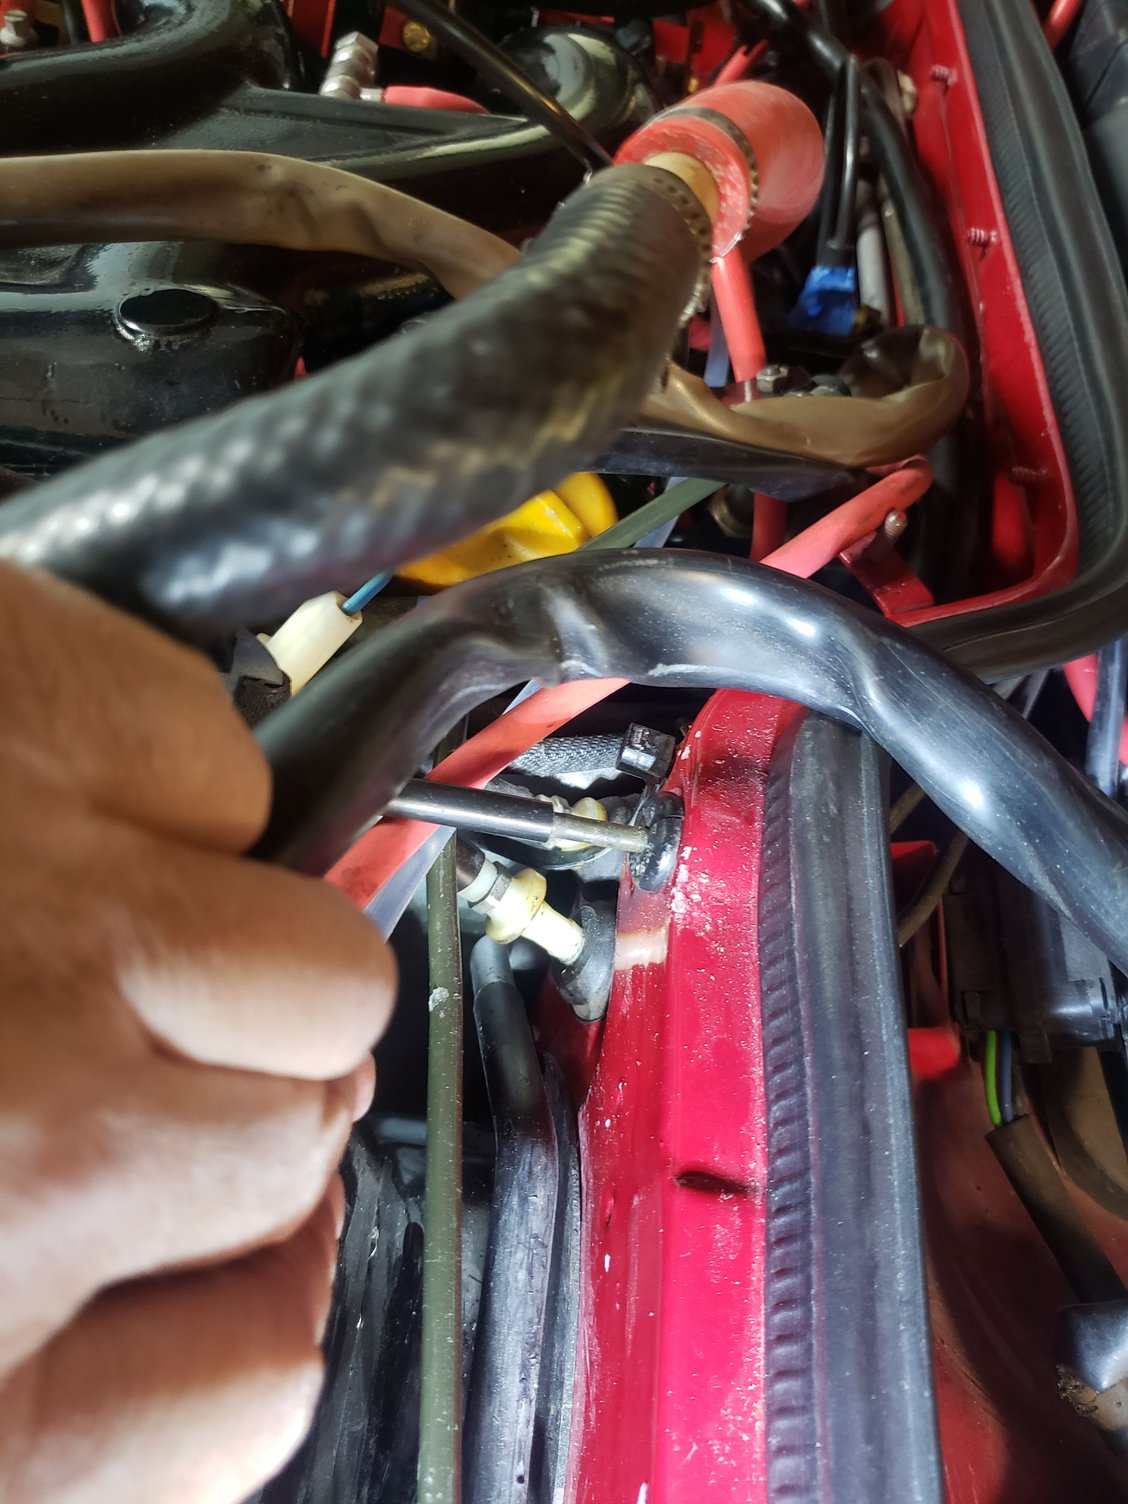
In the back, sandwiched between the torsion bar tube and the rear body you can see where the rear brake line comes to a T. The line then T's off to each wheel. If you look at the top you can see a whitish clip with a brake line in it. That line goes to the right rear, not the one leaking. On the other side of that clip, on the left, behind all the other lines is the leaking one. When I first brought it in I went to bleed it, I started pouring fluid in. I would fill the reservoir and it would take less then 3 seconds to empty, it was pouring out of that line. The line withstood the initial bleeding. The second bleeding it started leaking a little, hence why I could not get a good bleed. The first hard application of the brakes with the brake booster working just blew that line out. You can see the other line (actually the only line you can see!) getting a little rusty where it clips into the clip too. I ordered both lines. I got notice today that my lines had been delivered. Checked, no lines. Checked tracking. Tracking showed package progress all the way to Chicago-forest park-carol stream and finally delivered to Algonquin, Il. Problem is I live in New Jersey!
I noticed that the heater seemed to be working overtime. Time to investigate.
One clip broken, both covers missing. Time for another "final order"
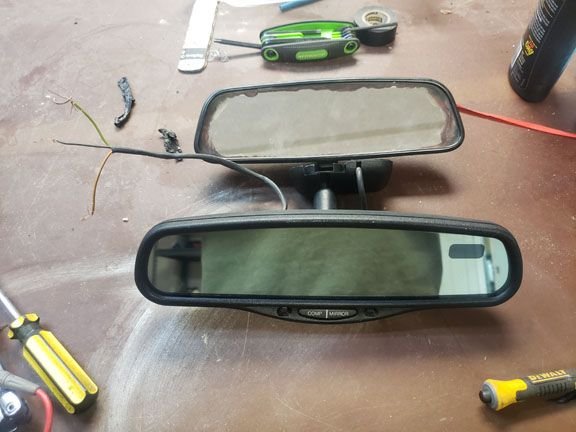
Rear view mirror looks horible. I have this auto dimming compass mirror hanging around. Thoughts?
Down to one shelf of parts to be installed
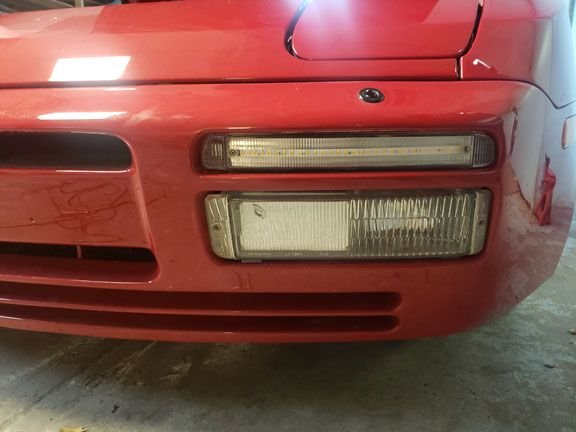
Started playing with the blinkers.
On the left (of picture, right side of car) is the stock setup with clear lens. The other one is the LED sequential switchback. In real life it is a white line. In the picture it looks like the whole thing is lit up. I modified the strip by removing it from the silicone jacket and turning it around.
I might add the silicone jacket back to "hide" the LEDs. Here you can see with the lights off you can actually see them
Below is a video of the sequential turn signal working. I wish it was a bit slower. I have the hazards on so you can see the stock one too.
Just found this thread the other day and went through it. I havnt been on the forum lately but have so extra time was this corona crap. Great work i did not go this far on my cab. Man you were lucky on the straps when they went.
Thanks for the comments.
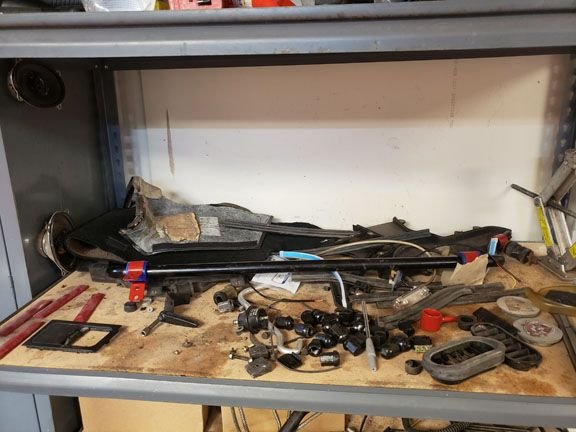
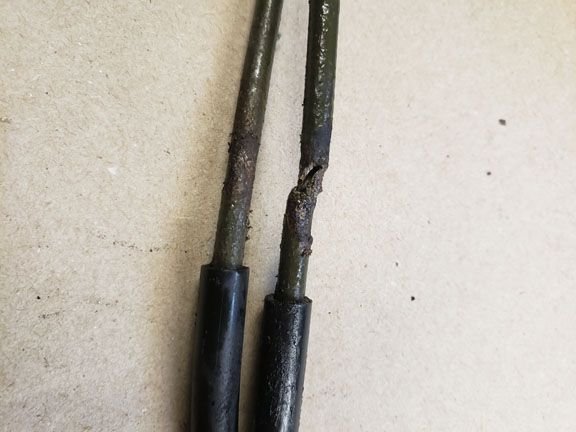
Just a little update. I ended up pulling both brake lines in the back
The hole got bigger and mangled when I pried it out, but you get the picture - no good! I pulled the other line next to it because it was rusty too. Hard to tell, but at least half of the thickness has rusted away. It was ready to let go any day. To replace these lines at a minimum you need to drop the rear suspension, possibly even the trans. For the moment I replaced the lines with generic lines routed the easy way. When I drop the rear to redo the suspension I will put in the correct lines. So the generic lines will have to last a thousand miles or so. Just want the car on the road!
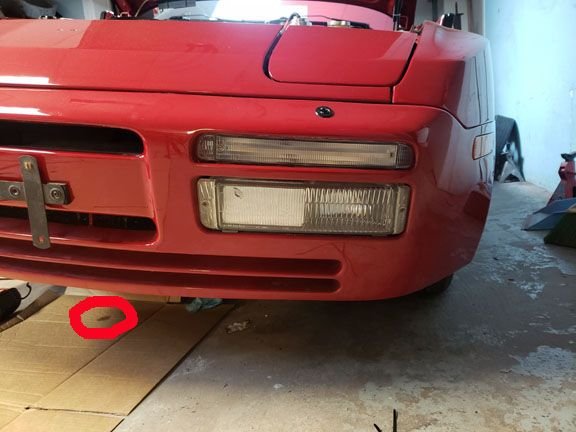
I noticed a small leak from the power steering reservoir.
The return line and and another line in the return hose was leaking a little. Took it for a test drive around the parking lot.
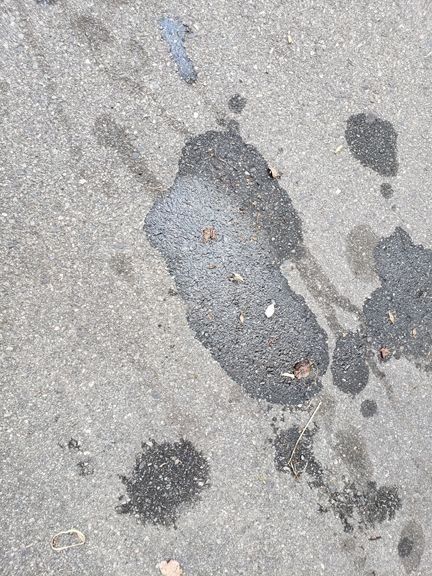
The car was sitting in this spot for a couple of minutes. You can see the car misbehaving and "marking its territory"
Big puddle for a couple of minutes with full belly pans. Yep, high pressure power steering line. Time to replace all power steering hoses! This job SUCKED!
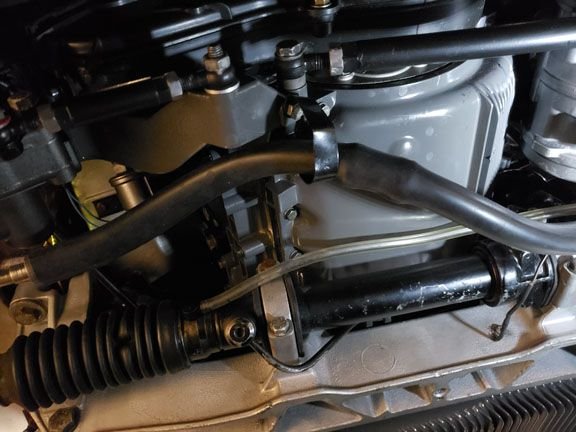
Just a quick aside: This is the hardest car I have EVER worked on. All cars have a job or two that sucks, every job on this car sucks. I lost a lot of skin replacing all these lines. The only saving grace was removing and replacing the rack was made a lot easier because of the two piece steering shaft.
I also replaced the air con comp. while I was at it.
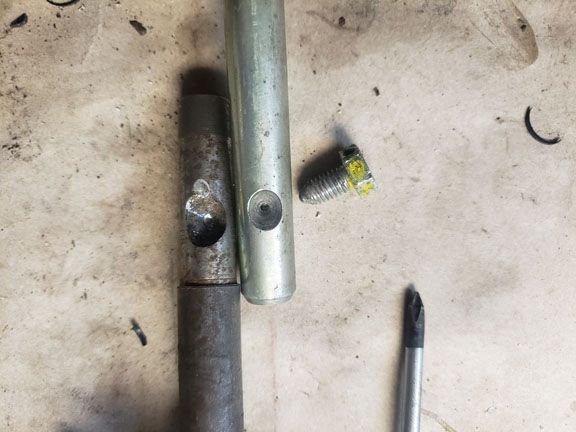
The next problem that showed up was a sudden appearance of free play in the shift lever.
OE on right and aftermarket short shifter on left. OE has hole the exact size of bolt. Aftermarket has hole much bigger then bolt along with being drilled off center and crooked. Very bad design and even worse implementation. Put OE back in for now.
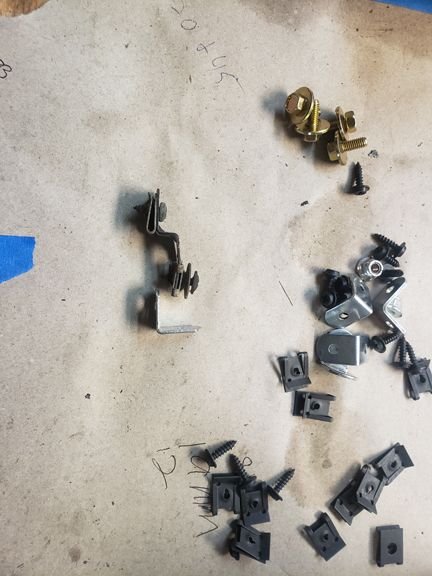
While we are talking about aftermarket...
bought hardware kit for batwing. Thankfully I had the original hardware because the L bracket does not really replace the z bracket. The rest is just hardware store stuff, not close to the OE hardware.
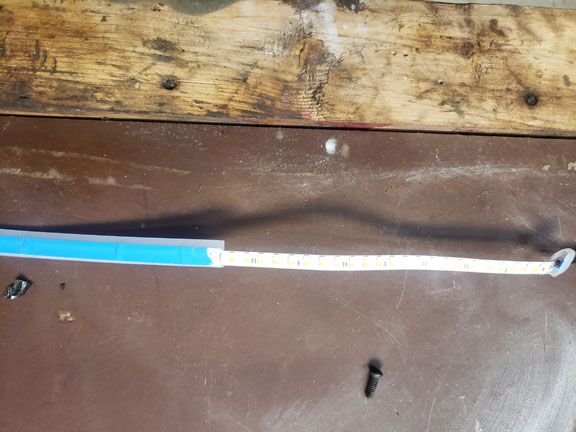
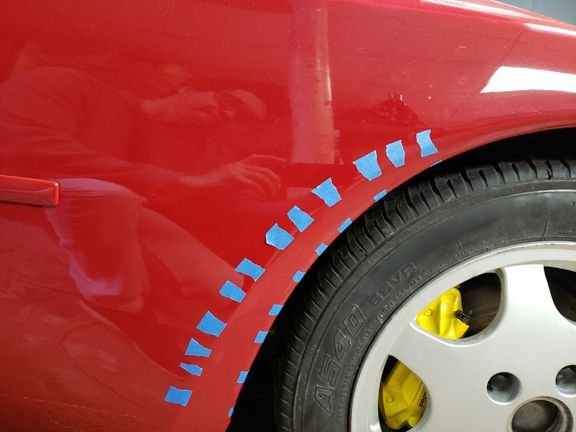
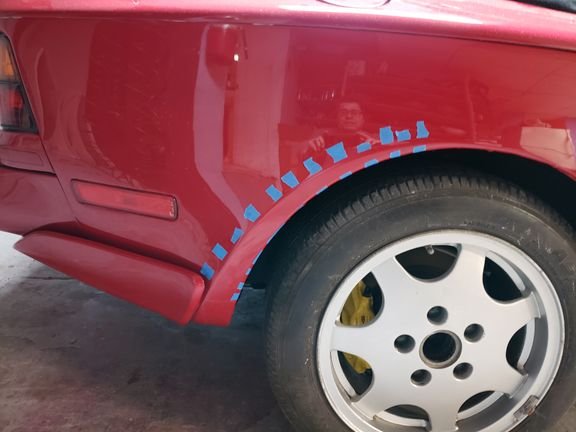
Still trying to figure out what went wrong with the stone gaurds. Not even close to fitting. I put pieces of blue tape outlining the shape
This is the front. The outside line looks ok. The inside edge starts and ends ok, just gets too skinny in the middle.
The rear is not even close!
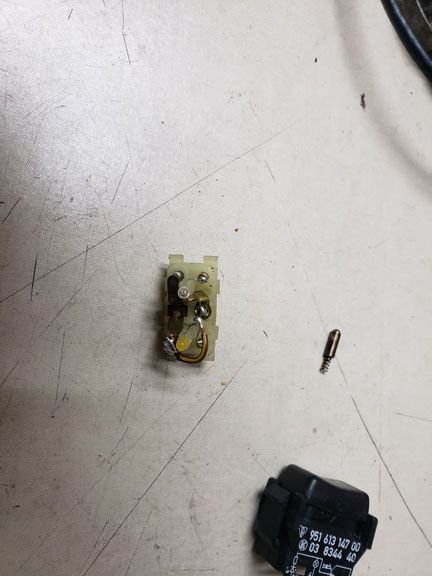
I replaced the ugly yellow scramble button. I had a spare lock button so I rearranged the innards.
And plugged it in
I think the lighted switch looks much better then the ugly yellow button.
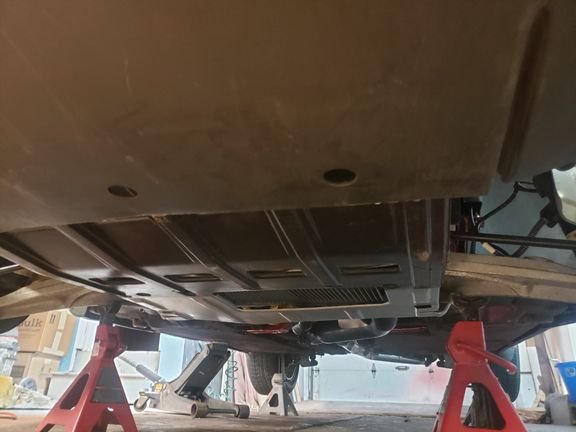
Minor changes to engine compartment. Went back to stock air box. Got new holder for abs cylinder. Check valve for hvac was leaking so replaced it. Rerouted brake boost hose.
For some reason the S2 vert does not have mounting holes for the rear aluminum undertray, so I had to make some. Undertrays mounted.
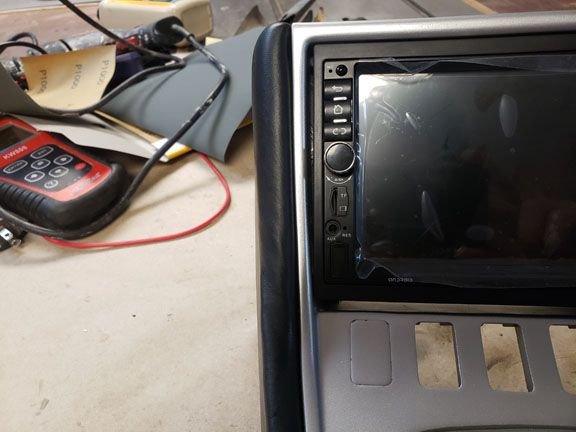
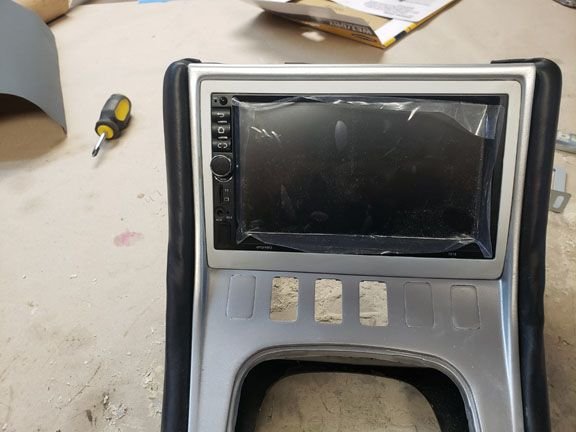
Started work on a double din install
You can see that the opening is wider at the top then it is at the bottom. There is also a space at the bottom. I modified the trim ring. Here it is in primer
Much better fit!
You can see I started experimenting with silver trim. I don't know. Possibly body colored trim? Or I could do carbon fiber, which I am leaning towards. If I do CF I can fix some small breaks in the trim. If I go paint I will have to buy some new trim pieces. Things to ponder.
Also considering making the trim ring around the radio part of the car trim panel. Will do a radio update in a couple of days.

 03-25-2020 | 12:31 PM


 When I first brought it in I went to bleed it, I started pouring fluid in. I would fill the reservoir and it would take less then 3 seconds to empty, it was pouring out of that line. The line withstood the initial bleeding. The second bleeding it started leaking a little, hence why I could not get a good bleed. The first hard application of the brakes with the brake booster working just blew that line out. You can see the other line (actually the only line you can see!) getting a little rusty where it clips into the clip too. I ordered both lines. I got notice today that my lines had been delivered. Checked, no lines. Checked tracking. Tracking showed package progress all the way to Chicago-forest park-carol stream and finally delivered to Algonquin, Il. Problem is I live in New Jersey!