

A bit of an update
 01-15-2014, 12:48 AM
#31
Addict
Thread Starter

If it weren't for the massive oil leak from the on-engine oil cooler she'd be done enough to drive. Most likely drop the engine that magical 3" this weekend and patch her back up. Seems I just had the engine down for new motor mounts just a week ago.
I'm obviously in no rush. Think it's time for some Elephant Racing bushings actually.

 01-15-2014, 01:15 AM
#32
Addict
Thread Starter
Just ordered the ride height combo wrench and the seals for the oil cooler. 
Did I ever show you any of what is going on up front. TRE junkyard item.
Did I ever show you any of what is going on up front.
TRE junkyard item.
01-15-2014, 02:12 AM
#33
I haddah Google dat
Rennlist Member
Rennlist Member
DB, the thin ride height wrench doesn't replace steel impact sockets. Be sure to loosen the eccentrics with the impact wrench, then "center" them. Mark the lobes location with a steel punch and a paint mark on the dimple. This will greatly help to set ride height, and don't forget to scribe reference marks on the tub from the unsupported spring plates.
And in your travels, let me know if you spot a Ruf sport muffler with a valance for twin exhaust tailpipes.
And in your travels, let me know if you spot a Ruf sport muffler with a valance for twin exhaust tailpipes.
01-15-2014, 02:20 AM
#34
Addict
Thread Starter
DB, the thin ride height wrench doesn't replace steel impact sockets. Be sure to loosen the eccentrics with the impact wrench, then "center" them. Mark the lobes location with a steel punch and a paint mark on the dimple. This will greatly help to set ride height, and don't forget to scribe reference marks on the tub from the unsupported spring plates.
 Also need a stubby little allen wrench for the alignment and camber plate adjustment eccentrics. I used a Torx bit who's points just happen to be the same size.
And ya, I've got an impact wrench that could bust your pumpkin's nuts off from here. That's how I know I need the skinny wrench.
First step will be to figure out where the eccentrics are currently at BEFORE I start taking everything apart. Once found, it gonna get slammed to the bottom and see if that is good enough. If not, it's time to take it all apart and go for a drive out to Huntington Beach.
That, and some new Tbars.
01-15-2014, 10:19 AM
#35
I dont think Ive ever seen a duck on a vert before... lets see some more pics of her. Glad you are enjoying the project. Im just about done with mine, but I didnt time it properly.... winter really suck!
01-15-2014, 02:48 PM
#36
Addict
Thread Starter
http://www.nbdgraphics.com/
01-15-2014, 09:27 PM
#37
Racer
What a way to start the year by getting some goodies for your baby. Subscribed.
OT - I had a pleasant experience with Einmalig during my LA visit. I chanced upon this place after attending Cars and Coffee in Irvine. Luckily, they had a mint dashboard and got it at a reasonable price.
OT - I had a pleasant experience with Einmalig during my LA visit. I chanced upon this place after attending Cars and Coffee in Irvine. Luckily, they had a mint dashboard and got it at a reasonable price.
01-16-2014, 12:43 AM
#38
Addict
Thread Starter
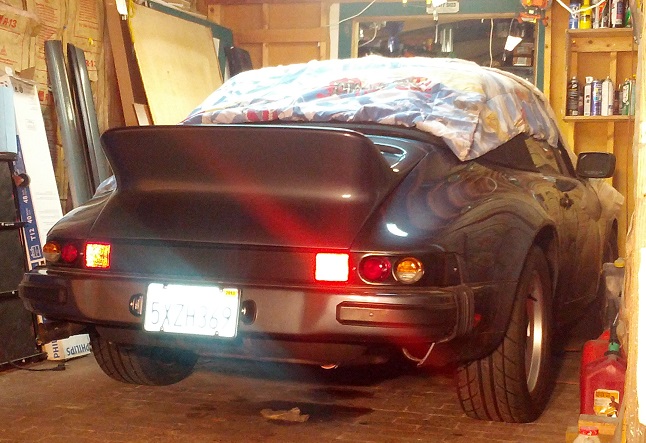
Man that lower gap is hideous without the latch. I've got the rubber feet on it, but not the latch. It does sit down nicely and follows the contour nicely.
01-16-2014, 10:18 AM
#39
Racer
When the duck was installed on mine, I forgot to remove one engine lid shock strut. Using both shock struts made the gaps worst on all sides and even looked twisted, lol. Funny thing was I almost got an uppercut when the lid opened as it literally popped.
01-16-2014, 11:25 AM
#40
Addict
Thread Starter
oh the horror.
01-18-2014, 07:54 AM
#42
Rennlist Member
Great thread as I've got a ducktail hanging on the wall I've been dying to put on a car. Got my M491 car back from dealer (had engine removed) and lining up the projects. Love the shiny bits in your engine compartment too. I know where I plan to spend my next $80!
 01-18-2014, 12:43 PM
#44
"Also need a stubby little allen wrench for the alignment and camber plate adjustment eccentrics. I used a Torx bit who's points just happen to be the same size."
Good mechanics use the correct tools for the job!
Good mechanics use the correct tools for the job!
01-18-2014, 02:24 PM
#45
Addict
Thread Starter

....and yes, every drawer looks like this.

Now, I'm beginning to think this wasn't the cooler after all. Cooler actually looks great, seals looked great, no sign of sludge build up around the seals either.
What I do see, and PLEASE JUMP IN HERE (and tell me what you see in the picture), is oil pooling on top of the engine. I'm thinking I've got a massive leak around something else. Guess a bit more investigation work is in order.
Last edited by Amber Gramps; 01-19-2014 at 12:07 PM.