
New member, older car...
 05-20-2013, 05:59 PM
#61
Instructor
Thread Starter
Join Date: Aug 2012
Location: United States
Posts: 124
Likes: 0
Received 0 Likes
on
0 Posts
Finished the bottom row during a night after work. Much quicker now that I have a method/system down.
Cap trick for o-ring over the threads:

Lower covers came in earlier than expected. Mark really came through turning these out fast and I couldn't be happier with the outcome.


Storing the Mahle 2.7L RS pieces indefinitely:

Quick trip to VT to visit a couple friends with fancy tools (gear head toys). Big thanks to Jason at http://WWW.vems.us (stand alone engine management services) and my friend Chris of Achilles Fabrication for the help on Saturday afternoon. Very happy with the outcome and where this is headed.
JE pistons are in hand and will be delivered to machinist tomorrow to match to the pistons.


Back at it to try to have it on the road in 3 weeks.
New thermostat o-ring:

Sigh, more powdercoat where it should not be... pretty sure 75% of sealing surfaces in this engine leaked prior to this current top end refresh.

Cleared the sealing surface:

Also replaced the gasket for the breather stuffed full of papertowels you see here:

Powdercoat should be ready for pickup on Friday.
Powdercoat returned matching interior color:

Summer snuck past spring this week so feeling the pressure.

Personally file fit the rings for each cylinder ...
.018 Top, .024 Mid, .016 oil; all within the JE spec instructions.


This was machinist for the hone to fit:

Now comes the assembly.
Pistons + rings + cylinders tonight after work.
Measured the piston to head clearance with the modeling clay test at 1.3mm with the .5mm base gasket. Perfect for the forged piston in the cast iron cylinder and the different growth rates when hot.


All 6 pistons with rings into their respective cylinders.
Added Ceramic Silica thermal barrier to combustion and discharge gas surfaces in an attempt to control heat:
Ceramic coated JE pistons/chambers/inside SSI header ports; exhaust ports and exhaust valve are also coated but can't get a good picture:


Hard anodize Military Spec MIL-A-8625(latest version), Type III, Class 2 black:


Fits without removing header:

New cylinders a bit too wide:
[img]
http://i458.photobucket.com/albums/qq302/aagvt/P911/IMG_20130514_224419_961_zpsa30487de.jpg[/img]

Coatings:

Engine going together:

More thermal conductive sealant:

Nice compression between sealing surfaces:

Ready for cams/rockers:

More sealing parts:

Adapting the later hydraulic covers to the 2.7 engine:

Cap trick for o-ring over the threads:
Lower covers came in earlier than expected. Mark really came through turning these out fast and I couldn't be happier with the outcome.


Storing the Mahle 2.7L RS pieces indefinitely:
Quick trip to VT to visit a couple friends with fancy tools (gear head toys). Big thanks to Jason at http://WWW.vems.us (stand alone engine management services) and my friend Chris of Achilles Fabrication for the help on Saturday afternoon. Very happy with the outcome and where this is headed.
JE pistons are in hand and will be delivered to machinist tomorrow to match to the pistons.
Back at it to try to have it on the road in 3 weeks.
New thermostat o-ring:
Sigh, more powdercoat where it should not be... pretty sure 75% of sealing surfaces in this engine leaked prior to this current top end refresh.
Cleared the sealing surface:
Also replaced the gasket for the breather stuffed full of papertowels you see here:
Powdercoat should be ready for pickup on Friday.
Powdercoat returned matching interior color:
Summer snuck past spring this week so feeling the pressure.
Personally file fit the rings for each cylinder ...
.018 Top, .024 Mid, .016 oil; all within the JE spec instructions.
This was machinist for the hone to fit:
Now comes the assembly.
Pistons + rings + cylinders tonight after work.
Measured the piston to head clearance with the modeling clay test at 1.3mm with the .5mm base gasket. Perfect for the forged piston in the cast iron cylinder and the different growth rates when hot.
All 6 pistons with rings into their respective cylinders.
Added Ceramic Silica thermal barrier to combustion and discharge gas surfaces in an attempt to control heat:
Ceramic coated JE pistons/chambers/inside SSI header ports; exhaust ports and exhaust valve are also coated but can't get a good picture:
Hard anodize Military Spec MIL-A-8625(latest version), Type III, Class 2 black:
Fits without removing header:
New cylinders a bit too wide:
[img]
http://i458.photobucket.com/albums/qq302/aagvt/P911/IMG_20130514_224419_961_zpsa30487de.jpg[/img]
Coatings:
Engine going together:
More thermal conductive sealant:
Nice compression between sealing surfaces:
Ready for cams/rockers:
More sealing parts:
Adapting the later hydraulic covers to the 2.7 engine:
 05-20-2013, 06:06 PM
#62
Instructor
Thread Starter
Join Date: Aug 2012
Location: United States
Posts: 124
Likes: 0
Received 0 Likes
on
0 Posts
Agreed. I can't believe they did it... but I now understand why every single gasket/seal on the engine shown signs of leaking prior to tear down. I've removed all powdercoat from all surfaces at a considerable time cost.
05-22-2013, 03:50 PM
#63
Instructor
Thread Starter
Join Date: Aug 2012
Location: United States
Posts: 124
Likes: 0
Received 0 Likes
on
0 Posts
Working on the slow parts of the assembly with chains and then putting the rockers in.
Flat edge must have been lying. Left chain wasn't operating as smoothly as I liked. About every 3rd rotation by hand it was catching a tooth and clicking. Removed two shims from behind the cam sprocket and gained smooth operation.
All new tensioners installed, slight pain in the *** for those inside the case. The brown on the lower right in the engine was replaced with a black like the rest previously. I swapped it back to the correct brown.
Brown is same as black dimensionally just a bit shorter in overall height.

Finding a lot of uses for the 1/2" PVC pipe.


Prepping the chain mount holes.

Cam timing soon, perhaps tomorrow.

Flat edge must have been lying. Left chain wasn't operating as smoothly as I liked. About every 3rd rotation by hand it was catching a tooth and clicking. Removed two shims from behind the cam sprocket and gained smooth operation.
All new tensioners installed, slight pain in the *** for those inside the case. The brown on the lower right in the engine was replaced with a black like the rest previously. I swapped it back to the correct brown.
Brown is same as black dimensionally just a bit shorter in overall height.
Finding a lot of uses for the 1/2" PVC pipe.
Prepping the chain mount holes.
Cam timing soon, perhaps tomorrow.
07-01-2013, 11:51 AM
#64
Instructor
Thread Starter
Join Date: Aug 2012
Location: United States
Posts: 124
Likes: 0
Received 0 Likes
on
0 Posts
A lot of progress. About 600 miles on the rebuild now. Wrap-up pics
I chose to lube the o-rings very slightly to encourage proper seal. I took special care to not drive a lubed o-ring through the rocker arm as that would likely cause lubrication issues blocking oil. I did this by applying a small dab of o-ring grease (same as used on the case through-bolt seals) to the far side housing and to the trailing seal on the rocker.


Torqued to 18ft lbs and a couple took a bit more. Final torque method was no resistance on the non-torque end tool to show the shaft secured in the housing. Care was taken to ensure the shaft seal was centered in the thin cast of the housing for each and the bolts were removable from within the housing so they may be serviced with the engine in the vehicle and all tins attached.


Oh, and oiled the rockers a couple of times after all tightened up. Couple drops of oil, wiggle it around and return a few hours later and repeat.

Seemed to be intended for the job:

Noted the bell housing inside the transmission was fully caked in oil/grime indicating rear main or trans output shaft seal. Decided to replace both.


As you might gather from this photo we are no longer considering any book at this point in the repair; brand new trans seal and some foreshadowing:

As you can see, this is the trans with the trapped seal and a guide tube without mounting screws. After confirming it was possible to see between the original seal and output shaft we determined it was necessary to replace or deal with the inevitable leak. Trans build isn't in the cards so cleaned everything up and slid the new seal in.

Seated tight.

Fresh powdercoat perimeter tins

Going up:


Fit is perfect... found one of my dozen jegs hats.


Finished up last night with it ready to turn key with the exception of taking the battery off the trickle maintainer and reinstalling.

I chose to lube the o-rings very slightly to encourage proper seal. I took special care to not drive a lubed o-ring through the rocker arm as that would likely cause lubrication issues blocking oil. I did this by applying a small dab of o-ring grease (same as used on the case through-bolt seals) to the far side housing and to the trailing seal on the rocker.
Torqued to 18ft lbs and a couple took a bit more. Final torque method was no resistance on the non-torque end tool to show the shaft secured in the housing. Care was taken to ensure the shaft seal was centered in the thin cast of the housing for each and the bolts were removable from within the housing so they may be serviced with the engine in the vehicle and all tins attached.
Oh, and oiled the rockers a couple of times after all tightened up. Couple drops of oil, wiggle it around and return a few hours later and repeat.
Seemed to be intended for the job:
Noted the bell housing inside the transmission was fully caked in oil/grime indicating rear main or trans output shaft seal. Decided to replace both.
As you might gather from this photo we are no longer considering any book at this point in the repair; brand new trans seal and some foreshadowing:
As you can see, this is the trans with the trapped seal and a guide tube without mounting screws. After confirming it was possible to see between the original seal and output shaft we determined it was necessary to replace or deal with the inevitable leak. Trans build isn't in the cards so cleaned everything up and slid the new seal in.
Seated tight.
Fresh powdercoat perimeter tins
Going up:
Fit is perfect... found one of my dozen jegs hats.
Finished up last night with it ready to turn key with the exception of taking the battery off the trickle maintainer and reinstalling.

 07-01-2013, 12:04 PM
#66
Rennlist Member
Congrats-is that a generic oil filter? I don't know who makes a plain white one-I'd not scrimp there, especially on a new motor, when there will be "stuff" swimming around.
07-01-2013, 12:08 PM
#67
Instructor
Thread Starter
Join Date: Aug 2012
Location: United States
Posts: 124
Likes: 0
Received 0 Likes
on
0 Posts
Break-in period


Accel vid
Half way through the 5th tank of gas after doing NEK around to Champlain Islands this past weekend. Running water remover in each tank. Removed a diode found in the trigger wire at suggestion of my brother who has many years of MSD experience with race teams and hot/cold starts have improved.
As much as I enjoy the engine noises the fiance would prefer I fix the stereo. Tried to take in a drive-in movie in St. Albans on Sunday and was denied...


First valve adjustment since rebuild, 2nd oil change.

Valves all adjusted. Exposed exhaust pipes wrapped.


First wash since I bought it on Sunday:


Accel vid
Half way through the 5th tank of gas after doing NEK around to Champlain Islands this past weekend. Running water remover in each tank. Removed a diode found in the trigger wire at suggestion of my brother who has many years of MSD experience with race teams and hot/cold starts have improved.
As much as I enjoy the engine noises the fiance would prefer I fix the stereo. Tried to take in a drive-in movie in St. Albans on Sunday and was denied...
First valve adjustment since rebuild, 2nd oil change.
Valves all adjusted. Exposed exhaust pipes wrapped.
First wash since I bought it on Sunday:
07-01-2013, 12:17 PM
#68
Instructor
Thread Starter
Join Date: Aug 2012
Location: United States
Posts: 124
Likes: 0
Received 0 Likes
on
0 Posts
Thanks Ed. A lot of hard work in the evenings to be able to enjoy it on the road now. The filter is a Purolator... special order item that cost twice what a Porsche filter does. Nothing particularly special about it; changed it out for a Porsche genuine after the cam run-in and initial ring seating so very limited time. I normally don't change the oil twice in the first 1000 miles but I did on this one as the rockers required adjustment after the first oil change but not at the first oil change. It was about 100 miles later than they started to make a little noise.
 07-08-2013, 01:07 PM
#70
Instructor
Thread Starter
Join Date: Aug 2012
Location: United States
Posts: 124
Likes: 0
Received 0 Likes
on
0 Posts
Thanks - body work is the next project. I have some jack boxes to delete or repair and some door skins that need love along the bottom edge. For now, enjoying the driving season.


07-30-2013, 11:56 PM
#72
Instructor
Thread Starter
Join Date: Aug 2012
Location: United States
Posts: 124
Likes: 0
Received 0 Likes
on
0 Posts
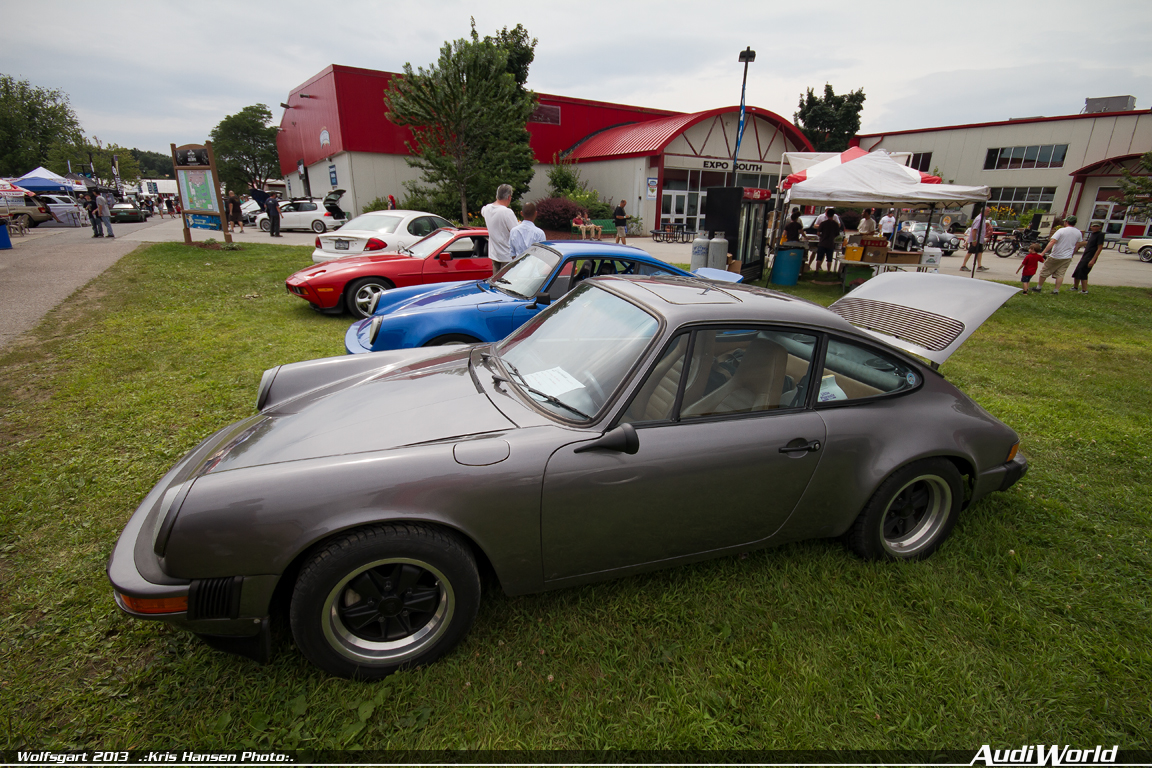
Thanks! 1st place for vintage Porsche air at Wolfsgart this last weekend. 5 seconds of fame (if you call it that) on the local news with some humorous commentary.
http://www.wcax.com/category/166239/...clipId=9139990
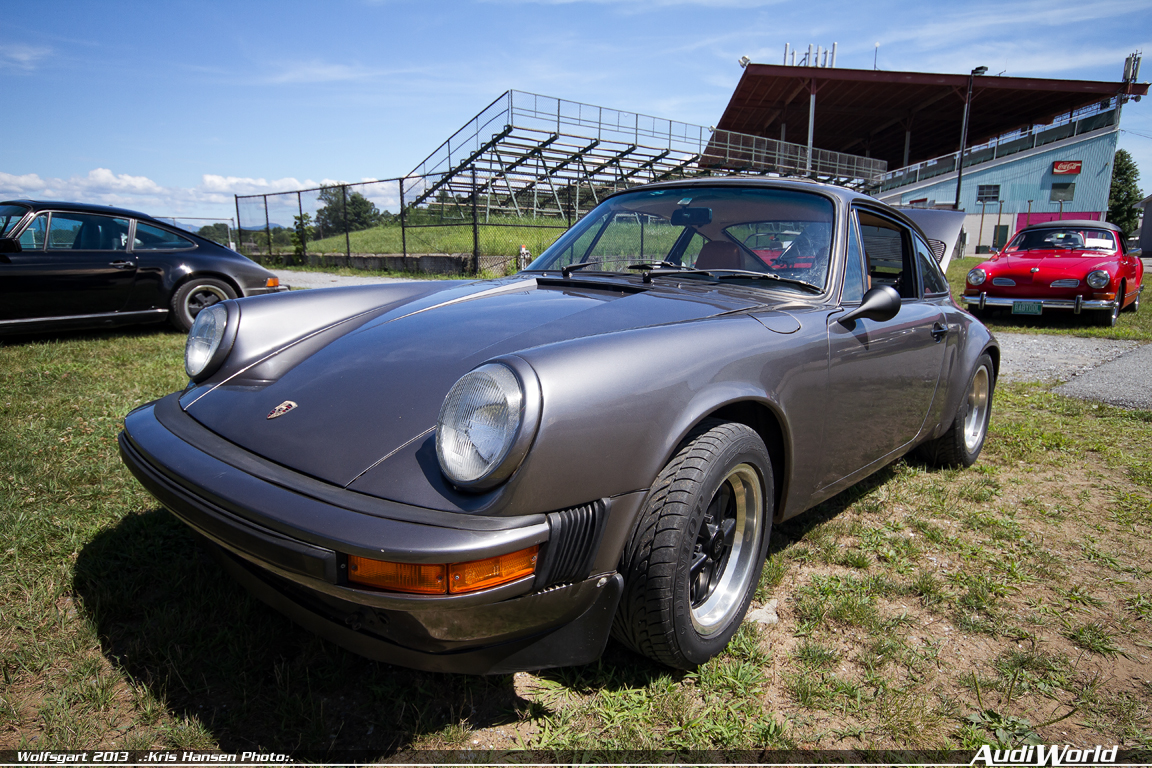
More work in the weeks leading up to the show.

Replaced with a beautiful piece from Rennline:

Mounted the pedal stuff:


Dripping oil tank finally replaced - was tough to find the leak but finally found it behind one of the upper mounts where a weld tore and drooled oil around corners.


http://www.wcax.com/category/166239/...clipId=9139990
More work in the weeks leading up to the show.
Replaced with a beautiful piece from Rennline:
Mounted the pedal stuff:
Dripping oil tank finally replaced - was tough to find the leak but finally found it behind one of the upper mounts where a weld tore and drooled oil around corners.
07-31-2013, 12:04 AM
#73
Instructor
Thread Starter
Join Date: Aug 2012
Location: United States
Posts: 124
Likes: 0
Received 0 Likes
on
0 Posts
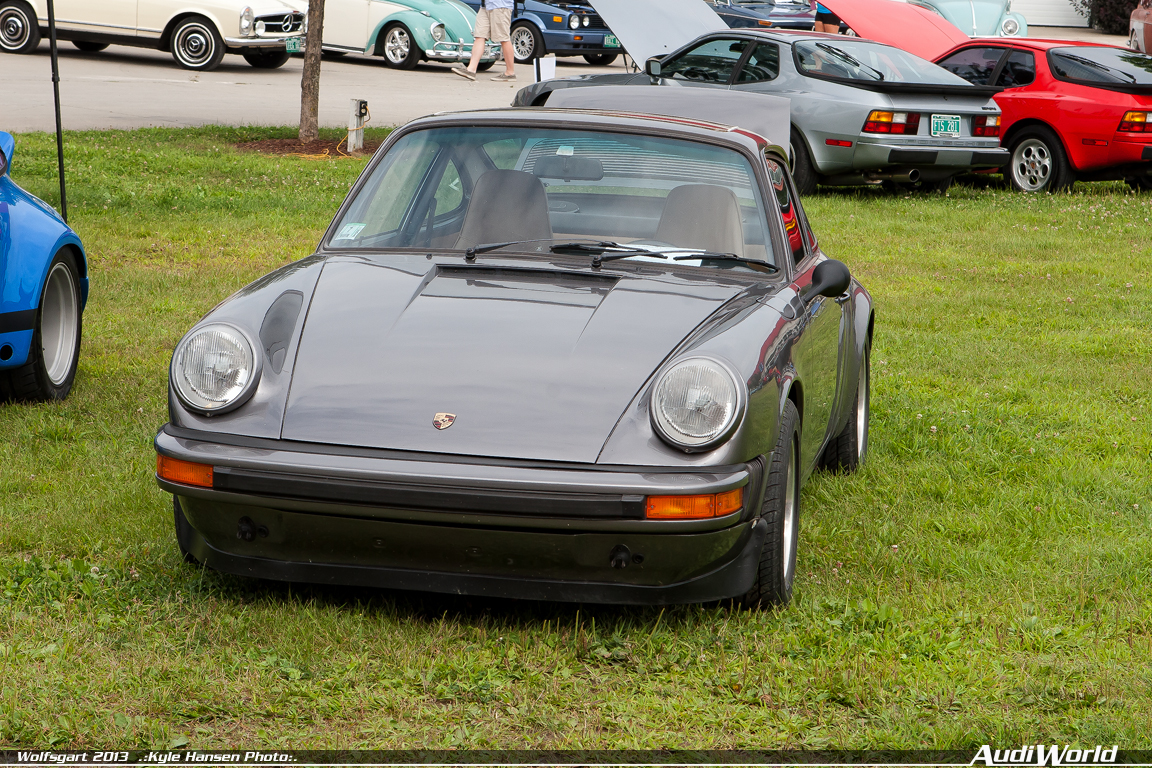
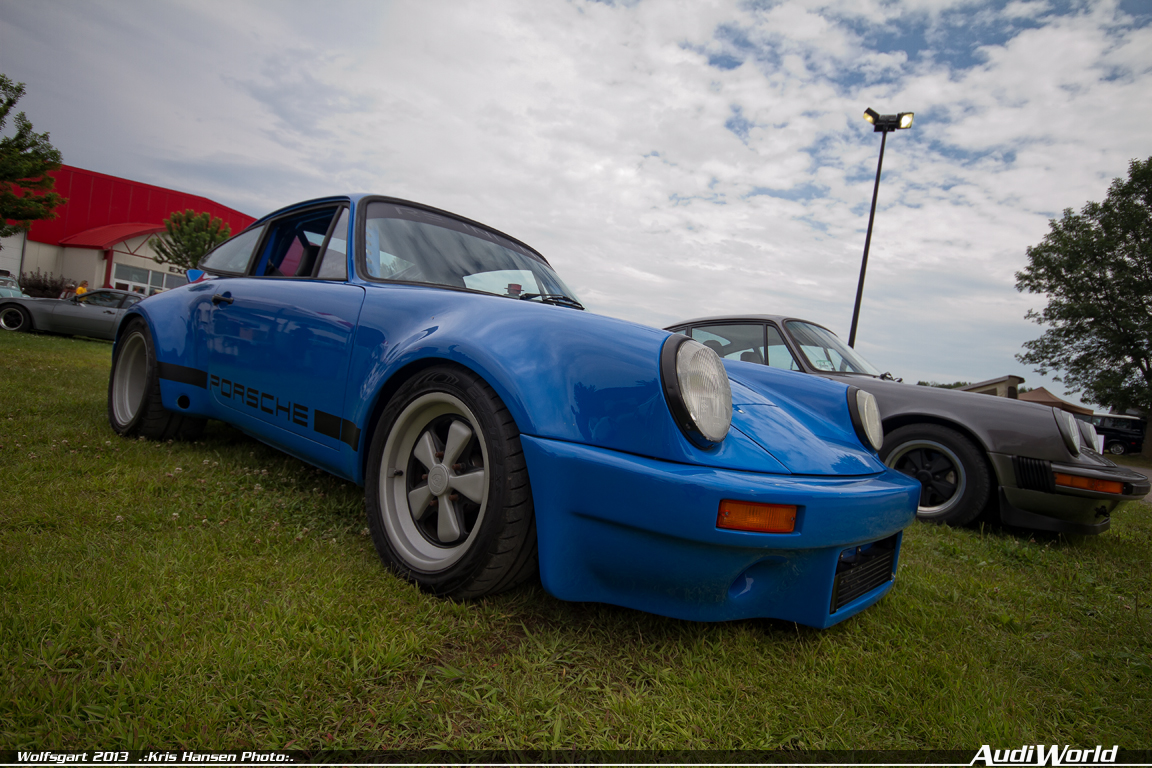
Great gallery of the event on AudiWorld if you didn't notice...
http://gallery.audiworld.com/gallery/album767
07-31-2013, 01:38 AM
#74
Great thread and enjoyed your work/process.
Question, why the heat sink elements? I may have missed your reason in the story line. Are you running a front oil radiator too or is this in place of?
What HP are you expecting/getting with the mods?
Question, why the heat sink elements? I may have missed your reason in the story line. Are you running a front oil radiator too or is this in place of?
What HP are you expecting/getting with the mods?
07-31-2013, 11:03 AM
#75
Instructor
Thread Starter
Join Date: Aug 2012
Location: United States
Posts: 124
Likes: 0
Received 0 Likes
on
0 Posts
Thanks Reiver - I'm glad you enjoyed.
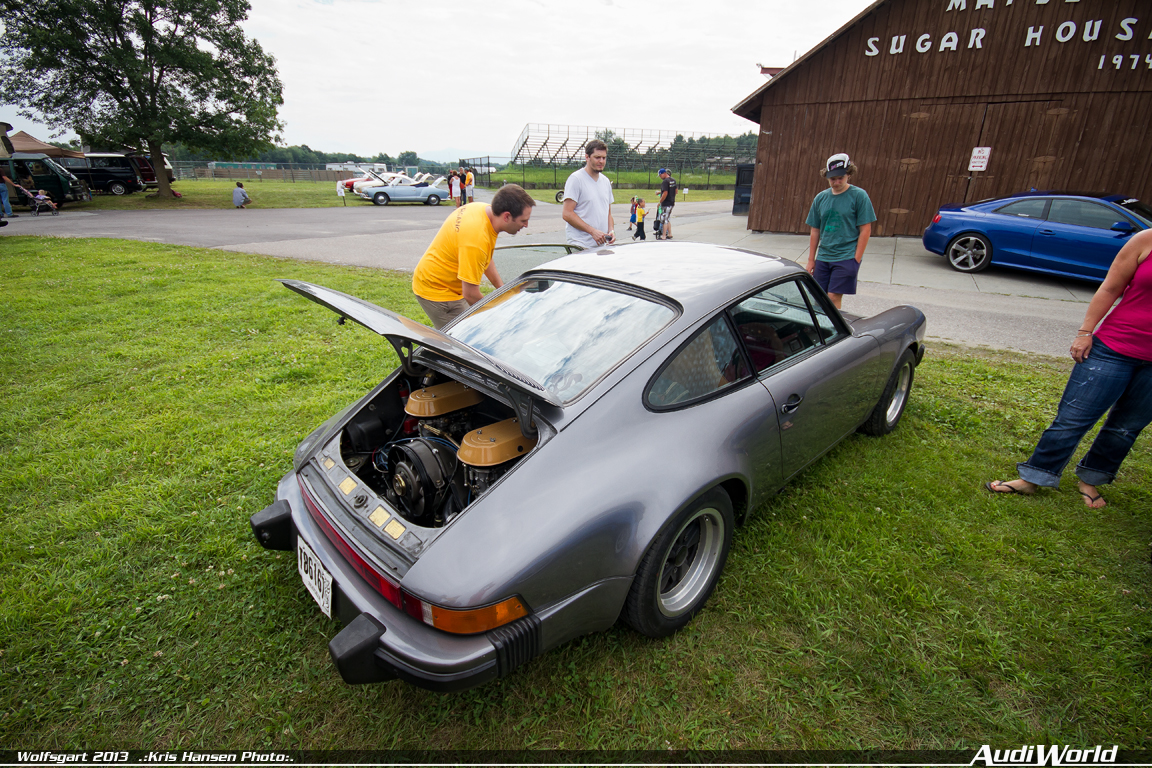
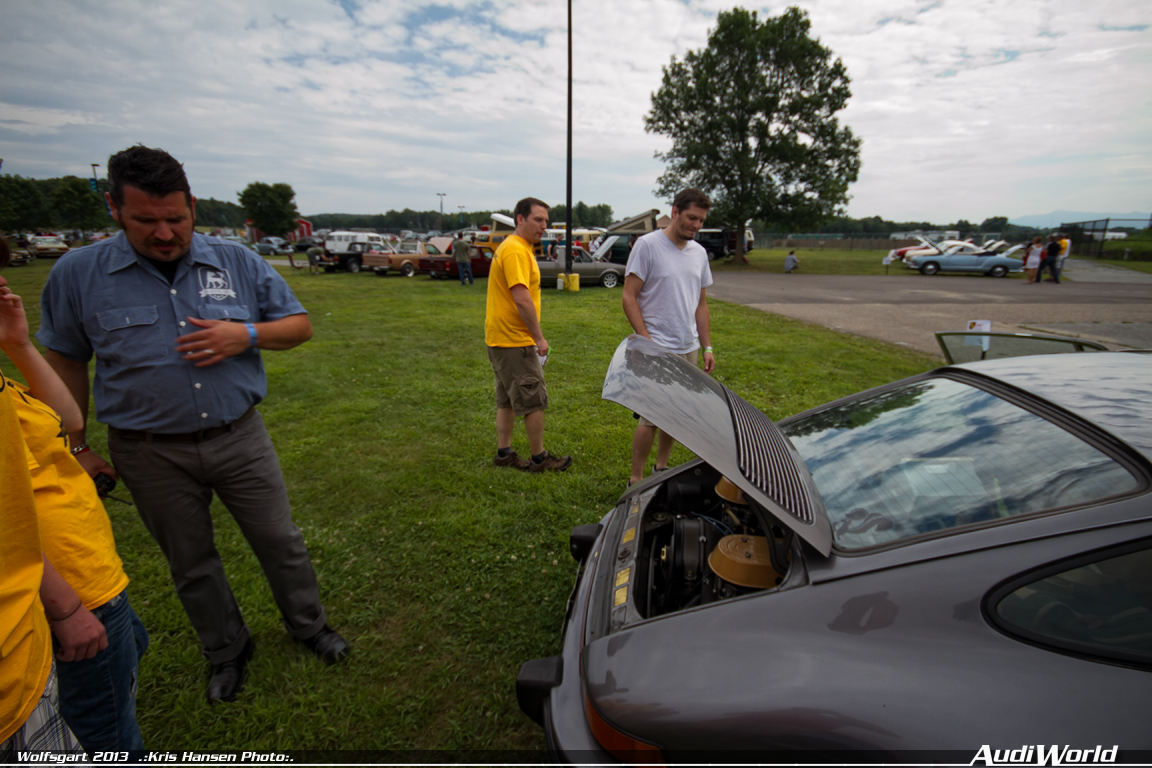
The sink elements are an effort to cool the cylinder heads more due to iron cylinders replacing the aluminum cylinders. This does have an upgraded front oil cooler as well. They seem to be working as intended with no detonation and healthy power production.
I expect hp levels around that of a similar 2.7L RS spec although this is slightly higher compression and now a 2.8L. I have a dynojet facility an hour away that I plan to use sometime in August. Work is too crazy to step away at the moment.