
Doing my first valve adjustment today.....
 12-11-2010, 07:41 AM
#1
Racer
Thread Starter
Join Date: Jan 2004
Location: Atlanta, GA
Posts: 259
Likes: 0
Received 0 Likes
on
0 Posts
How much praying is required????
Seriously I have an friend that is a highly trained mechanic that is going to teach me how so I am in good hands. While in there I am going to go ahead and do the first oil change, new spark plugs and replace two of the leaking oil cam lines.
Should be a fun day.
Seriously I have an friend that is a highly trained mechanic that is going to teach me how so I am in good hands. While in there I am going to go ahead and do the first oil change, new spark plugs and replace two of the leaking oil cam lines.
Should be a fun day.

")
 Have fun.
 12-12-2010, 02:58 AM
#7
Rennlist Member
Praying?? I was 18 with only a Haynes manual when I did my first one. Synch'ing carbs/equalizing idle mixture and setting points on distributors with worn bushings are much more challenging. Be thankful those days are over. (I haven't even mentioned dealing with crappy, worn out MFI.)
Trending Topics
12-12-2010, 01:37 PM
#10
Team Owner
I have read nothing but good things about that tool .. especially if your not used to feeler guages and not sure what to expect, that tool takes the worry out and will get you very close .
Last edited by theiceman; 12-12-2010 at 11:31 PM.

 12-12-2010, 08:29 PM
#13
Rennlist Member
You can check the ones exposed to see if you have loose nuts or broken studs. You cannot torque all of the head nuts, which is why I'd not recommend re-torqueing.
The feeler gauge method is simple, IMO. The thing is the common tool used in 911 lands sucks, since you have to mess with the two little nuts holding the feeler onto the handle. The island911 tool, with a coil of .004" shim stock that you pull out as needed, , clamp, and snip to length is the absolute best!
The feeler gauge method is simple, IMO. The thing is the common tool used in 911 lands sucks, since you have to mess with the two little nuts holding the feeler onto the handle. The island911 tool, with a coil of .004" shim stock that you pull out as needed, , clamp, and snip to length is the absolute best!
12-12-2010, 09:54 PM
#14
I haddah Google dat
Rennlist Member
Rennlist Member
I have used the common 911 feeler gauge, and it does suck. The little blade ends might last a full valve adjustment, maybe not. It's bendy and gets beat up, so you have to trim it down a little like a toenail before you use it.
I therefore am one of those singing the praises of the angle screwdriver tool. I found that the pointers are just the right length, and they are honed down to a point for a reason. You can really see the difference of one degree of rotation through the pointers, and for that reason you have a high degree of control over the valve gap. I second the comment about the tool being faster than a feeler gauge, but for me it's also more accurate and more repeatable through all 12 valves.
The feeler gauge requires you to have a "feel" for the right amount of drag. Someone compared it to trying to pull a piece of paper out from under a person who is standing on it. For this reason, the feeler method is part art, and is NOT purely empirical. I end up with some valves on, some off and I suspect that part of the reason may be that you get oil on your hands and on the feeler gauge, and at some point the blade's about had it and should be changed.
12-13-2010, 07:53 AM
#15
Racer
Thread Starter
Join Date: Jan 2004
Location: Atlanta, GA
Posts: 259
Likes: 0
Received 0 Likes
on
0 Posts
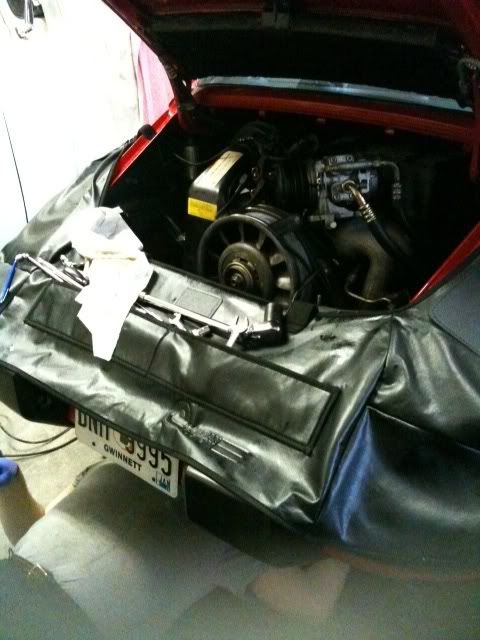
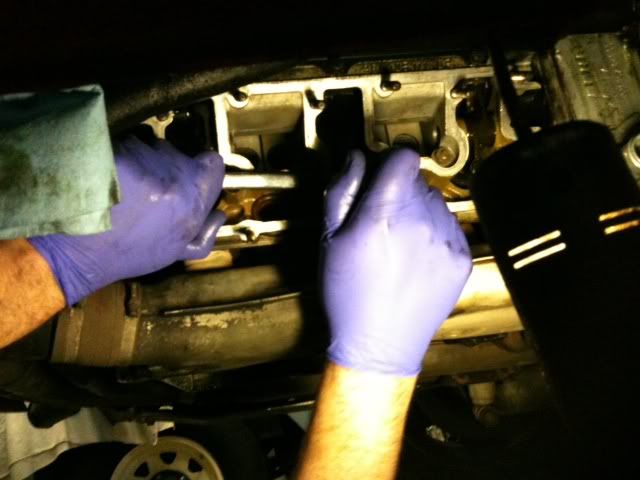
Well over it was a long but good day. We took our time and ended up shooting the breeze half of the time. The valve adjustment went well and just a few were a little tight. It had been not been that many miles since the prior owner did it (10,000 miles ago) but time wise was about 2 1/2 years ago. Since I wanted to start with a good baseline with the major service I thought now was as good as time as any. I also changed the plugs and switched over to Brad Penn 20-50.
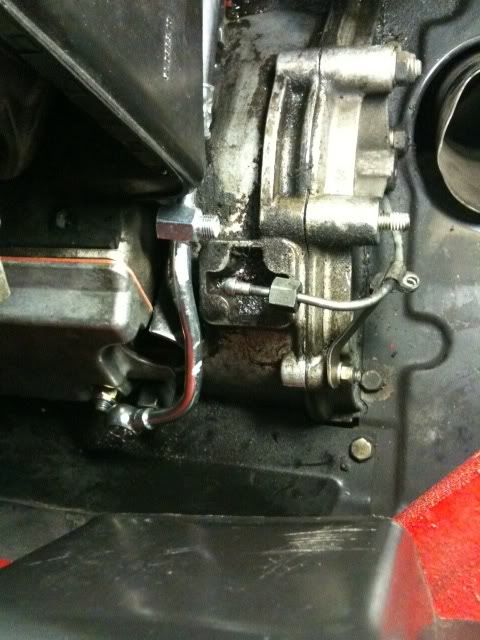
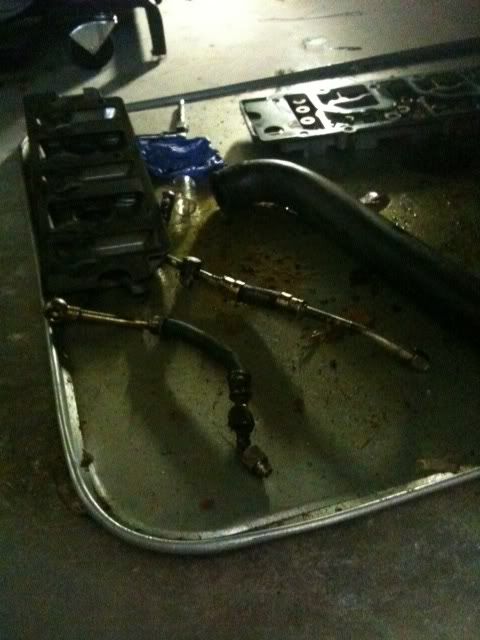
The main issue I ran across were the two cam oil lines I purchased from Pelican. The left cam line was the not the correct length compared to the old OEM line I removed. I slightly moved the hard oil tube line and was able to get it to mate up the the new oil cam line but it was not easy.
The right oil cam line however was unusable. The machining was defective so I am going to have to return it. The opening on the right oil cam line was oval shaped and not circular and would not mate up to the other connecting oil tube. I could see oil just leaking everywhere. Also the angle of the right oil cam line was not like the OEM line and would not under the air compressor because of lack of clearance.
Hopefully the replacement part will fit otherwise I am going to have to get a hose shop to repair it.