When you click on links to various merchants on this site and make a purchase, this can result in this site earning a commission. Affiliate programs and affiliations include, but are not limited to, the eBay Partner Network.
Nicely done. I can see some real toothpaste in there! It's nice to know that some people bother to FIX things PROPERLY and not simply brush some undercoating over it and call it good.
This is whats left of my front pan. Just found that the sway bar where it attaches to the body on the rear is rotted as well...
Overall, not a bad $1500 investment considering its all there (engine, fuchs, glass, etc).
For $1500 I think you have done quite well - it will give you a lot of room to spend on the appropriate parts to restore the car and still have a good chance of ending up with a nice car which did not cost 5X it's restored value to restore! (That would be my 944S...)
It is good to see you are addressing the rust front and center - as I mentioned in the other thread, the work you do restoring the shell is the foundation for the car. Well, I'm sure you know that, I'm just preaching!!
Happily, it looks like the floor pans may not be too bad! (Always hard to tell from pictures though)
My goal is to end up with a fully restored "not all original" 911T for under $10k.
For instance, the rear deck lid was pried open while in storage, and its toast. A new fiberglass one with the 74 duck tail built in is the same price as the original deck would cost. And I've always liked the duck tail!
Pan is nice. However, I found a good chunk of rust where the rear sway bar connects...
Once back from Europe, I will spend a month or so doing all the rust work. The only job I plan to outsource is the body work (dents on front fender, etc) and paint. I was an F-16 crew chief in the Air Force, and had about 12 VW bugs growing up, so the rest should be a piece of cake!
Thanks again for the post! Oh, and if anyone wants to follow the progress, I added a picture page to my site, www.BillLeVasseur.com/911 (please let me know if this isn't allowed moderators!! this site has been to invaluable to get kicked off of it! lol)
Thanks for posting the links to your photos - I love that stuff. There was one picture in particular where a lady (I assume your wife) is looking with what seems to me to be the same kind of bemused, but tolerant incomprehension that my wife uses with me! I wonder what they are REALLY thinking: "Wow, just wow... This guy is weird... well, at least he has a good job..."
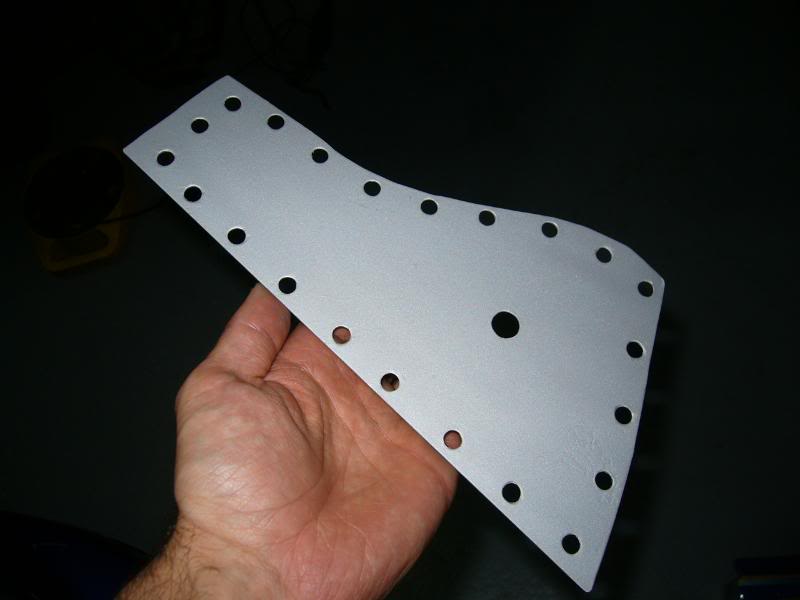
The job at hand is edging ever closer to completion. The last major bit of welding was to close off the opening I had put in the top of the driver�s side longitudinal. This was a straightforward job of cutting a plate to fit and plug welding it in.
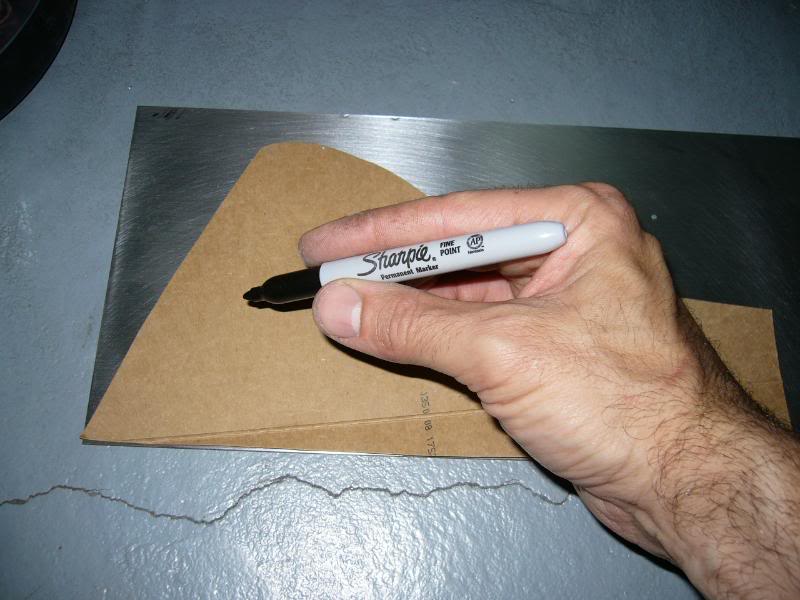
I used a piece of cardboard and trimmed it bit by bin in an iterative process until I had a shape that fit in nicely. Then I traced that onto the piece of sheet metal and cut it, using a cut-off wheel (carefully!) and then used a file to perfect it.
Next, I added the holes for the plug welds, as well as another undercoating access hole in the middle of the sheet, as the void covered by this sheet is shut off from the central void.
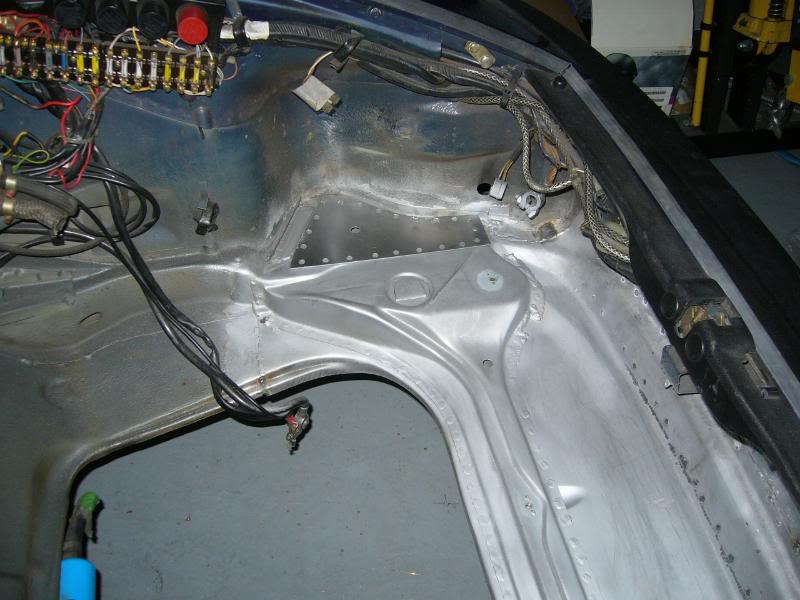
As you may see, I have ground the convex plug welds somewhat along the fuel tank support, and a few on the new piece. I will also grind down remaining welds on the new piece. I am not grinding all the way flush, just getting close. By the time the seam sealer and stone-guard is applied, the welds will not show through very strongly. I don�t really expect, or want to, hide the fact that these are plug welds and not OE spot weld, I just want to achieve a nice cosmetic result. The convex �domes� on the plug welds, although reasonably smooth and consistent, were larger than necessary.
After this last bit of grinding, the next job will be to try out my plan to coat the insides of the voids with paint�
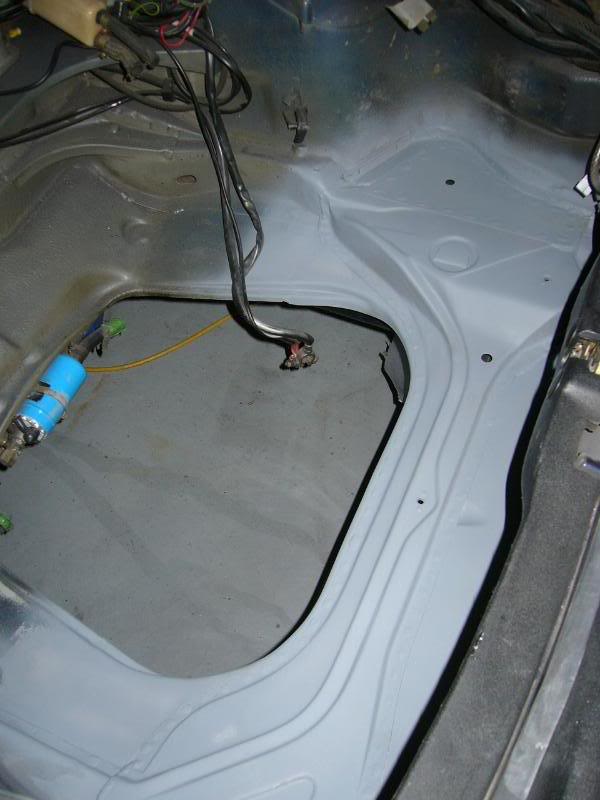
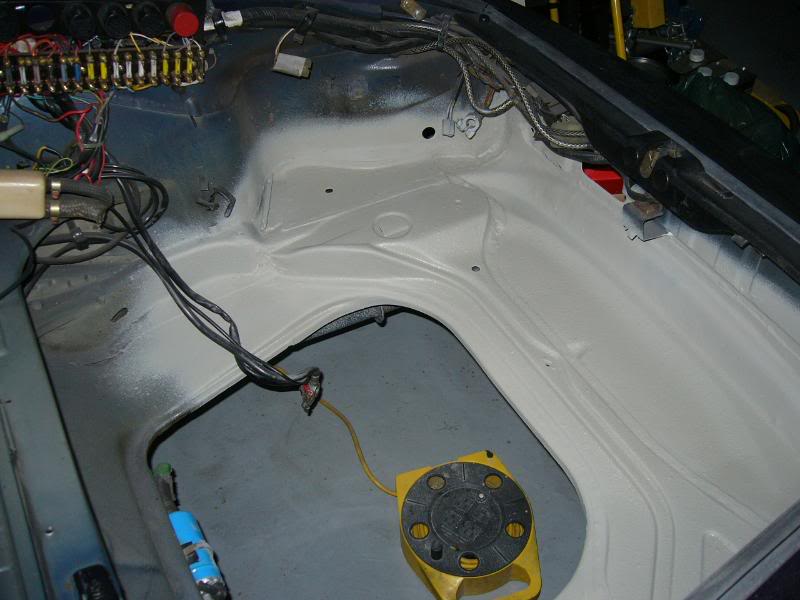
The welding is all done and now begins the painting/coating stage.
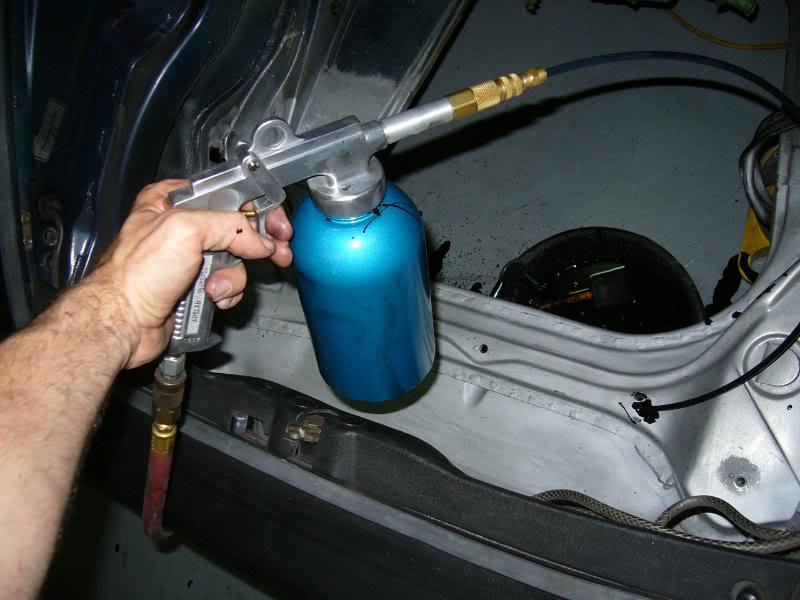
The first step was to coat the inner voids with thinned “Zero Rust” paint (similar to POR). I chose Zero Rust as it could be thinned with regular mineral spirits.
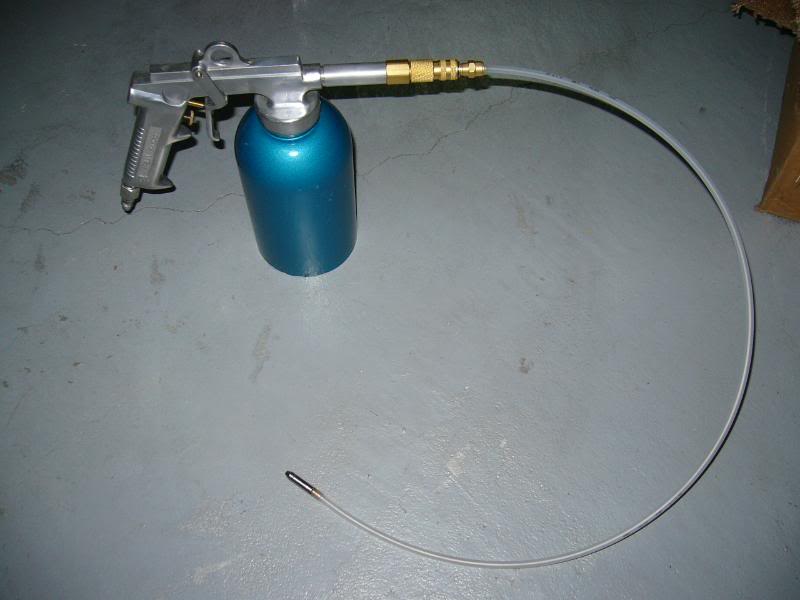
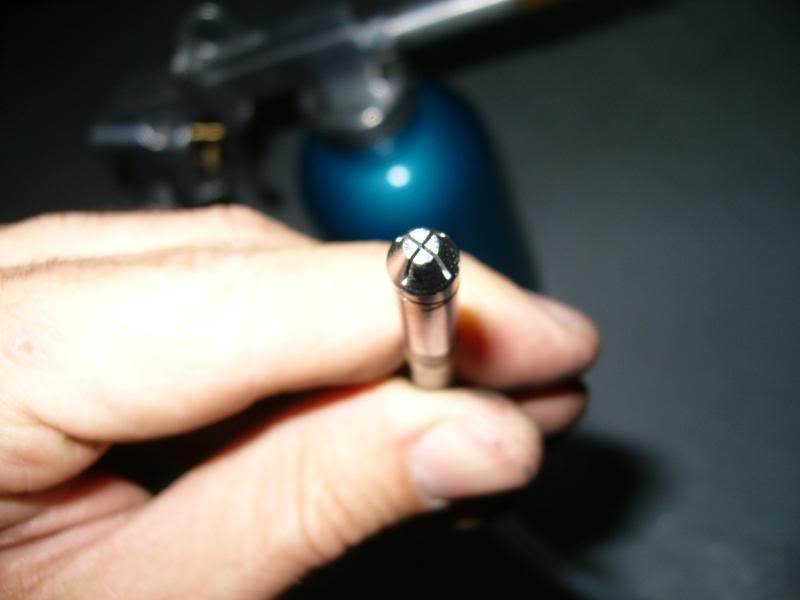
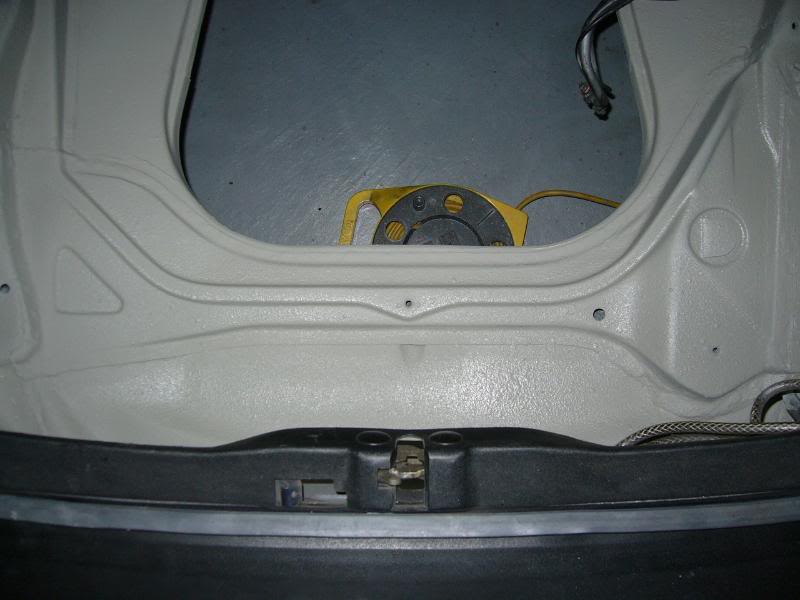
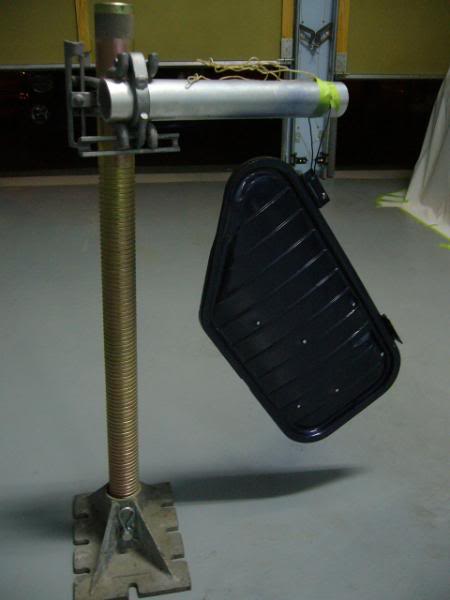
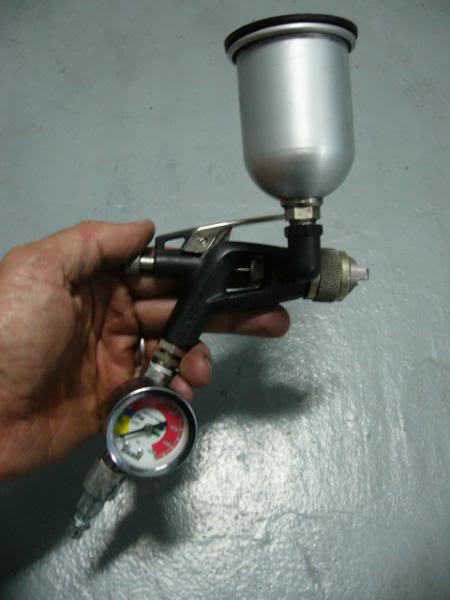
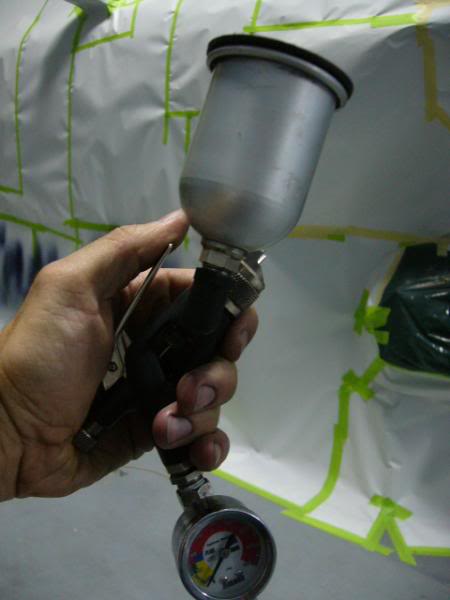
The necessary tool for this stage was an undercoating gun, with a 360-degree flexible wand:
Of course, it is hard to know when everything has been coated, so I sprayed numerous coats and tons of paint was running out of the bottom drain holes. However, I think it worked well.
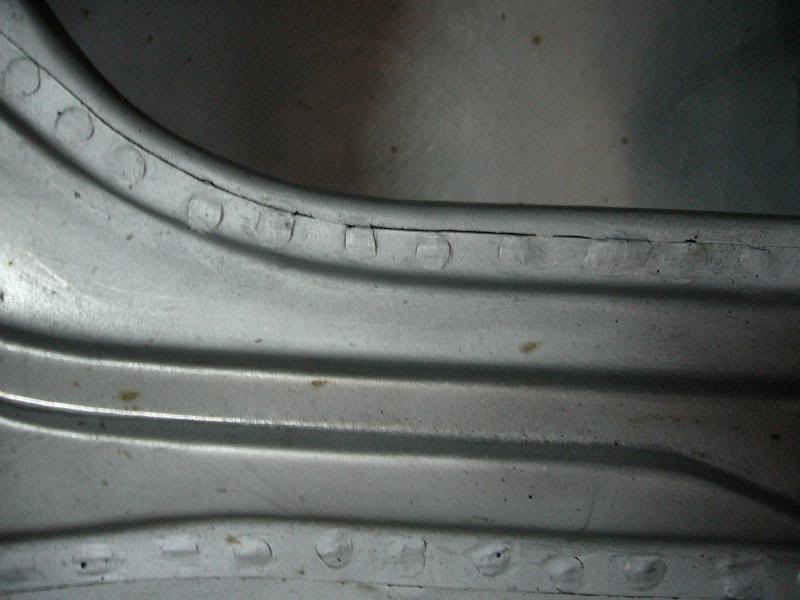
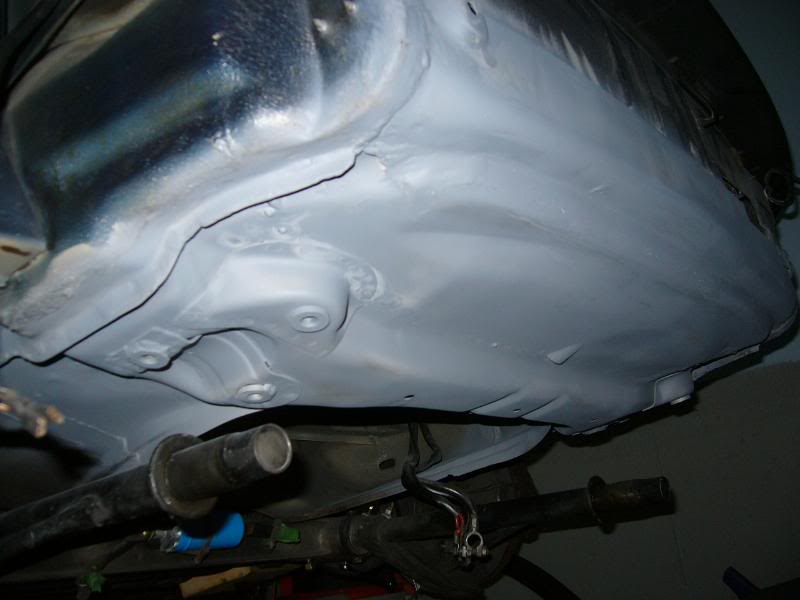
Here is a close-up showing how the thinned paint has actually crept thought the lap joints, which were very tight:
Well, I am getting close to done… However, other obligations have been crowding out what little time I have these days, so it is going even SLOWER than my worst estimate!
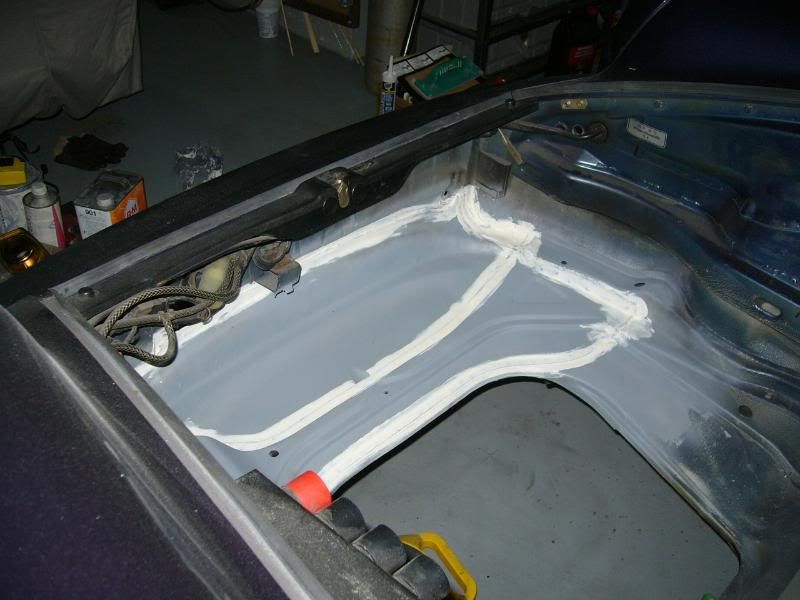
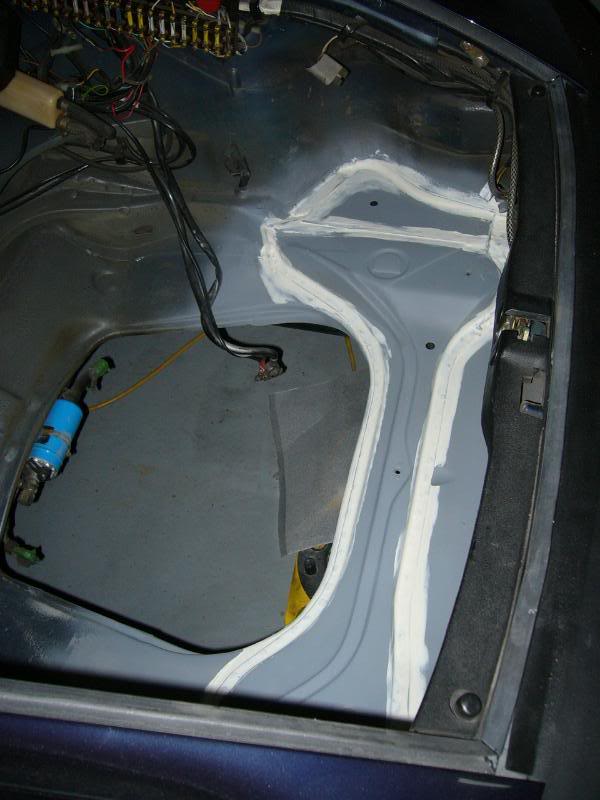
After the etch primer I applied seam sealer to all of the, well, seams! It looks a little messy at this stage, but it is a result of my efforts to smooth it over.
This product does exactly what it sounds like. It is not always done on internal seams but it is crucial for the pinch seams and LCA reinforcements on the underside to prevent moisture from creeping into those tight spaces which likely are not as well protected as the exposed surfaces will be. Anyway, I applied it on every seam.
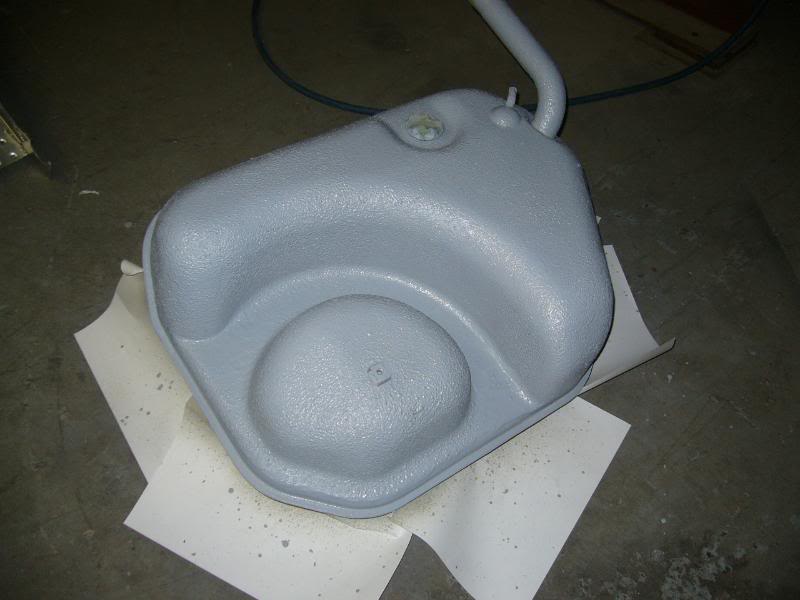
After this was the stoneguard. I chose 3M #8889 which I have experience with and find works well. Wurth and SEM both make great products for this too. They are all slightly different, but it is pretty easy to get a surface texture that looks reasonably similar to the stock PVC.
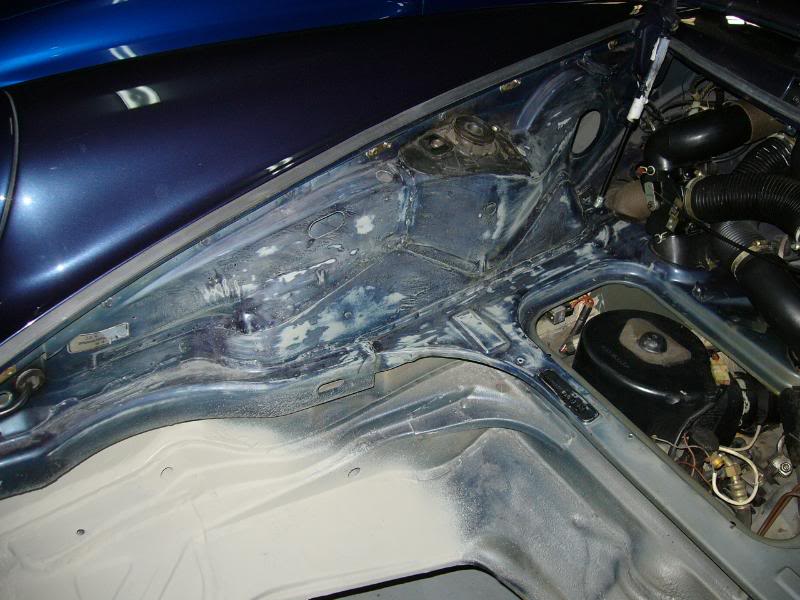
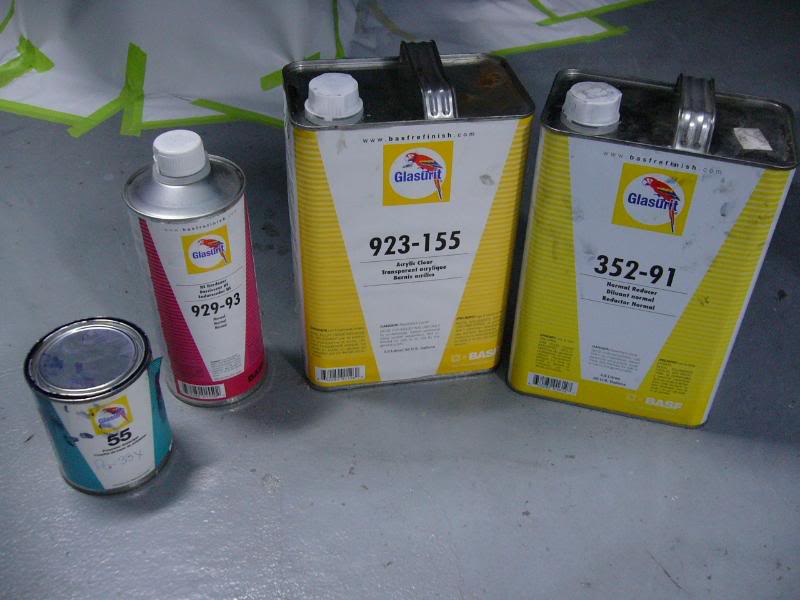
All that is left to do is the primer and paint. I will use Glasurit HS primer, 55-line base and one of their clears. I love Glasurit but it is spendy stuff. It won’t be all that fast though, as at the same time I am painting the repaired area I am also going to do certain portions of the rest of the trunk. In yet another P.O. surprise, the side trunk carpets were glued on with a rock-hard adhesive that no amount of 3M adhesive remover (or acetone or mineral spirits for that matter) will remove. Well, at least I think I should blame a P.O. for this as I don’t think the factory glued those carpets (and if they did, I imagine it would have been the same glue as the interior carpets, which 3M adhesive remover will handle nicely…)
Anyway, it’s not something I have to do now, but with the trunk all apart and the bottom being prepped for paint anyway, now is a good time. I have sanded most of that super-hard adhesive crap off now:
Thing are progressing at the usual snail-like pace. However, everything thus far has gone well and I am happy with the quality of the job so far.
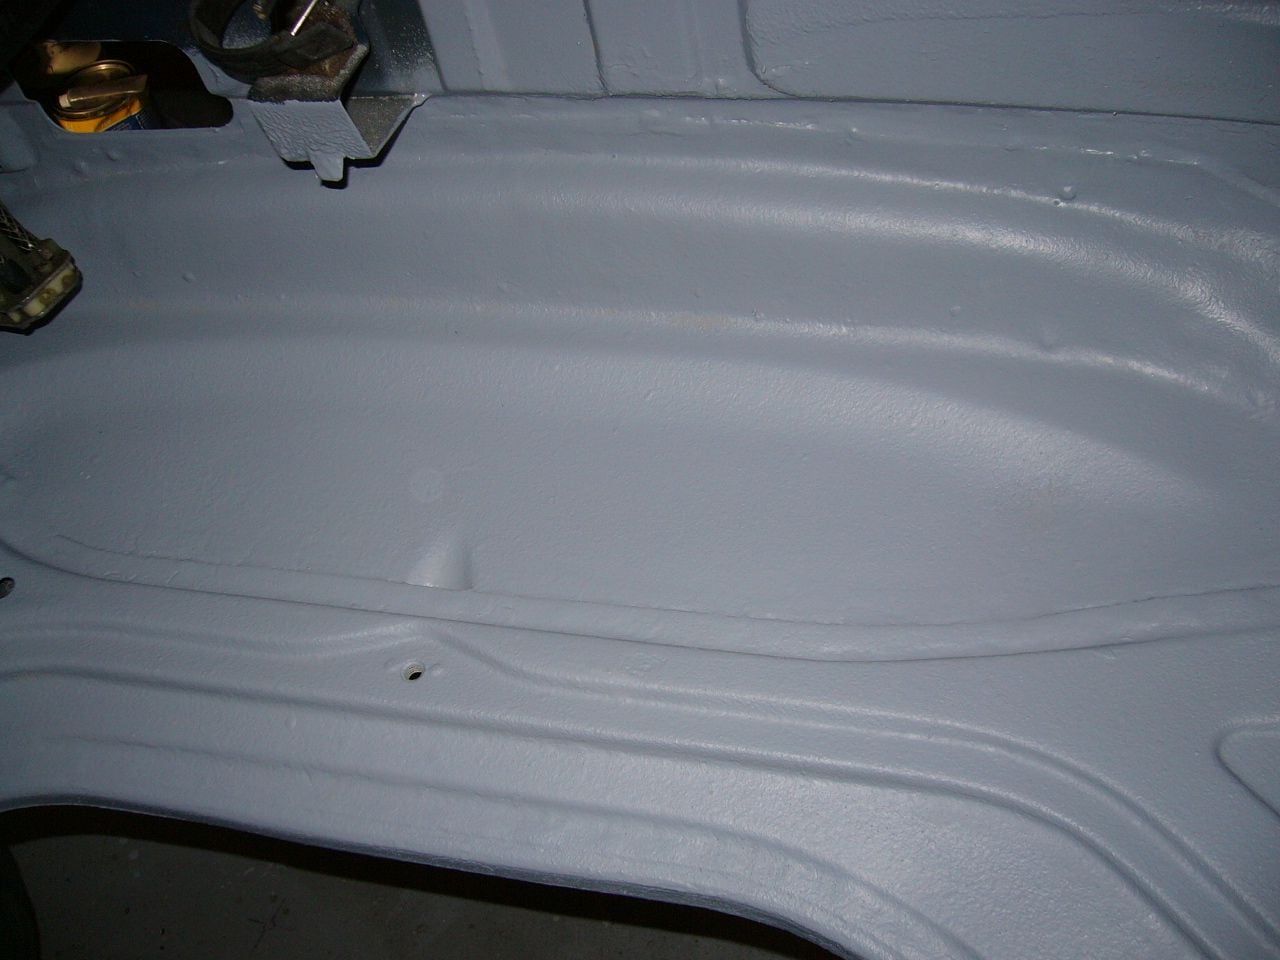
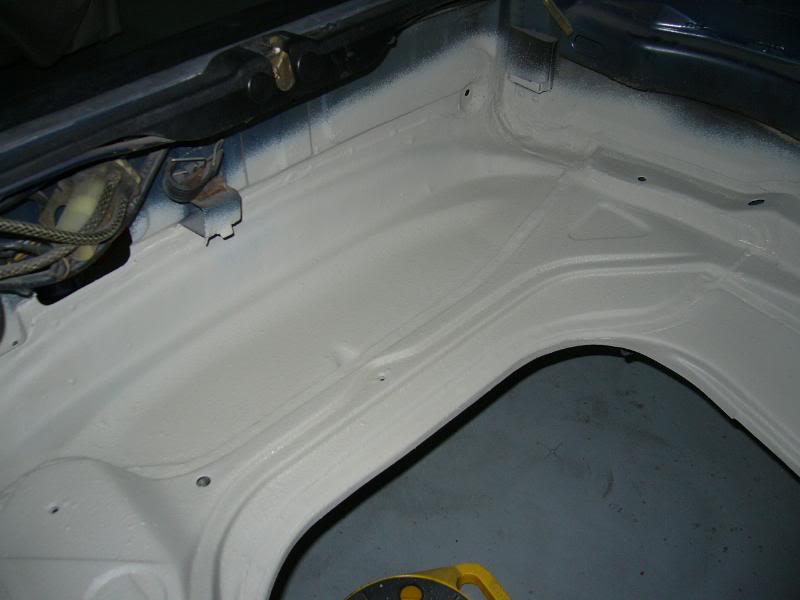
After the stoneguard, the next step was the primer. I used Glasurit 285-60 HS primer, which from my personal experience is very strong and clings like crazy. Normally I would spray this with an HVLP guy with a big tip (1.8 mm) but in this case, I just rolled it on after mixing in the harderner, but forgoing the reducer (only needed to adjust the viscosity for spraying). I used a small urethane-safe roller to do the job. I chose the roller route since there is a lot of texture in the stoneguard anyway. It is still vital to wear at least a good autobody paint respirator (3M 6001 is good) even when rolling. These activated automotive paints are serious stuff.
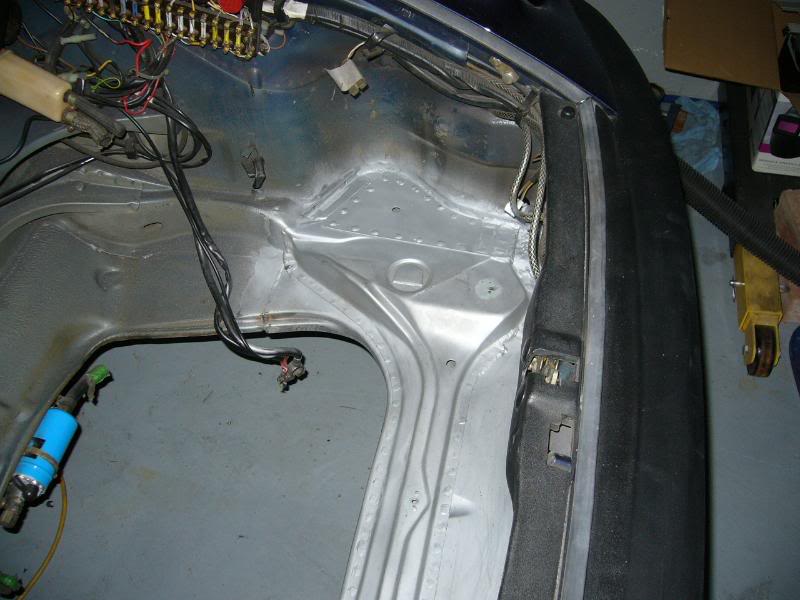
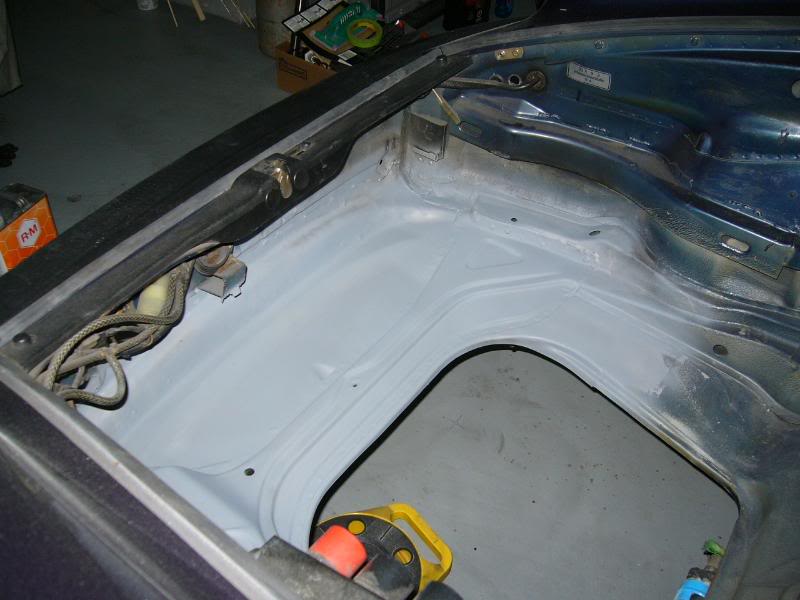
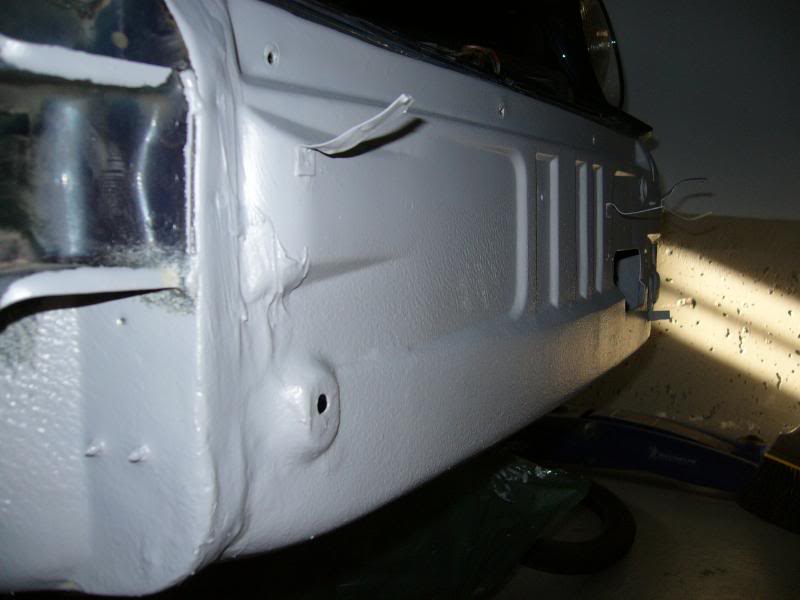
After the priming, things are really looking good. You can only see a hint of the plug welds through the finish, which is what I was hoping for:
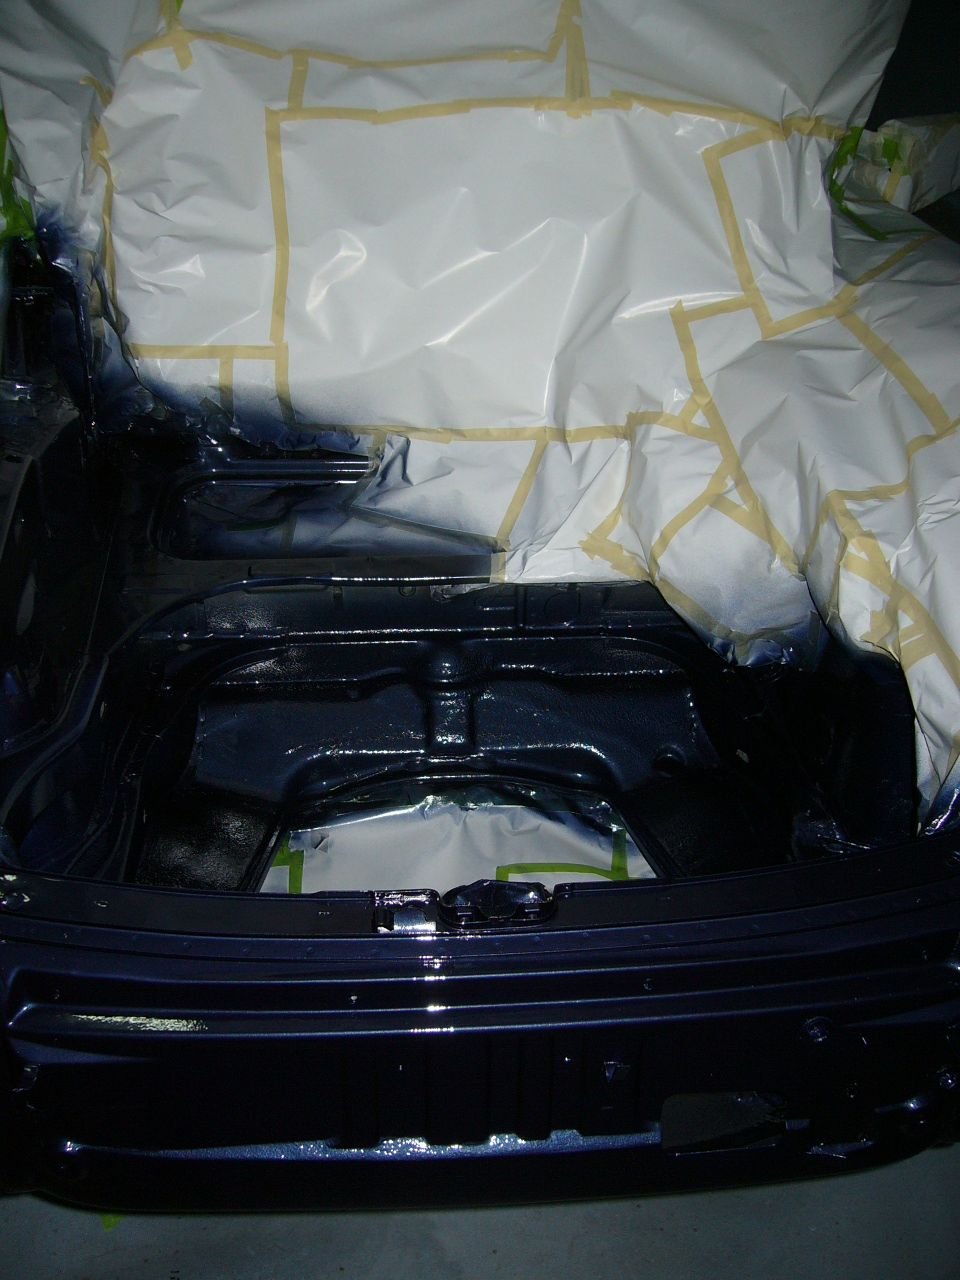
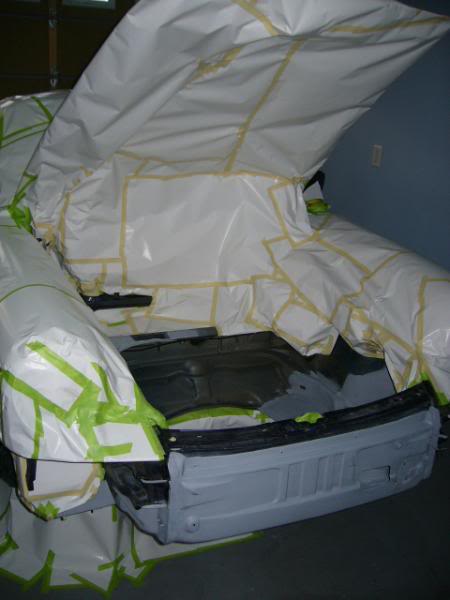
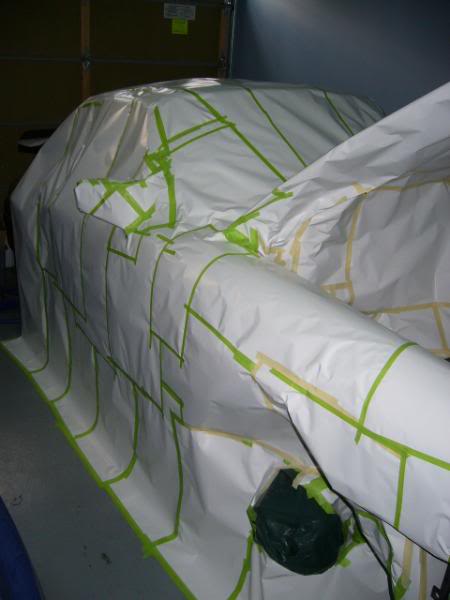
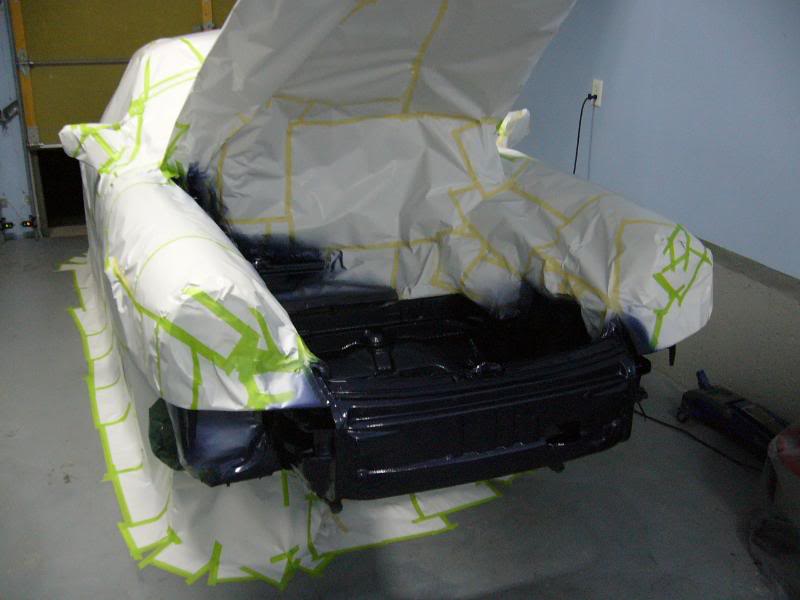
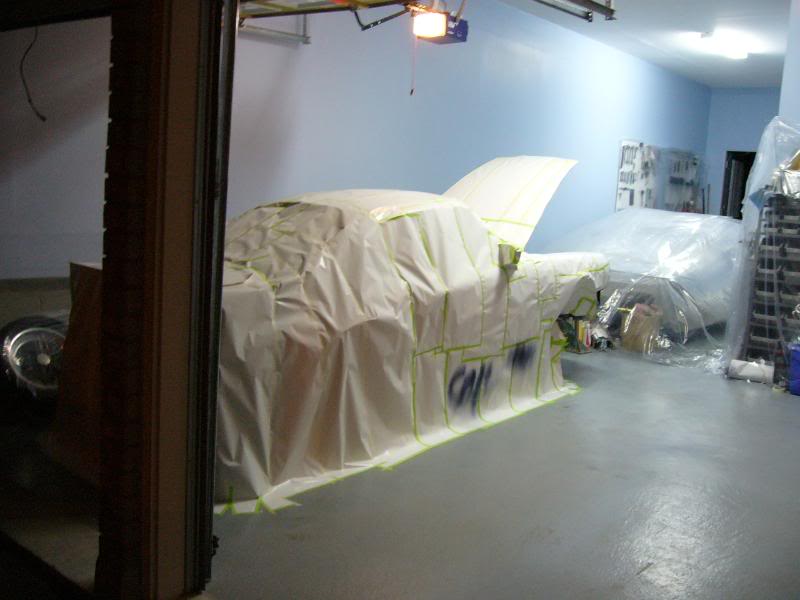
Next will be the color and clear coats. Unlike the primer, this must be sprayed since the color is metallic (Prussian blue BTW). As such, it is necessary to mask the car. This was a little bit of a painstaking job as I wanted to be able to �bleed out� the spray and get a similar to OEM look. The trunk area was painted along the sides, but only a slight mist of color on the bottom.
Anyway, these pictures probably do a good job of conveying just how much more I hate correcting overspray issues than masking!
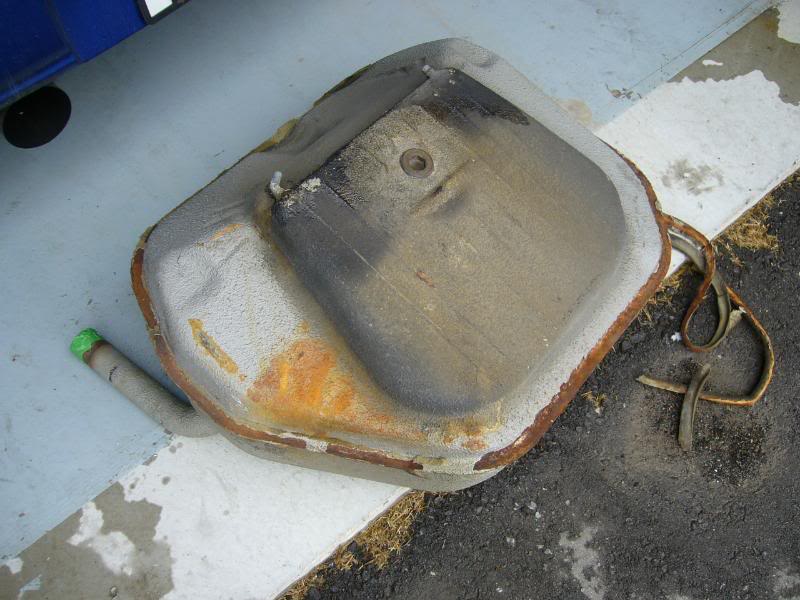
The battery acid had done a little work on it too, especially at the seal interface. I ended up stripping the entire bottom half of the tank and quite a bit of the top. Happily, the interior of the tank is good.
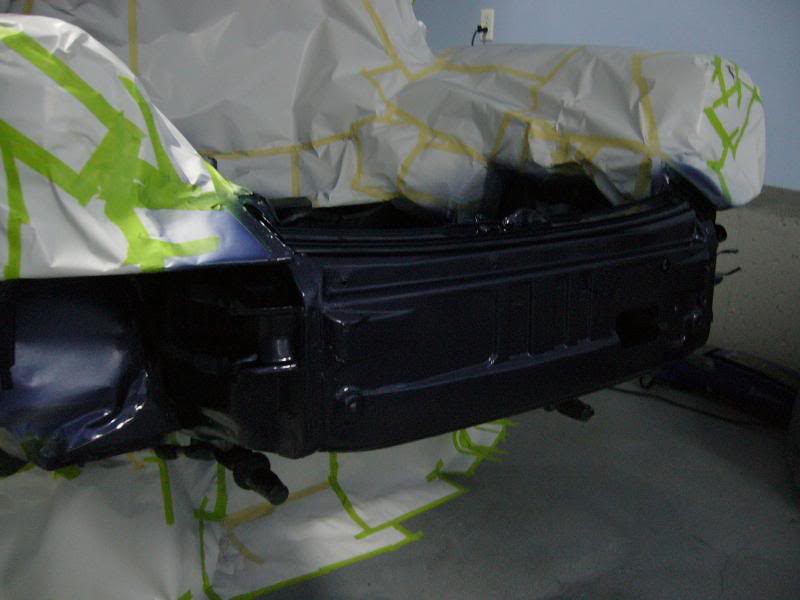
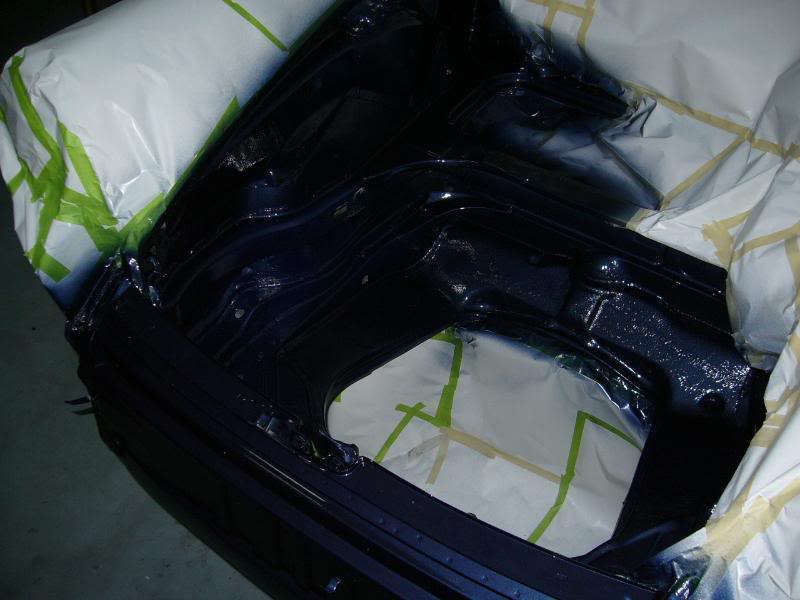
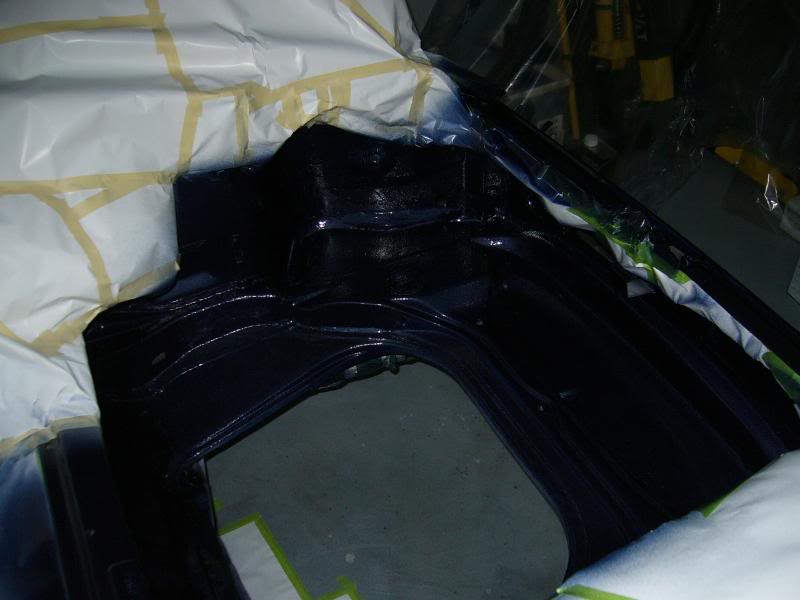
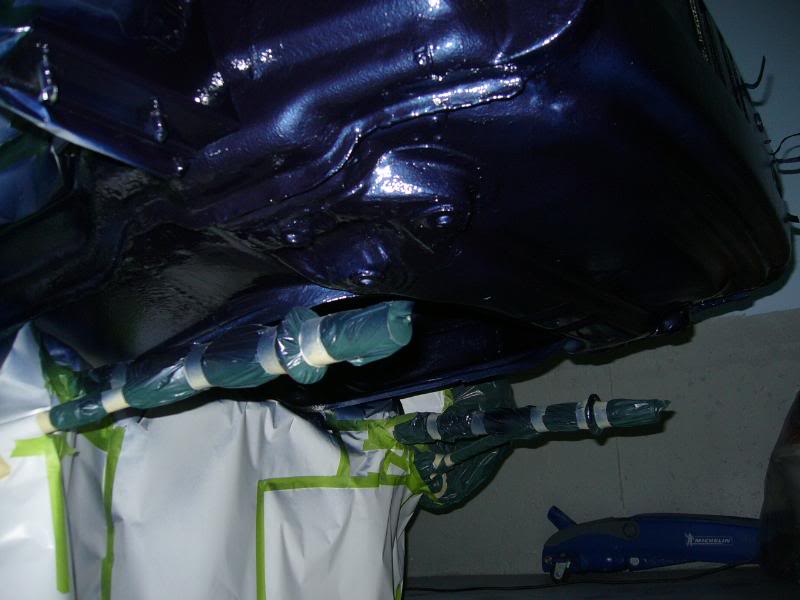
Tonight was the night that this job finally passed over the hump� It is painted, and it looks pretty good. Unfortunately, I find it difficult to capture the dark, glossy paint very well in the photographs:
I used these Glasurit products for the base and the clear. I have lots of experience with them from painting the 944 and find them of outstanding quality and very user friendly:
This unit is very compact in the hand and the spray pattern and volume are very nicely suited to the tight confines and multiple surfaces. Also, what I found to be a real boon on this job was that one can tilt the paint cup to any angle. For example, here I have it set so that I can spray upwards � very handy underneath!
Compared to doing the outside body, this painting was very easy and relaxing. As there is so much texture in the surface you are painting, the odd dust nib is not even noticed. However, I still tried hard for a good job and I think I got it. The biggest issue with what I have done though is that it is FAR too glossy for the trunk (if you are trying to keep things original). This should not have surprised me, but seeing it now makes it really hit home. Some day I guess I will have to paint the other � of the trunk to match. However, to do that requires a lot more disassembly than I wanted to tackle at this stage. After all, this car is supposed to be the fun driver and the 944 is supposed to be the way-over-restored garage queen. Yeah, I know. Don�t ask me how I screwed that up�
Suffice it to say that if I had it all to do again, I would add some gloss reducing additive to the clear.
It will be a nice, solid car when it is back together I believe. In my mind�s eye, I think the repair method has come together and this should have excellent longevity. I will finish off the protection phase by spraying FluidFilm into the cavities as back up for the ZeroRust paint.
Here is my �atmospheric study� after I was done and venting out the place:
I still have a million and one little odd jobs to do as the car goes back together, I will continue to post that stuff here, just for the heck of it, even though the battery area repair itself is now done.
I have decided to live with the glossiness and save the brake fluid!
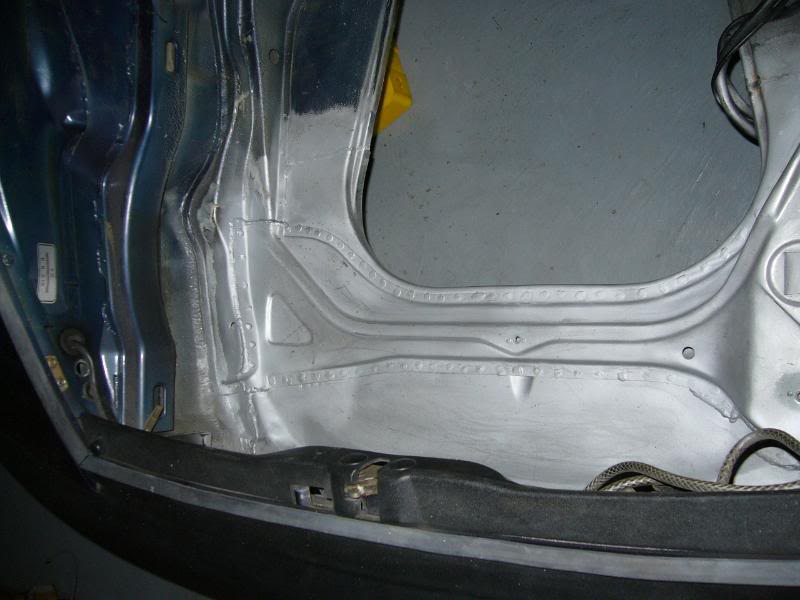
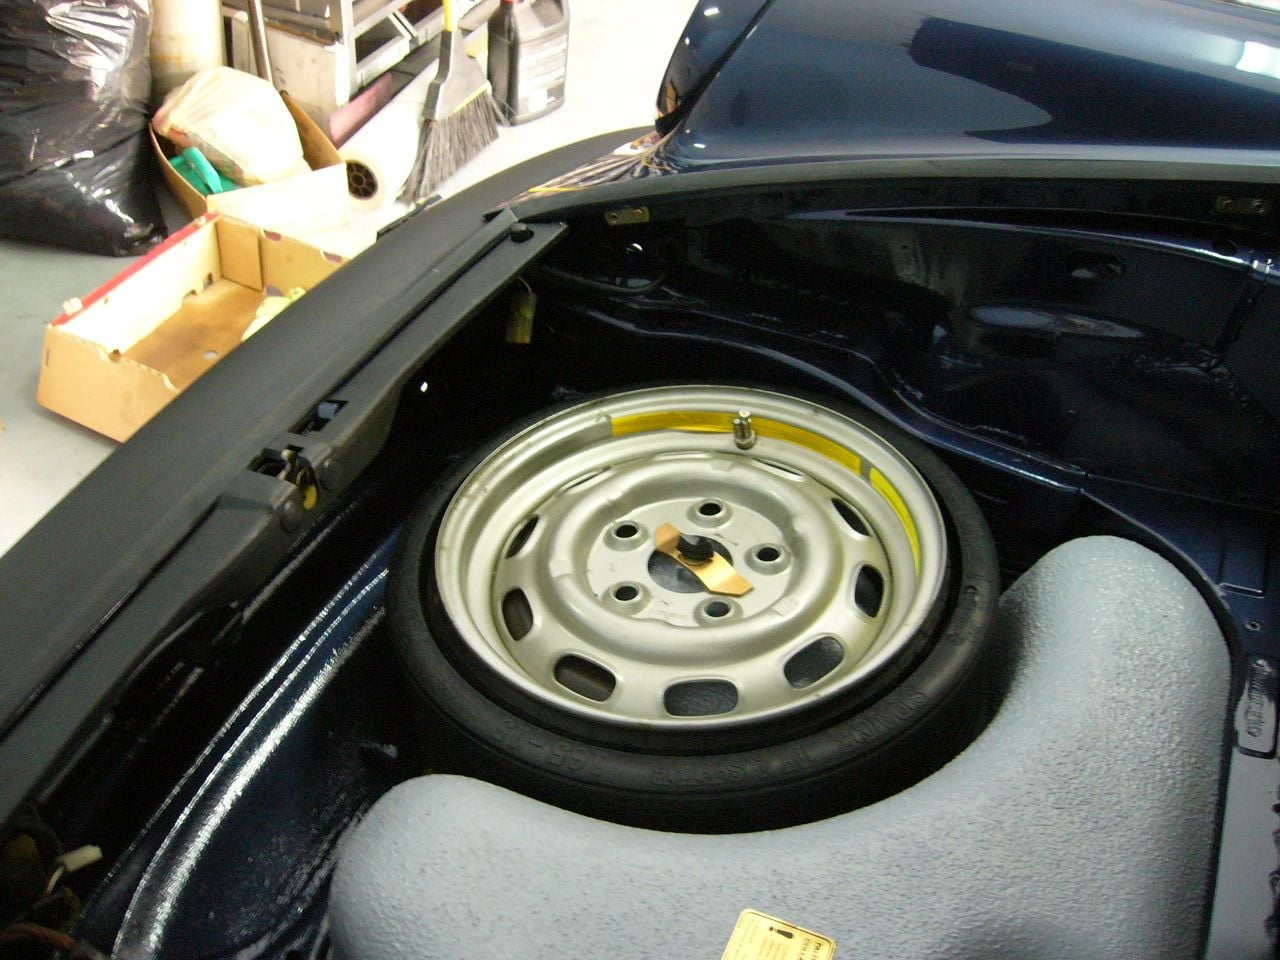
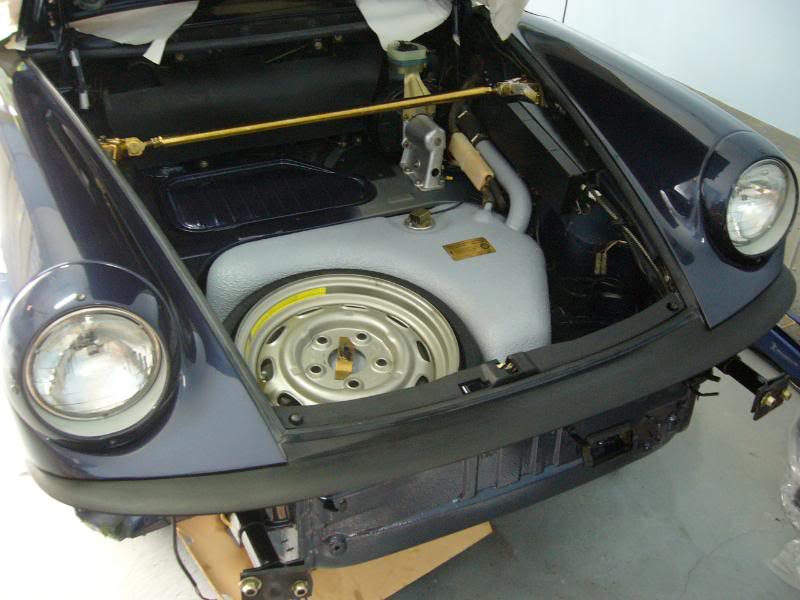
A burst of activity on the weekend saw a lot of the trunk area come together. I did not have the camera with me, so no intermediate pictures. Rather, this is where I�ve ended up so far:
Things are looking a lot tidier, and knowing the metal is solid is a sweet sensation. Before I started putting things back together, I used the undercoating gun (shown earlier in post #35) to spray all the inner voids. As well as the one between the suspension pan and fuel tank support, there are also openings that allow access to the longitudinals (these openings are covered by the fuel tank once it is installed). I had intended to use FluidFilm, but I could only find the aerosol versions locally (I wanted the regular liquid-in-a-can version). So, I chose �Rust Check� Coat & Protect � a somewhat similar product. Given that I will never have this car in inclement weather (that�s what the Subie is for), this is probably verging on obsessive, or at least major overkill� 100,000 years from now, archeologists will discover a remarkably well-preserved suspension pan with a flat-six motor about six feet away during a dig� That would be what�s left of my car!
The fuel tank with new seal and all the other ancillary bits went together without a hitch. I put a new seal in for the fuel gauge sender just in case.
I will lose major points at any concours for lack of originality, but maybe I can drown my sorrows by picking up the prize for best presented bumper shocks!
Do you have one of those home cadmium plating kits?
I have looked into it, but have not gone for it. The parts were done at a local plating shop. I *think* it would technically be zinc plating that you could do at home. Actually, it was zinc done at the shop as well. Cadmium is apparently very nasty from the health perspective so I think it is nowadays very hard to get actual cad plating. However, don't take my word as gospel on that!


