When you click on links to various merchants on this site and make a purchase, this can result in this site earning a commission. Affiliate programs and affiliations include, but are not limited to, the eBay Partner Network.
Just got into a project that I thought I'd share with everyone on here. We get into a good amount of radar & laser defense systems here at Musicar, and we've got a fairly unique approach to the integration. Our top goal is always performance – doesn't matter how hidden or how good something looks if it doesn't work. That's why we partner up with some of the best manufacturers, making sure we're integrating the best product possible. For this particular project, we're using our usual combination of Escort Radar and Anti-Laser Priority Jammers. That configuration's going to give us the best blend between performance and daily livability.
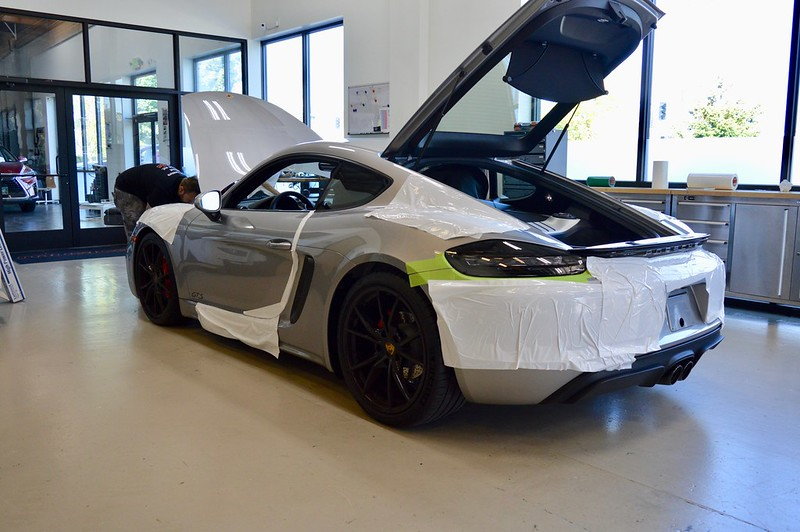
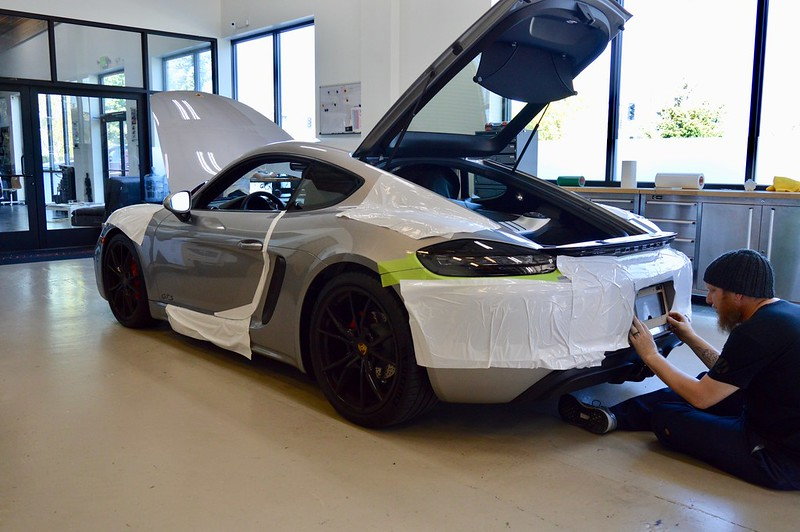
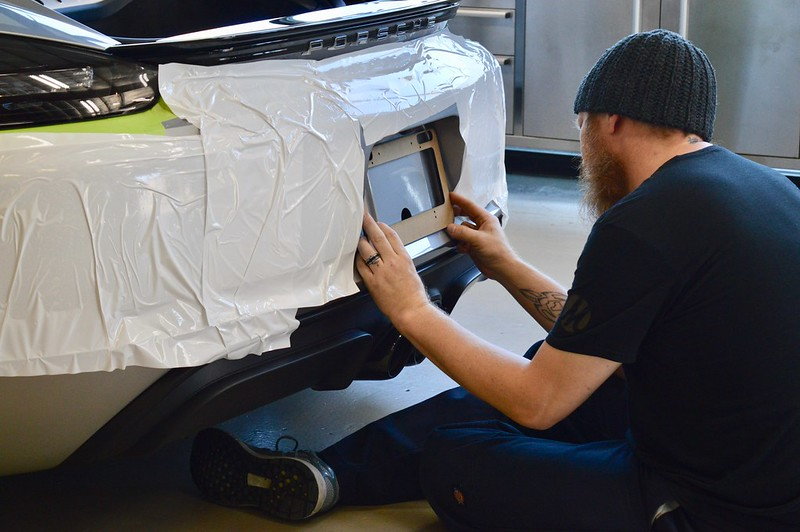
We always start off each build with protecting the car. Plastic film and seat covers to make sure we prevent any mishaps. Special attention is paid to the area around the headlights and taillights to make sure nothing gets scratched when the bumpers get removed and reinstalled.
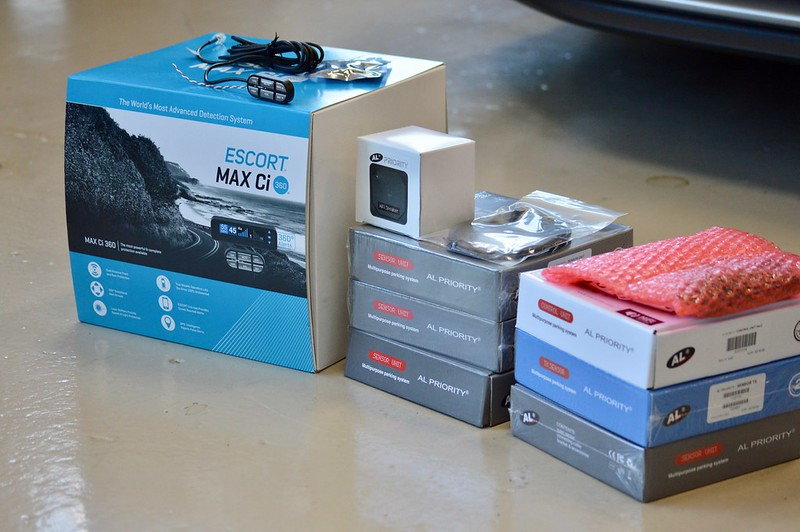
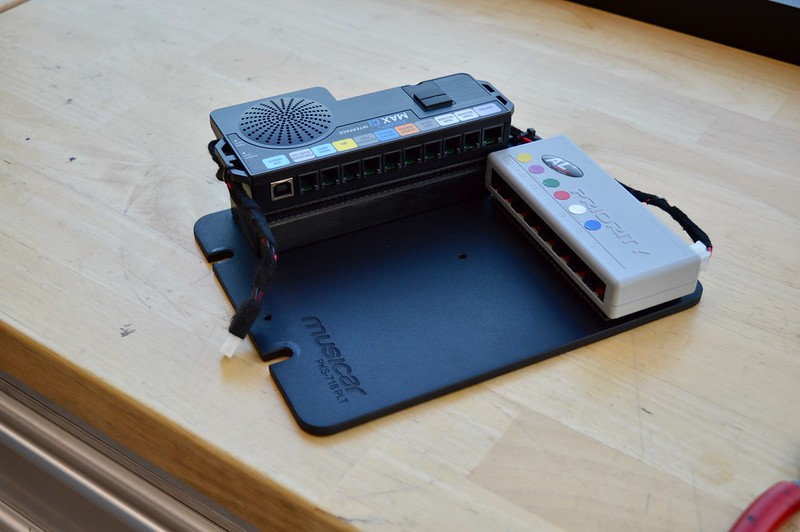
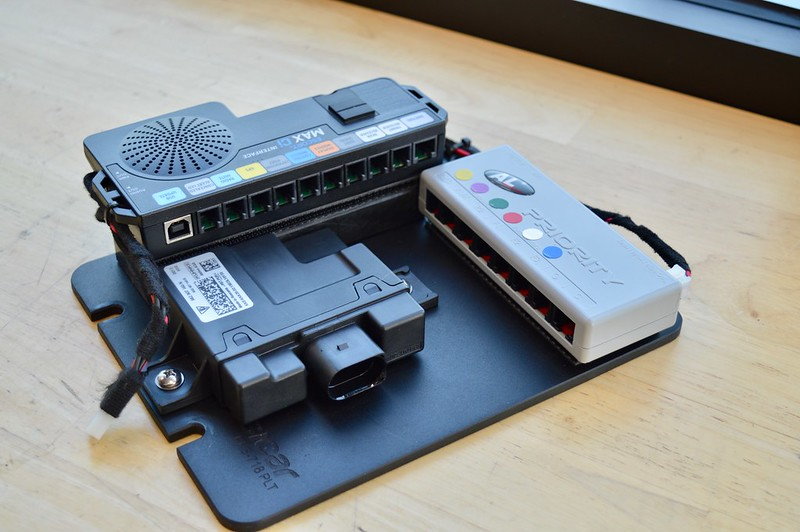
Escort MAX CI Radar detector platform along side the 5-head AL Priority laser jamming system.
The Design
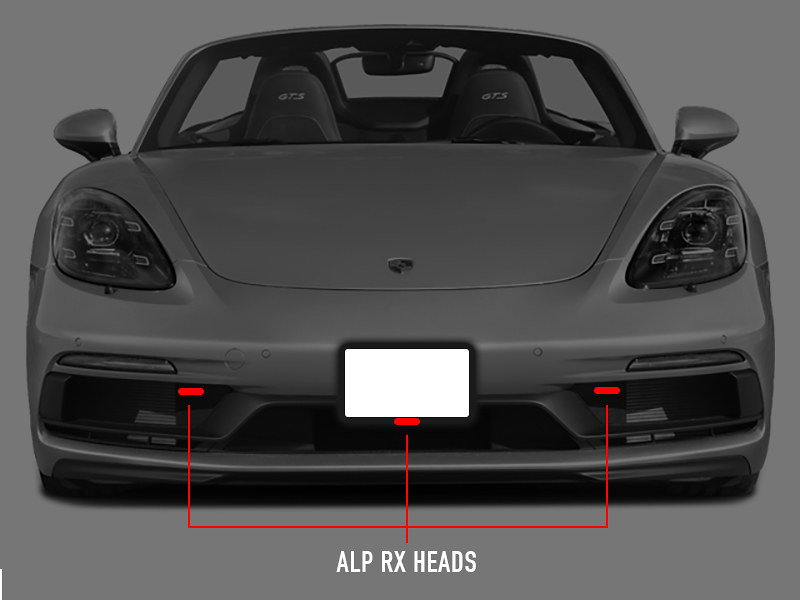
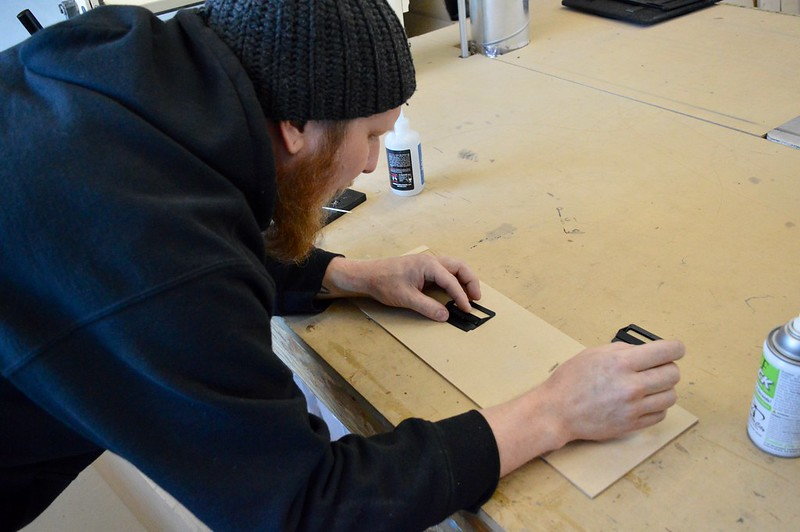
The plan for the front end is to use the Escort M7 advanced radar antenna paired up with three of the AL Priority jammers. The radar can be hidden behind the plastic surface, so we'll find a suitable location that hides that away. For the laser we need line of sight, so they'll have to be exposed. The good thing about the front end of the 718 GTS is that the Sport Design bumper gives us some great options for positioning options. We'll mount the outside two jammers at the top of the two outer openings, and the middle jammer will affix to the bottom of the license plate mount. Because we don't want to drill any holes, we'll also fabricate a backing on the factory plate mount that allows us to use double-sided tape instead.
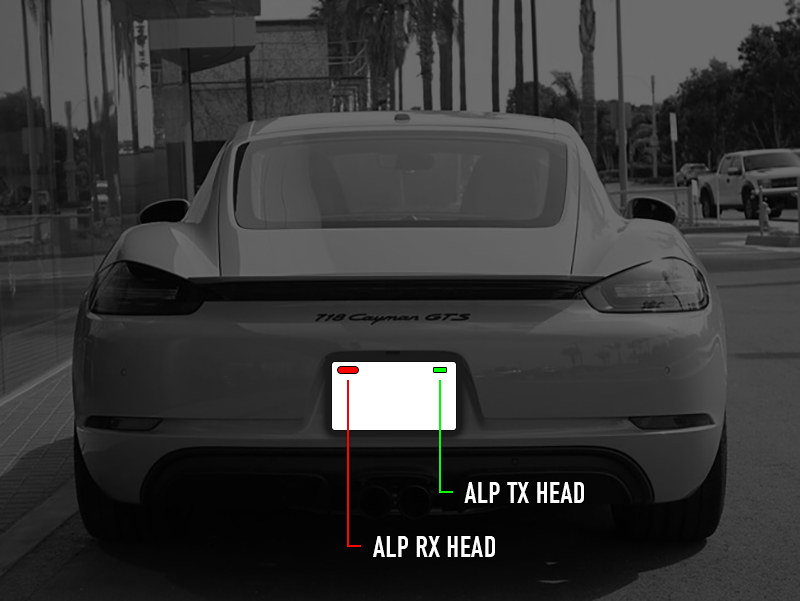
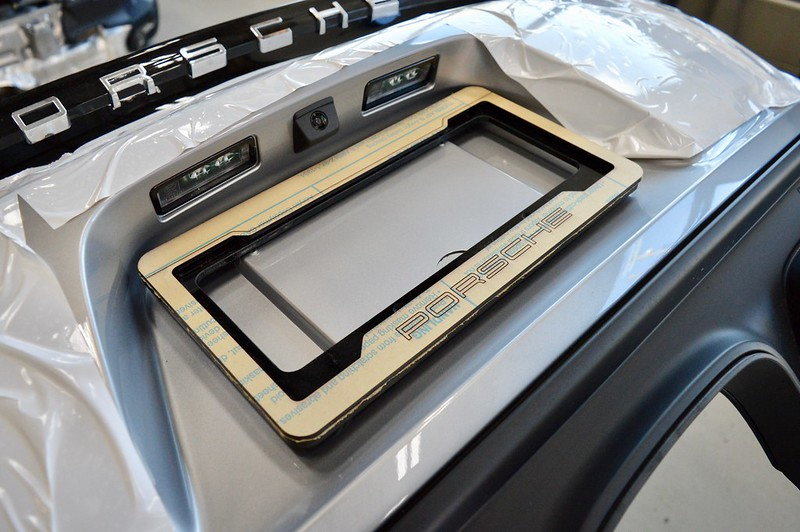
For the rear end, we don't have as much space to work with. The license plate provision is the only logical location, and it's already stuffed full with a plate, two plate lights, and a backup camera. If we do anything superficial we're going to block at least one of those. Because of that, we decided to deploy a strategy that we've used on the 911 platforms in the past, and that involves hiding the jammers behind a license plate frame system that we fabricate to accommodate the new equipment. It does require a bit of machine work to the bumper, but it's all hidden behind the plate. For radar, we'll have plenty of room to hide the Escort M4 antenna behind the bumper cover.
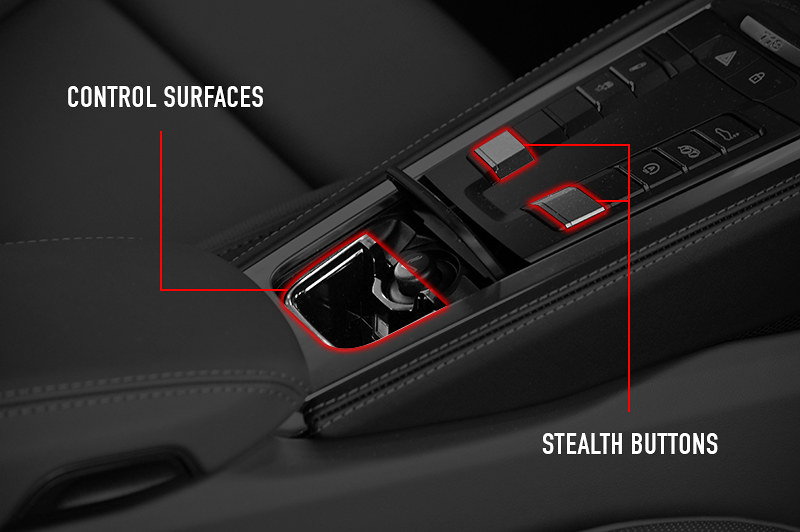
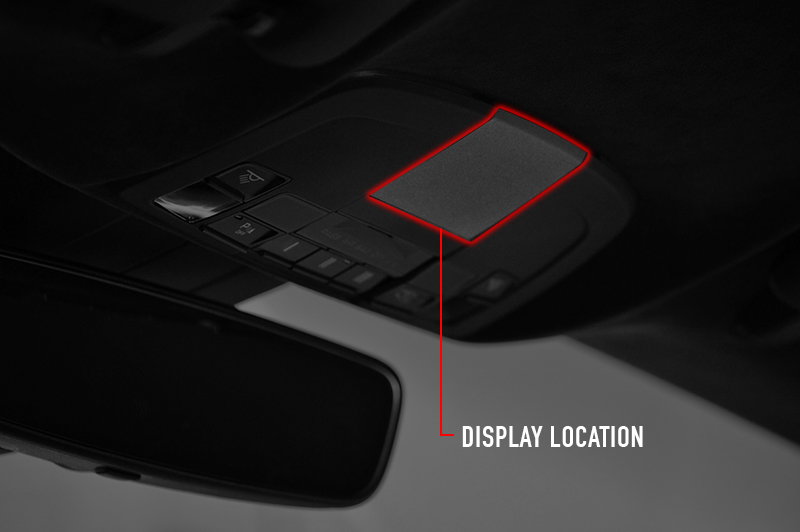
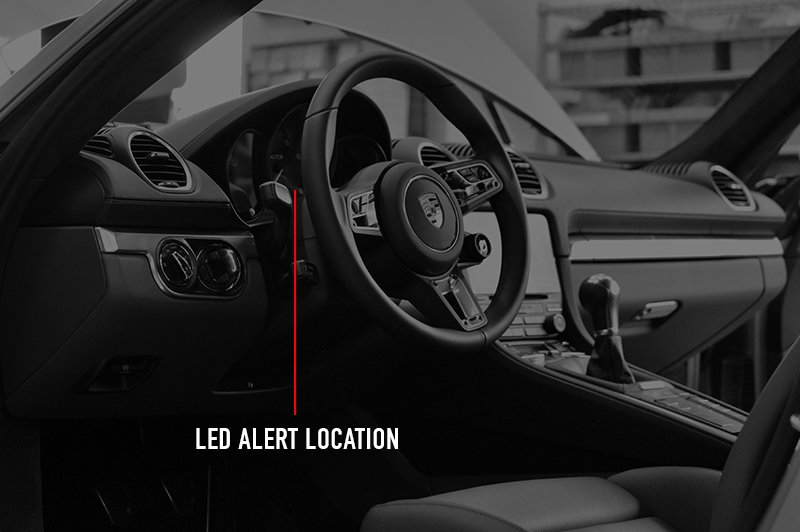
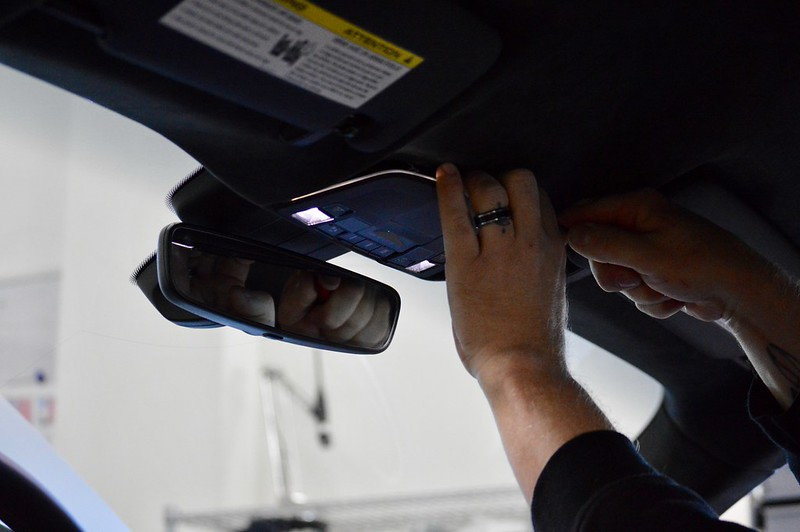
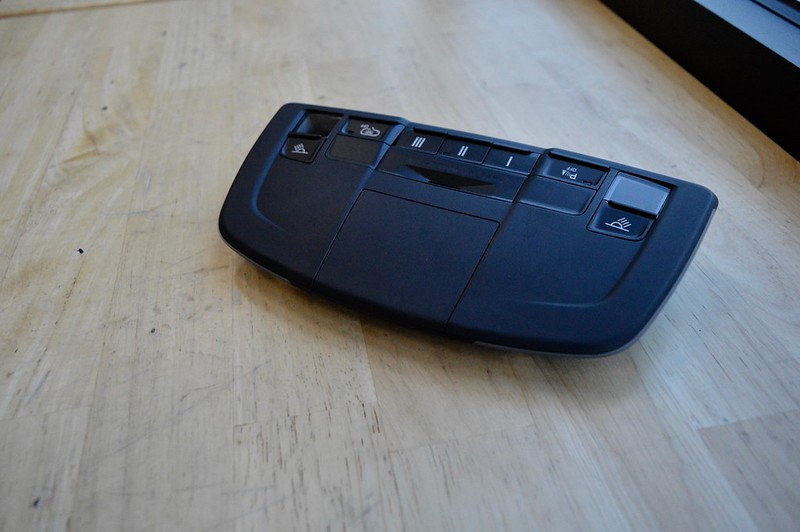
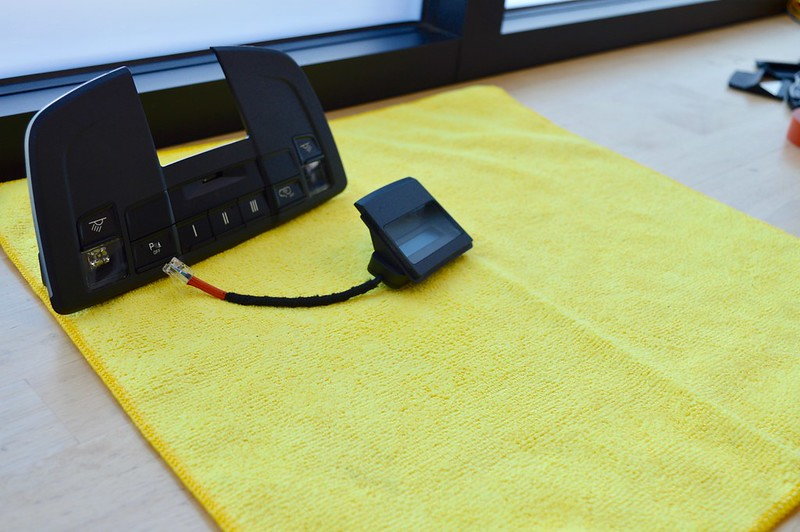
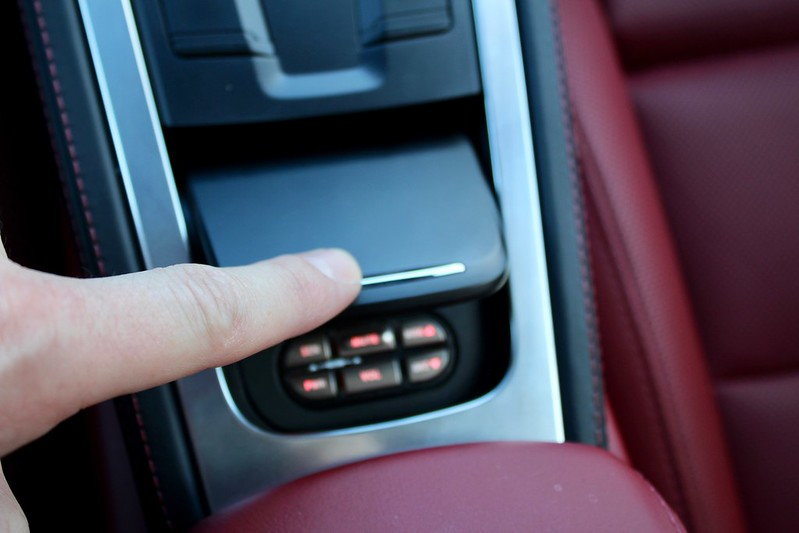
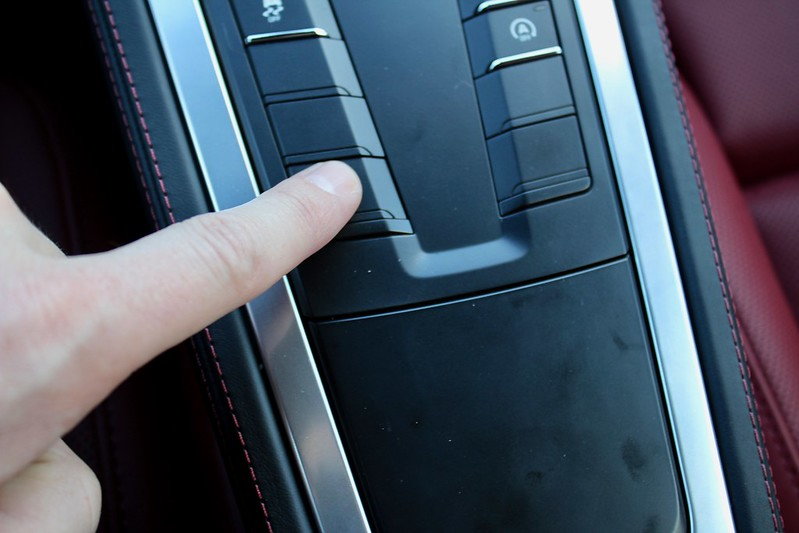
Once we have the front and rear handled, we'll work on the interior control surface and alert system integration. For this setup, that includes a pair of controls that we'll fabricate into the smoker's package location. We'll also convert a couple of the blank center console buttons over to usable functions for the critical radar/laser functions so that the system is still accessible with the ash tray lid closed. For the radar we'll have a full color OLED display that needs to be within the driver's field-of-view, and the blank panel in the overhead console is the perfect location. The laser system has only an LED and audible alerts. We'll hide the speaker and install the LED in the sterring column so that it reflects in the cluster glass.
The Process
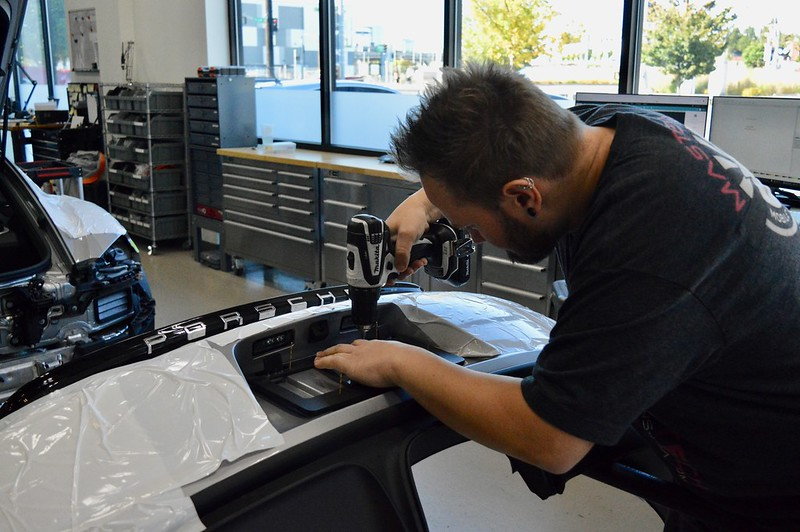
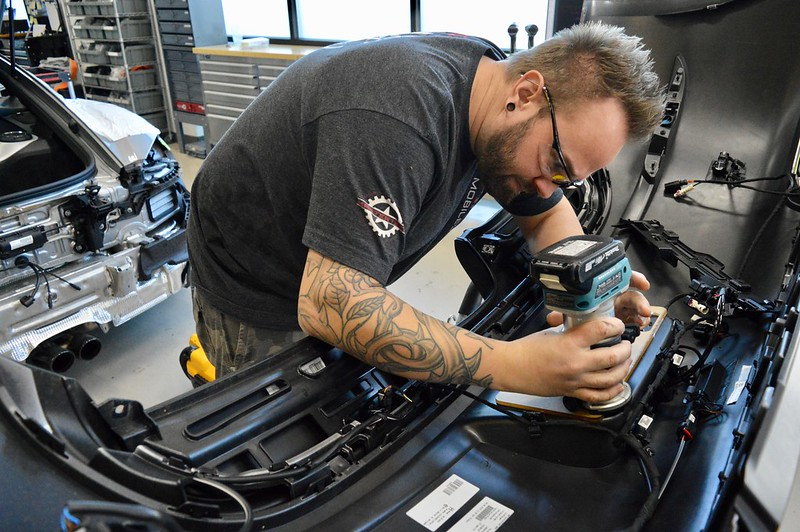
The next step was to start executing the plan. We kicked off the build with the rear end, since we knew we'd have a good bit of time into the design and fabrication there. Patrick started by taking measurements of the plate provision and figuring out the right angles. It's VERY important to get these heads aligned parallel to the road and not let the design of the car dictate the angle.
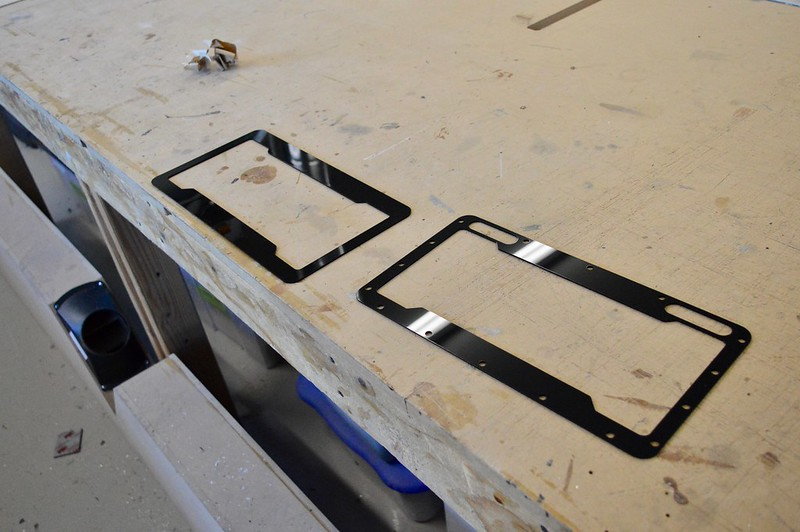
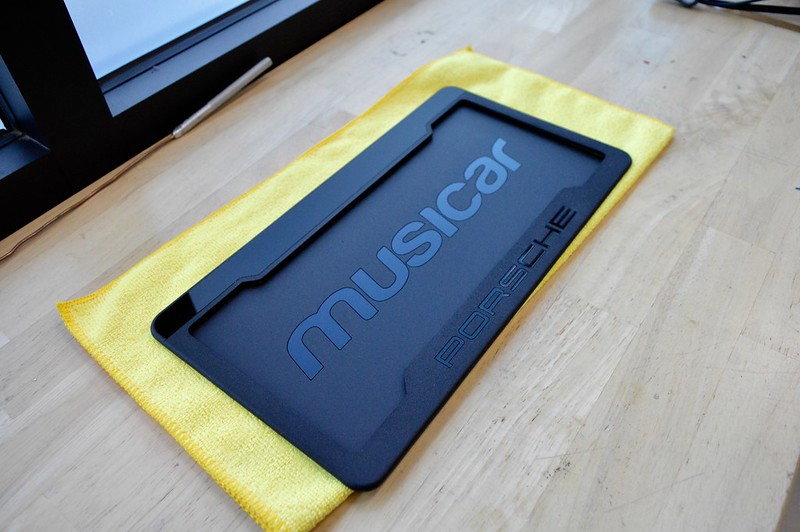
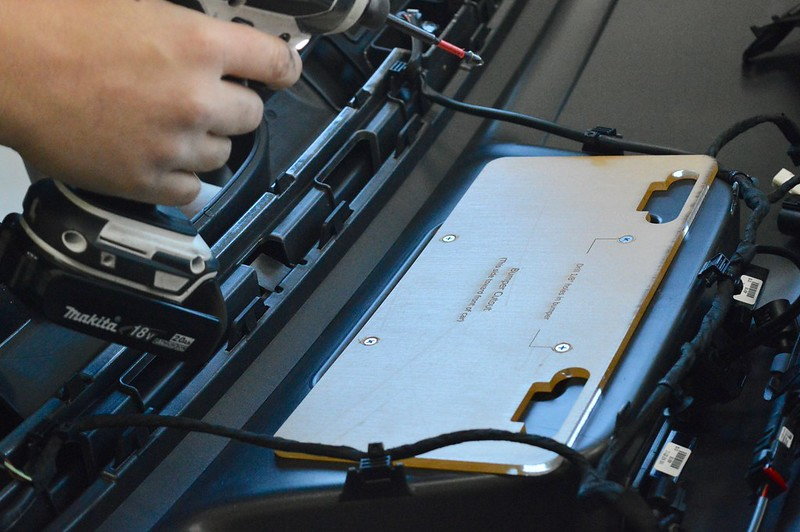
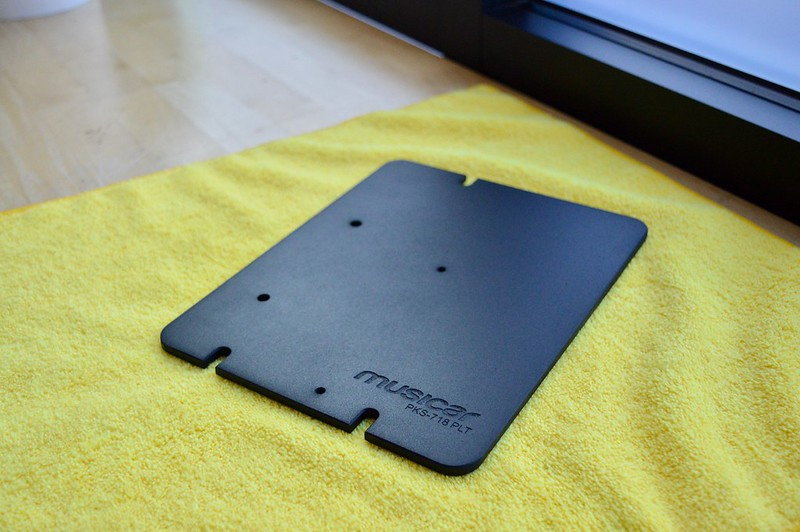
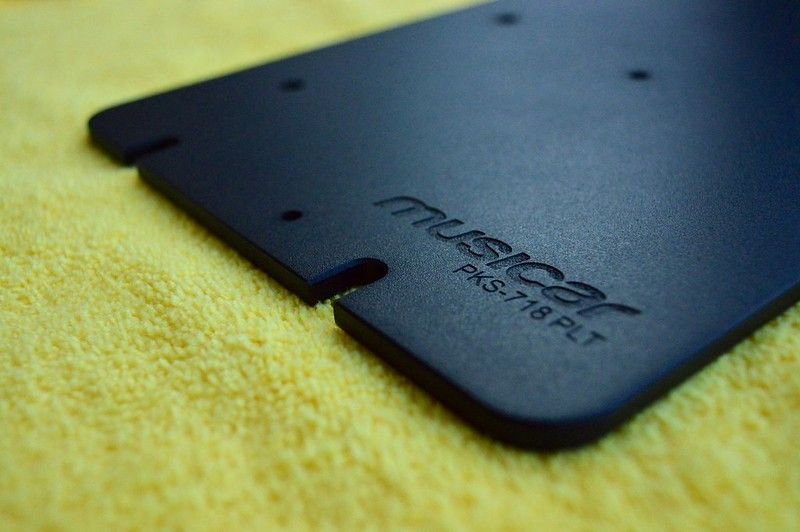
The next step was to finalize the design in modeling software and start CNC cutting the correct parts. Once those parts are cut, the hardware provisions are drilled and tapped, the magnets are embedded, and the whole piece is painted a satin black finish after a base layer of primer.
Once the piece itself is fabricated, we also designed and laser cut a template for the machine work needed on the rear bumper. This is aligned through the factory plate screw holes and then machined from the back side to protect the painted surfaces.
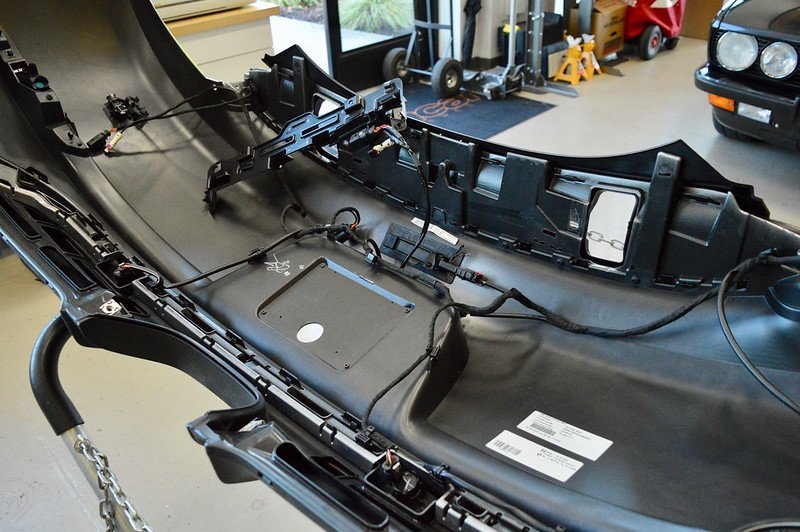
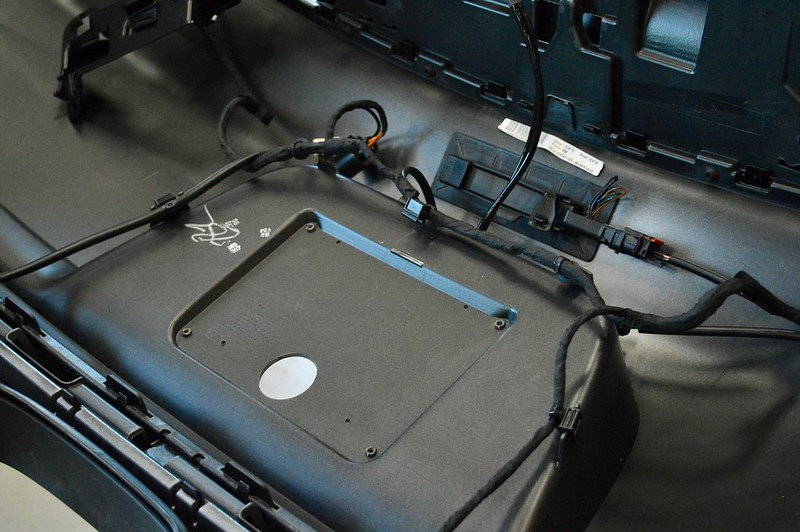
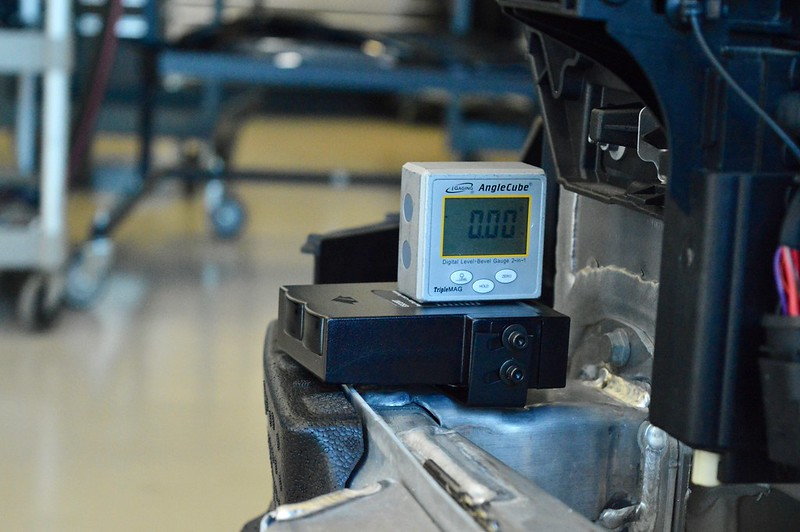
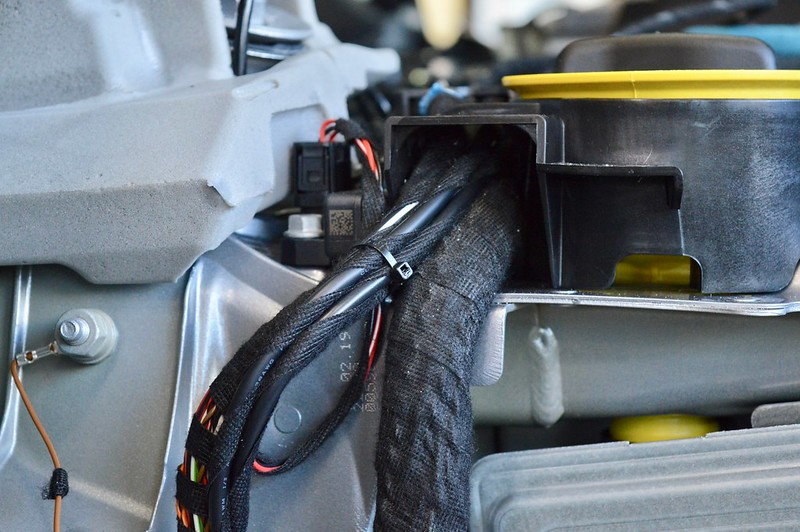
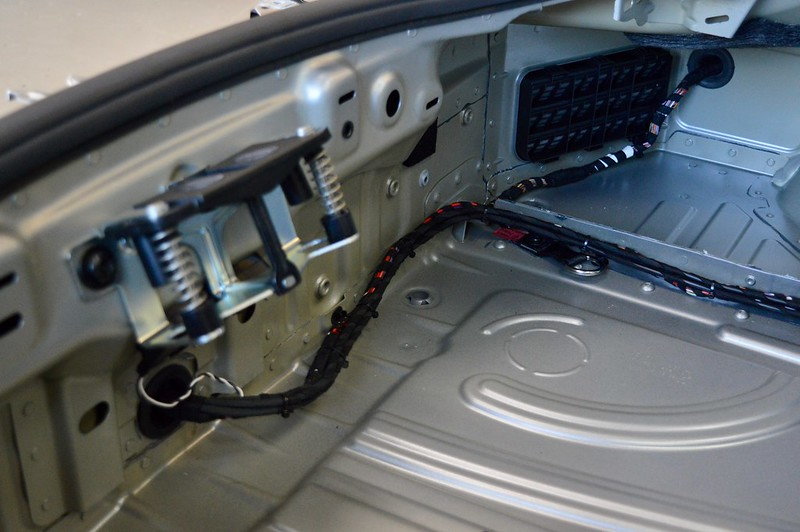
And finally, the last element before reassembling the rear end is the radar antenna. We install that attached the the rear core bumper support using a digital level to make sure we're perfectly aligned with the road. Once that's done, we run all of the wiring for the rear radar and laser up to the front driver's seat where all of the core interfaces will live. It's important to us that the wiring looks factory and takes the same path as OEM wires.
That's it for now, I'll post up more of the build as we move along and I get the time to get the photos off the camera!
Looks like a solid install, very interested in the rest of the photos/process as I am currently contemplating doing something very similar in mine. Was thinking of going with Radenso for the radar, any thoughts on that compared to the Escort?
Really like how you machine the AL heads into the rear number plate. Really Stealth. I wonder if you could work out a similar solution for the front?
Also where did you fit the front antenna behind the front bumper and does it work ok through the painted plastic? There is not a lot of space on the front what with the three radiators.
Looks like a solid install, very interested in the rest of the photos/process as I am currently contemplating doing something very similar in mine. Was thinking of going with Radenso for the radar, any thoughts on that compared to the Escort?
The Radenso system is a great performing unit, we're just not a fan of the form factor. Having the display and controls in one unit makes it difficult to make everything ergonomic. Also, with the ALP integration, you lose a lot of the great features of ALP's HiFi alerts like voice announcements on which gun is hitting you and what direction it's coming from. Not a bad choice at all, just not the right choice for how we like to configure our systems for our clients.
Originally Posted by donR
Really like how you machine the AL heads into the rear number plate. Really Stealth. I wonder if you could work out a similar solution for the front?
Also where did you fit the front antenna behind the front bumper and does it work ok through the painted plastic? There is not a lot of space on the front what with the three radiators.
We're actually working on a Golf R right now that we're fabricating a front plate mount for with laser embedded. I'll try to share some photos when we're done in the electronics section. We actually use the IR-Transparent acrylic lenses on a lot of the systems we build. Check out this thread from a while back on a GT3 Touring: https://rennlist.com/forums/991-gt3-...r-jammers.html
As far as the radar antennas, mounting behind the plastic bumper is perfectly fine. You do sacrifice a minuscule amount of performance, but not enough to make a big enough difference on a system this powerful. The photos below will show you where we installed the front antenna.
More Progress
The front end is all wrapped up now, and we'll get some finished photos towards the end of the project, but here are the beginning stages. We started off by taking some measurements and finding the angles so that we could align the jammers properly. The allowable tolerance is +/- 3ş with the Anti-Laser jammers, but we aim for a 1ş or less tolerance to make sure they're as perfect as possible.
For the radar receiver to fit properly, we actually relocate the factory horn a few inches higher to allow for adequate room.
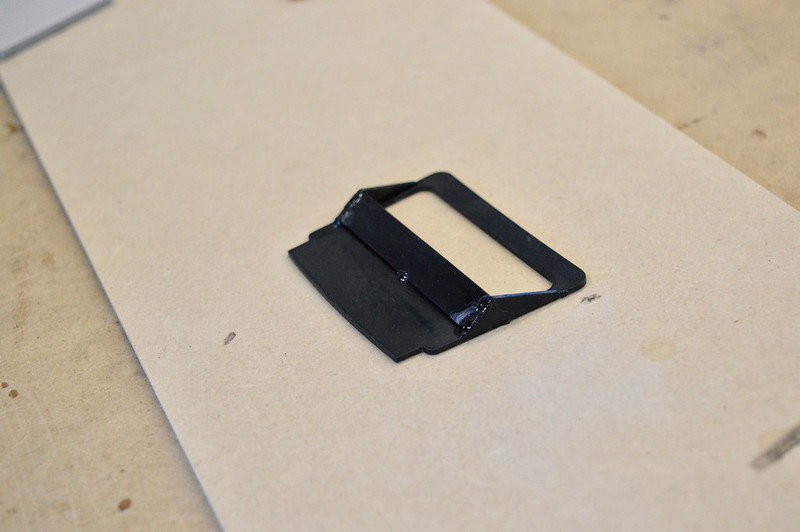
As I stated originally, we didn't want to drill holes in the bumper, so in this photo you can see the backing we fabricated on the factory plate mount that allowed us to use double-sided tape to adhere it. we're also attaching the center jammer to the bottom of the plate mount so we wanted to make sure this piece had zero chance of falling off – hence the three large strips of adhesive.
For the outside laser mounts, we used a bracket that clamps the jammer in place. We got the correct vertical positioning by using standoff hardware that was drilled and tapped into the core bumper support beam.
Here are a couple photos of the final mounting location for the front radar receiver. The new M7 from Escort is very large, so it does make it difficult to find the space, but luckily after relocating the horn we were able to place it on an aluminum bracket that affixed to the bulkhead. In this position, the only plastic it has to pierce though is the think black fascia around the center bumper opening.
The last step is mounting the GPS antennas for both the Escort and the Anti-Laser on top of the bumper support. Just like the radar, these can gather signal through plastic with no problem, so once the bumper cover is reinstalled they'll be hidden but still get perfect reception.
That's it for now – moving on to the interior tomorrow!
Update on the build today – onto the interior components!
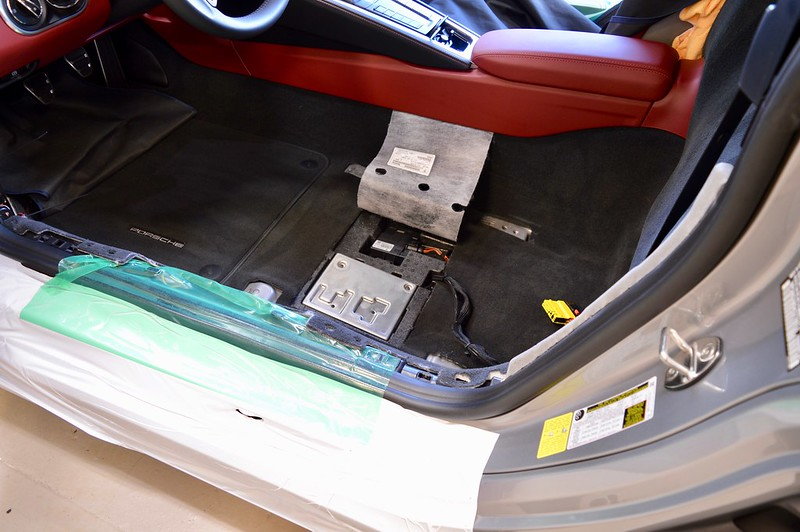
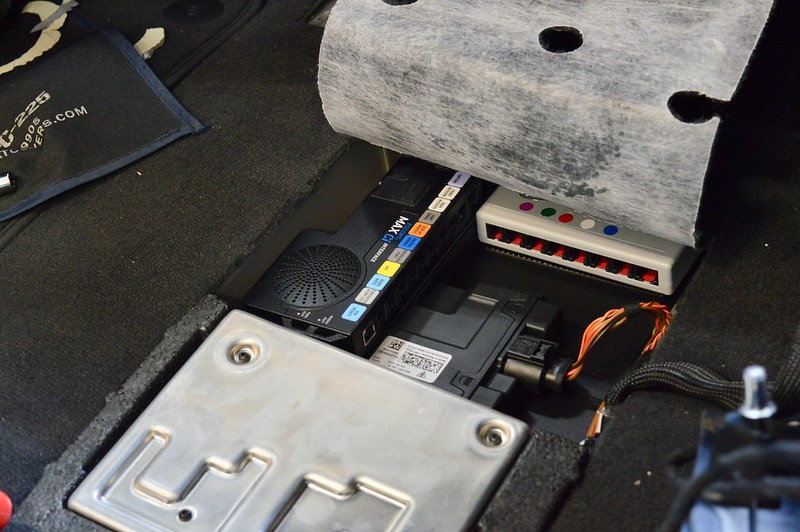
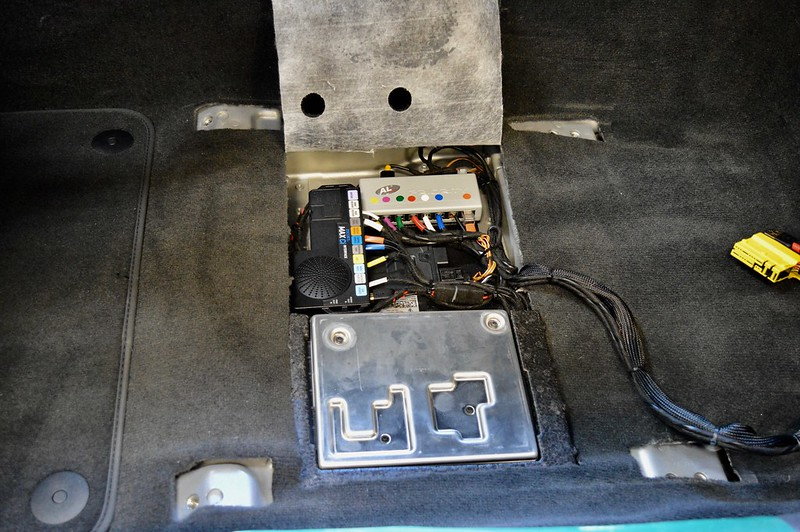
There's a fair amount of wiring involved in these systems, so getting everything managed and ran to the core interface modules is a huge part of the interior work. For most of the 991/981/781 platforms we have enough room under the driver's seat to mount all of our pieces. In this system, like most of them, there are some factory modules under there, and one of them needed to be relocated to our new mount.
We started by designing a mounting bracket that used factory hardware points already under the seat. The radar, laser, and factory interface all mount to that and then bolt into place under the seat. Once that setup is done we can route all the wires. One thing we spend a lot of time doing is trimming all of the wires to the right length. The last thing we want to see after all this work is a spaghetti bowl of wires or a huge bundle of extra cables.
Once that's all buttoned up we can work on the display, alerts, and control surfaces. For the display, we fabricate a new base structure that holds the piece at the right angle for proper viewing. This is all done with carefully designed pices that are laser cut and then assembled. We put the pieces together and then craft a lens panel that matches the shape and contour of the original blank panel but also has a viewing window.
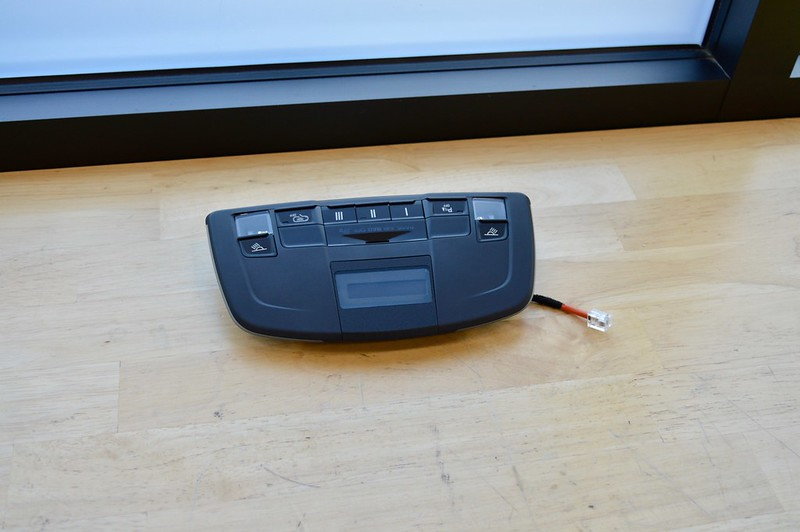
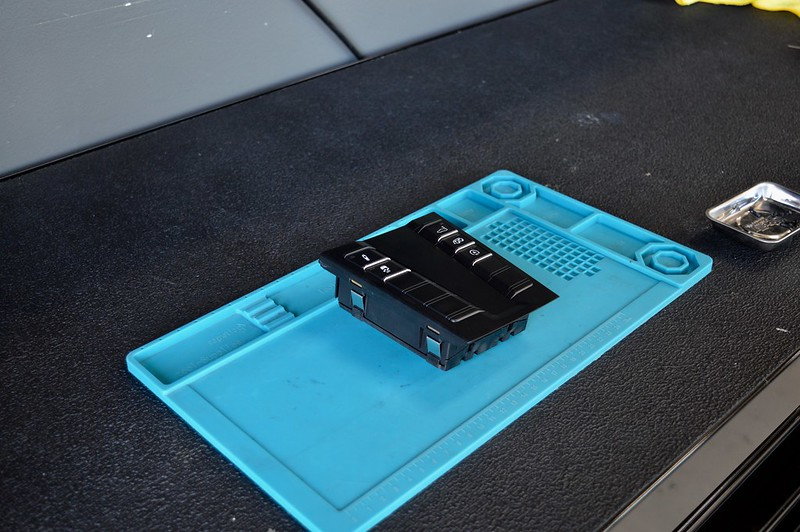
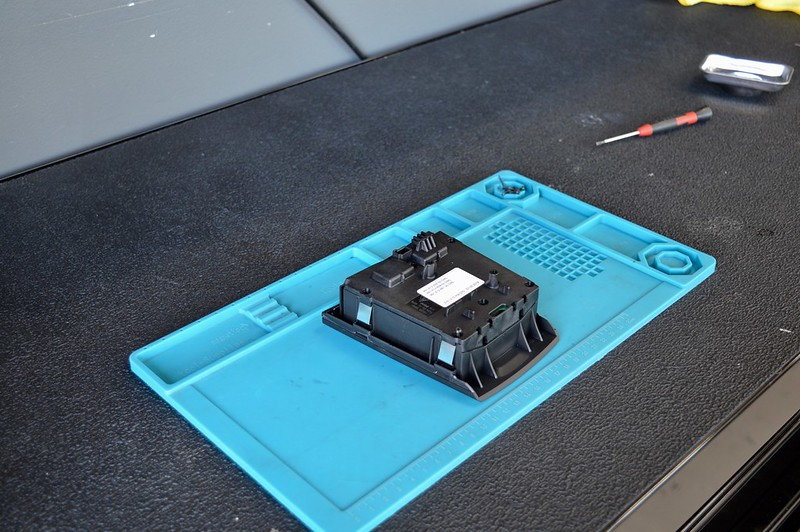
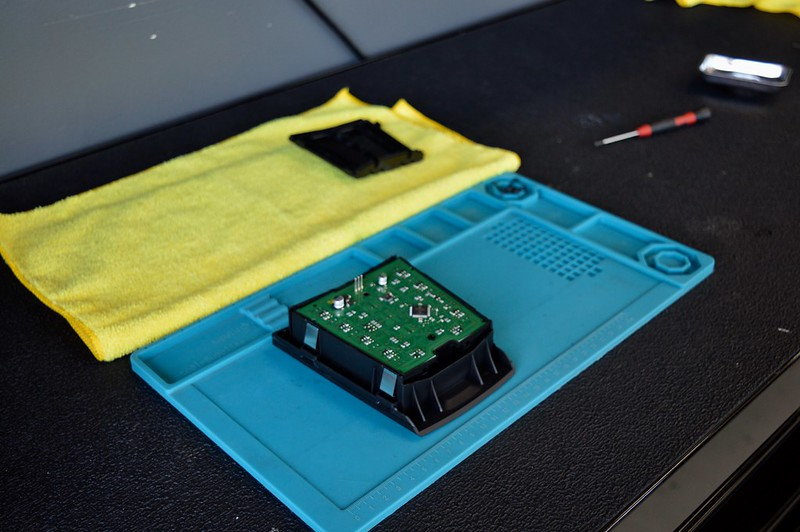
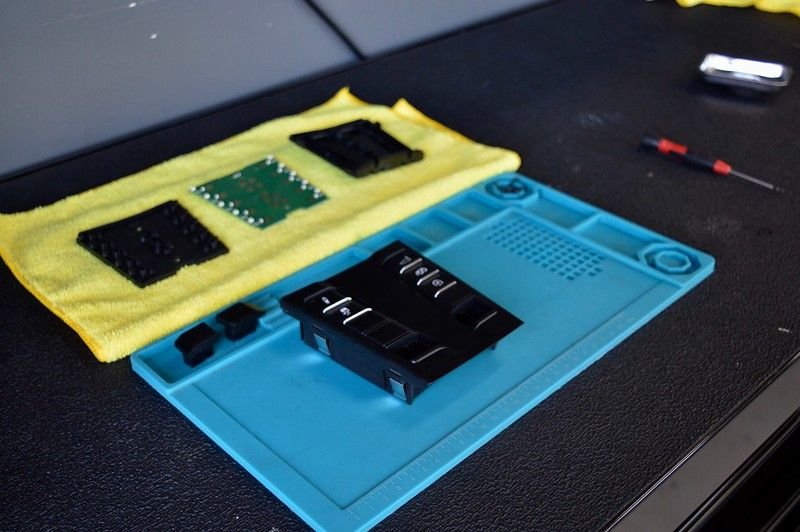
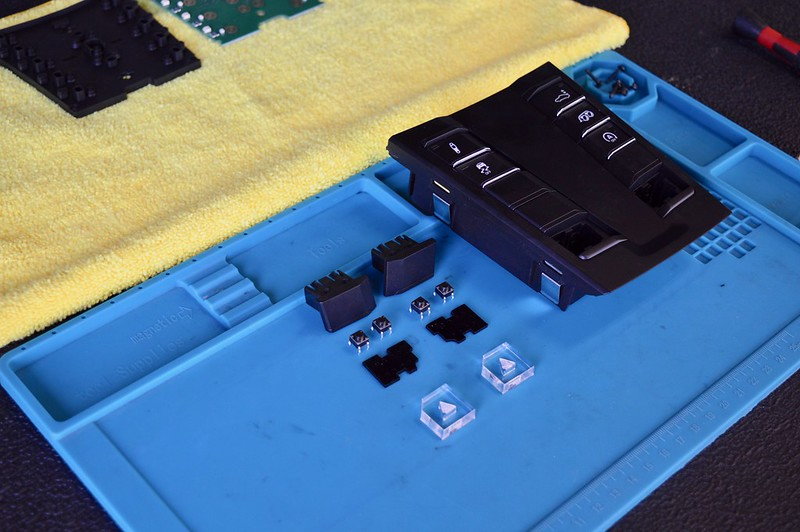
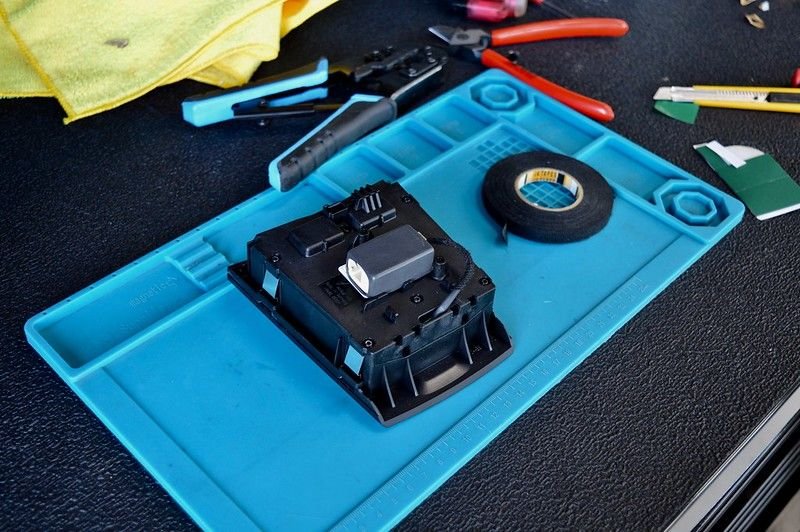
The next step is the controls, of which the largest task is modifying the factory blank buttons and converting them over to usable functions for the new systems. We actually disassemble the panel and fabricate our own button panel on top of the factory PCB. We then machine the factory blank button itself to allow for the proper button travel.
That's it for today – should have finished photos tomorrow!
... One thing we spend a lot of time doing is trimming all of the wires to the right length. The last thing we want to see after all this work is a spaghetti bowl of wires or a huge bundle of extra cables.
THIS —-^ is the most-often ‘forgotten’ part of installs. Bundles of cable tied-off and stuffed somewhere are pretty-much guaranteed to produce a short or broken circuit as the years and miles add up.
Gorgeous, functional, and thoughtful work as usual Nick!
THIS —-^ is the most-often ‘forgotten’ part of installs. Bundles of cable tied-off and stuffed somewhere are pretty-much guaranteed to produce a short or broken circuit as the years and miles add up.
Gorgeous, functional, and thoughtful work as usual Nick!
Thanks! We definitely care a lot about things that nobody ever sees. Funny enough, it used to be that if you coiled up the slack in the laser jammers they would pick up EMI related false alerts.
Originally Posted by MTB_KAB
Impressive install - can't wait to follow the rest (wishing I was closer to you guys, so I could bring mine in next)
Ask and you shall receive! ( also, we ship cars back and forth – just sayin' Ż\_(ツ)_/Ż )
For your viewing pleasure, here are the finished photos:
Hi, Great work and love the attention to detail. Well done! Question: Why not use a TX up front? I understand it to be most effective at defeating Dragon.
Have you tested the car against laser guns? I had almost the exact same setup on my 987 (3 rx front) and got a crazy amount of punchthroughs against the DETC (Dragoneye compact - the hardest gun to jam).
Hi, Great work and love the attention to detail. Well done! Question: Why not use a TX up front? I understand it to be most effective at defeating Dragon.
The TX head needs to be at least 18-20" off the ground to function properly. Unfortunately that makes it unusable on the front of Porsche cars.
Originally Posted by Shock28
Have you tested the car against laser guns? I had almost the exact same setup on my 987 (3 rx front) and got a crazy amount of punchthroughs against the DETC (Dragoneye compact - the hardest gun to jam).
We don't have a DETC here at the shop yet, but t's been tested thoroughly with the Stalker XLR. Jam to gun and Jam from gun on all tests. That said, we've tested this exact setup in a 911 against DE and it was JTG 98% of the time with the only PT's coming in at less than 200ft on the headlights.


 10-09-2019, 04:39 PM