How to Apply Rubber Conditioner Without Making a Mess
One little inexpensive tool keeps your seals and plastic trim looking like new with minimal effort.
Having a flawless paint job is certainly great. But if your rubber seals and black plastic bits are a faded shade of light gray, that sparkling-clean paint is going to get overlooked.
Sure, you could just replace all of those parts with new ones. But that’s expensive and impractical. It’s also unnecessary since there are plenty of great aftermarket rubber conditioner products that will make your seals and plastic trim look like new.
The problem with these products is that they can be quite messy. This isn’t the kind of stuff you want to get on your paint, glass or other surfaces. But that’s easier said than done. So, when we ran across this post by Rennlister Detailed Designs, we were obviously intrigued. We’ve long admired the work Jean Claude does in his Atlanta shop, so we figured this tip was worth a look.
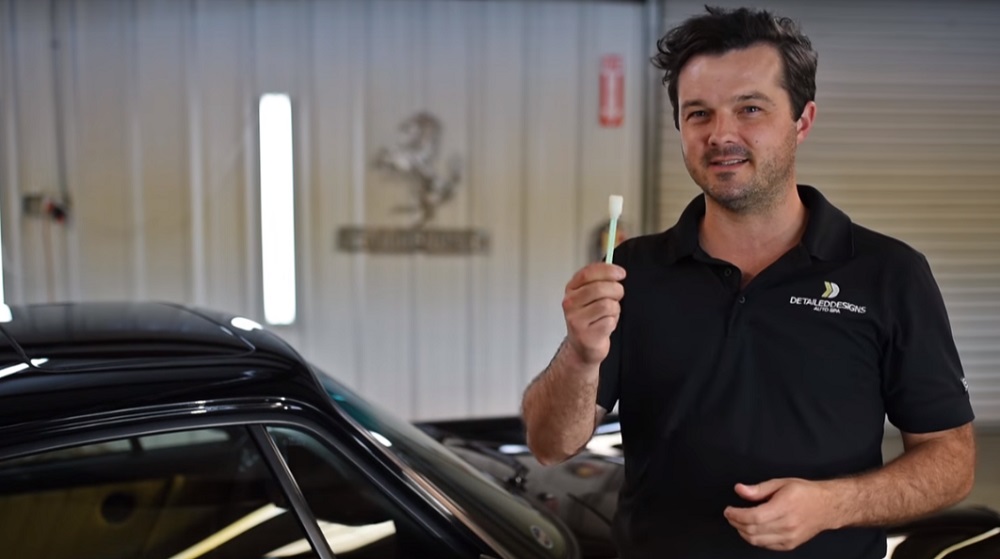
Jean Claude rightfully points out that the mistake most people make is using an applicator pad or microfiber cloth to apply rubber conditioner. The solution? An applicator stick, which allows a much greater degree of precision. They look kind of like a giant Q-tip, but with more of a flatter tip.
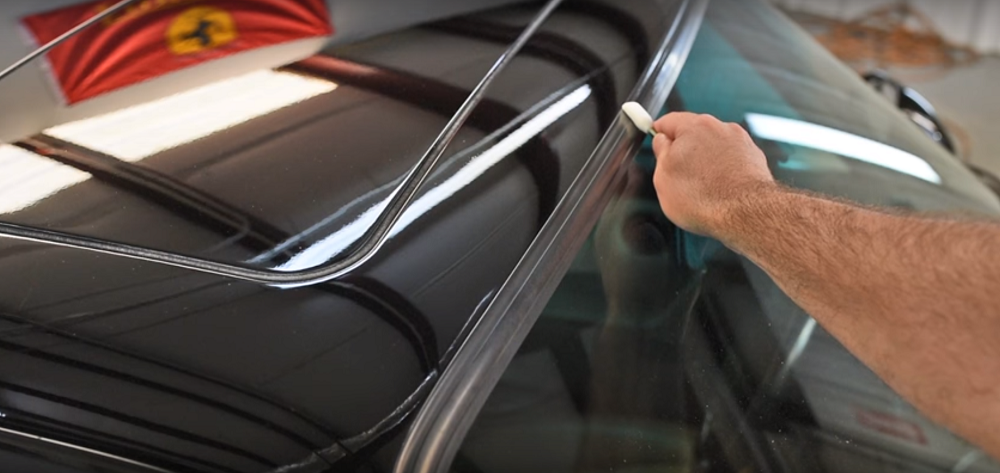
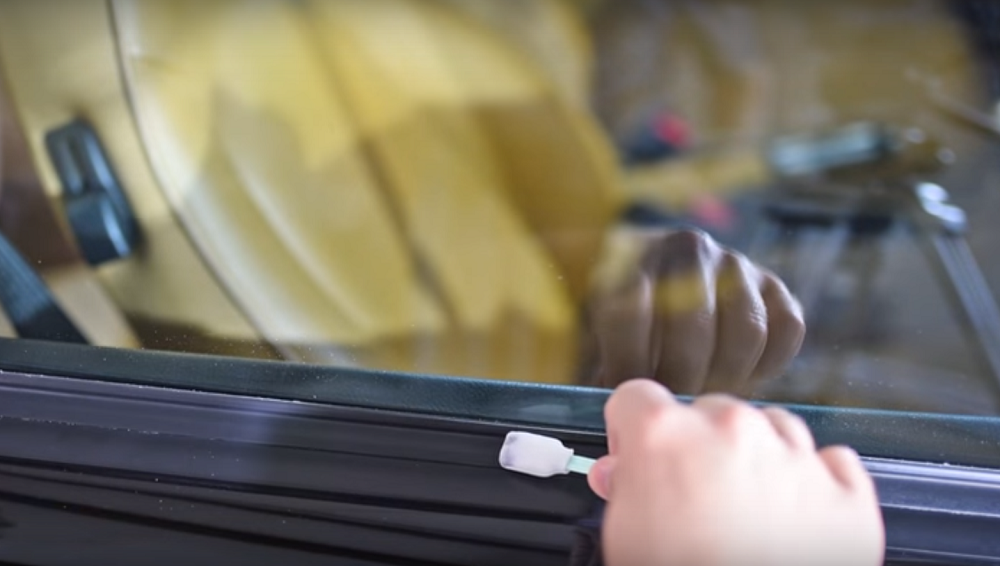
Once you’ve applied some rubber conditioner to the tip, it’s a matter of using your finger as a guide to ensure you’re conditioning the seals. Not the paint or glass. The sticks even work great in tight spots like the door seals on the 964 Turbo used in the video. The best part? These applicator sticks are downright cheap.
The results, as demonstrated in the video, are obviously great. Obviously, we’ve used smaller cotton applicators for jobs like this in the past. But this looks like a far superior solution. Conditioning rubber seals and plastic parts is something we can all benefit from doing more frequently, as it helps prevent them from fading. So, a big thanks and a hat tip goes out to Jean Claude for sharing one of his detailing “secrets!”