When you click on links to various merchants on this site and make a purchase, this can result in this site earning a commission. Affiliate programs and affiliations include, but are not limited to, the eBay Partner Network.
Bringing this thread back up as a reminder to check your pins!
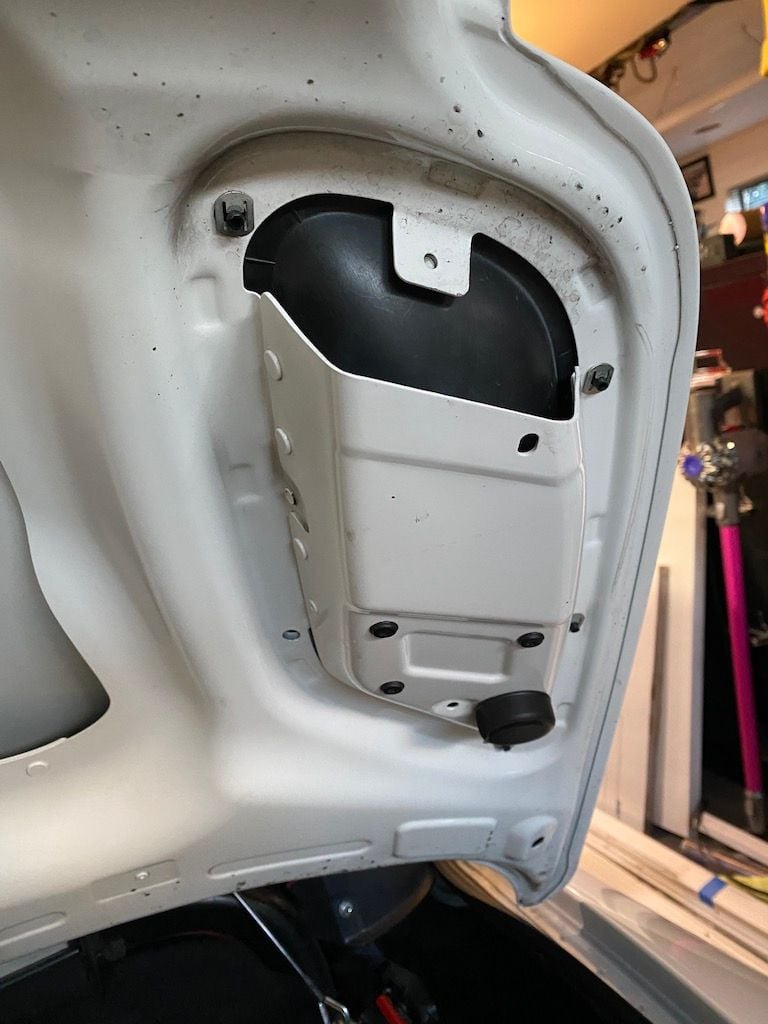
One pin on the left panel has now fallen off -- leading edge inboard -- same position as the broken pin on the right side panel.
I followed the simple idea of RTV glue (post #2) at the leading edge on the right side and no additional pins have broken over 1 year later (post #33 on 1-22-2023). Will do the same now on the left side.
Here is my fix.
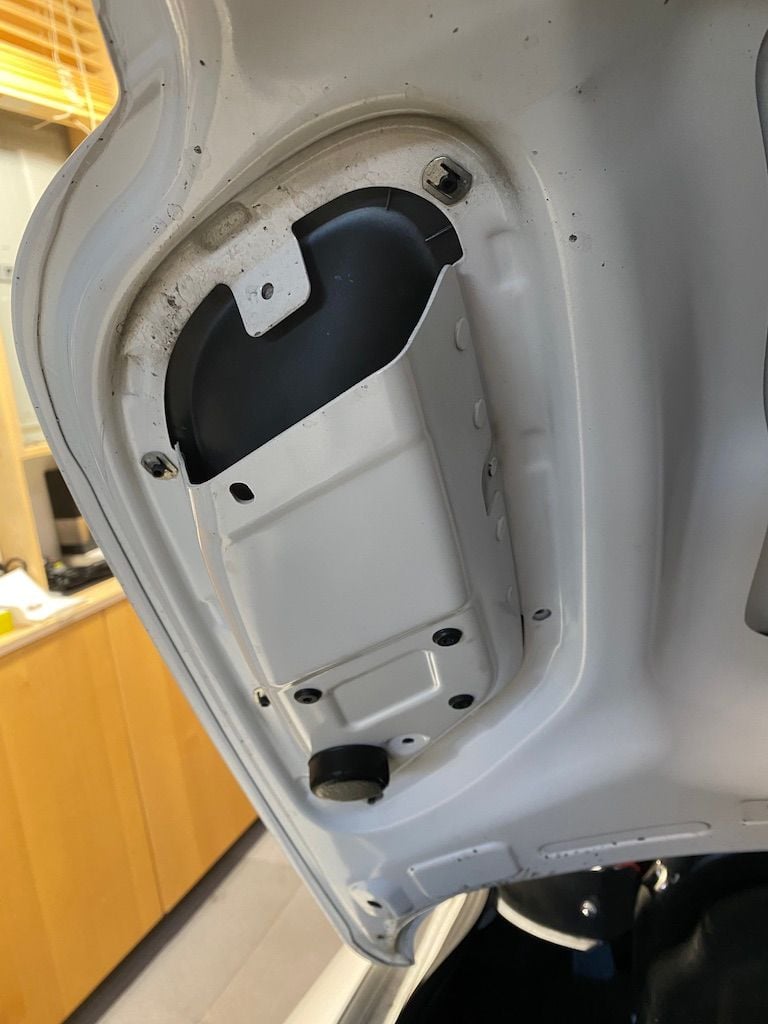
Right side panel -- only the one missing pin after one year adding the RTV sealant
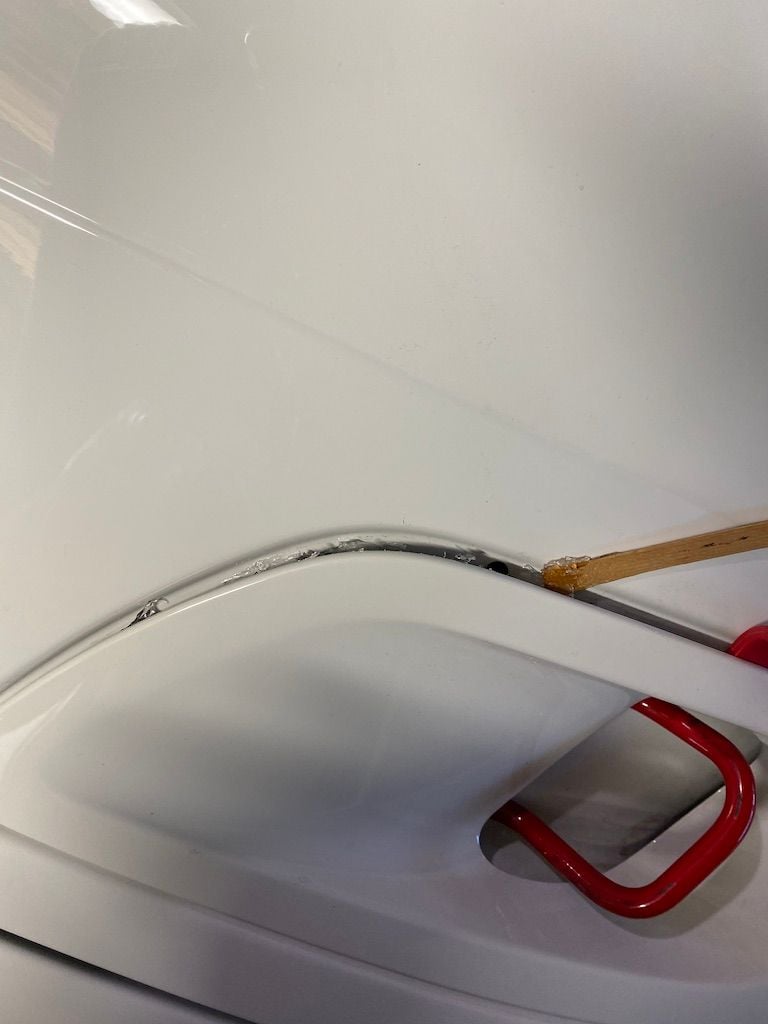
Left side panel -- broken pin on the inboard leading edge
plastic removal tool to lift and hold the panel before adding the sealant
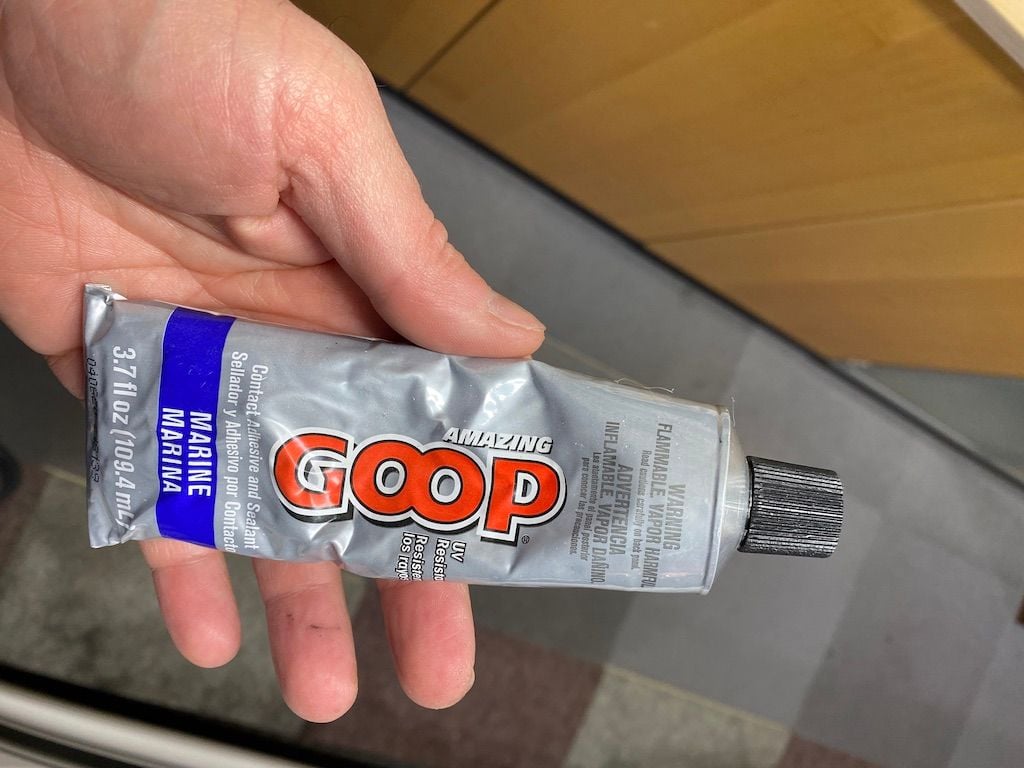
RTV sealant I used last time
using a piece of wood to put the sealant in
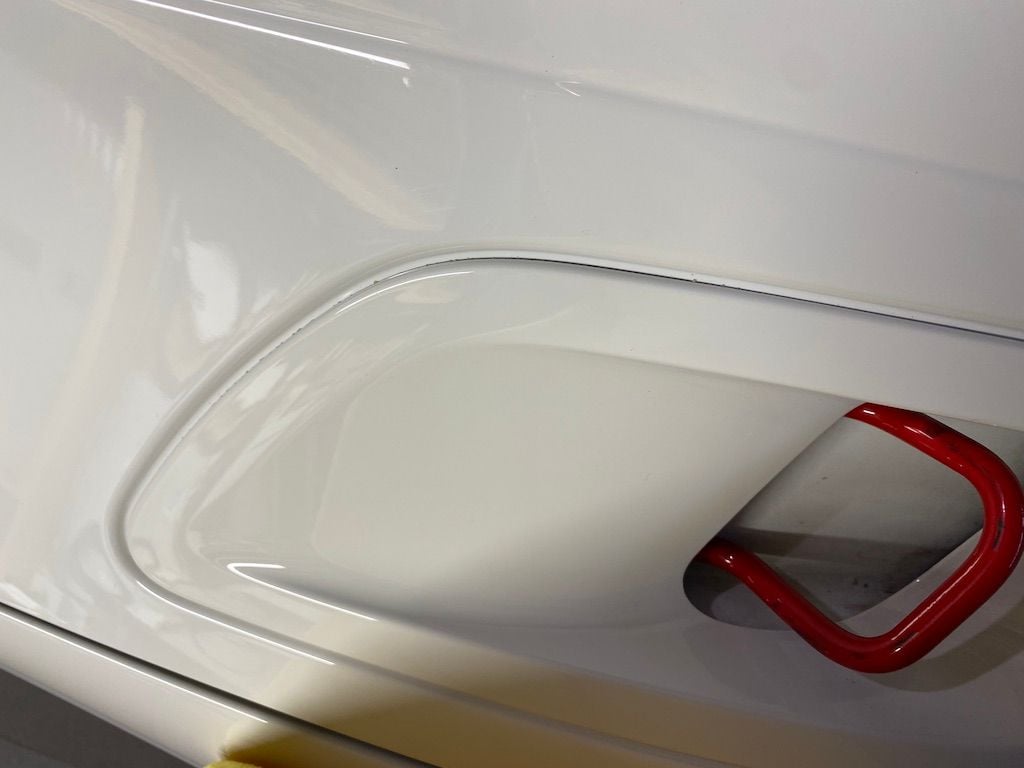
Left panel after sealant and clean up -- still could use more detailing ;-)
Last edited by will007; 02-02-2024 at 09:51 PM.
Reason: more info
The reviving of this post is particularly timely as both my red angle brackets are chipped and I have new ones (pure Spyder ****! ) to install. I was HOPING that simply undoing the fillister bolts would allow their swap in and out but no, it's too tight and I'll now haveto un-hook (break) the clammping washers to remove the cover.
So, going into this, expecting to break some ****, there's good ideas to get it all buttoned up at the end.
Thanks everyone. I'll post pics when I do it.
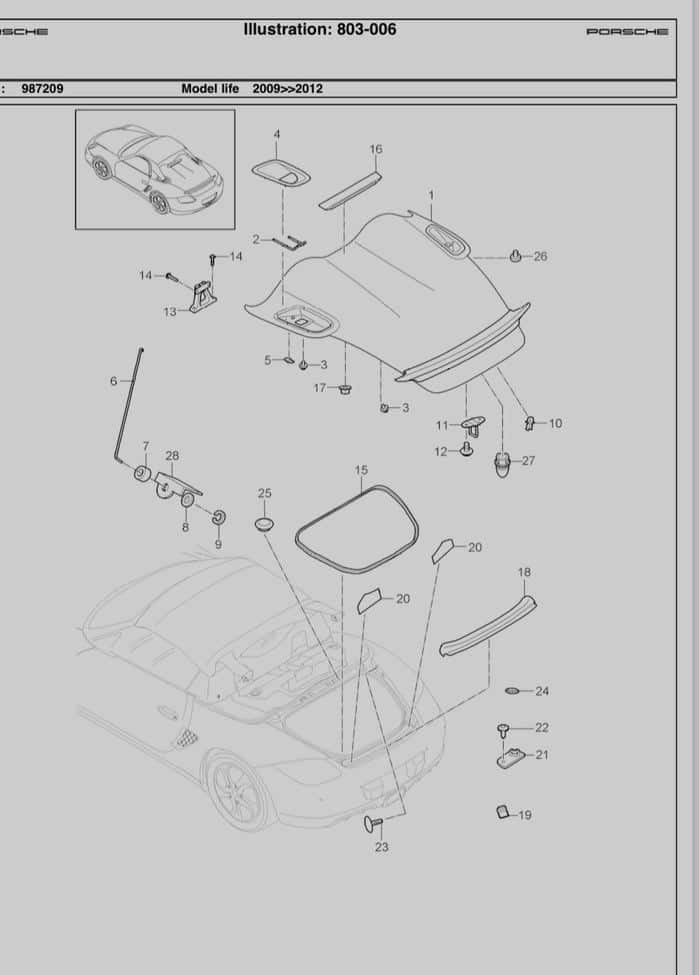
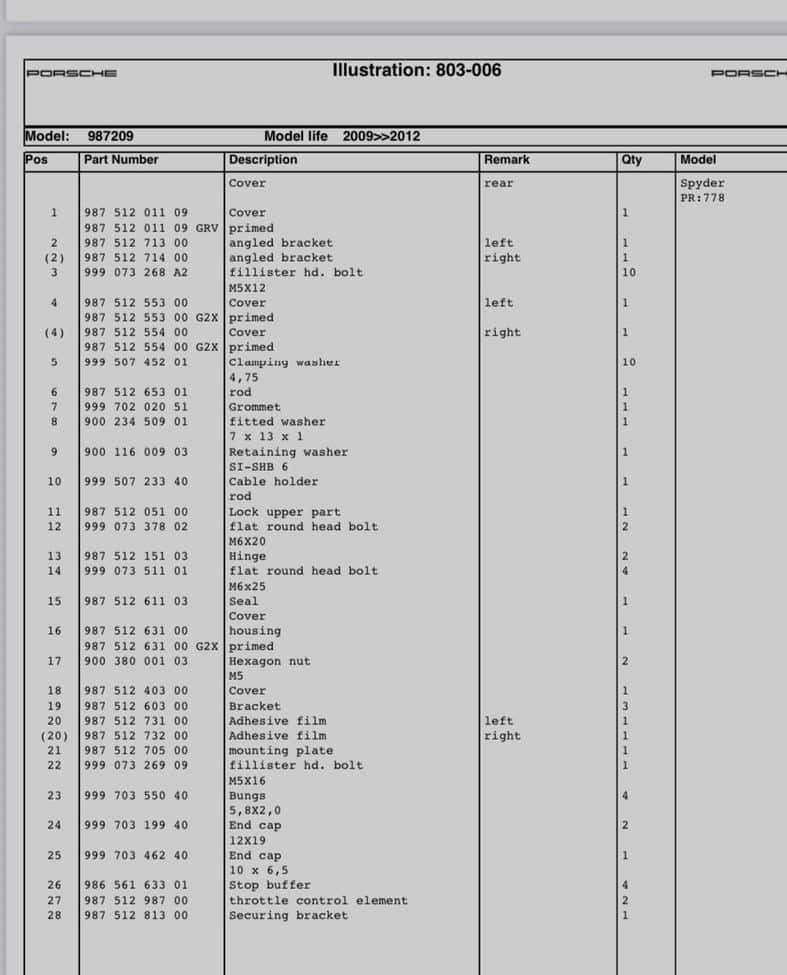
For reference, here's the exploded diagram and parts list of the areaaaaa;
As our cars age it’s good to have everyone chime in with your observations and findings. This cover is clearly an area that wasn’t engineered for longevity and we are all now seeing the results of that. I have the same two tabs (one on each side) broken on my Spyder. I first made the observation about 7 years ago now but fortunately I haven’t seen any of the other tabs brake nor have I seen any evidence of lifting or movement of the cover since they broke. Most of my driving is with the top off for reference.
Joel I’m curious to see how it goes with your cover removal. Good luck.
Good to have that perspective from a long time owner. I also mostly (95%+) drive with the top off and the rear middle glass panel (not sure it really helps with wind or not).
Good to have that perspective from a long time owner. I also mostly (95%+) drive with the top off and the rear middle glass panel (not sure it really helps with wind or not).
Most of us here too at 95% top-down drivers. And many now not tensioning the top if it's just for storage.
 02-02-2024, 09:12 PM


 ) to install. I was HOPING that simply undoing the fillister bolts would allow their swap in and out but no, it's too tight and I'll now haveto un-hook (break) the clammping washers to remove the cover.