When you click on links to various merchants on this site and make a purchase, this can result in this site earning a commission. Affiliate programs and affiliations include, but are not limited to, the eBay Partner Network.
I�m fairly confident that you�ll break all the plastic studs if you attempt to remove the covers. Godspeed.
Agreed. The factory studs are secured to the deck lid with �pushpin locks� (sorry, don�t know the actual name). Just the simple act of taking them off will put unnecessary pressure on the studs. I�m all for preemptive maintenance, but think this one through carefully.
Good call, but leaves the "preemptive maintenance" angle unanswered. If your studs are broken and you want to make a permanent fix (MidEngineRules) that's a no-brainer. You need to do something.
But, if you have only one stud, or maybe no studs broken and you want to avoid having your cover potentially fly off, we'll need an "in place" solution. I haven't come up with one yet. Anyone?
DaveGee
I wonder if four smalls dabs of RTV in between the plate and deck would do the trick? That way it's potentially reversible as well in the future.
But, if you have only one stud, or maybe no studs broken and you want to avoid having your cover potentially fly off, we'll need an "in place" solution. I haven't come up with one yet. Anyone?
Are you willing to drill 2 small holes in your cover (one more visible than the other)? If you look at bassie81's pics, inside the decklid and above, you'll see the oblong hole in the sheet metal on one end and another corresponding round hole on the other end. Those would be places you could drill into the corresponding location of the cover to bolt the cover to the sheet metal. The bolts would not have to pinch the cover to the sheet metal to work. Bolt heads on top and washer/nuts inside the decklid. Ideally small nylon bolts with nylon washers and nuts.
I'm not ready to do this yet, although my car is black and with black bolts, you really won't notice them much at all.
Last edited by MidEngineRules; 11-08-2022 at 07:49 PM.
You guys are seriously overthinking this. Just put a little bit of the proper type glue on the tabs and forget about it. Seriously, it's been over a year since this happened to me, I've put a ton of miles on the car and no issues at all. See post 2.
Ilko, the recent posts are focussed on preventative measures. Pretty clear (“no-brainer” per DaveGee) what to do if if the cover actually breaks off. Given you’ve dug in there, what advice do you have for those concerned about losing their covers but seemingly unable to investigate. Any hacks to safely remove the covers and do a check & epoxy?
My car is under its winter garage cover so haven’t checked but… a simple measure might be inserting a small alu or plastic (think popsicle stick size) salt/bar in the slot of the cover and gluing it on the underside running fore-aft so if the cover ever were to pop off this bar would catch on the red mount bar and keep it from flying away. I’d need to see an underside photo of a cover to see if there’s any flat surface to adhere to. If this bar were dark in colour it shouldn’t be a visual issue. EDIT: I put my coffee down and went to check this out… the underside flat surfaces exist but nah, it would be too visible, even if the slat were body coloured. Maybe clear thin fishing line with the ends taped down underneath would work better.
Otherwise I’m not prepared to drill holes and lacking any safe way to check this will just go on enjoying this wonderful car without worry and deal with it and the attendant cost if and when the pin failure ever manifests itself.
My experience is that the tabs break where the metal fastener pinches them. So if you add a little bit of glue to that area you will be safe, even if the fastener is still in place. E6000 can be peeled off easily if necessary but is strong enough to hold the trim piece.
My experience is that the tabs break where the metal fastener pinches them. So if you add a little bit of glue to that area you will be safe, even if the fastener is still in place. E6000 can be peeled off easily if necessary but is strong enough to hold the trim piece.
At a minimum, one could easily inject super glue at the inside base of the hollow pegs to strengthen the bond, and as you say some glue on the outside could help with avoiding the peg being pinched apart.
8 of my 10 posts are missing at this point. One cover was affixed purely from industrial 2 sided tape and was very difficult prying it off. It would have easily stayed forever but the tape was thick enough to keep the cover from being flush with the surface and the gap took away from the clean look of the deck.
7 of my 8 missing posts broke off completely clean so that you can't tell they were ever there, including the one that caused my cover to fly off. Only 1 of mine is like you say where it broke where clamped. That one I still need to remove the nub. It's really on there well. I'm going to grind it down with my dremel so I don't lose the location molding. I do think new soild posts will be better than the hollow ones since there will be much more surface area to adhere them, and they won't get pinched apart. The limfac is all plastics aren't the same and super glue is never a sure thing when it comes to plastics. I will have some sort of tether without drilling, just haven't worked it out yet.
Went out to take a look and I guess I should consider myself lucky, only 1 post missing between the 2 sides. Looks like access to the rear section of the plastic part is easy enough, however I'm not sure something like double sided tape at the rear would be enough to keep it on if the front clips came off and air got underneath the leading edge.
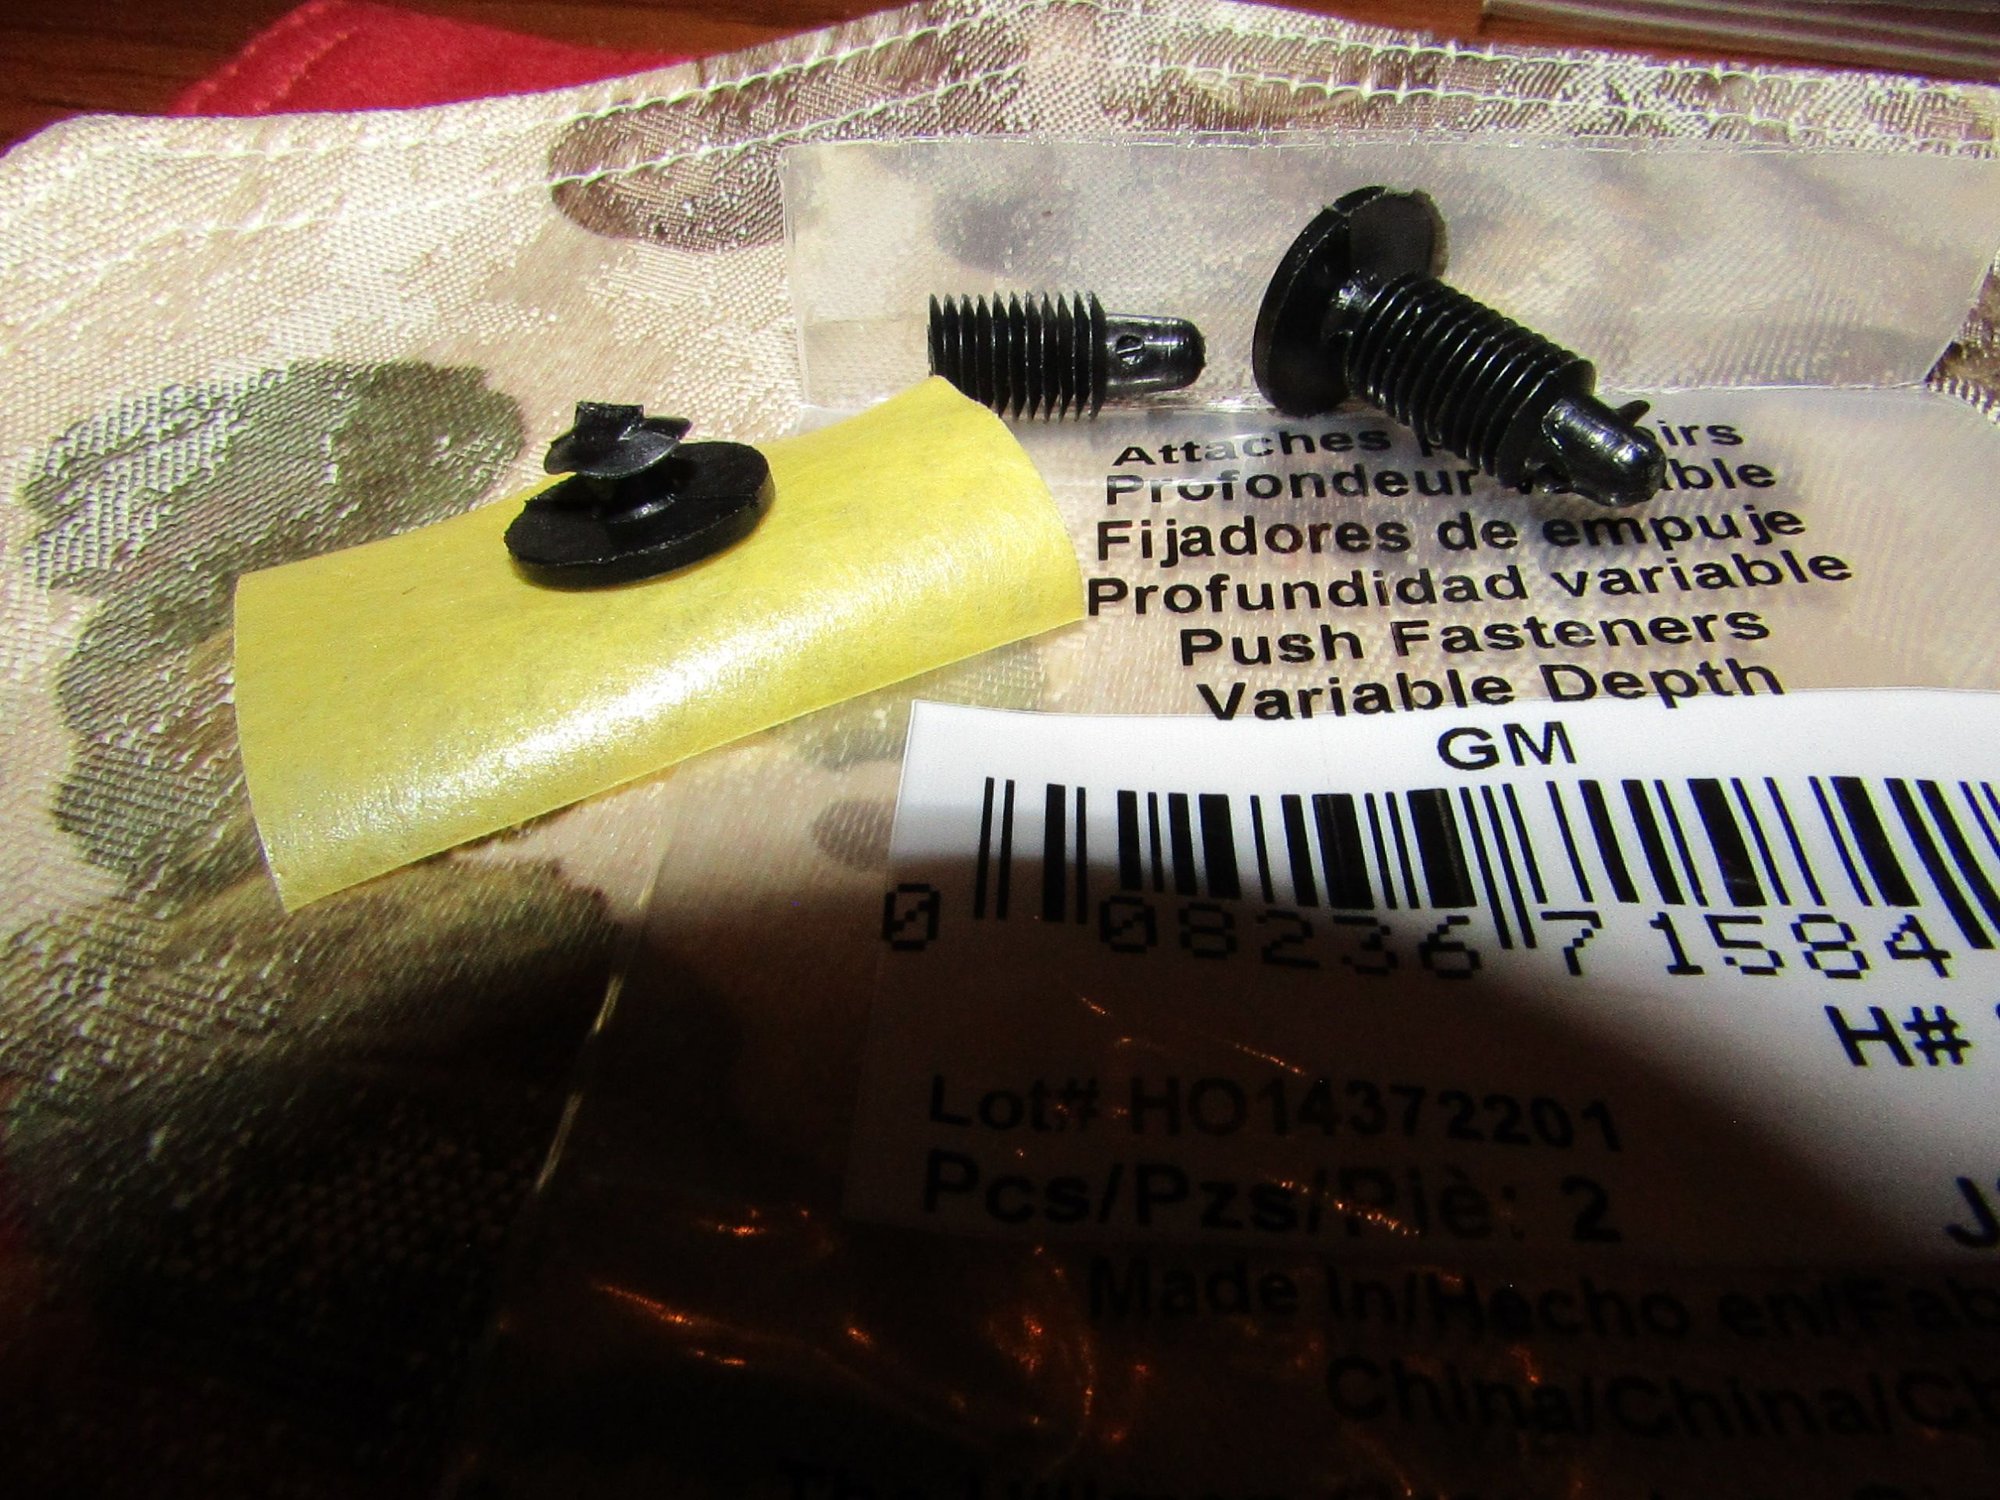
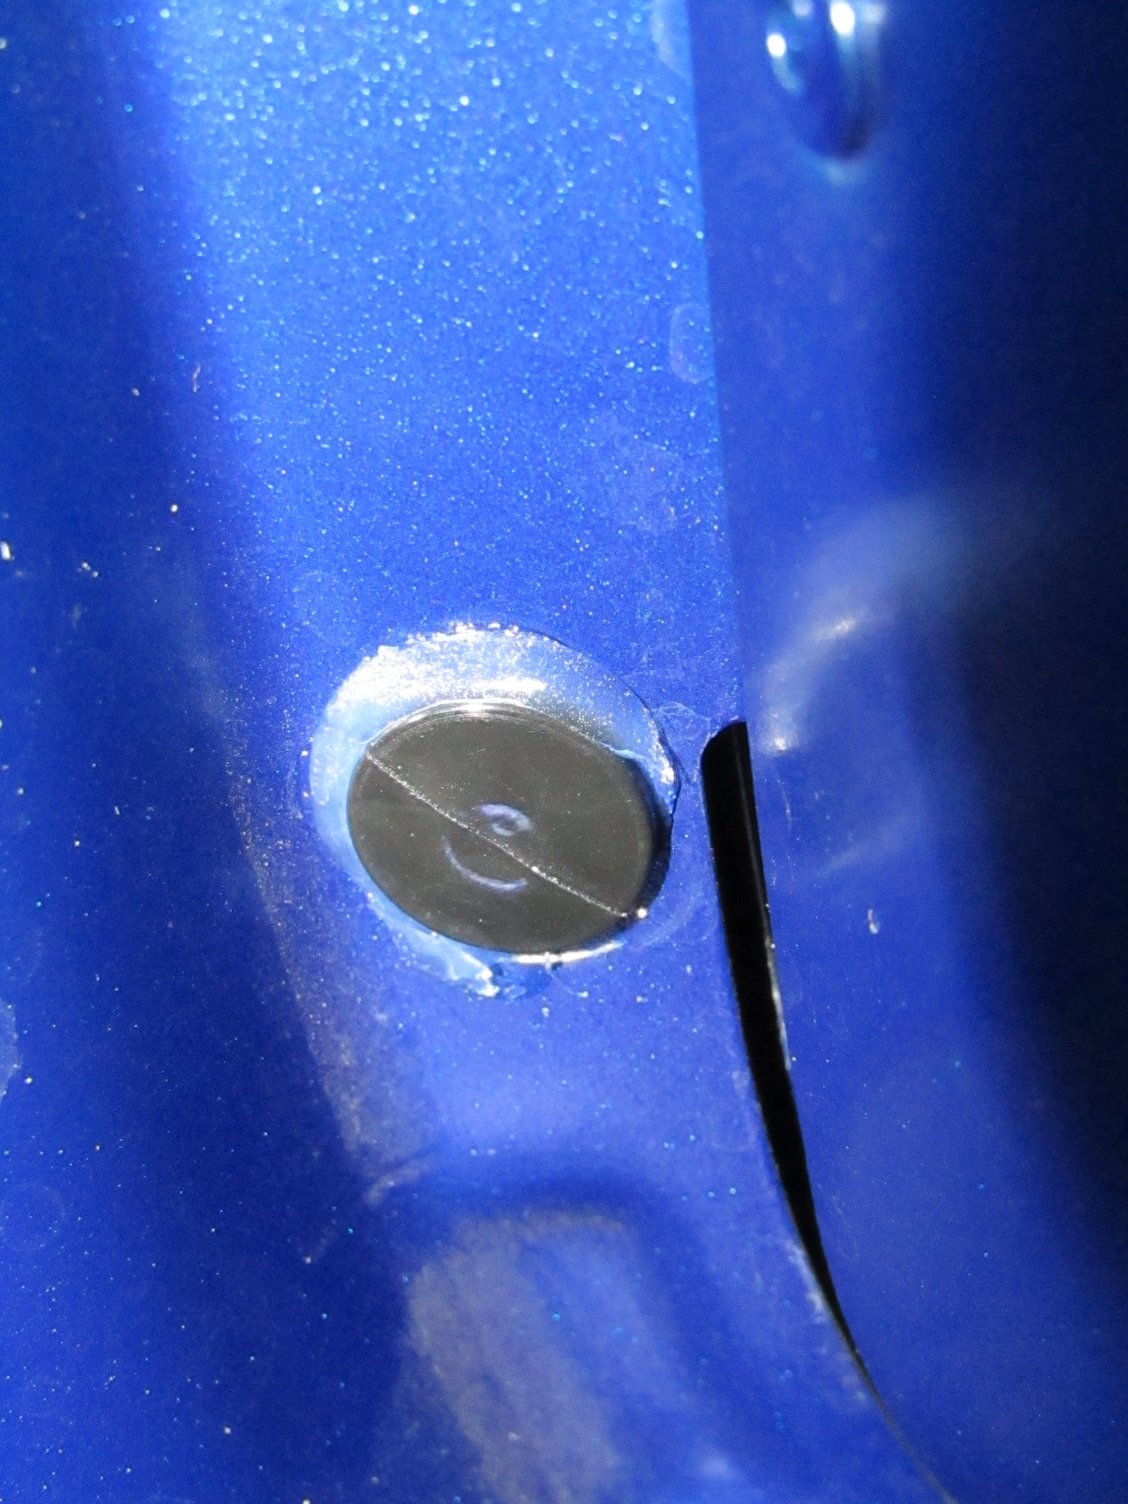
I have attempted a 96-cent fix to the problem of the missing attachment pegs, which fix seems to be holding so far, so I am sharing it.
The 96-cent solution:
My approach was to try some kind of plastic fastener whose head was of the correct diameter to cover the sheet metal hole through which the original peg passed, with the pin on the fastener approximating the geometry of the missing peg. I rummaged through the automotive fastener drawer at my Lowes and found Hillman #881193, a packet of two GM Variable Depth Push Fasteners. I used a wire cutter to sever the fastener pin at the first rib just beyond the head, creating a �stub� that would hopefully adhere to the applied adhesive.
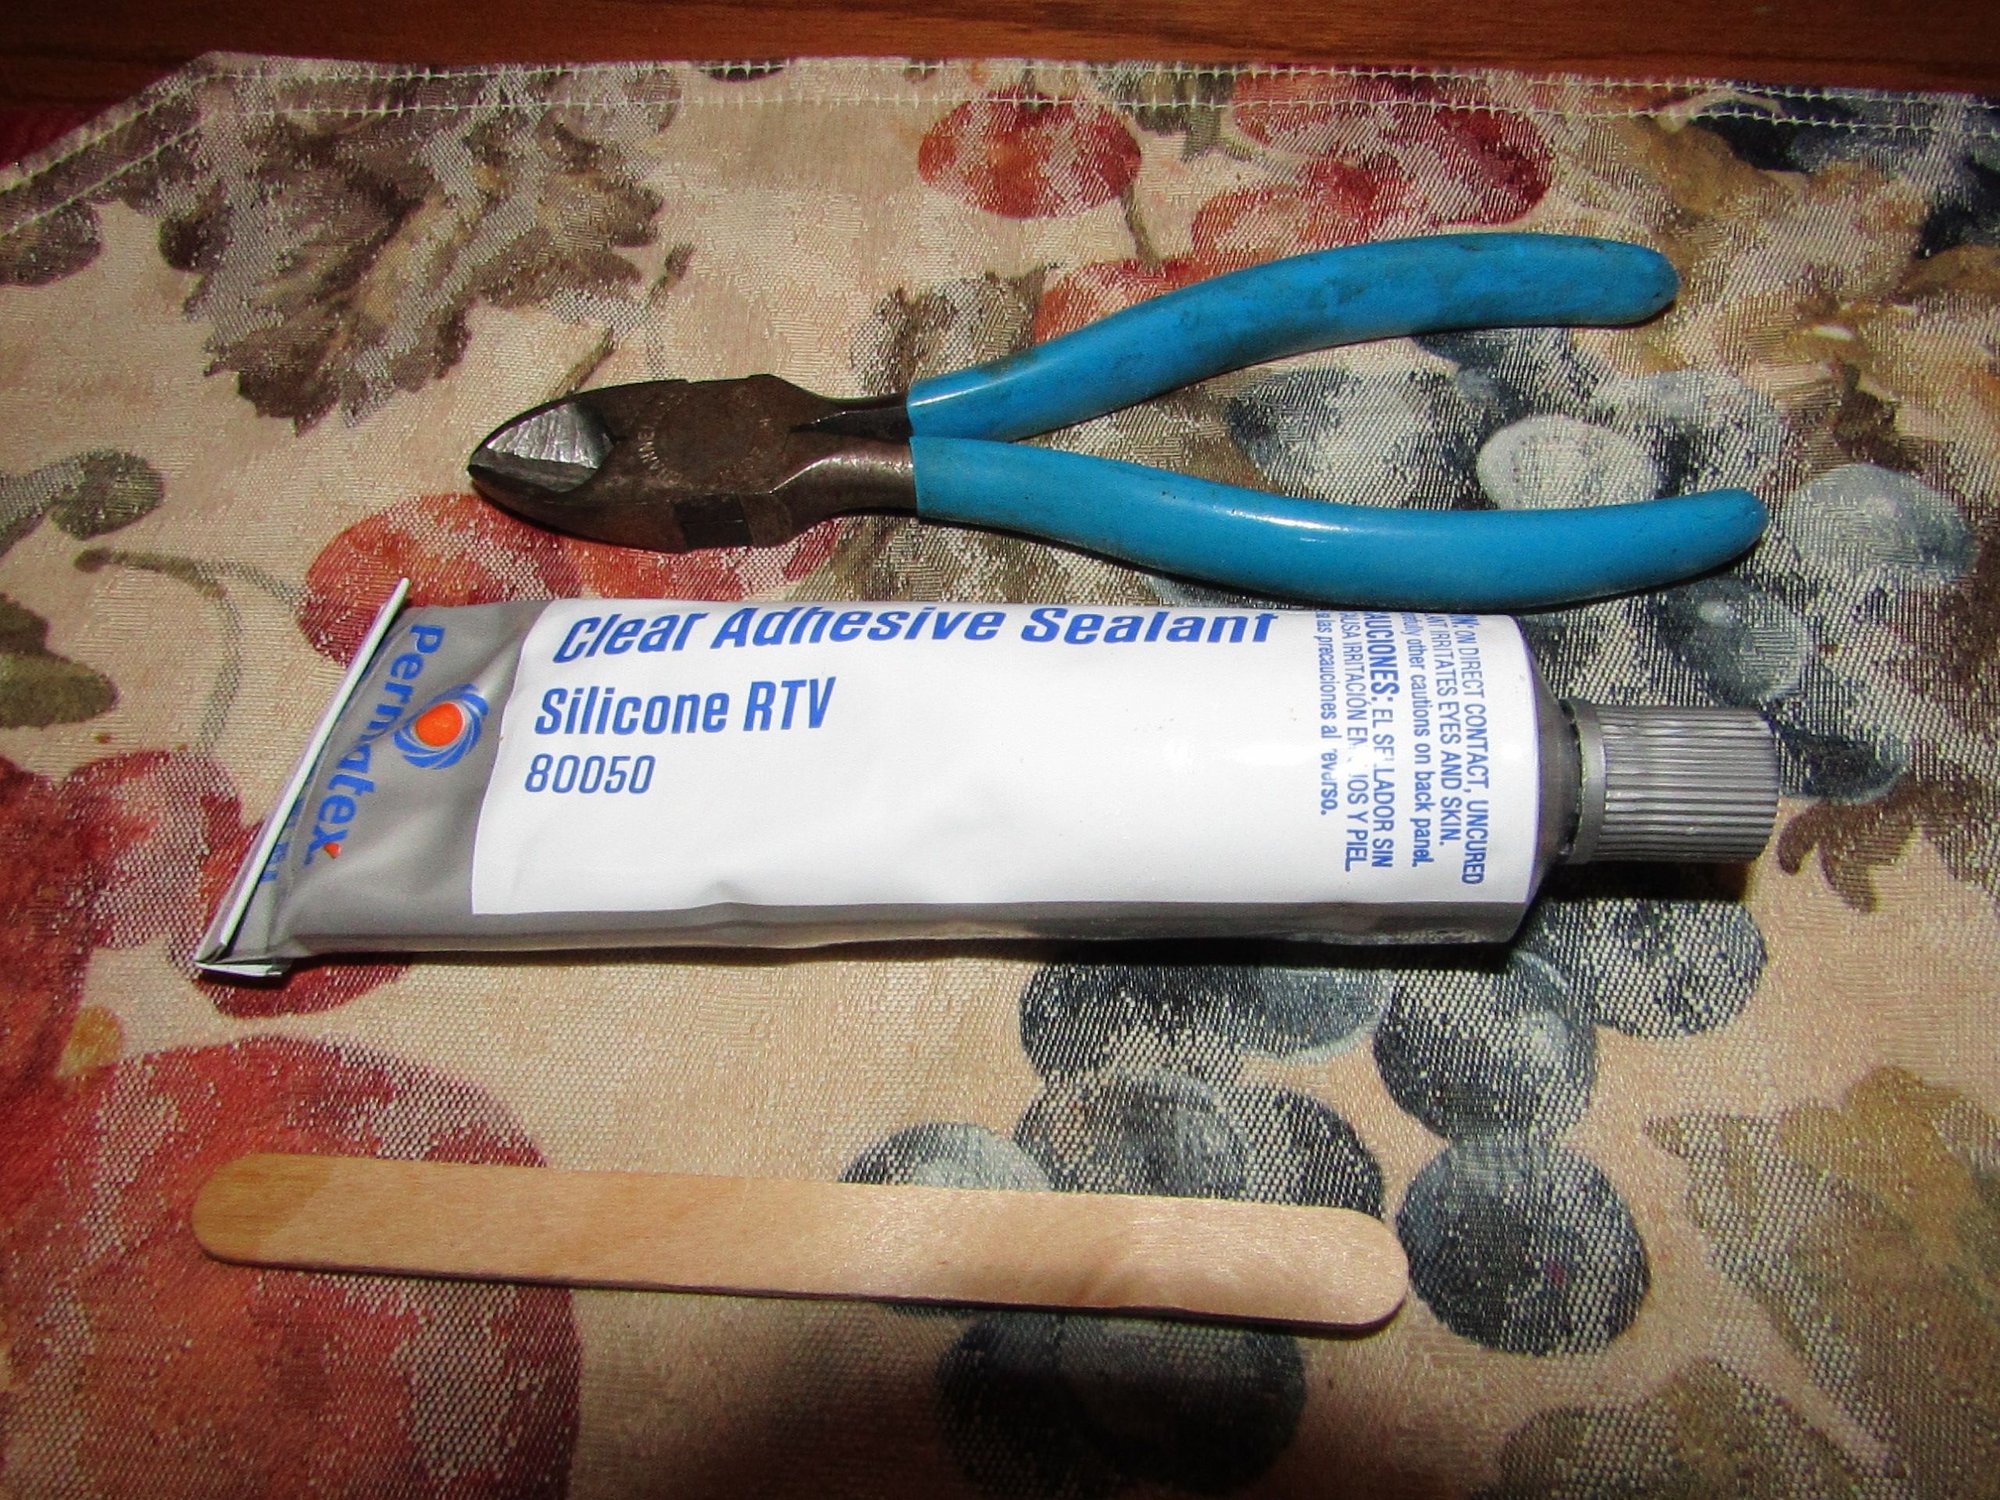
The necessary fix-it kit:
The fix-it kit included Permetex 80050 Silicone RTV Adhesive Sealant, my old wire cutters, a popsicle stick for application of the adhesive, and a piece of yellow painter's masking tape (plus the decapitated GM Fastener).
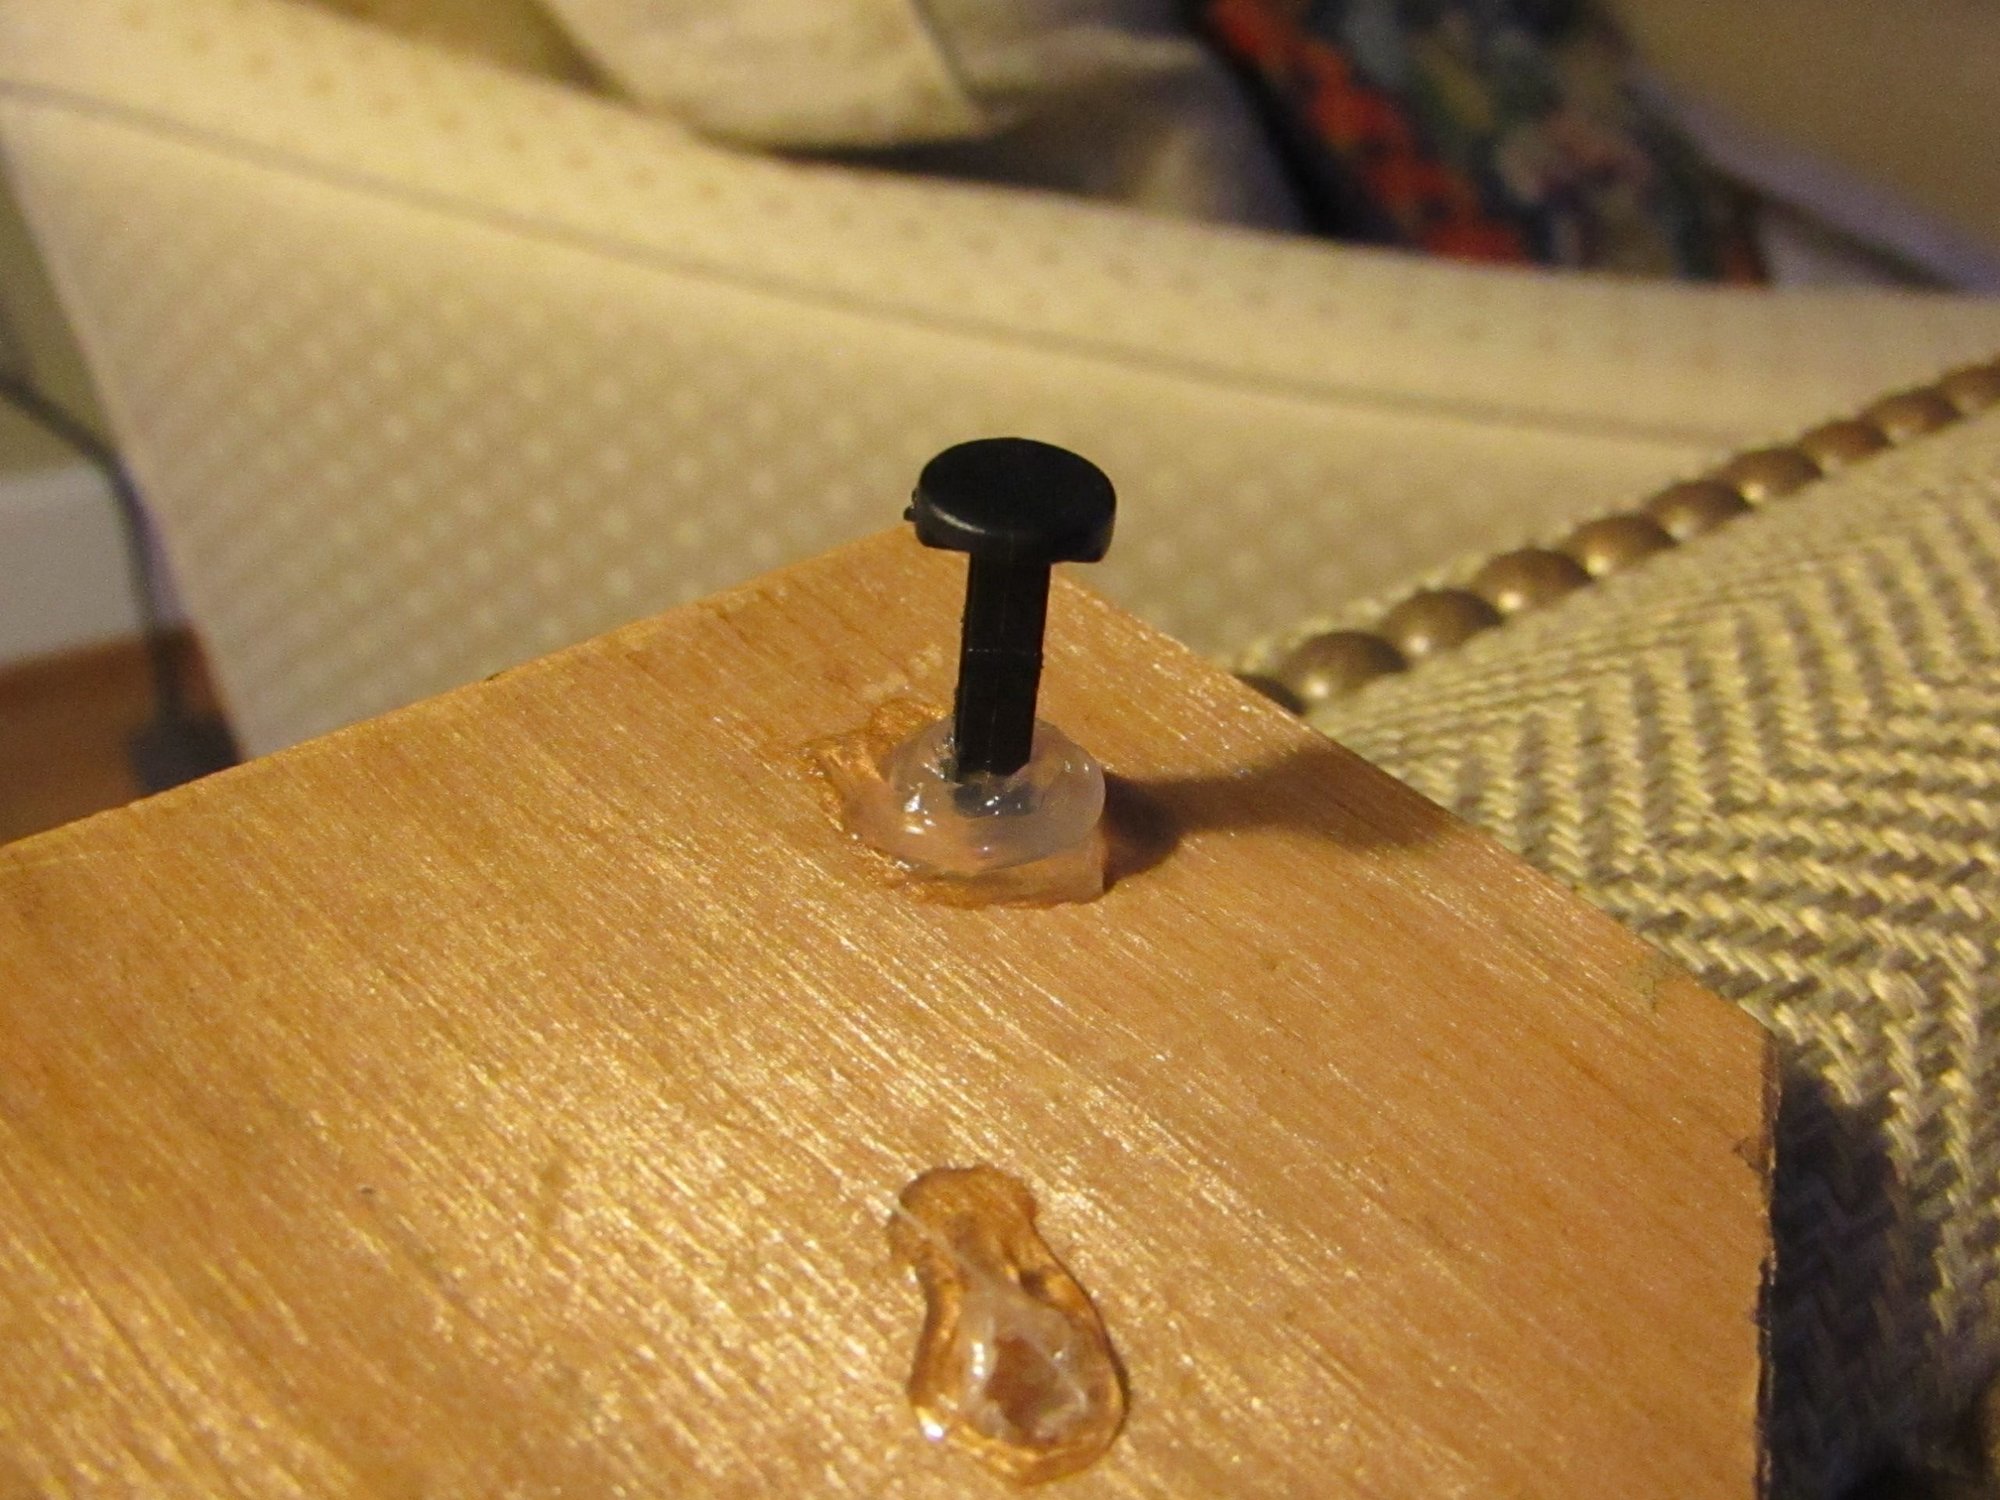
Proof of principle:
As a pre-test, I attempted to adhere a similar plastic fastener to a piece of wood. The first attempt using GOOP Adhesive failed. After curing, the fastener just pulled out of the dollop of adhesive. Then I tried the same thing using the Permetex, and that adhesive held strongly to both the wood and the plastic fastener.
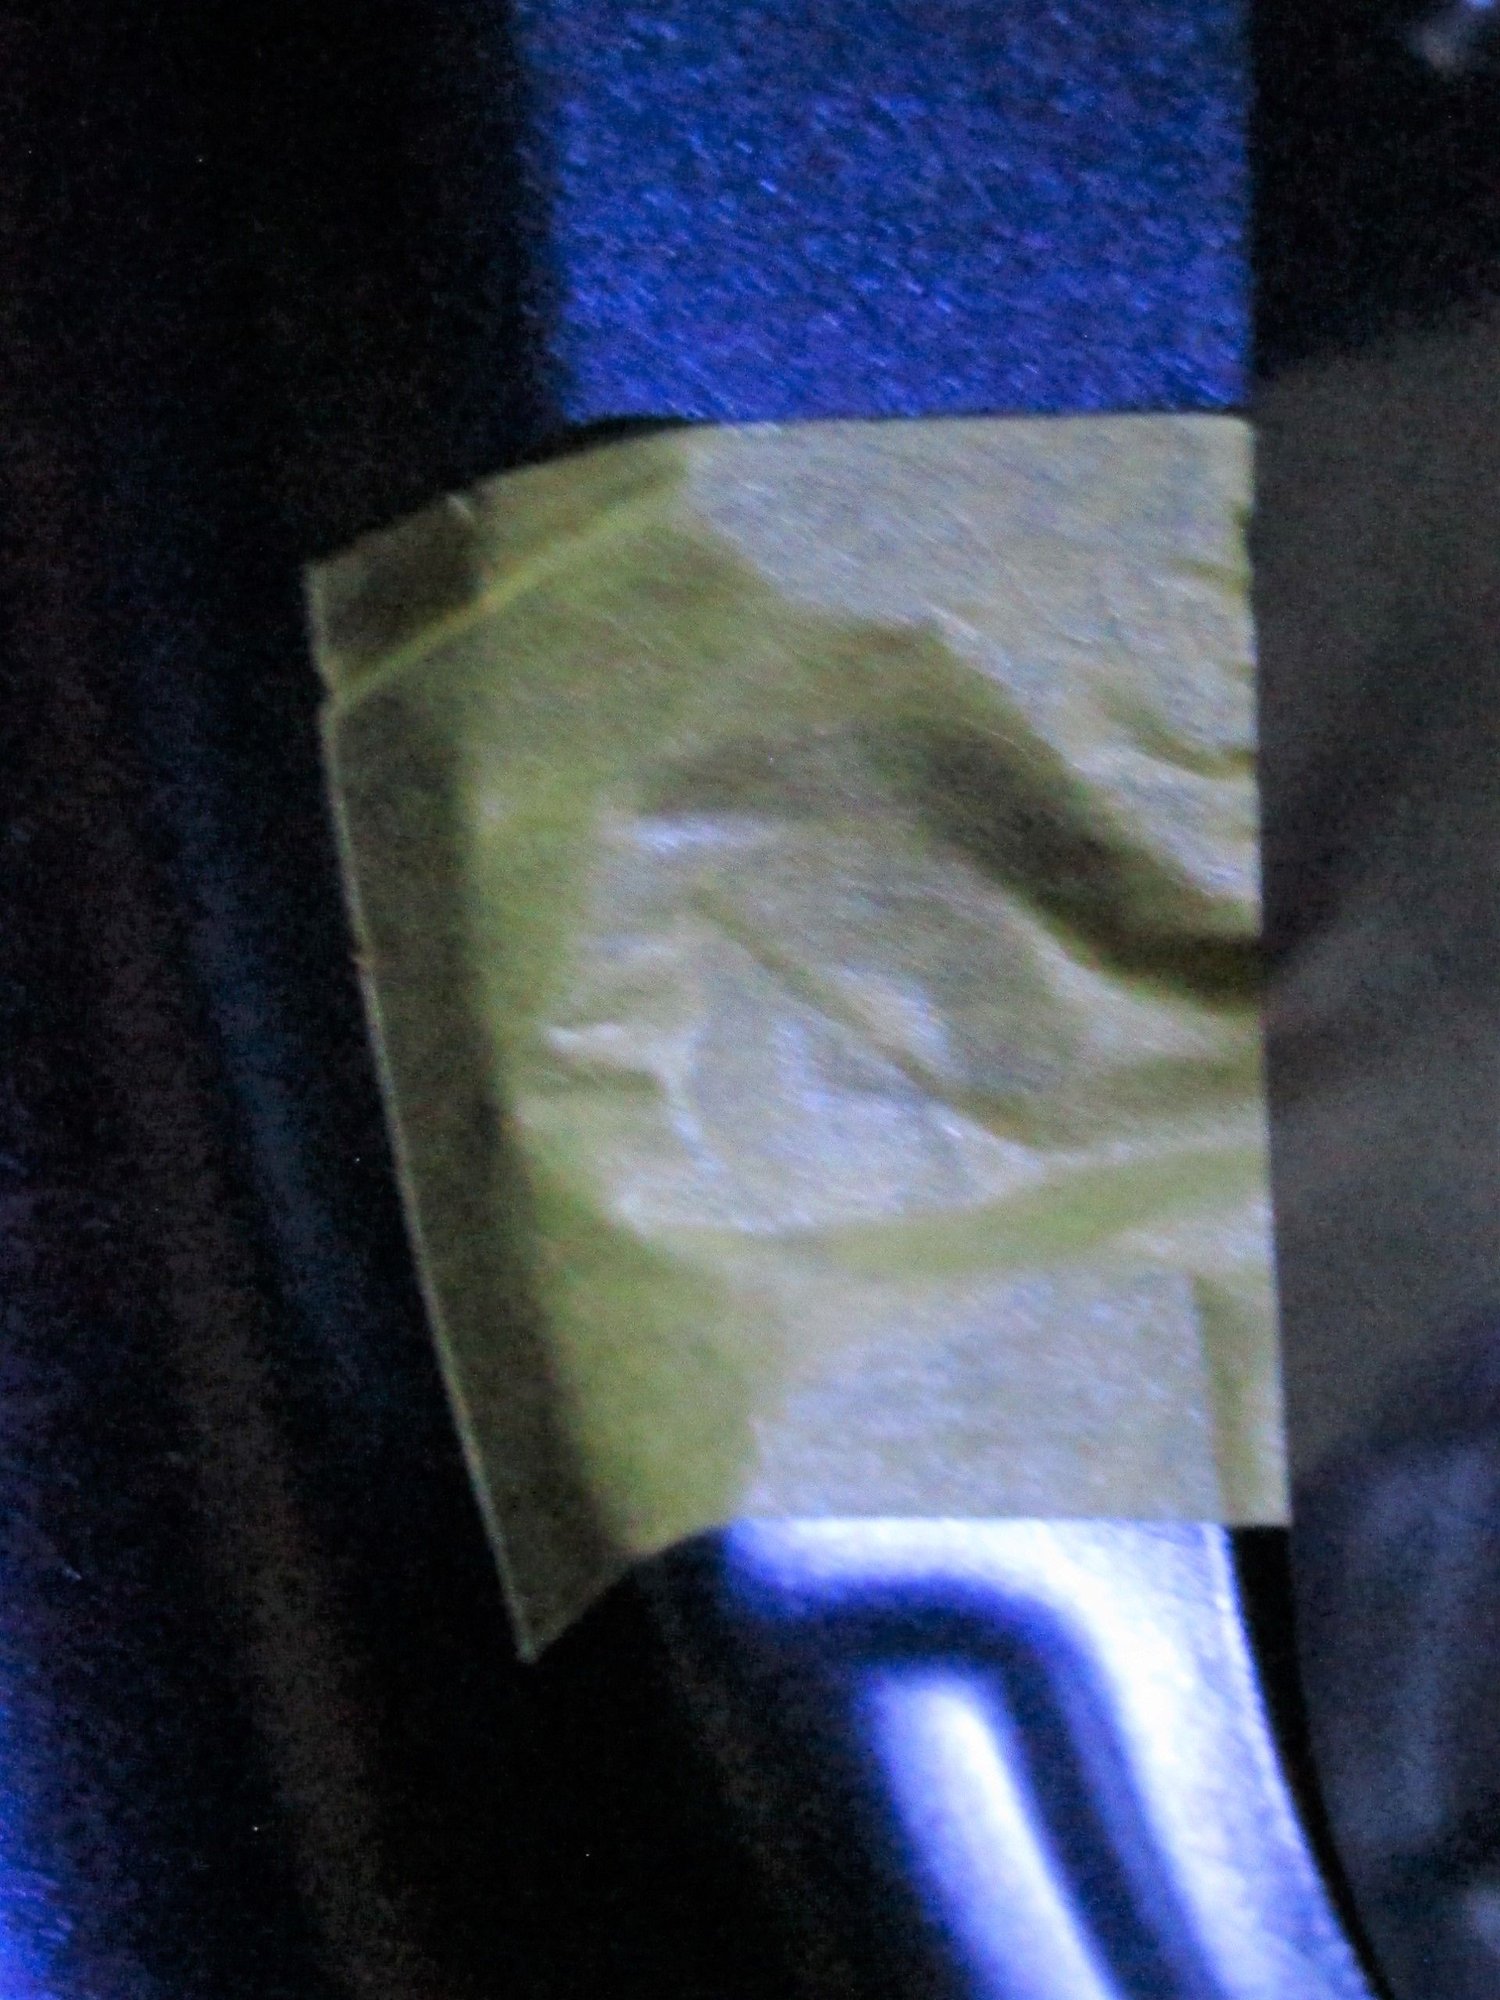
Two day cure:
I applied two dollops of the adhesive through the sheet metal hole, using the popsicle stick to push the first dollop inside the hole around the base of the missing peg, and then a second dollop on top of that, using the popsicle stick to squish the excess adhesive around the area within the hole and onto the plastic cover's underside. The severed fastener head, pushed onto the sticky side of the masking tape (the tape provided a convenient way to handle the fiddly �stub�), received a third dollop of adhesive onto the remnant of its pin and the underside of the head. The idea was to then push the fastener through the hole so that all the dollops of adhesive would cure into a single mass, with the stub's pin imbedded in that mass, thus securing the plastic cover as the original peg did. The yellow masking tape served the additional purpose of holding the fastener fixed in place as the adhesive cured. I left it to cure undisturbed over a two day period.
The result:
I ended up with the fastener head seemingly attached securely to the sheet metal around the hole, with the fastener's pin stub seemingly attached securely to the adhesive mass, which adhered the plastic cover to the entire Rube Goldbergian invisible glob underneath. It all seems to be a quite firm connection.
This one attachment peg was the first one to fail on my car. I'm hoping that this fix will forestall the �zipper� effect, where after the first peg failure, the panel starts to vibrate, which causes the second peg to fail, after which the vibration escalates, and the remaining pegs all fail rapidly. If my fix fails in the future, I will re-post that outcome. Otherwise, silence means it is a winner! All this for 96 cents, including tax.
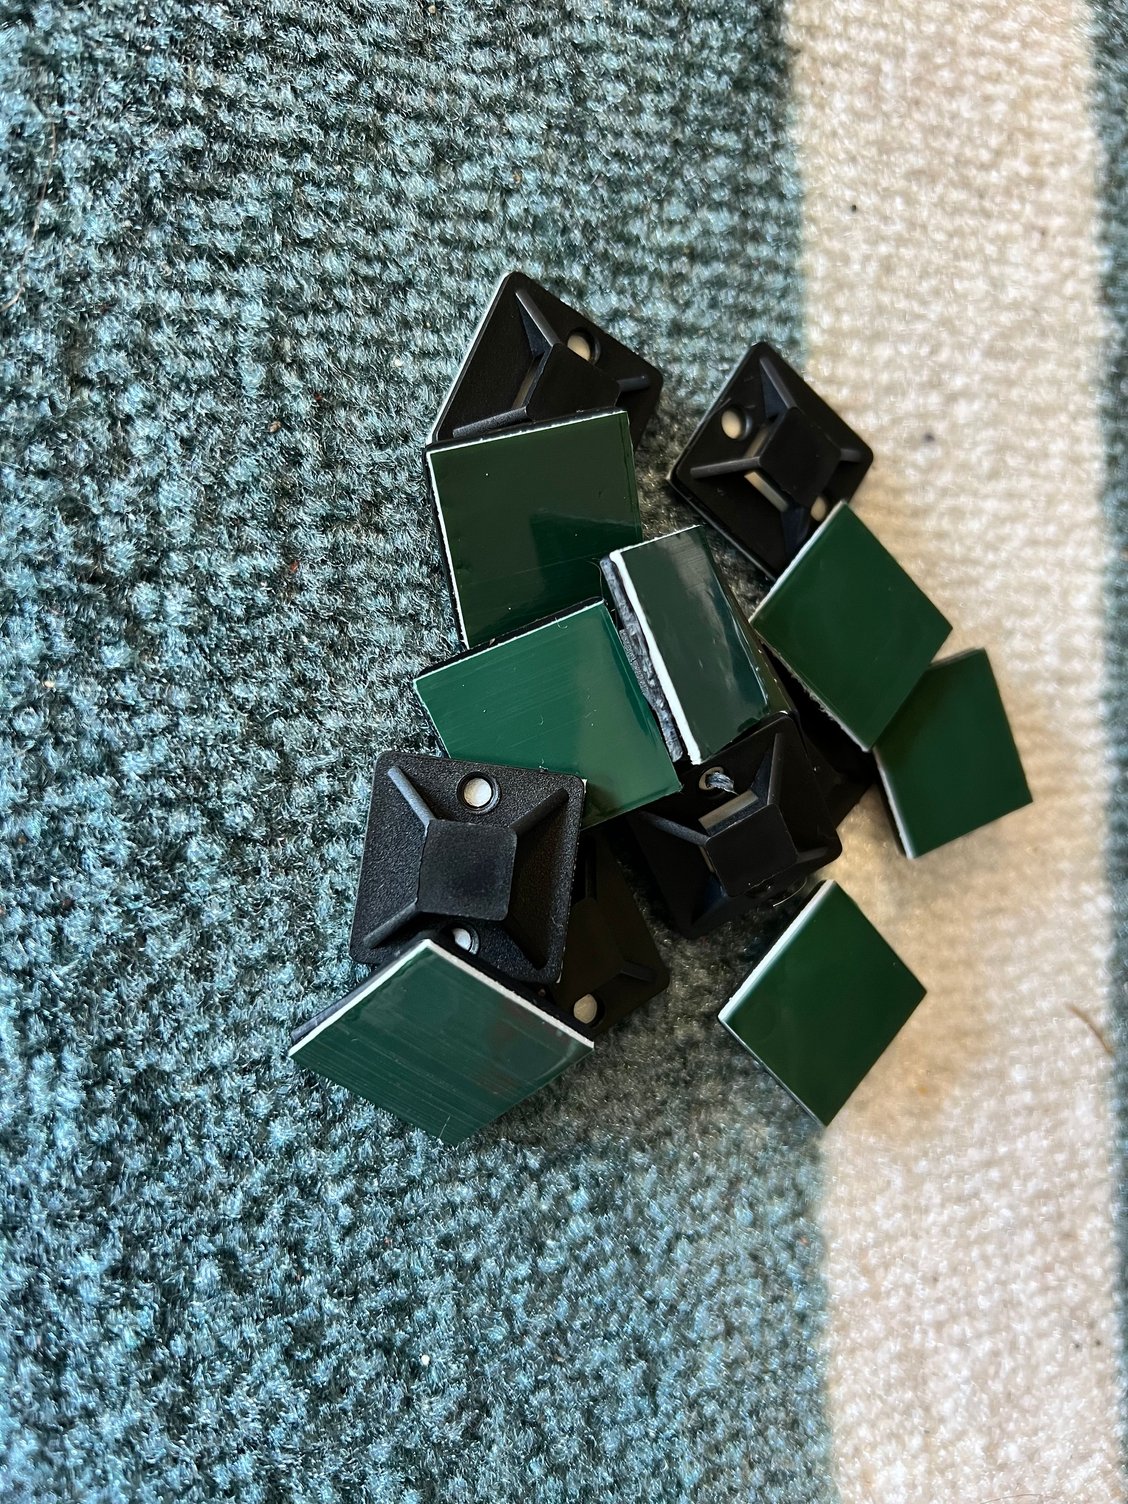
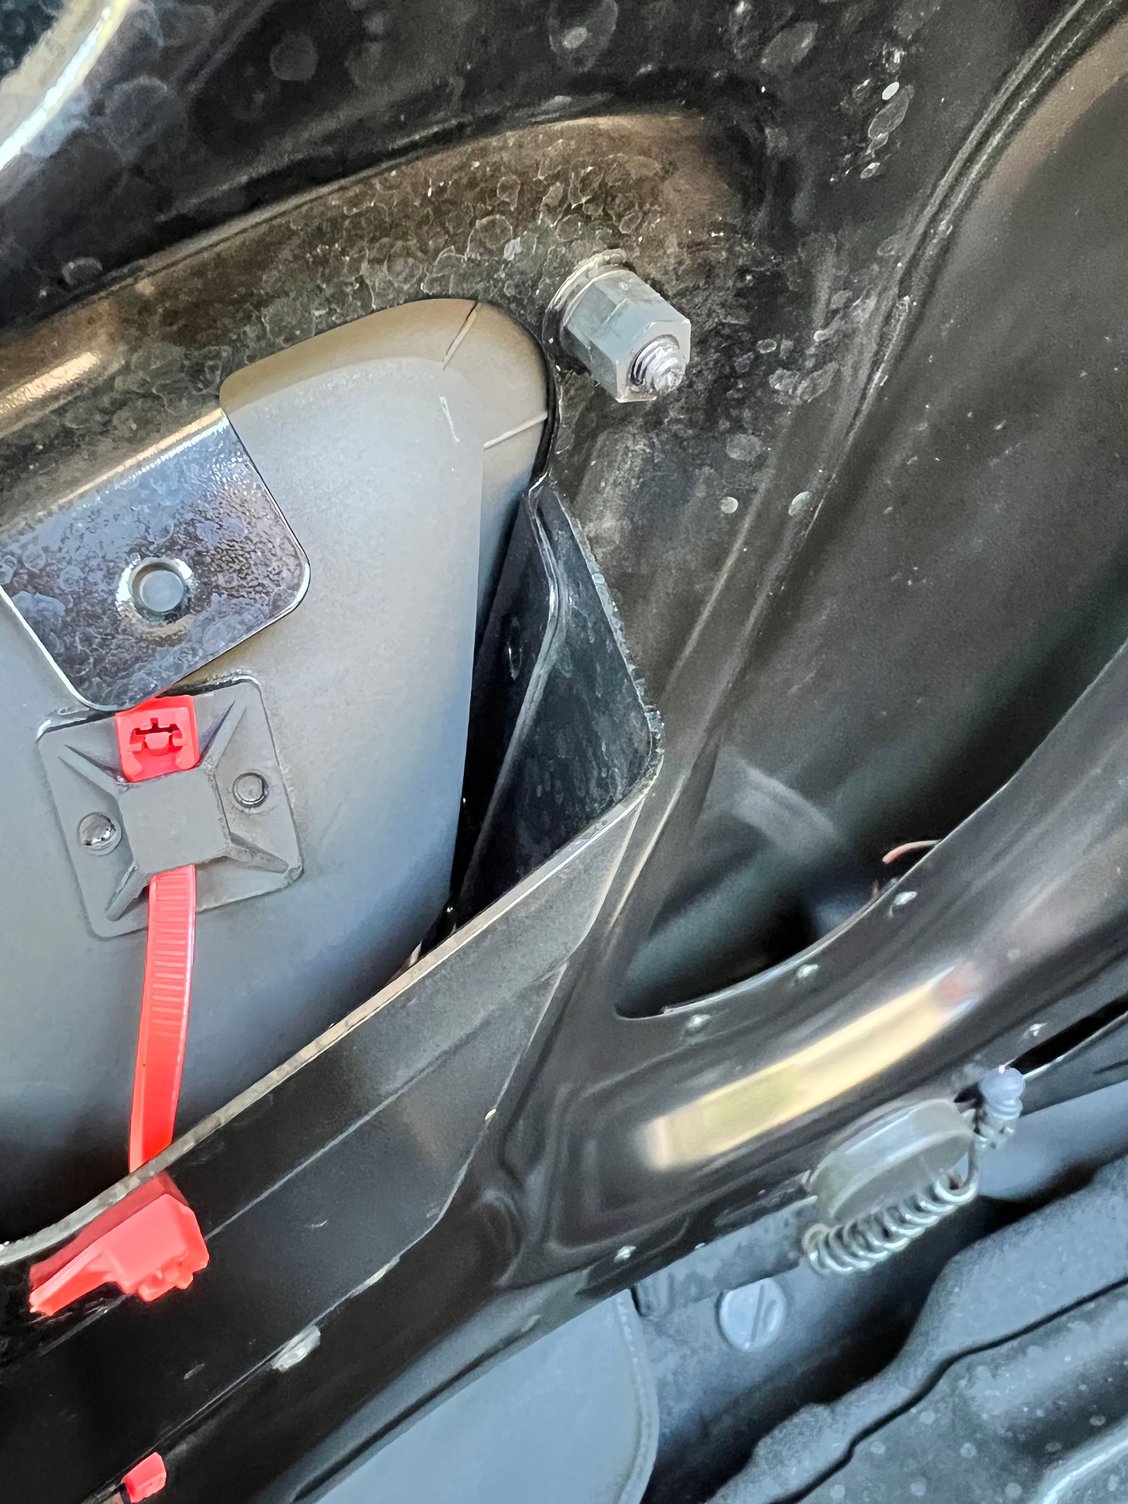
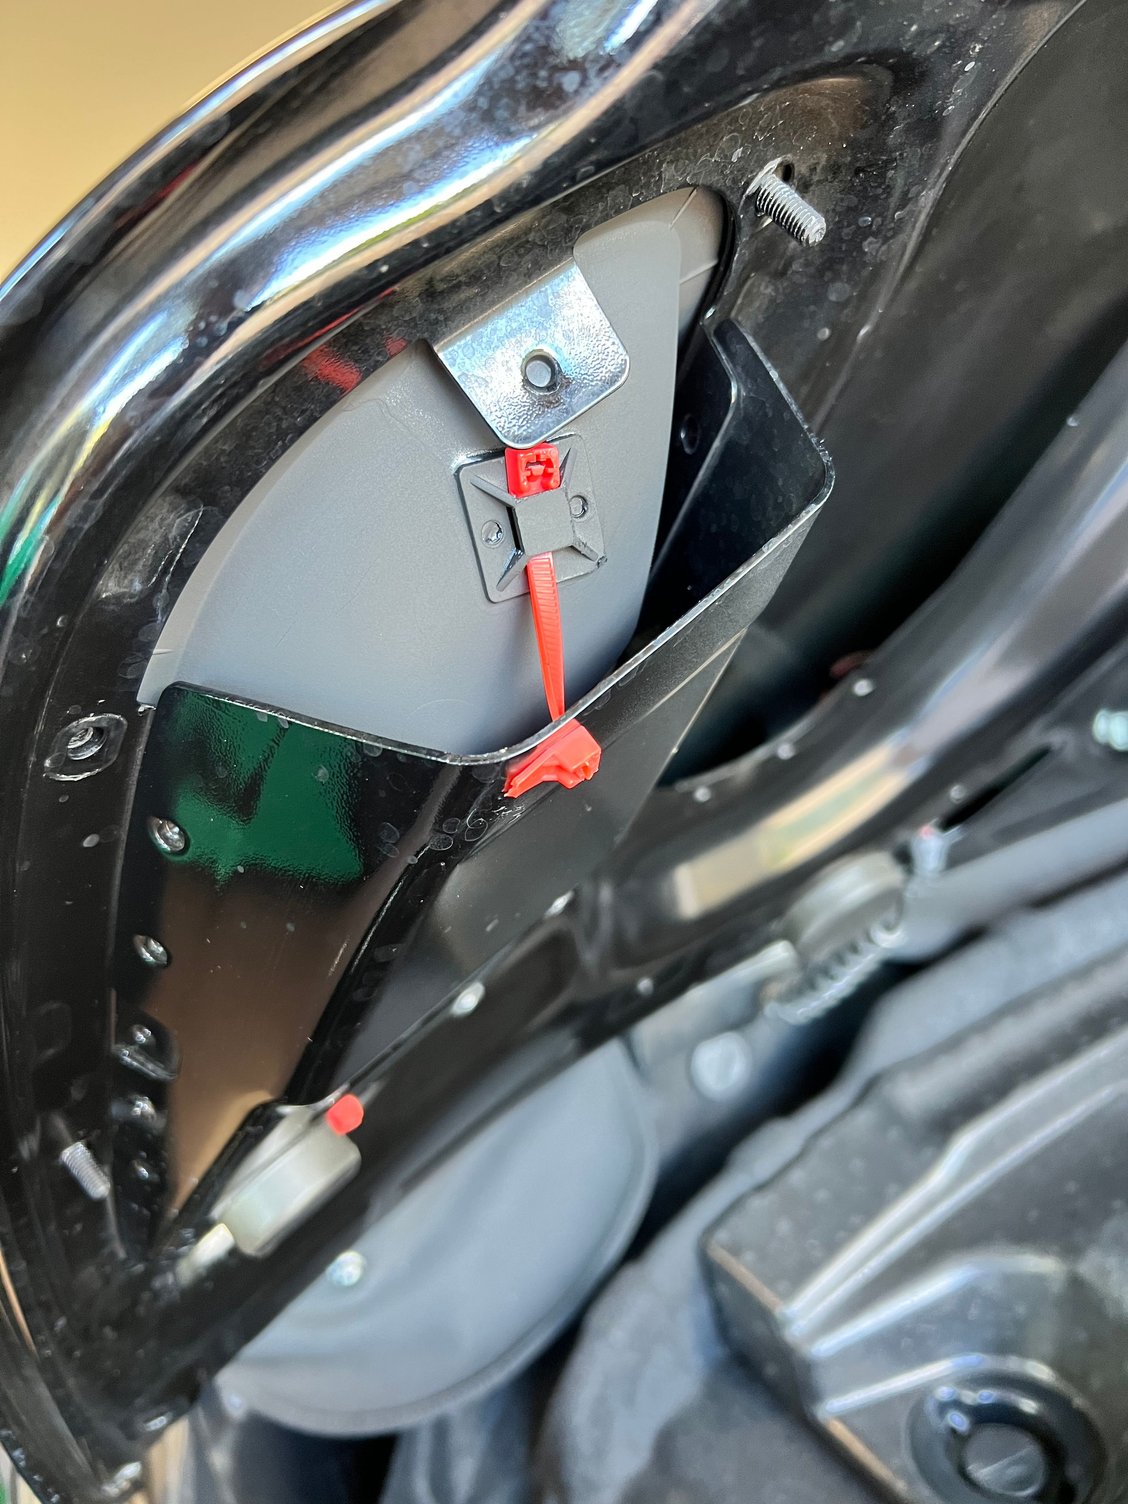
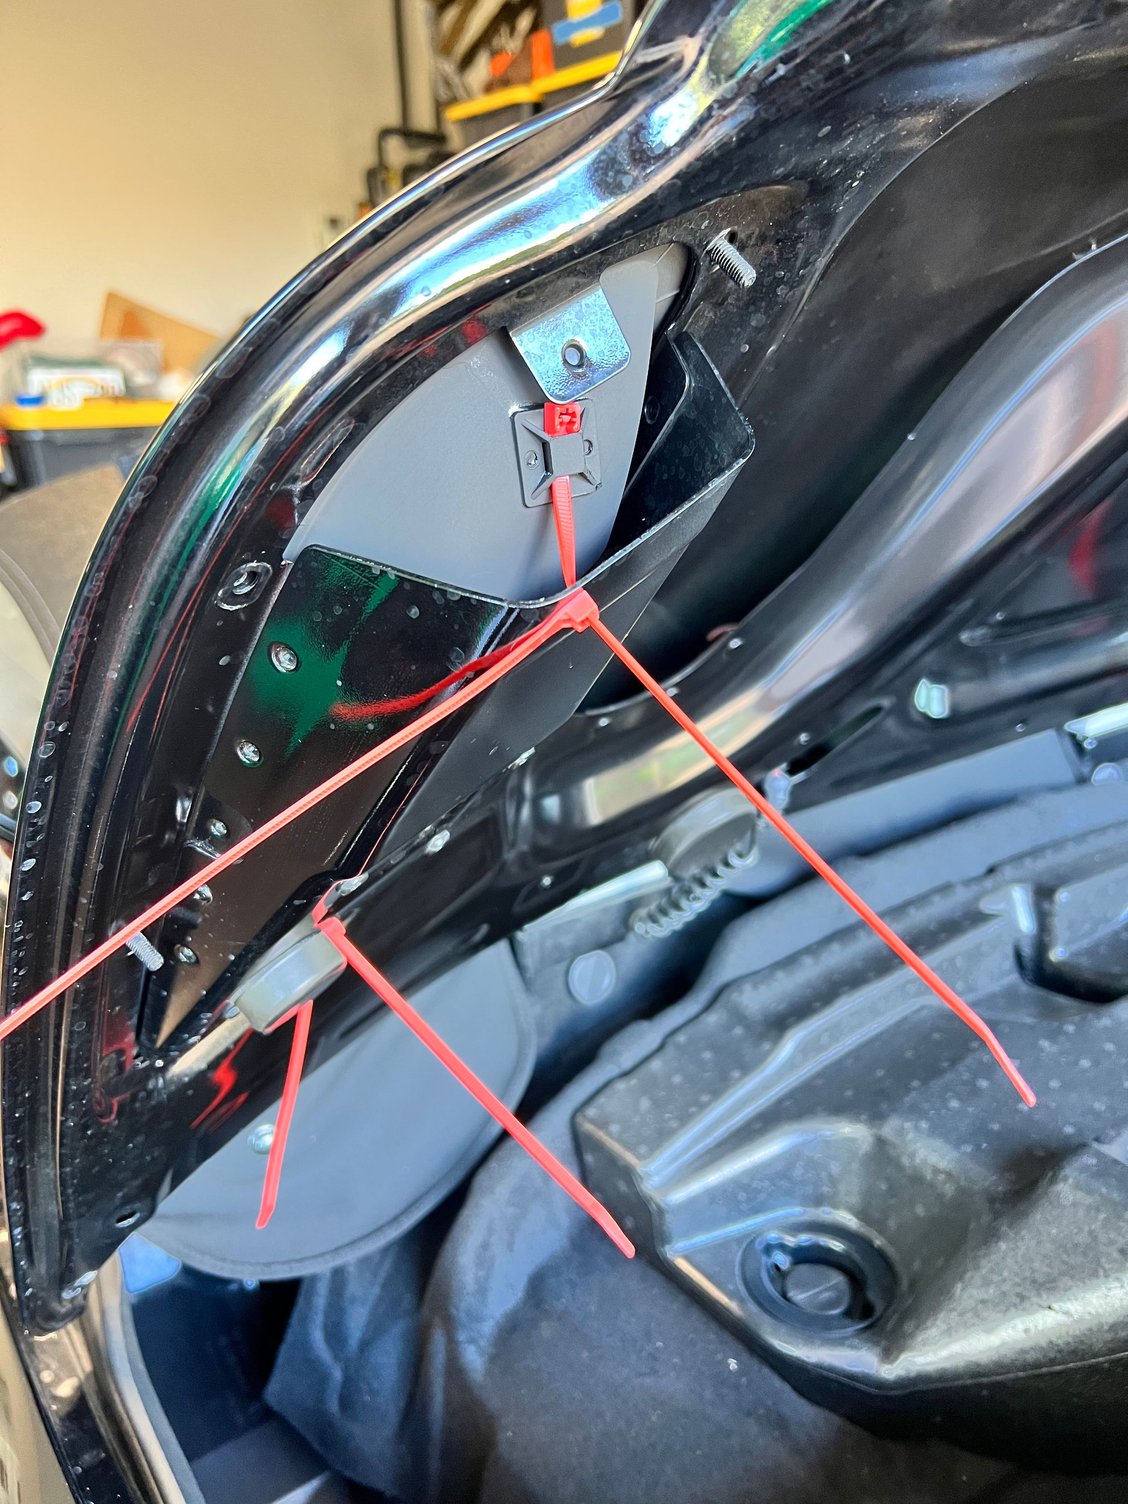
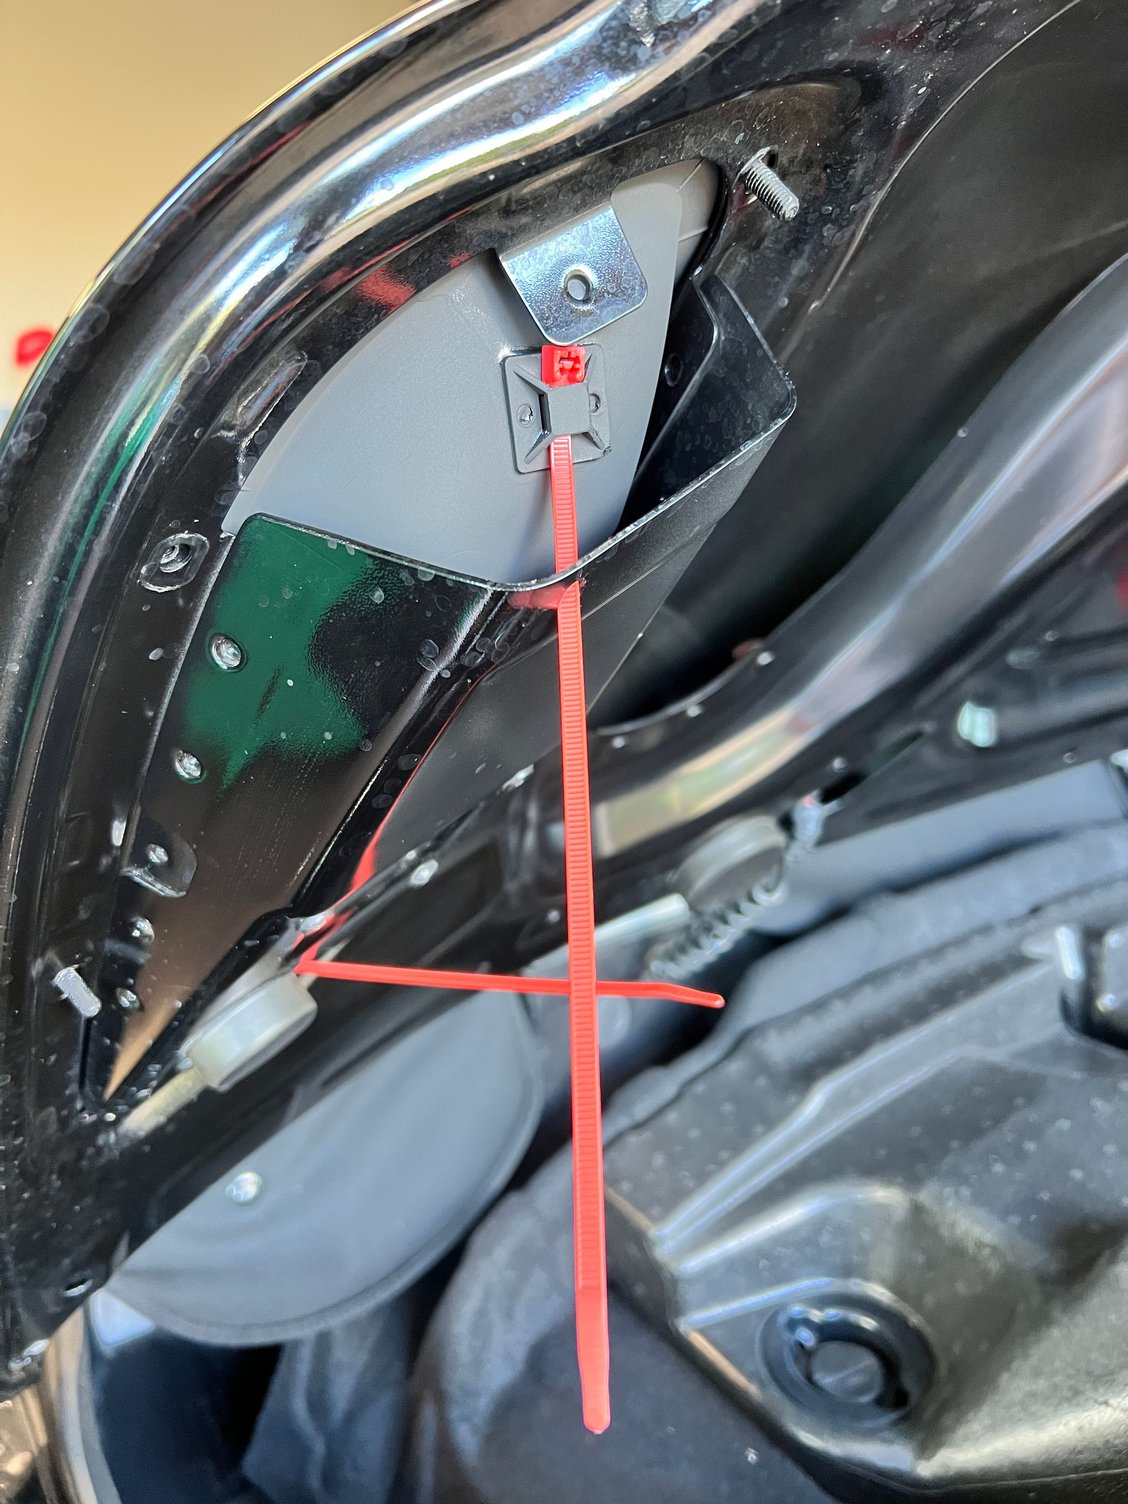
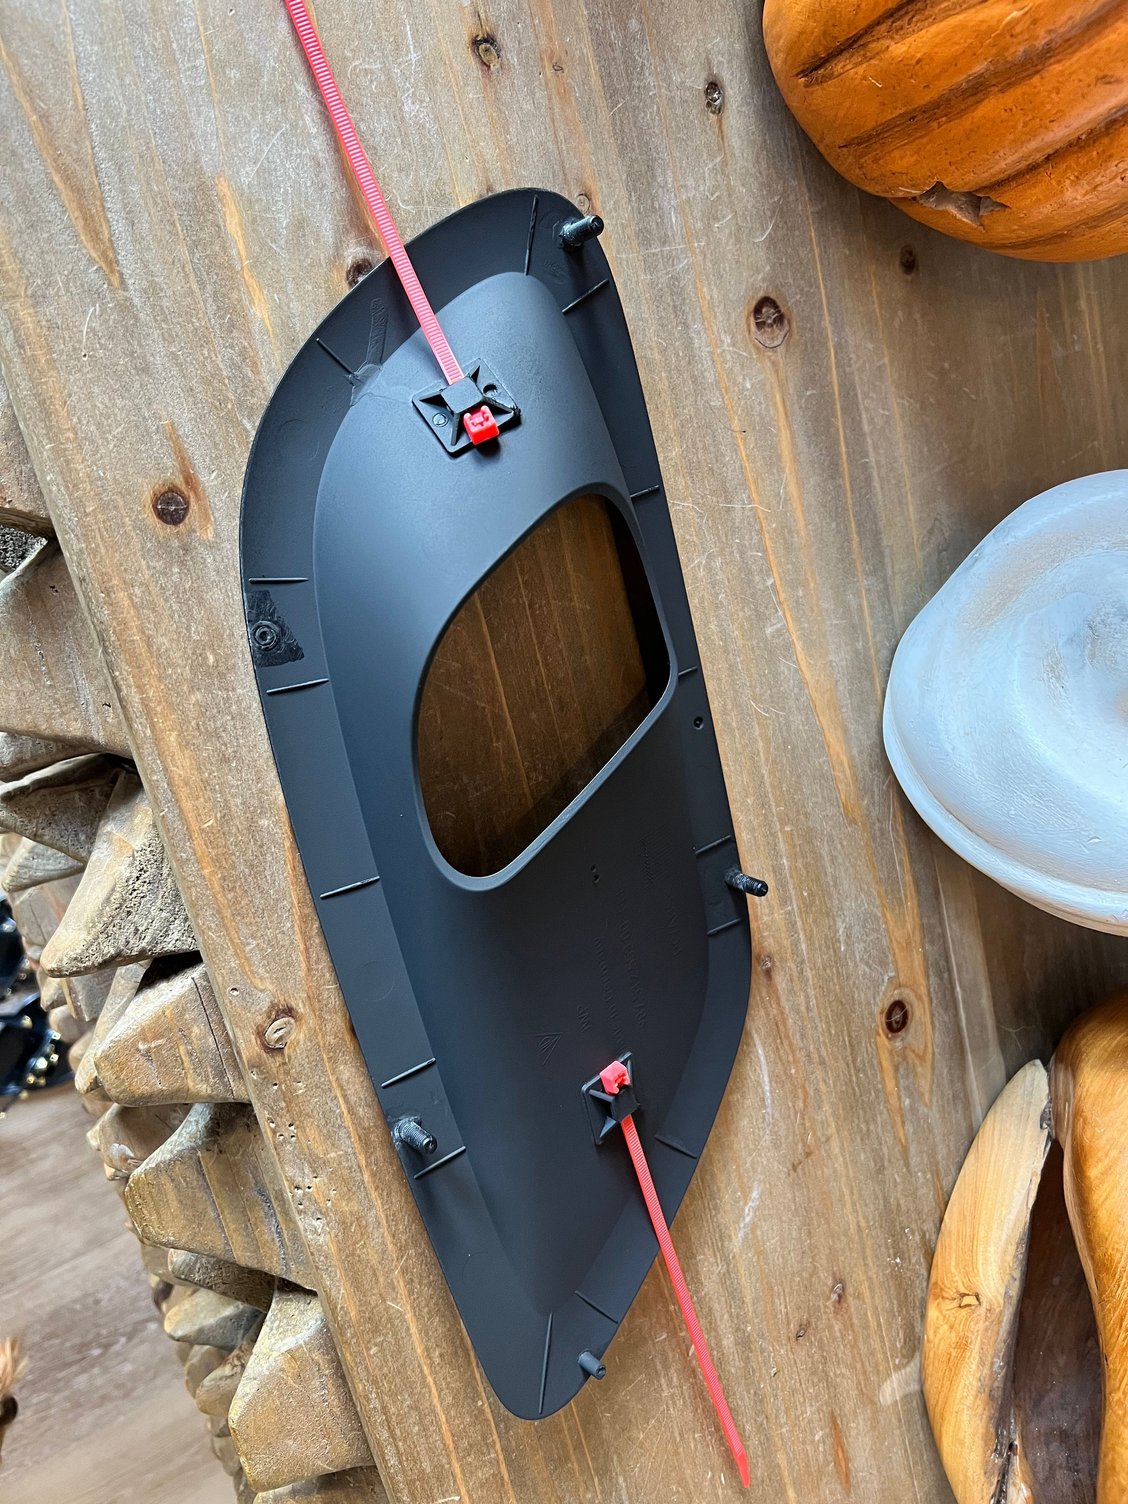
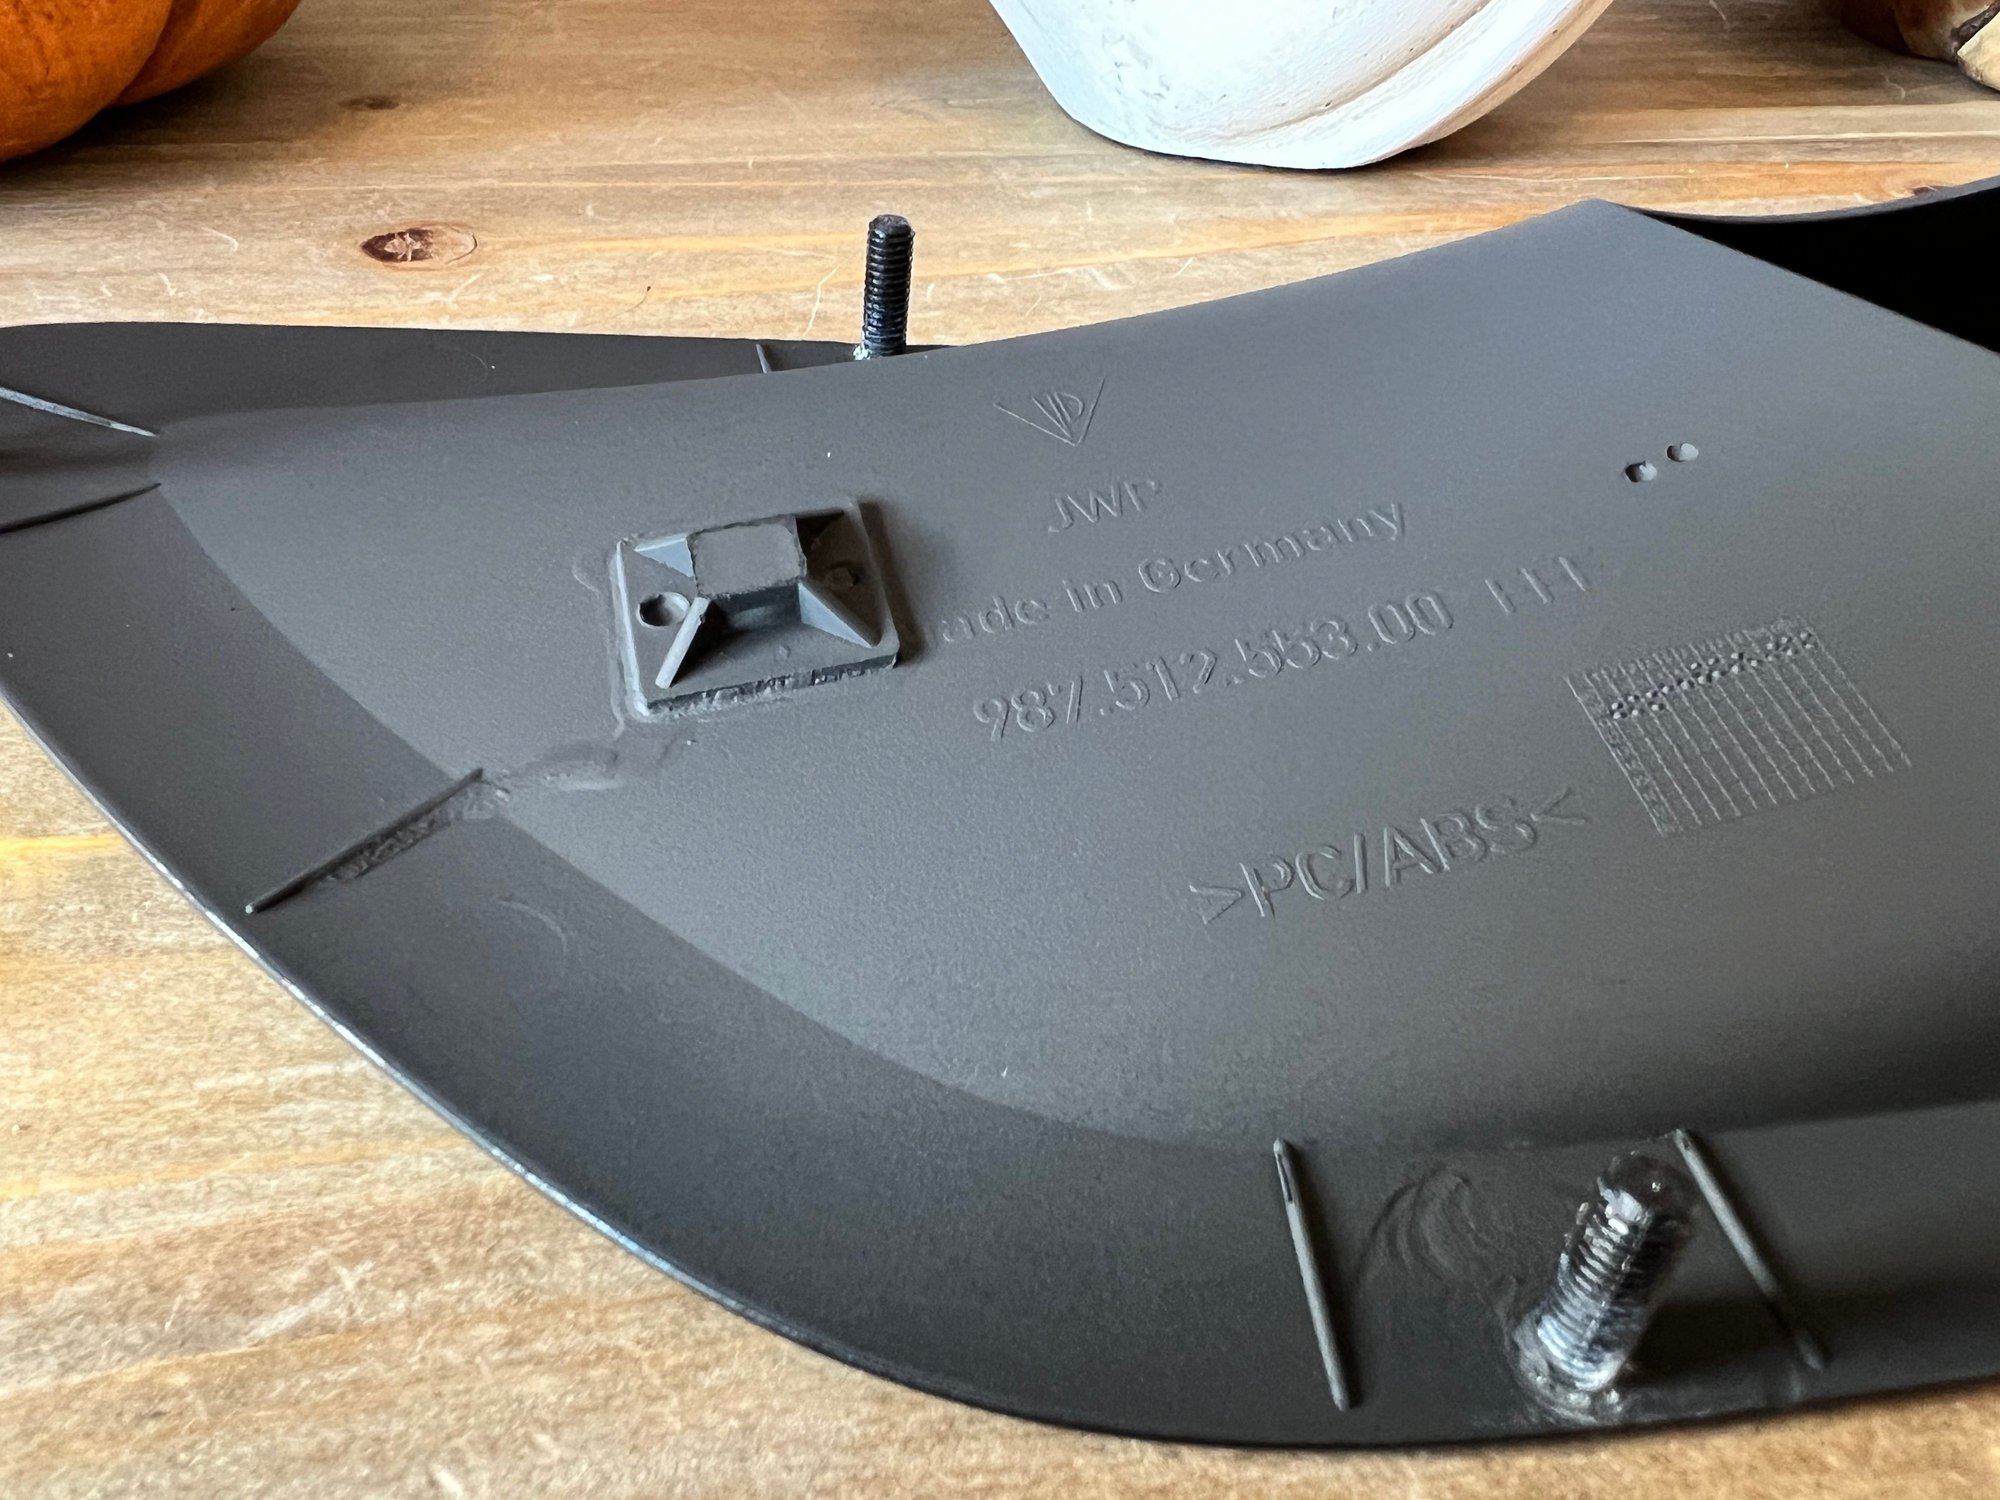
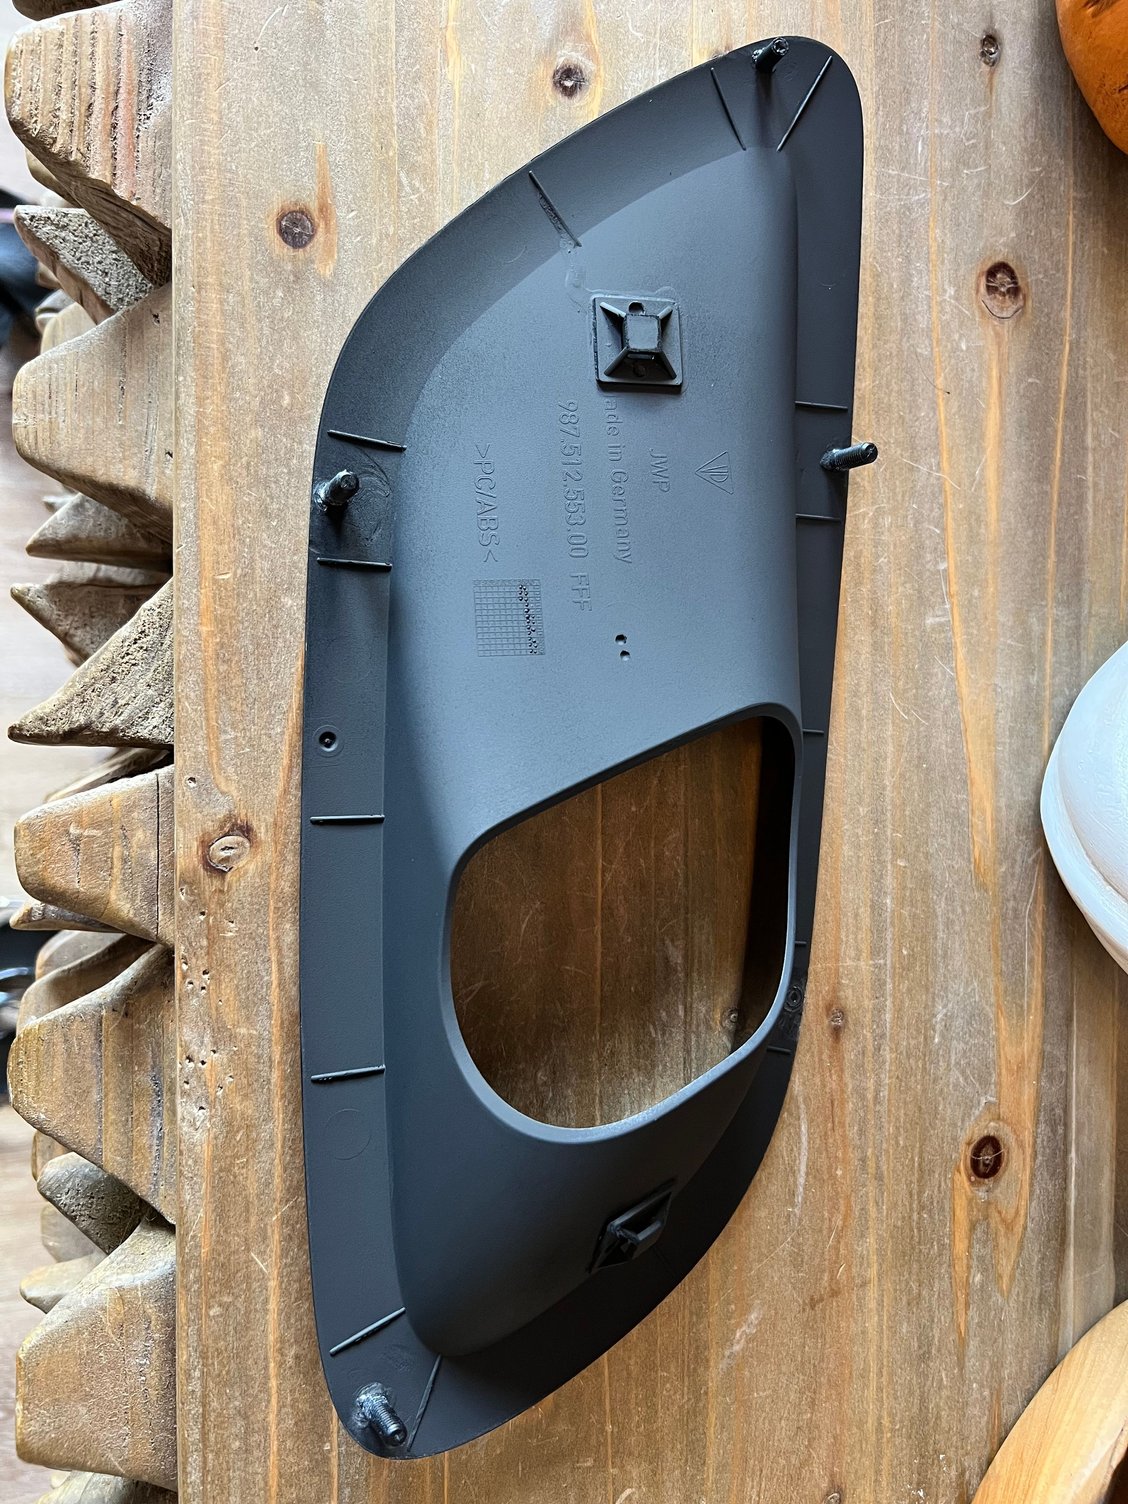
In the end, threaded nylon M6 x 15mm (x3 and M4 x2) cut to remove head, bonded with JB Weld, affixed 2x attachment points so as to tether with zip ties. The tethers are strong enough on their own and anchor the cover very well. The threaded studs allow 2 nuts each for use as a locknut so there�s little stress on the threaded posts. The first nut is not used to tug on the post. It�s just flush. Attachment points in pic came with two sided tape but I removed in favor of bonding. Used 220 grit for all surfaces to help with the bonding. Still need to add the M4s but honestly it�s strong as is. This method makes it easy to take the cover back off you you ever need to.
Last edited by MidEngineRules; 11-14-2022 at 10:38 PM.
@MidEngineRules did you take off the covers preemptively? If so, could you share how you took off without breaking the existing posts? I only have one post missing on my driver's side but if it's possible to take off the covers without damaging further I'd be interested in doing a tether solution like you have.
 11-08-2022, 10:43 AM