When you click on links to various merchants on this site and make a purchase, this can result in this site earning a commission. Affiliate programs and affiliations include, but are not limited to, the eBay Partner Network.
can anyone point me to a DYI how to do this? Both front and rear. The car is on the lift. The fasteners are soaking. Now I just need to educate myself.
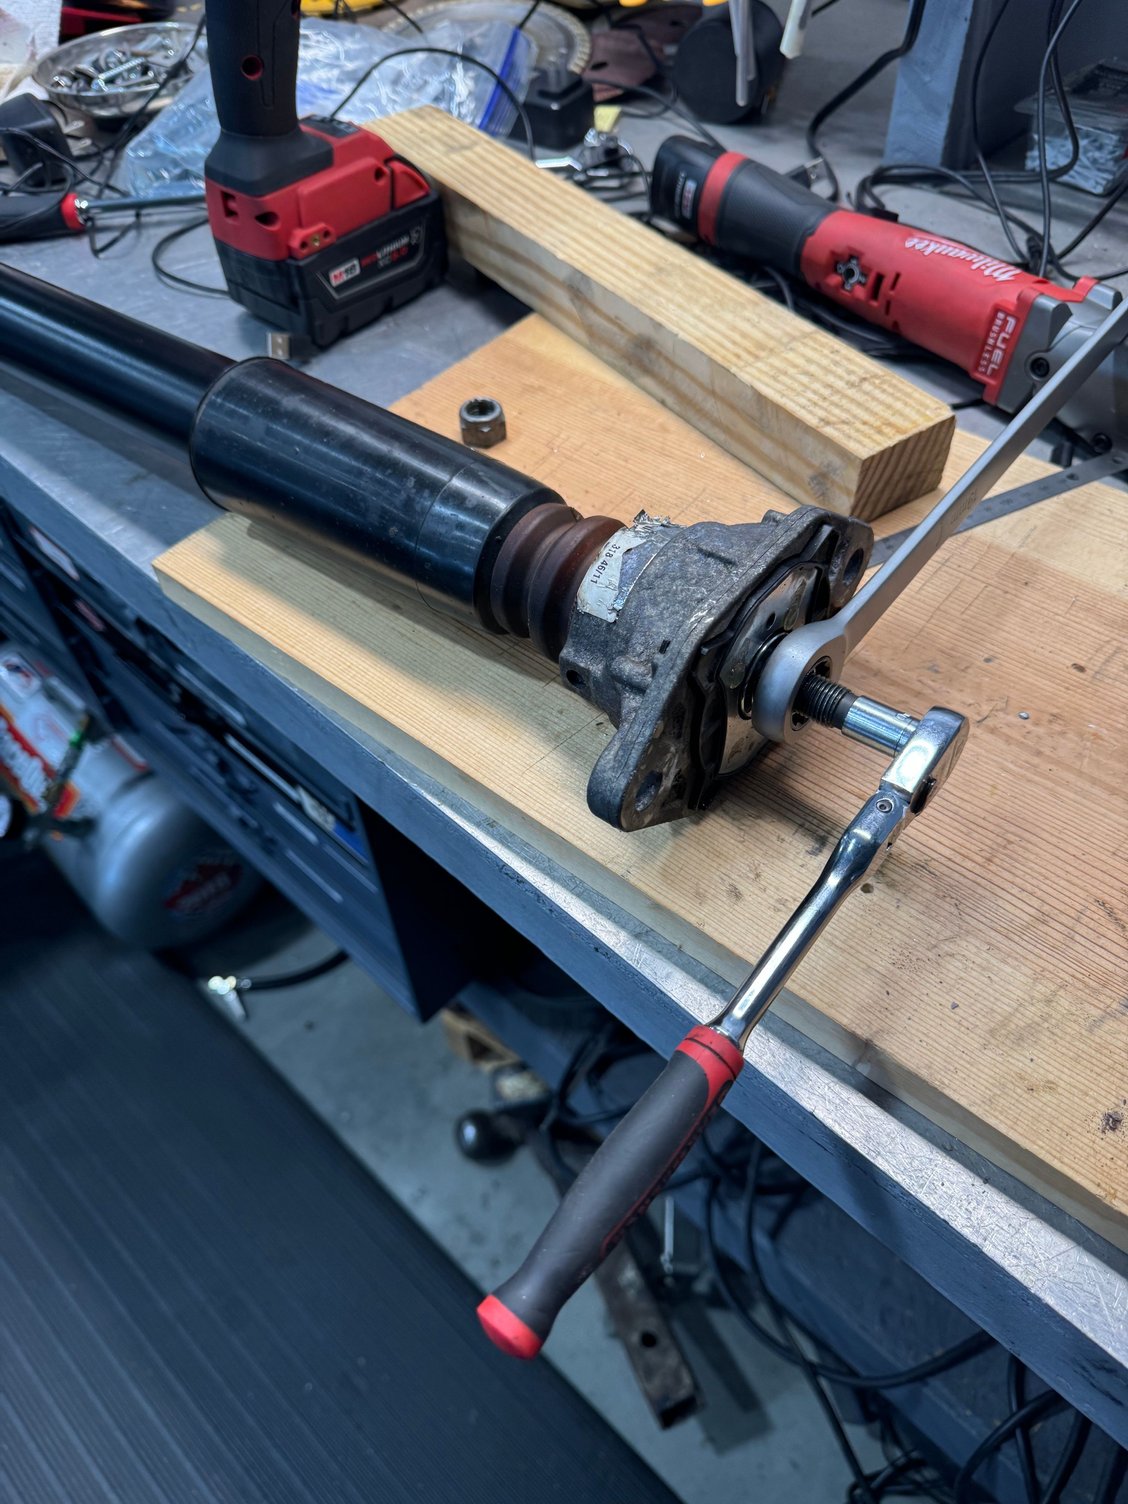
I started on the rears. I had the car on a 2 post lift with a support under the rear suspension. The two bolts at the top of the strut holder are obvious and easy. I didn't know about the PASM connector at the top of the strut. Luckily it pulled loose without damage. I detached the two upper control arms, spring loaded, and the bolt that holds in the bottom of the shock. It took awhile to figure out how to get the strut out of the top holder. The "down in there" nut not only is hard to get to but also it turns everything else. The key was a Schwaben "pass through" set I had. The old strut nut was 21mm, the new 22. A 1/4" drive 10mm held the strut shaft and allowed for the backing out of the strut nut. Connect the PASM connection at the top and slide the strut in. I found it helpful to flat file the place where the strut connects. You need a punch or rod of some kind the line up the holes for the bolts -- standard stuff.
I finally got some time. With the weight on the suspension, I tightened all the connections. Took the car for a test drive. I could really tell the difference. My old shocks were really shot with 113K on them. Now, to work up my courage and start on the front.
I started taking off nuts on the top after removing the plastic cover. Two are easy. The third I can�t even see or touch. It must be under the cowl. So that means taking off the windshield wipers?
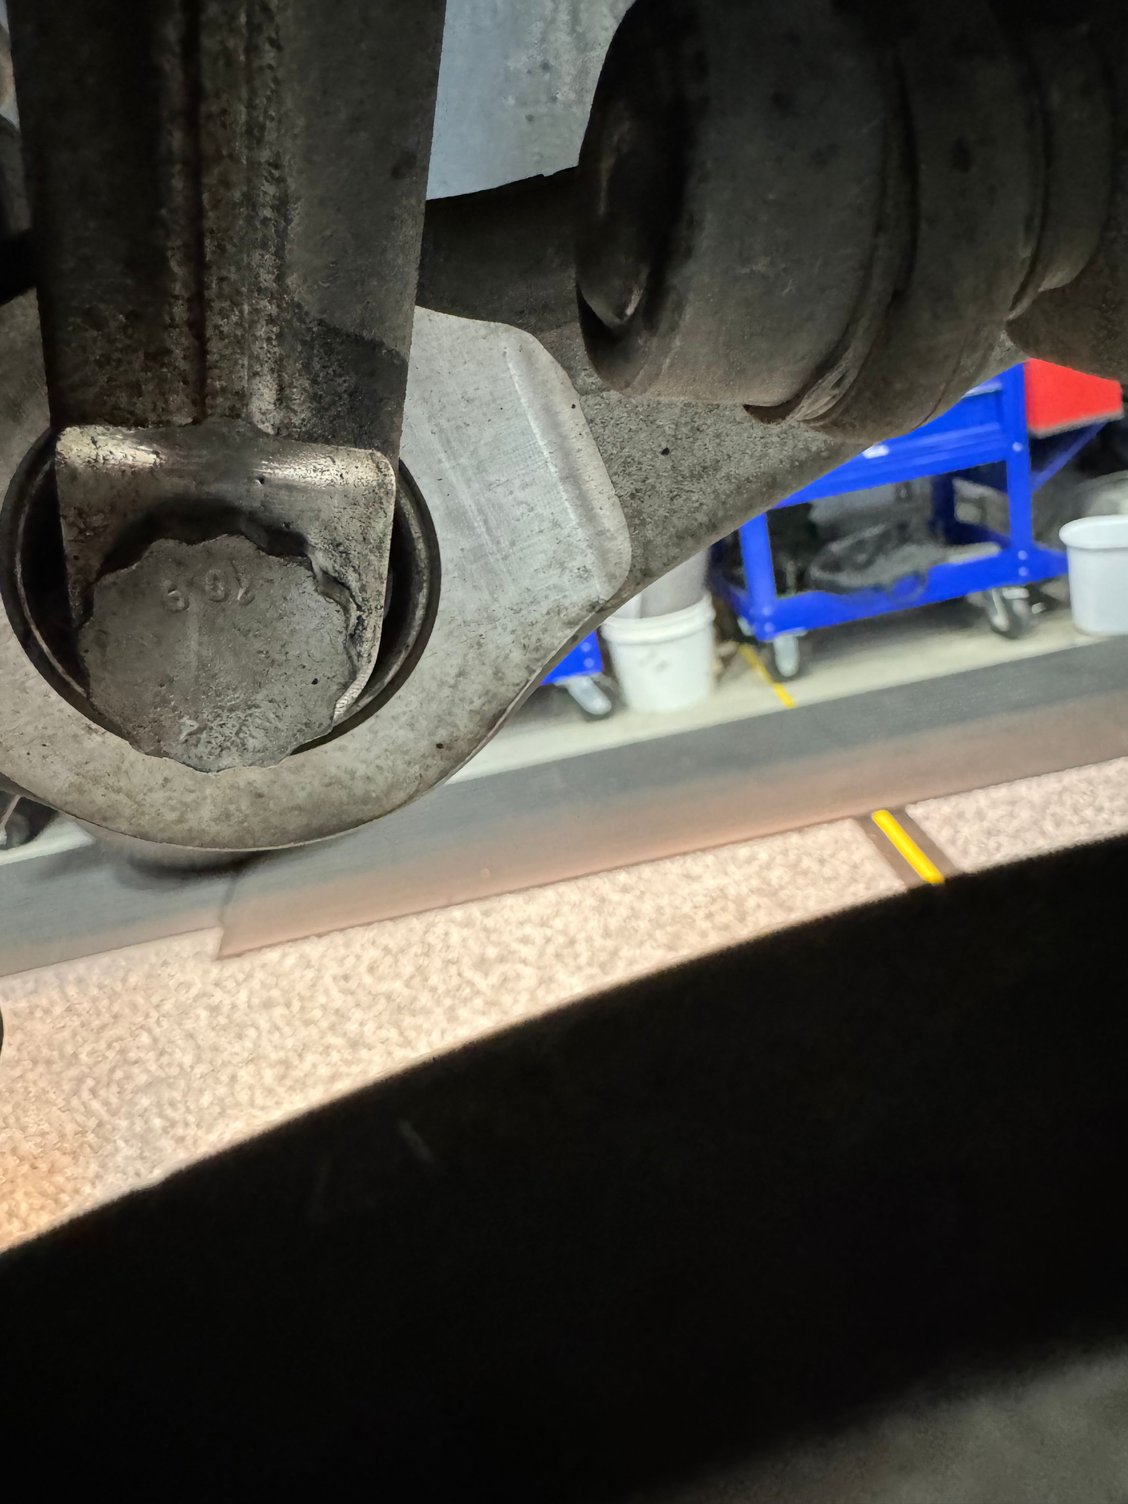
I�m the wheel well the connectors all turned. I think I can get it out if I can do the top. But, the bottom of the strut connector I�ve never seen. 12 point? Special tool?
I had to get help from my friend who is a good indy mechanic. The third nut holding the top of the shock IS accessible. On the driver side you lift up the plastic cover in front of the brake fluid reservoir and use an extension. Same location on other side.
once out, spring compressor required. That was typical. Good trick is to grease where spring presses. On both ends. Makes it easier to rotate to make it all line up. It is difficult to get it back in. Unconnected both upper and lower control arms. My 2 post lift was a big help.
I would advise that to attempt it you need to be a pretty good and experienced mechanic.

 07-14-2024, 09:04 AM