When you click on links to various merchants on this site and make a purchase, this can result in this site earning a commission. Affiliate programs and affiliations include, but are not limited to, the eBay Partner Network.
Make one of these and you will be golden. If you find a leak you can shut the pump off with having to scramble.
See post 12
If you insulate the connections at the on/off switch and have the switch off when connecting it reduces the risk of accidently shorting out anything from the live terminal 30.
If you make the leads longer so you can stand at the front of the car while turning the switch on (fuel pump) you will see any obvious leaks immediately, and be able to switch off. Heavier gauge wire and double insulated recommended for this.
Last edited by G.P.; 05-12-2017 at 06:59 PM.
Reason: Image didn't work
Thank's for all the feedback everyone. I will make a switched and 30A-fused jumper with long leads. I'll plug it in with the battery disconnected to minimize sparks. I'll post an update.
I might be wrong but I believe that the purpose of jumping the fuel pump relay is to get the lines pressurized without turning the ignition on and potentially igniting leaking fuel with stray sparks.
100% correct!
Last year, I stepped out of the shop (literally) and one of my guys decided to take a short cut and just crank....because he was certain he had everything tight.
The resulting almost instant fire (almost instantly put out) cost me about 4K....in parts.
Never, never, never, ever crank!
Always jump the relay....or make a switch like Sean showed.
Even after we check for leaks with the relay jumped, we install the MAF without the air filter and run the car through a heat cycle, checking for leaks.
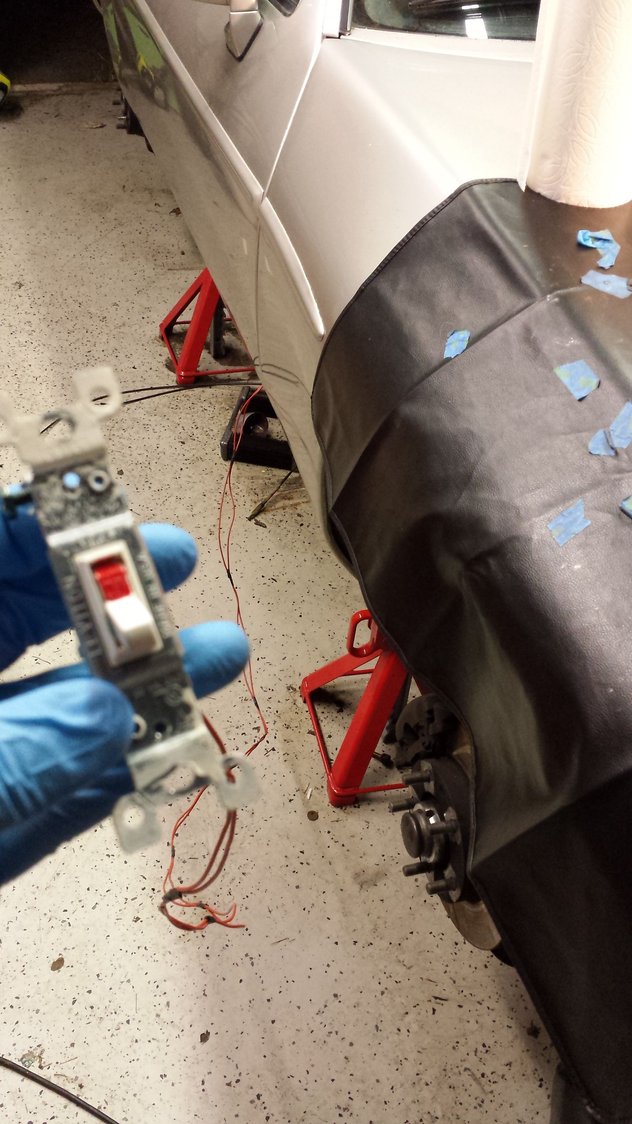
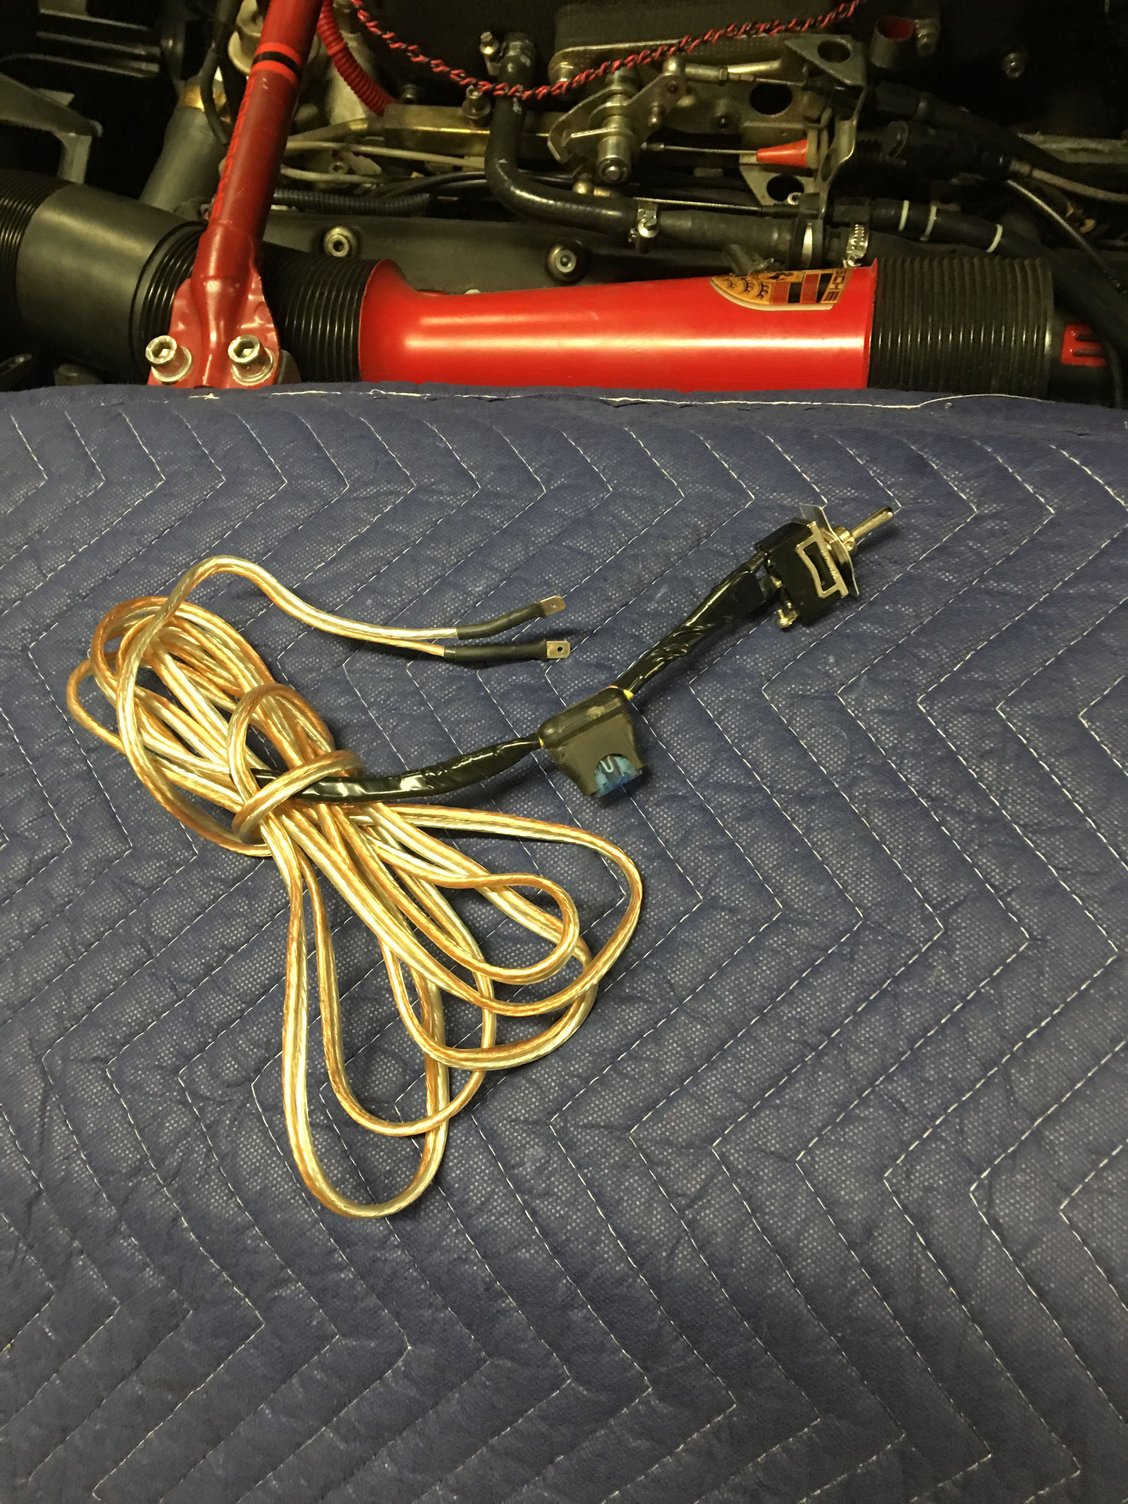
Per Sean's recommendation I wired up the following switch lead last night. I made it about 5 feet long because I removed and and or replaced just about every fuel line and component in the engine and at the tank and wanted to be able to turn the pump on and off from both locations while inspecting for leaks.
Before I started I double checked the tightness of every fuel fitting (about 20 locations). I then put 2 gallons of premium in the tank and checked for any simple gravity leaks. No leaks. Next with the battery on the floor I used jumper cables to the leads in the hatch. Figured if stuff went south it would be easy to disconnect the battery. I also had a halon fire extinguisher within arm's reach. Since I couldn't inspect the engine and fuel tank connections at the same time I had my wife check the fuel tank while I was over the engine. Then I flipped the switch and the fuel pump spun up and fuel started cycling through the system. And no leaks! Huge relief. Double checked all fillings by wiping each with a paper towel and sniffling for fumes but thankfully nothing.
It's been about 10 years since fuel has been running through this car. Good milestone. Tomorrow I'll fill it with all the other fluids and try to start it for the first time since I bought it last year and hopefully it'll run for the first time in 10.
Yes, congrats GT6ixer. Looking forward to see that car back on the road.
I had a bit of success on my end as well. I made a switched and fused the fuel pump jumper thanks for Sean's idea.
I wired it up and gave all the connections at the rear of the motor. I think there were 5 connections I opened up but to replace the U line and the return to chiller line. I used a paper coffee filter wrapped around each connection and checked for staining. All the connections checked out good. I took some videos for the super dorks!
Now to shift my attentions to replacing the supply line at the front of the motor. I am using Gregg Brown's re-routed line. Anyone have any tips or pics of how to install this line? I could use some tips on how to remove the old hard line, and what needs to be removed.
Thanks for the video, Michael! I'm a super dork, and appreciated it. I will be completing this on my S-3 soon. I have the old lines off, and new regulator/dampers and GB fuel lines about to go on.
Some of what you have said makes perfect sense. In about 8 years I've yet to short anything out using this exact set up. The wires on it are 12ga wire, much heavier than what our cars have from the factory.
Originally Posted by G.P.
See post 12
If you insulate the connections at the on/off switch and have the switch off when connecting it reduces the risk of accidently shorting out anything from the live terminal 30.
If you make the leads longer so you can stand at the front of the car while turning the switch on (fuel pump) you will see any obvious leaks immediately, and be able to switch off. Heavier gauge wire and double insulated recommended for this.
Yes, congrats GT6ixer. Looking forward to see that car back on the road.
I had a bit of success on my end as well. I made a switched and fused the fuel pump jumper thanks for Sean's idea.
I wired it up and gave all the connections at the rear of the motor. I think there were 5 connections I opened up but to replace the U line and the return to chiller line. I used a paper coffee filter wrapped around each connection and checked for staining. All the connections checked out good. I took some videos for the super dorks!
Now to shift my attentions to replacing the supply line at the front of the motor. I am using Gregg Brown's re-routed line. Anyone have any tips or pics of how to install this line? I could use some tips on how to remove the old hard line, and what needs to be removed.
Thanks
Mike
Nice! Enjoyed the vids. Mine made the same sound as the fuel circulated. Kudos on the super clean engine bay as well!
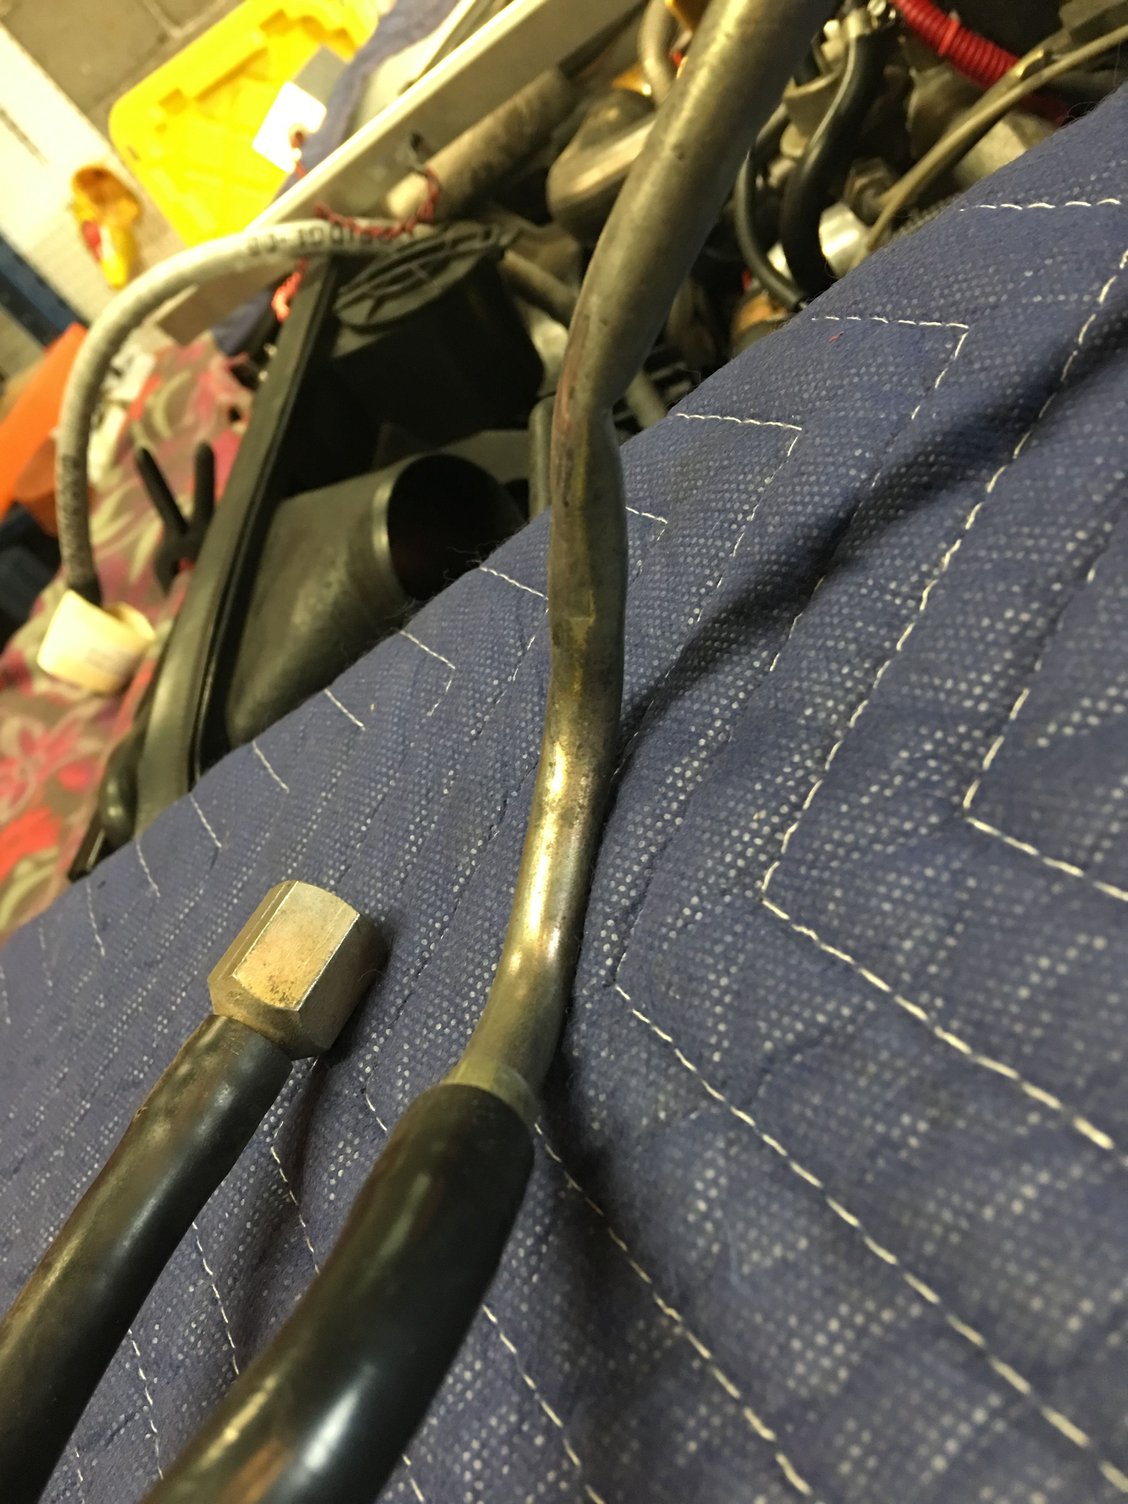
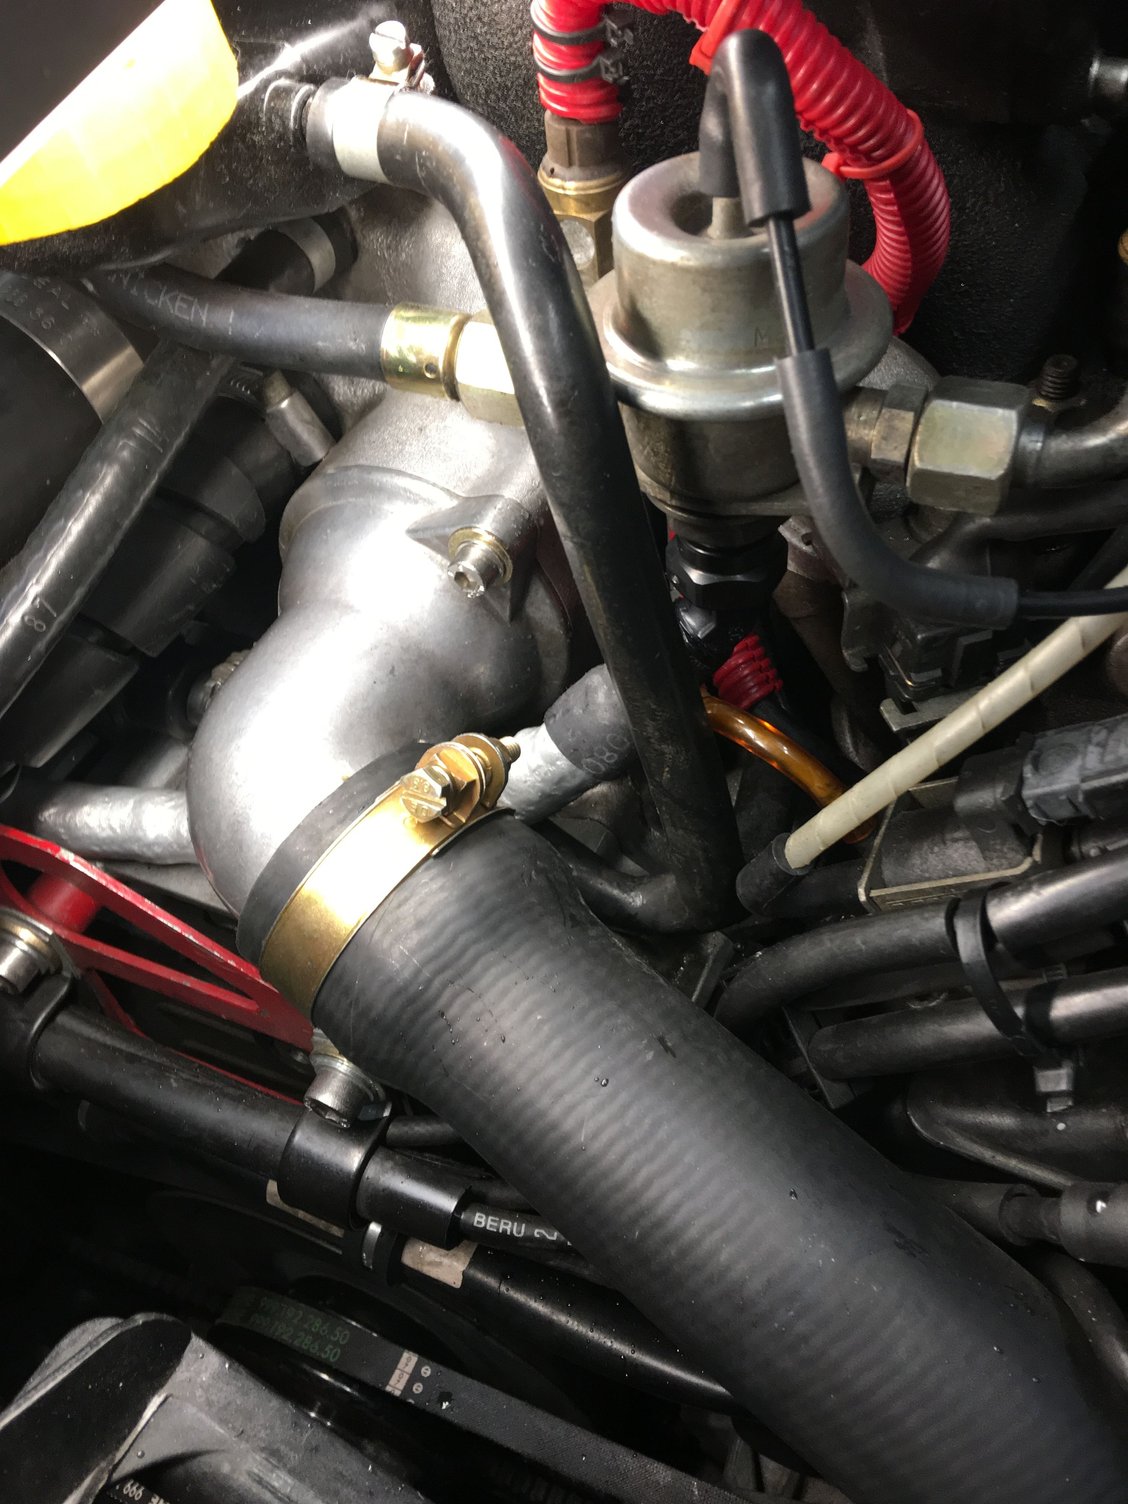
I spent the better part of this morning trying to figure out how the heck to instal the Greg Brown fuel line for the font of the motor. This line is the improved routing over the OEM line that snakes over the valve cover and into the intake valley.
Removing the old line was fairly straight forward. However be prepared to deal with all the fuel in the line that will drip out as you are removing it. I found it best to start by working from the valve cover side and finessing the line out from under the fuel rail. Then tipping the line up and rotating it out from under the water bridge.
I couldn't find and good sources of routing the replacement line so I had to improvise. The instructions indicate routing the line under the water bridge (very tight) and under the radiator hose and over the distributor. This is what I came up with.
The pictures make is look easy but it took me about an hour of fussing till i found a routing that made sense.
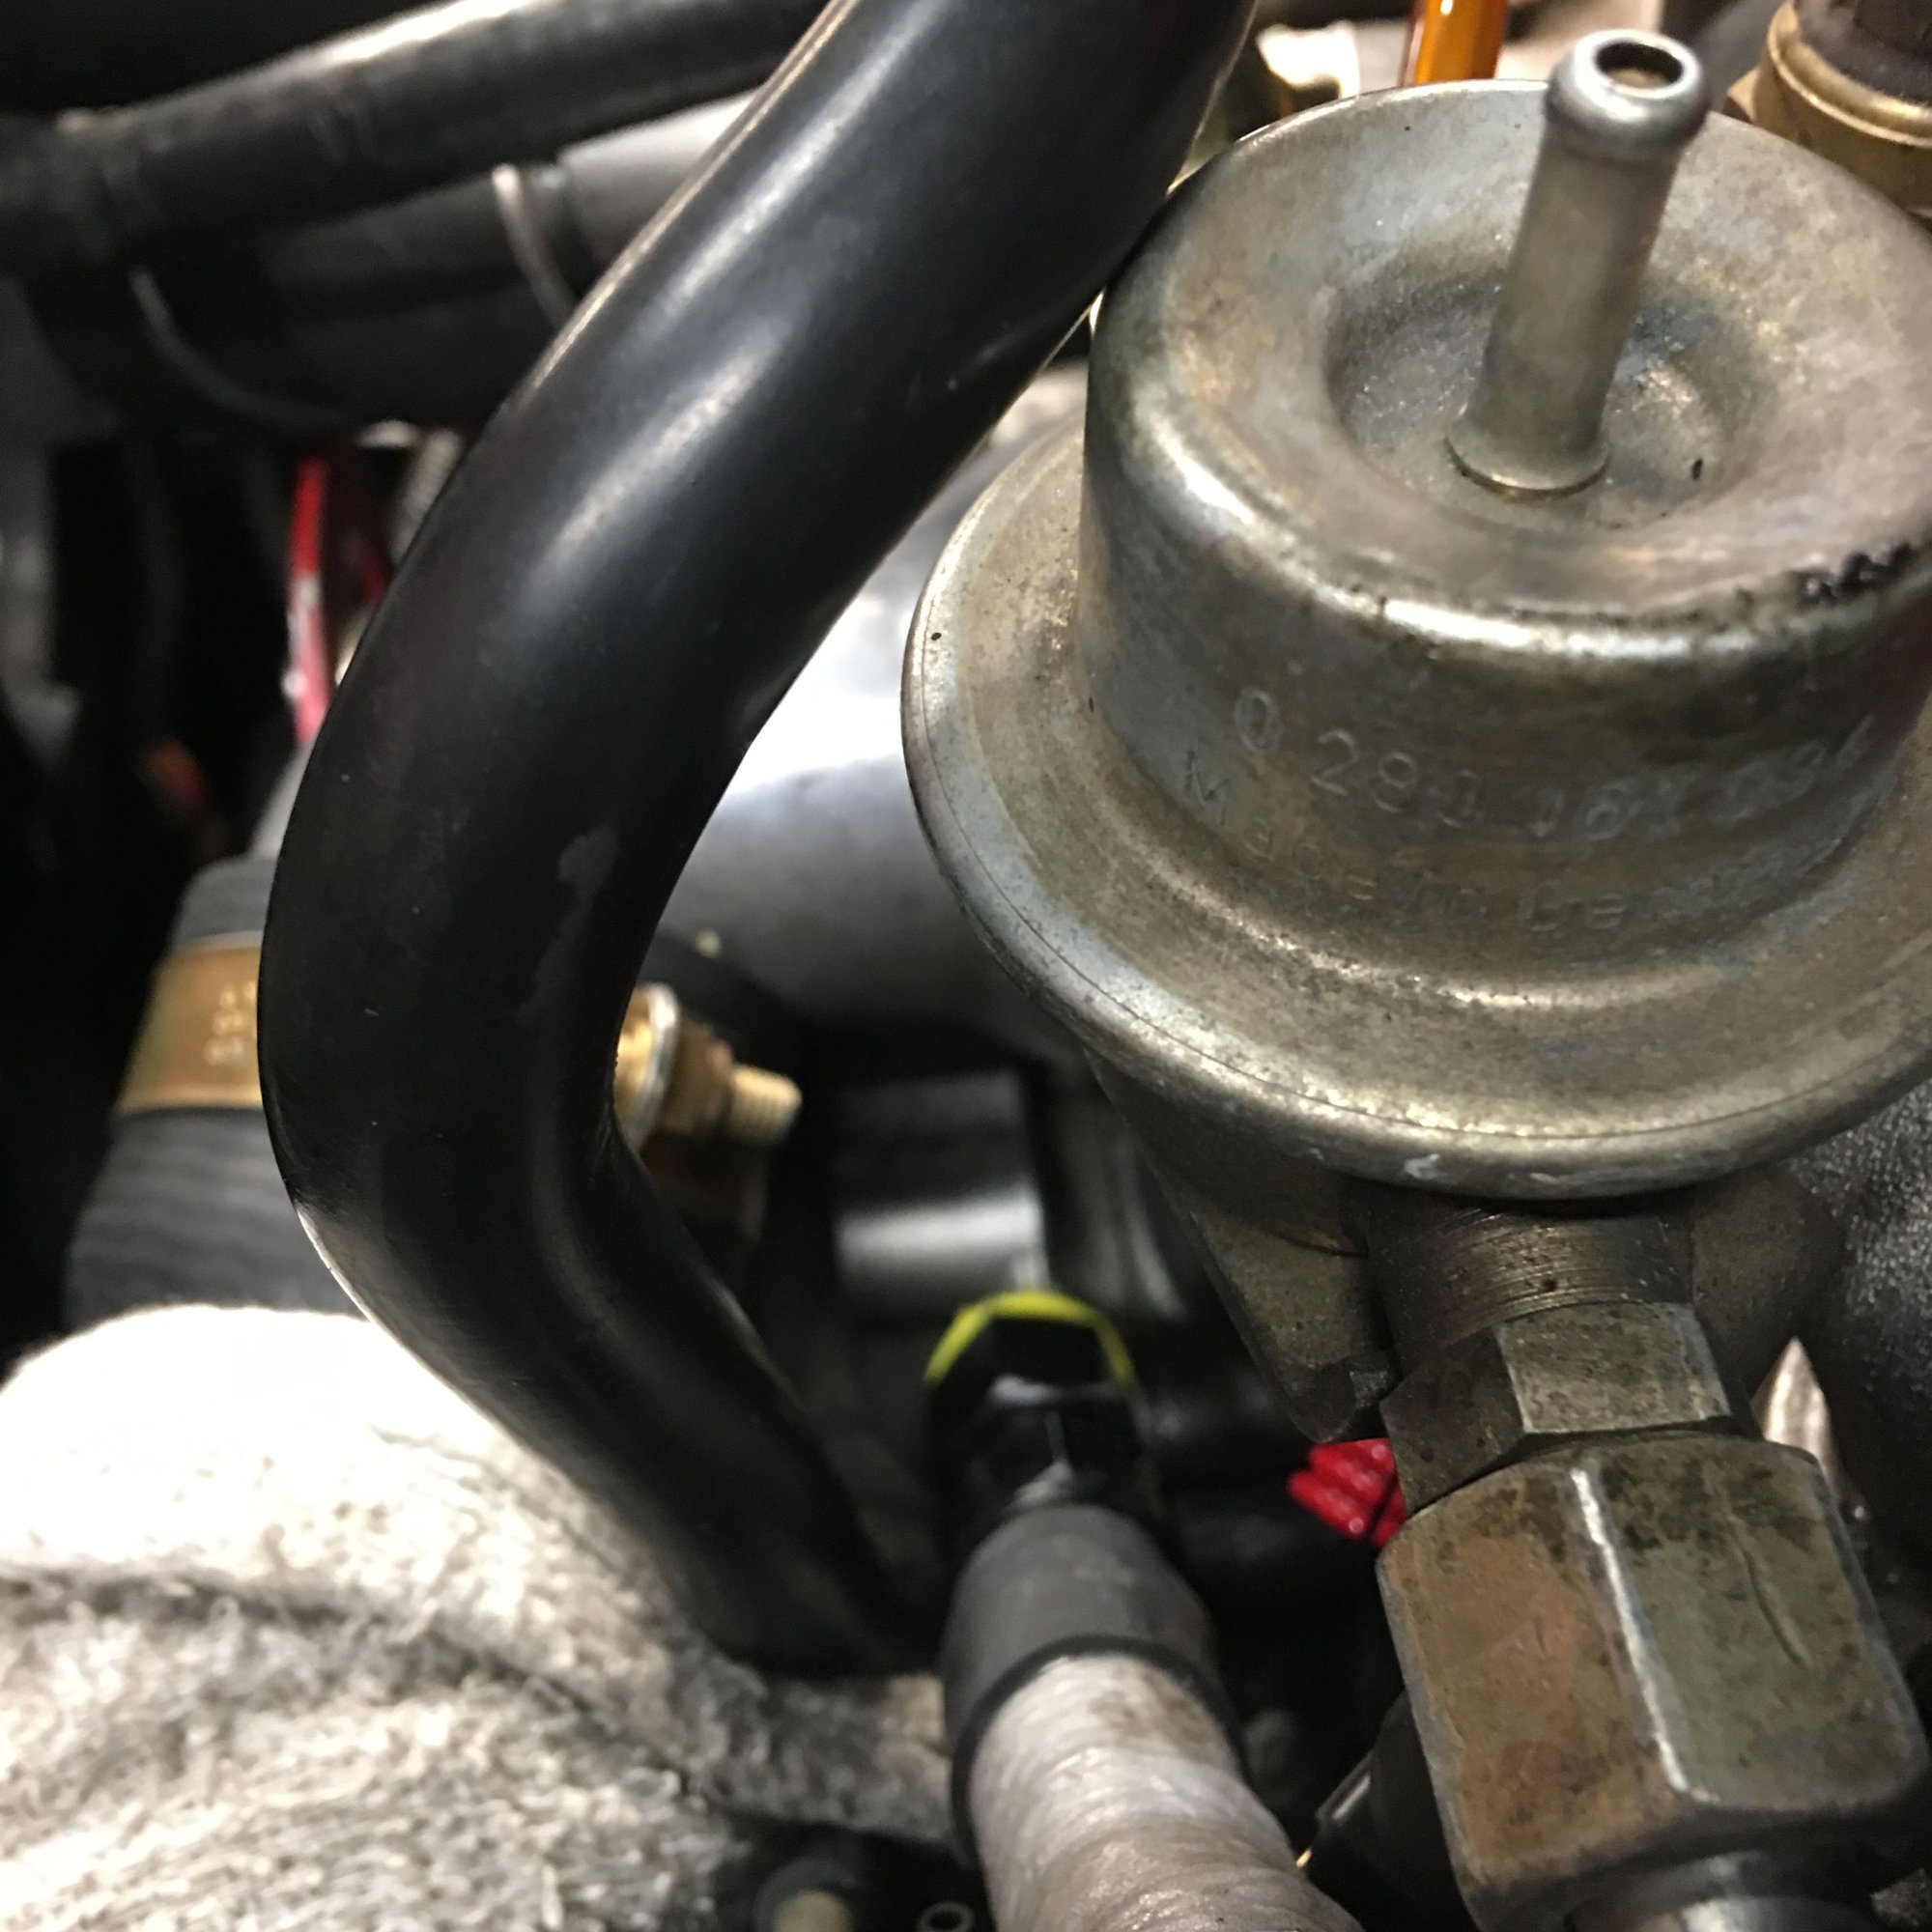
I buttoned it all up and gave it the pressure test using my handy switch. I thought everything leak free, however, while re-assembing happened to smell fuel and discovered a leak! Apparently I did not check or tighten the adapter on the fuel line. This was given away by he visible staining in the coffee filter.


 05-12-2017 | 06:58 PM