When you click on links to various merchants on this site and make a purchase, this can result in this site earning a commission. Affiliate programs and affiliations include, but are not limited to, the eBay Partner Network.
I know I know just trying to rep my stockers :-) cannot wait to see finished product with those wheels!
Thanks, I can't either. I actually really like the stock wheels and looked for a Cayenne that specifically had them since even though I knew I'd be doing the widebody from the beginning, I had actually planned to keep these stock wheels. Was all good until I found these pics of the GTS build in the intermediate stage between the body being done before the other wheels were installed, then I knew I needed something larger, but with the OEM bodywork, even the fender flares and aero stuff, they looked great.
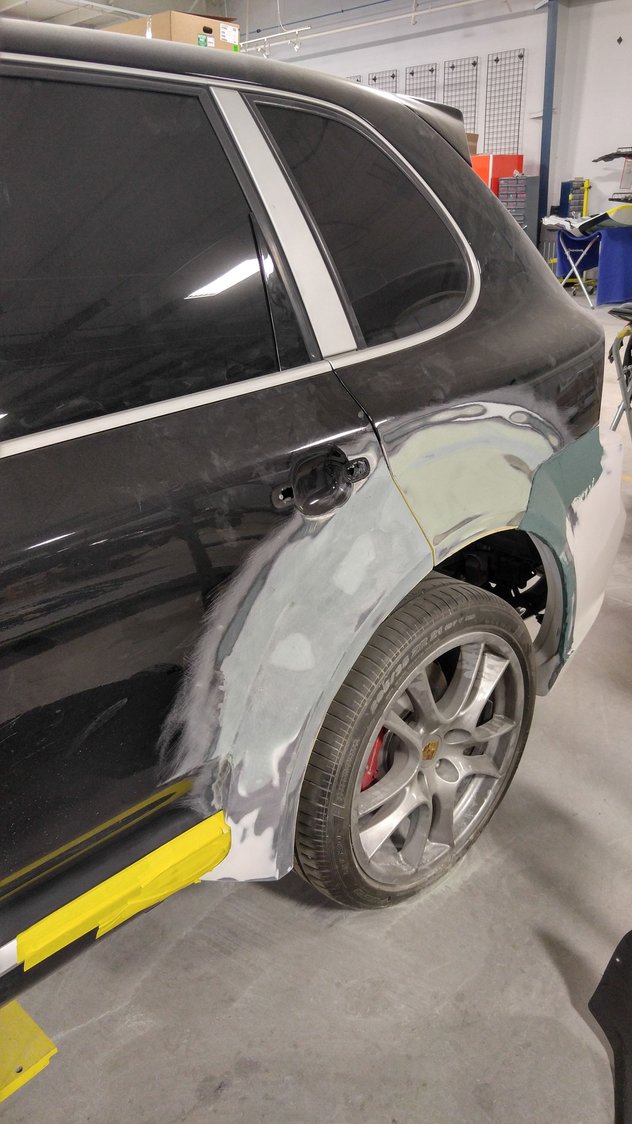
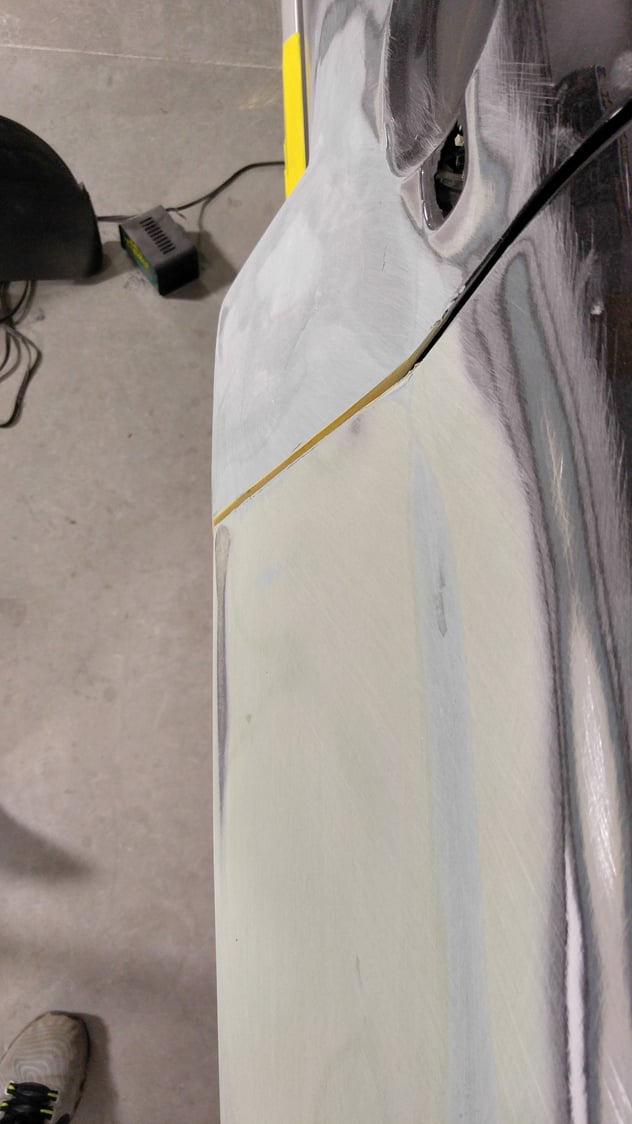
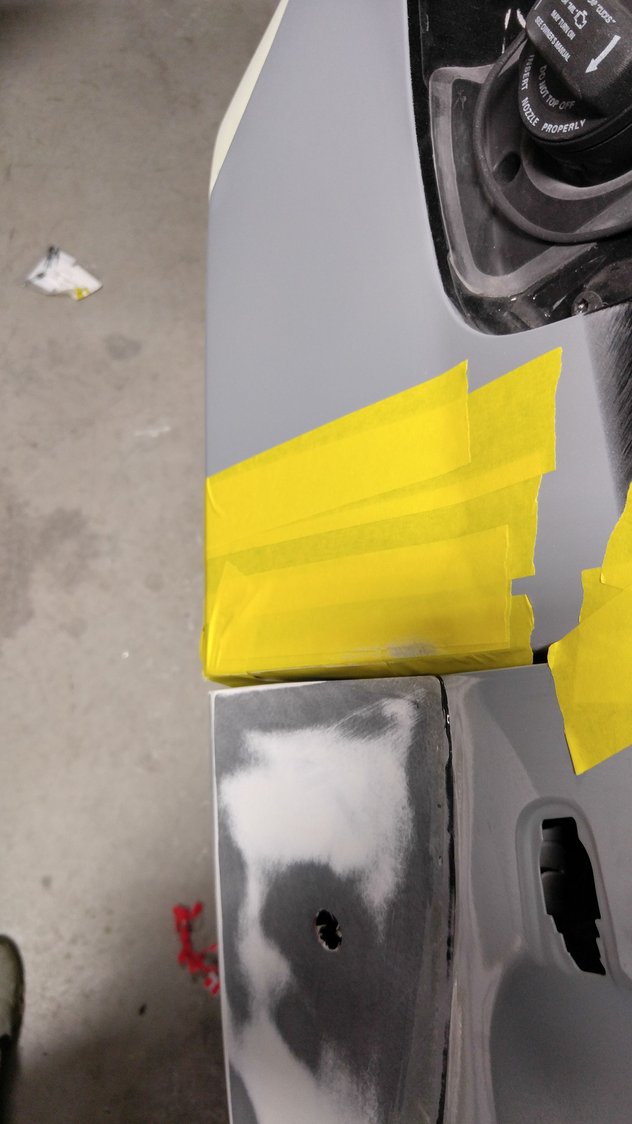
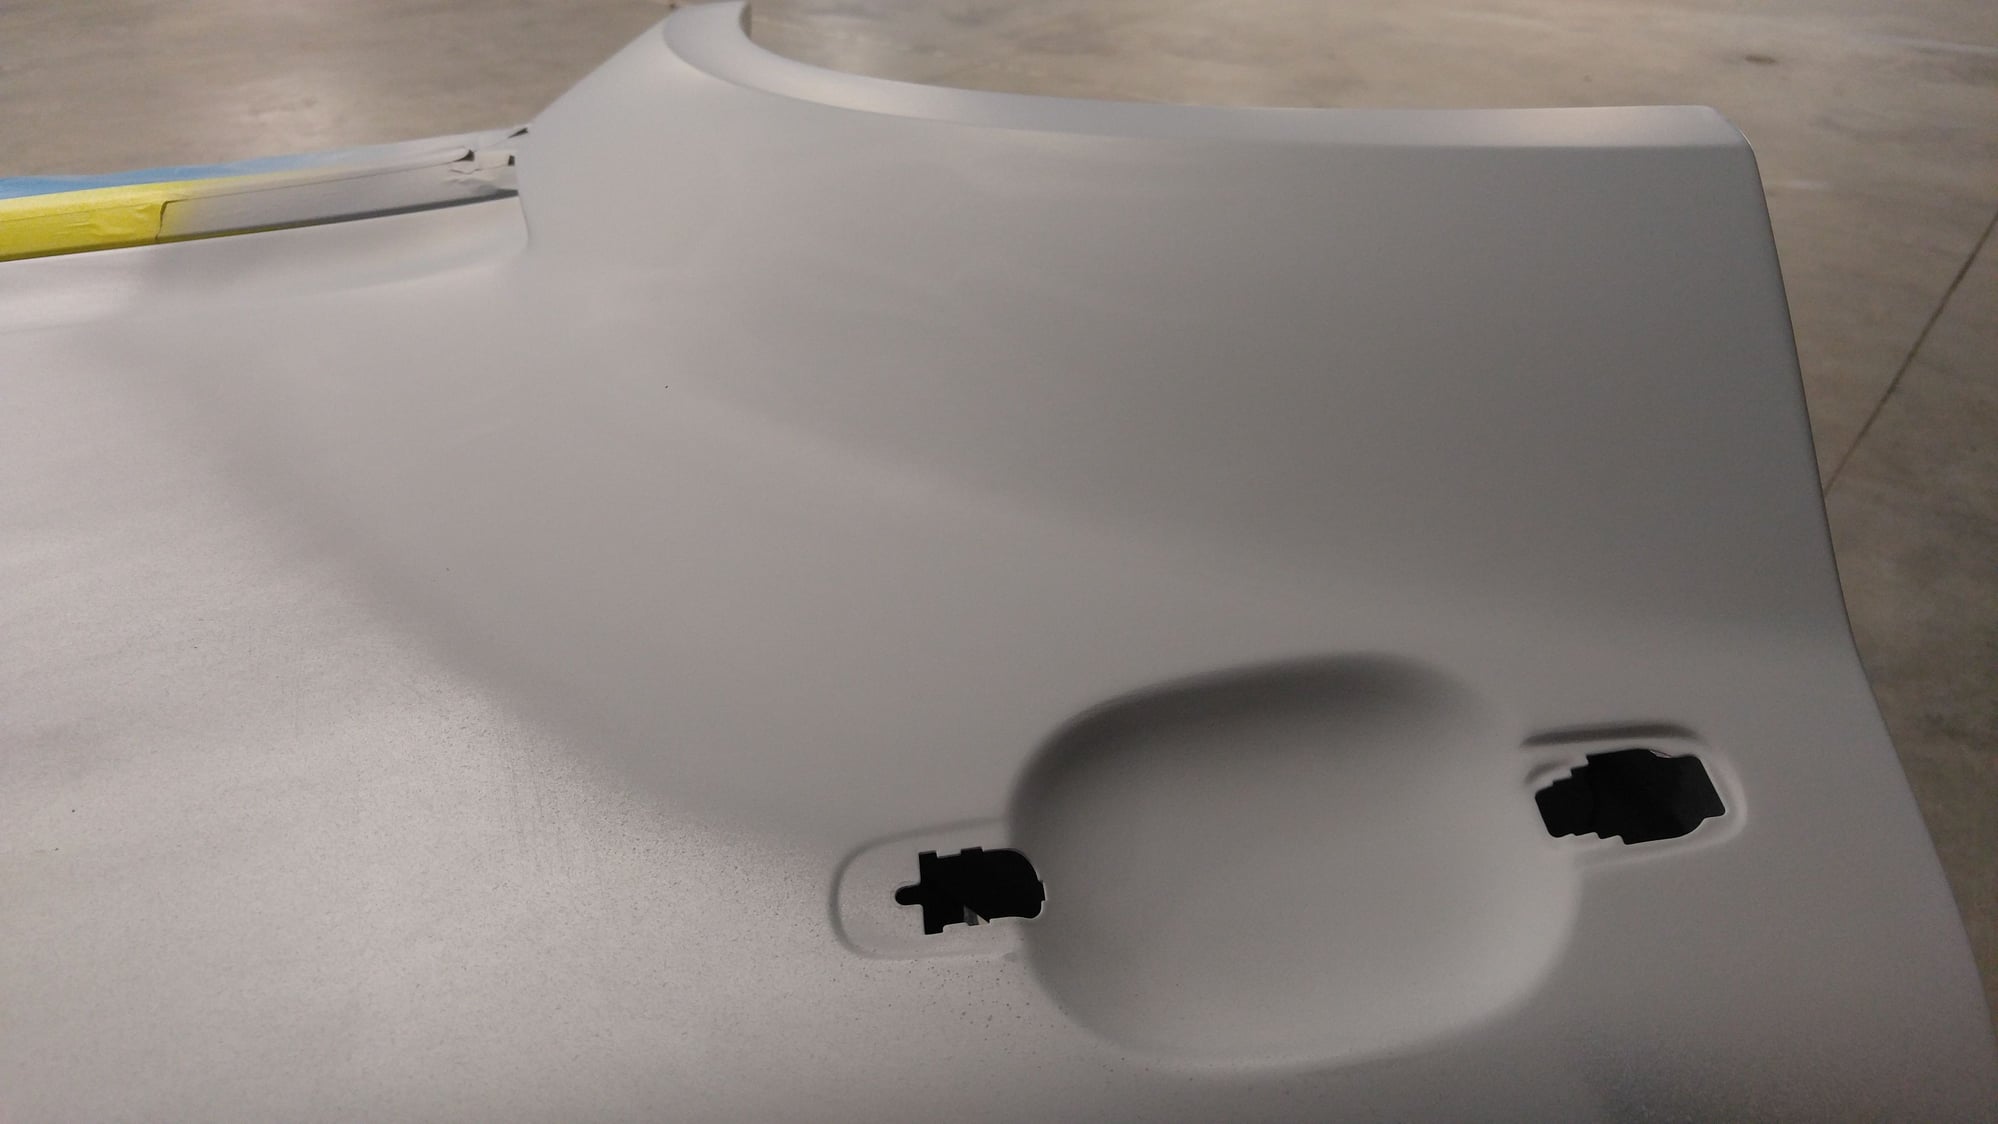
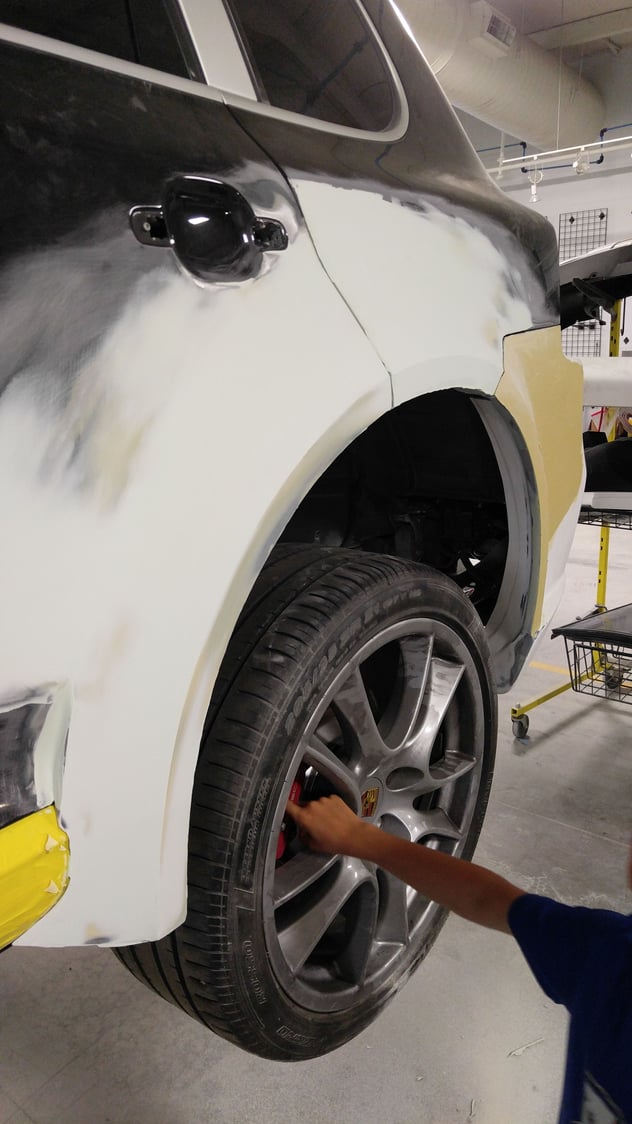
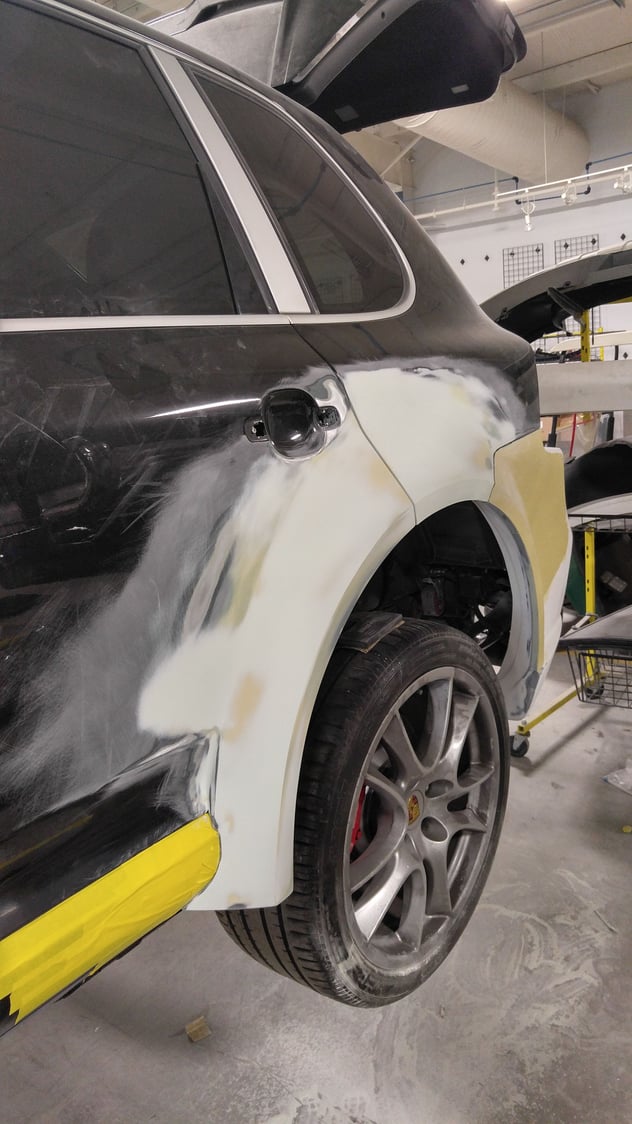
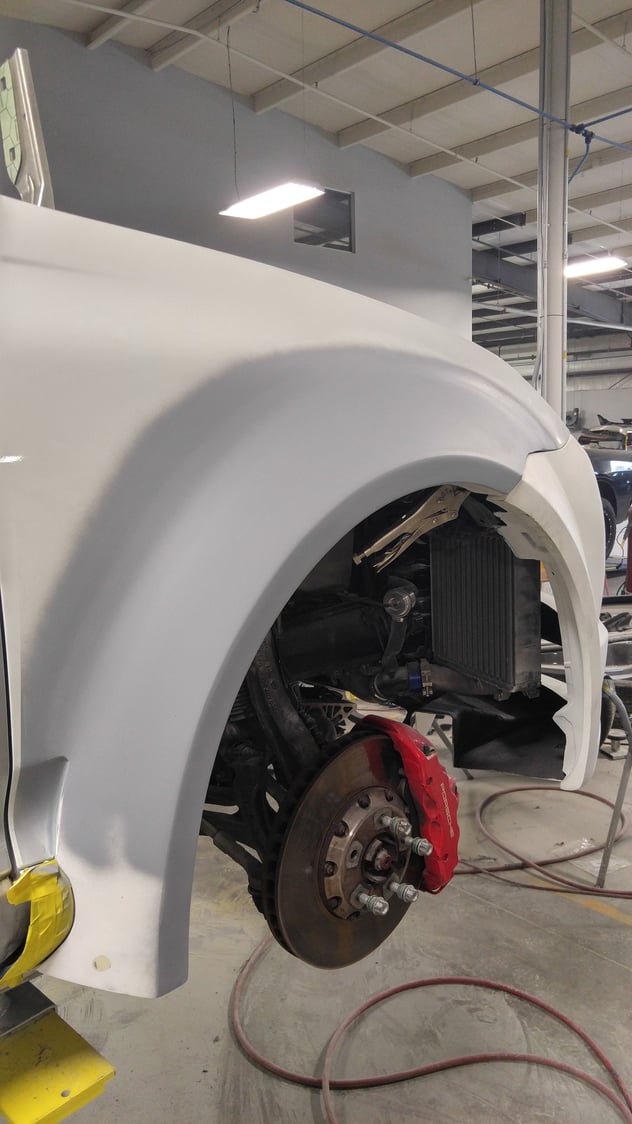
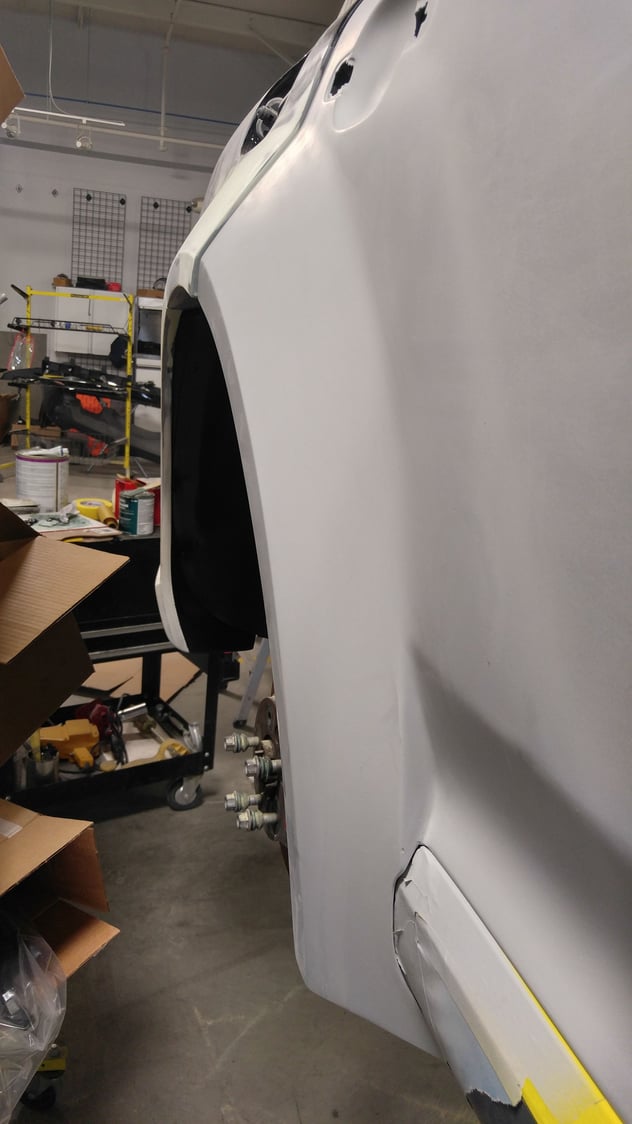
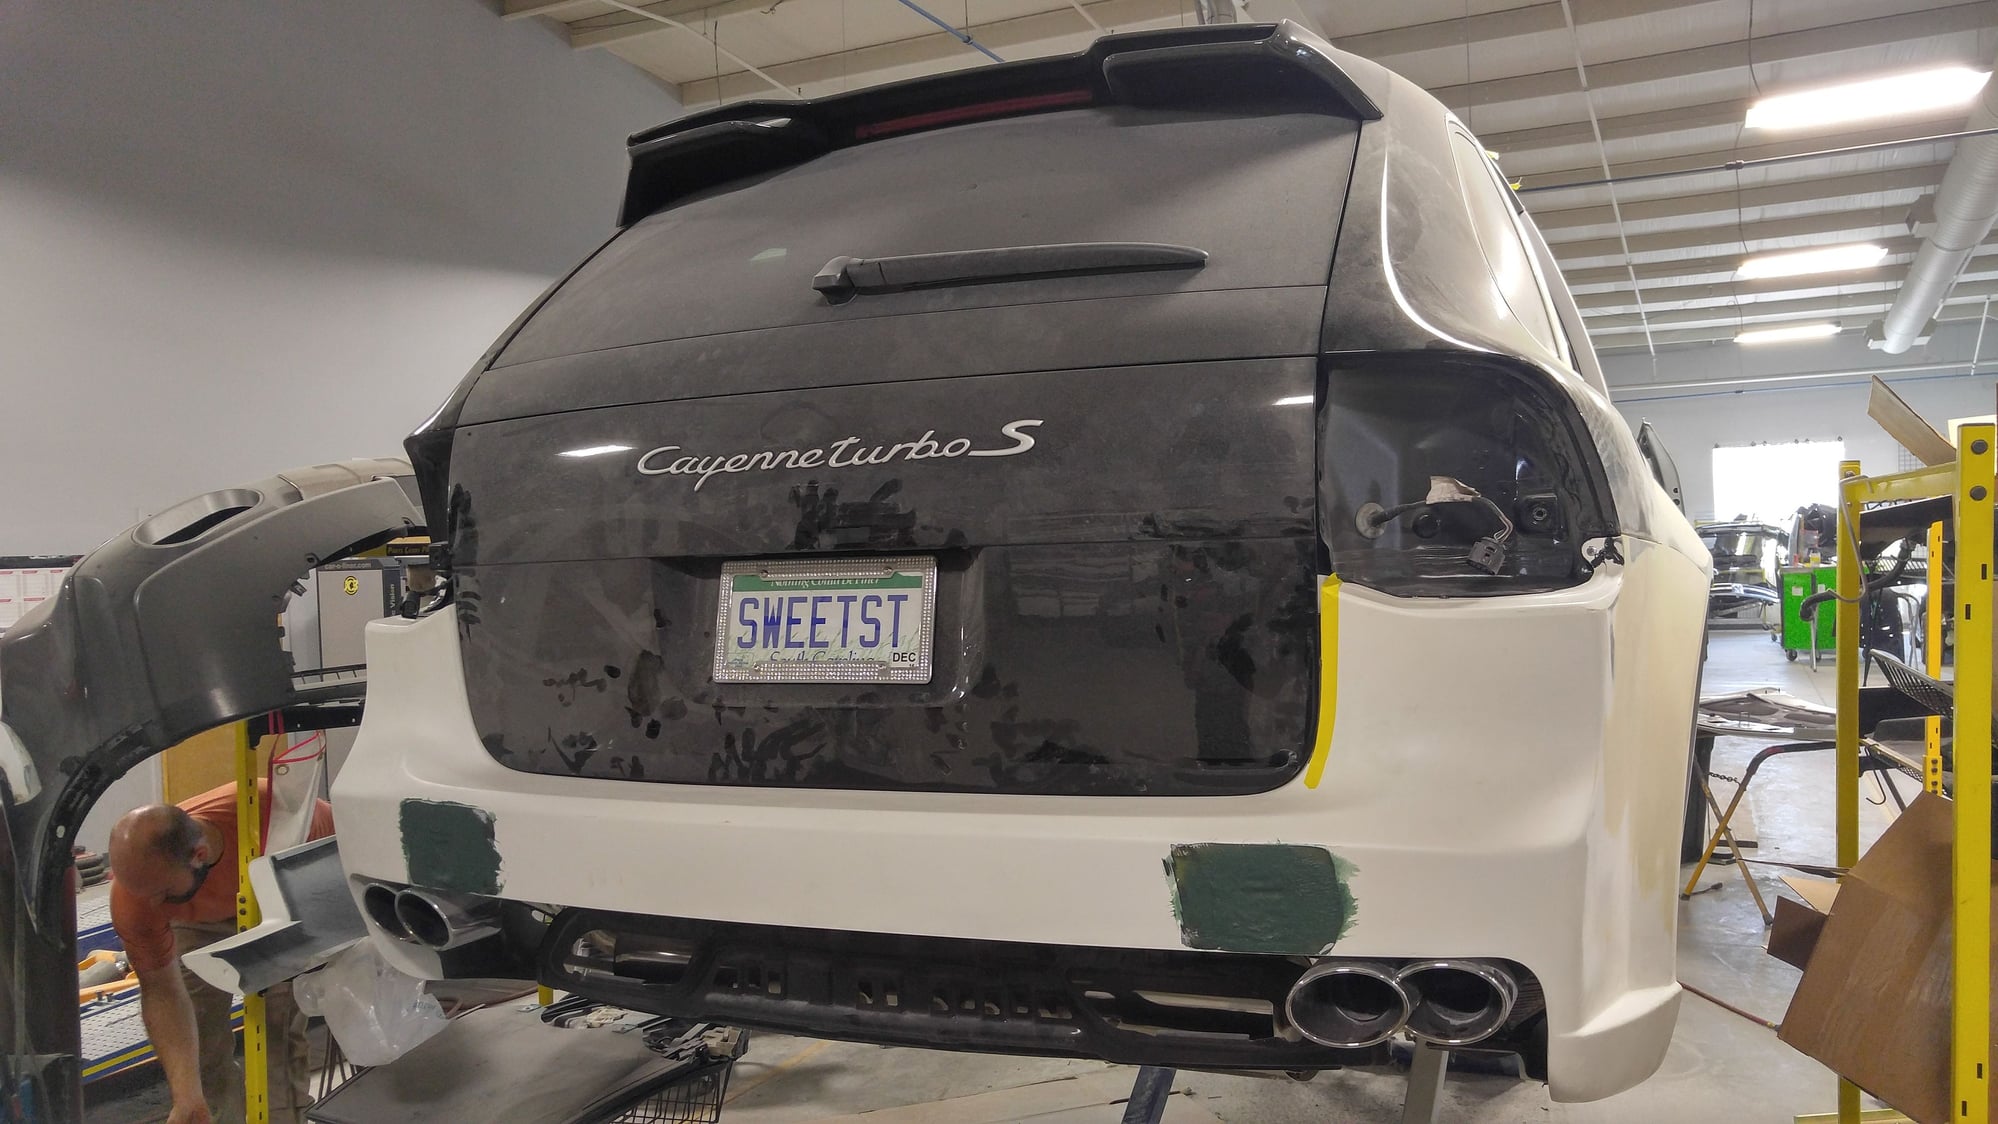
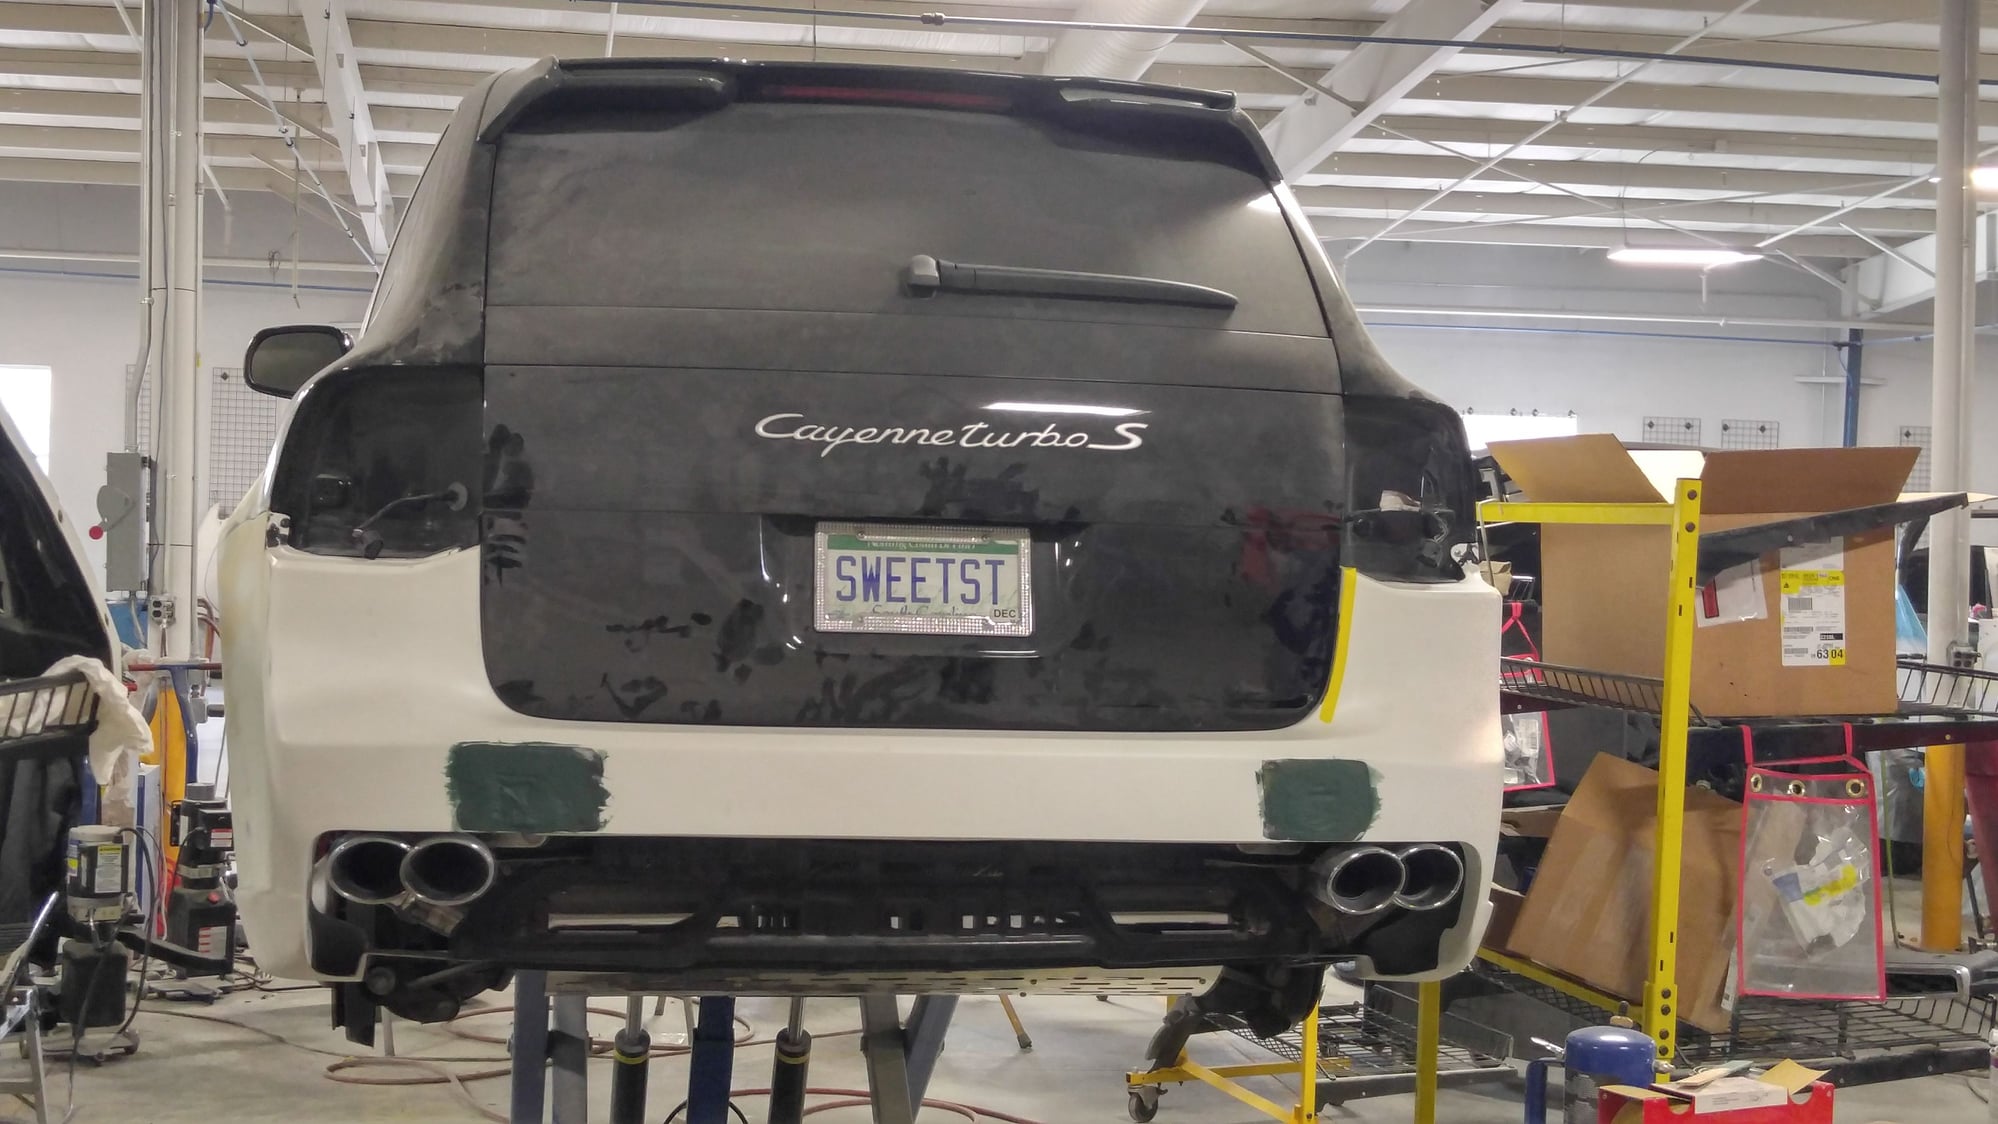
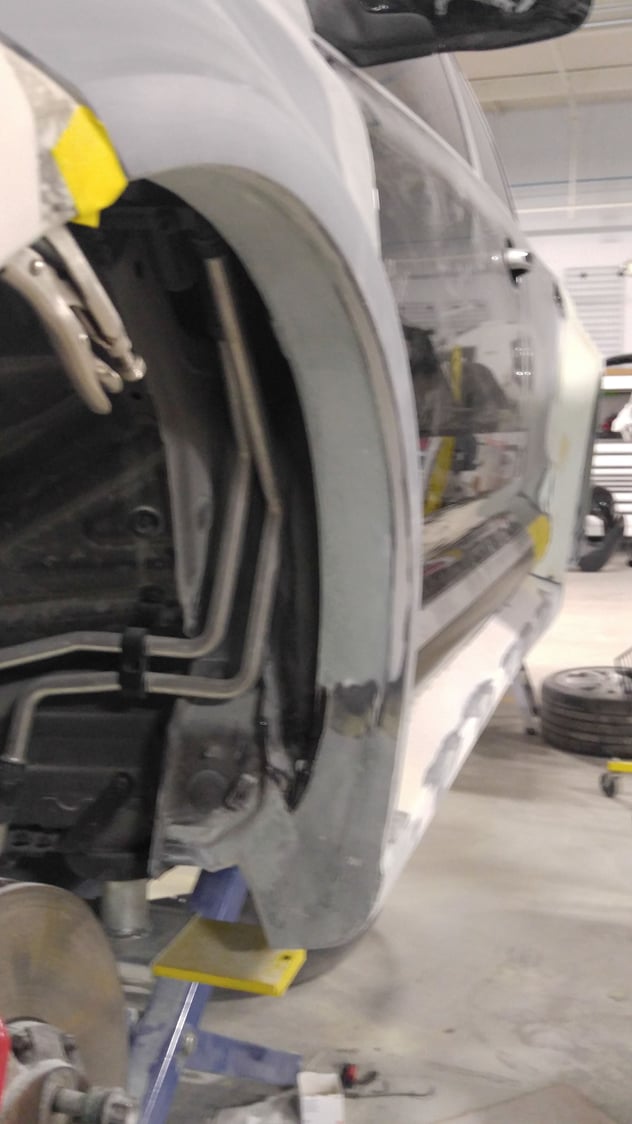
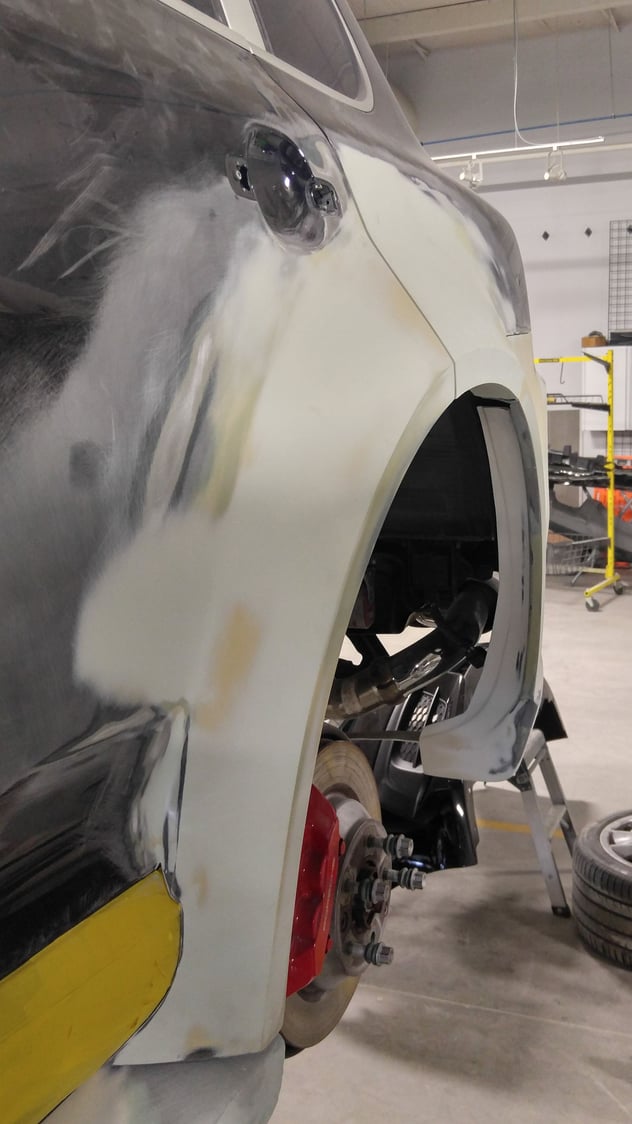
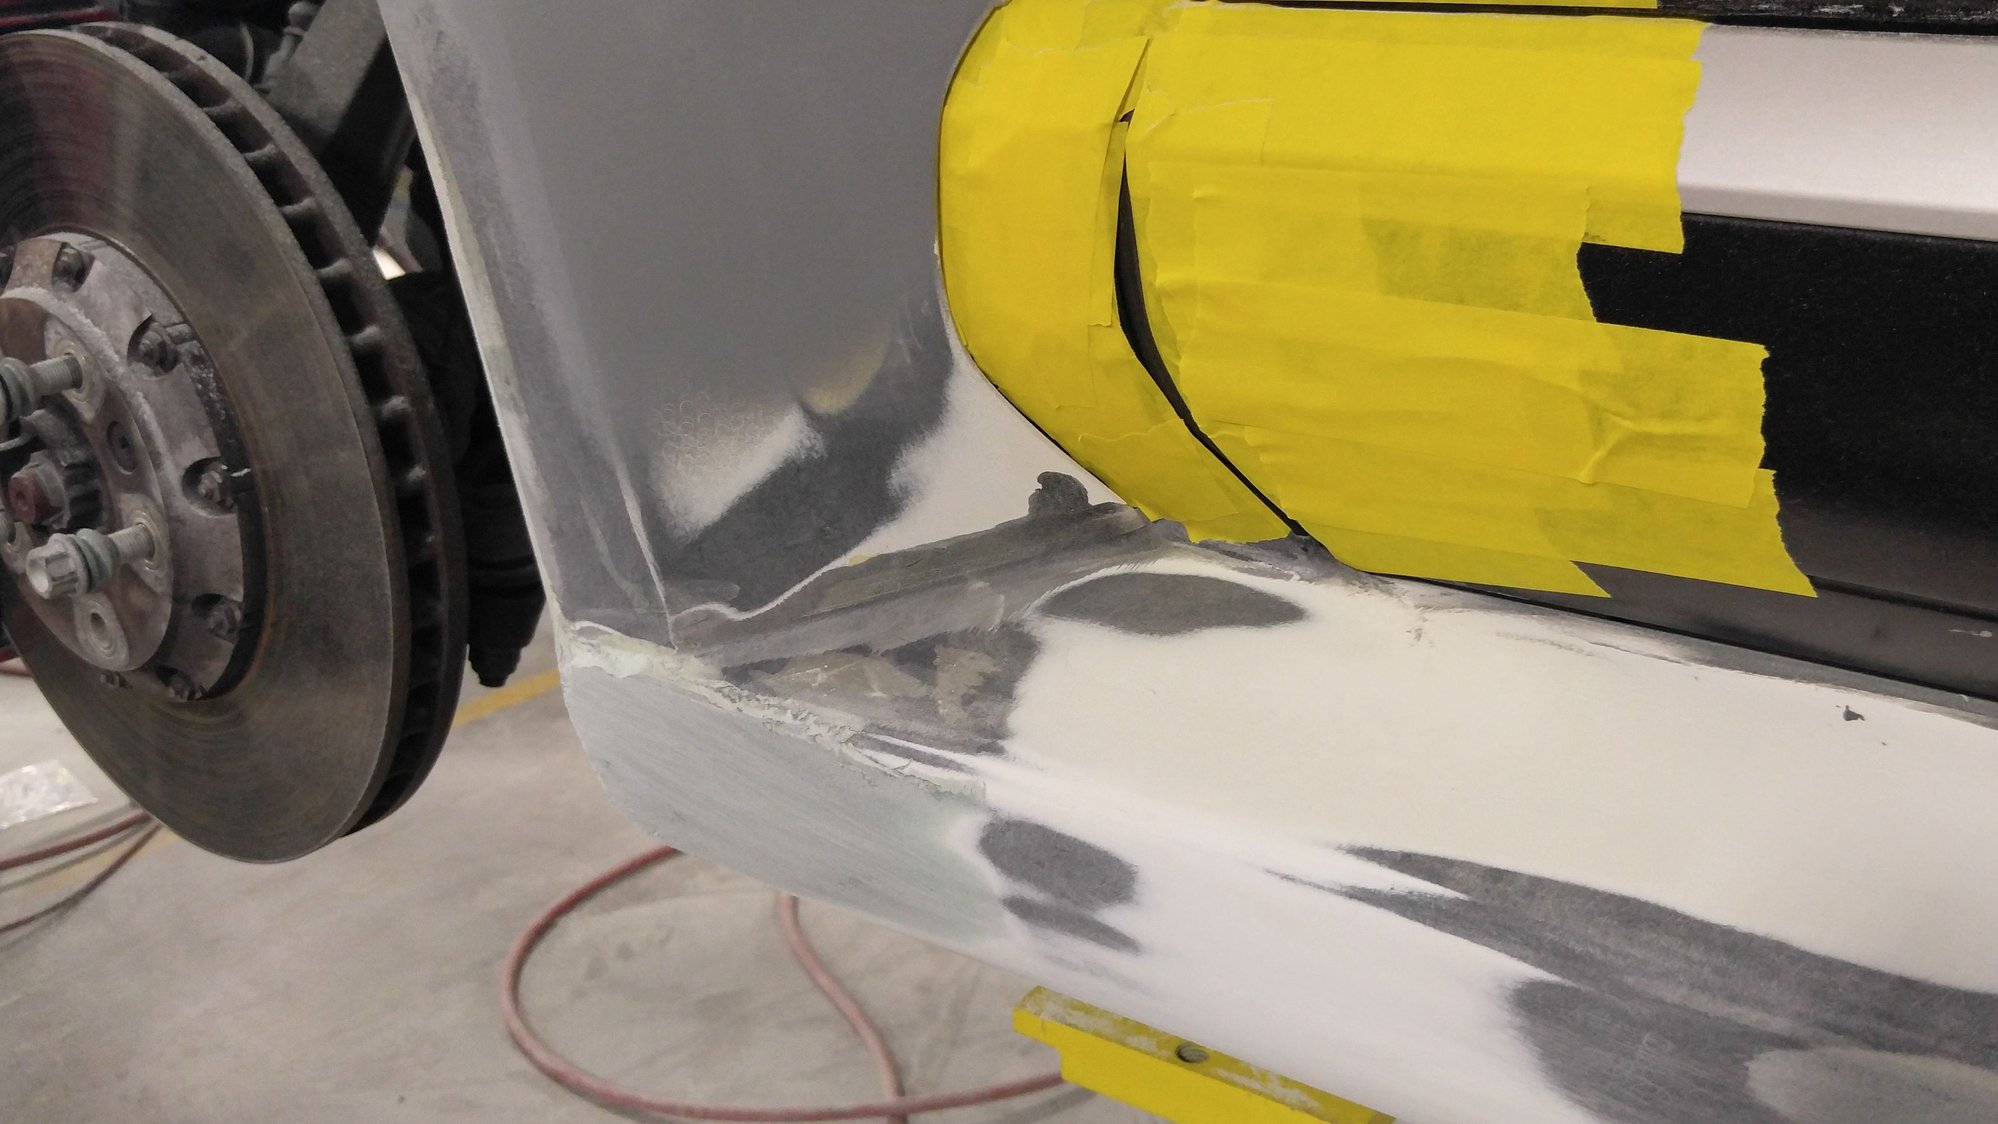
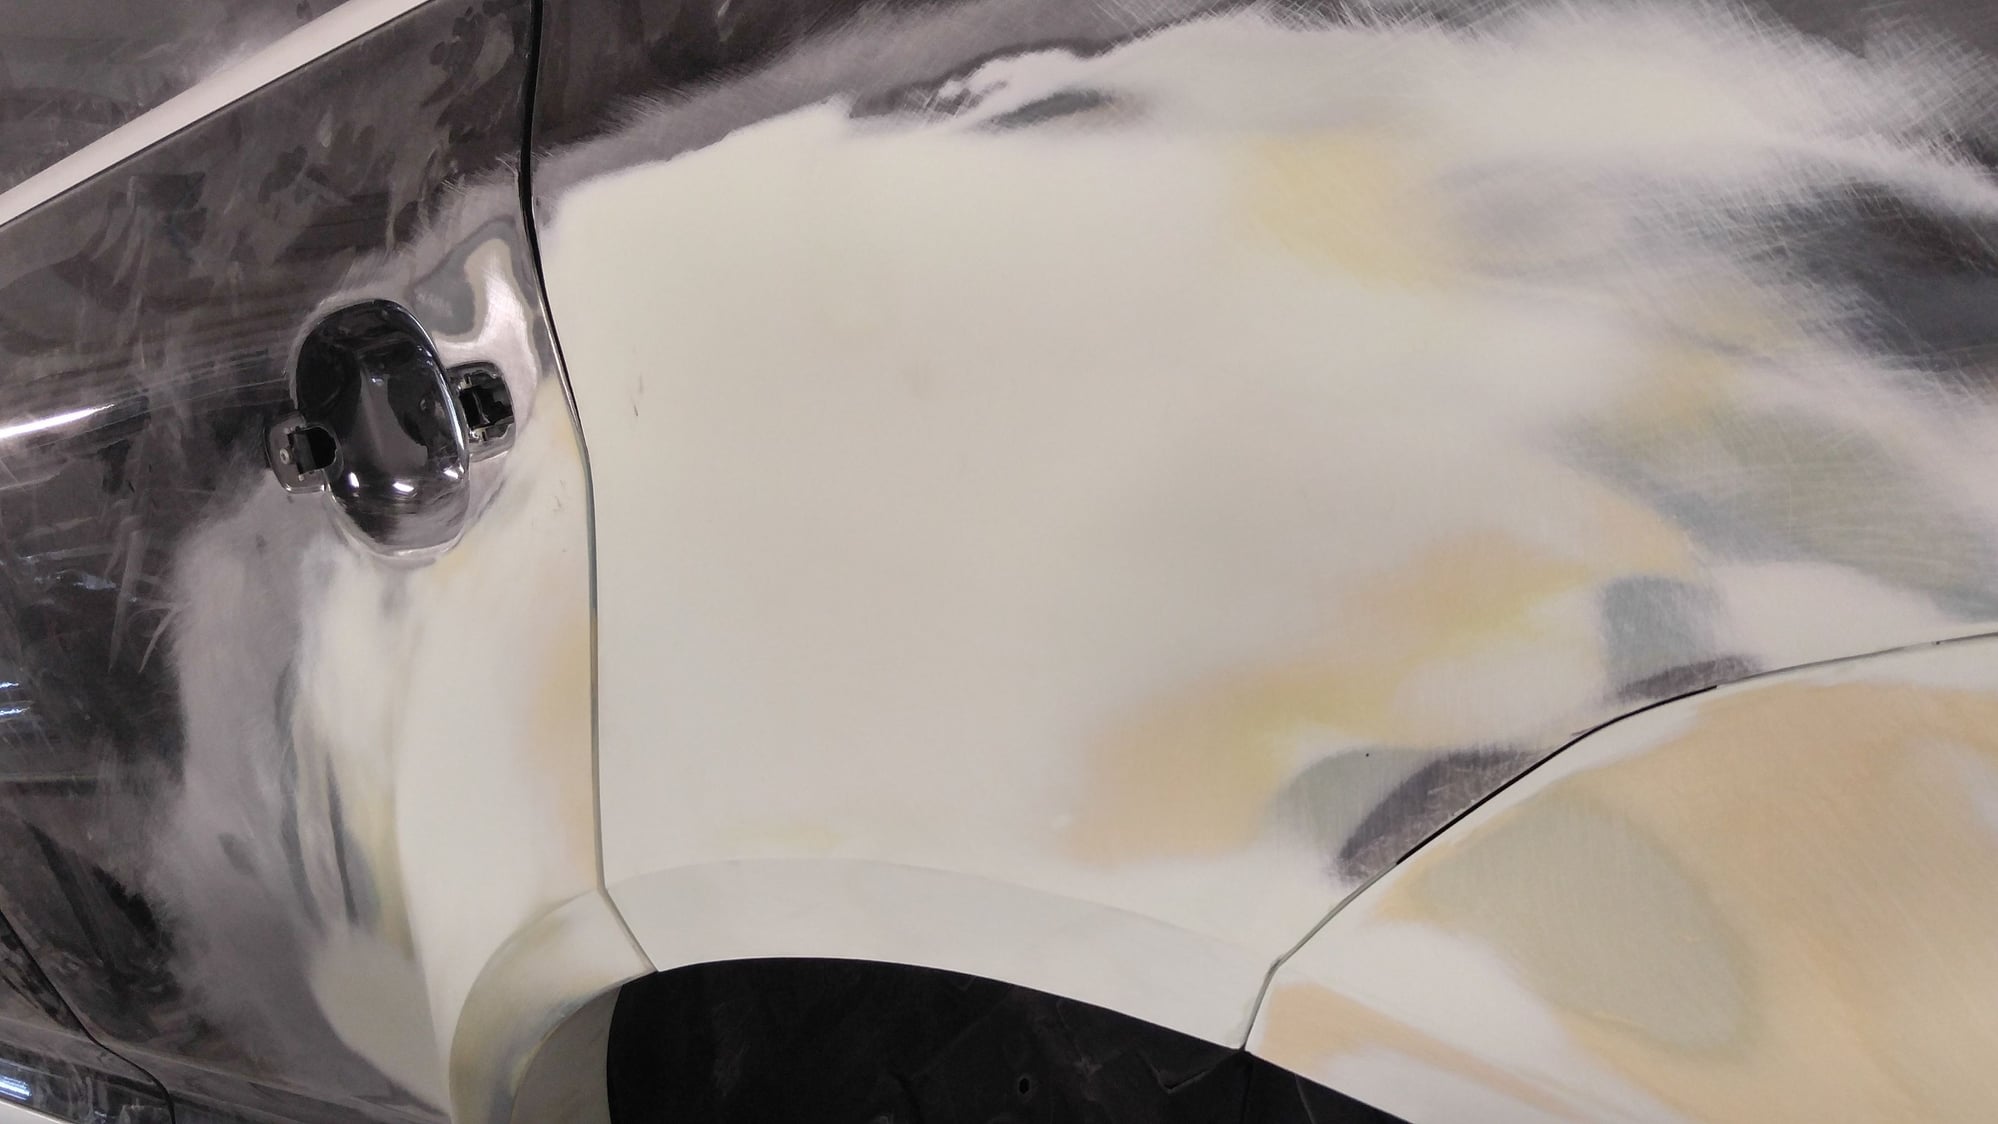
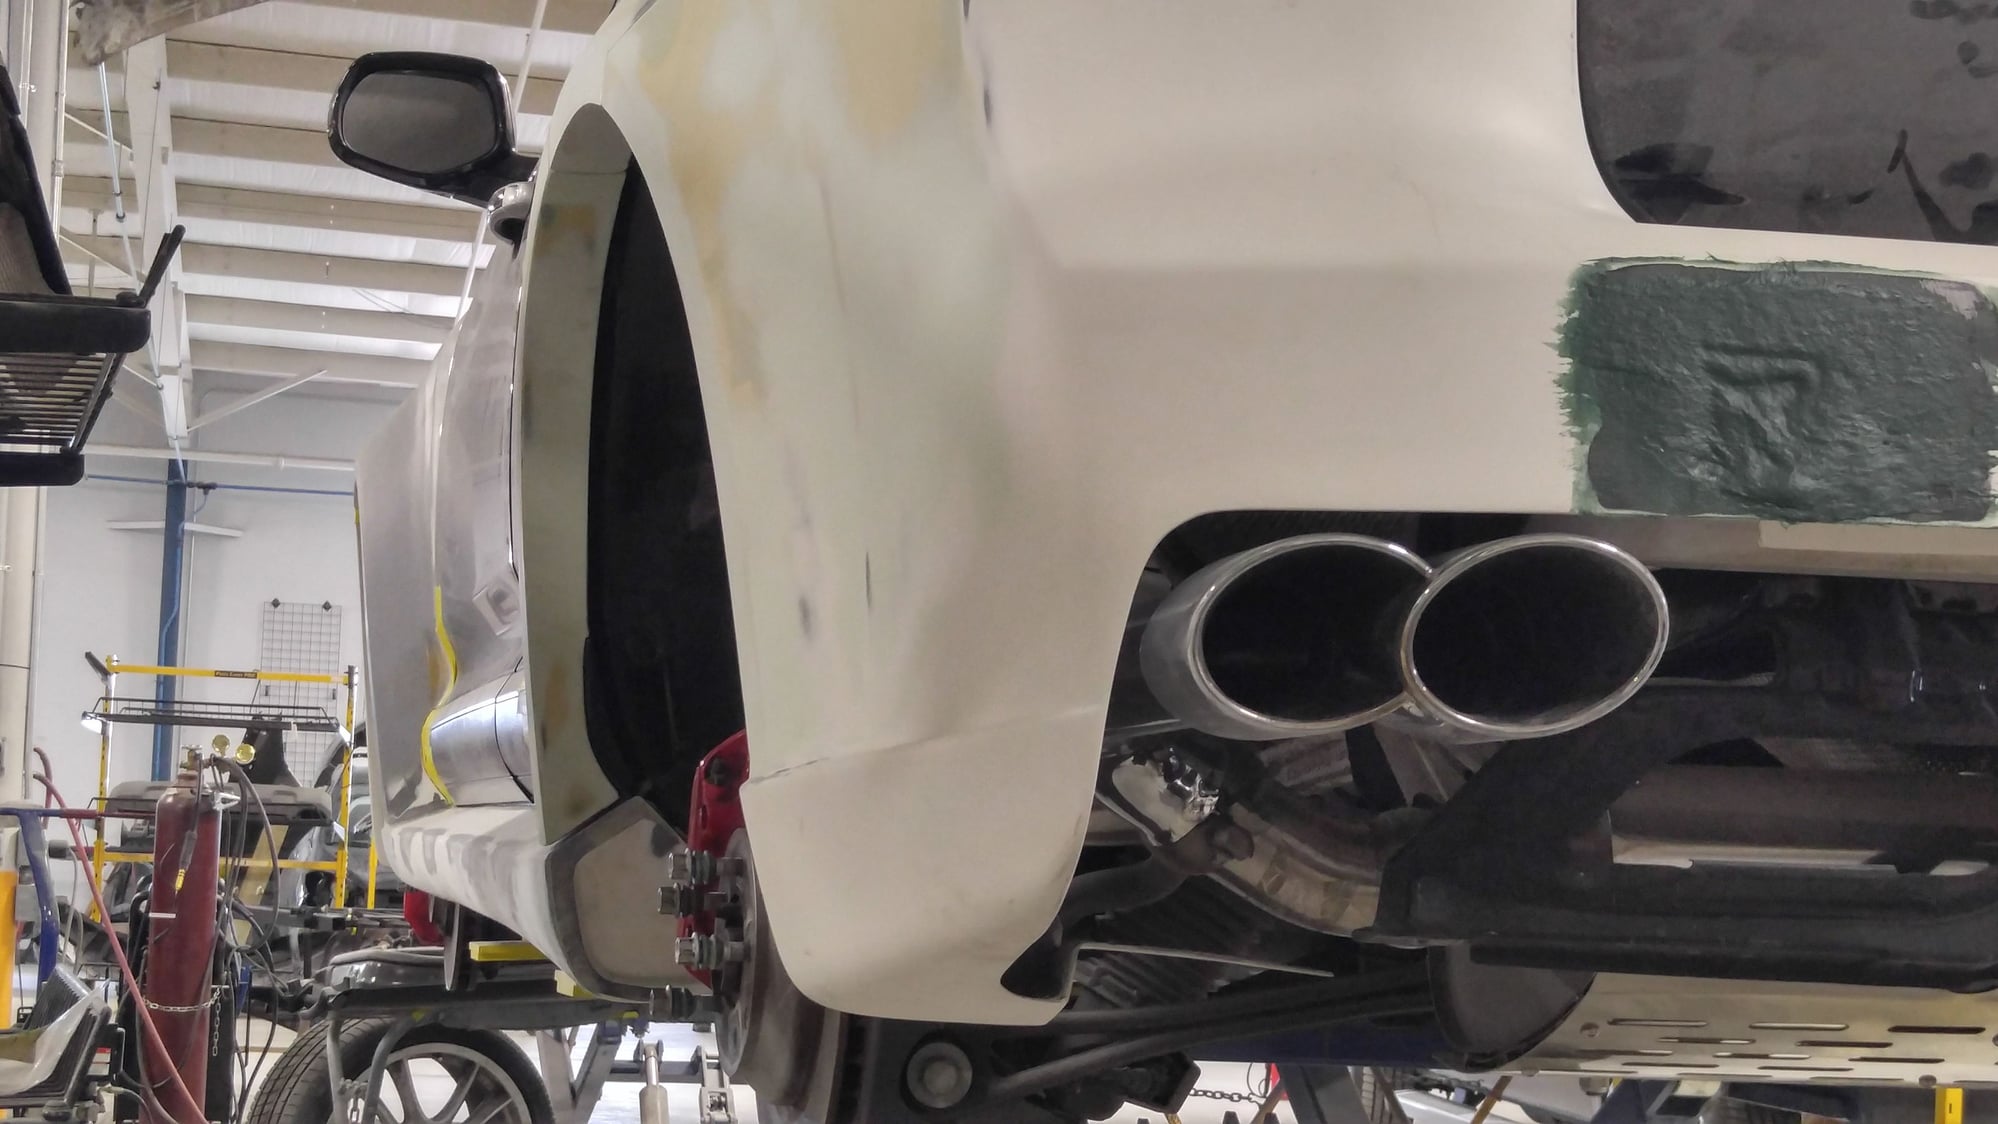
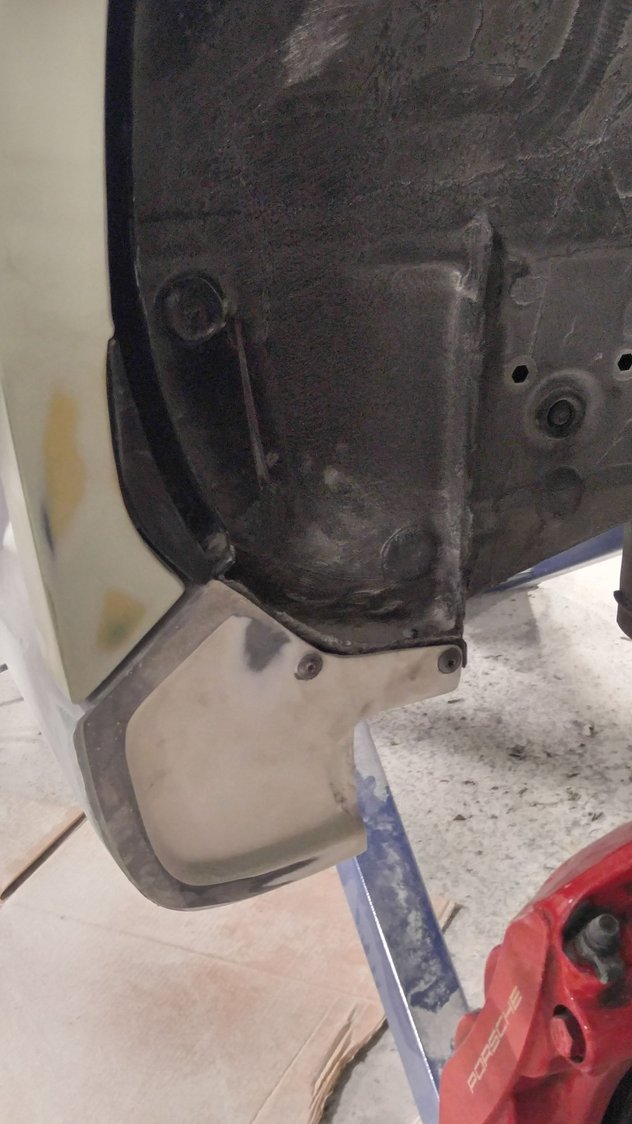
Visited the Cayenne project again this week - progress continues but slowly as the shop has had a lot of collision repair work as of late and that's what "pays the bills" and lets them work on my stuff for me on the side. They're working from the rear of the car forward on both sides. They've done some further priming, fitting, sanding, and blending, and have done the rough work for the long flare extensions on both rear doors. Passenger side rear door had some parking lot dings corrected and has been resprayed in grey primer as an interim step. Also gives you a good shot of the holes and attaching method that secure the flares to the body in addition to the panel bond adhesive being used. Photos from the perspective above show how well the multiple pieces transition from the rear door to the rear quarter when they come together, even though they're not finished yet.
Just wondering - will the stock wheel liners work with the extended flare? It has sort of a naked look to it as they are now. And the flare does make those wheels look rather lonely in the wheel-well..
Just wondering - will the stock wheel liners work with the extended flare? It has sort of a naked look to it as they are now. And the flare does make those wheels look rather lonely in the wheel-well..
Don,
Yes, the flares for the front and rear fenders, doors, and quarters mount to the sides of their attachment points (extending out and down to achieve a more aggressive look without actually being lowered), and the bumpers have the flares molded in, but extend back in to the factory pick-up points.
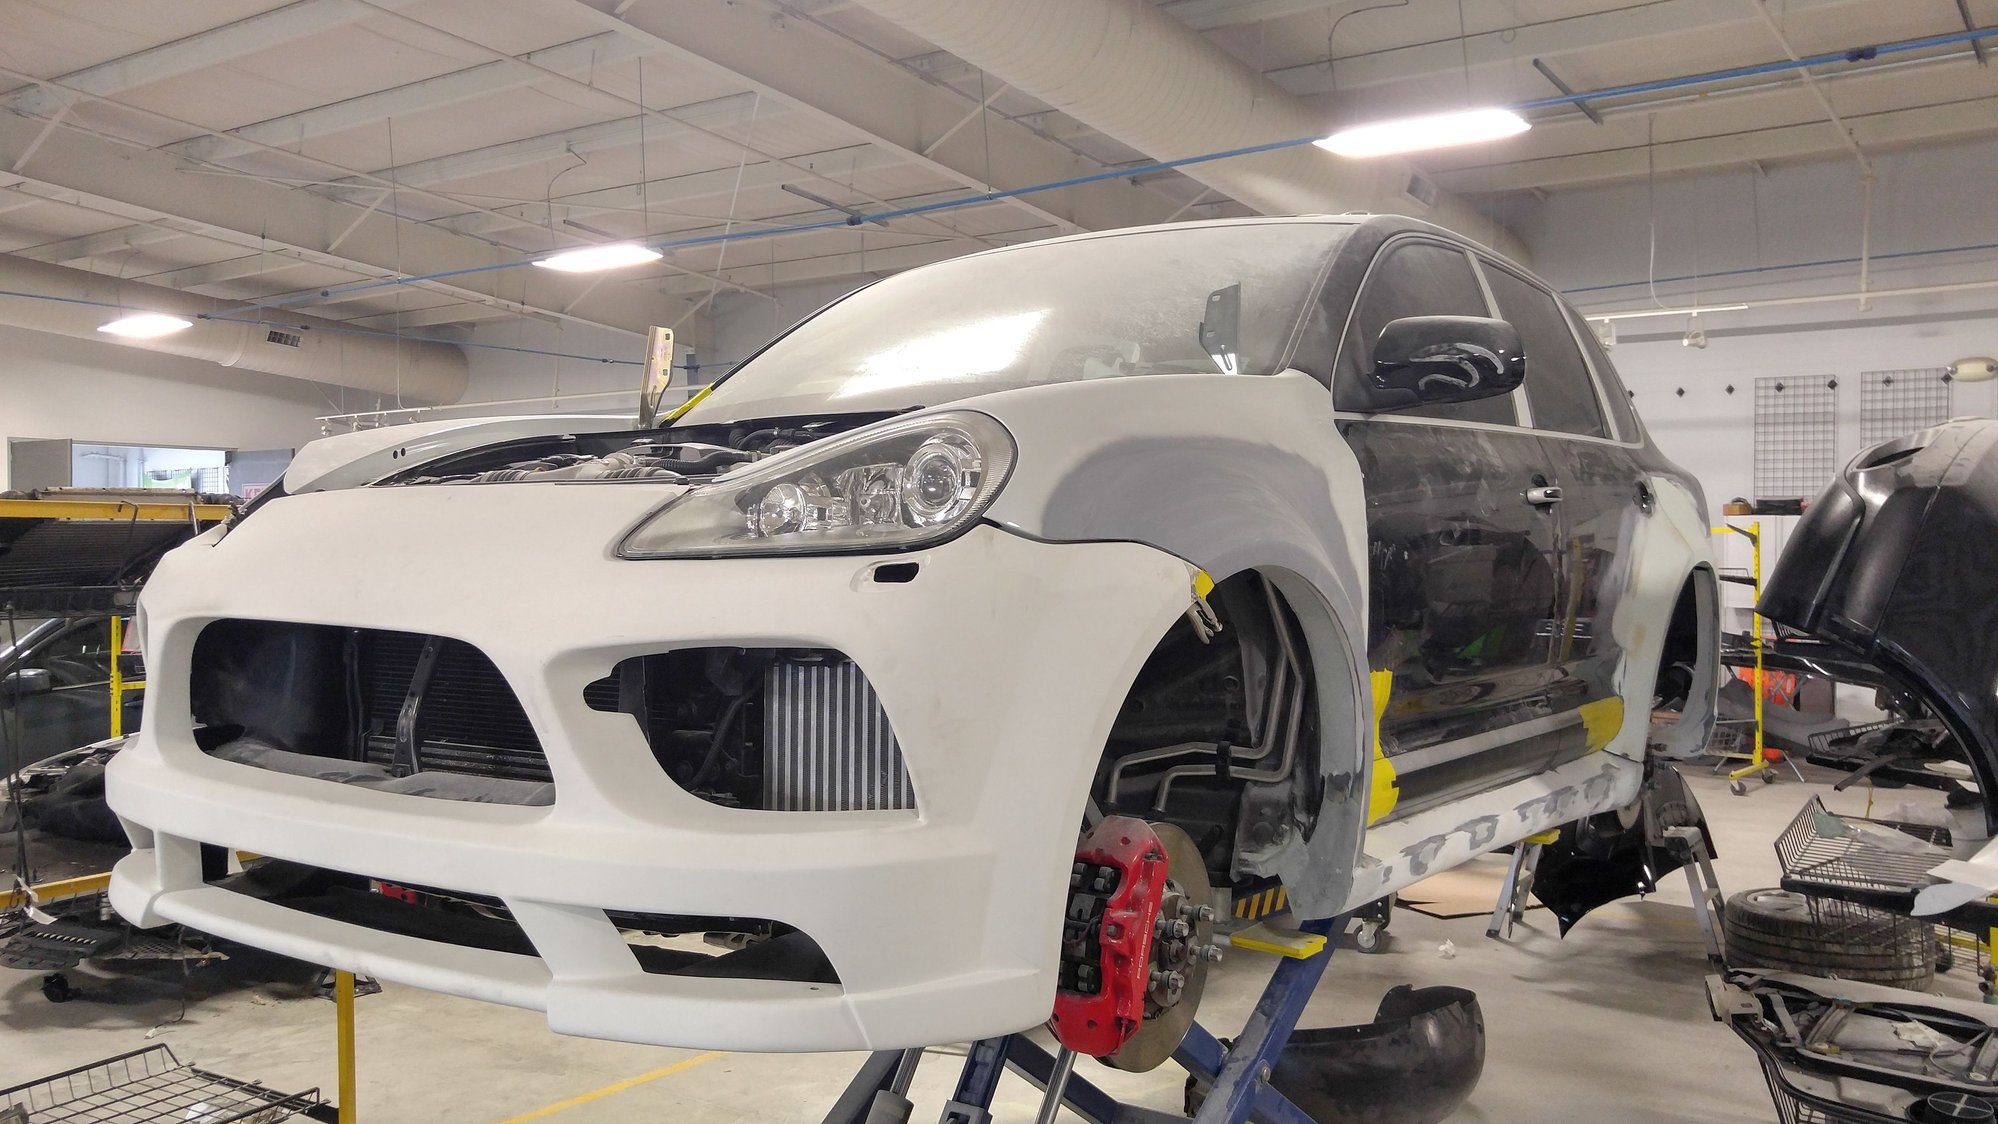
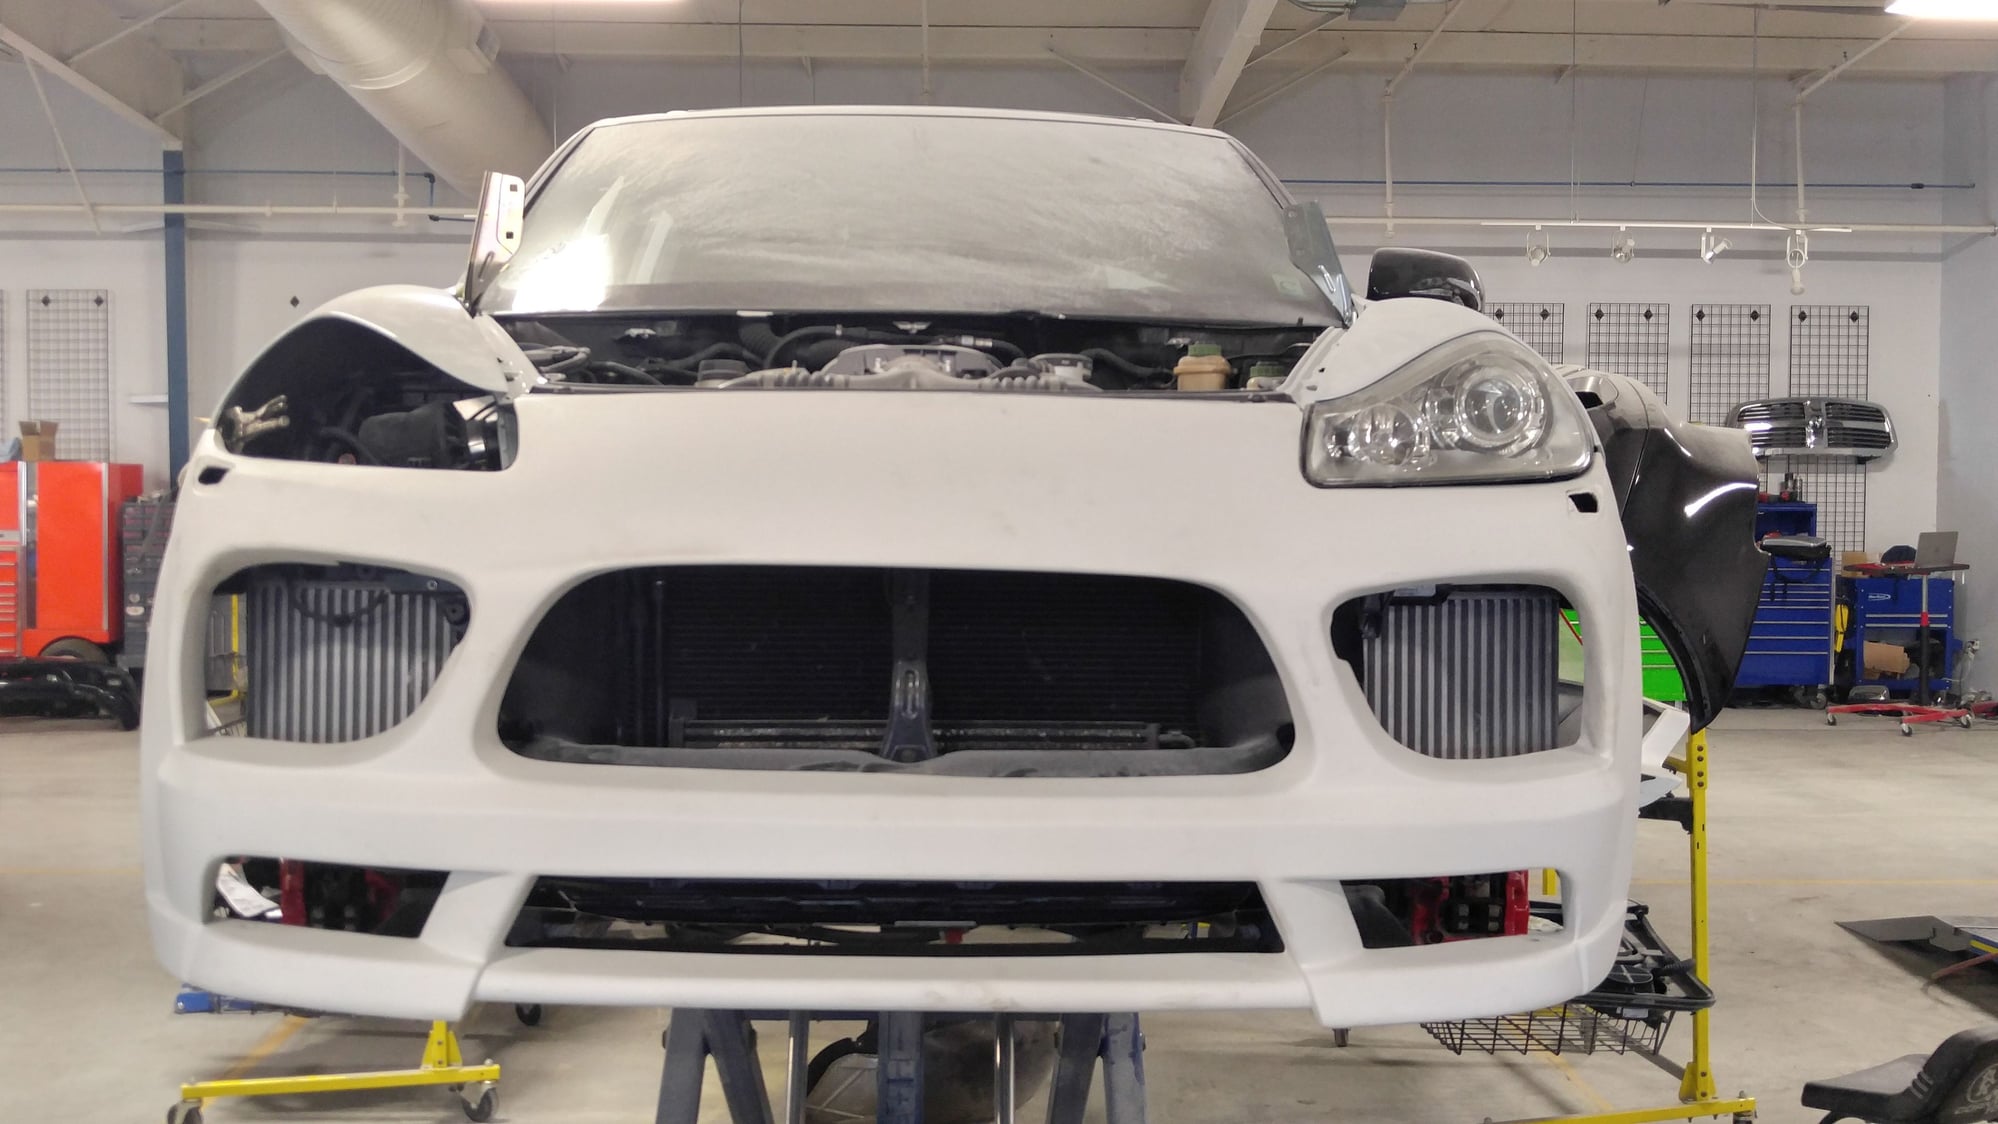
The stock wheels look "lonely" because they're inset too far compared to the flares, and the larger bodywork visually dwarfs even the 21" Turbo S / GTS wheel. I have and will be installing 22"x12" ET 50 wheels with 315/30-22 tires. These would be 1" further in and 1" further out than the stock wheels sit now. In the garage next to the mounted wheels and tires sit 4 sets of hub-centric spacers from Adaptec Speedware in 20mm, 25mm, 30mm, and 35mm widths so I can fine tune the front and rear tracks and stance.
In the fronts I expect to only be able to use the 20 (depends on tire to strut clearance) or 25mm ones in order to have steering and suspension clearance - with the 25mm spacers that will bring the face of the new wheel out 2" from where the OEM wheel sits today, correcting the look and widening the stance. In the rears, I should be able to go with the 30 or 35mm spacers since I don't have to worry about steering clearance - I'll pick the set that looks visually correct and provides the best vehicle dynamics. Tire and wheel setup will be square though - not staggered - to not impact the electronic nannies and to be able to rotate the tires for even wear. This tire size is within about 1% of the stock 295/35-21. After all of that is worked out, I'll install the PCCB brake setup, minimizing the risk of damaging a rotor with all the on / off fittings that will occur.
Hasn't been a lot of progress the past couple weeks as the body shop owner and his wife have been on vacation. There has been a bit more work done to the driver's side rear fender flare and it looks like it's almost completely smoothed in and pretty close to being primed.
However, after following a number of threads about water inside the Cayenne cabin, I decided that while the body shop has a lot of my car apart for the widebody conversion that it would be really easy to take a look at some of these drains everyone has been talking about. I'm trying to address anything that might be a future failure point while this body project is going on so the car is as trouble-free as possible once I put it back on the road.
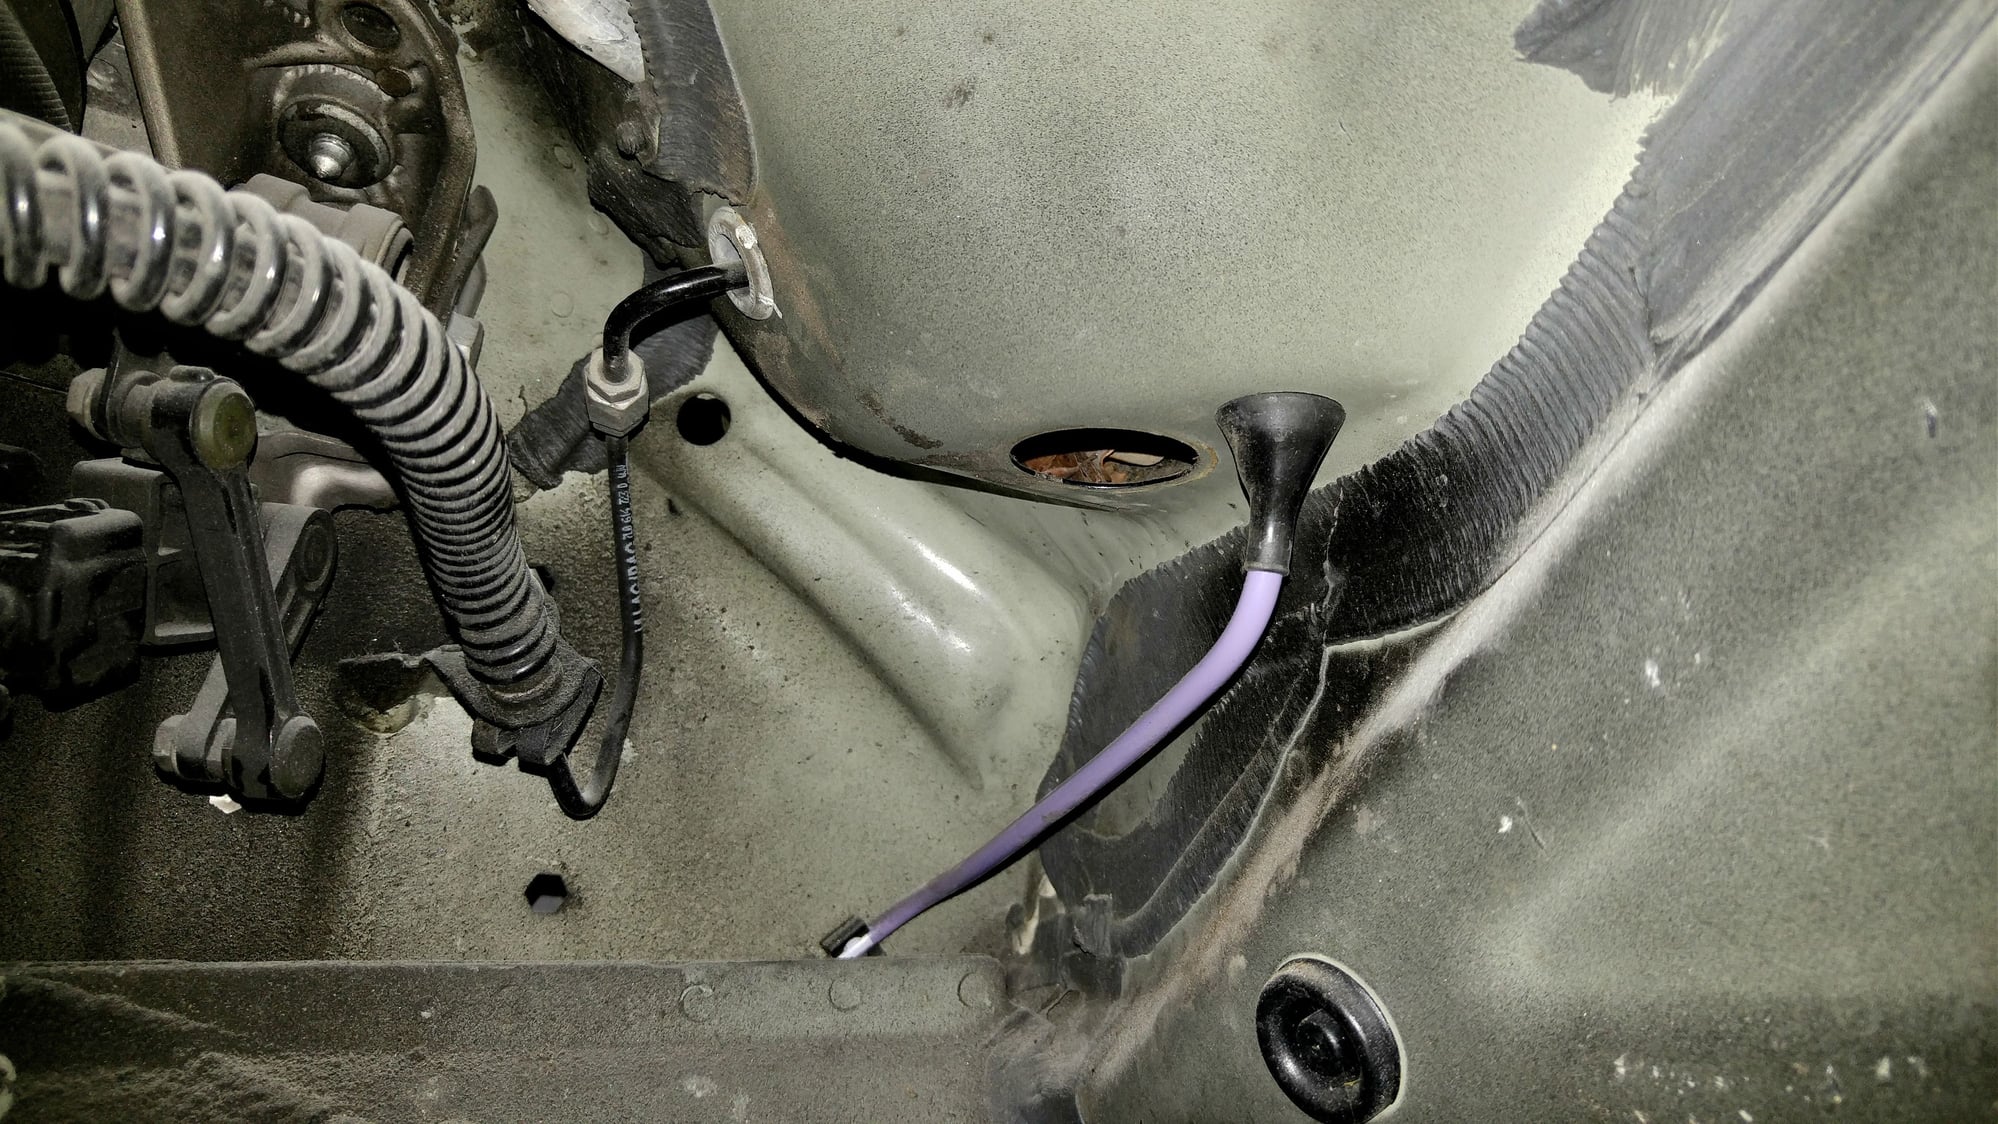
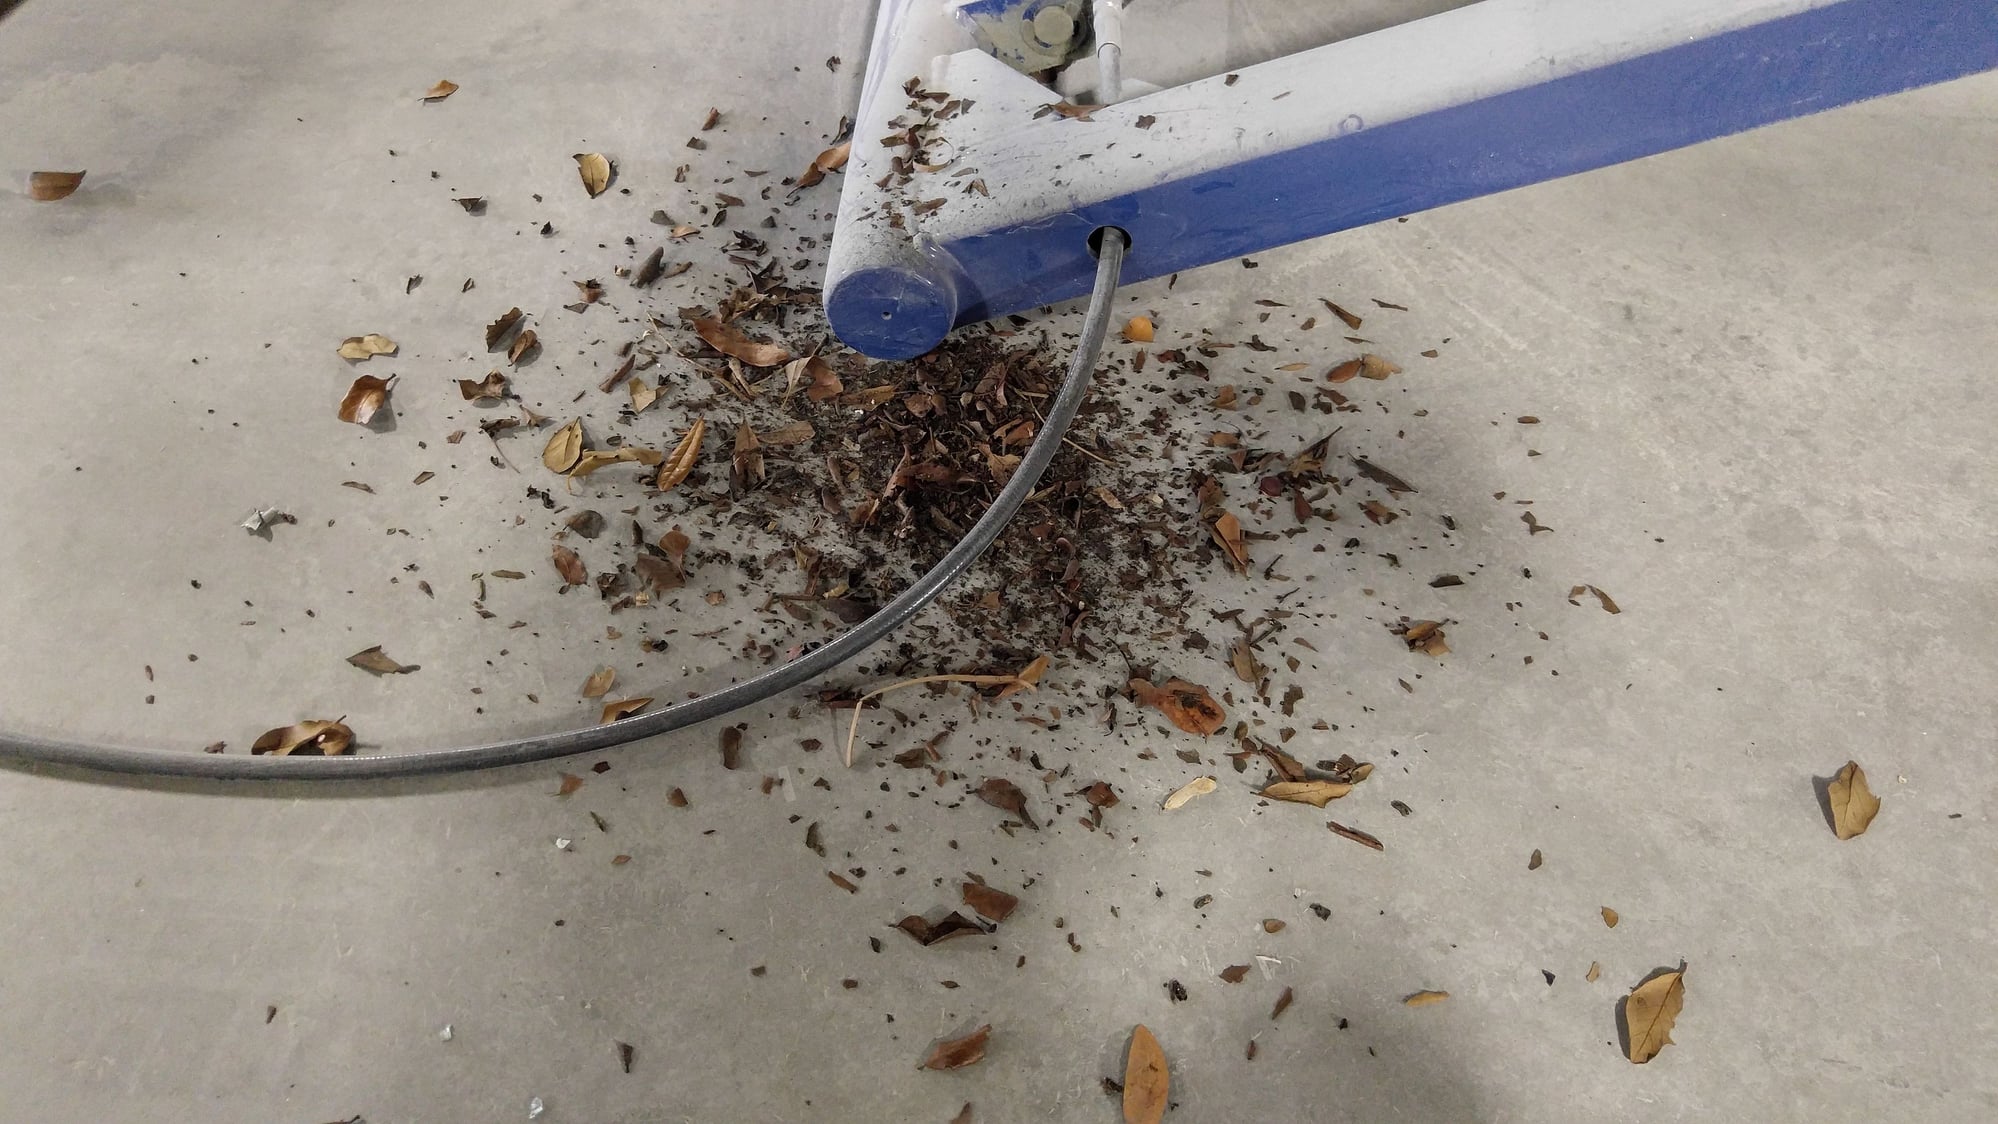
I pulled the star mouth off the passenger side cowl drain and everything looked fine. Went over to the drivers side and did the same thing, and what was trapped in there was a ton of leaves and junk. This project has been going on for so long that all the junk was completely dry, but I bet it would have only been a matter of time before I had an issue with the junk causing water to back up into the cabin. I removed and star mouth grommet and and am leaving them off as this Cayenne will never be fording a river with the hopes that the larger pieces of junk that end up in there will not be able to get out much easier.
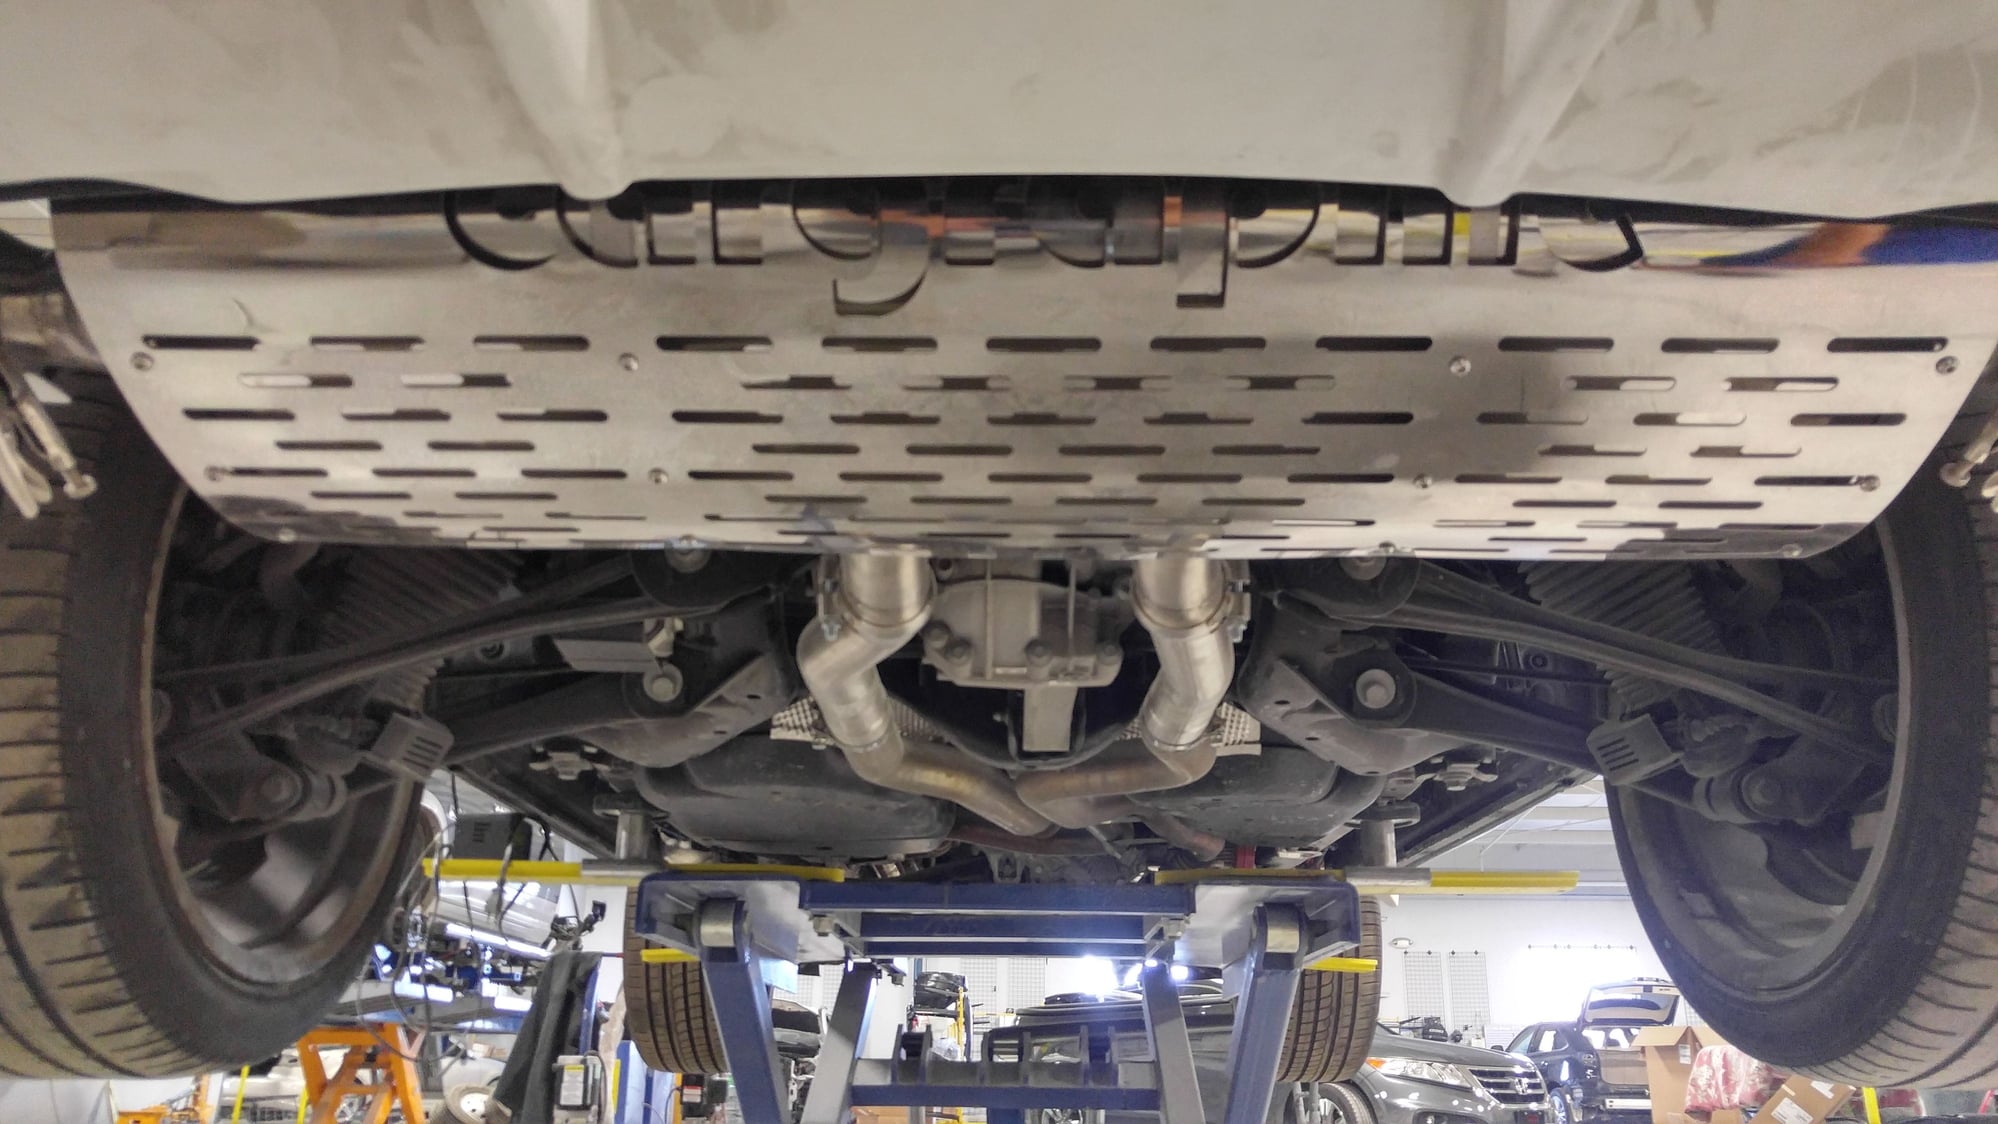
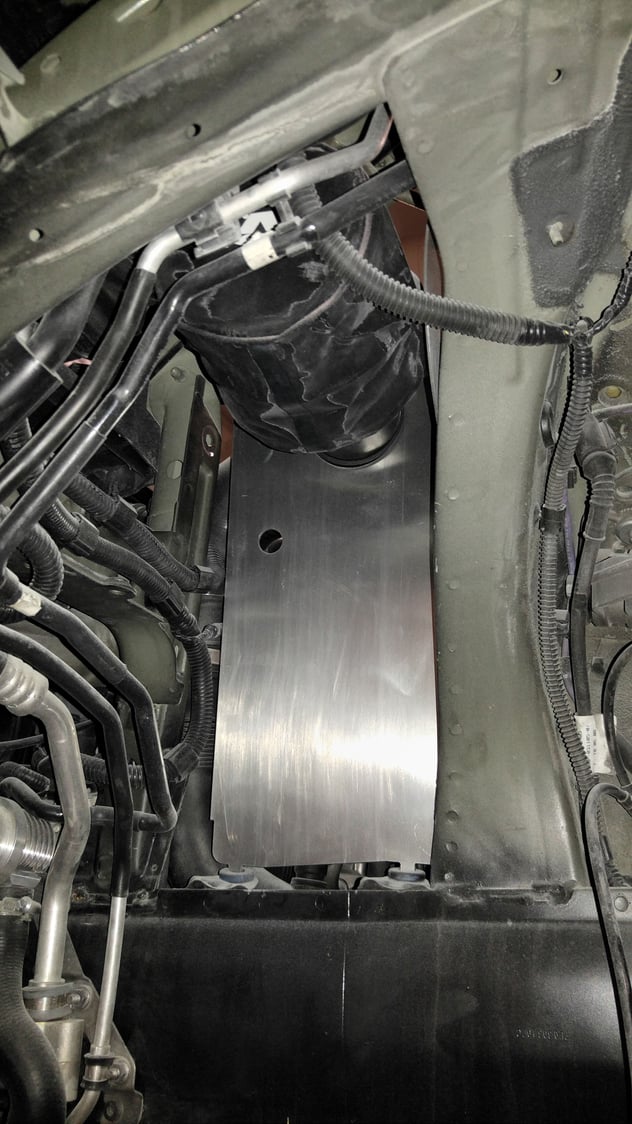
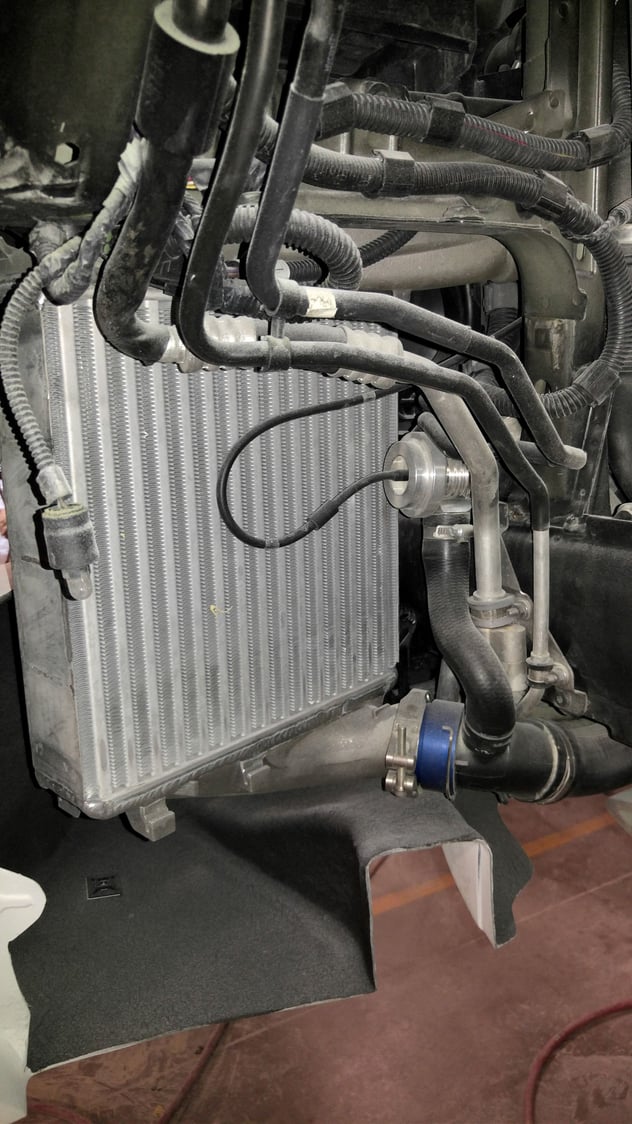
Here's a pic of the hole (next to the purple hose) where that star mouth or birds mouth drain grommet goes (same place on the other side) and then a pic of the junk I was able to break-up and pull out with my finger. These holes are behind the inner fender liner at the backside of the front wheels.
I also found the rear drains above the exhaust system and squished them around to see if there was any crackly stuff in the rubber ends and didn't feel any. I'll put a wire or some air through these, the front sunroof drains, and the A/C condenser drain once I get the car back.
I've also read that there are 3 rubber grommets / drains on each side near the rocker panel, but even with the rockers removed from the car couldn't locate them. Are these on the 958s only or also on the 955s & 957s. If on the older cars can someone post a picture of where and what these look like.
Been traveling quite a bit recently, but had an opportunity to check on the progress this morning and things are now moving along nicely. The body shop expects to be done around late August, then I still need to do some fitment and adapter fabrication to make the 958 PCCB setup work on my 957 so expected total completion date is probably late September.
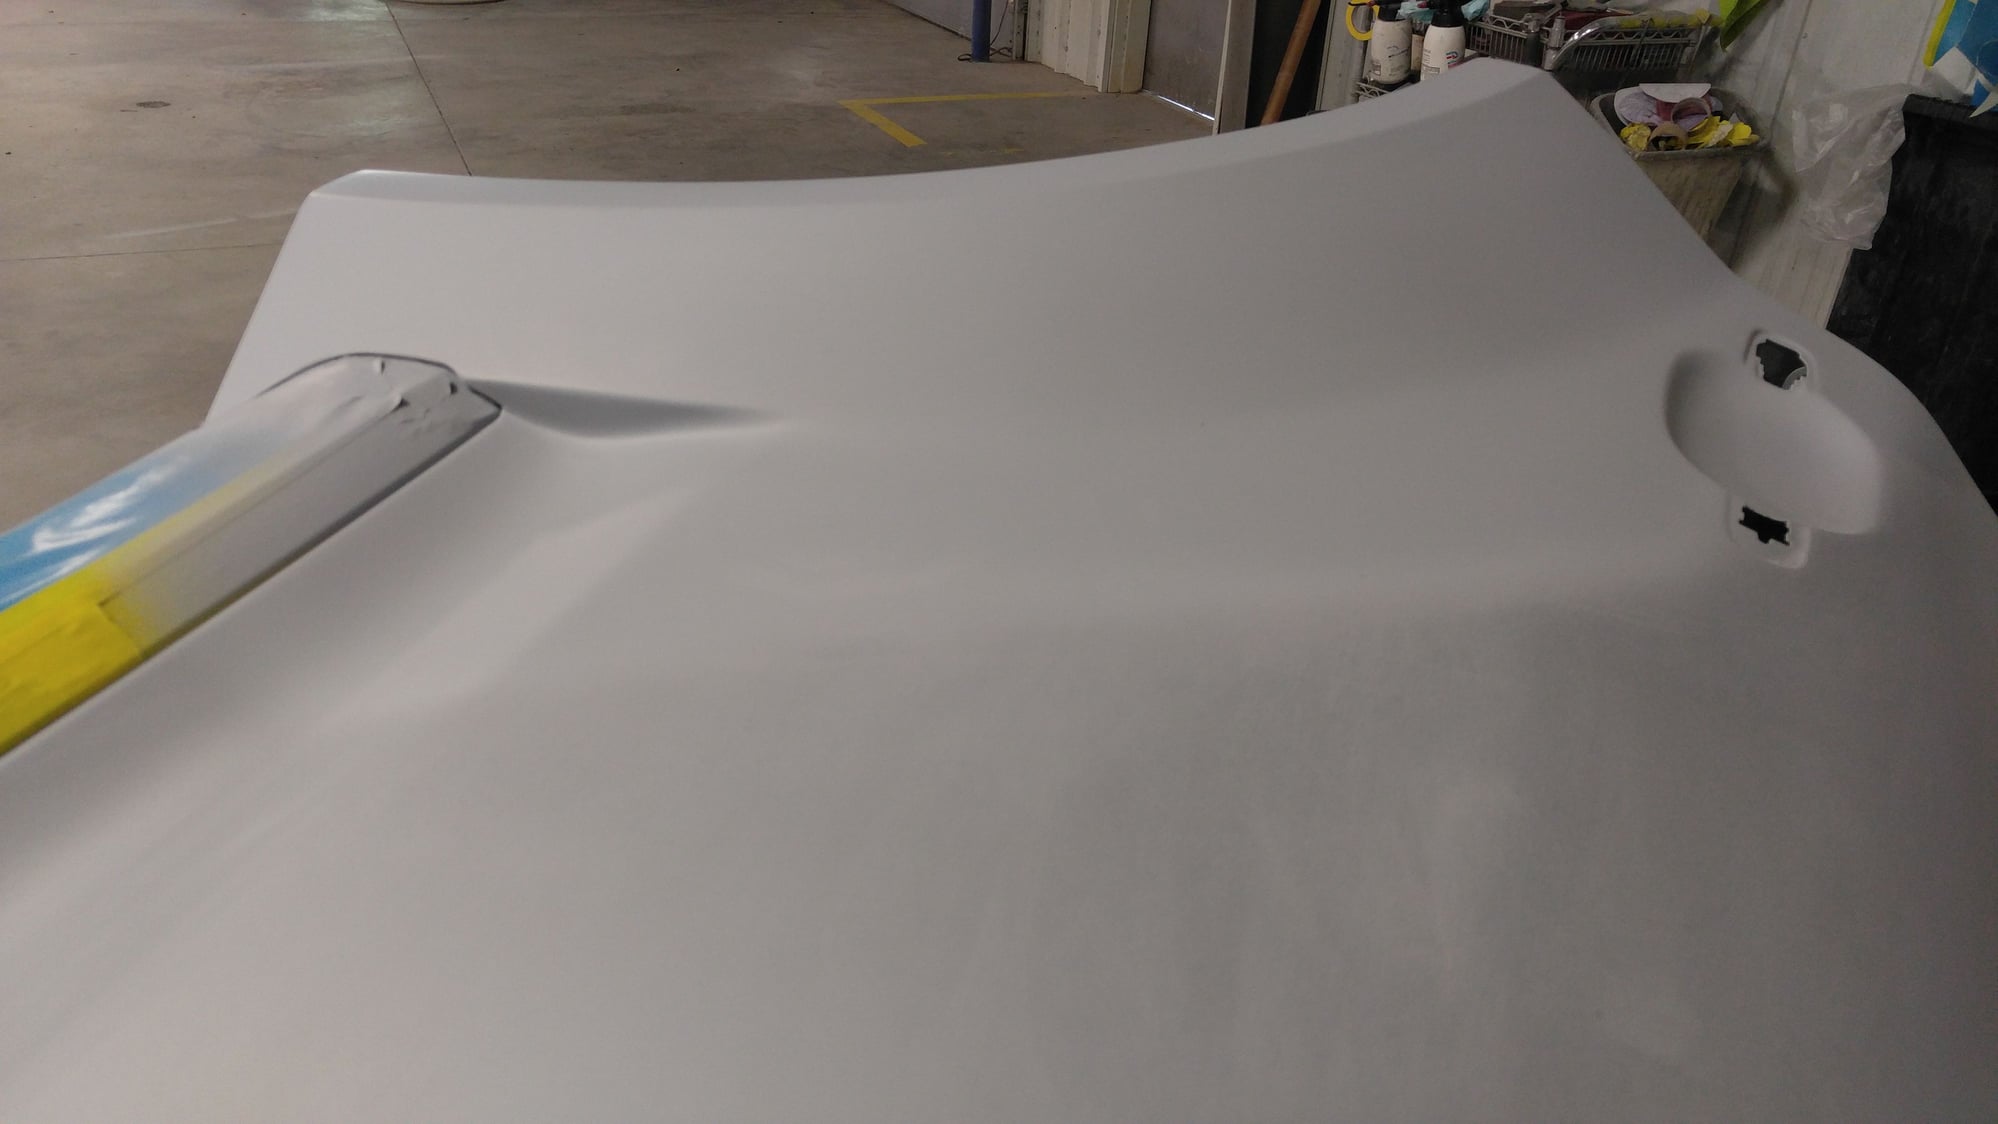
First look at the Onyx White Pearl Effect Metallic the vehicle will be wearing when complete is on the tops of the front fenders.
Here's today's photo set
Molded & Primed fender flare with first shot of what will be the final color on the top of the front fenders
Driver's side rocker attached and molded in
Rear Drivers' side where rocker meets fender flare
Close-up with flash of the Onyx White Pearl Effect Metallic on the front fenders that the vehicle will be wearing when completed
HHR Intake with heat shields and hydrophobic pre-filters over the K&Ns
Wow... very nice! Thanks for sharing the HHR pic as well. Picked up the CAI from HHR today... Hank is a super cool guy. IPD Plenum also arrived today. Doing the install this weekend.


 03-30-2017 | 10:38 PM