When you click on links to various merchants on this site and make a purchase, this can result in this site earning a commission. Affiliate programs and affiliations include, but are not limited to, the eBay Partner Network.
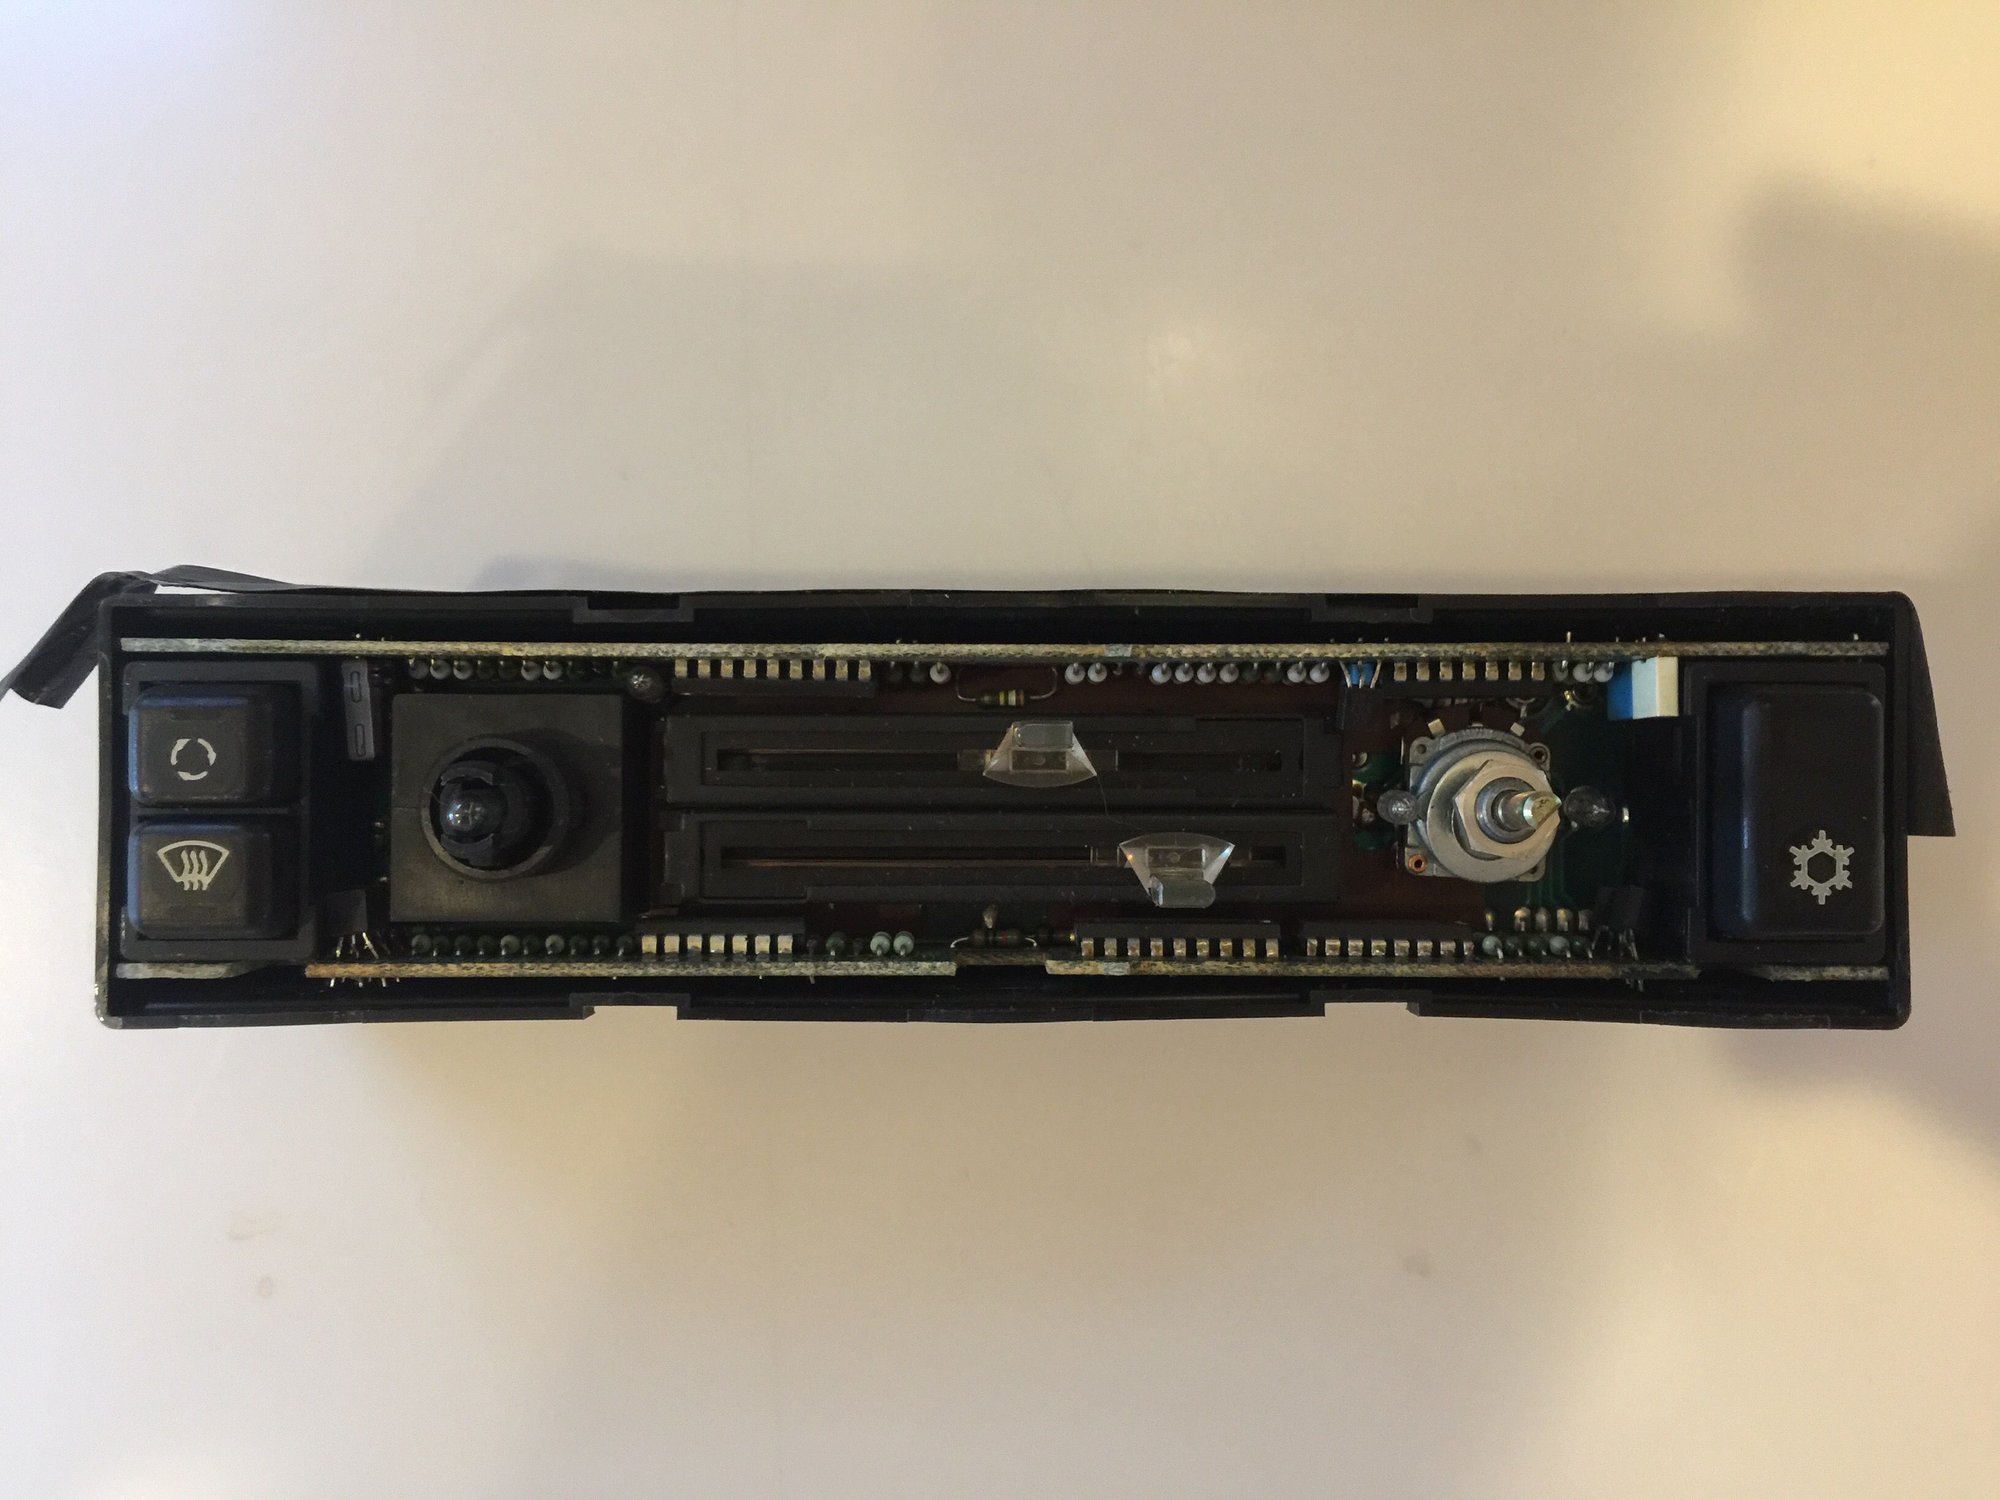
Really not much to add to the post above from 944 Lachlan. The whole process isn't difficult and even the decals came off very easily. WYIT clean the terminals on the back, mine were very dirty and discolored. Also, there was some black electrical tape around the circumference on mine, you can see it in the pictures. I don't know if it was factory and I suppose it stops some light escaping, so I put new back on. As one of the beta testers thought I'd post up some pics anyway.
Guys - thanks for posting updates! I'm glad the decals transfer over easily. That will cut down on costs and save me the effort of trying to source decent replicas. A little filing is okay - I'd rather these were tight than loose. Anything more and I can fix it for the next batch of prints. Did the remaining installs go smoothly?
Last edited by KVDR; 01-02-2017 at 08:09 AM.
Reason: can't seem to format paragraphs?
I just realized that I don't have that black shroud over the back of my unit. Does the face plate click into that?
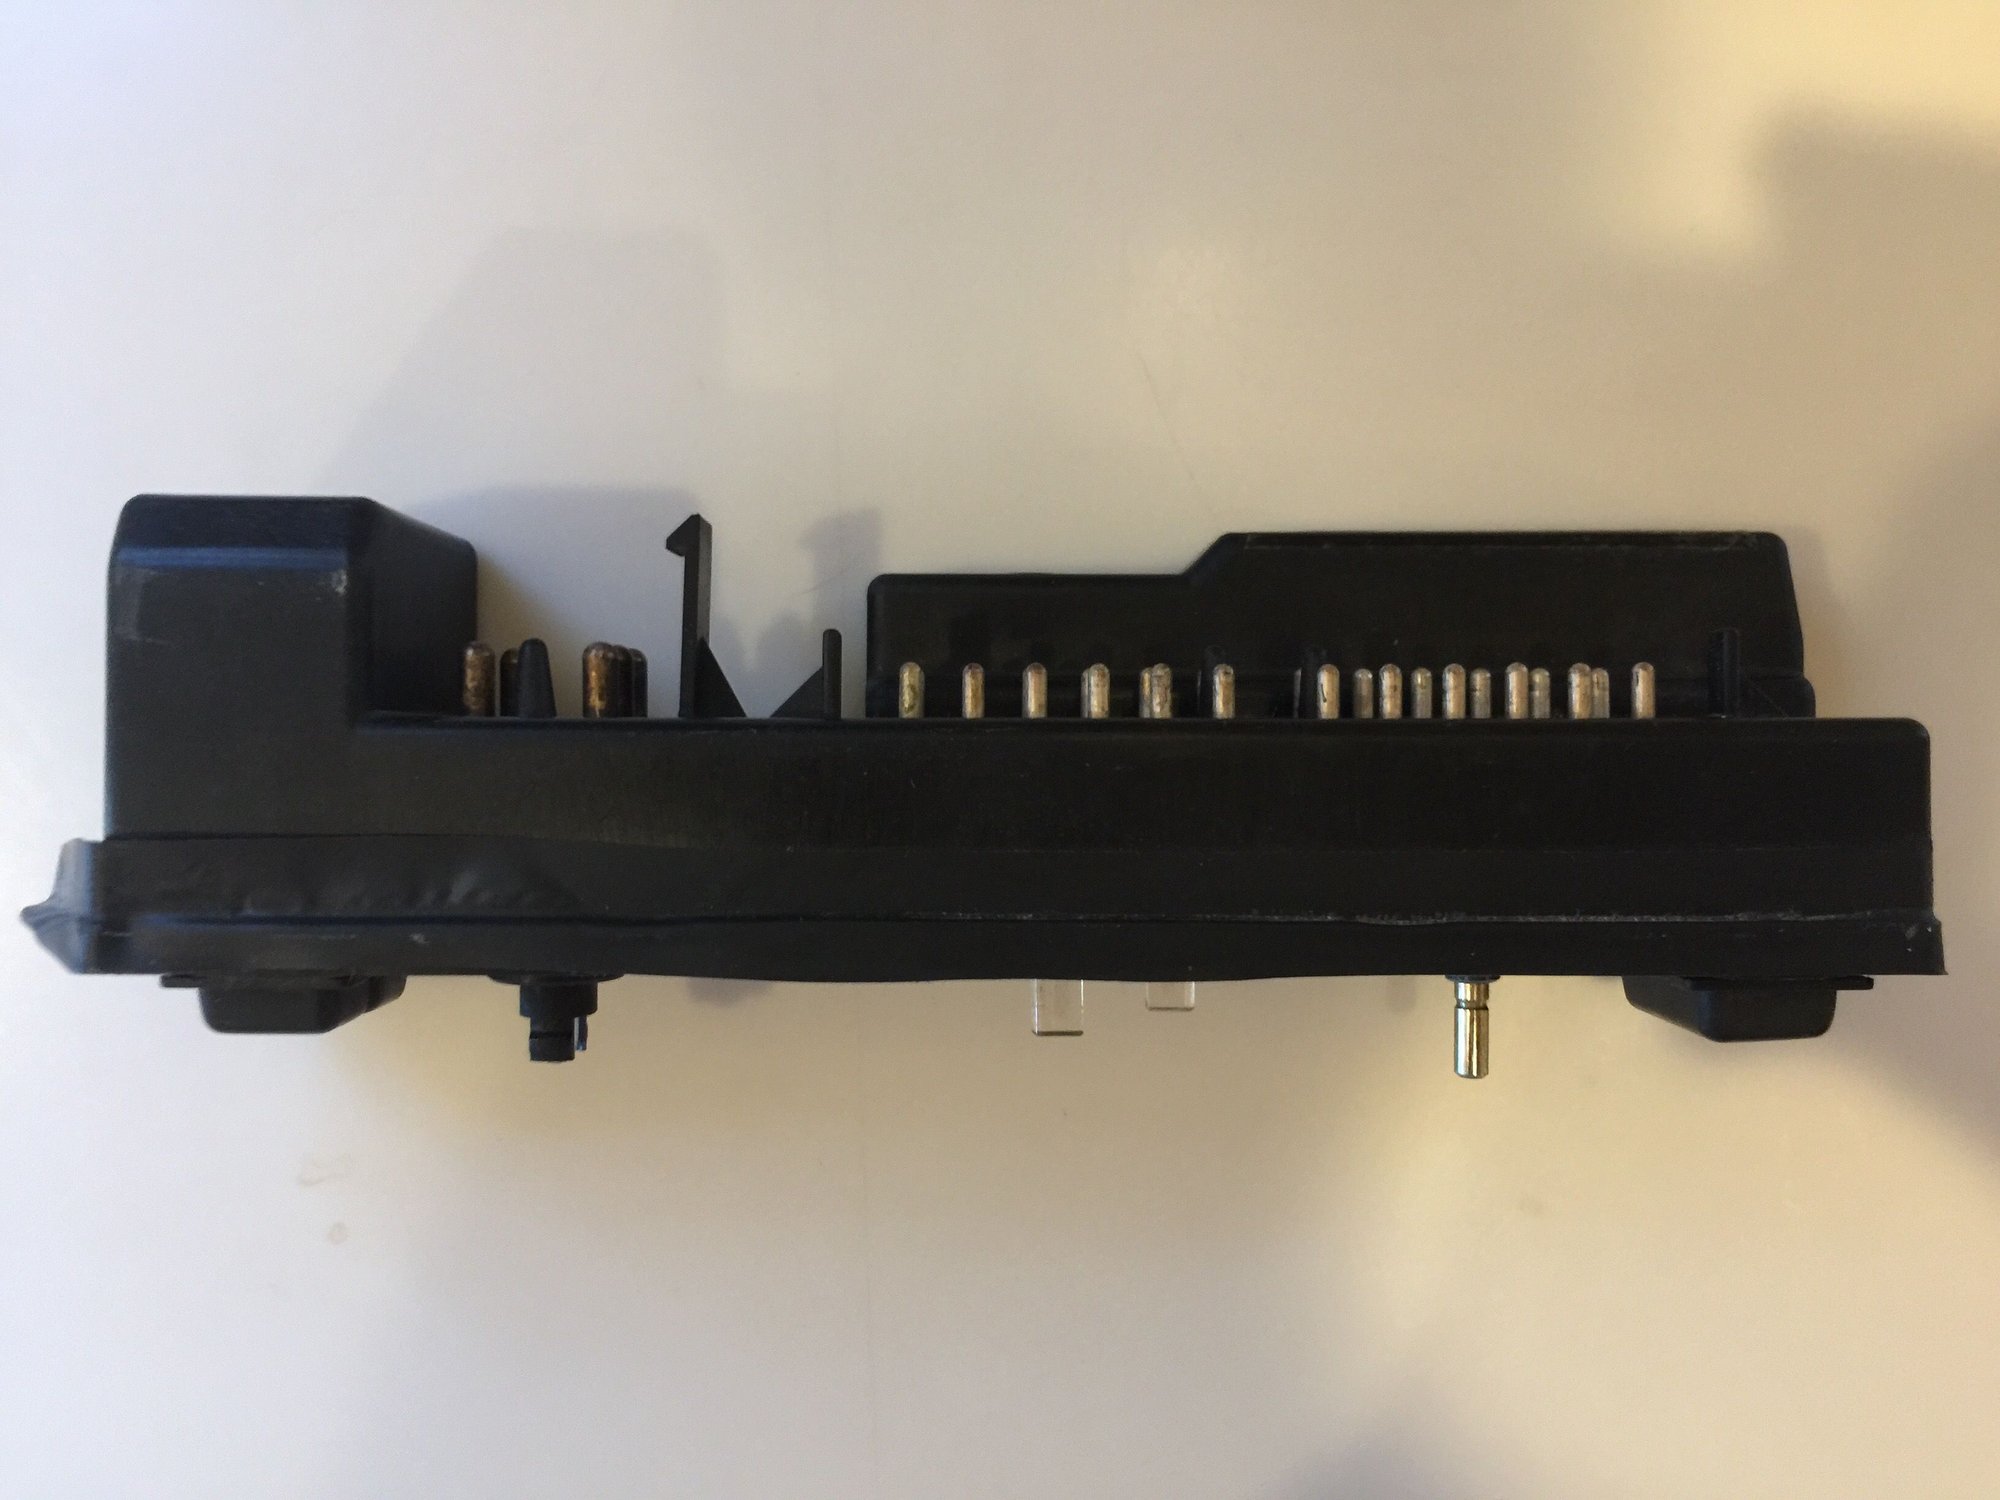
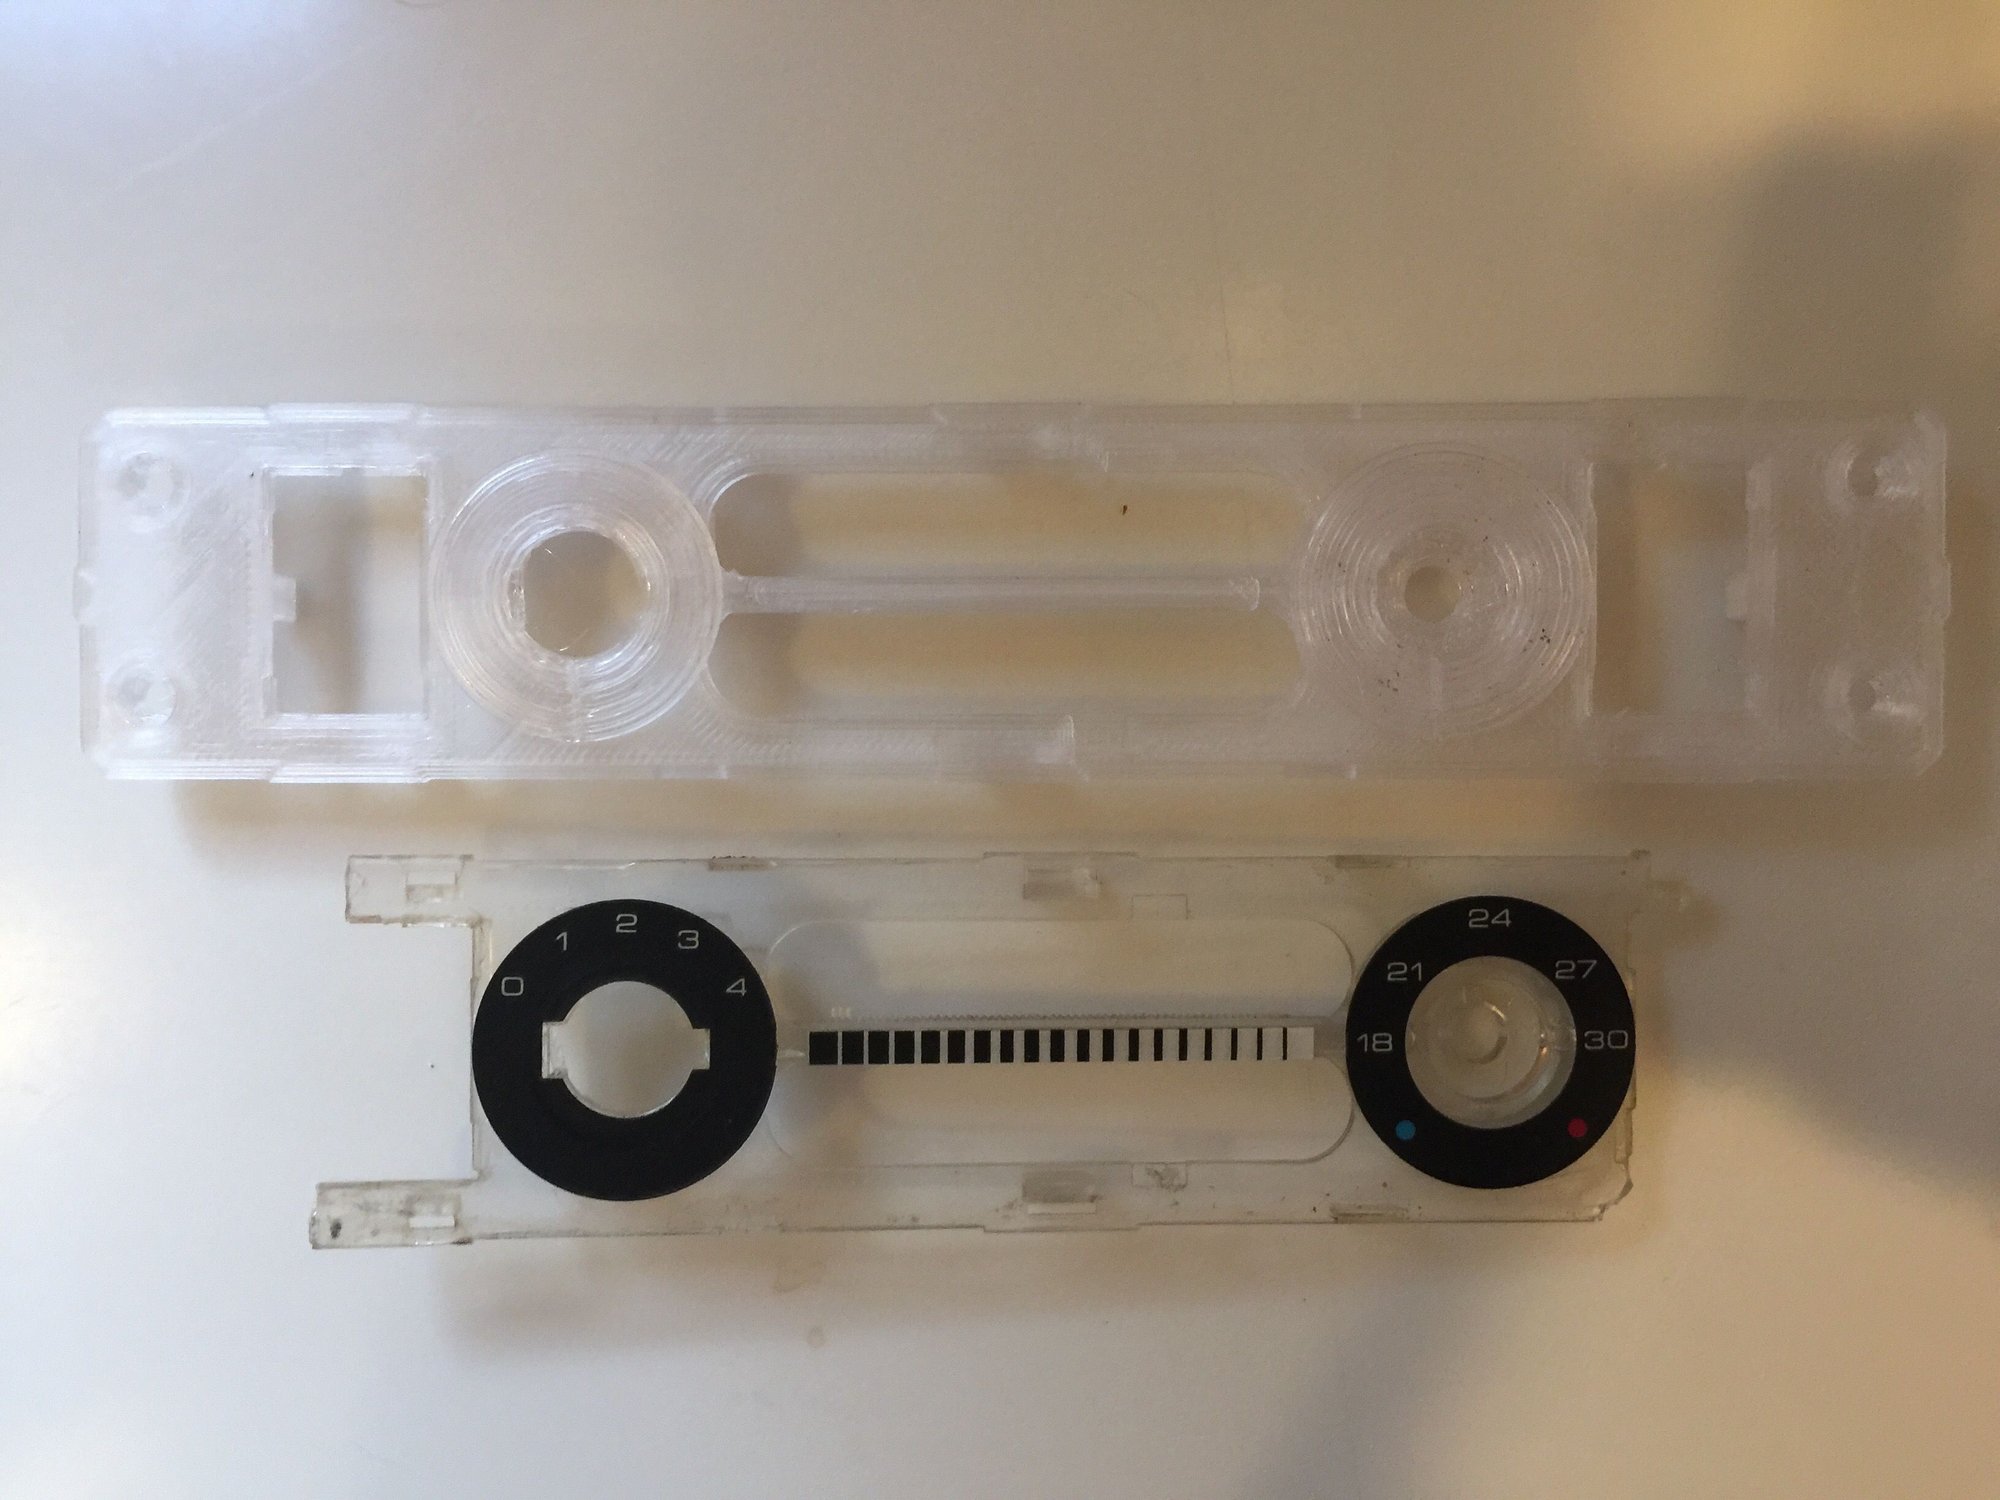
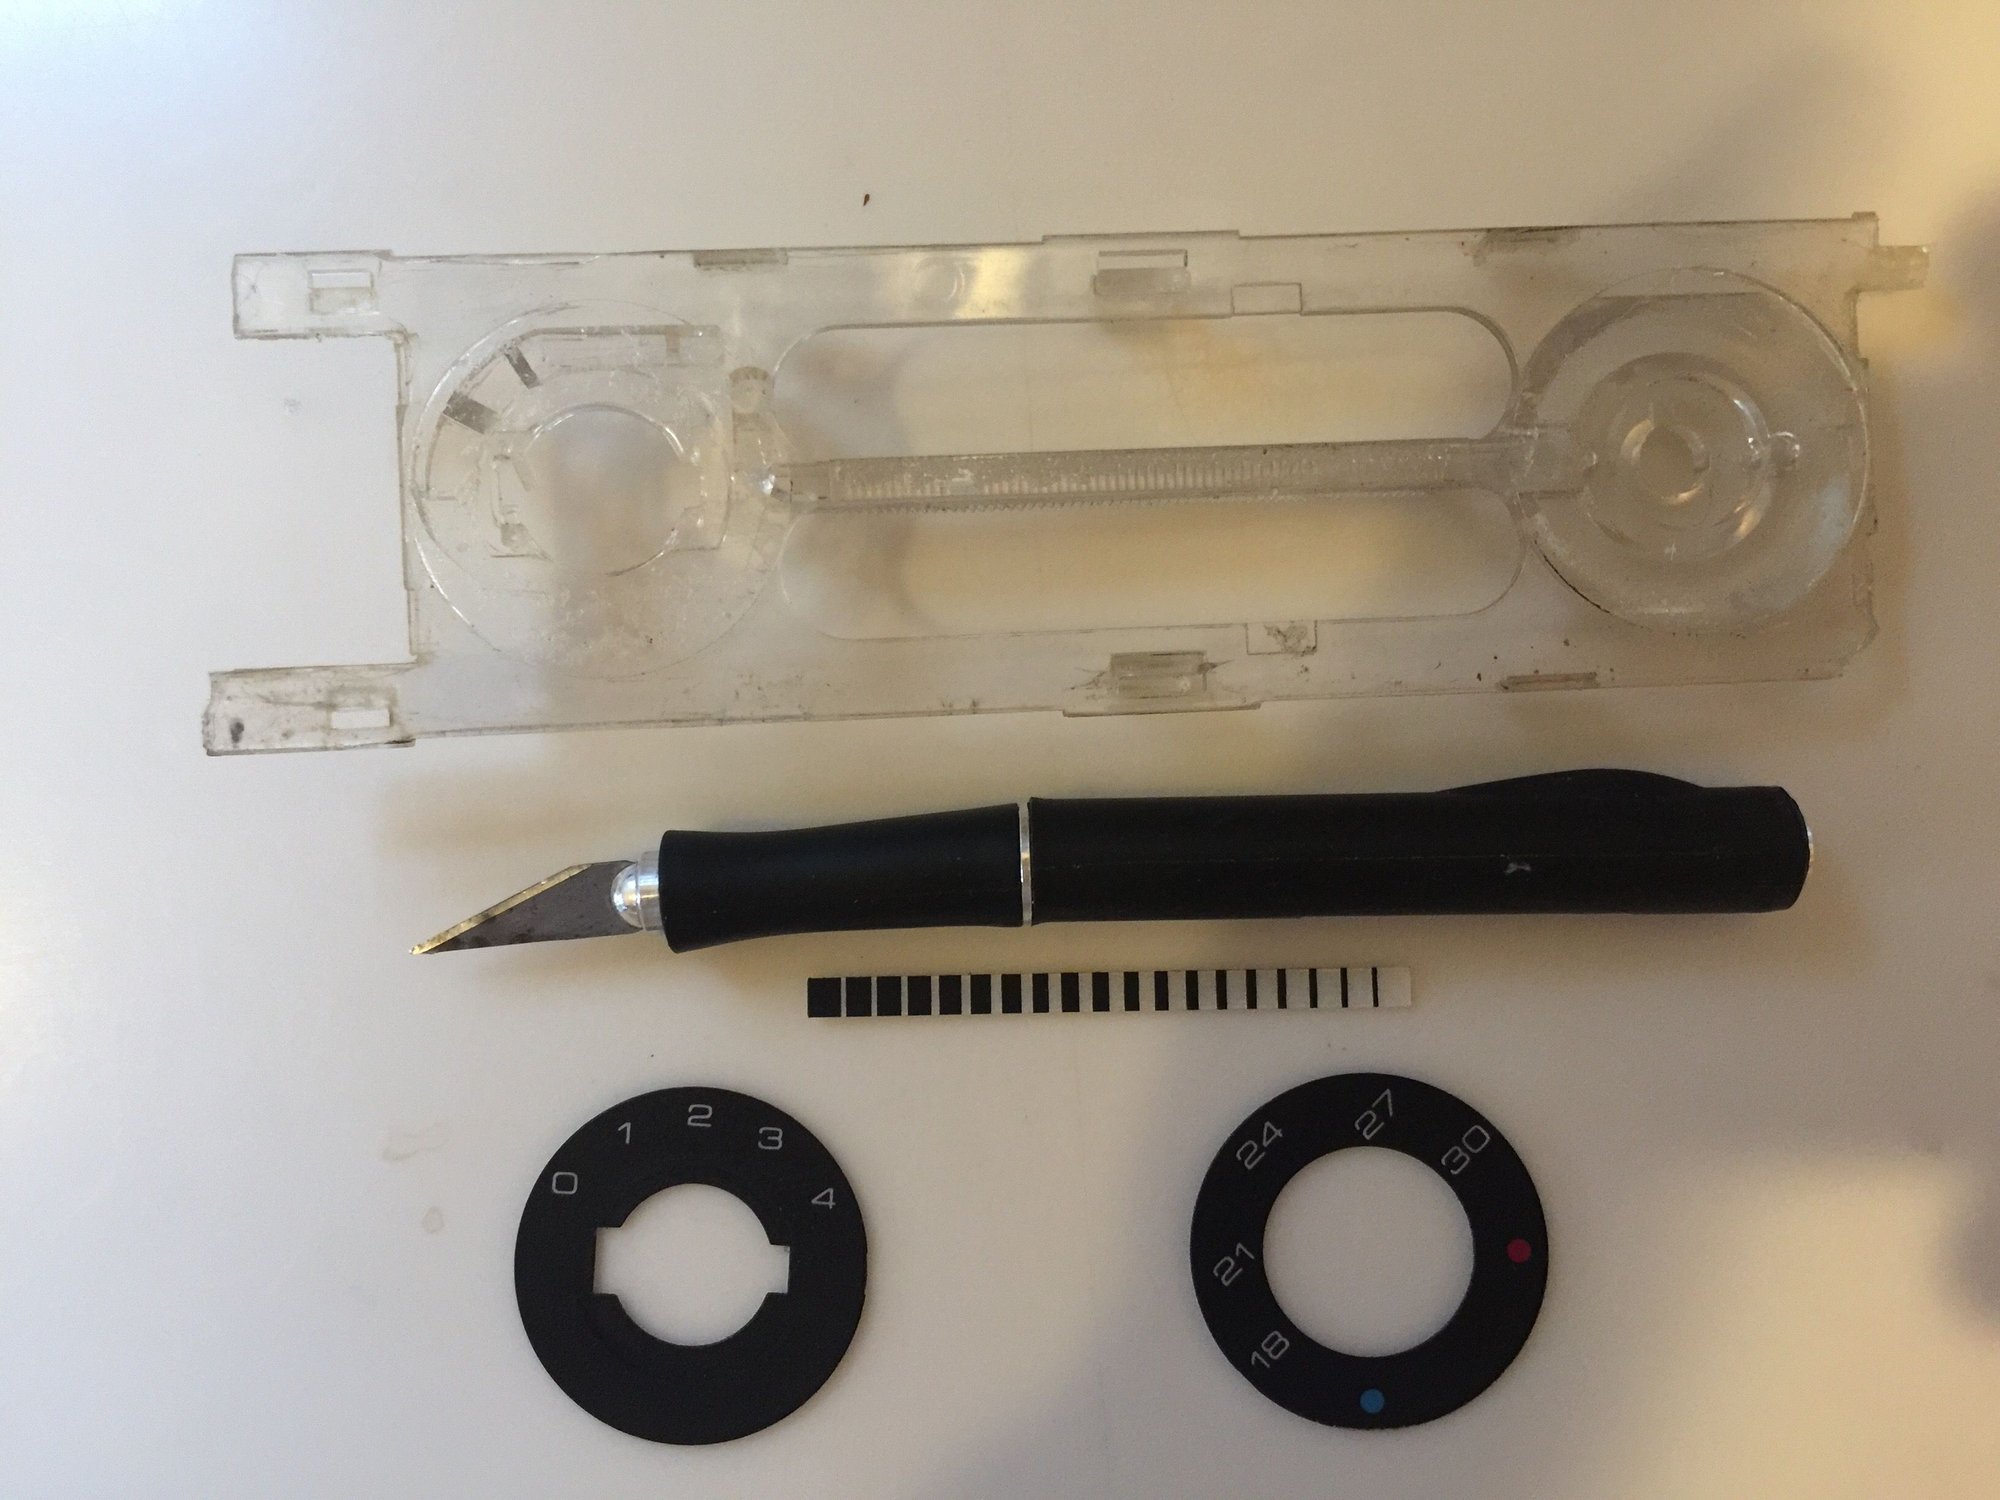
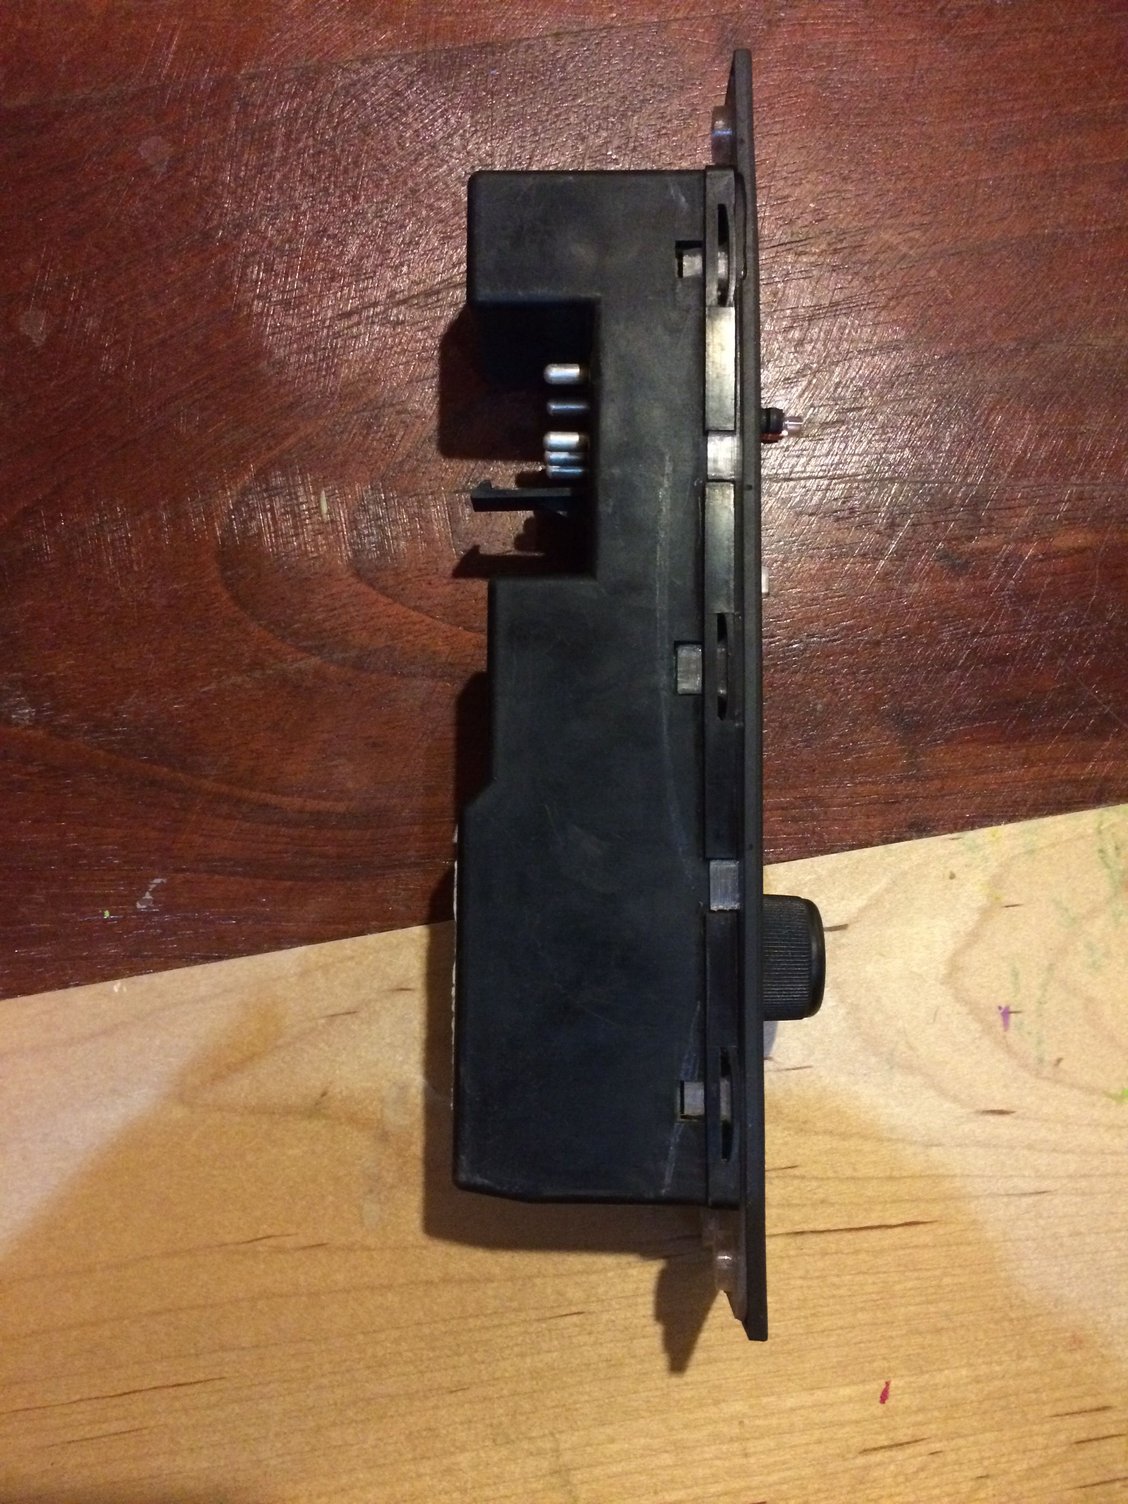
Yes, there are 8 tabs that click in and 4 location tabs also. You can see where they go in this picture, the long ones click in and the short ones help to locate the position the front panel.
MAGK944, did you also use the pry-the-face-off method for the buttons rather than the desoldering method? Did everything go back together smoothly?...
I desoldered instead, it was easy with a desoldering tool. Went back smoothly though some parts of the new panel needed minor filing. Really it's not a hard job and took me about an hour.
I guess I was extremely lucky that I had the version with the plug buttons - no desoldering required.
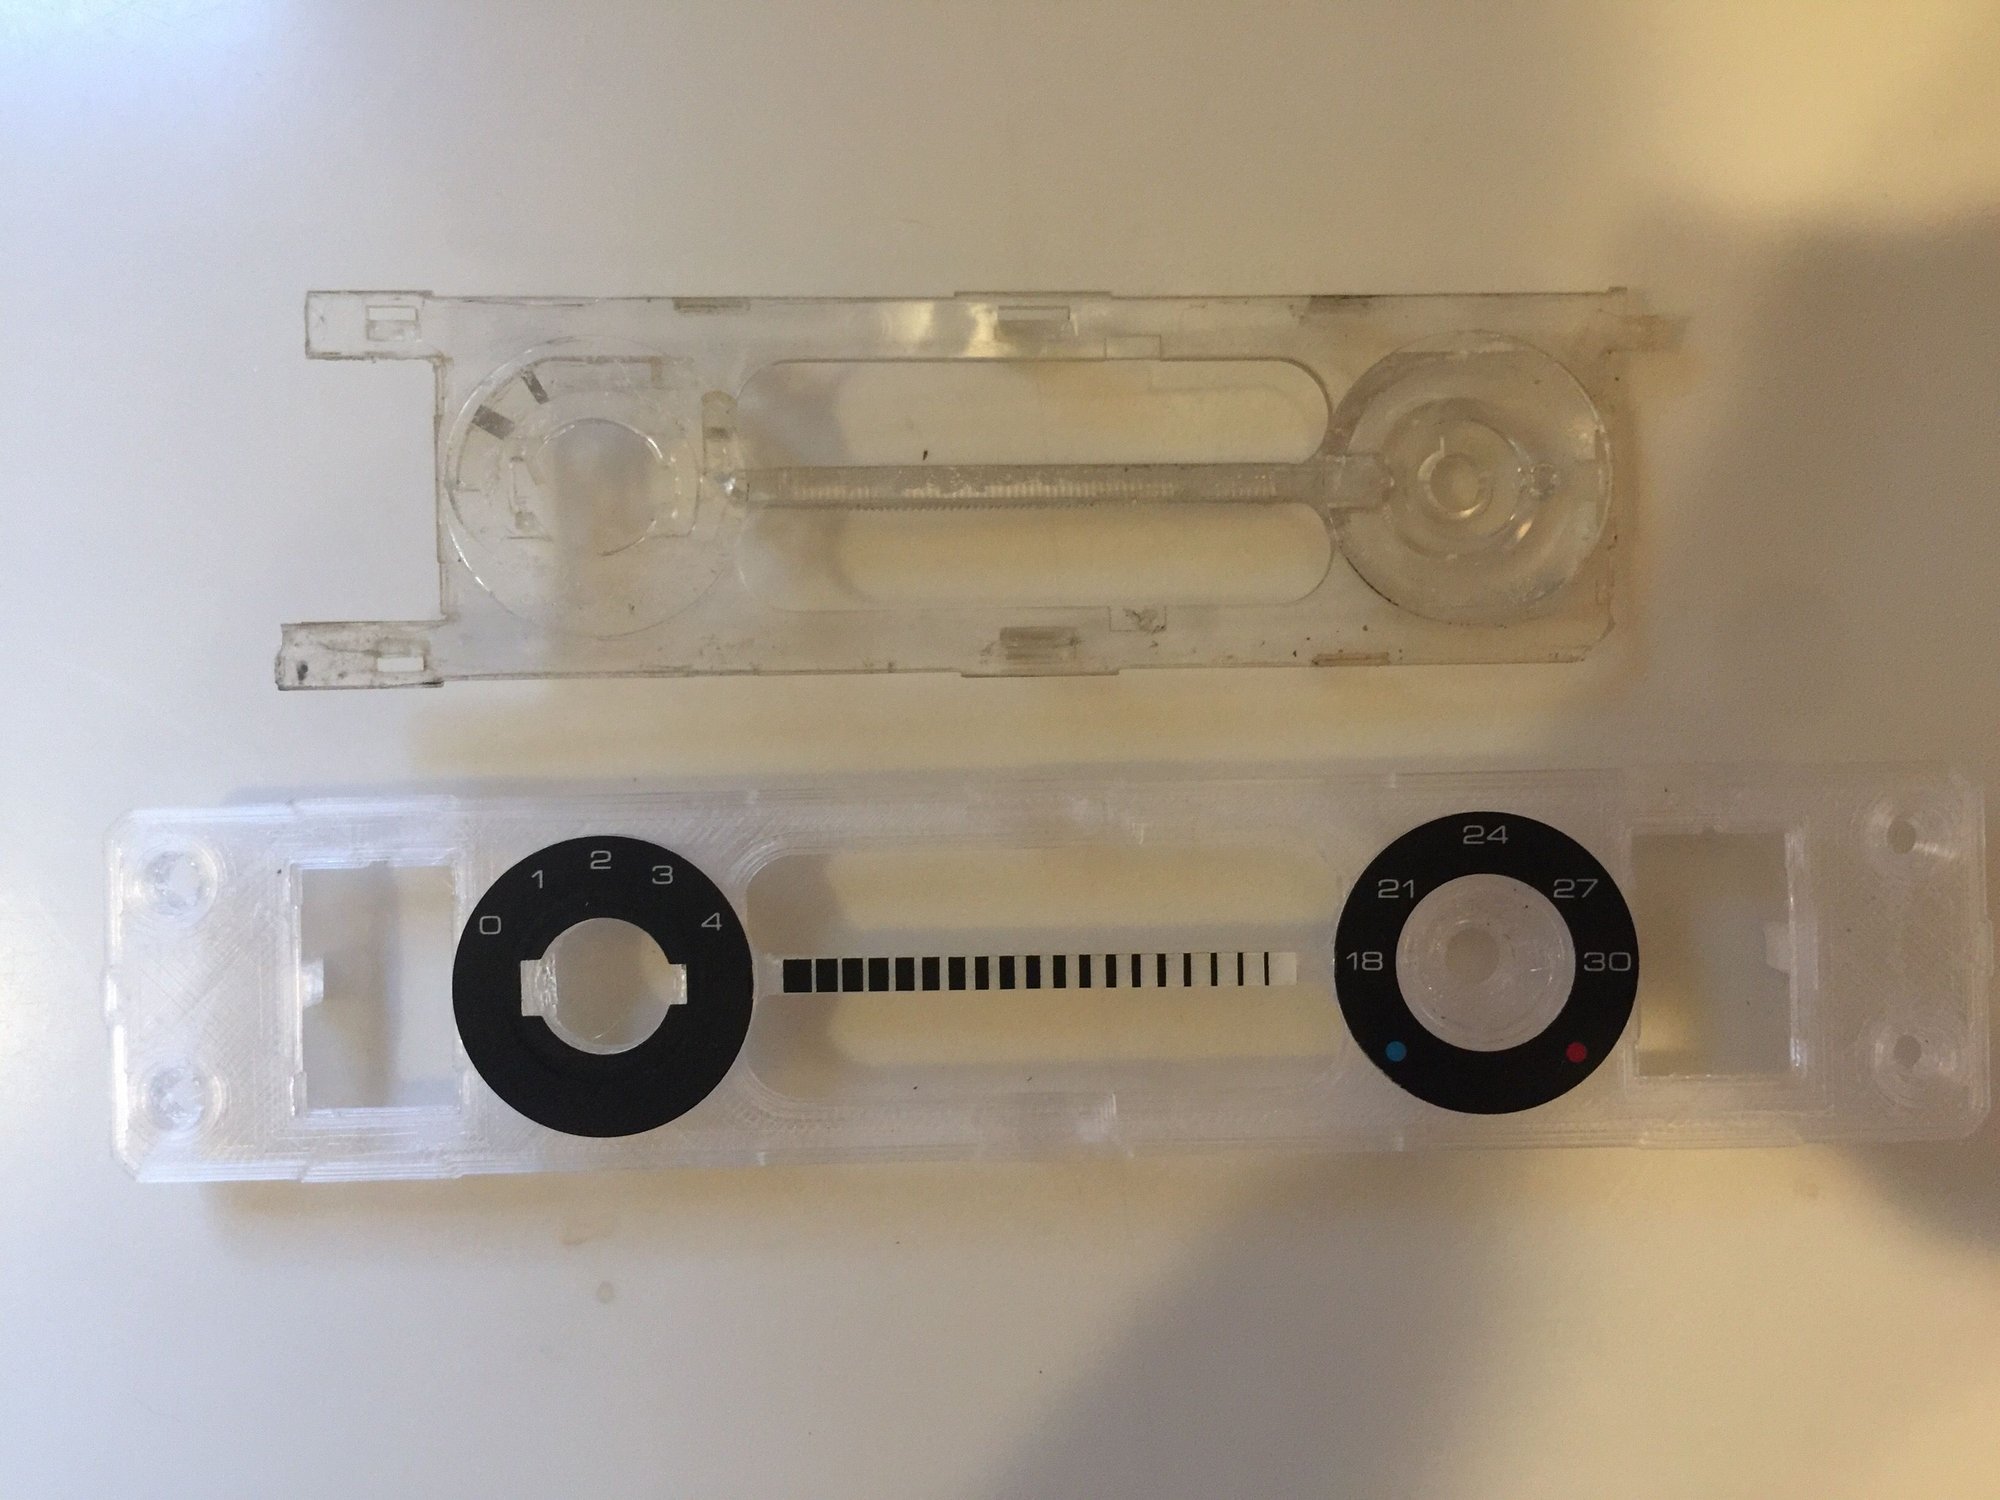
MAGK944 - Did everything snap together as you would expect? The clear printed plate to the black housing, and also the black faceplate to the clear printed plate?
Spacedoc & 911Inv87 - I'll put these up for sale again in about a week - I just need confirmation/feedback from the beta testers that everything is a-okay.
...MAGK944 - Did everything snap together as you would expect? The clear printed plate to the black housing, and also the black faceplate to the clear printed plate?...
You need to file the two outer switch openings a touch then once they are in place you slide the black cover on and all the tags do line up very well. They slide and "catch" into place rather than have a positive "snap" feel, though they are not going anywhere. I could have played around and filed here and there to make it better especially on the long tags and the angle where they catch on the cover however I felt I would add very little to the fit and waste a lot of time. Plus I could not accurately tell you where to make tiny adjustments from the areas where I filed, almost impossible to replicate unless I took it off and sent it back and even then you probably couldn't see where to make changes as they are so small.
In all honesty it's a huge improvement on the damaged piece I removed and I'm sure a lot of folks here would appreciate that they have to make a few minor adjustments here and there, they will not be disappointed. I will post feedback on the black faceplate as soon as I've found mine
Alrighty, I got mine mated up with the black shroud. I'm impressed by how well it fits. I'm in the middle of an led conversion, but the waveguides seem to work well, even though it's not as transparent as factory. One improvement I might make is that the clips that hook into the shroud are barely hanging in there--possibly just the age of the shroud. But adding a few mils onto the top of the clips might help. If it doesn't, you can always file then down.
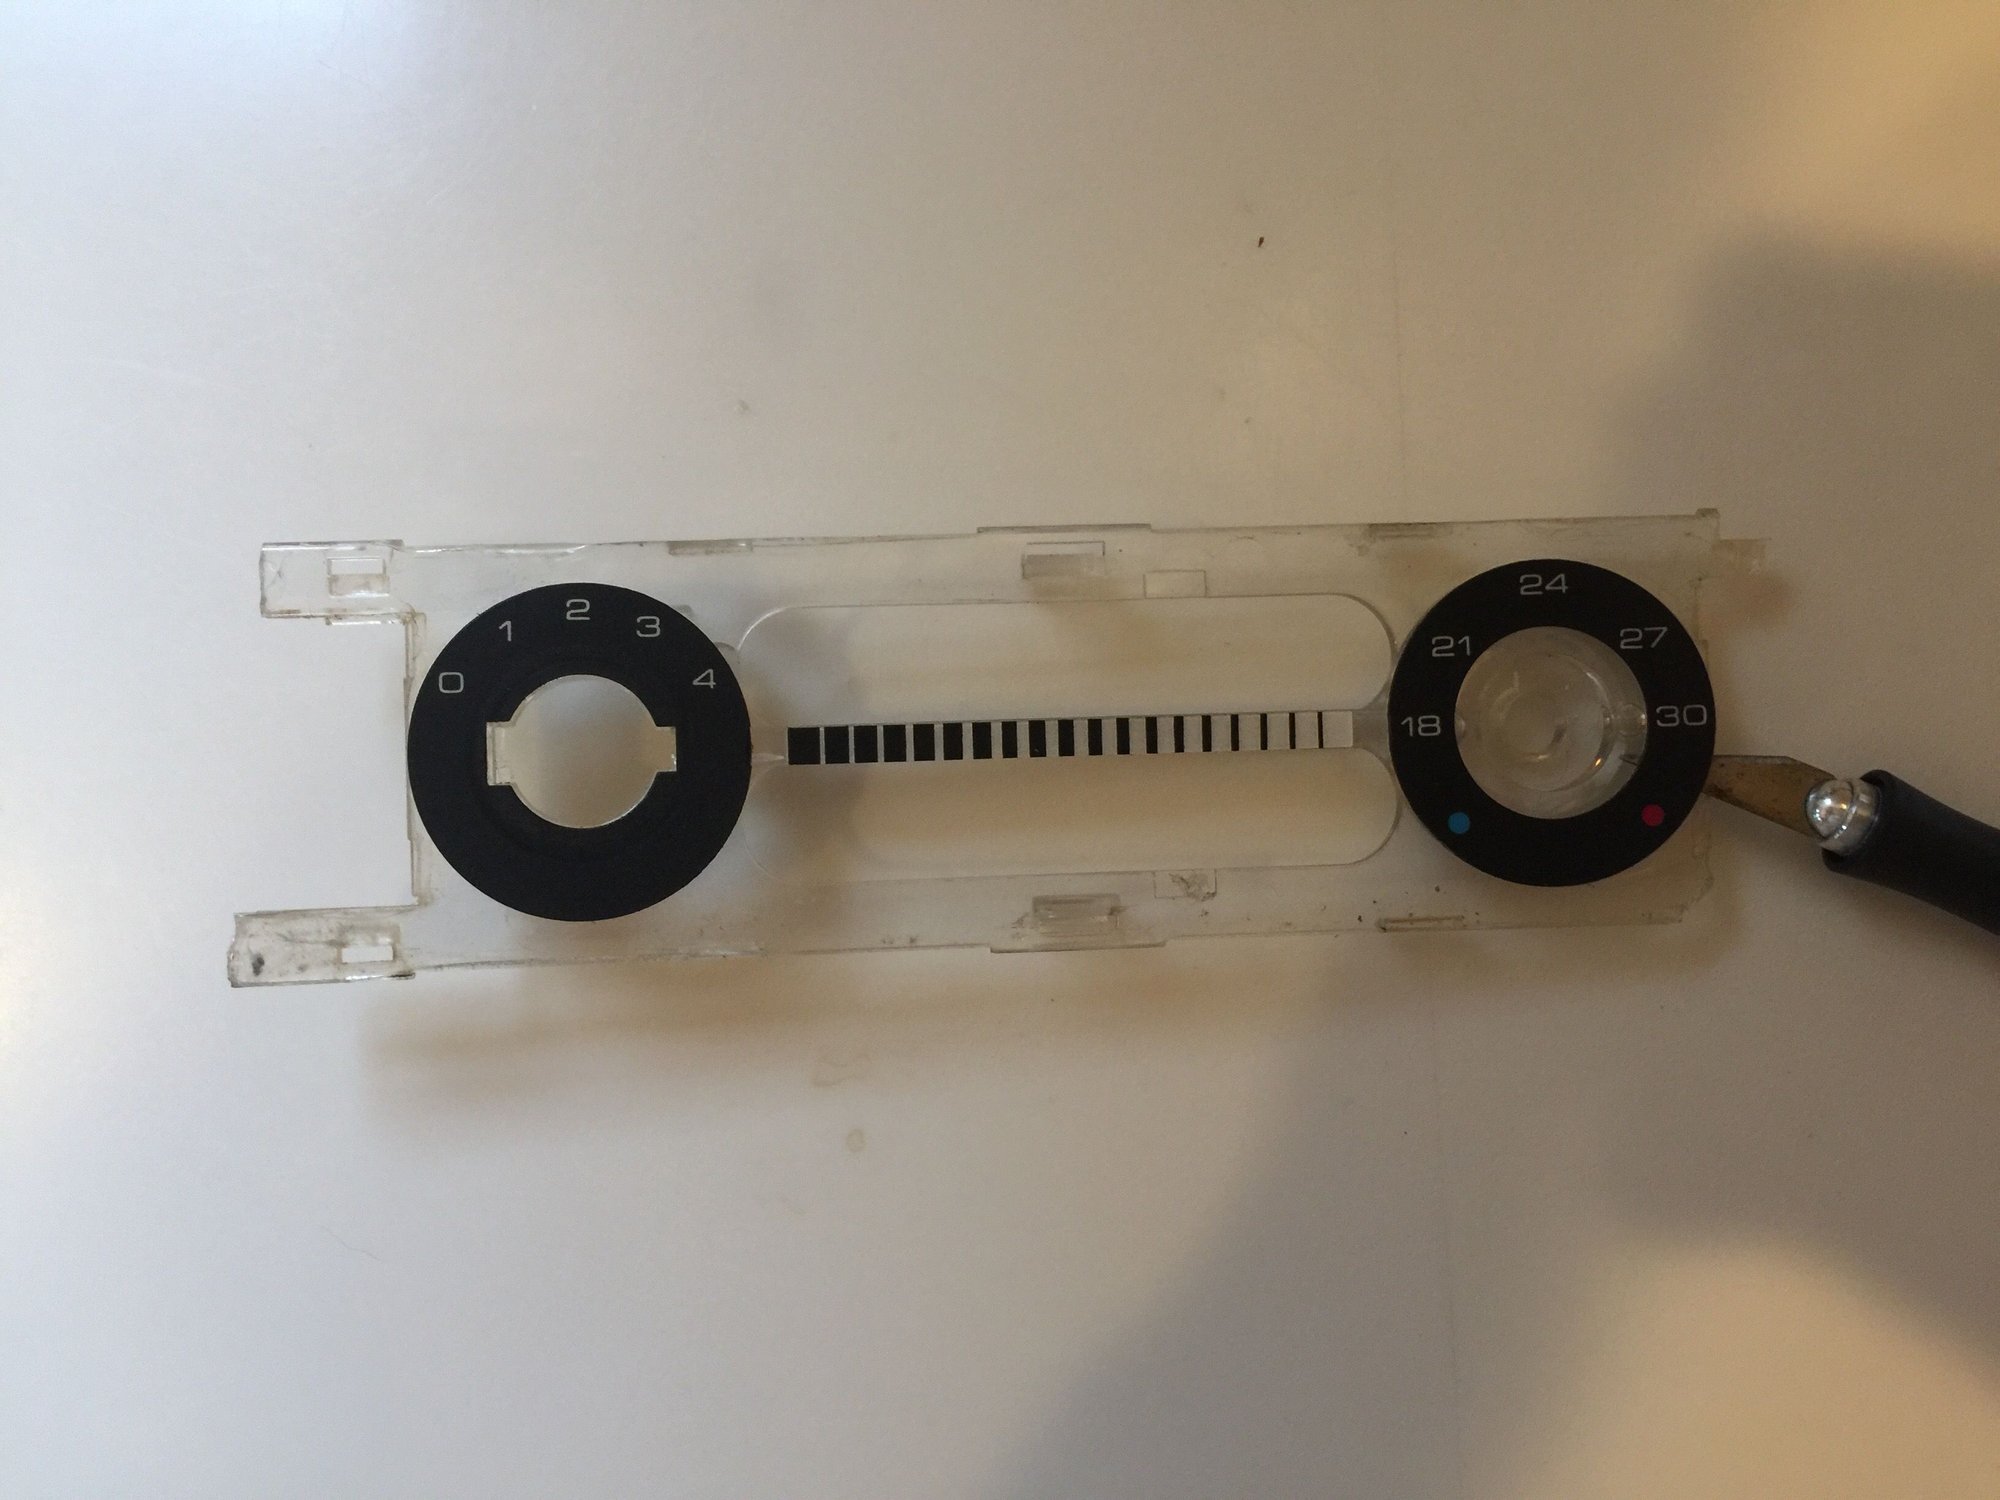
Forgot I took this video to check the fitting before I installed it, hope this helps.
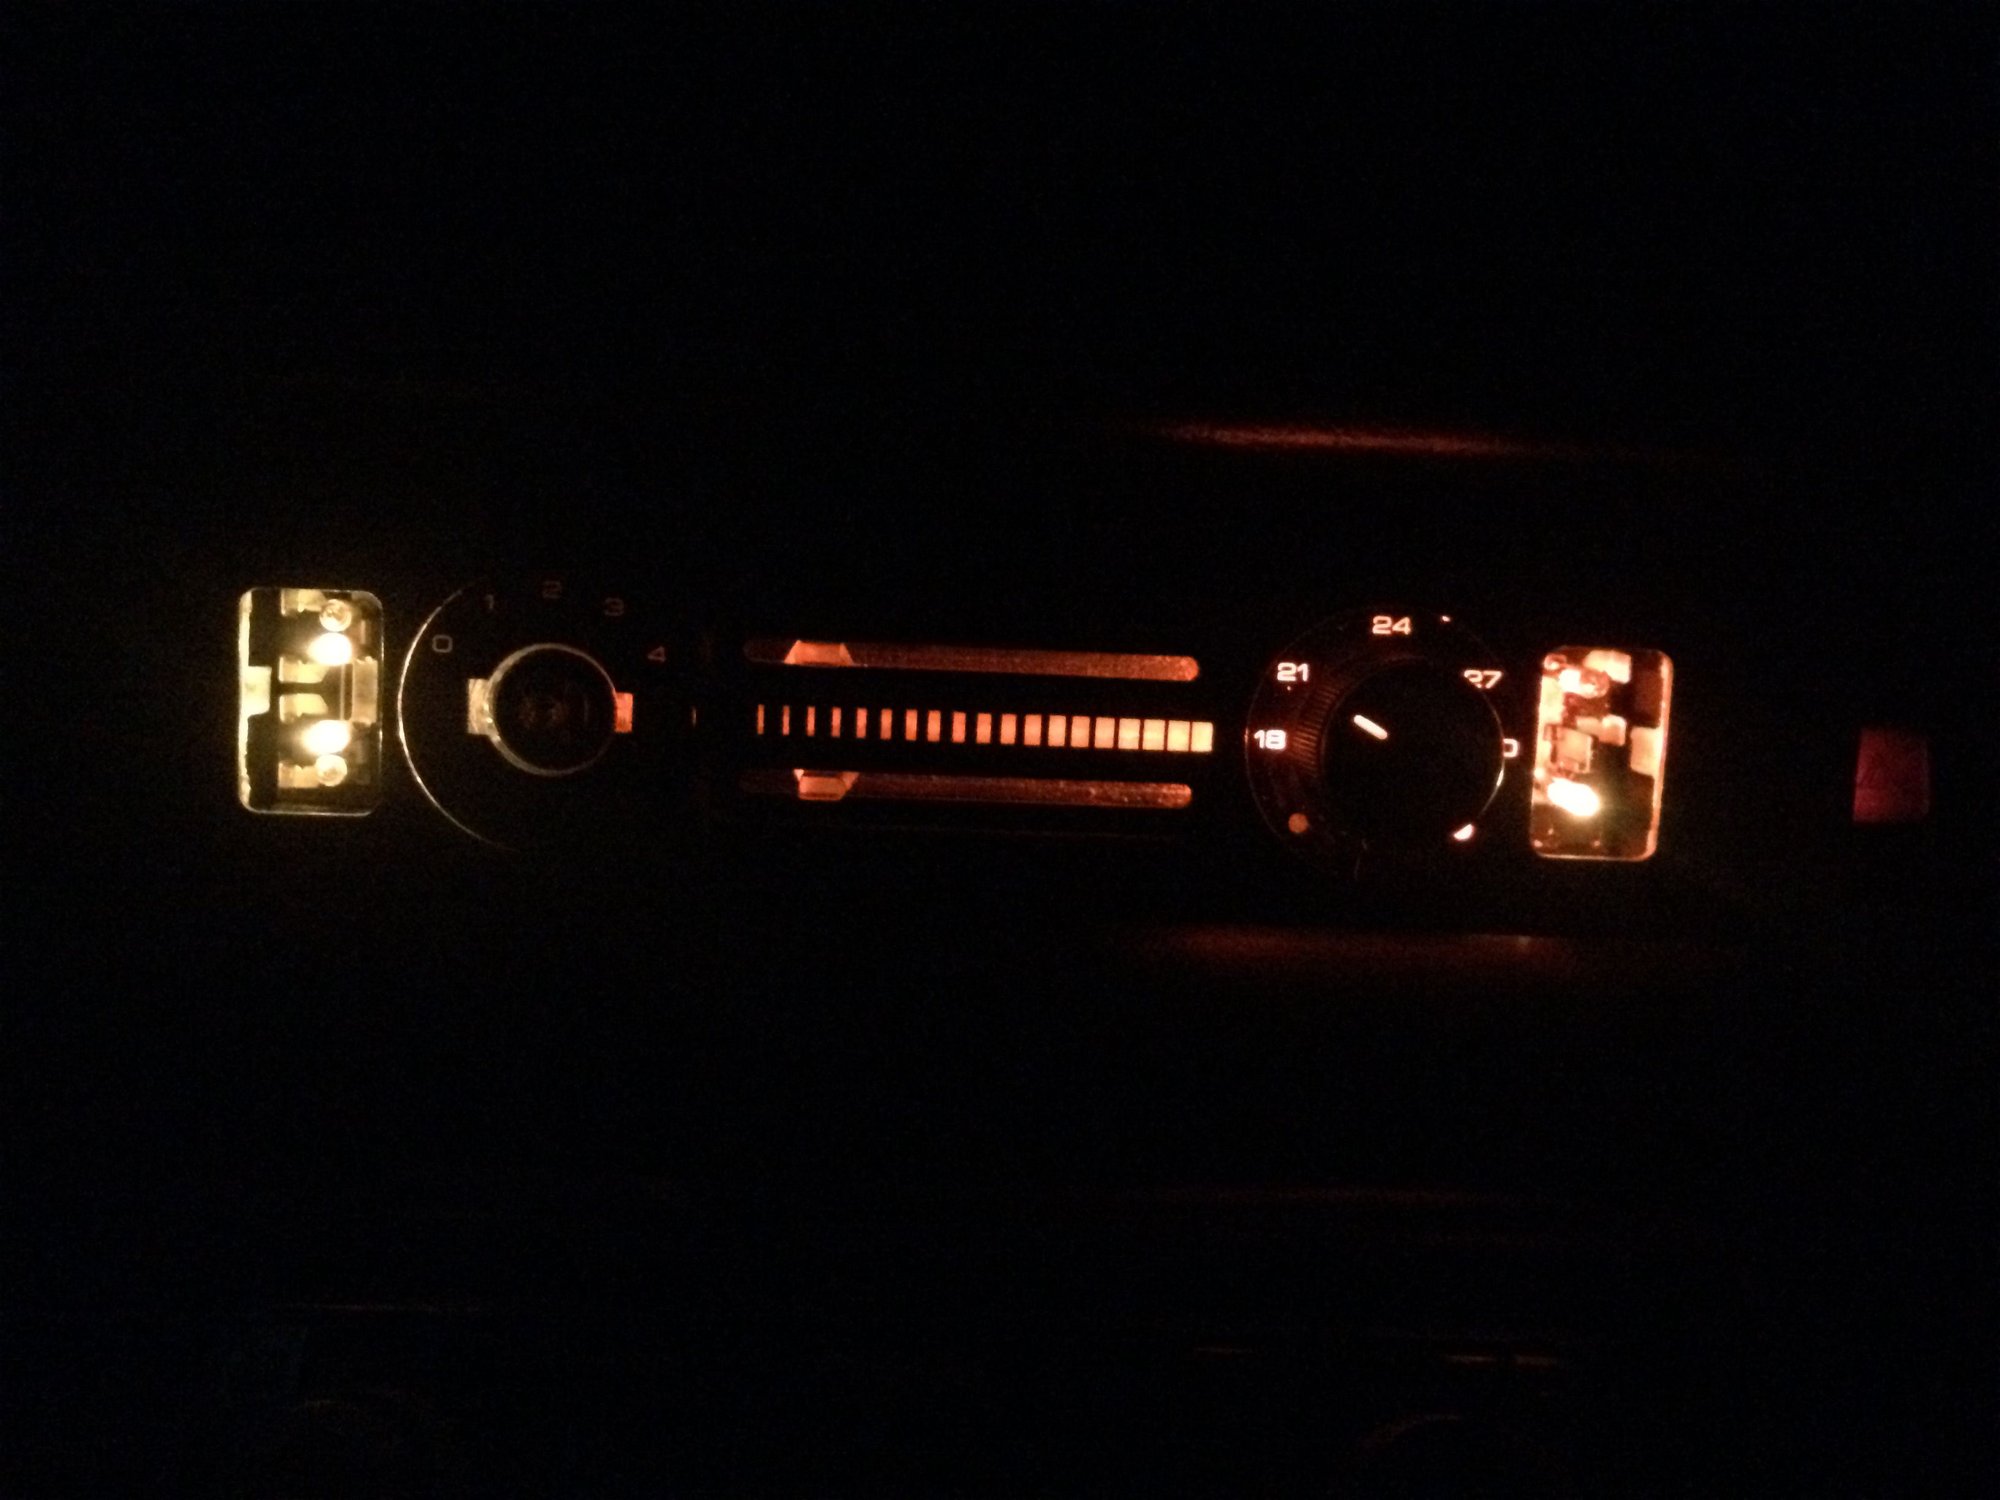
As you can see the fit is excellent.
AWESOME - thanks for sharing the video! I'm thrilled it snaps into your parts as well as it snapped into mine.
I'm really happy with the tabs - they aren't as sharp as the original part (limitation of 3D printing), but they hold quite well and they aren't breaking when I disassemble.
The openings for the switches are very tight, though I am able to work mine in without filing. I will leave these as-is, as a bit of filing is better than loose.
Printing final versions now. I'll make these available for purchase in a few days.
 12-30-2016, 06:27 PM