When you click on links to various merchants on this site and make a purchase, this can result in this site earning a commission. Affiliate programs and affiliations include, but are not limited to, the eBay Partner Network.
Replacing upper control arm ball joint boots (hit a snag)
Finally getting around to this job. So far it's been easy. The Harbor Freight ball joint separator works great.
Released the crumbling ABS cable from plastic clamps. Removed aluminum air deflector (attached to lower shock mount). Removed ball joint nut and ABS ground wire bolt. Allowed ABS retaining plate to dangle free.
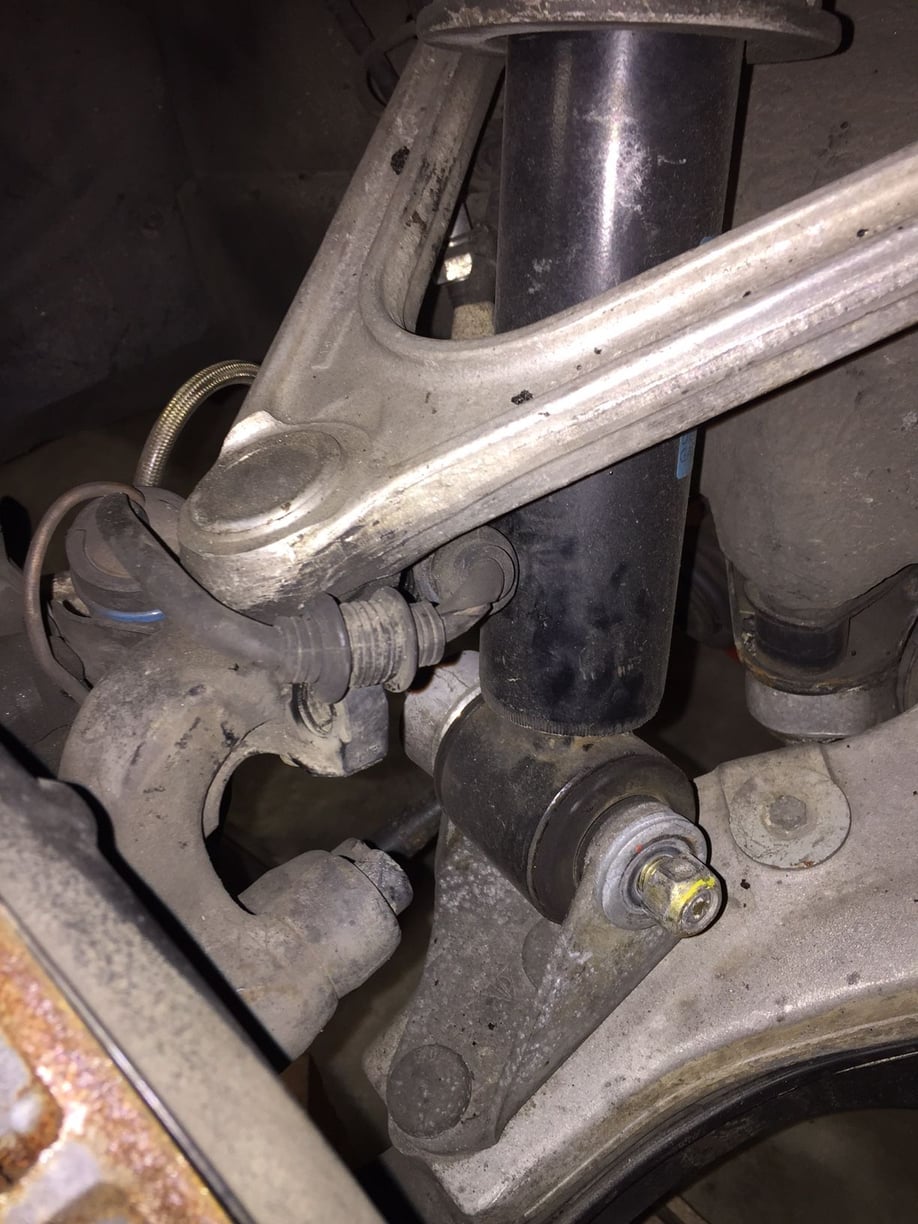
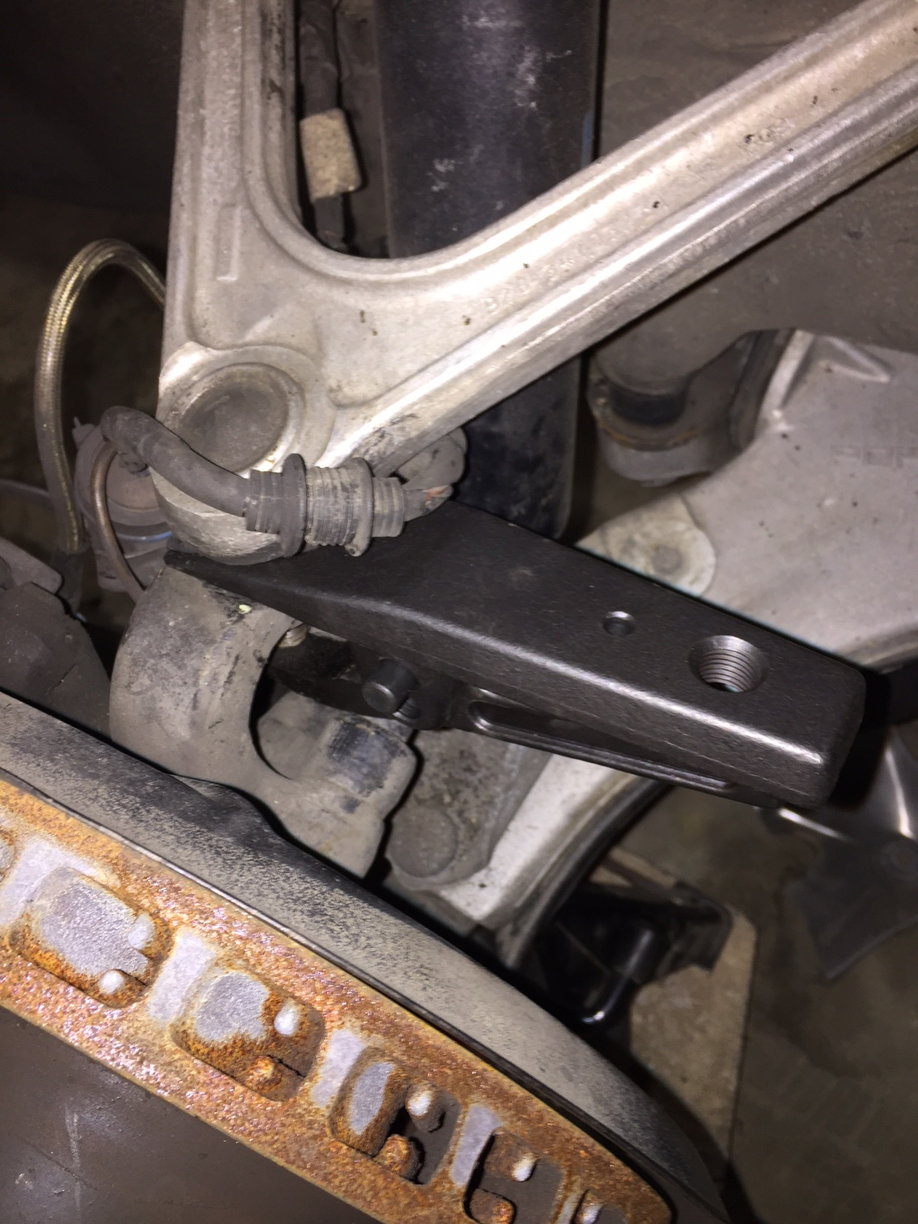
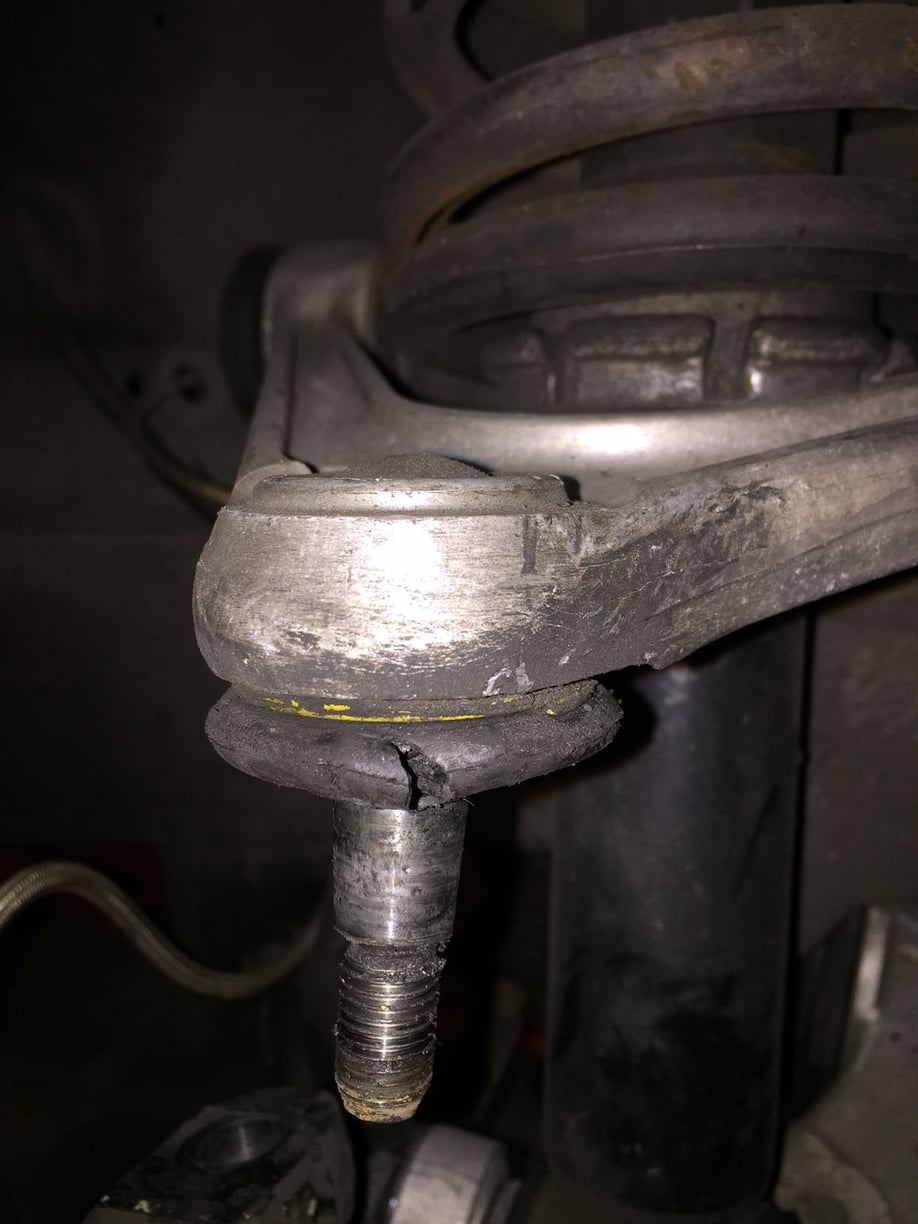
First tapped the joint separator fork into position under the old torn boot. Then attached the lever arm using pin. Made sure lever tip was under the ball joint bolt. Then inserted the bolt into the threaded hole in the separator and turned it slowly with a Gear wrench.
It didn't take many turns....Bammm!
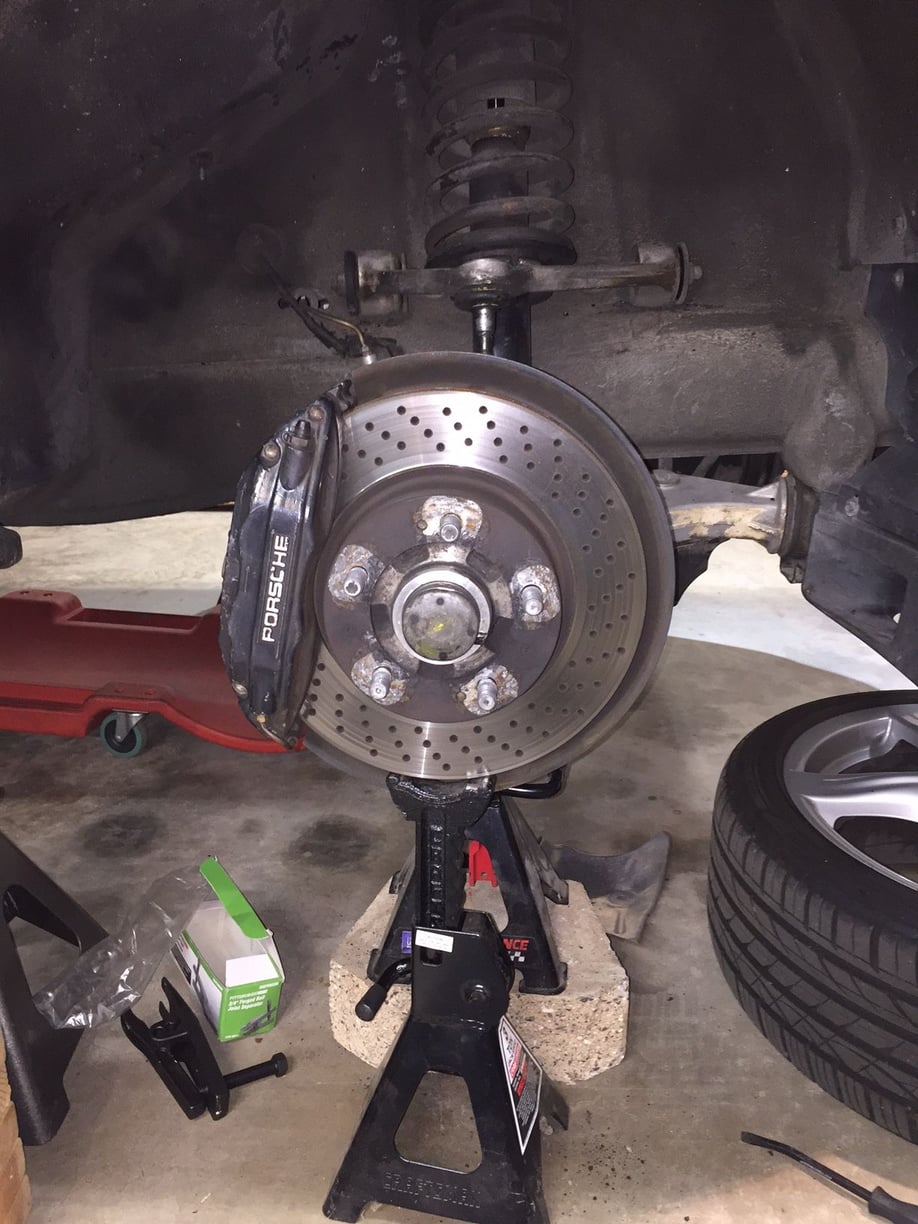
Supporting the rotor while completing the boot repair.
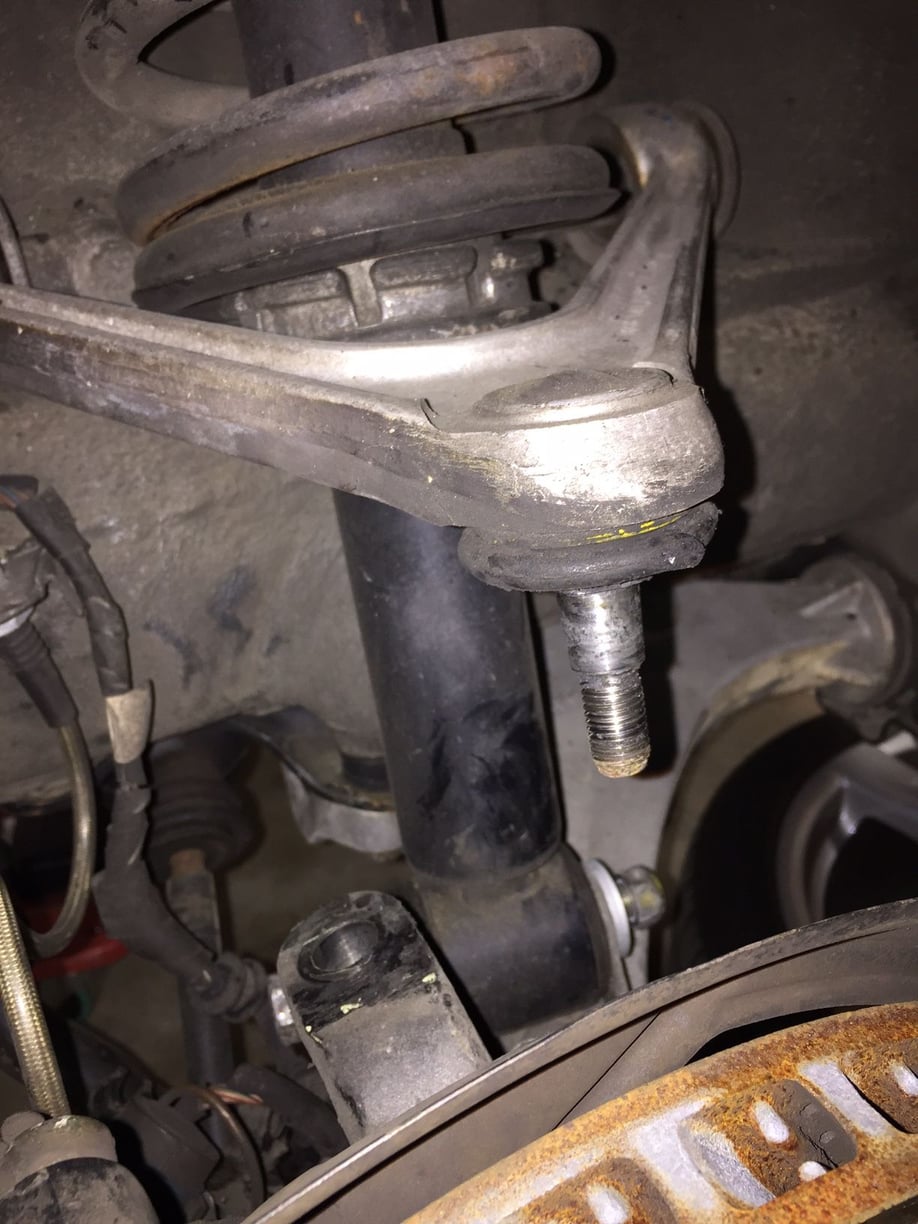
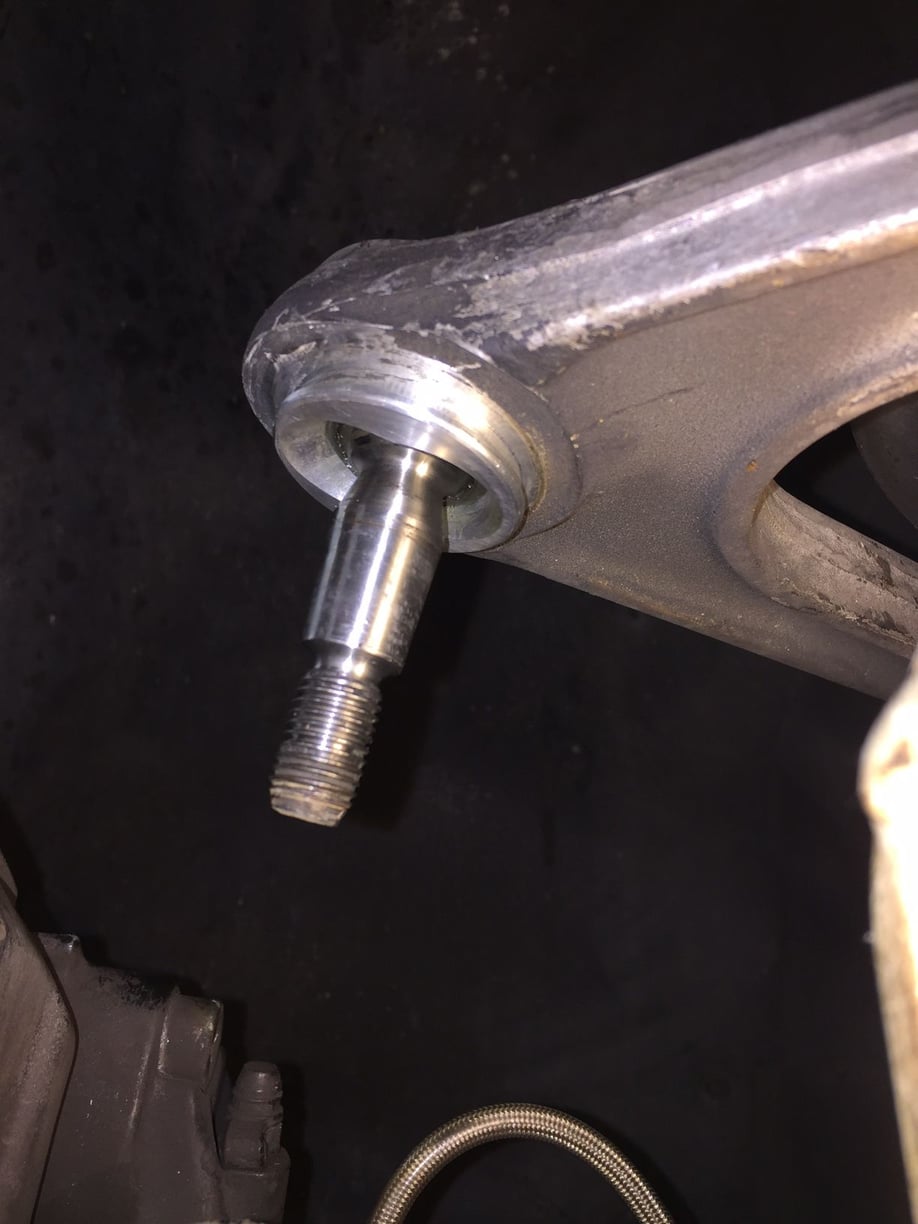
The split was enlarged by inserting the ball joint separator. The joint is still very tight. I was surprised how stiff the ball joint is, but happy to find zero play in the joint. Hope the other side is the same
Xmas is here so I'll get back to finishing this in a few days.
Last edited by Captain_Slow; 12-28-2016 at 01:54 PM.
Glad to hear the joint is still nice and tight. Once you try and move the ball stud around in a good joint it is easy to tell if the next one is good or not.
When installing new boots on my 84, I first installed the upper retainer ring, then used a needle nose adapter on a grease-gun to fill the boot with grease, until it bulged nicely, then installed bottom retainer ring and reassembled. Once you tighten the ball-joint nut, it will squeeze the rubber boot nicely and continually push grease into the ball joint, providing longer life of the component.
Thanks for describing your technique. I was wondering what would be the best way to get grease up into the joint. Do you recommend cleaning the joint with say brake cleaner after removing the old boot? Then per your method the ball joint will fill with clean grease.
Originally Posted by The Deputy
When installing new boots on my 84, I first installed the upper retainer ring, then used a needle nose adapter on a grease-gun to fill the boot with grease, until it bulged nicely, then installed bottom retainer ring and reassembled. Once you tighten the ball-joint nut, it will squeeze the rubber boot nicely and continually push grease into the ball joint, providing longer life of the component.
Thanks Bertrand! Merry Christmas to you, Chris, Brian, Mike...and to all. Now I have to put together a scooter and have it under the tree before my son wakes up..will probably take longer than the ball joints
Merry Christmas, Jon. Careful on that scooter - most have terrible lift-throttle over-steer.
I'm warming up to the idea of replacing my lower boots. Looks like a ball-joint separator like yours is in my future. I found this how-to written up by "AO":
Merry Christmas Curt. Thanks for sharing the link to Andrew's how-to. My lower ball joint boots are fine - though the rotor and brake flopped over after separation...possibly pinching the lower boot. I'll rig retaining strap before separating the other side.
Not much time to work on the car during the holiday season. Fortunately this job has so far been one of the easier tasks I've undertaken on the 928. My primary reference has been this fantastic "silent movie". The relevent parts are between 1 and 2 minutes, and 19 and 21 minutes.
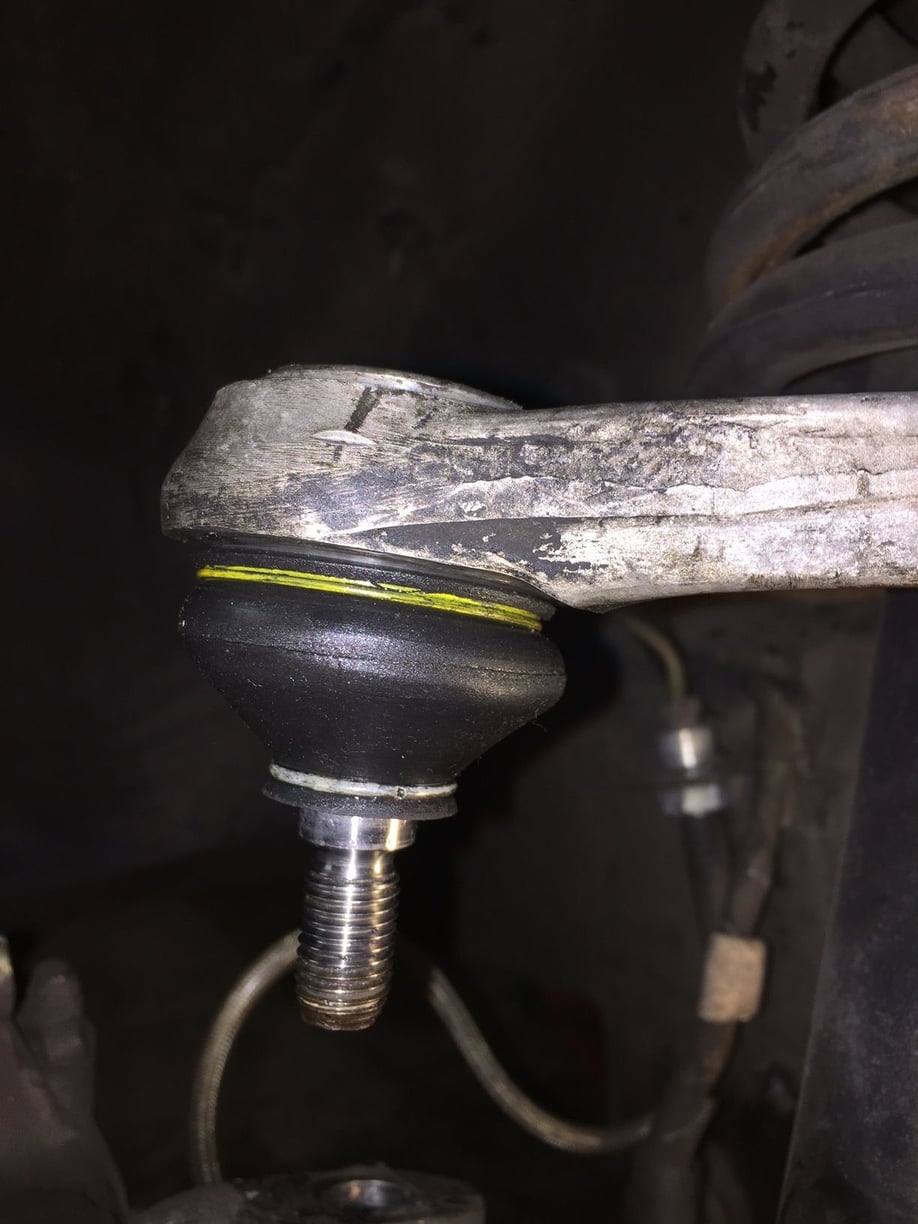
So with about 30-40 minutes of free time last evening I removed the old boot, cleaned the ball joint using only a shop towel, applied grease (shooting upward...the grease stays put), then installed the new boot. I manipulated the joint a bit to work grease up into the joint a bit.
Reassembling: while threading the 19 mm nut on to the ball joint stud I reach a point where the ball rotates, preventing further tightening of the nut. I can't see an impact driver working in this situation. Thinking I might use a big C-clamp to press the tapered stud into the hole in the "thing" the stud bolts into - tight enough to prevent the stud from spinning while tightening.
Reassembling: while threading the 19 mm nut on to the ball joint stud I reach a point where the ball rotates, preventing further tightening of the nut. I can't see an impact driver working in this situation. Thinking I might use a big C-clamp to press the tapered stud into the hole in the "thing" the stud bolts into - tight enough to prevent the stud from spinning while tightening.
Jon,
Support the assembly by jacking up from under the lower joint or disc hub and then give the upper joint a biff on the top side with a rubber mallett to help lock the joint in the taper and then you will find you can tighten it up without the thing turning.
Fred - Your method worked exactly as described. But...it seems impossible to get a torque wrench in the cramped space to slide the socket on to the nut.
IIRC a long extension and universal joint between the torque wrench and socket was the best I could do with the control arms bolted to the car and all the other bits in the way. Someday I'll have a torque wrench with interchangeable heads and a select assortment of correctly sized box ends to do just this kind of work.

 12-24-2016, 02:27 PM