When you click on links to various merchants on this site and make a purchase, this can result in this site earning a commission. Affiliate programs and affiliations include, but are not limited to, the eBay Partner Network.
Also if you haven't looked at your License Plate lights in a few years now's a great time for a good cleaning, the lenses are plastic so don't use incorrect bulbs, LED's work great.
I found a dremel tool with a felt polishing wheel and metal polish worked really well. Then followed up with Deoxit. 2 years since I did the ground points and they still shine like gold
How are you interfacing the OBDII to the stock ECU? Or are you running an aftermarket unit?
Speedtoys you are absolutely correct in your perception of the car running better. I have done the same things you have and had same result.
As added support for these cars responding to quality of electrical connections and health of the electrical system in general, I recently replaced the alternator (low rpm charging issues) with one that had been rebuilt with extra windings to produce 150 amps. The car idled and ran smoother..definitely loved the extra voltage...
I am in the process of replacing all 9 of the 253 relays and the fog light relay...my fog lights do major damage to my voltmeter gauge...I'm hoping a new relay will help alleviate.
Might just be in my head, but I believe the car runs better, and the few remaining lights I have that are not LED, -are- much brighter.
Not just you, as I've shared in the past that after cleaning up the connections on the starter / alternator and multi pin plug and replacing the green (or yellow?) 10ga wire from the multi-pin to the alternator, the engine spins over so fast now you would think the valves are bent.
As for the fix, I would prefer to see a proper crimp and if you feel the need then solder. I personally am not a fan of soldering where the factory chose to crimp.
The ratcheting crimp tools are not as expensive as they used to be. I have both of these (I have more dies with the red one)
Which of those two crimpers you link is the correct one for making the double-folded crimp on CE panel (and others) terminals? I have the "common" squeeze crimpers but need to add a correct ratcheting crimper to the crimper drawer. Others feel free to make suggestions.
Jeff --
Suggestion: Clean the remaining flux from your soldered connection, then add a little adhesive-lined shrink sleeve up onto the ring a little to keep rain and car-wash water out of the insulation. The remaining flux can be corrosive, and the sleeve adds a finished touch as well as the protection. Both from your local Fry's.
Originally Posted by Hacker-Pschorr
Not just you, as I've shared in the past that after cleaning up the connections on the starter / alternator and multi pin plug and replacing the green (or yellow?) 10ga wire from the multi-pin to the alternator, the engine spins over so fast now you would think the valves are bent.
As for the fix, I would prefer to see a proper crimp and if you feel the need then solder. I personally am not a fan of soldering where the factory chose to crimp.
The ratcheting crimp tools are not as expensive as they used to be. I have both of these (I have more dies with the red one)
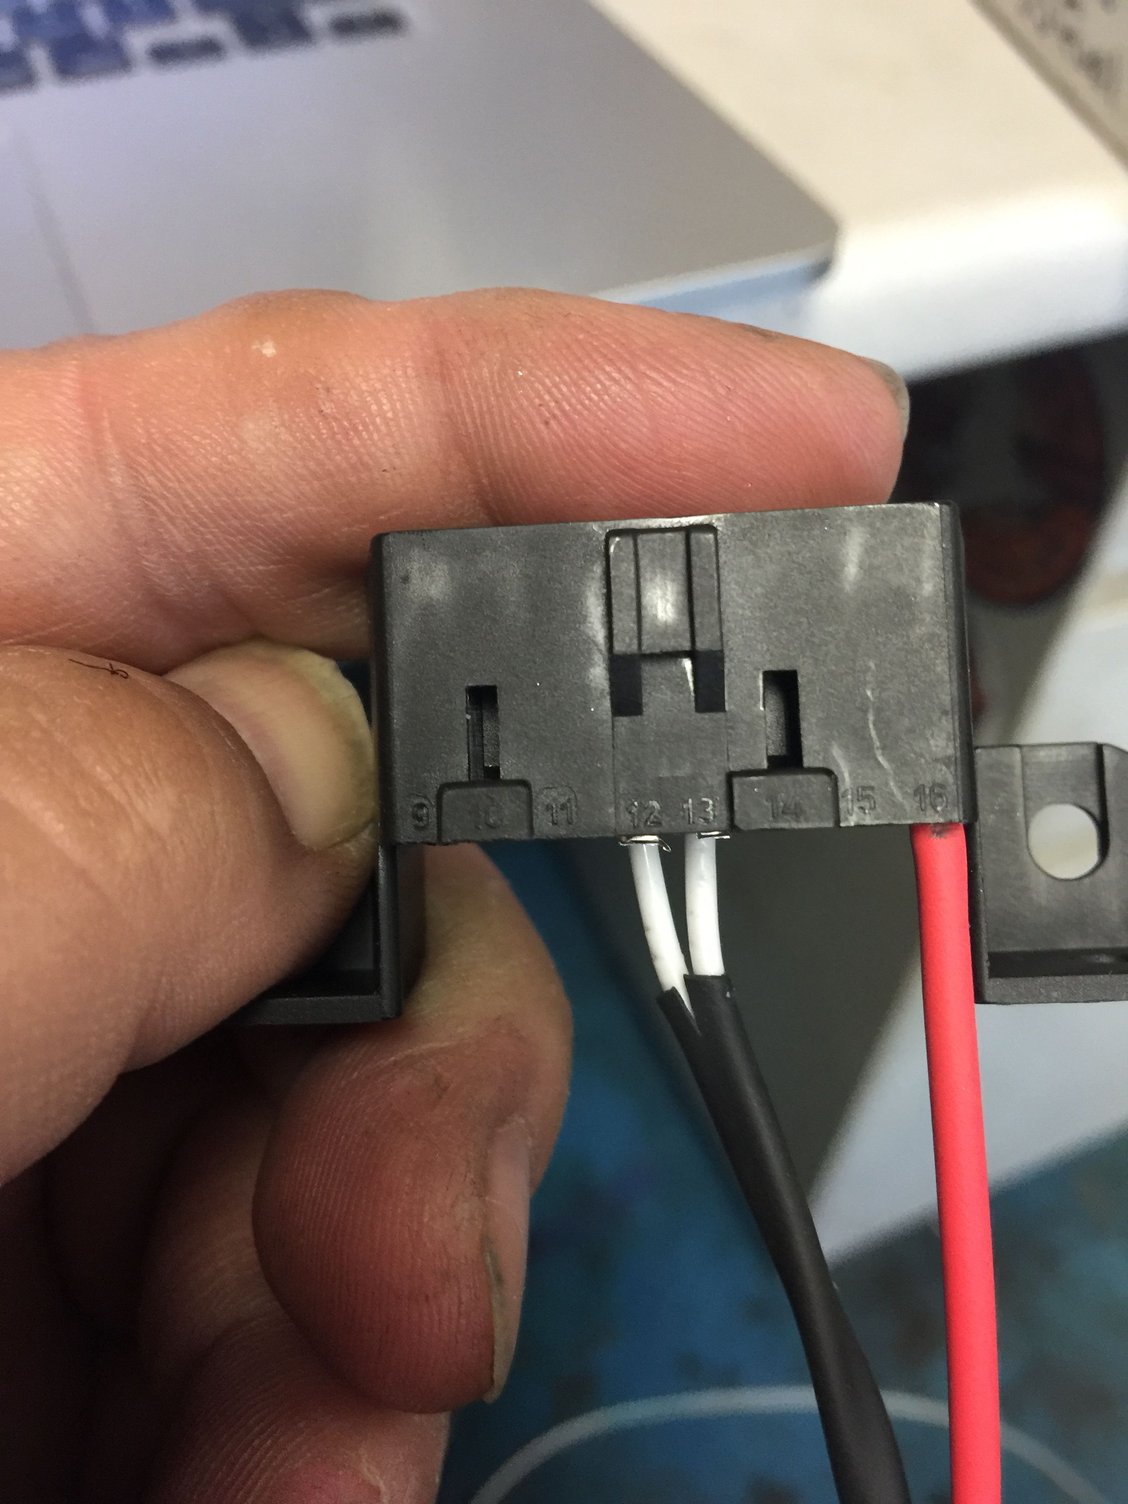
Note that OEM, one connection is crimped, the other soldered.
Which one? Honestly curious (not trying to argue).
Here is my take on it and I know this is not the popular attitude.
We can argue all day long with is the best connection, a proper crimp or a proper solder connection.
My argument is most DIY'ers will be able to master a good crimp versus a good solder. So based on that alone, crimping is better since most do not solder correctly and / or don't have a perfectly clean connection which will be far worse long term than an open crimp.
Most people pour on way too much solder which does not make the connection "better" and my actually weaken the link. I'll take a crimp coming lose over a broken solder joint.
So again, not saying you did a bad job or anything wrong. The job looks good and something everyone needs to be aware of.
I just like to encourage people to own the proper crimp tools and learn to use them, and solder after if they feel the need.
Over the years I've seen way too many bad solder connections causing problems and making things worse compared to what would have been a bad crimp.
Originally Posted by Speedtoys
I have not yet done the 14pin hell, or touched the connections to the starter that I know are "dirty".
Starter / alternator ones are no different than what you've done here.
The 14 pin connector is fiddly as hell. I have a brand new connector with pins for my 87 since the plastic was cracked & it was dirty. I got lazy, cleaned everything up and just replaced the plastic.
My goal is to someday make a whole new harness, but honestly the car has zero electrical faults, shows full voltage everywhere I measure after the cleanup so I'm happy for now.
Originally Posted by dr bob
Hacker --
Which of those two crimpers you link is the correct one for making the double-folded crimp on CE panel (and others) terminals? I have the "common" squeeze crimpers but need to add a correct ratcheting crimper to the crimper drawer. Others feel free to make suggestions.
I actually have a third crimper for weather-pac connectors that sometimes work best in the really really small gauge stuff.
Later I'll take photos of all the dies, what they are listed for.
The red one I have came with many more dies but had to be imported from Australia, but has RJ45 and other fun dies. Most are not needed for automotive work, I just wanted all available since I do other coax and wiring around the house.
Which of those two crimpers you link is the correct one for making the double-folded crimp on CE panel (and others) terminals? I have the "common" squeeze crimpers but need to add a correct ratcheting crimper to the crimper drawer. Others feel free to make suggestions.
Jeff --
Suggestion: Clean the remaining flux from your soldered connection, then add a little adhesive-lined shrink sleeve up onto the ring a little to keep rain and car-wash water out of the insulation. The remaining flux can be corrosive, and the sleeve adds a finished touch as well as the protection. Both from your local Fry's.
Ya, I updated on FB that I was stuck without the right size shrinkwrap at the time, it's coming soon, didnt know about the flux. Will do.
Which one? Honestly curious (not trying to argue).
The two ring terminals back to the CE panel, the single wire terminal was crimped (wire is black, dead, the insulation is burnt), the dual cable ring is soldered, no corrosion/overheating.
I found a dremel tool with a felt polishing wheel and metal polish worked really well. Then followed up with Deoxit. 2 years since I did the ground points and they still shine like gold
How are you interfacing the OBDII to the stock ECU? Or are you running an aftermarket unit?