When you click on links to various merchants on this site and make a purchase, this can result in this site earning a commission. Affiliate programs and affiliations include, but are not limited to, the eBay Partner Network.
Well, after several months of thinking about it and having some unanticipated expenses move it back on the priority list, I just now ordered Dave's eRam kit for my car. I have corresponded with Dave several times, and he assures me it will fit with my Evoms intake.
I ordered the full 4 inch rise kit, plus the ultra fast raise/lower and the rubber boot options. I did not order the wing removal tool offered for $49.
I will keep my Misha GT2 Add On wing, which currently raises and lowers.
I will post up info on delivery times, quality of instructions and ease of installation.
I will let you know how well it works with the Misha wing.
I will be brutally honest with my review - no taking it easy on Dave if something goes awry. I know several people have already posted reviews, but many of those were during the beta testing phase. So, this review will be done with the expectation of a fully developed product. My hope is that the result will be as good as I've had with the aftermarket LED taillights I installed just about one year ago. Those have exceeded my expectations - easy install, no failures and a significant improvement to the stock taillights. After one year, I simply cannot imagine ever wanting to re-install the stock taillights, even though the stockers were functional and attractive. The LED taillights are simply much better.
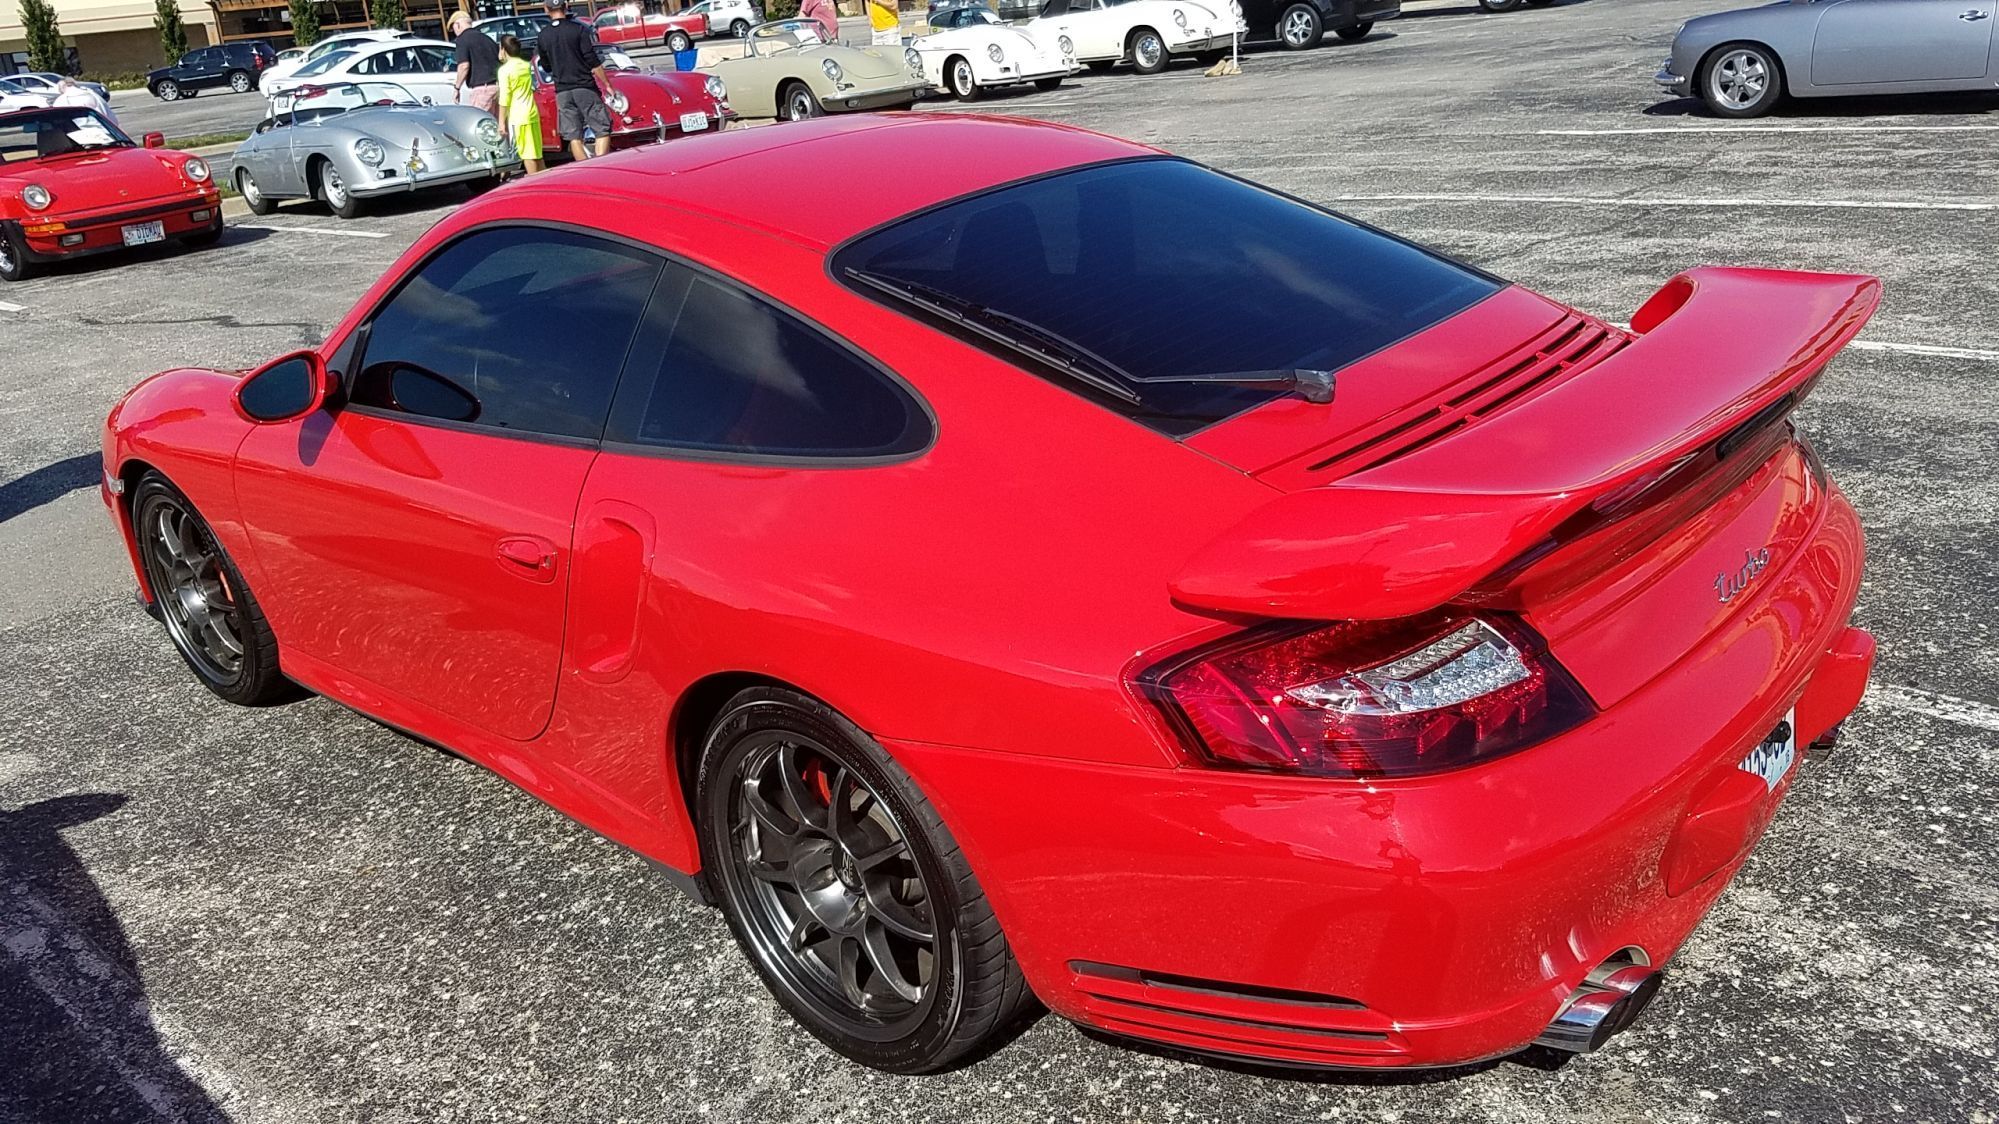
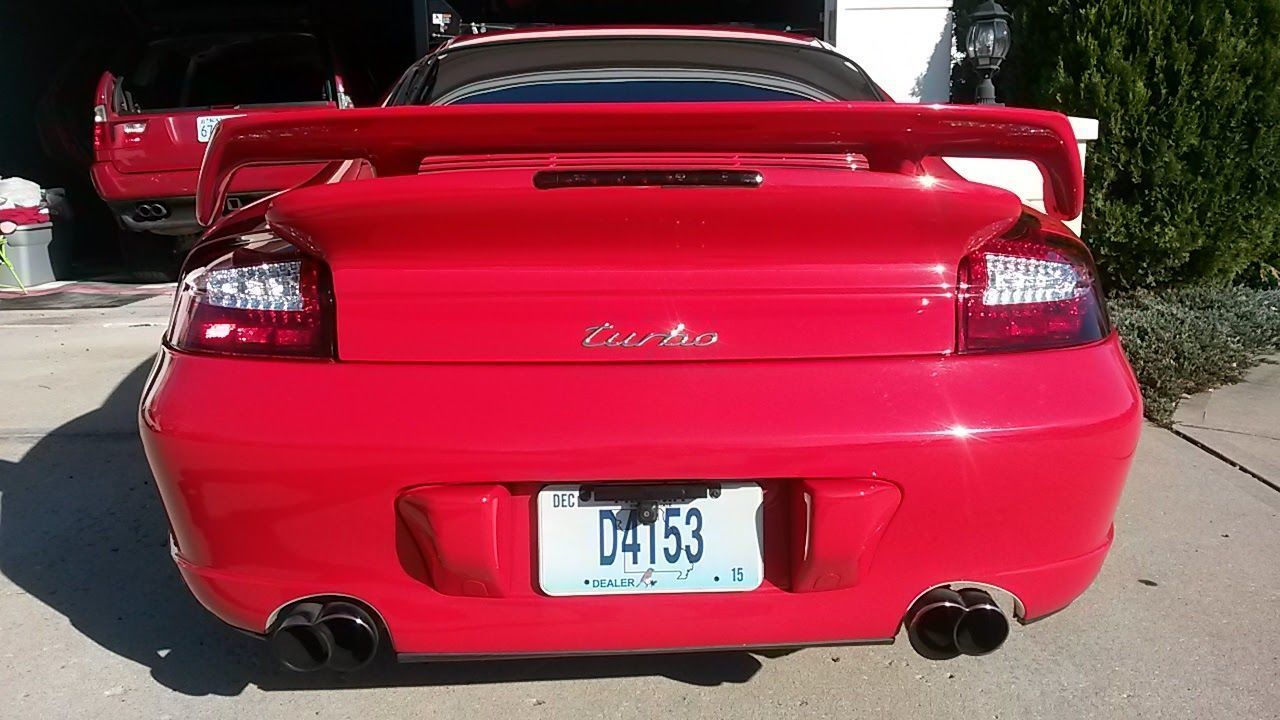
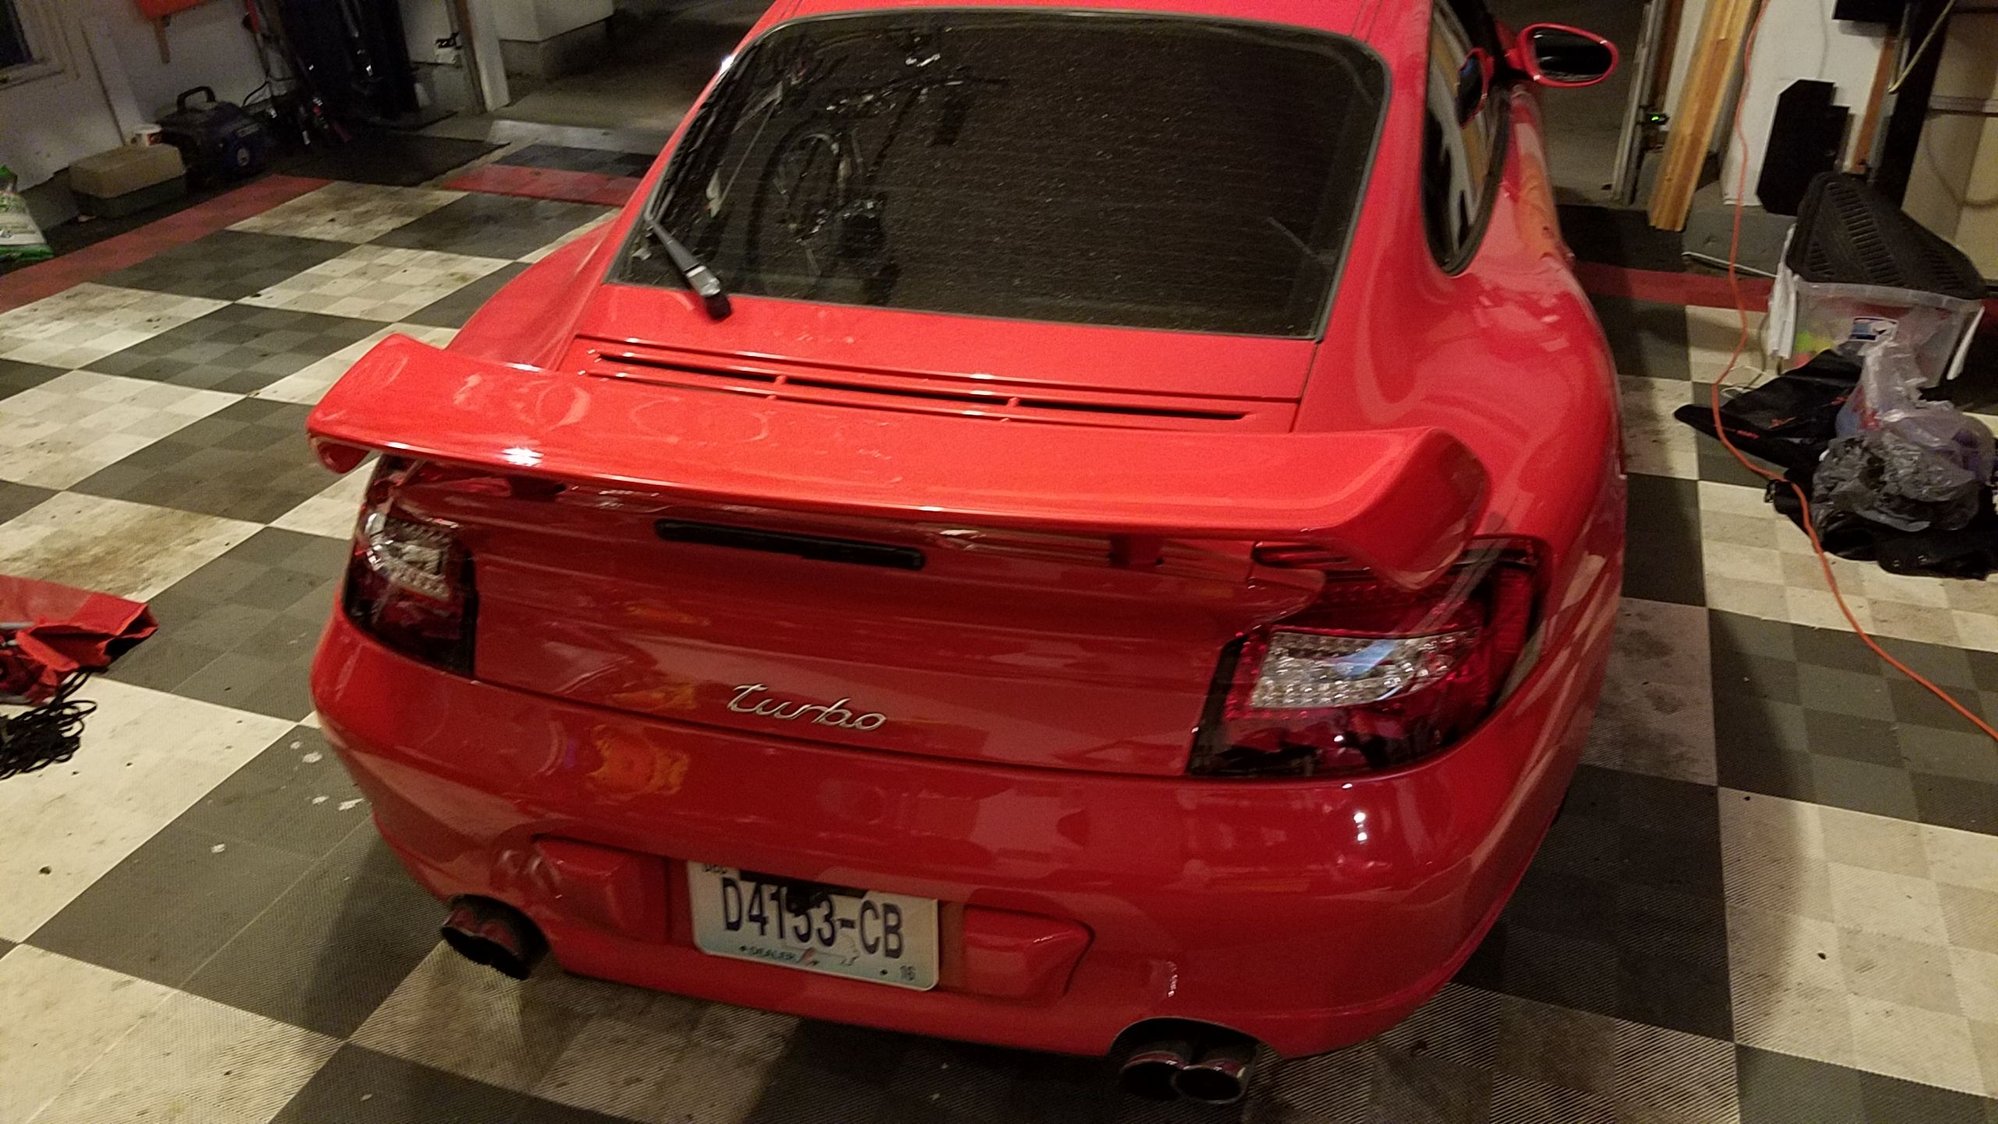
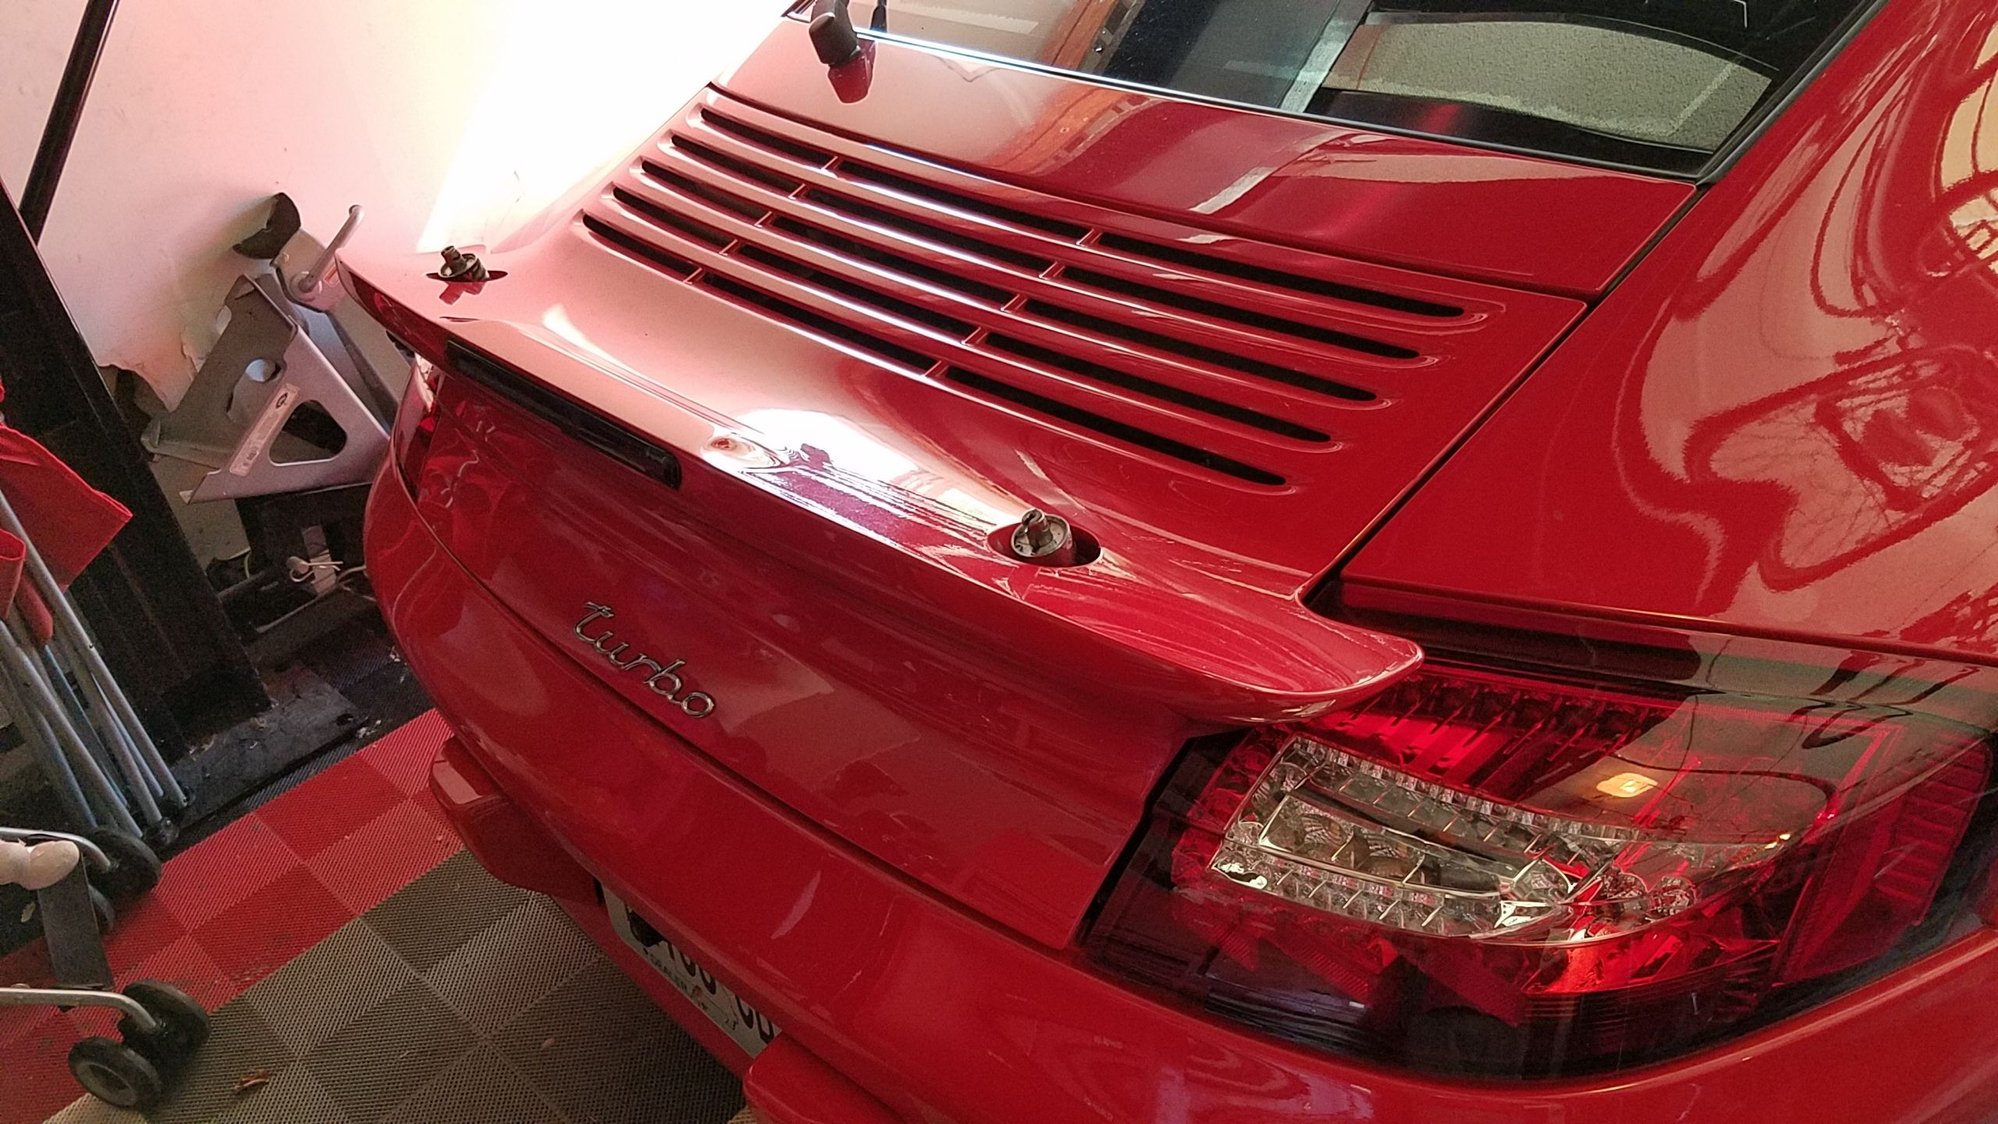
For reference, here's a "before" pic of the wing as it is now, mounted on the OEM hydraulic rams.
Looking forward to the review. My car had a new OEM setup installed in 2014 and is currently working flawlessly (knocking on wood) so hopefully I won't have issues for a while but I've had my eye on this kit just in case that changes
OK, I just finished the project yesterday. Overall, I'd say that I'm very pleased, but that doesn't mean that there weren't a couple of things I'd do differently or that the eRams are perfect or that there wasn't a hiccup along the way (there was) or there wasn't a moment or two of buyer's remorse.
Let's talk buyer's remorse first: I think the eRams are a good value, but cheap they are not. As mentioned, I got the full monty - 4" raise height ($1,695), super fast speed deployment ($99), and rubber dust & moisture boots ($49). Then I had to order the special tool ($49). I had been thinking about ordering them for quite some time, and when Dave ran a 10% off special (I think it was for Labor Day), I decided to buy. So, with the 10% off discount plus shipping, I was all in for just under $1,720. The installation process is a simple enough DIY, but apparently some people prefer to have the install done professionally - which would likely push the bill up to $2,000, even with the discount. Without the discount and with professional install, you're looking at around $2,200.
When I first got the eRam installed, there was a problem with the MicroModule (more about that later), so the eRam worked, but not properly. At that point (before I emailed Dave about the problem), I thought, damn, you know, I just spent over $1,700 and my time/effort to research and install, and my spoiler isn't working any better than it did before. Still have the spoiler failure message. And I'll bet the problem I'm having is some unusual quirk that no one has had before and I'm going to have to spend a bunch of time troubleshooting.
But, within an hour of emailing Dave about the problem, he had responded that this issue had happened before and it was an easy fix. At that point, I started feeling much better about it. Yesterday, once I got the fix done and the eRam was doing its thing properly, it sank in that these things really are freakin' cool. And that I'll never again have to look at that stupid spoiler warning light. And the craftsmanship of the product is beautiful. And that by buying this product, I didn't just repair my car - I improved it. After all, I wouldn't have lost any sleep over a $1,700 repair bill. I think the angst over the cost is that I kind of view it as a mod or as an unnecessary expenditure. With 3 kids and 4 Porsches plus some other collector cars to support, my budget for play spending on cars is somewhat limited. But, when I bought the car I knew at some point I'd probably be spending as much as $3,000 to fix the spoiler hydraulics. The eRams allowed me not only to permanently fix the spoiler, but also to improve that system for a little over half that cost. Bottom line: money well spent. No doubt. No remorse.
Last edited by FRUNKenstein; 11-06-2016 at 01:57 PM.
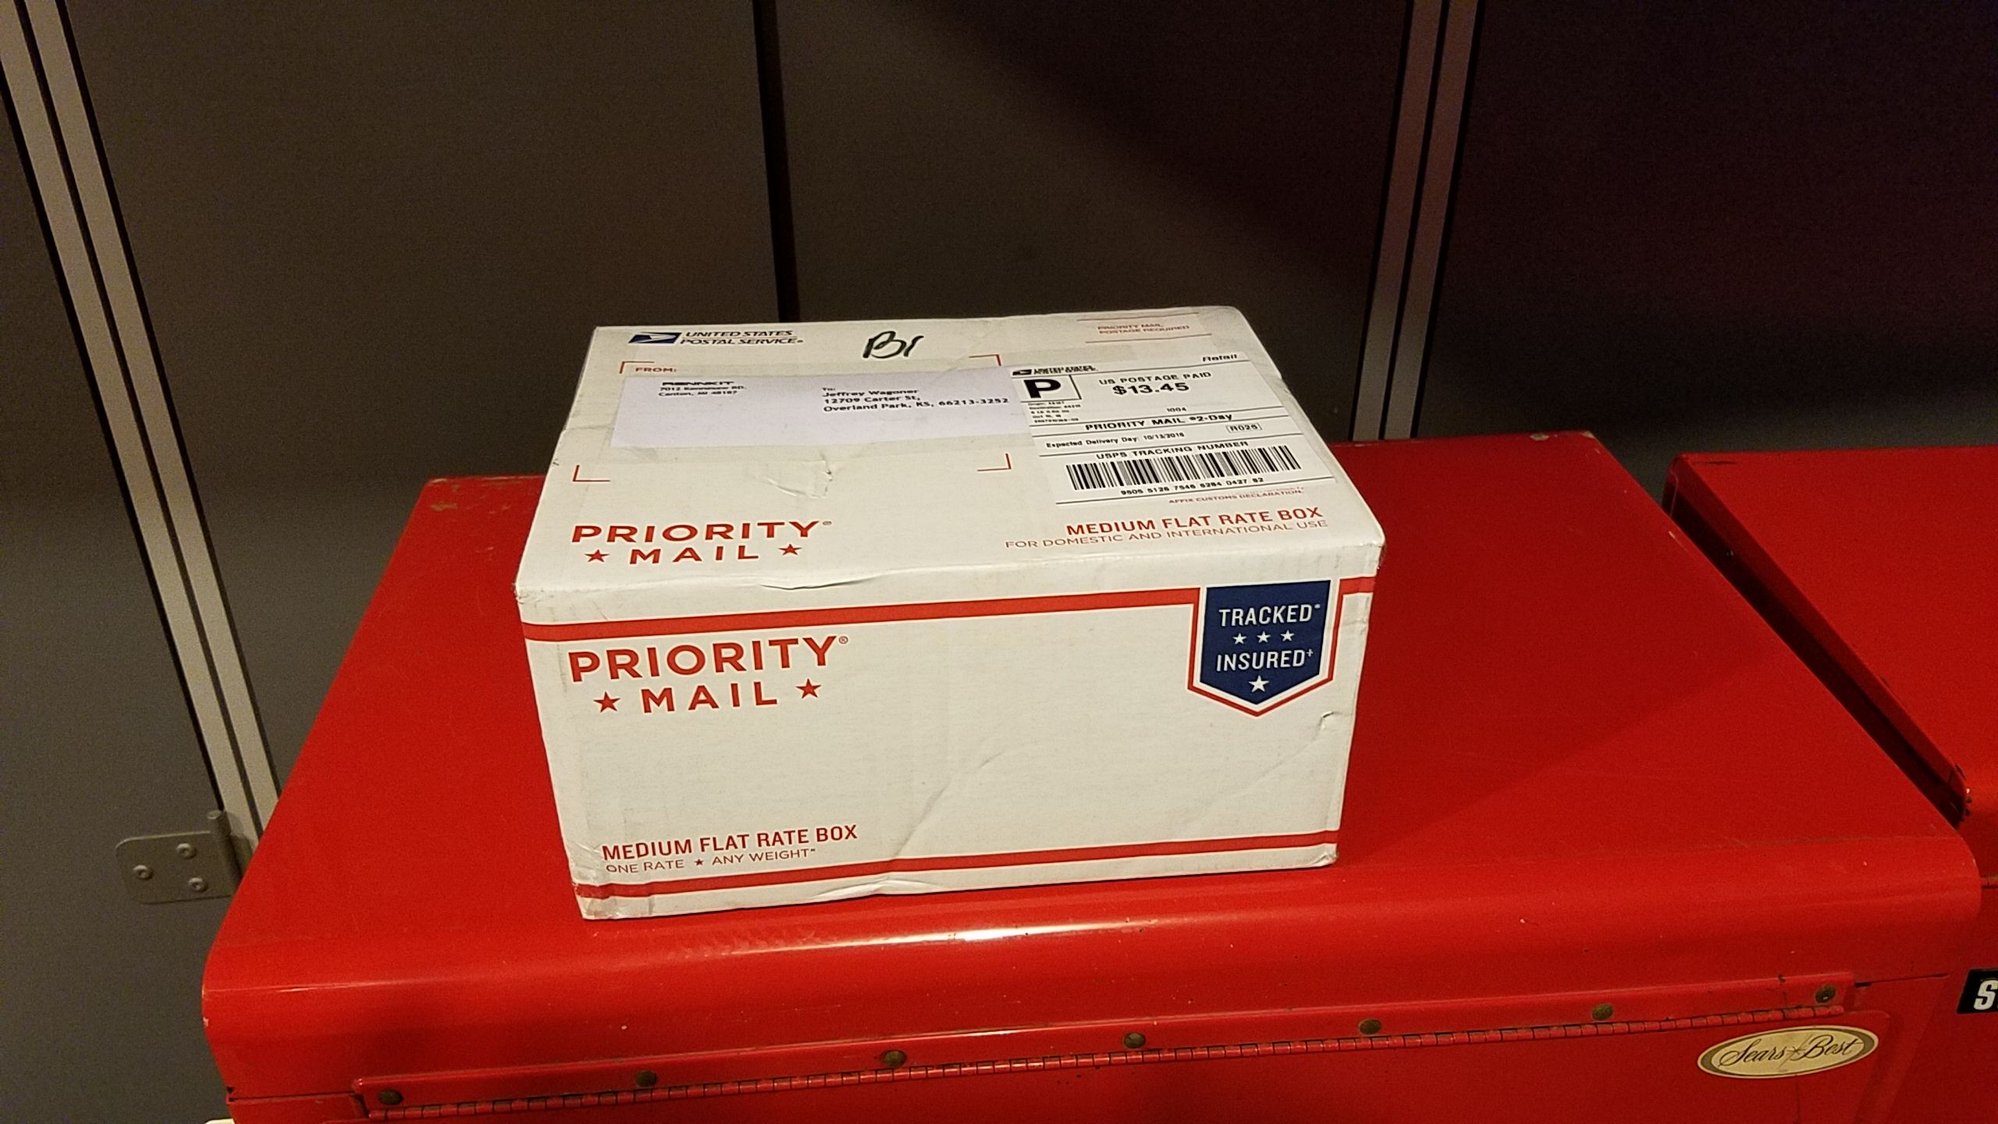
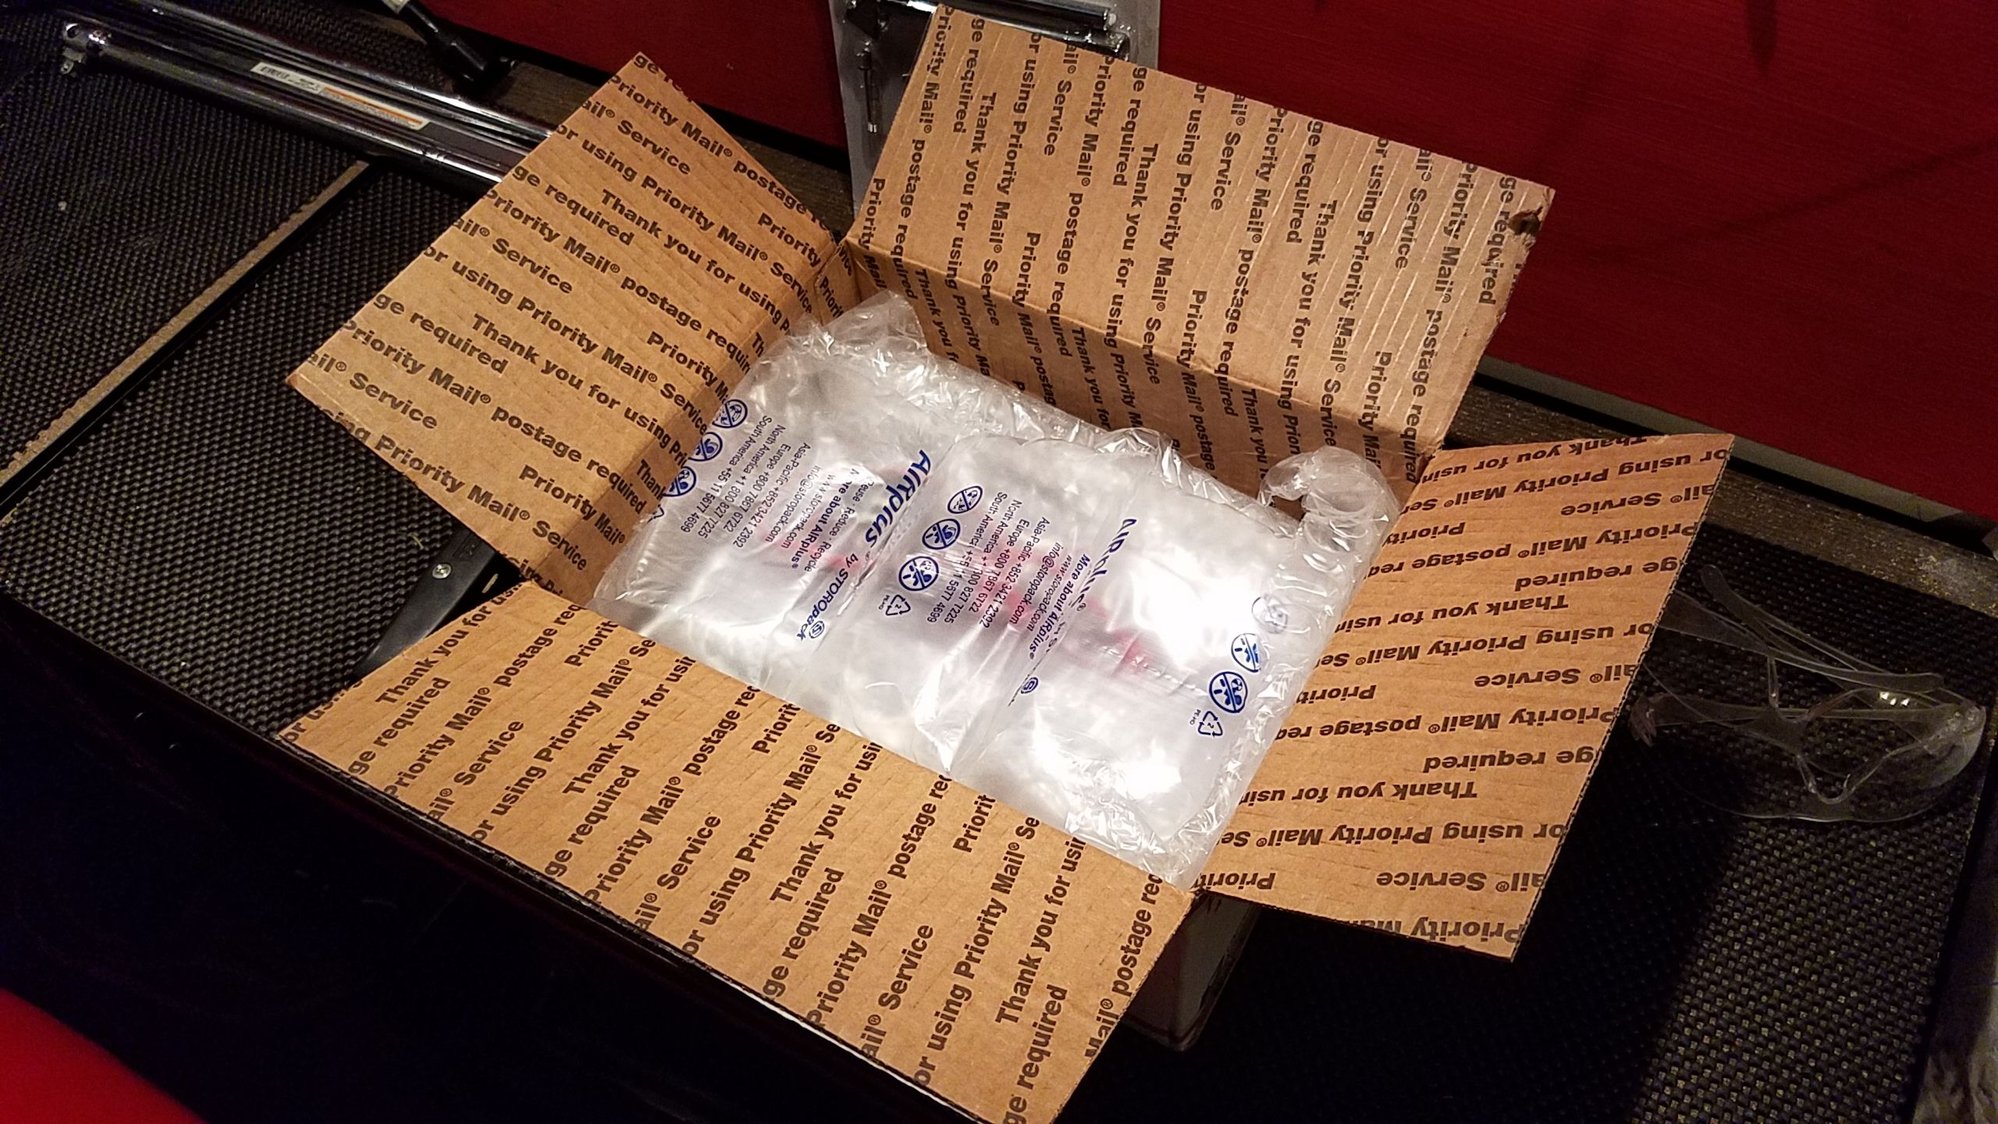
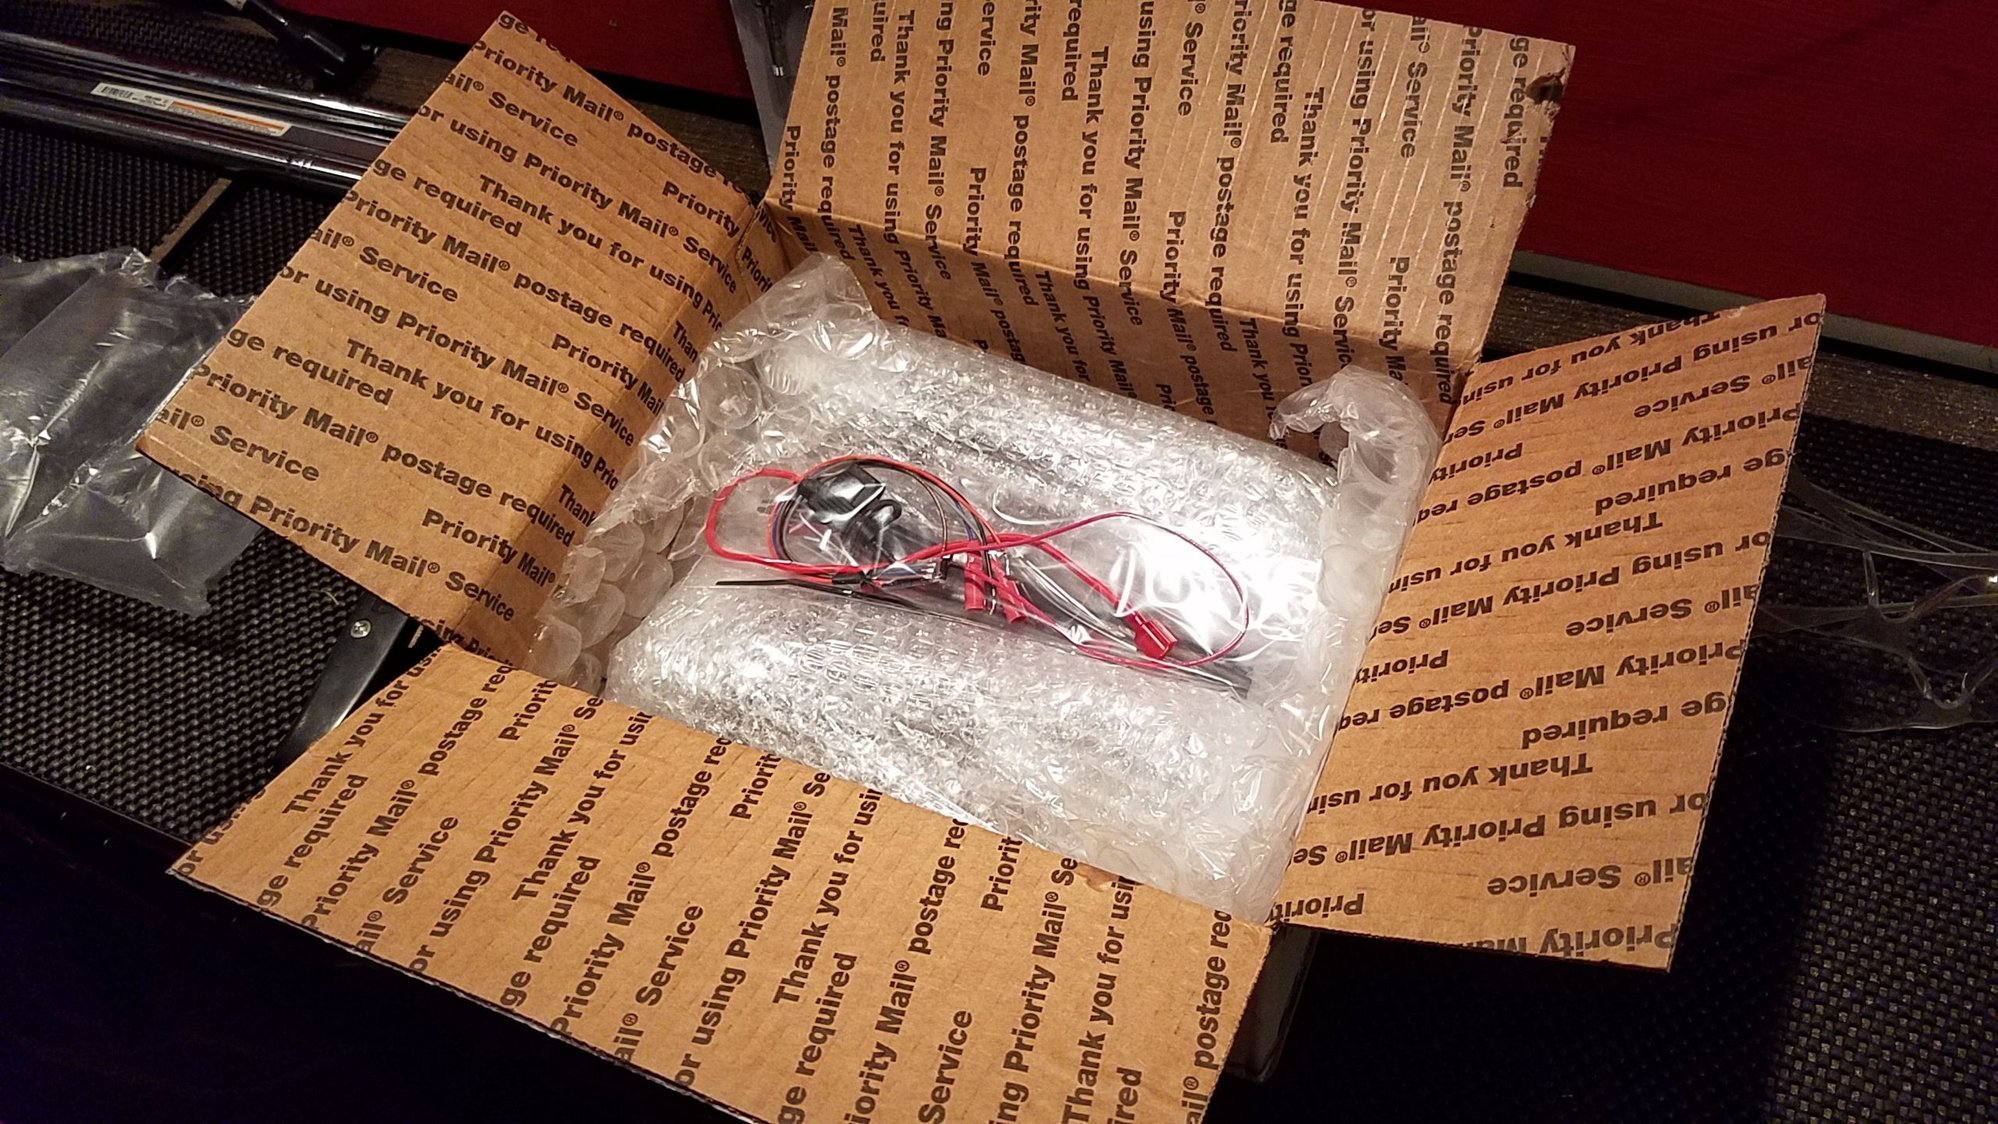
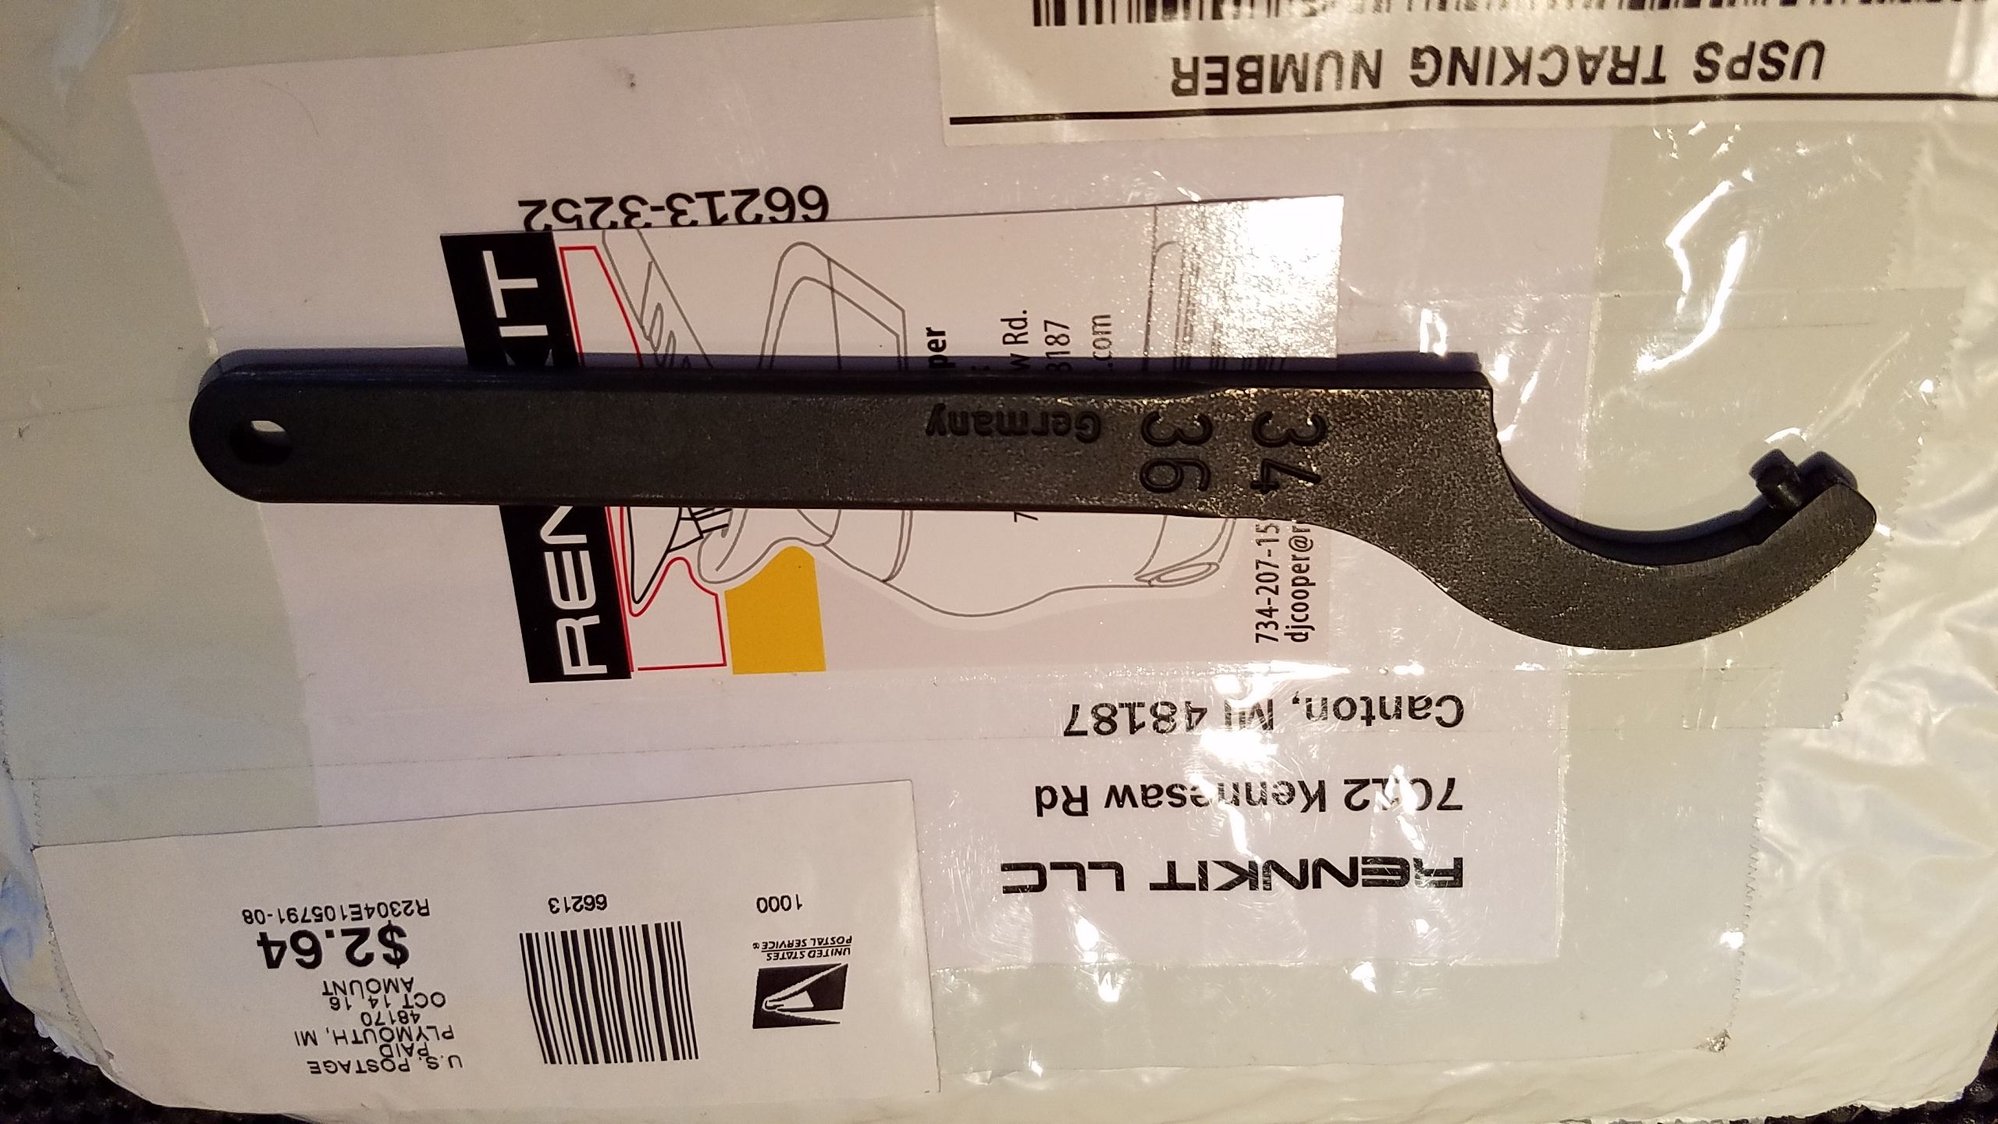
Ordering was easy. The www.rennkit.com website is user friendly. Plenty of info on the website. About an hour after ordering, on a Sunday, I had a personal email back from Dave thanking me for the order. The package was shipped the next day and I received it two days later. Perfect. Here's a pic of the package and how it was very well packed:
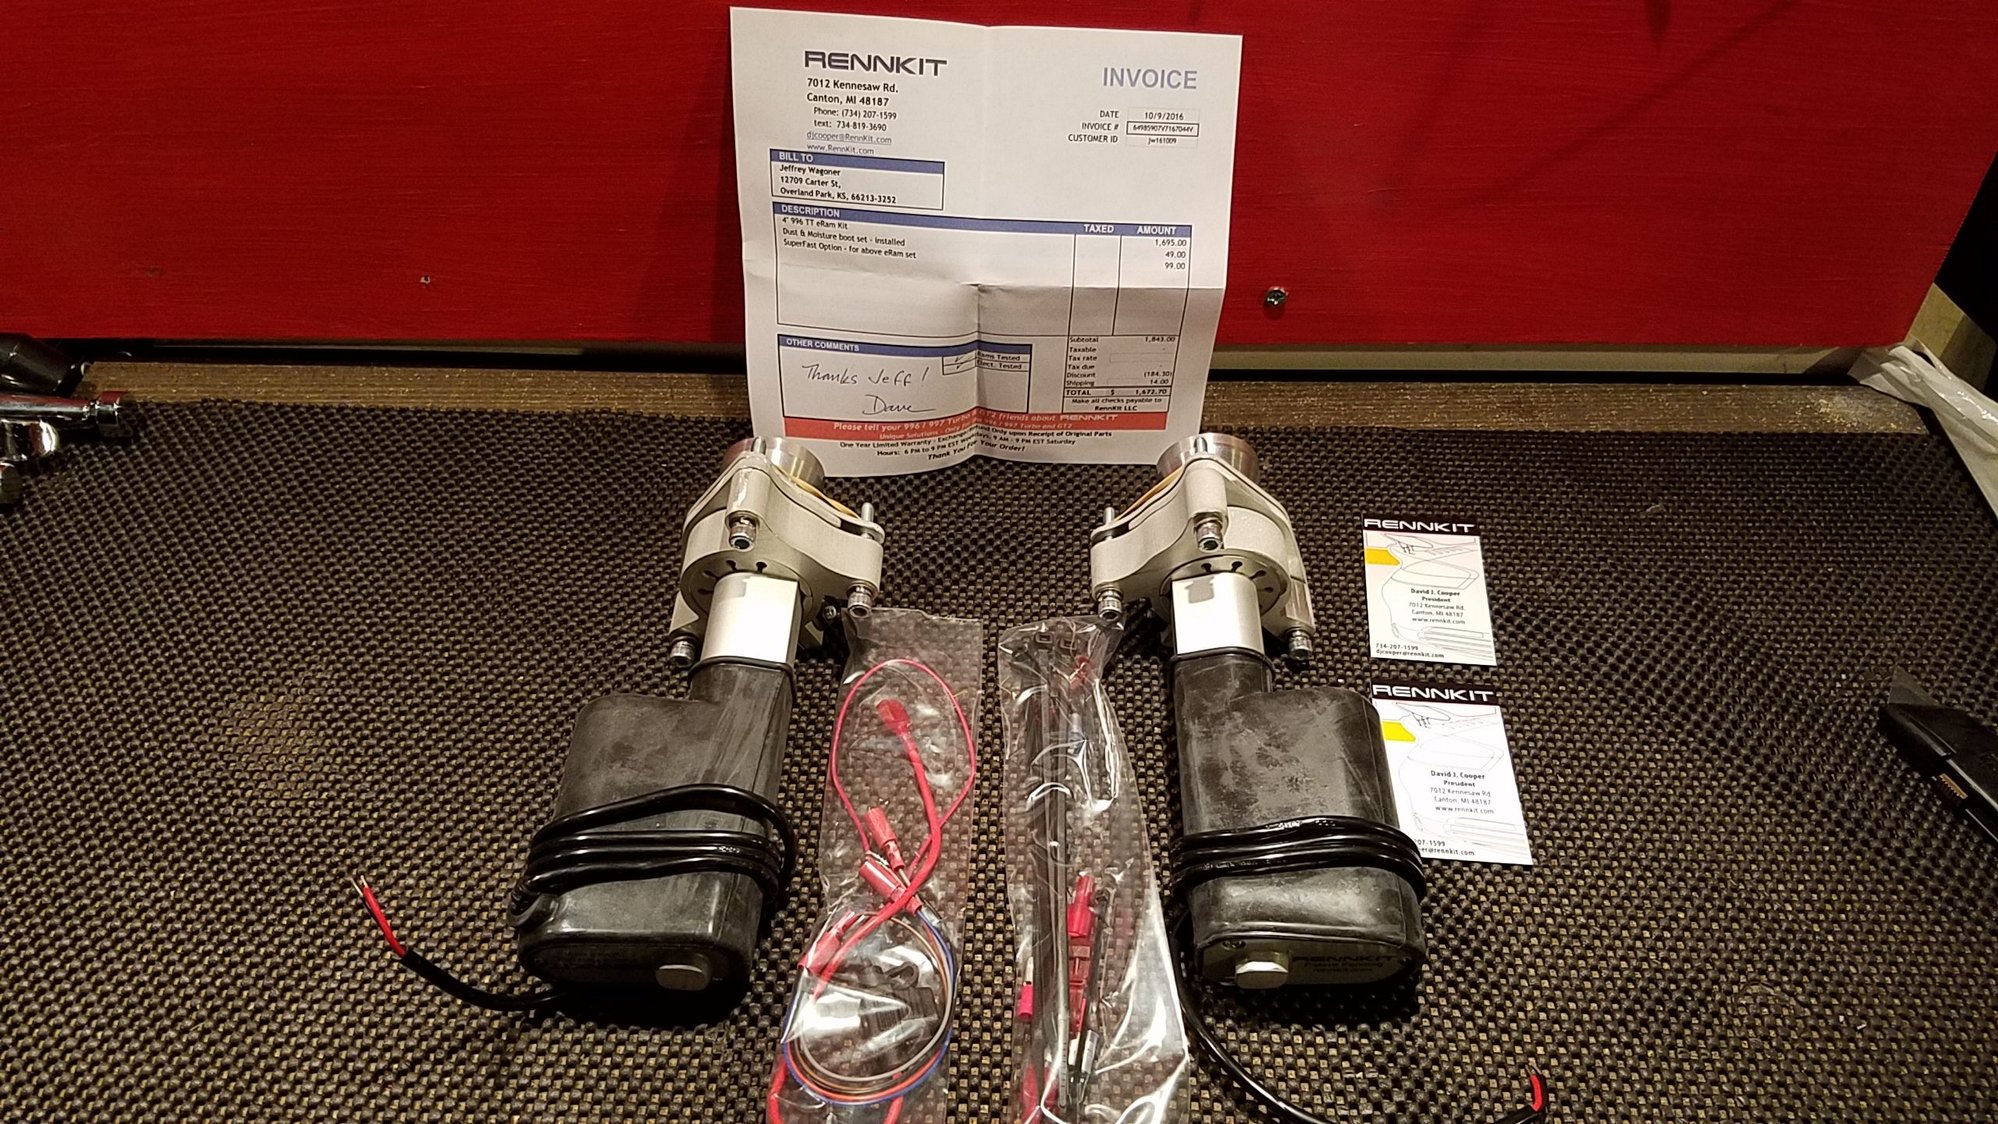
Here are the parts laid out on my workbench:
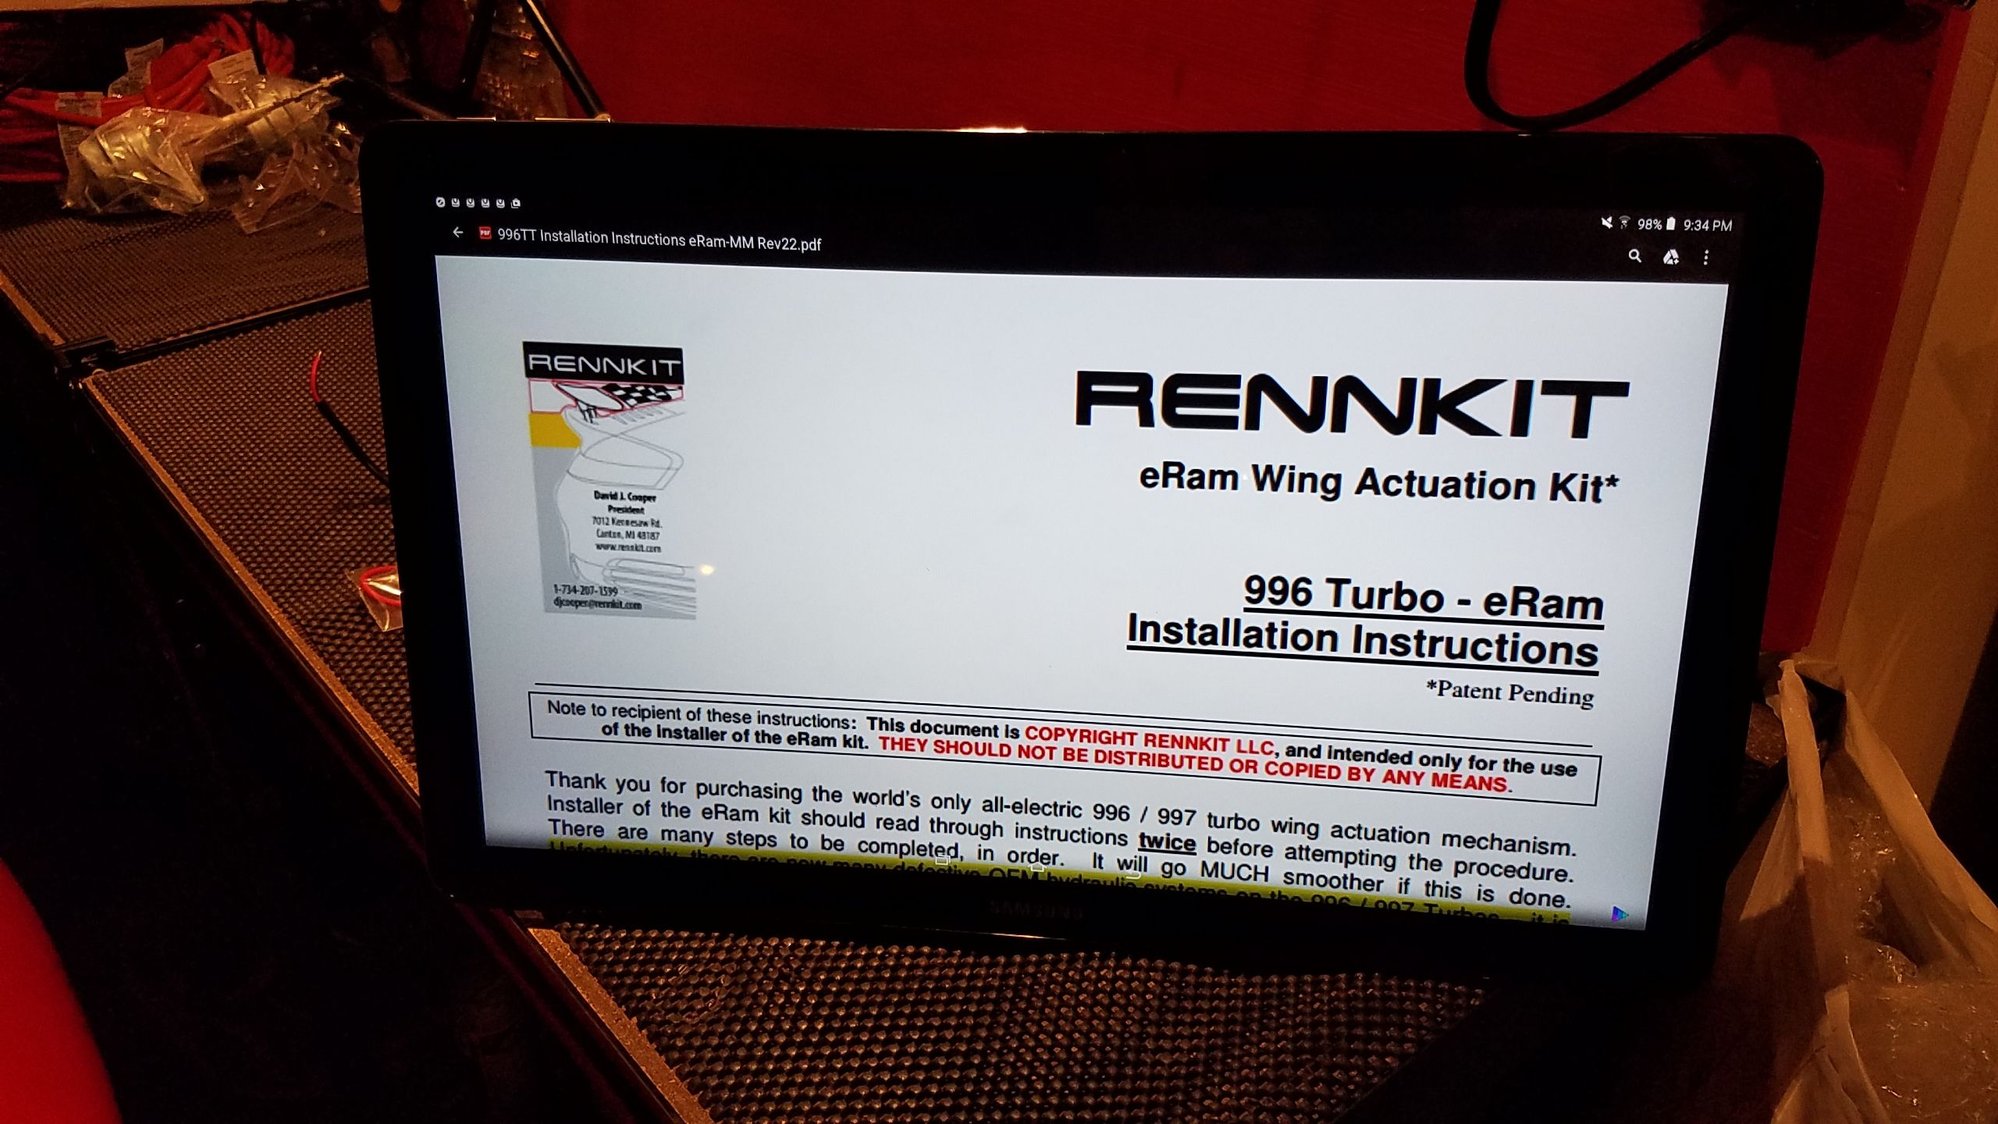
The kit came with a link to online instructions. I used my abnormally large Samsung Galaxy View tablet in the garage to view them.
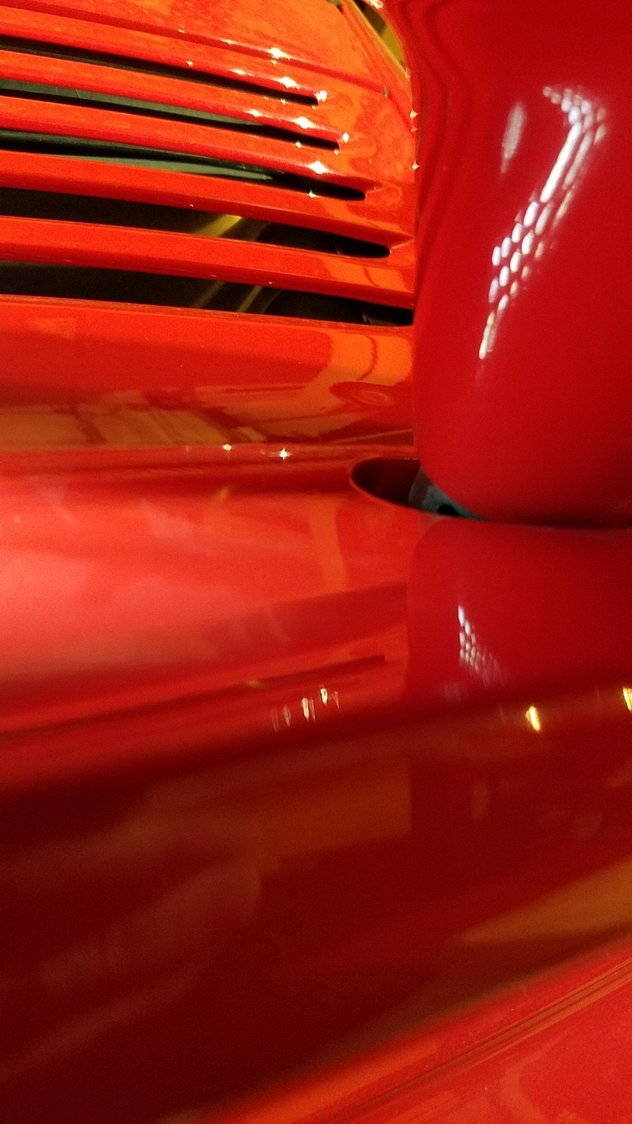
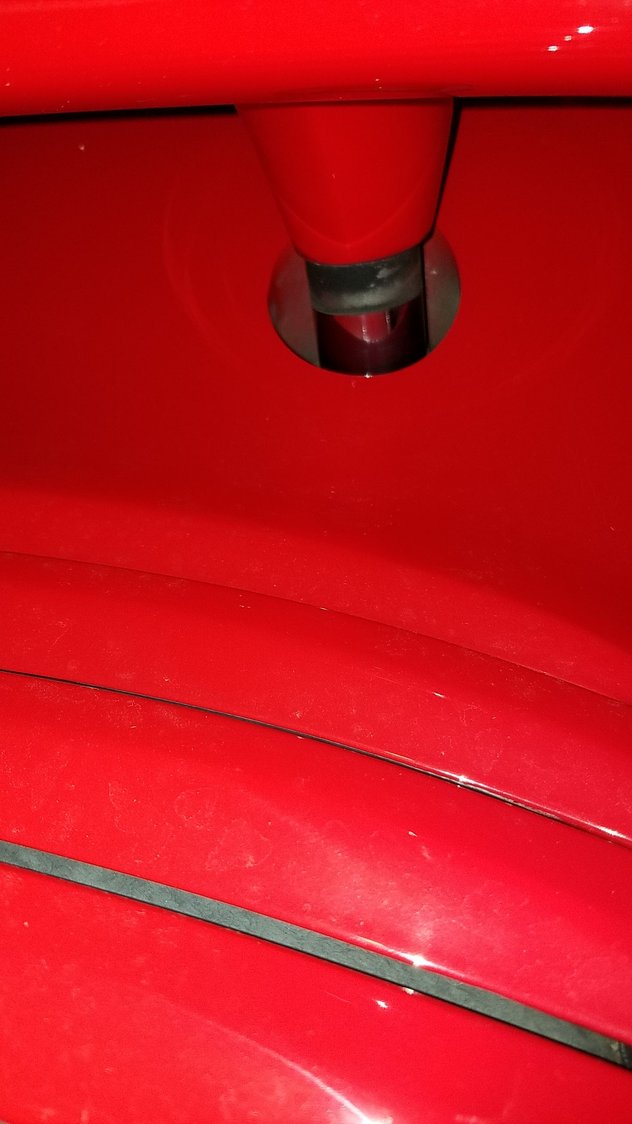
Here's a look at the hydraulic factory system beforehand in lowered and raised positions. My system would raise and lower, but only about an inch and I always got the spoiler failure warning.
As you can see, even with the wing in the up position, it is basically impossible to get the special pin wrench tool onto the ram to turn it 180 degrees to release the wing.
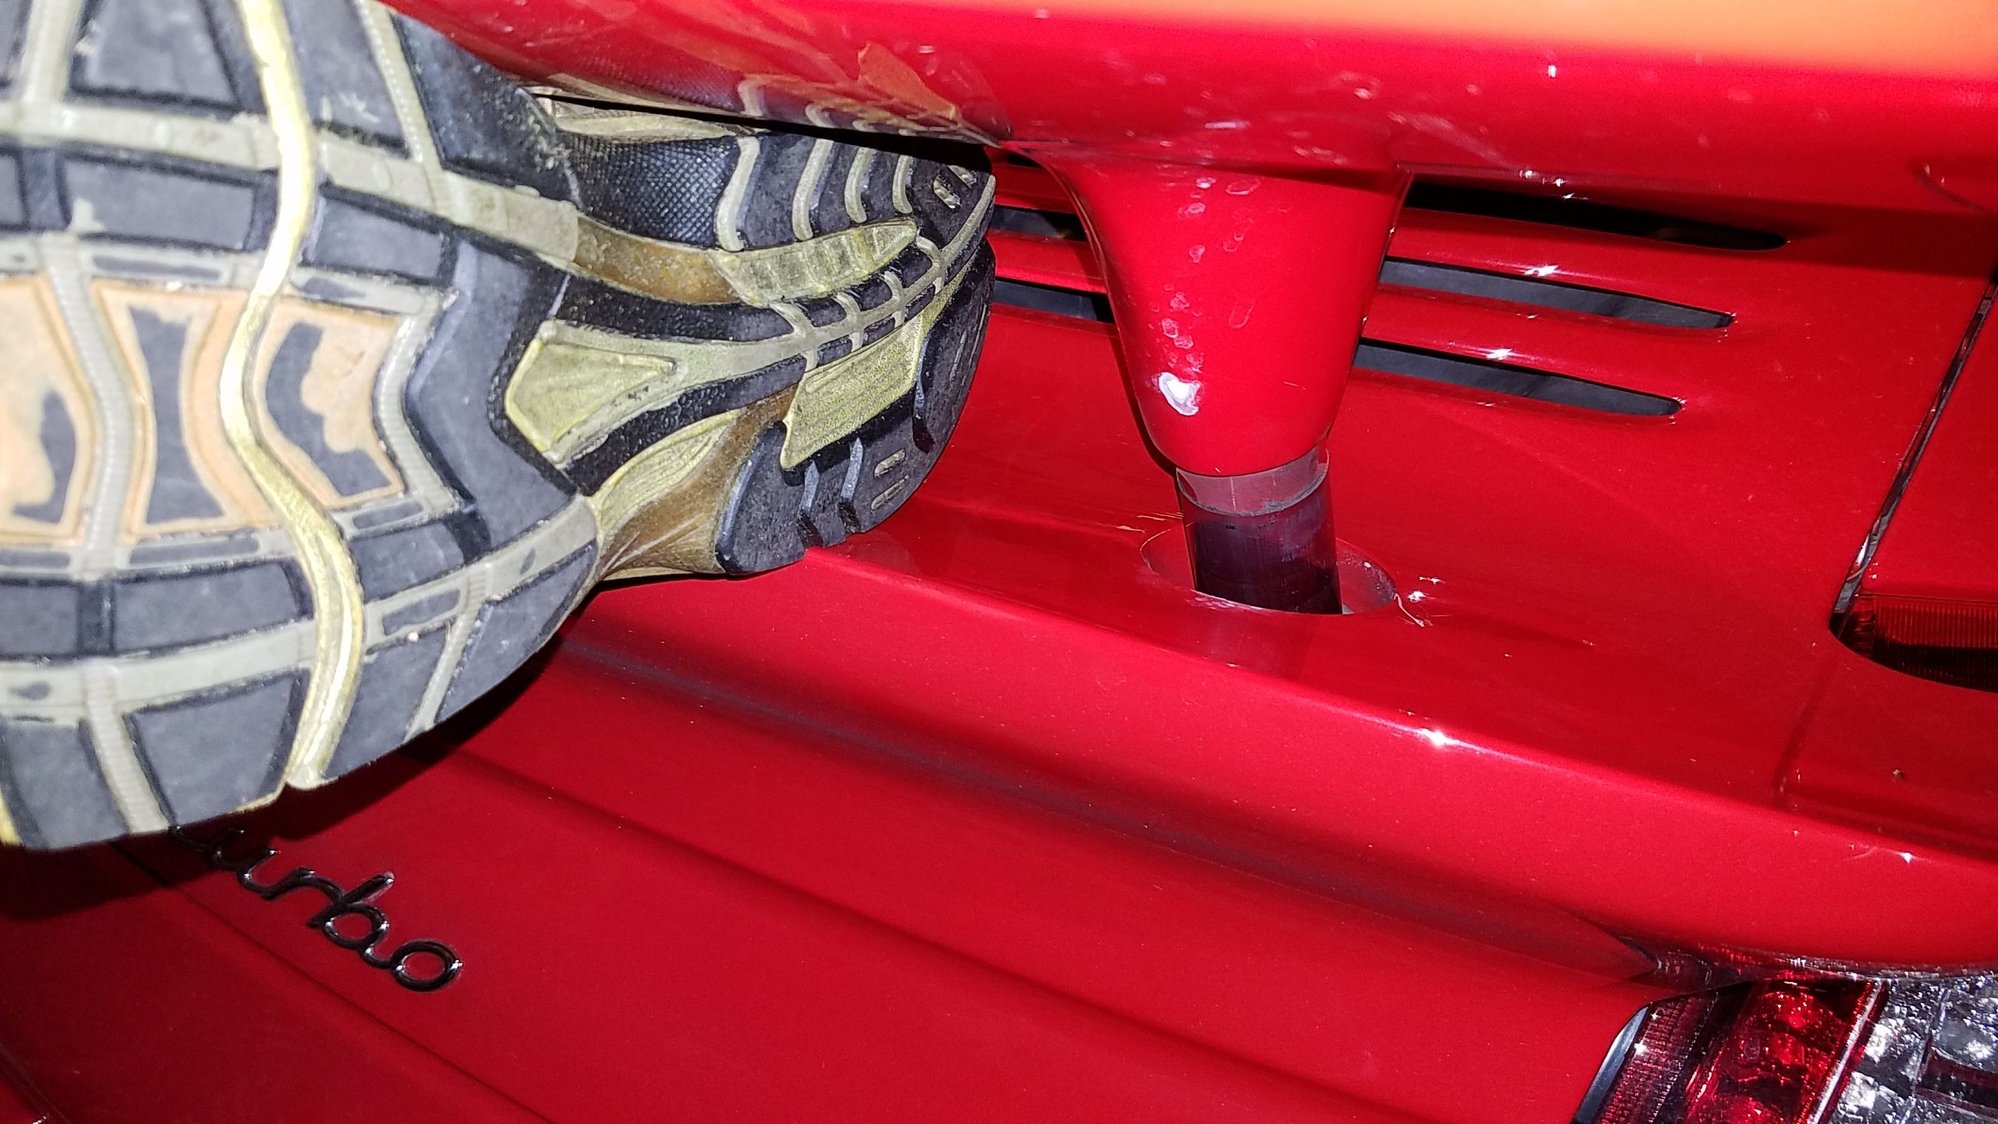
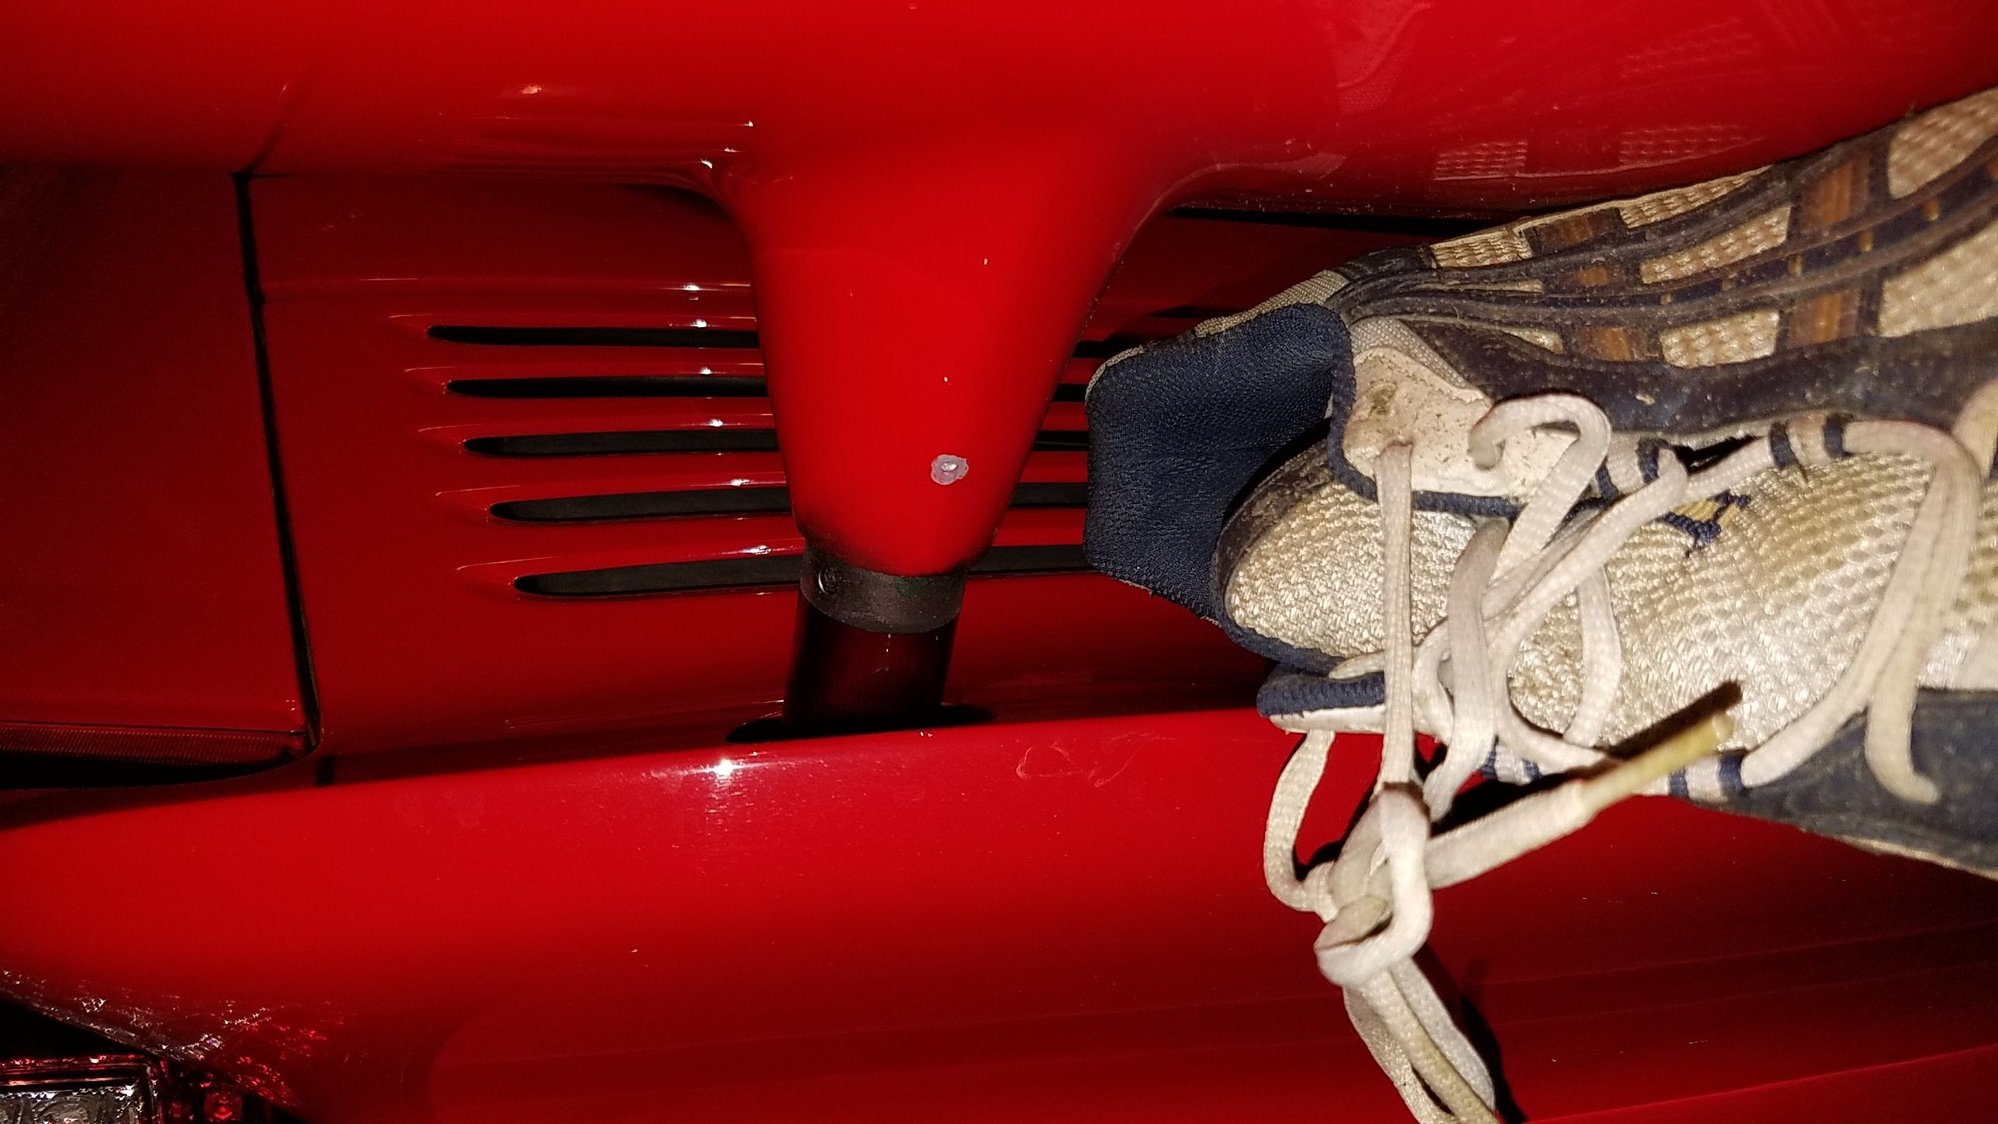
The instructions make a big deal about raising the wing to the full up position so that you can get to the wing release mechanism. It was no big deal though - took about 30 lbs of lift to get the wing all the way up. Then I stuffed a running shoe under each side of the wing to keep it up.
Nice review. How long did it took you to complete the installation?
Thanks. More still to come.
Figure 3 hours. If I were doing it a second time, I could do it in 1 1/2 hours easily.
The instructions say to read them through twice before starting. I did that, but still couldn't visualize the wiring. I took it slowly though and made sure that I was correct before cutting any wire.
I agree. The eRams are well worth the money and doing the wiring properly the first time correctly is the trickiest and most essential part of the install.
Here are my specific comments about each step of the instructions. You have to buy the kit before you get the instructions, so I apologize if you don't have the instructions yet as it won't make much sense:
Instruction 2: Discussed raising the wing manually. As stated above, not that big of a deal.
Instruction 3: Releasing the wing. The special tool pin wrench - this is one of my gripes. The Rennkit website does not place a big emphasis on this, but YOU REALLY NEED this tool. I thought I could find something in my toolbox that would work - after all you are just turning two collars 180 degrees each, so how hard could it be? I spent about 45 minutes trying to figure some way to get a bite with some type of tool to turn those collars and nothing was even close. So, I had to stop before I really even got going to order the tool and wait for it to arrive. I suggested to Dave that he needs to make it clear that if you don't have this tool, you need to order it.
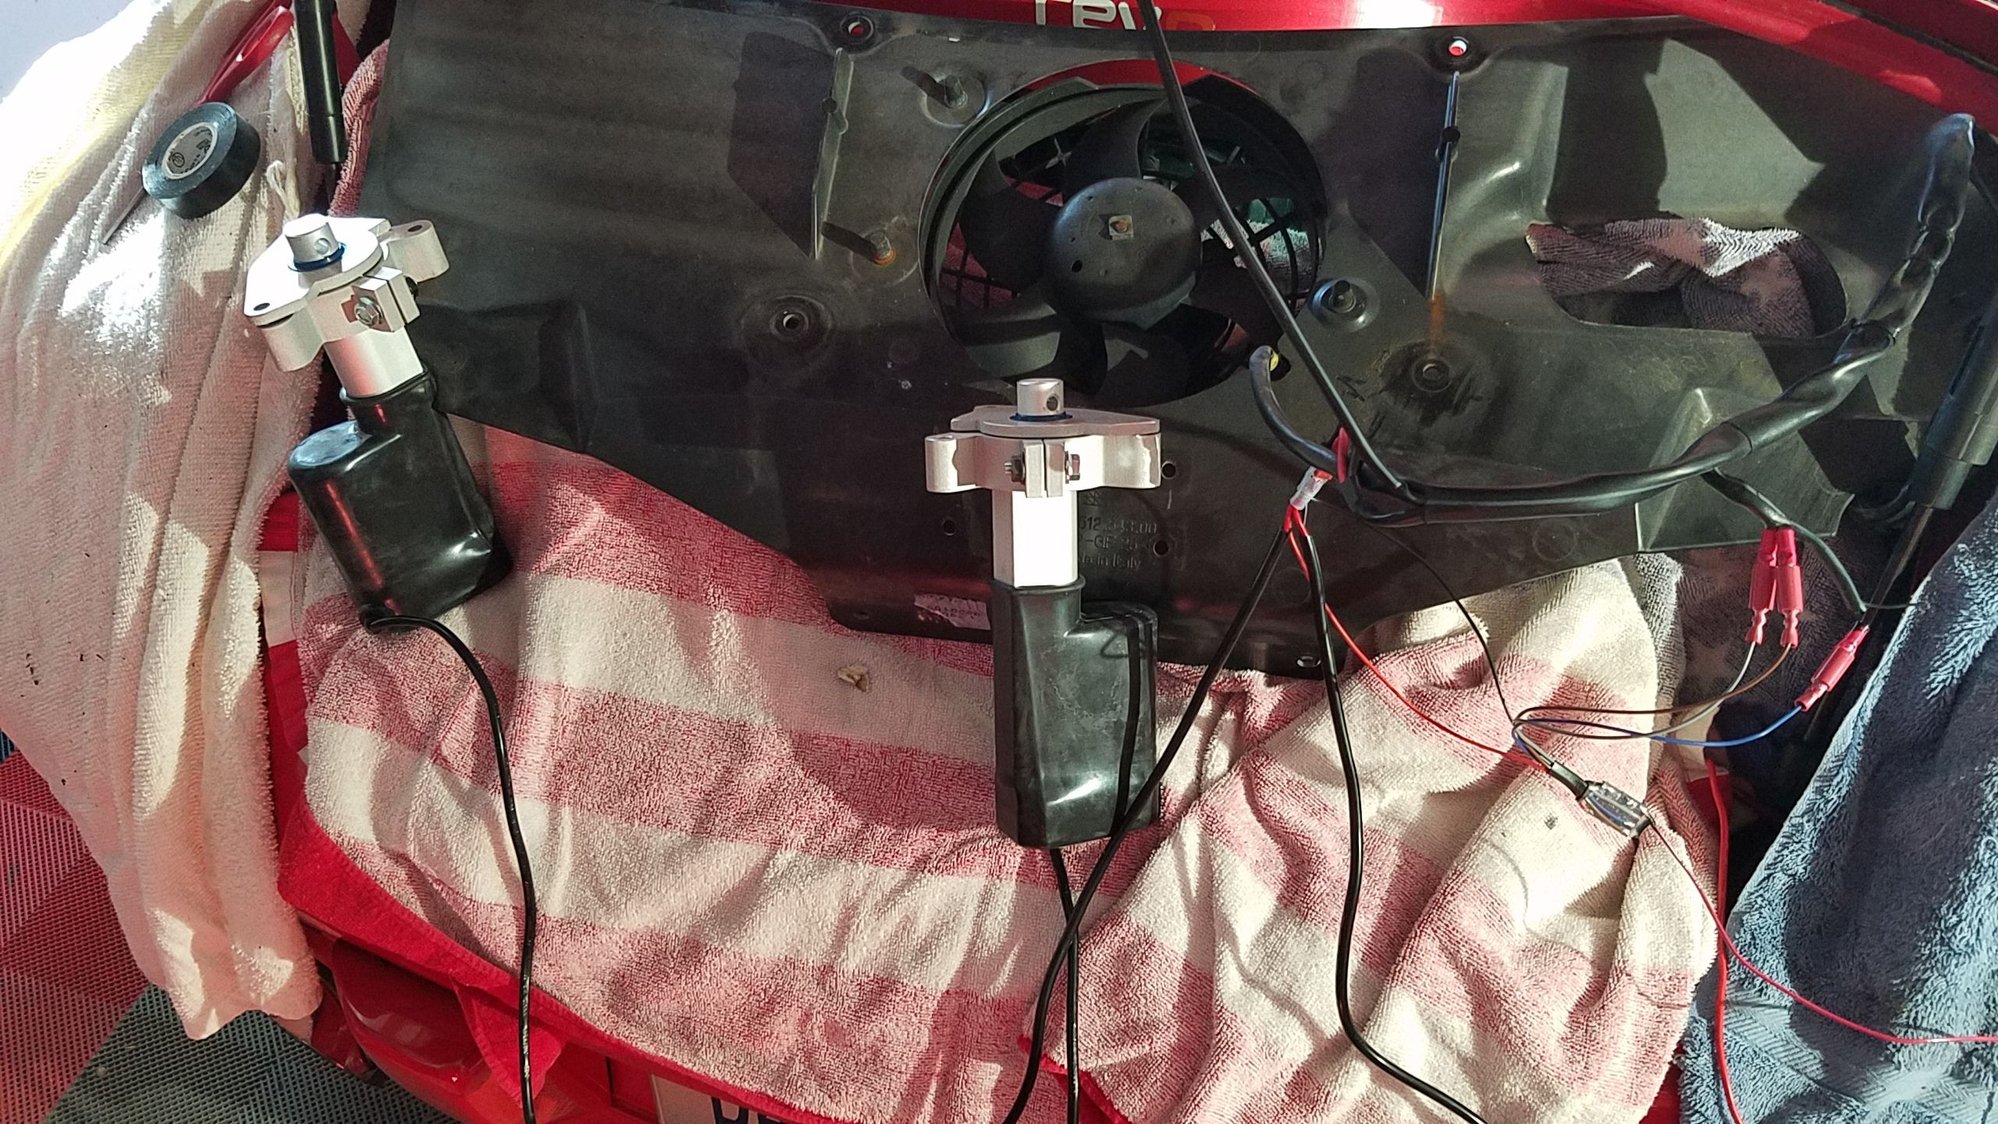
Instruction 4. Regarding removing the liner on the underside of the engine cover. Definitely follow the instructions to place a towel over the engine to catch any nuts or bolts that might drop. This happened twice, so I'm really glad I followed that advice - saved me a lot of hassle. Also, I was shocked at how much gunk was trapped behind that liner - just a bunch of leaves and other stuff came raining down when I removed it. Here is a pic of the engine & fenders covered with towels later in the process, after the eRams have been connected but before they are mounted onto the engine cover:
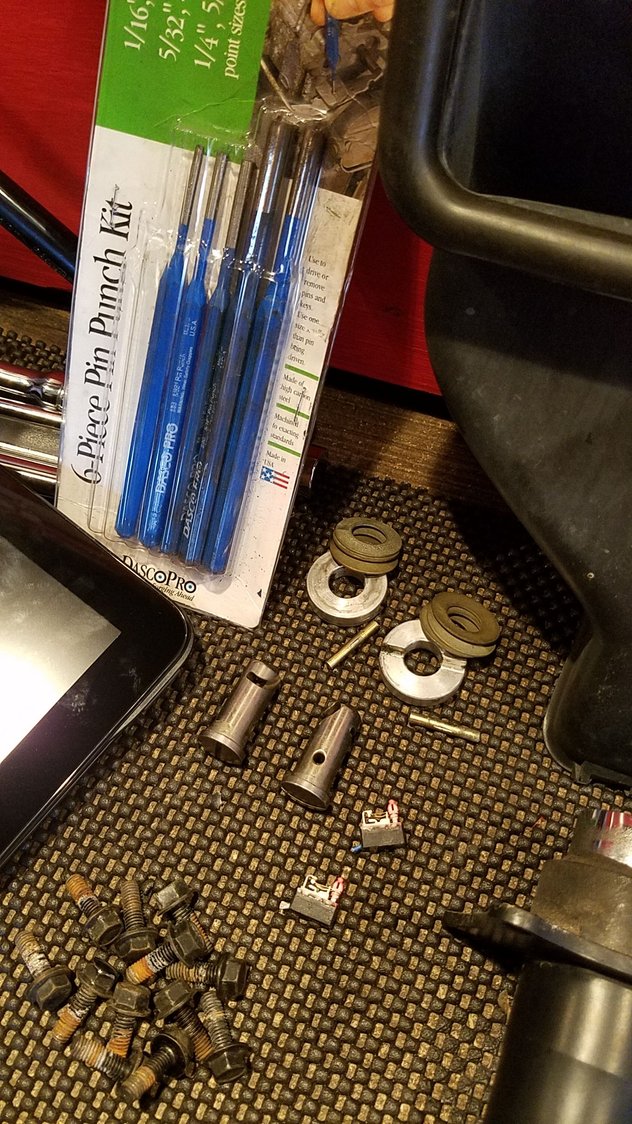
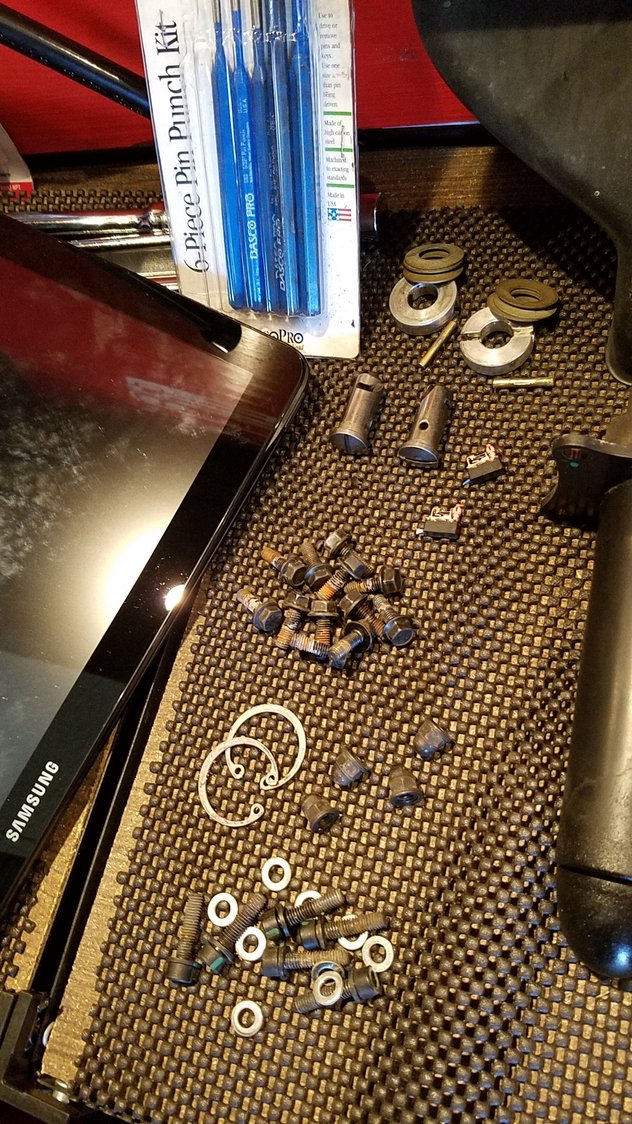
Instruction 5. Regarding cutting off wires to the factory hydraulic ram limit switches. It says to cut them off close to the switches. In retrospect, I should have left at least an inch of wire on each limit switch because by cutting the wire right next to the switch, it will be almost impossible to reuse the switches if someone decides to re-install the factory system. Here is a pic of the old hardware after removal of the system, and you can see the limit switches next to the pile of 10 mm bolts.
Instruction 6. There are twelve of the 10 mm bolts holding on the engine cover lining. It doesn't say how many in the instructions. A couple of them are camouflaged and the last two are hidden in the mouth of the snorkel. To get the liner to come out easier, I removed the driver side strut that holds the engine cover in the raised position.
Last edited by FRUNKenstein; 11-06-2016 at 06:23 PM.
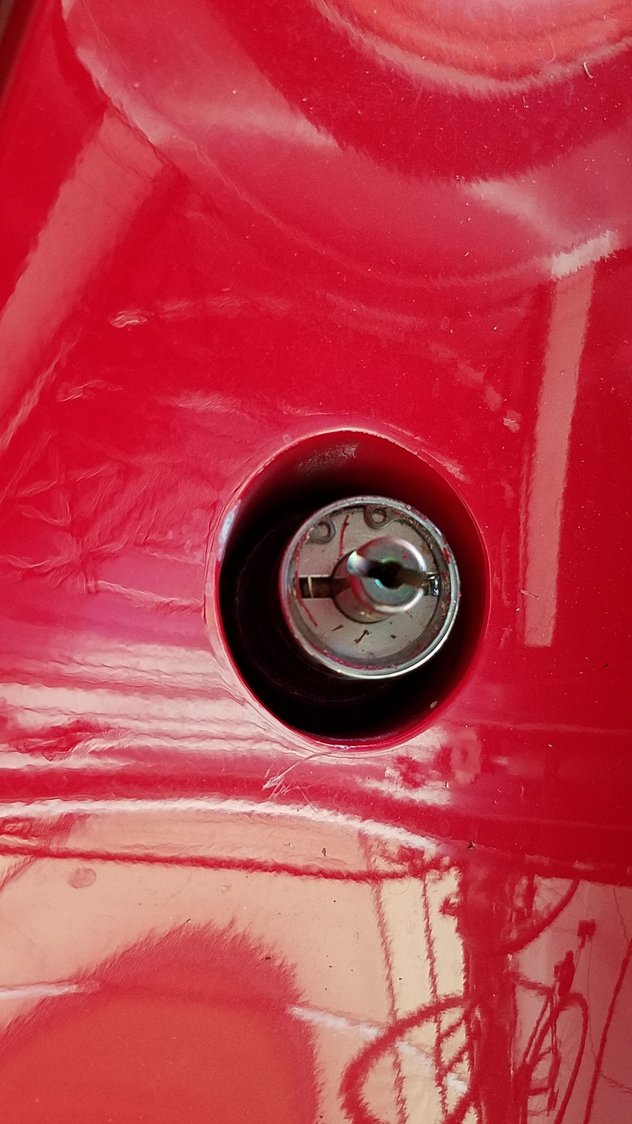
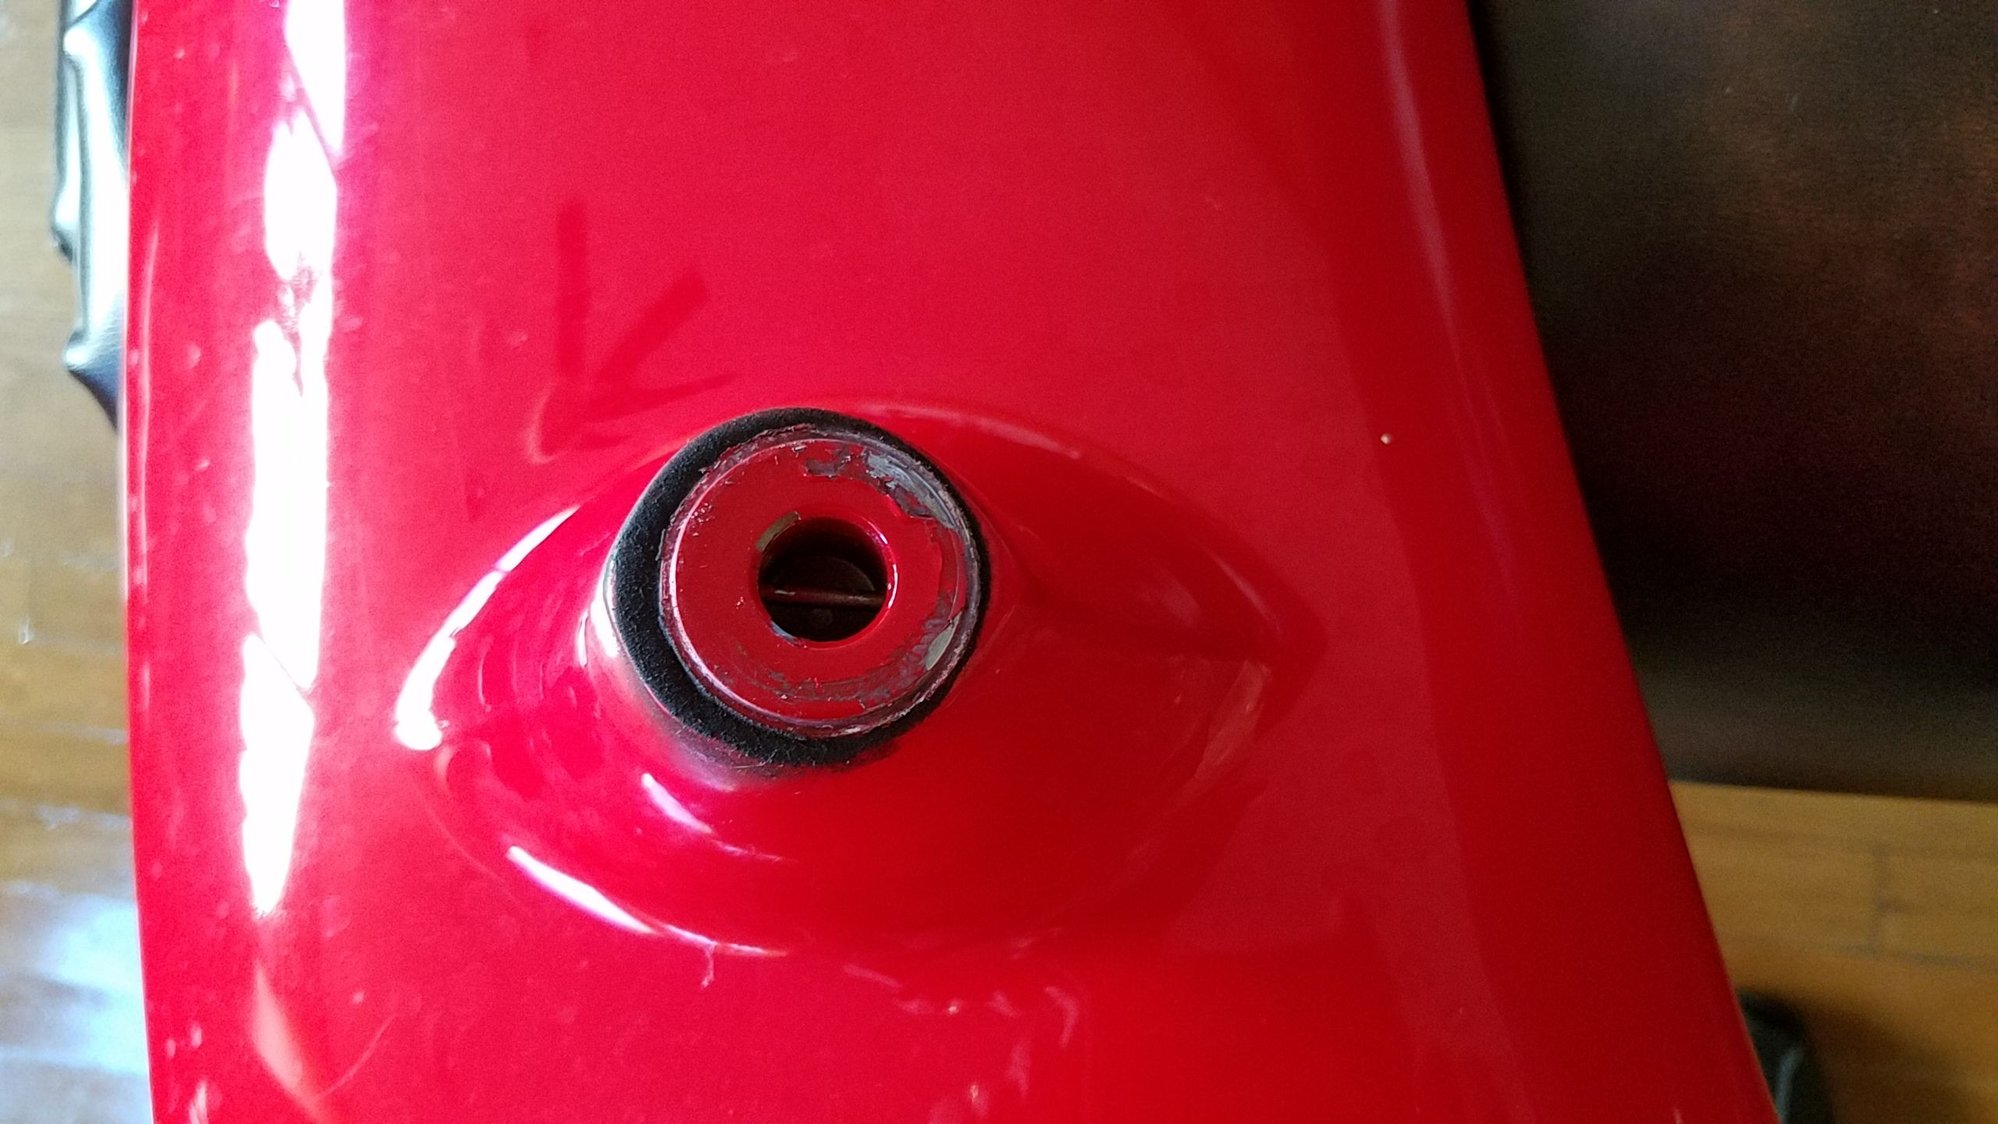
Here are a couple of pics of the factory system after the wing is removed. You can see the pin that is the top part of the factory hydraulic ram. You will remove this pin and re-use it later by installing it into your wing in Instruction 12.
Here is a pic of the wing after removal and then a close-up of the connection point between the wing and the factory system. You will use the pin removed from the top of the old factory hydraulic ram to plug into this hole. The eRams are then connected to the bottom of the wing after this pin is installed into the wing. It's actually pretty simple, but before I had the kit in hand, I was worried that my aftermarket Misha GT2 Add On wing might not work with the eRams because it might be connected differently from the factory method. No worries - it was easy.
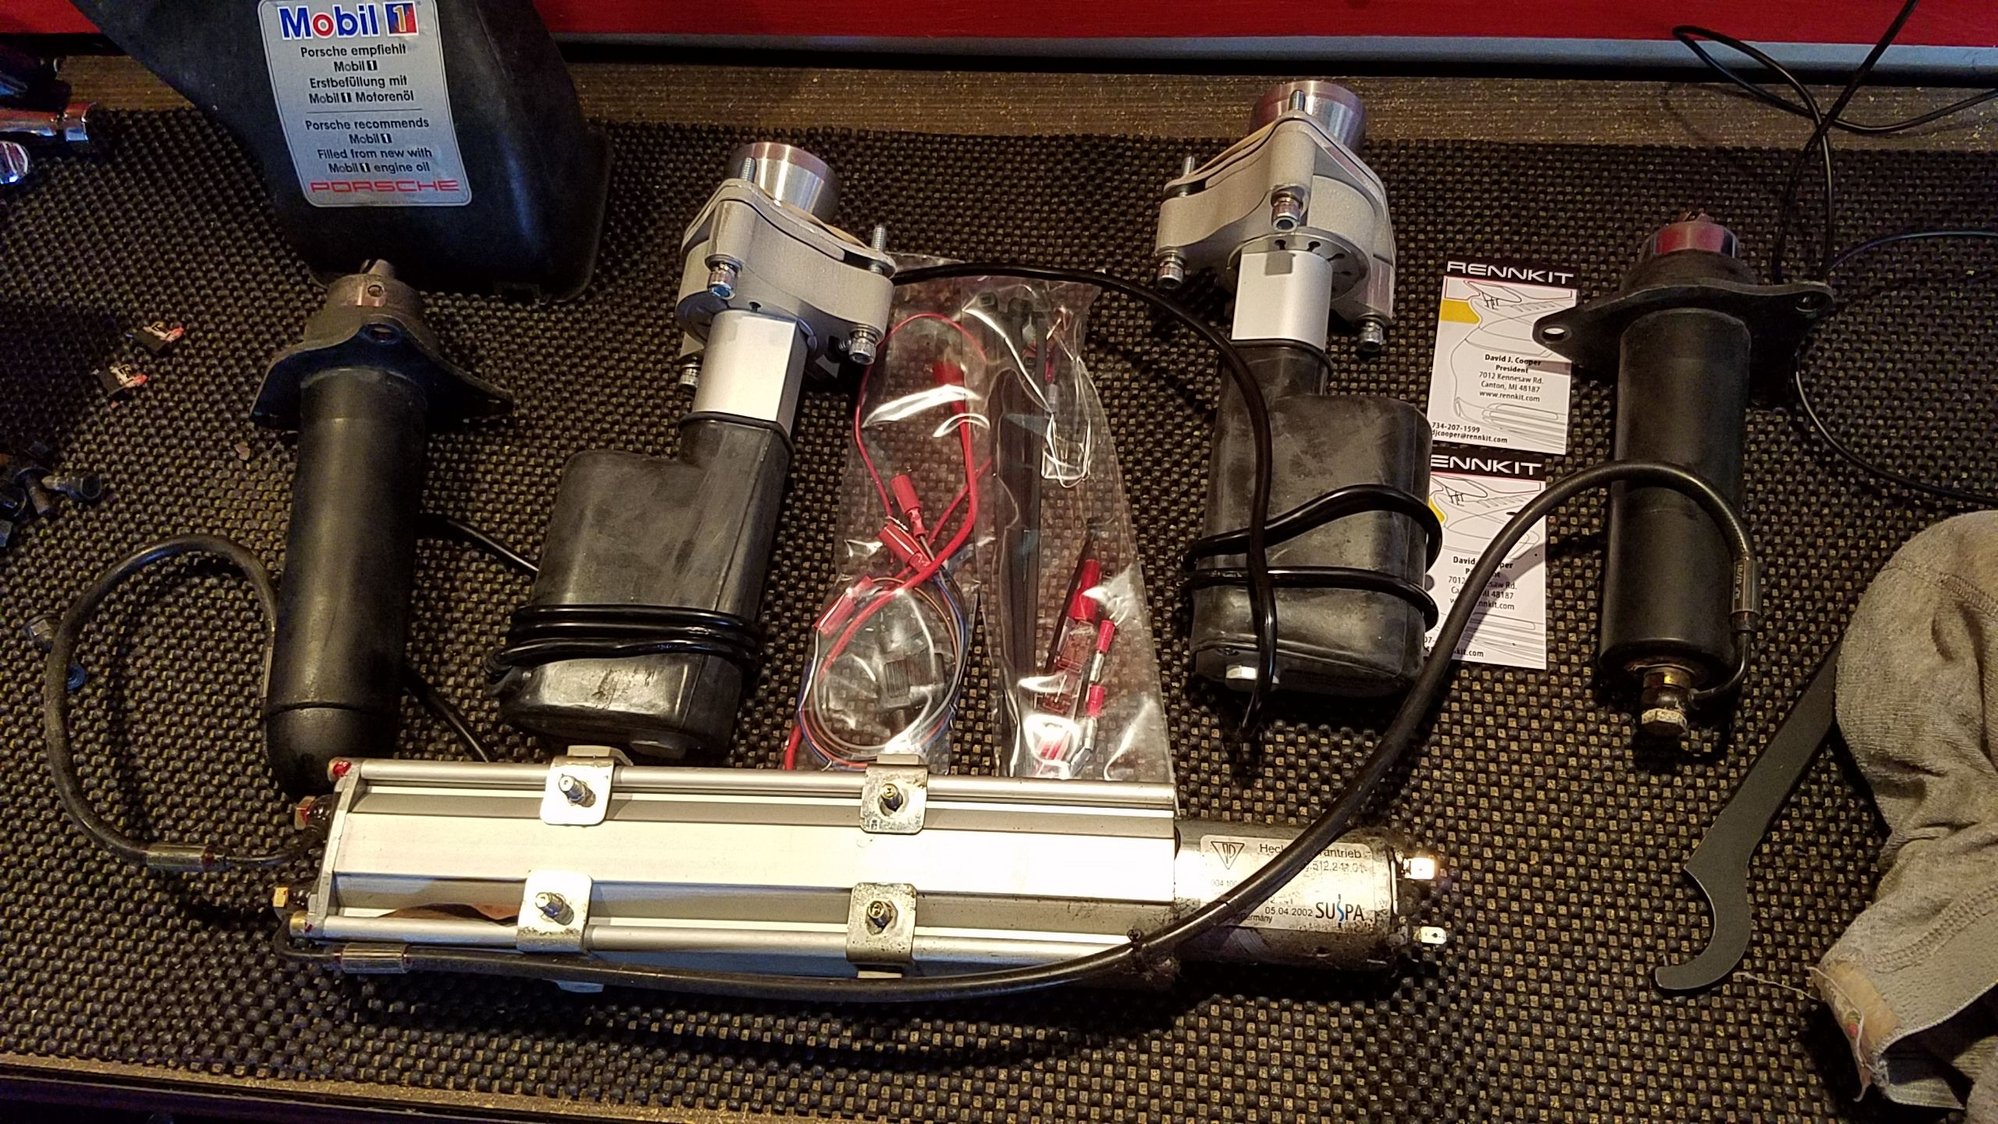
Instruction 9. Regarding removal of the old hydraulic rams and pump. I didn't bleed the old system of hydraulic fluid because the banjo fitting required a very slim 12 mm wrench to hold the fitting from spinning. I don't think it's that big of a deal. Below is a picture of the old system laying next the the eRam system as well as all of the nuts, bolts and washers removed (some of which are re-used):
 10-09-2016, 04:05 PM