When you click on links to various merchants on this site and make a purchase, this can result in this site earning a commission. Affiliate programs and affiliations include, but are not limited to, the eBay Partner Network.
I purchased my 2003 996 Cabriolet just over a year ago, and ever since that time I've wanted to upgrade the bumper to the Turbo ( C4S & 40th AE) style bumper. Why? Because I thought it really complemented the car's design so much better than the base bumpers. Maybe it's because of the larger shape of the bumper or maybe how the lines of the side grilles complement the unique shape headlight enclosures? I'm not completely sure, but in my opinion, it's looks a heck of a lot better than the other base bumper. I want to give a big shout out thanks to all the 996 forum members that helped me with part numbers and such. I couldn't have done this without that valuable information. It seems like a straight forward process, but without the right parts, even the side skirts would not mount properly and you could end of damaging the car or the expensive upgrades you're trying to install.
As a guesstimate, if you were to purchase everything brand new (including a professional paint job) for this project, you'd probably be looking at almost $5,000. The TT bumper alone sells for $1,700 (unpainted) and that doesn't include the grilles, headlight trim, mounting hardware, and the lip spoiler. The OEM lip spoiler (Part Number: 9965053550001C) costs $425.00. The OEM side skirts can be purchased for just under $800.00, but you'll need to have them painted as well. You can see where this is going, right?
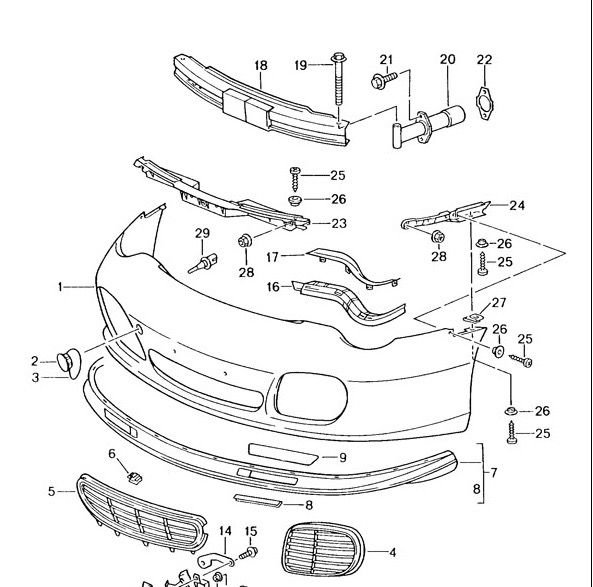
Here's a simple break down of the bumper configuration:
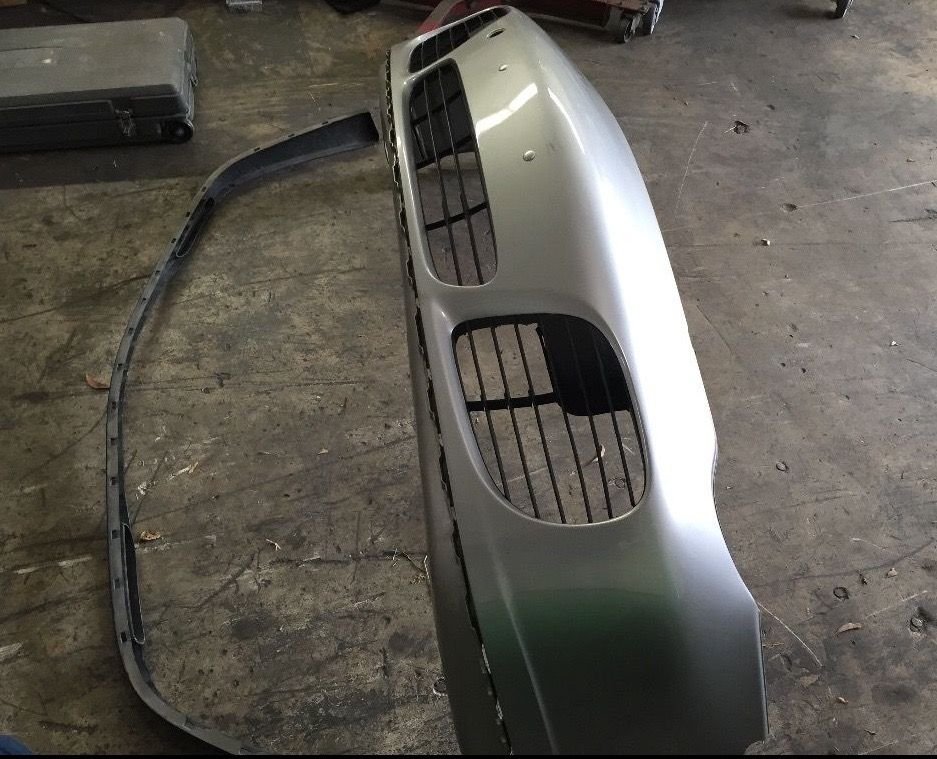
That being said, I did the job using used parts for less than $1500. Yep, that's right! But I'll be upfront, it took me that better part of a year looking for a deal. Most of the people that are selling the used TT style bumpers want around $700 and they're usually damaged and don't include the grilles. I found a nice guy in Florida that sold me everything (except the mounting hardware) for $400.
Here's the picture before he shipped it to me:
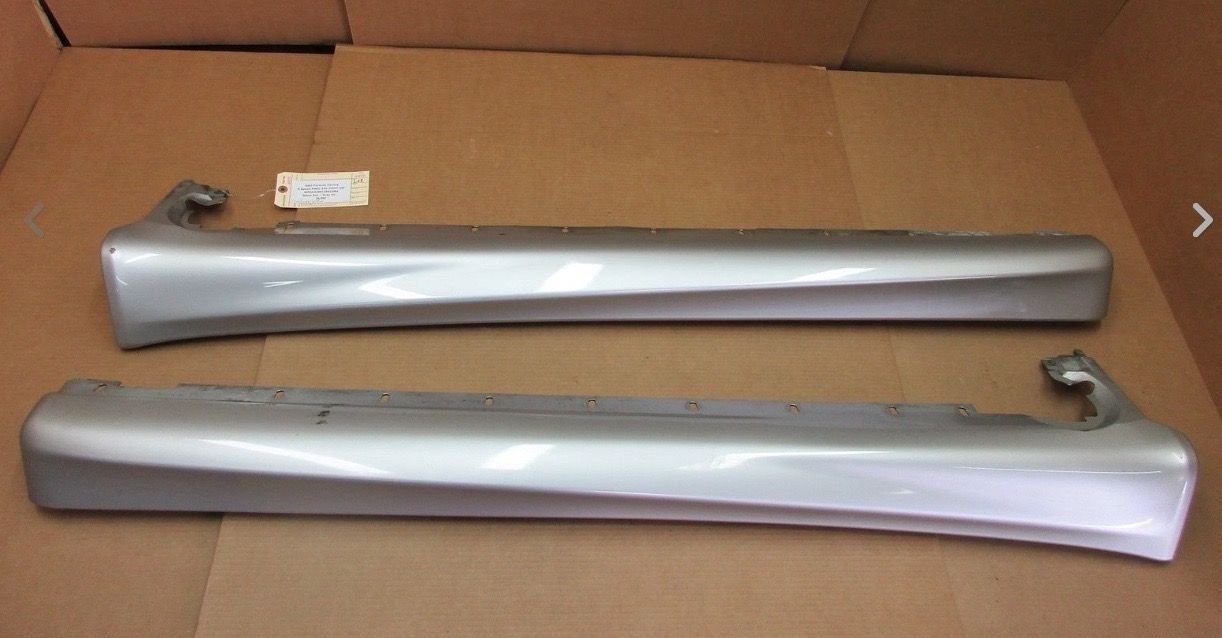
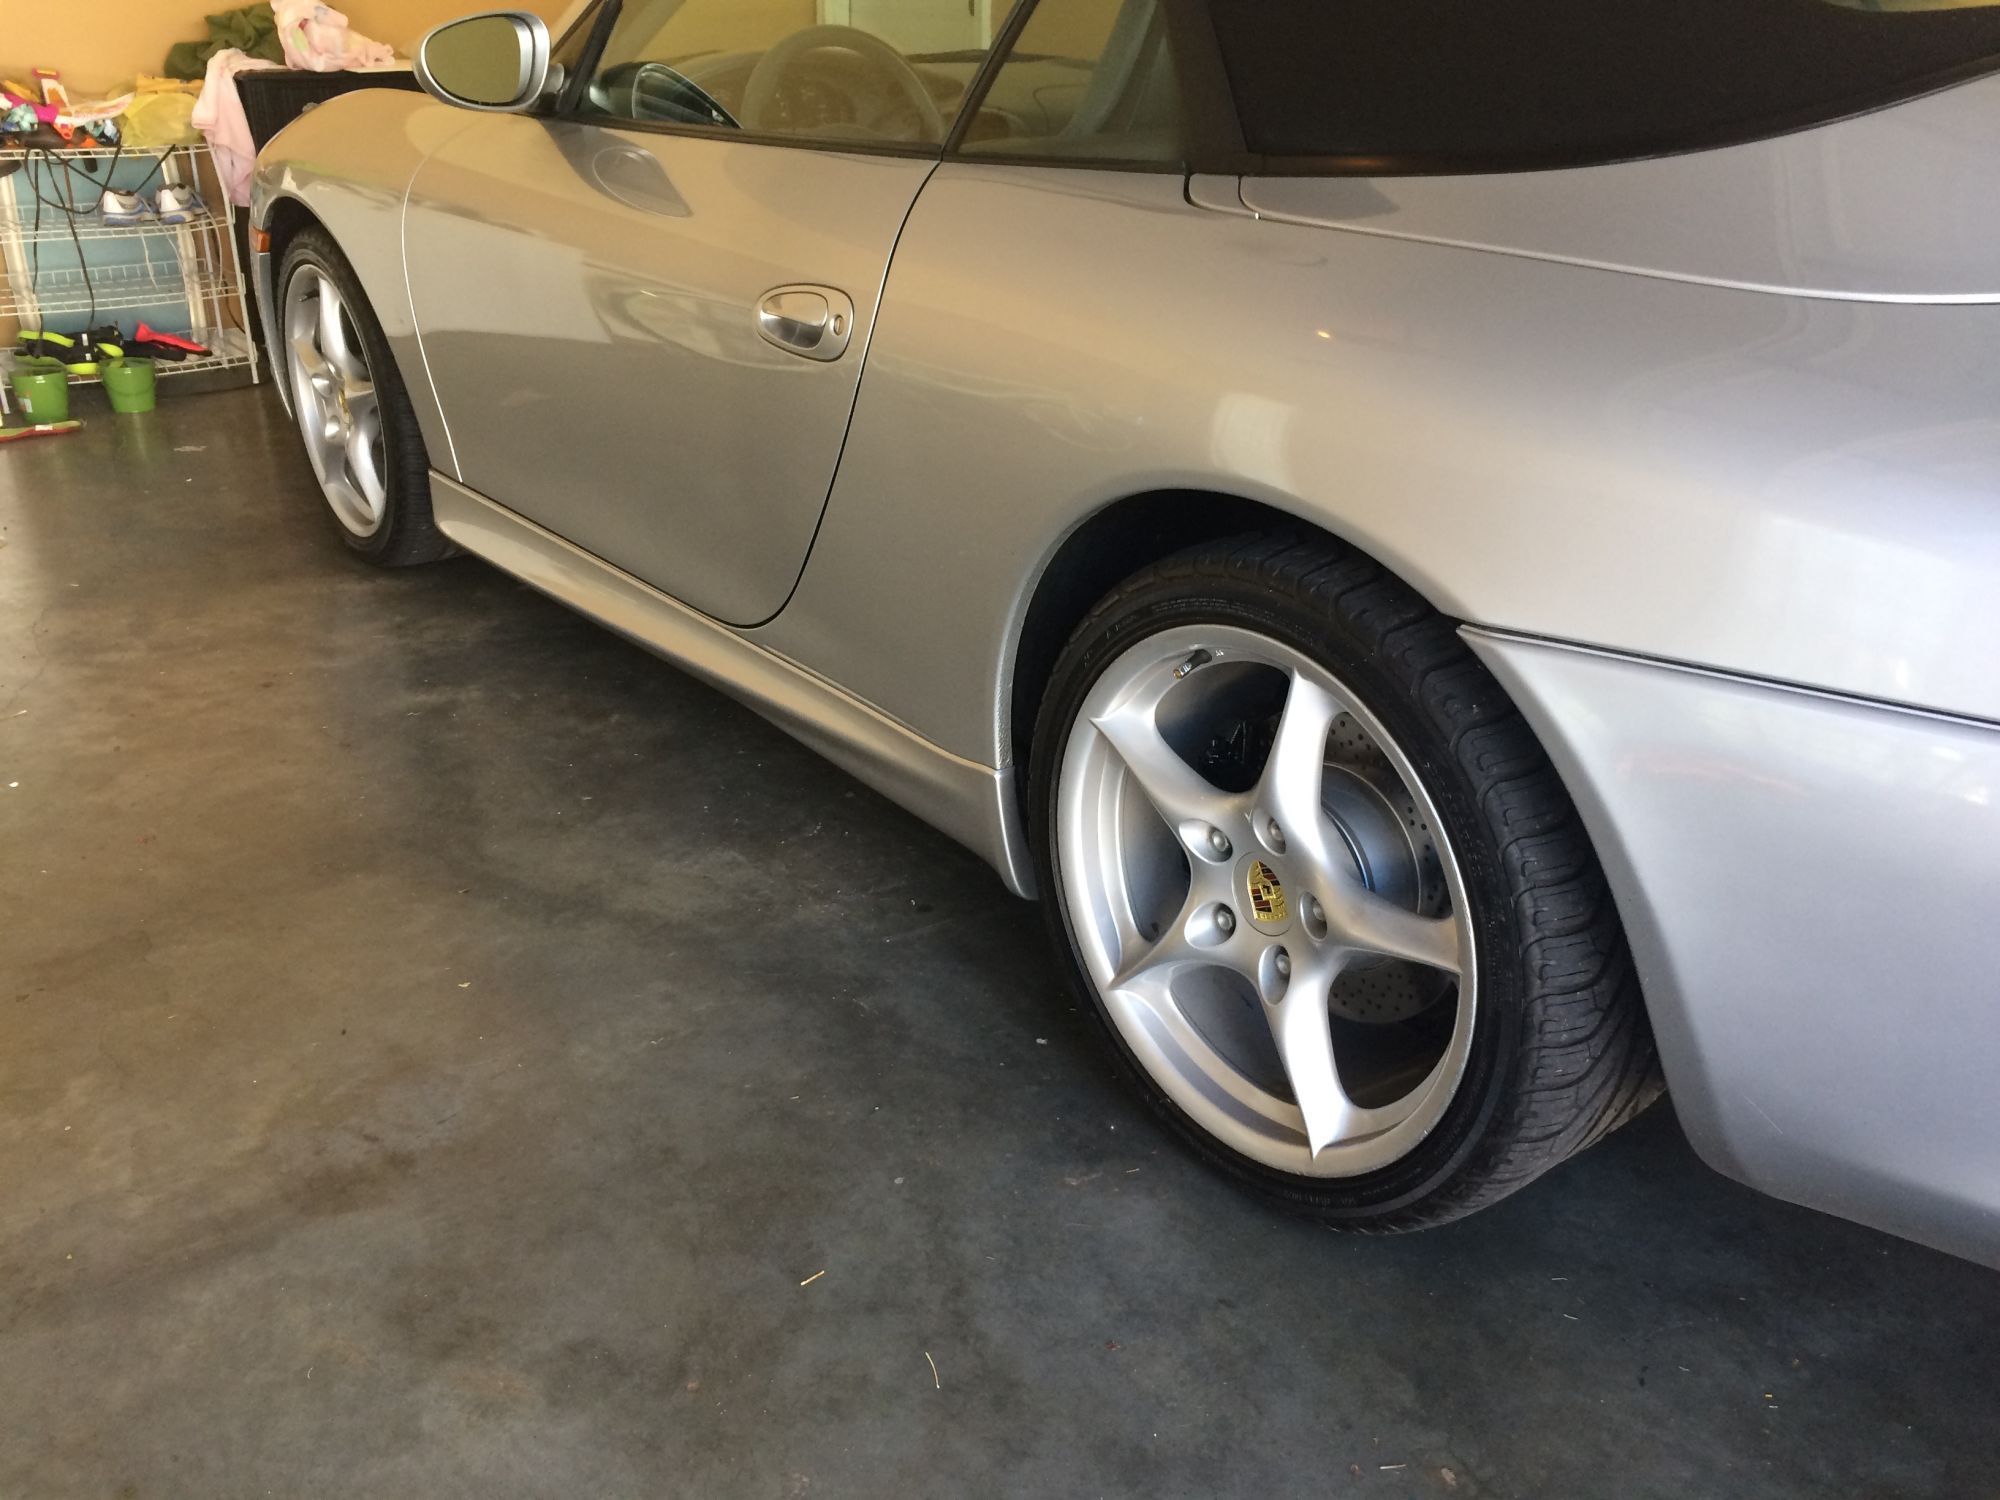
Here are the side skirts that I purchased from a dismantler in California:
Fortunately, the side skirts did not need repainting, but I needed to order the screws (99907323109) and the U clamp mounts (99950764009). You need about 18 U clamps and it's a good idea to purchase extra screws for backup, I ordered 24. They're only .83 cents each. And thanks to Alpine, I purchased some much needed 3M auto double sided tape to attached the skirts along the rocker panel. The installation is pretty straight forward. Clean the rocker panel of wax and other grime, and then install the ends first, then the lower U clamps, peel the tape back, press the trim against the car, and then tighten down the U-clamp screws under the car.
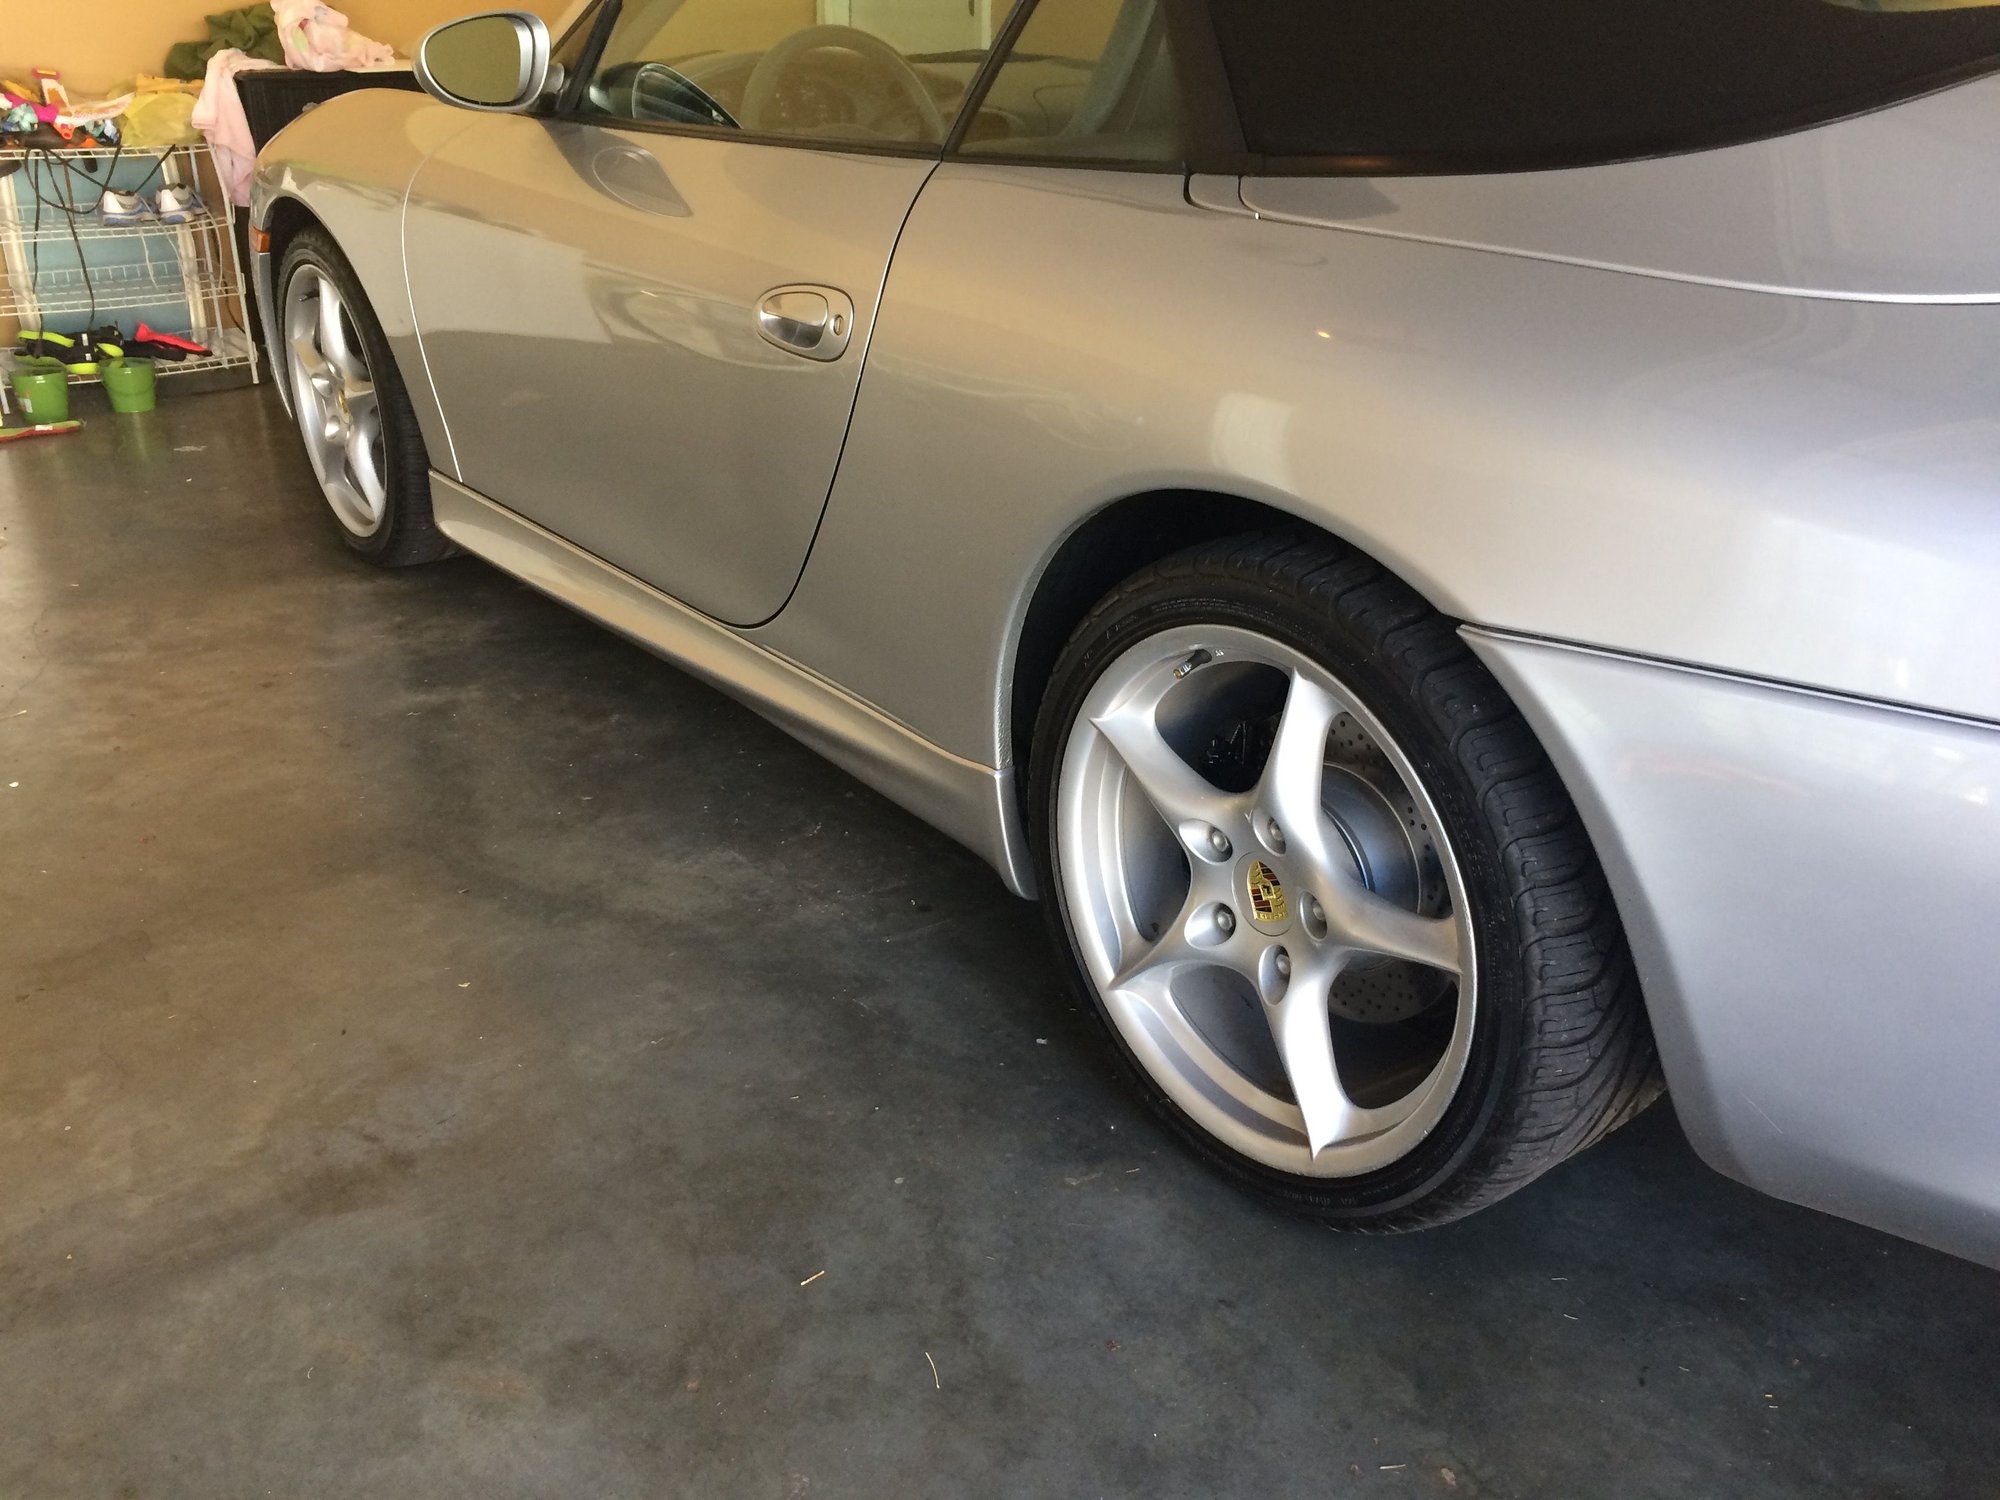
Here is a finished picture:
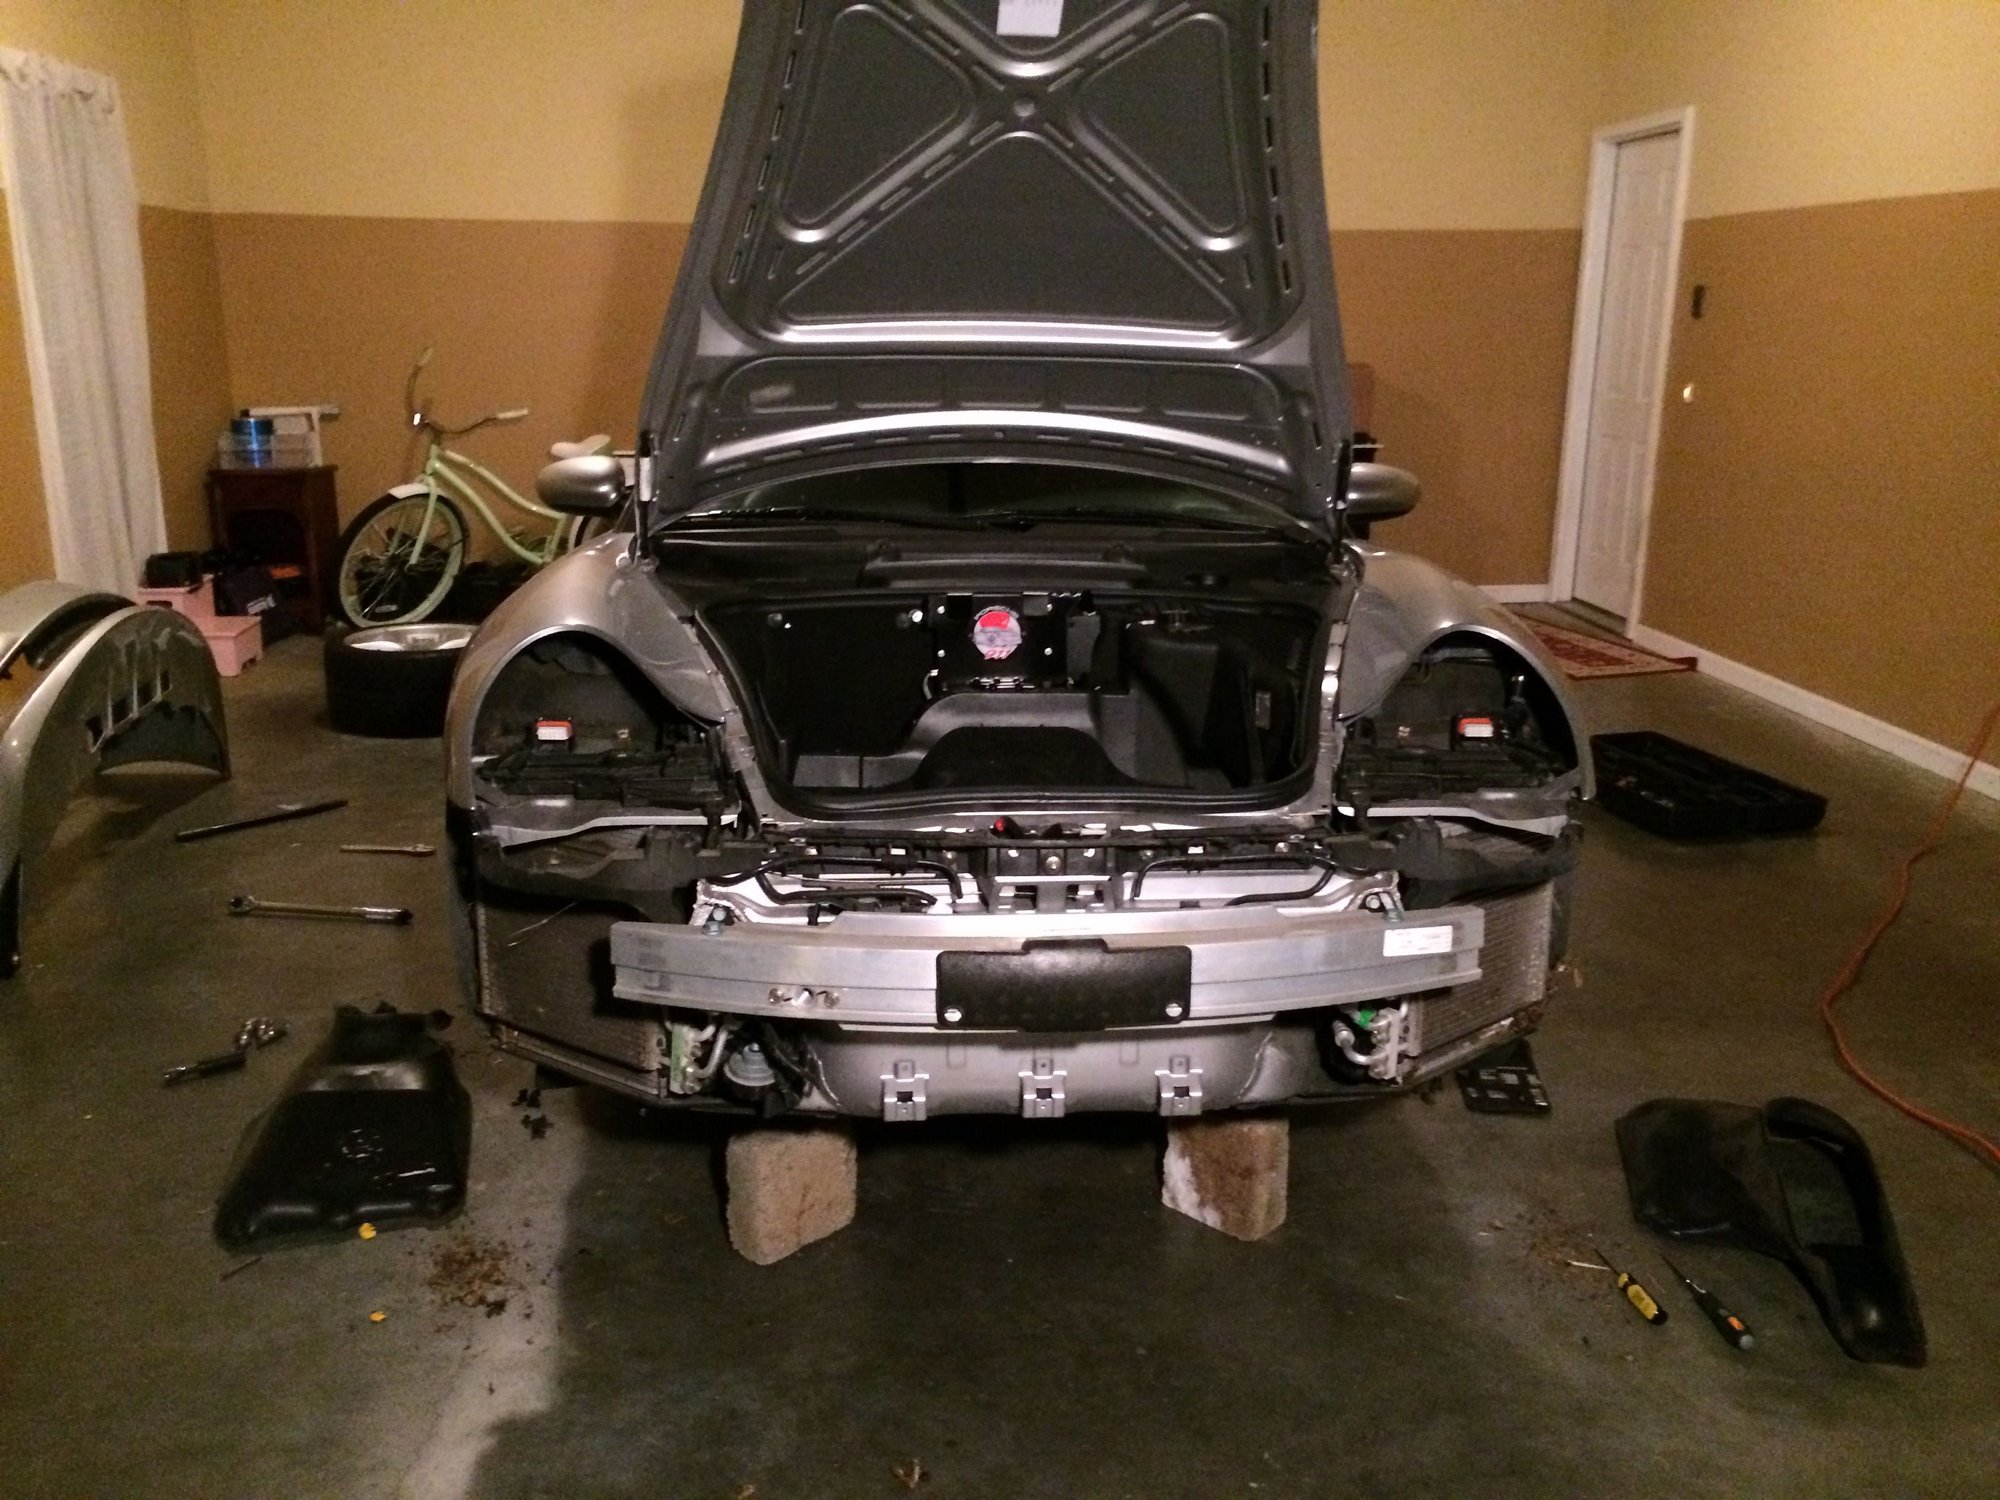
Now to begin with the bumper...
I first lifted the front of the car and removed the front tires. Then I began to remove the original bumper. You begin at the side marker lights and work downward and then under the car and finish on the other side. The last screws are hidden under the frunk latch. These are the *last* to remove and the *first* to attach.
Here's a great video that explains how to remove the bumper:
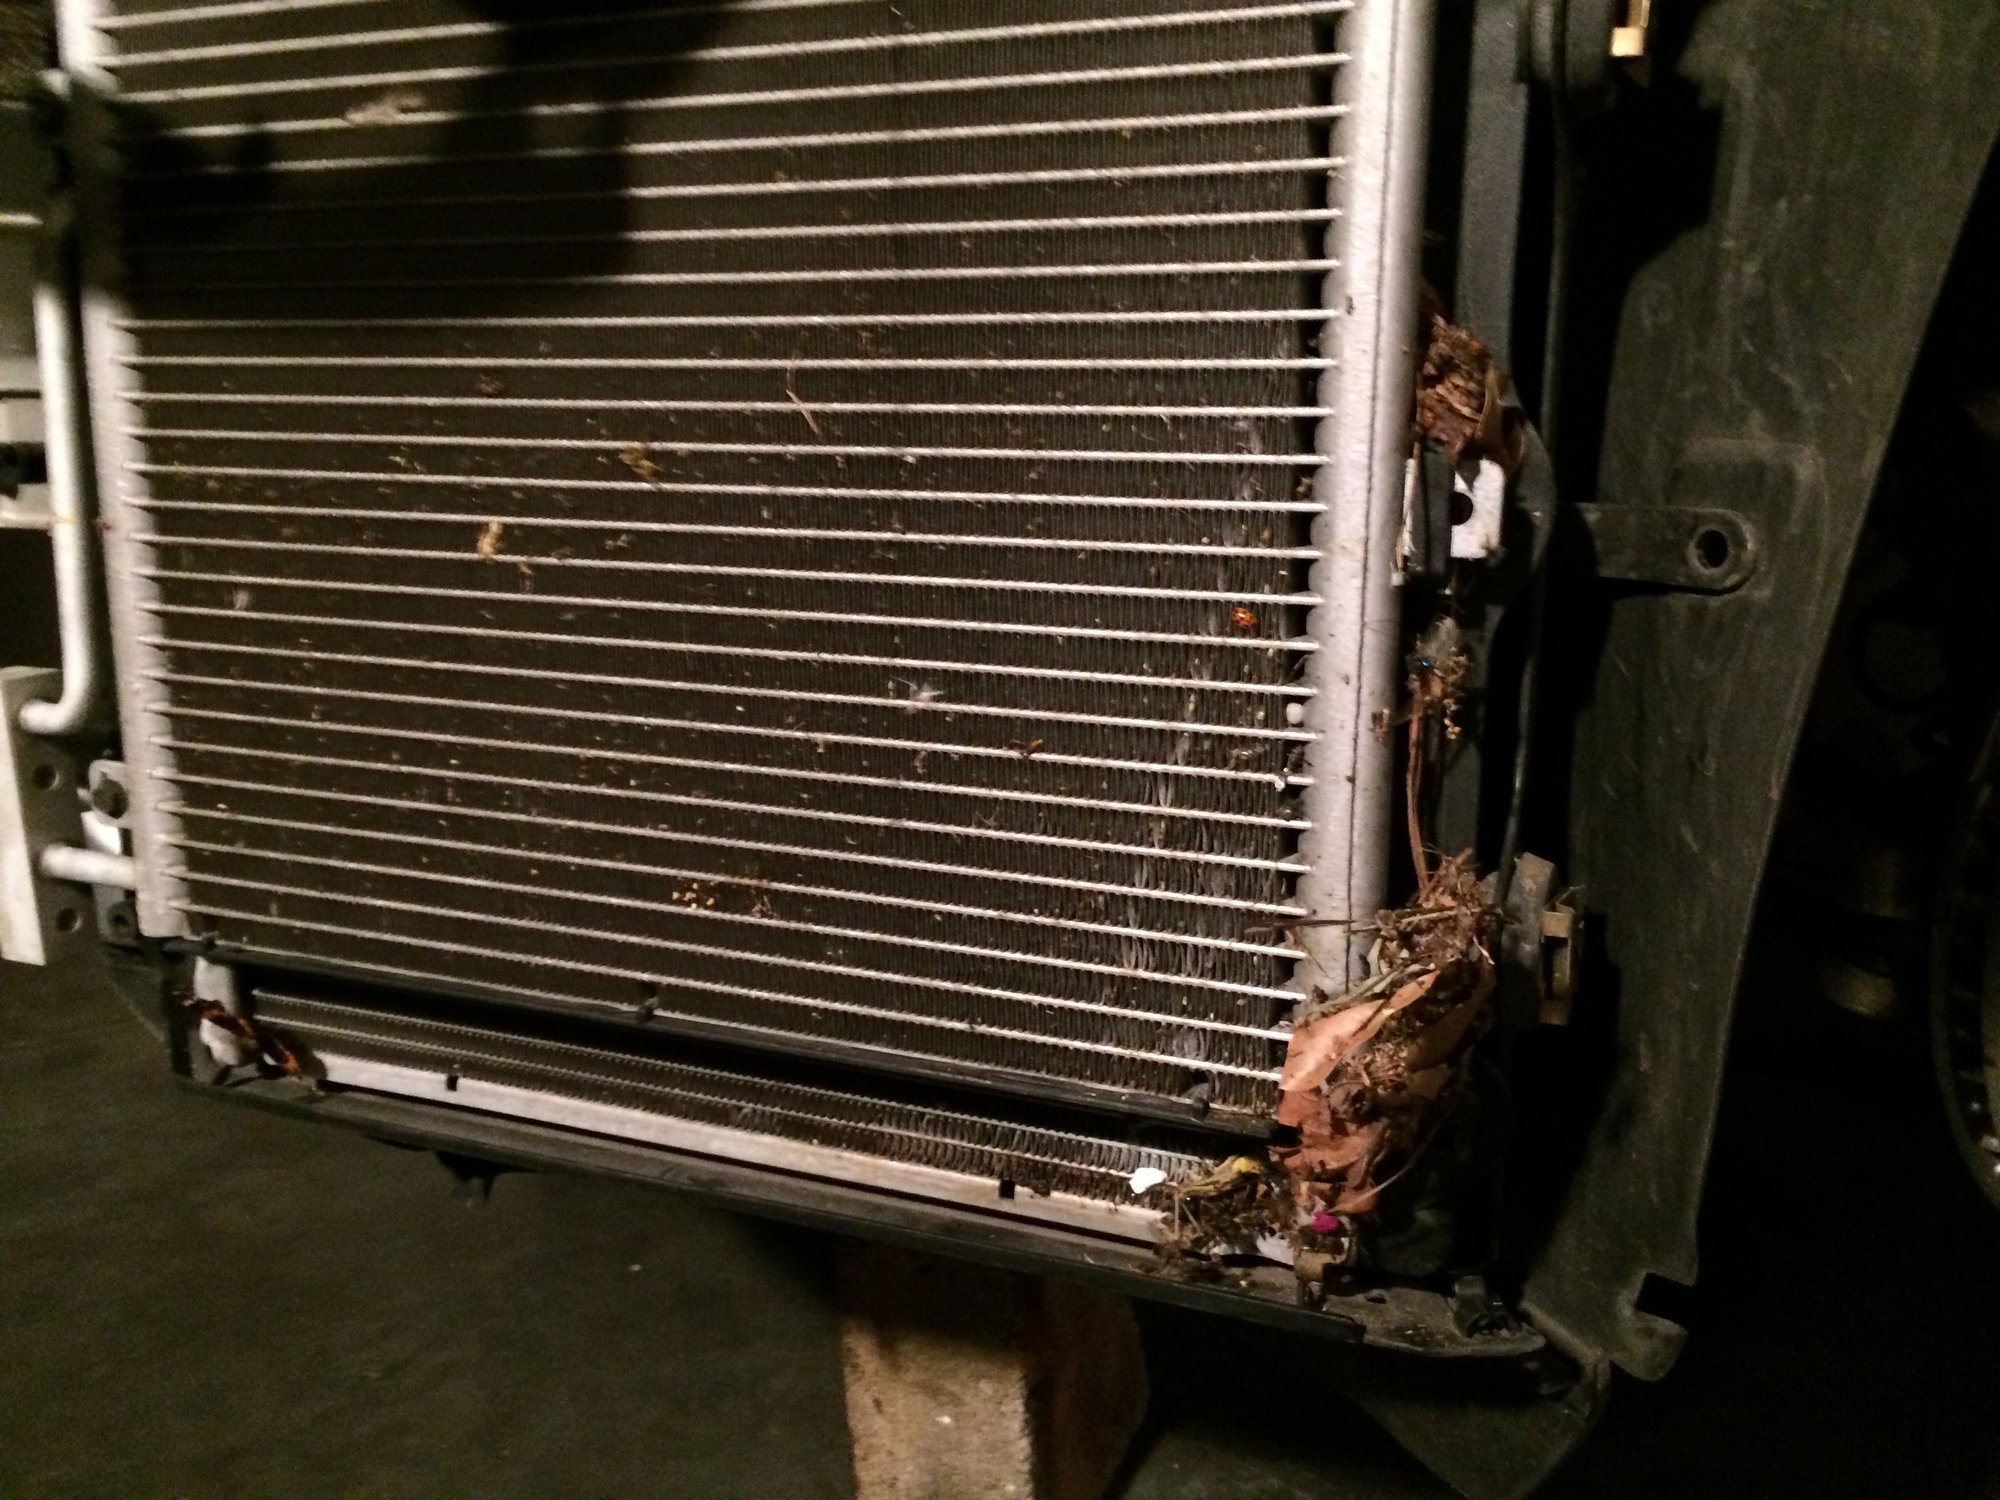
Once the bumper was removed, the next step was to clean the radiators while the bumper was removed.
They were nasty, but not as bad as I've seen on YouTube and Rennlist:
Not shown in the image... I separated each radiator from the AC condenser to clean the front and back.
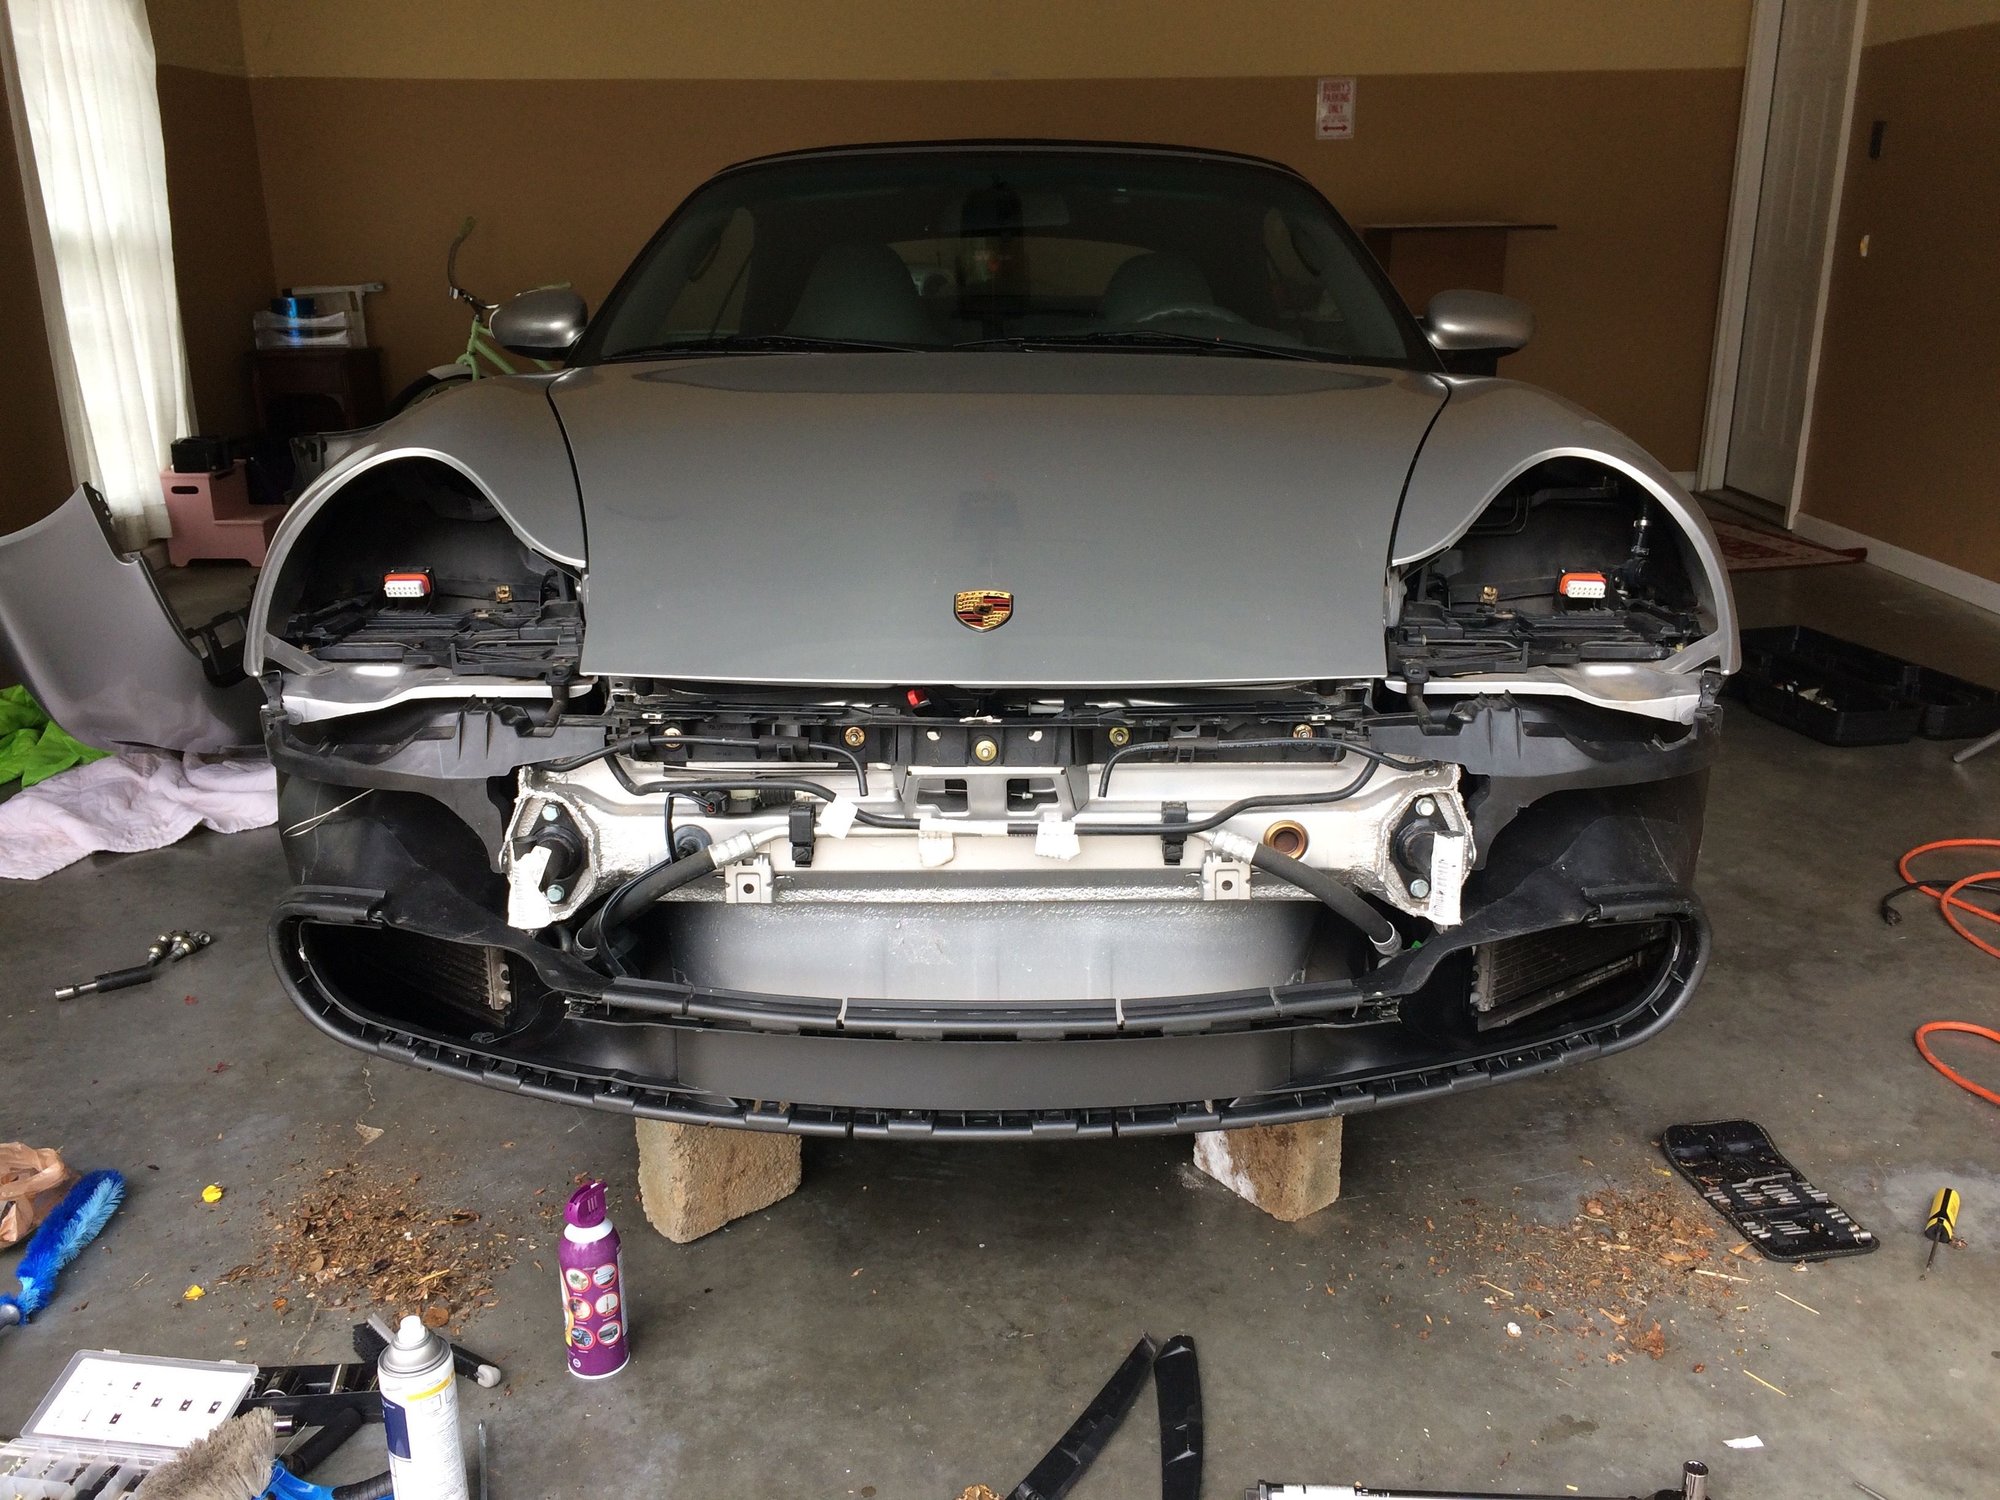
By design, the TT and C4S have different duct work and air splitters. (The TT has a middle radiator.) But for my purposes (to save $$), I decided to use the original air splitter and duct work. BTW, after testing it, the car stayed at perfect temperature, but you know and I know, if I call Porsche, they'll say you need the C4S air box/splitter ($475) and C4S duct work (another $200-$300 each) and NOT reuse the Carrera's air ducts. But that's almost $1000 for silly plastic!!! No thank you.
Here's the duct work reinstalled with the center air splitter. Not shown in the picture, but the aluminum "bumper reinforcement" piece was reinstalled.
Now, to install the new bumper... I had it professionally resprayed to match at the cost of $300. Since the OEM C4S air box was not installed, I had to make my own lower mount, but all the other mounts are the same as the original bumper.
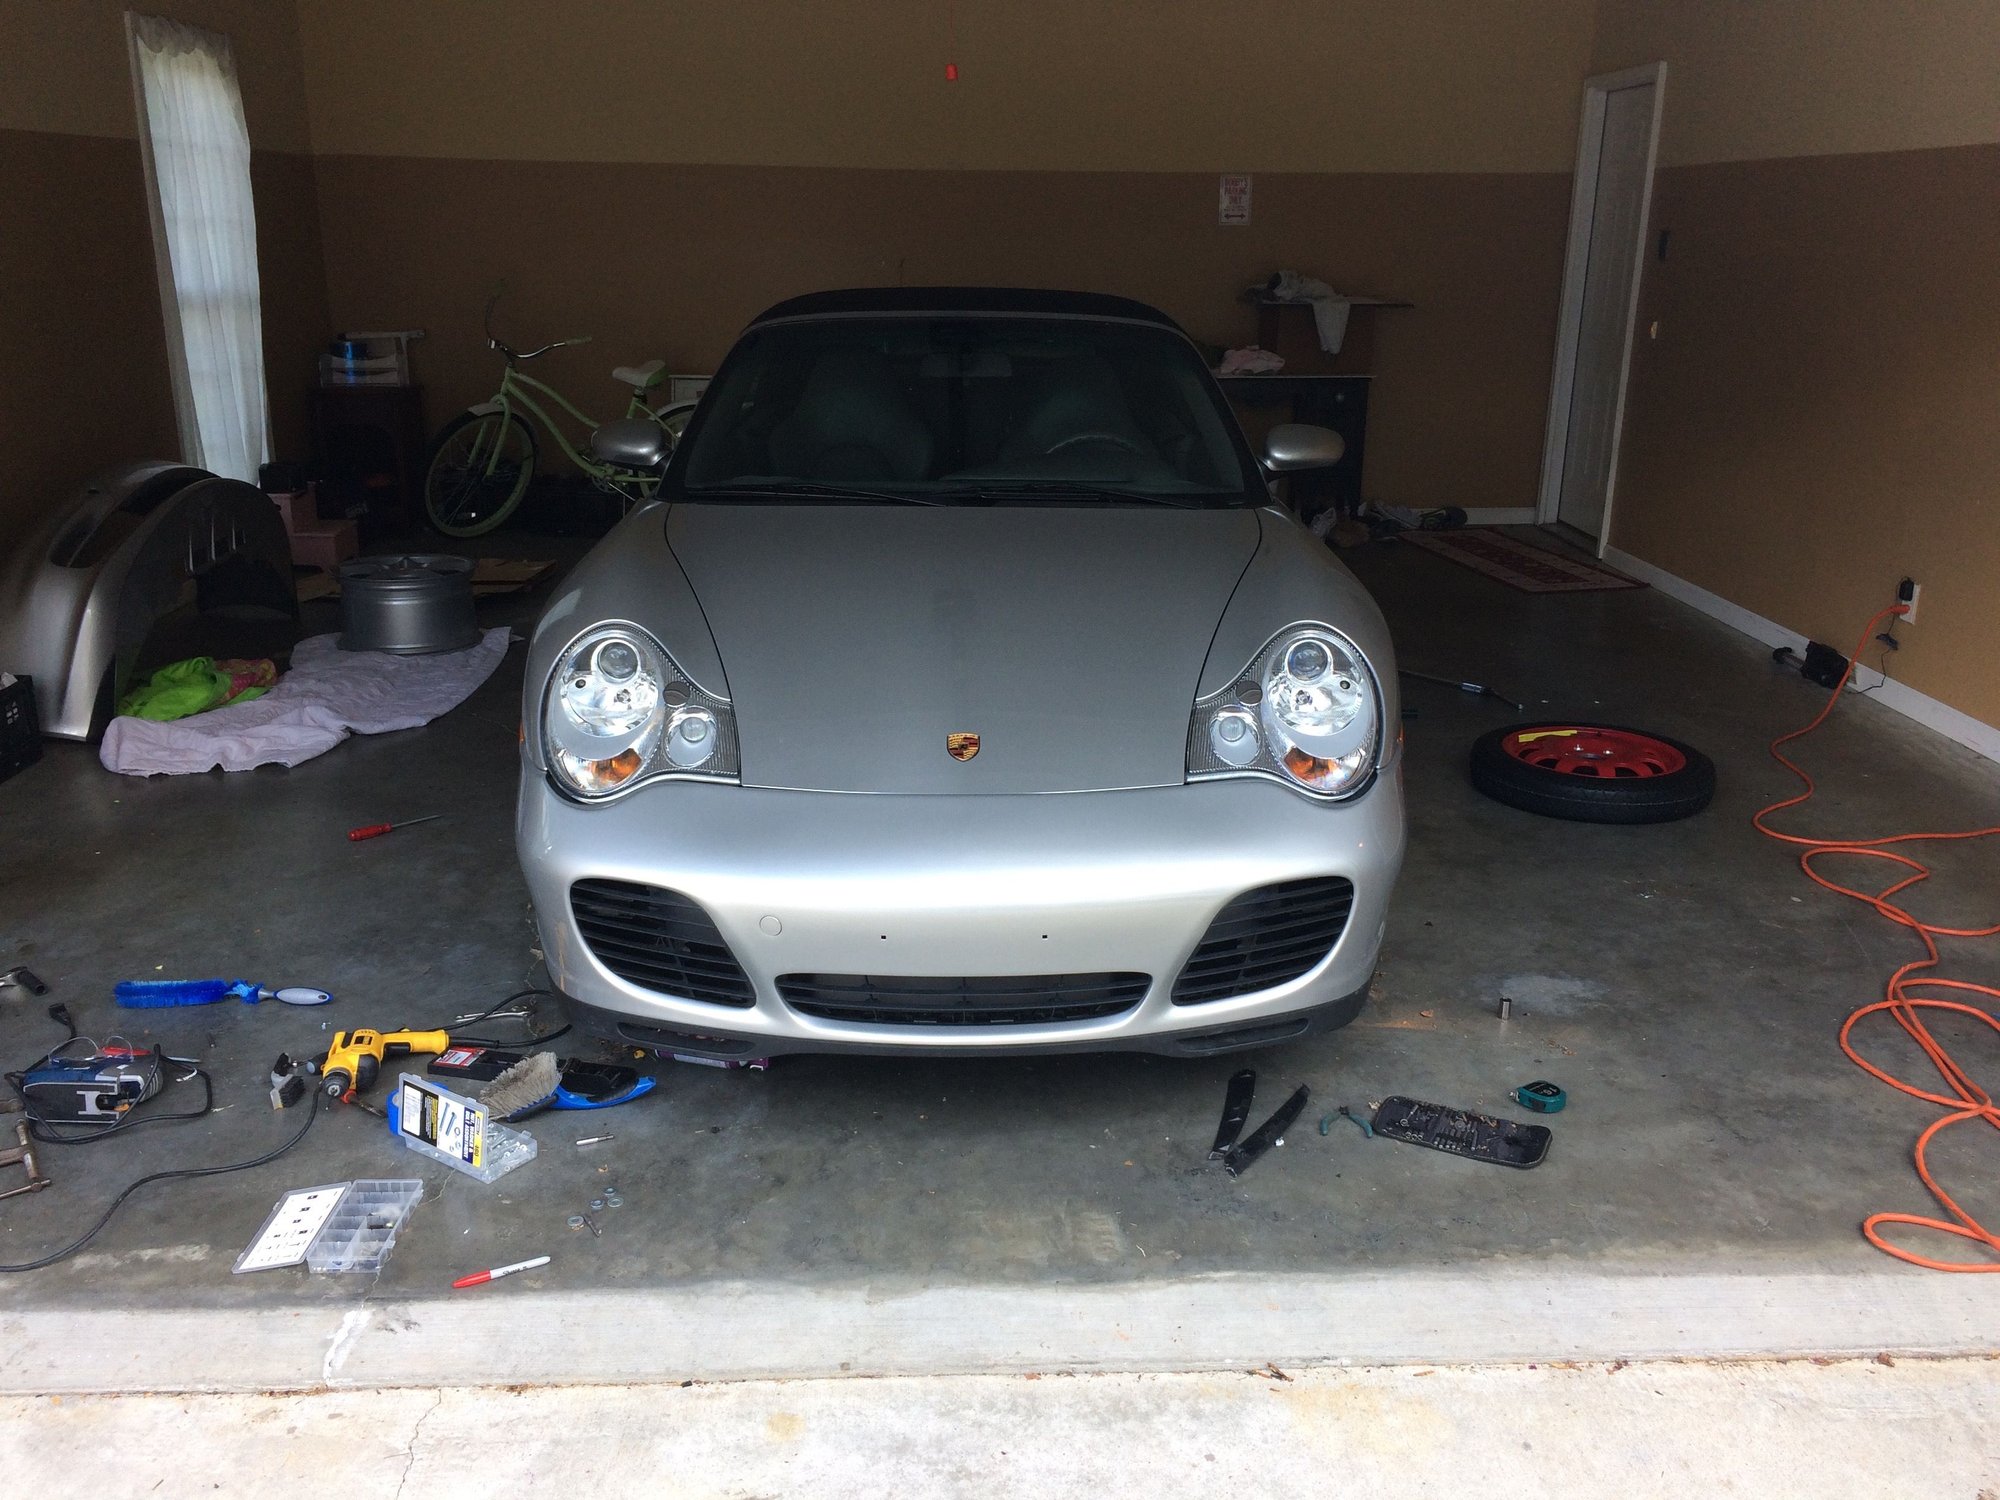
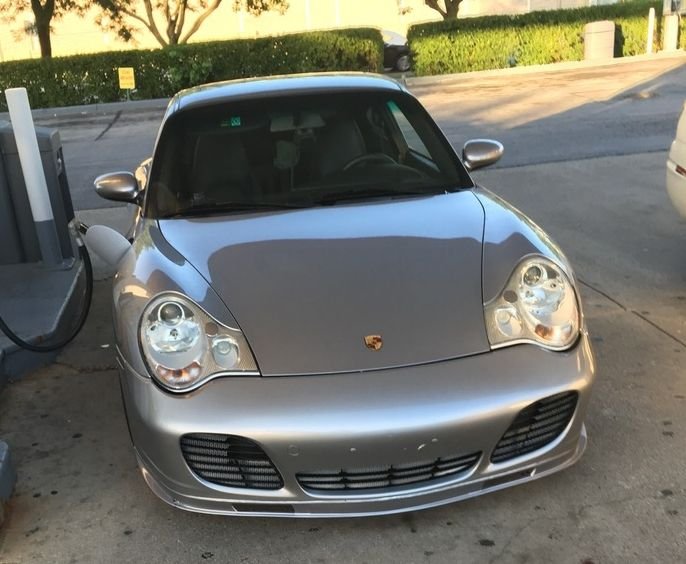
Here is the finished product:
Since the bumper is a little different, I had to make some fine tuned adjustments (in addition to the lower underbody mounts) to fit it properly so that the gaps looked even, but other than that, it went on pretty easy. Finished... Yay!!!
Here's a comparison!
Last edited by ZuffenZeus; 09-20-2016 at 10:51 AM.
Good job. I did the same to my 996 (well soon to be ex-996) and it makes a HUGE difference!
But in my case I got a little paranoid and bought all the duct work etc and as I already have the third radiator it all worked out.
Good job. I did the same to my 996 (well soon to be ex-996) and it makes a HUGE difference!
But in my case I got a little paranoid and bought all the duct work etc and as I already have the third radiator it all worked out.
Thank you! And yes, I agree... I think it makes a big difference in the look. I don't hate the base style bumpers, I just always likes the TT style bumper. It really works. There are a lot of aftermarket style bumpers that look similar, but I wanted to keep it OEM because of concerns with fitment and such.
You 996 cab came with the center radiator or are you talking about the condensers that are mounted behind the side radiators? Are you going to be getting another Porsche? You have a beautiful Cab and of course, I noticed the upgraded front end when you originally posted it to Rennlist. I really love the tan leather too! Anyway, I wish you all the best in your sell... I hope you get another 996, but if you don't, still visit us and let us know how things are going.
Big improvement. Painting the front splitter? Seems to have some wear on it.
I assume you're talking about the lip spoiler, right? I seriously thought about painting it to match the car! It does have some road scars, and so I lightly sanded down the bottom, but didn't touch the front for fear of screwing up the look.
I really like the look of your car's bumper! I may buy me another lip spoiler and have it painted to match and keep the original one black.
no grilles installed while the the bumper was off ?
Yea, I thought about your car when I was putting the OEM grilles on the bumper. Those additions grilles behind the OEM seems like a great idea to minimize crap getting stuck in the radiator... and I really like the look. I would probably paint mine black, but still I remember your car and the added grille you installed. Great work. Maybe I'll do it in the near future. It's really not that hard to remove the bumper. :-)
Nice job! I think it makes the car look more planted.
Thanks Bill! Yea, it does make the car look closer to the ground doesn't it? Good observation. I didn't see that until now. I guess I was focusing on the bumper. hahaha
Great look to your car. What did you do with the original bumper?
Thanks man! I put it in the basement. I'll either hold onto it for the next owner or resell it to make some of my money back on this upgrade. The belly has some road scars, but overall it's in great shape for the age. The original owner babied the car. I've been more than thrilled to own it so far.
I assume you're talking about the lip spoiler, right? I seriously thought about painting it to match the car! It does have some road scars, and so I lightly sanded down the bottom, but didn't touch the front for fear of screwing up the look.
I really like the look of your car's bumper! I may buy me another lip spoiler and have it painted to match and keep the original one black.
Yes, spoiler/splitter. I sanded and painted all the lowers and it really made the car look more aggressive. Since the one you have is already scuffed I figured it wouldn't hurt to paint to match the silver rockers.
same feeling of ownership here. I was contemplating how to remove/repair the stone chips on the front bumper. I guess one way is to replace the whole bumper. Have you experienced any cooling benefit with the larger openings?

 09-19-2016 | 10:34 AM