When you click on links to various merchants on this site and make a purchase, this can result in this site earning a commission. Affiliate programs and affiliations include, but are not limited to, the eBay Partner Network.
Yeah, I got a '86 951 oil pan complete with the drain hose and hardware. It's not ultrasonically cleaned but I don't want to bother with modding this oil pan and finding a plastic baffle for it. Currently on the lookout for a late-style dipstick assembly, the early one won't work...no way it would seal without epoxy or something. Early style is press-fit into the pan, the late style has an O-ring.
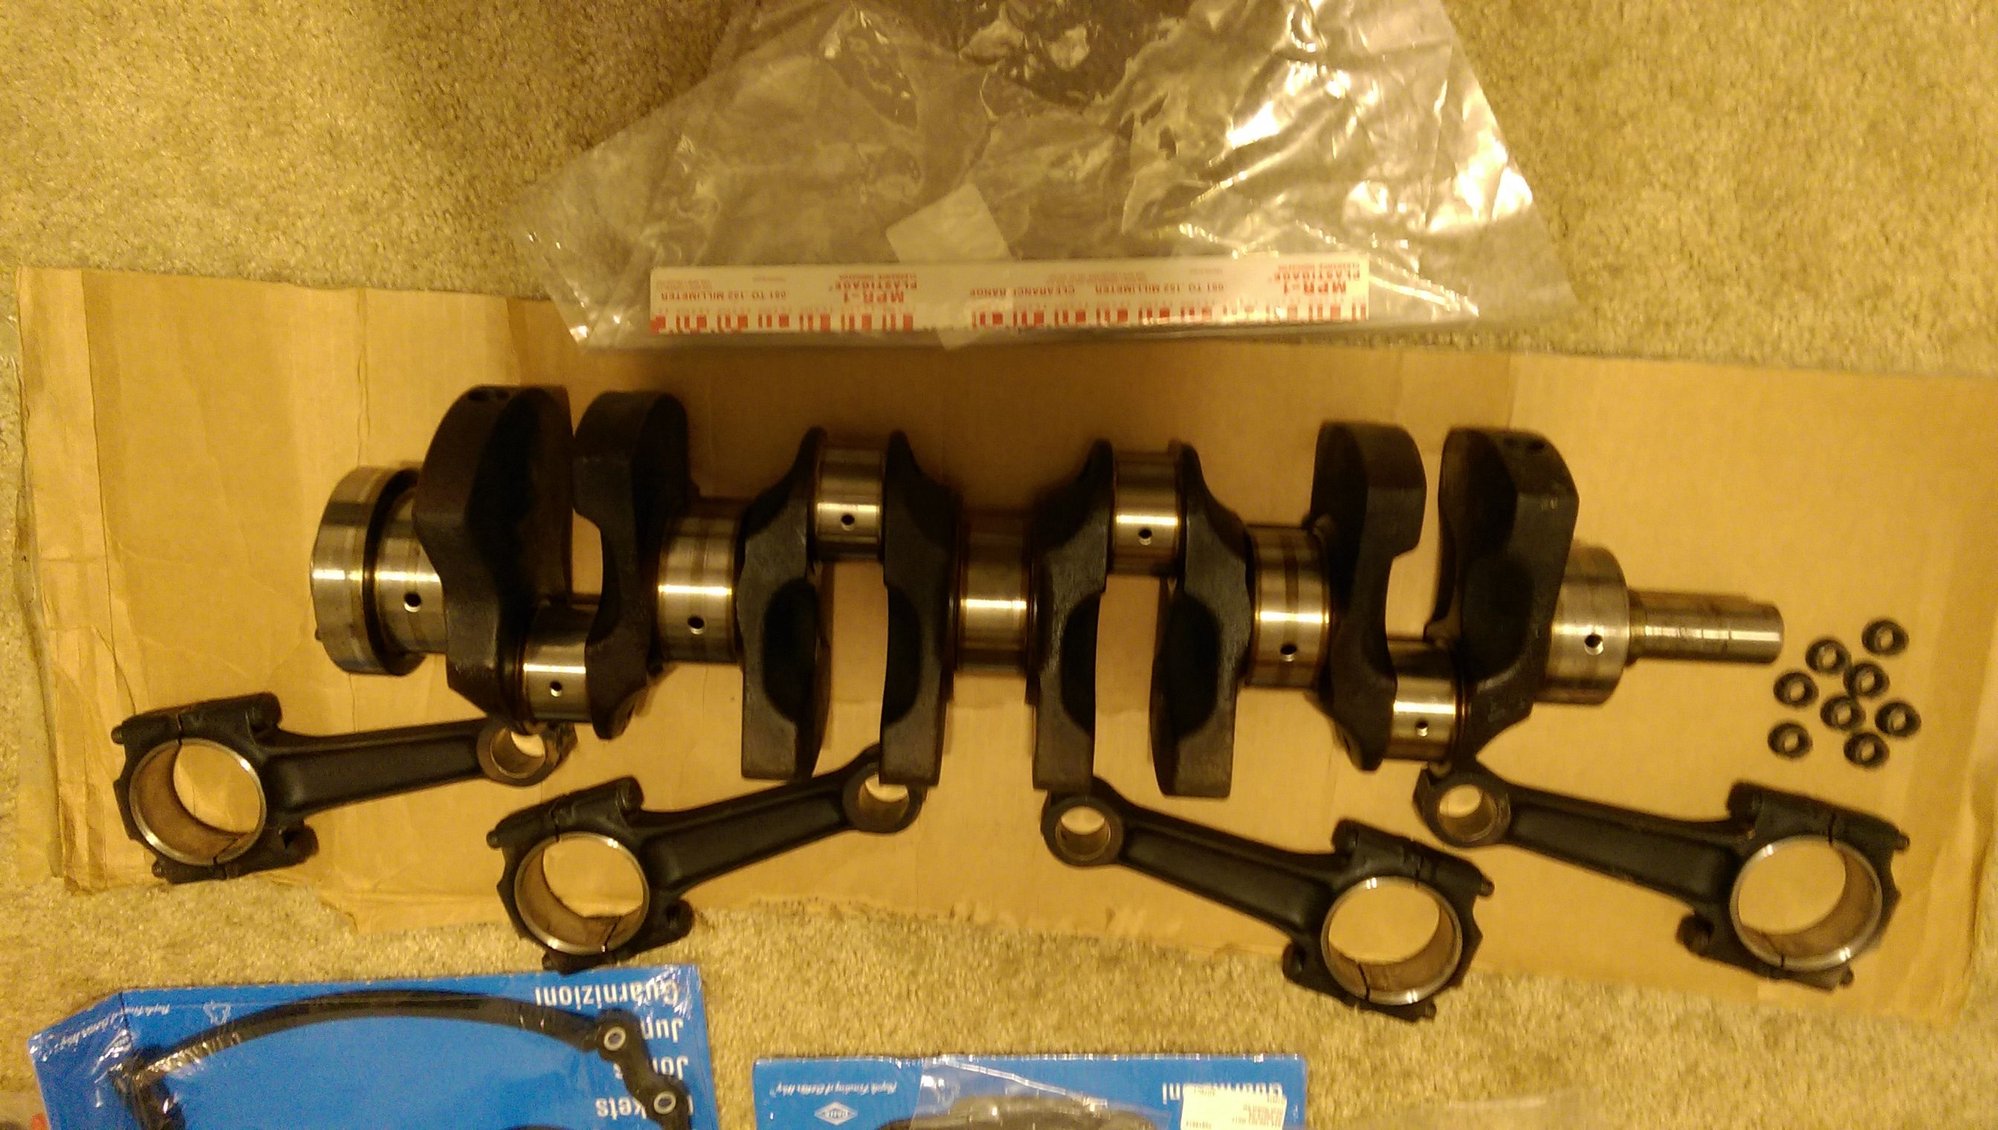
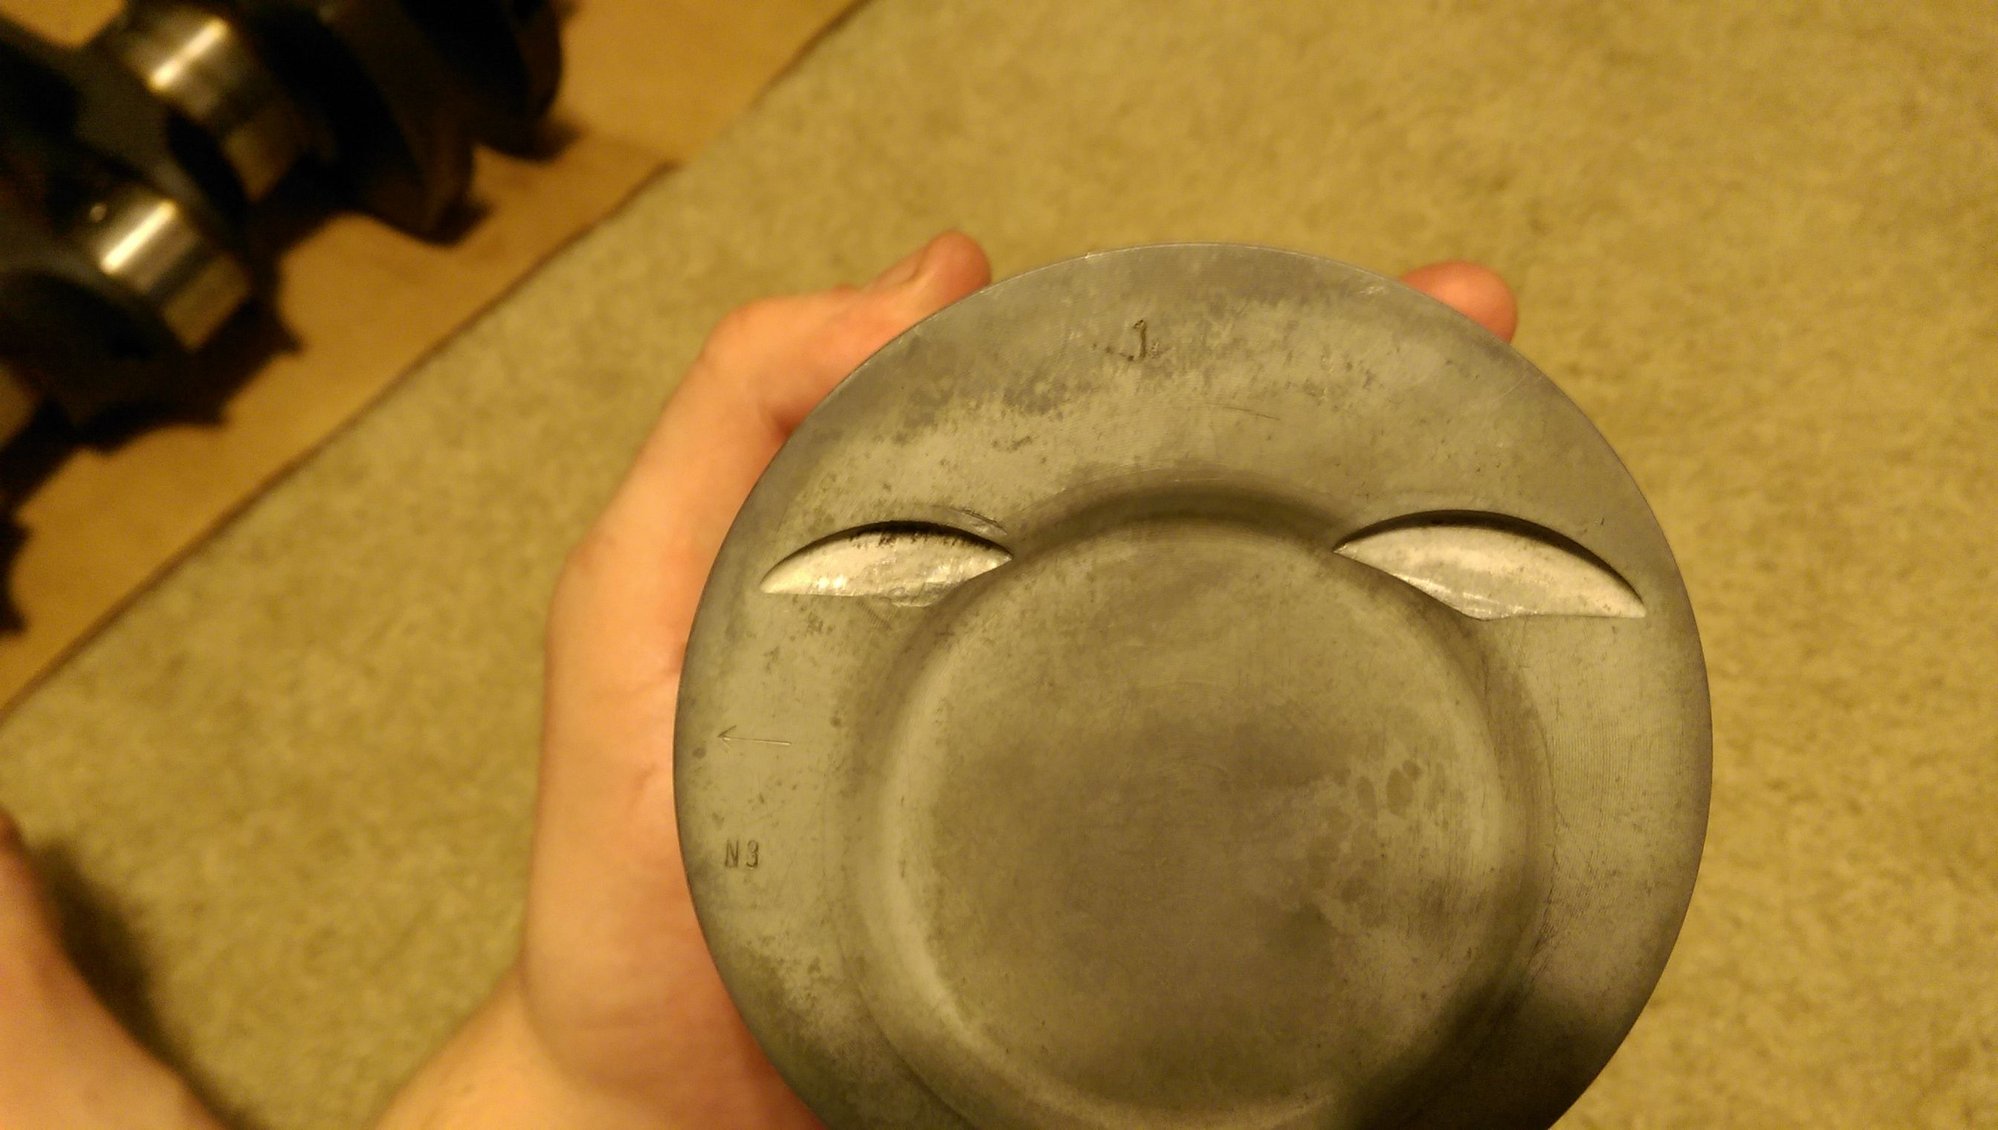
Plastigaged the con rods the other night, all on the tight end of the tolerance which is good. Also, cleaned up my factory NA pistons...they're not being used in this build but whatever.
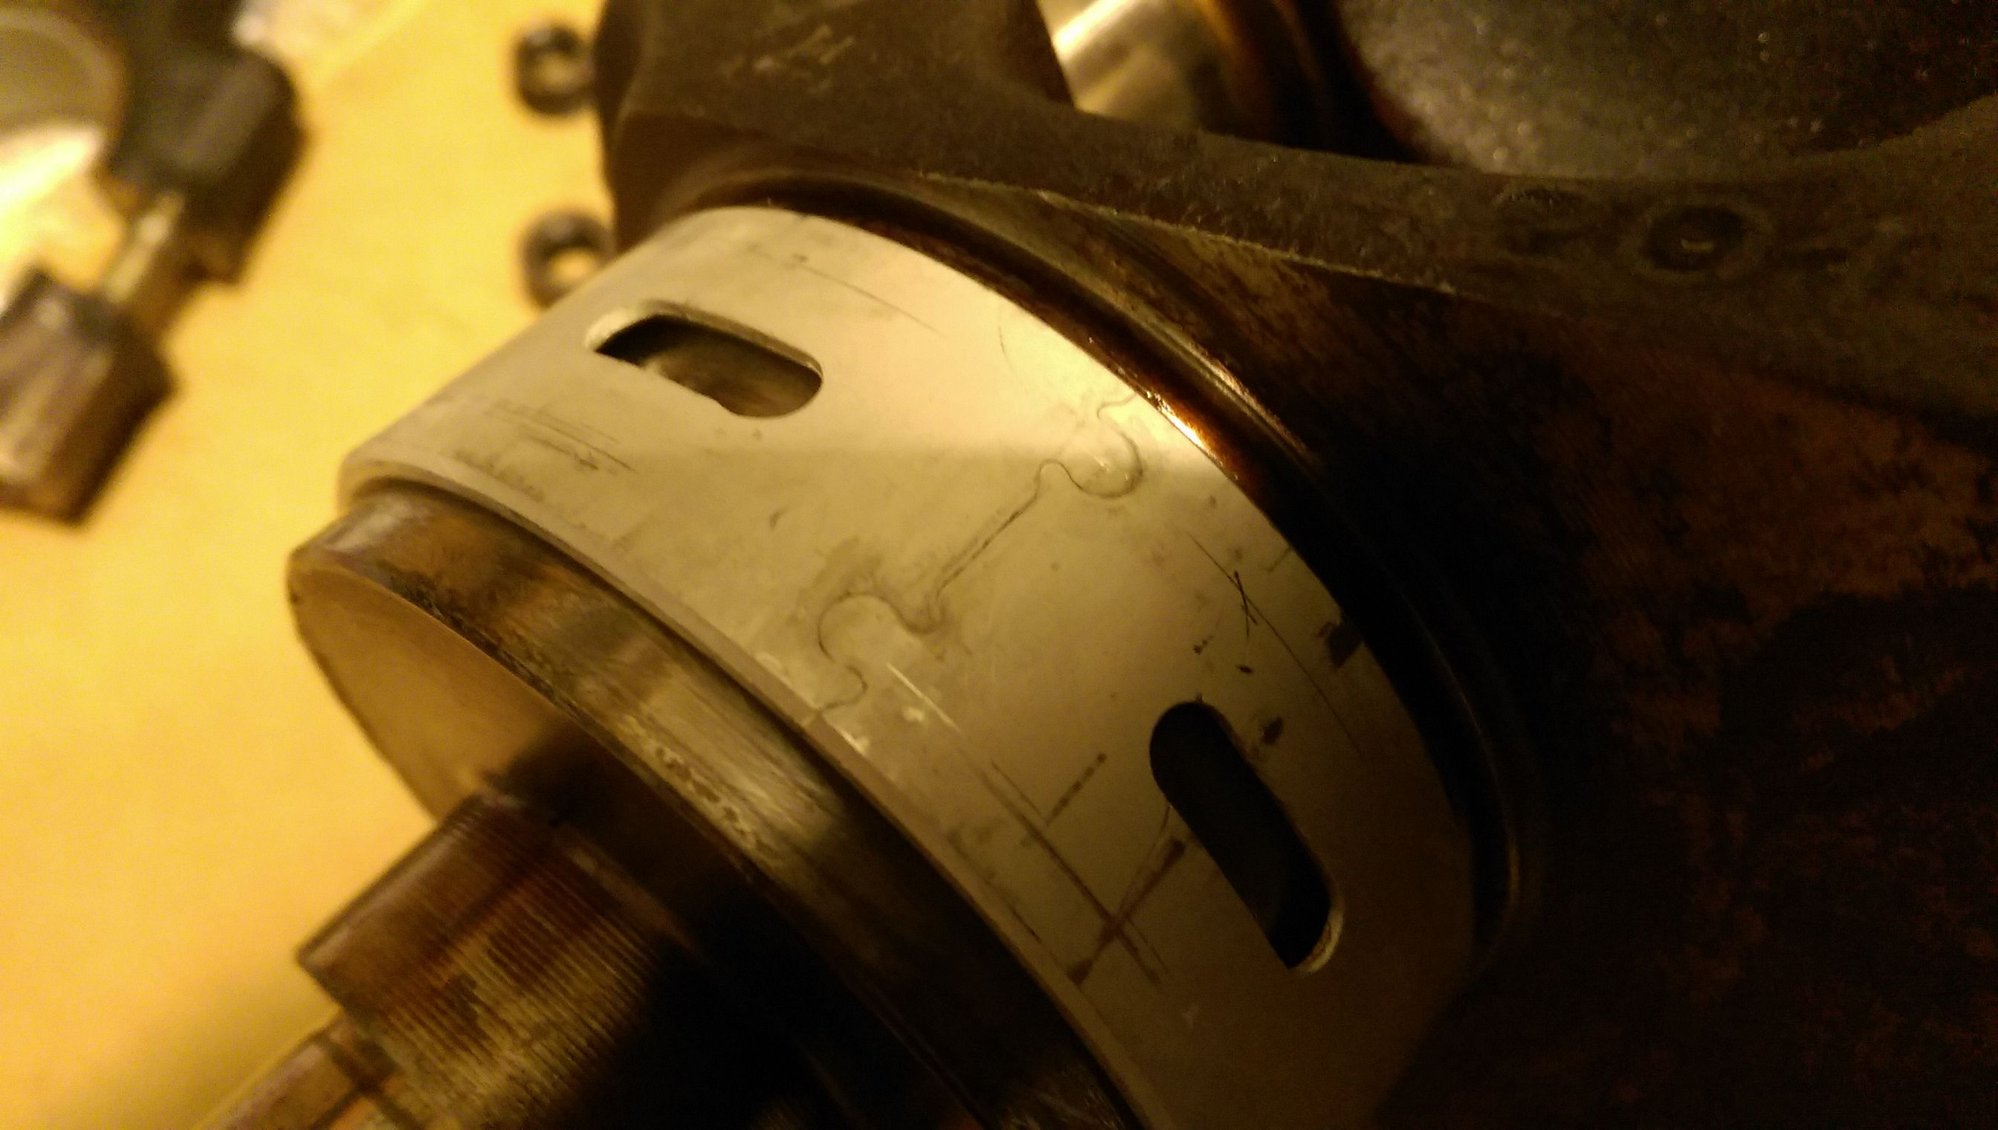
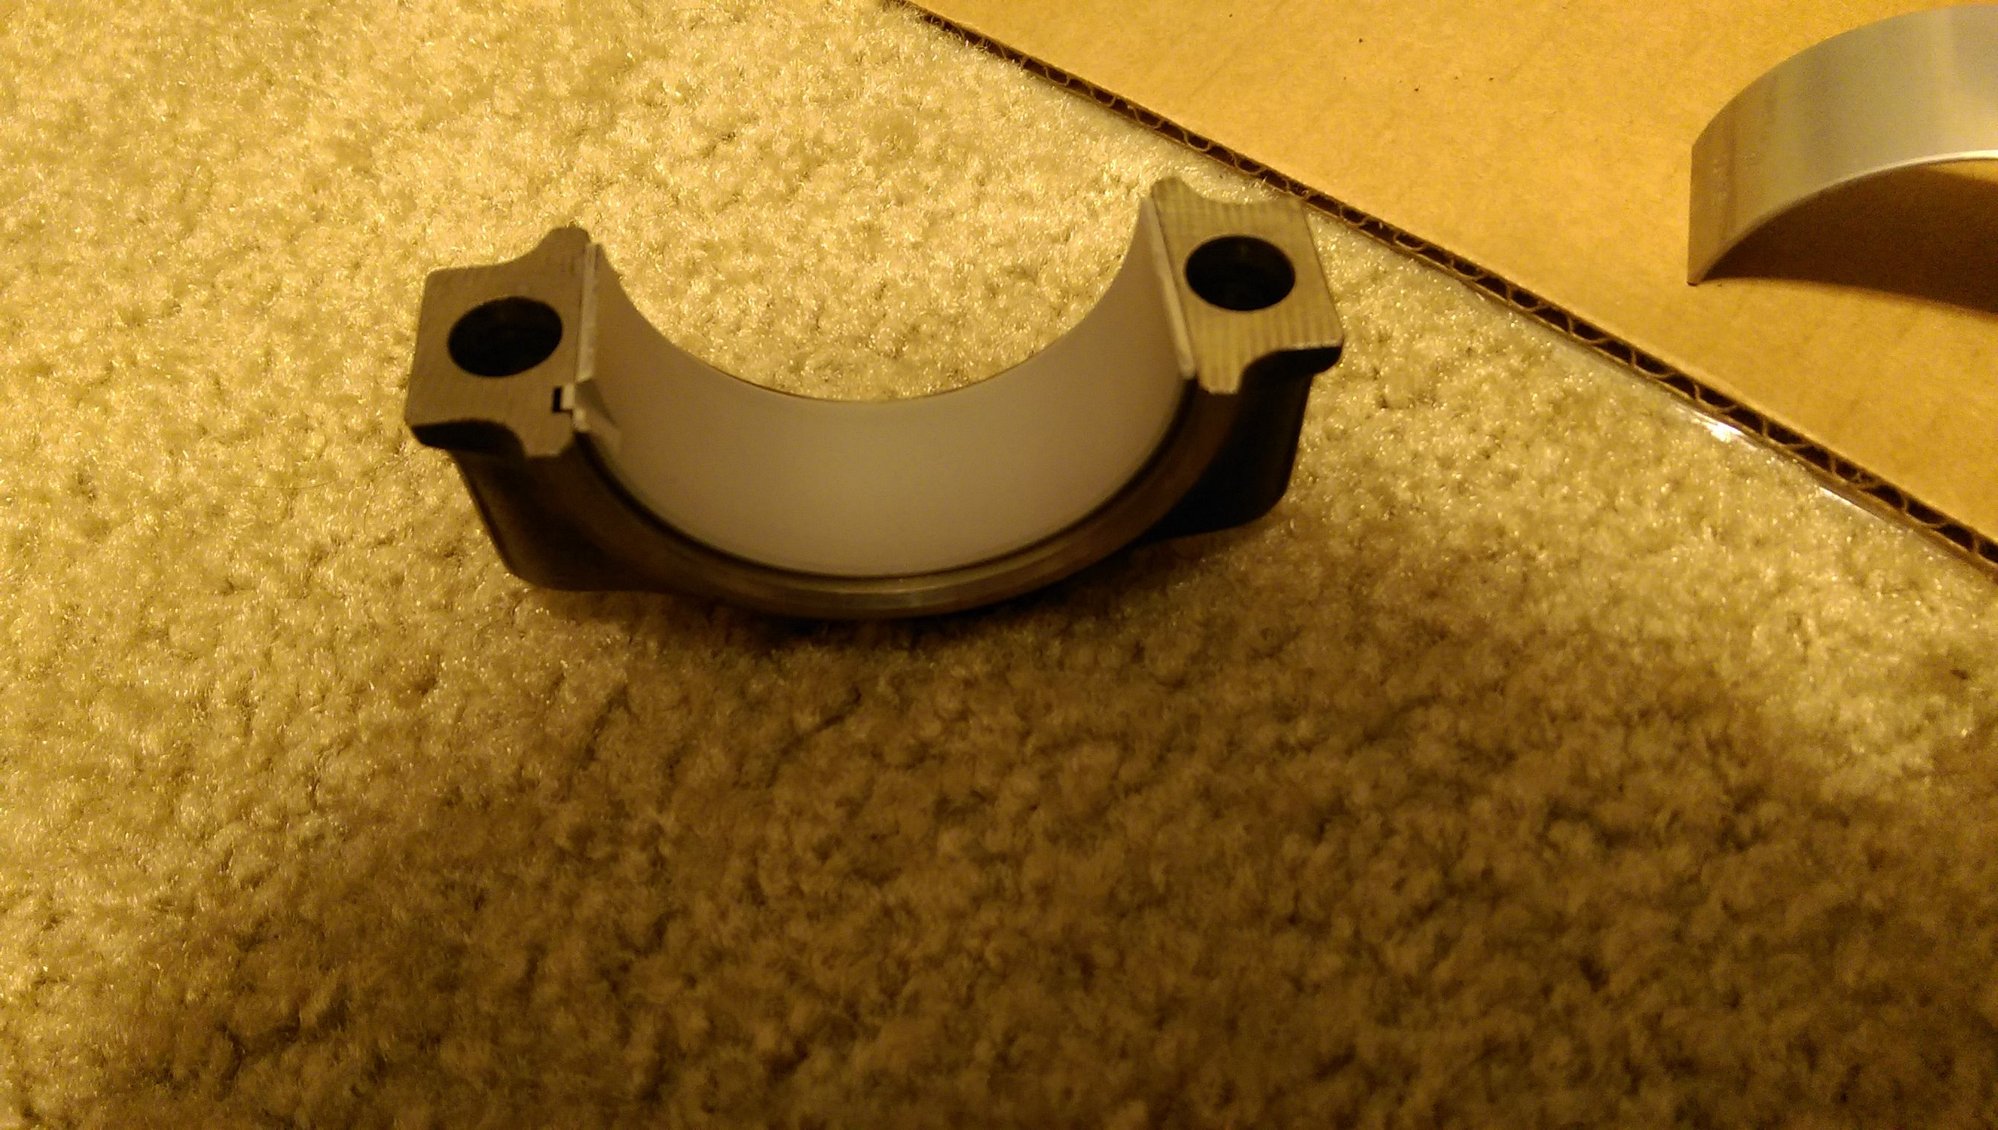
Inspected all the con rod and main bearings (Glyco) I received in my LR kit. The #1 main bearing, aka the 1-piece bearing, has me concerned. The "mortise and tenon" in the bearing isn't perfectly smooth on the inside race. Pic of the outside, so you know what I'm referring to:
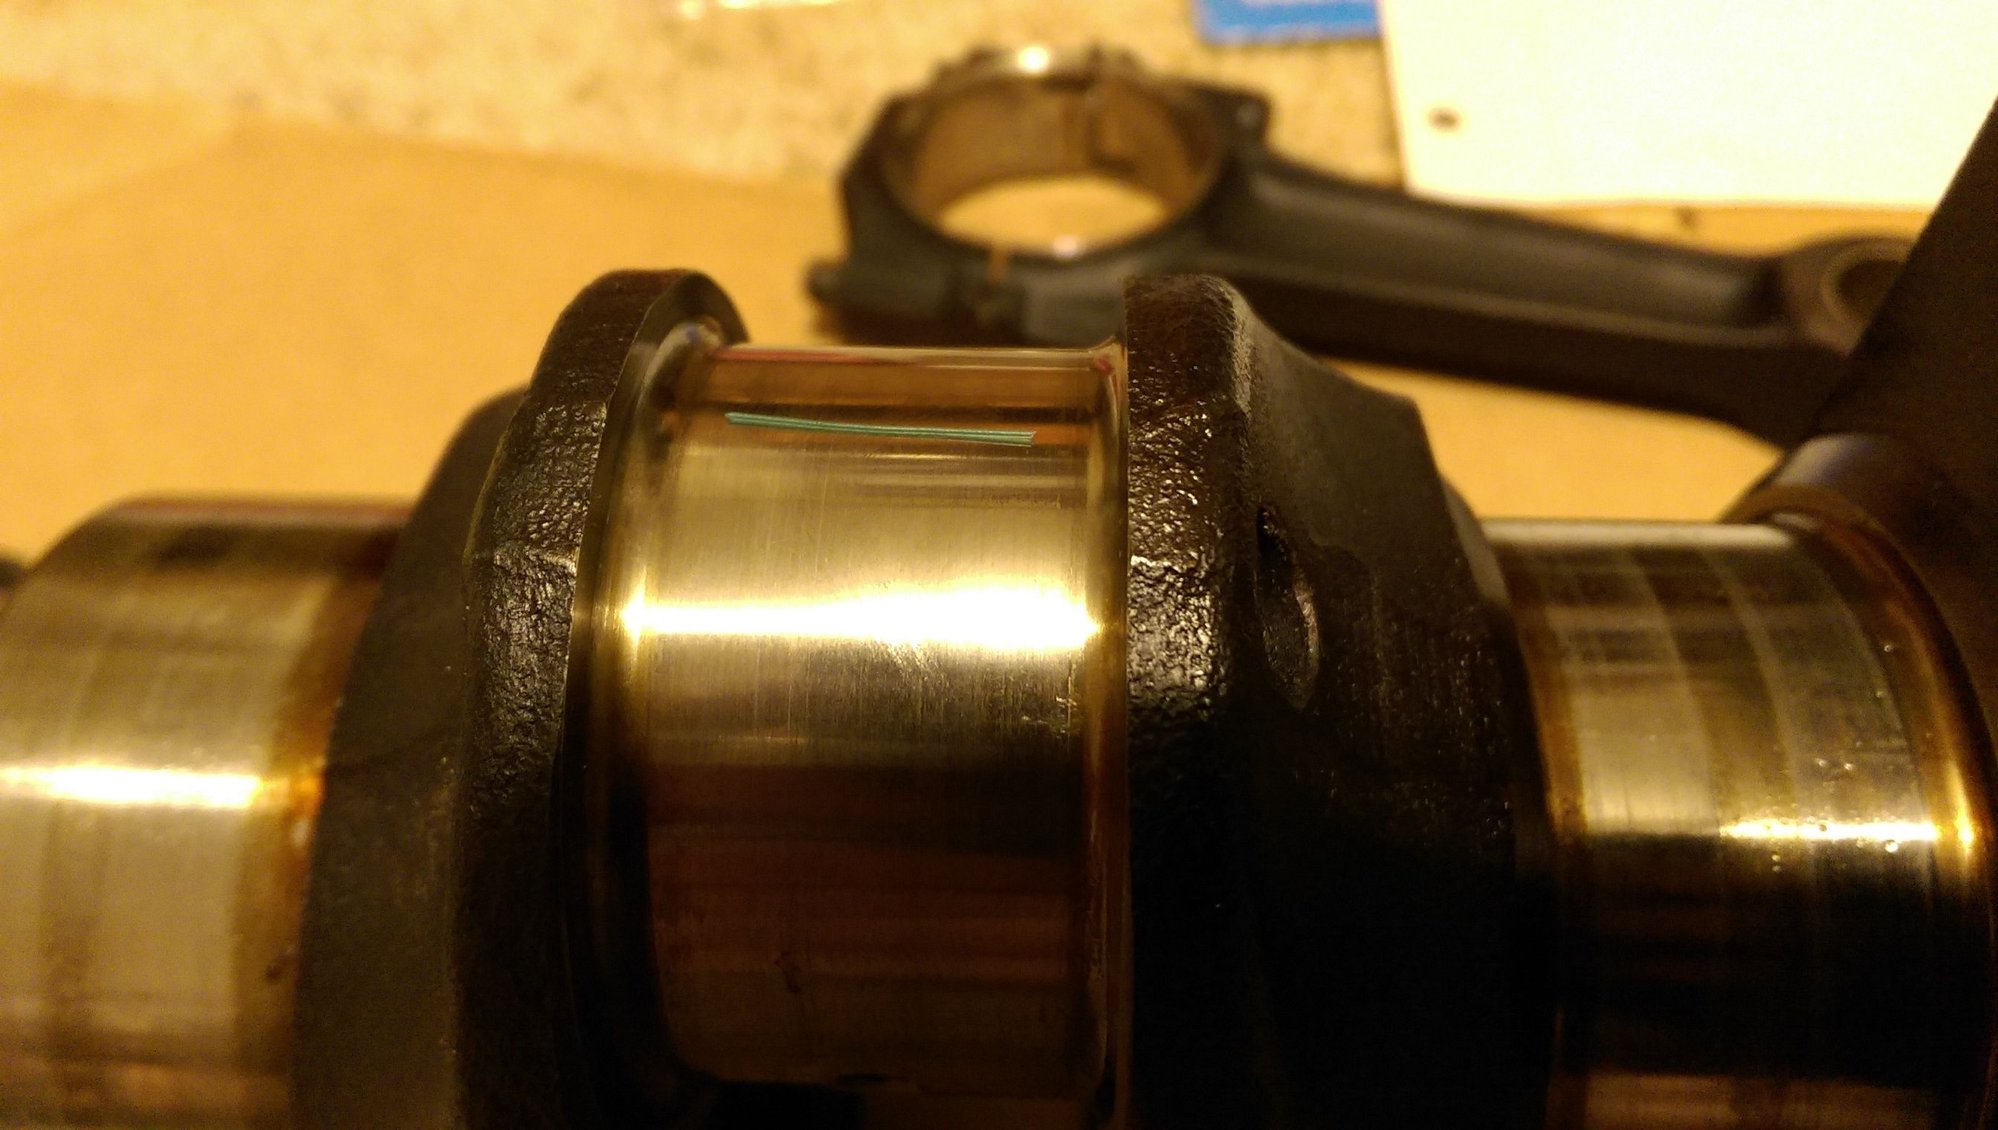
On the inside, there's a slight ledge. I test-fitted it to the crank with some Joe Gibbs assembly lube and I can make out a slight scratching when I spin it by hand. Is that anything to be concerned about? My instinct says I should get a replacement, but maybe it's normal and has no effect once the girdle is torqued and all... it's just an interference fit there. Just want to see what the experts think.
I took some basic/crude video of how to plastigage a 944 crank, with tolerances and methodology and all. If anyone here would find it useful I'm happy to upload.
Some other pics from the last few days:
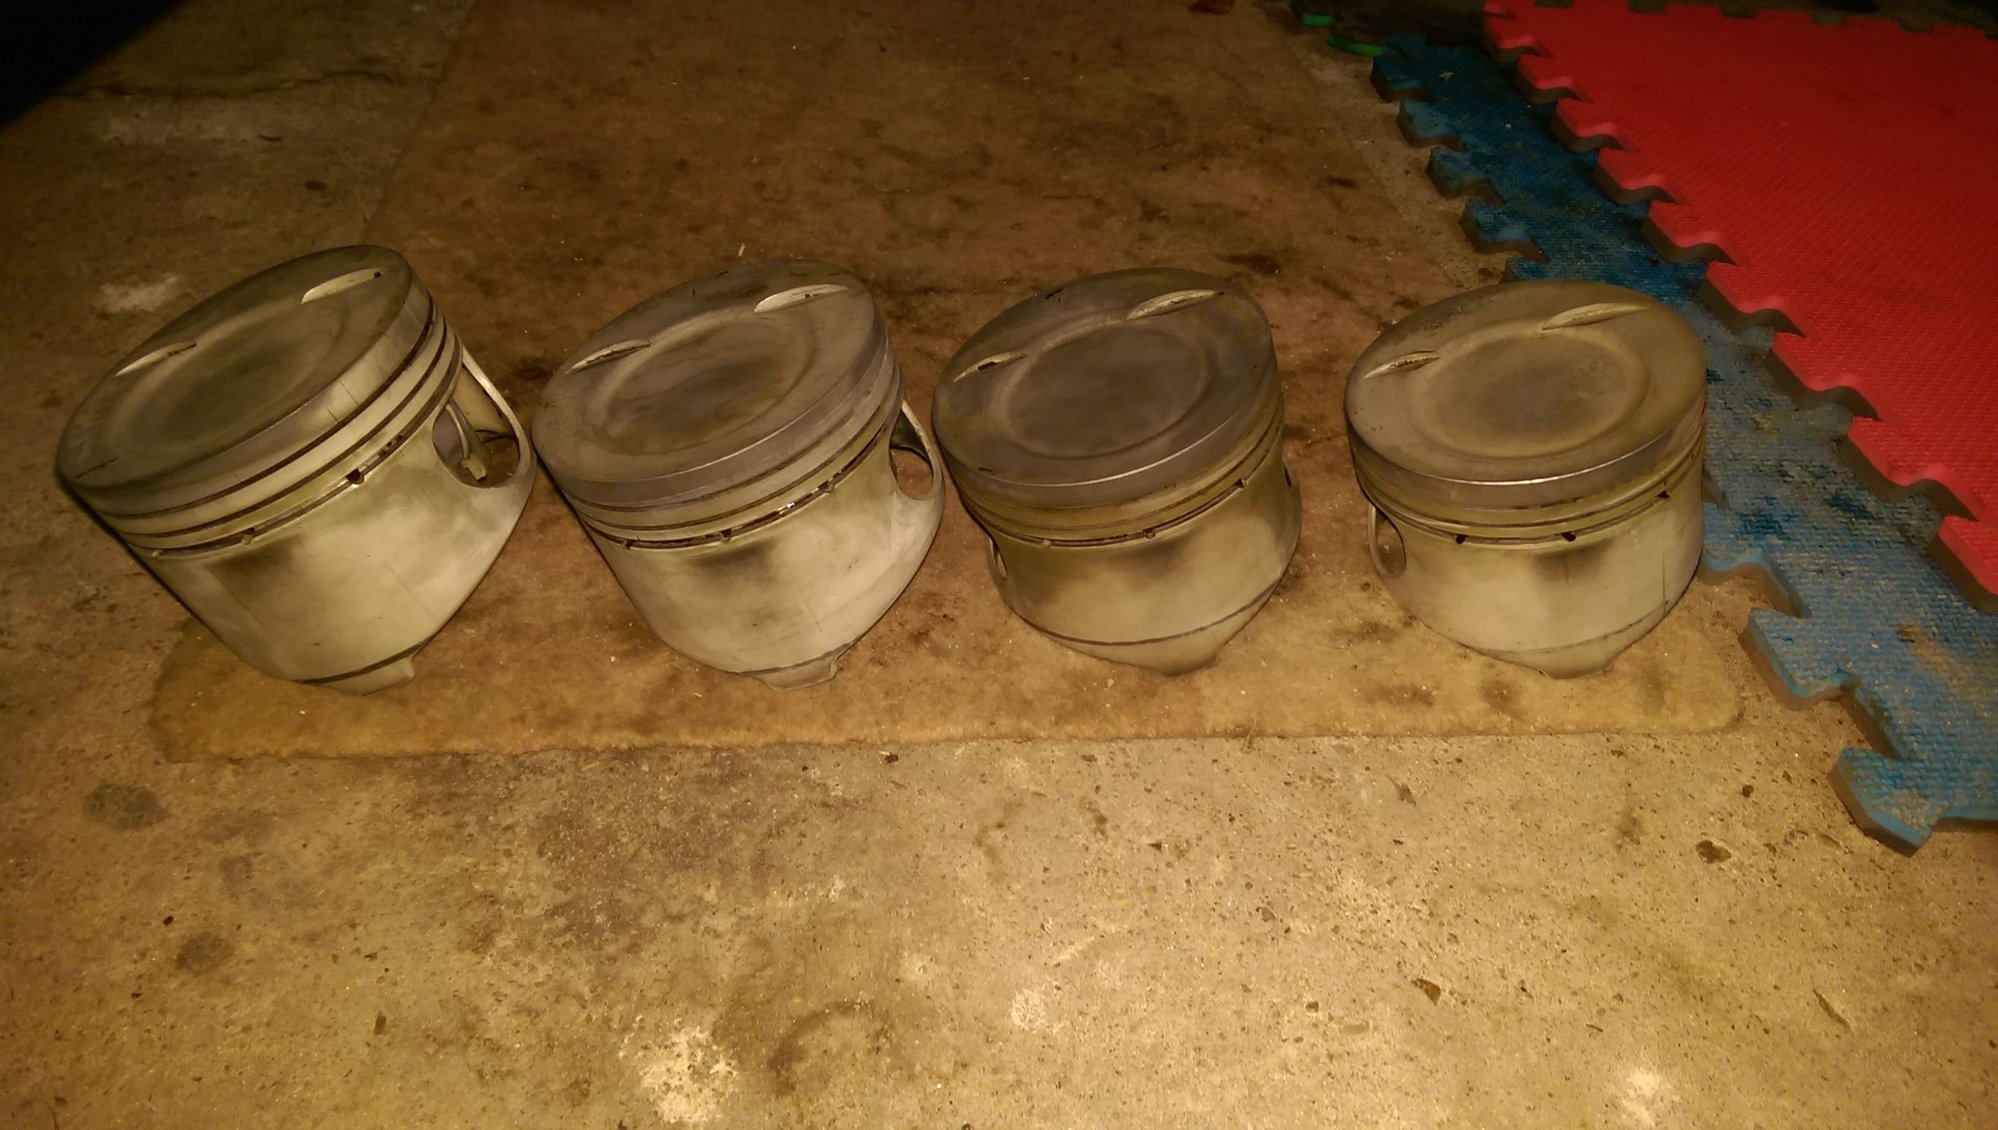
All 4 original NA pistons have evidence of valve contact. But it's weird, since it 100% had the original head gasket and whatnot... wonder what happened. All valves are straight.
I would love to on principle, but not in the budget for this build this'll just be a street motor. I usually shift below 5800 rpm because of the oiling anyway (especially with the early NA oil pump being lower volume). This new engine will be getting a diet of Redline or Motul oil... I'm not a brand *****, but those are just some of the thickest xW-50 oils on the market.
Funny to see someone else with parts in the house . I`m guilty myself . I built most of my motorcycle in the house . Everything was new , so it wasn`t like it was going to be making a mess .
I'm a young bachelor guy so I can get away with a lot it's also decorative... to me.
+1 Those were the days!!!!!! Now the kids would have it all lost, broken, or other scary things. I swear to GOD my 7 year old could find a way to BEND a crank in about 5 seconds. He would, I promise you. I couldn't do it TRYING to, but he could do it just looking at it...... You think I'm joking......
I'm no expert, but our cranks are a HECK of a lot harder than the bearings, from what I've read over in the racing forum about rod bearings and oiling and what not. You know, the famous spun 944 rod bearings. And the million pages of post about it.
So, personally, as a non-expert, I'd say your crank will file away any slight imperfection in the bearing post haste. But it MIGHT cause an issue till it does with the oil film and not float the bearing journal right.....
If I was in a pinch, and had no other choice, I'd likely run it. But since you're not in a hurry, and your not in a pinch, at the least I'd call LR and ask to talk to Mike. Tell him what you're seeing and ask him what he thinks you should do.
In other news, thanks for the parts!!!! Once I can turn my attention back to the P-car, she'll really thank you for em!!!!
Yeah, I've been impressed with the crank as well. I did some tests and decided to move forward... applying pressure seemed to do the trick. And no problem, hope the parts serve you well!
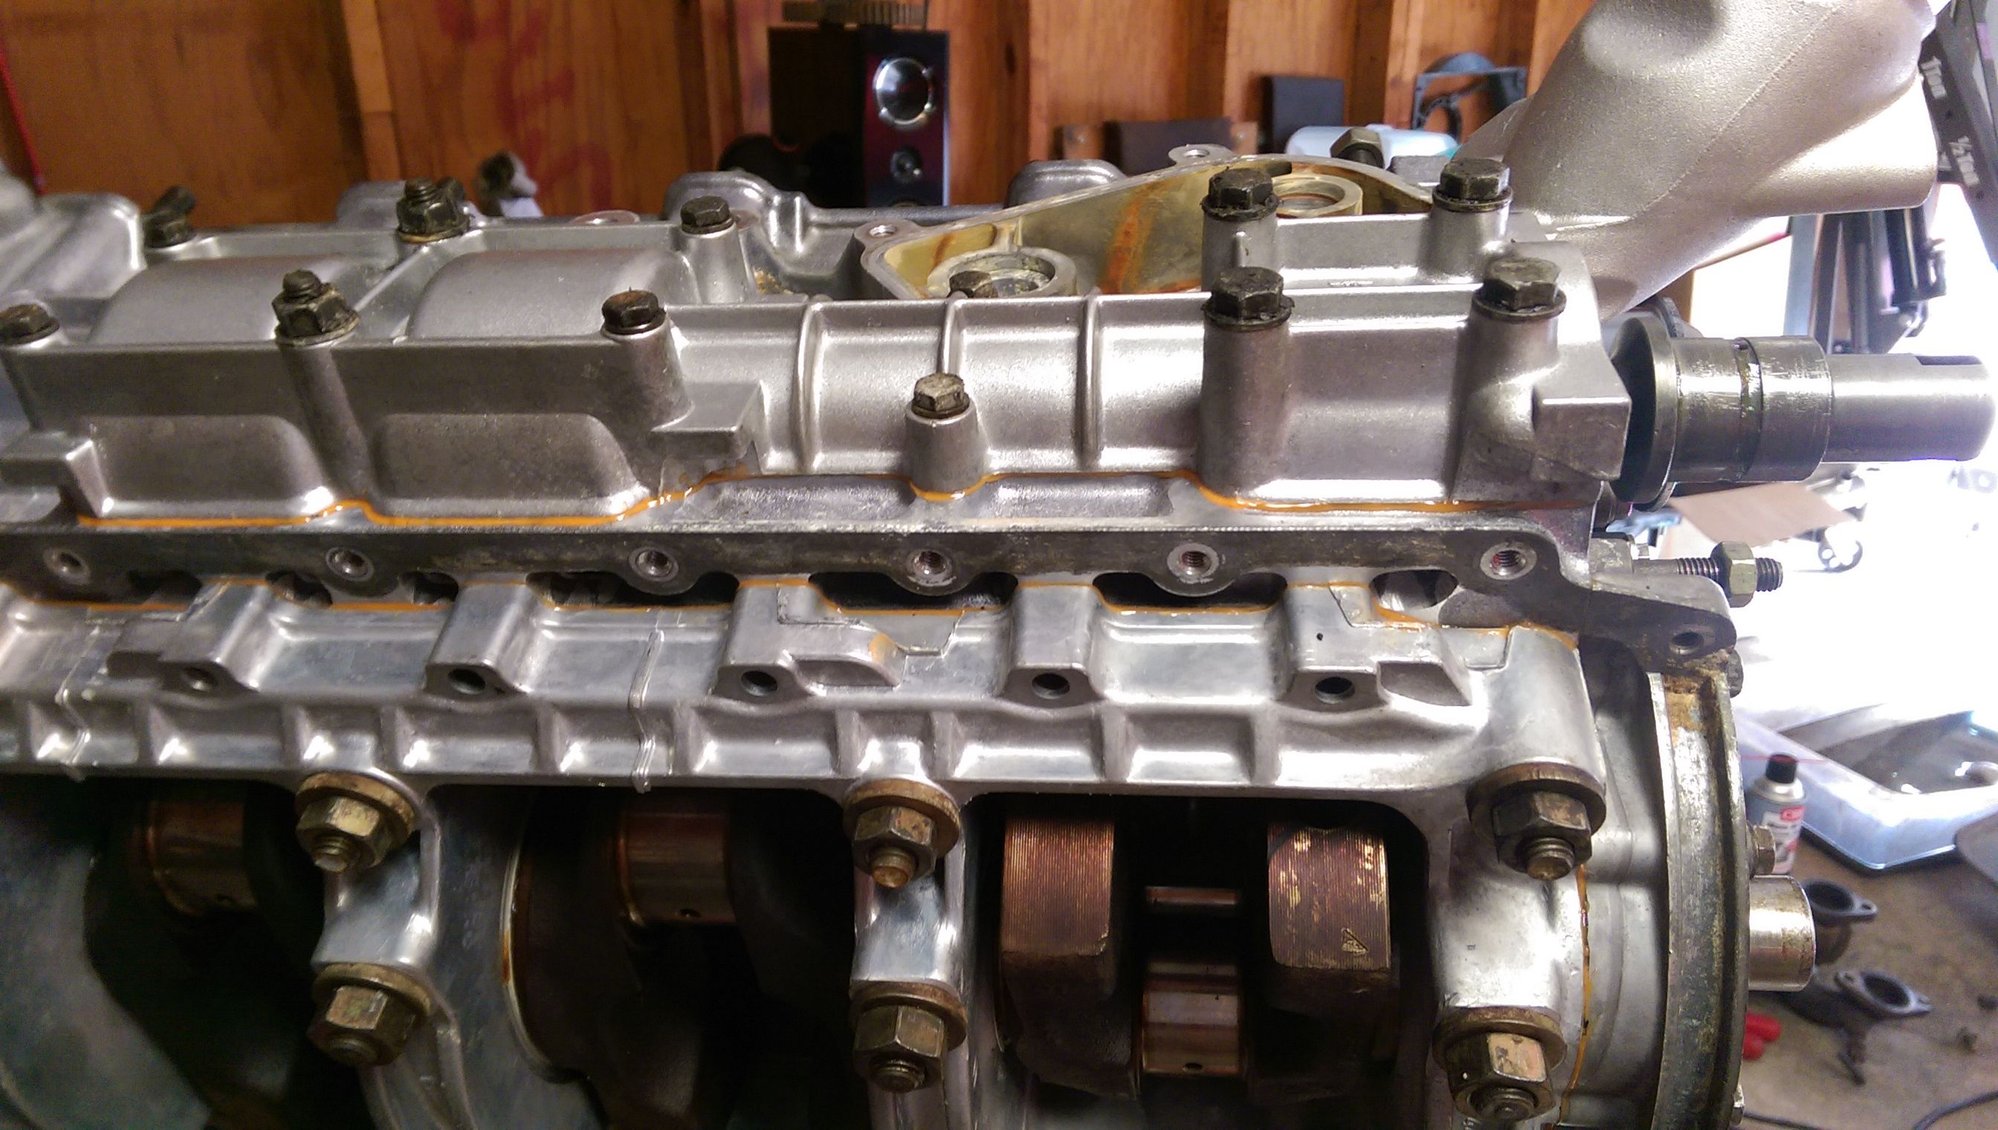
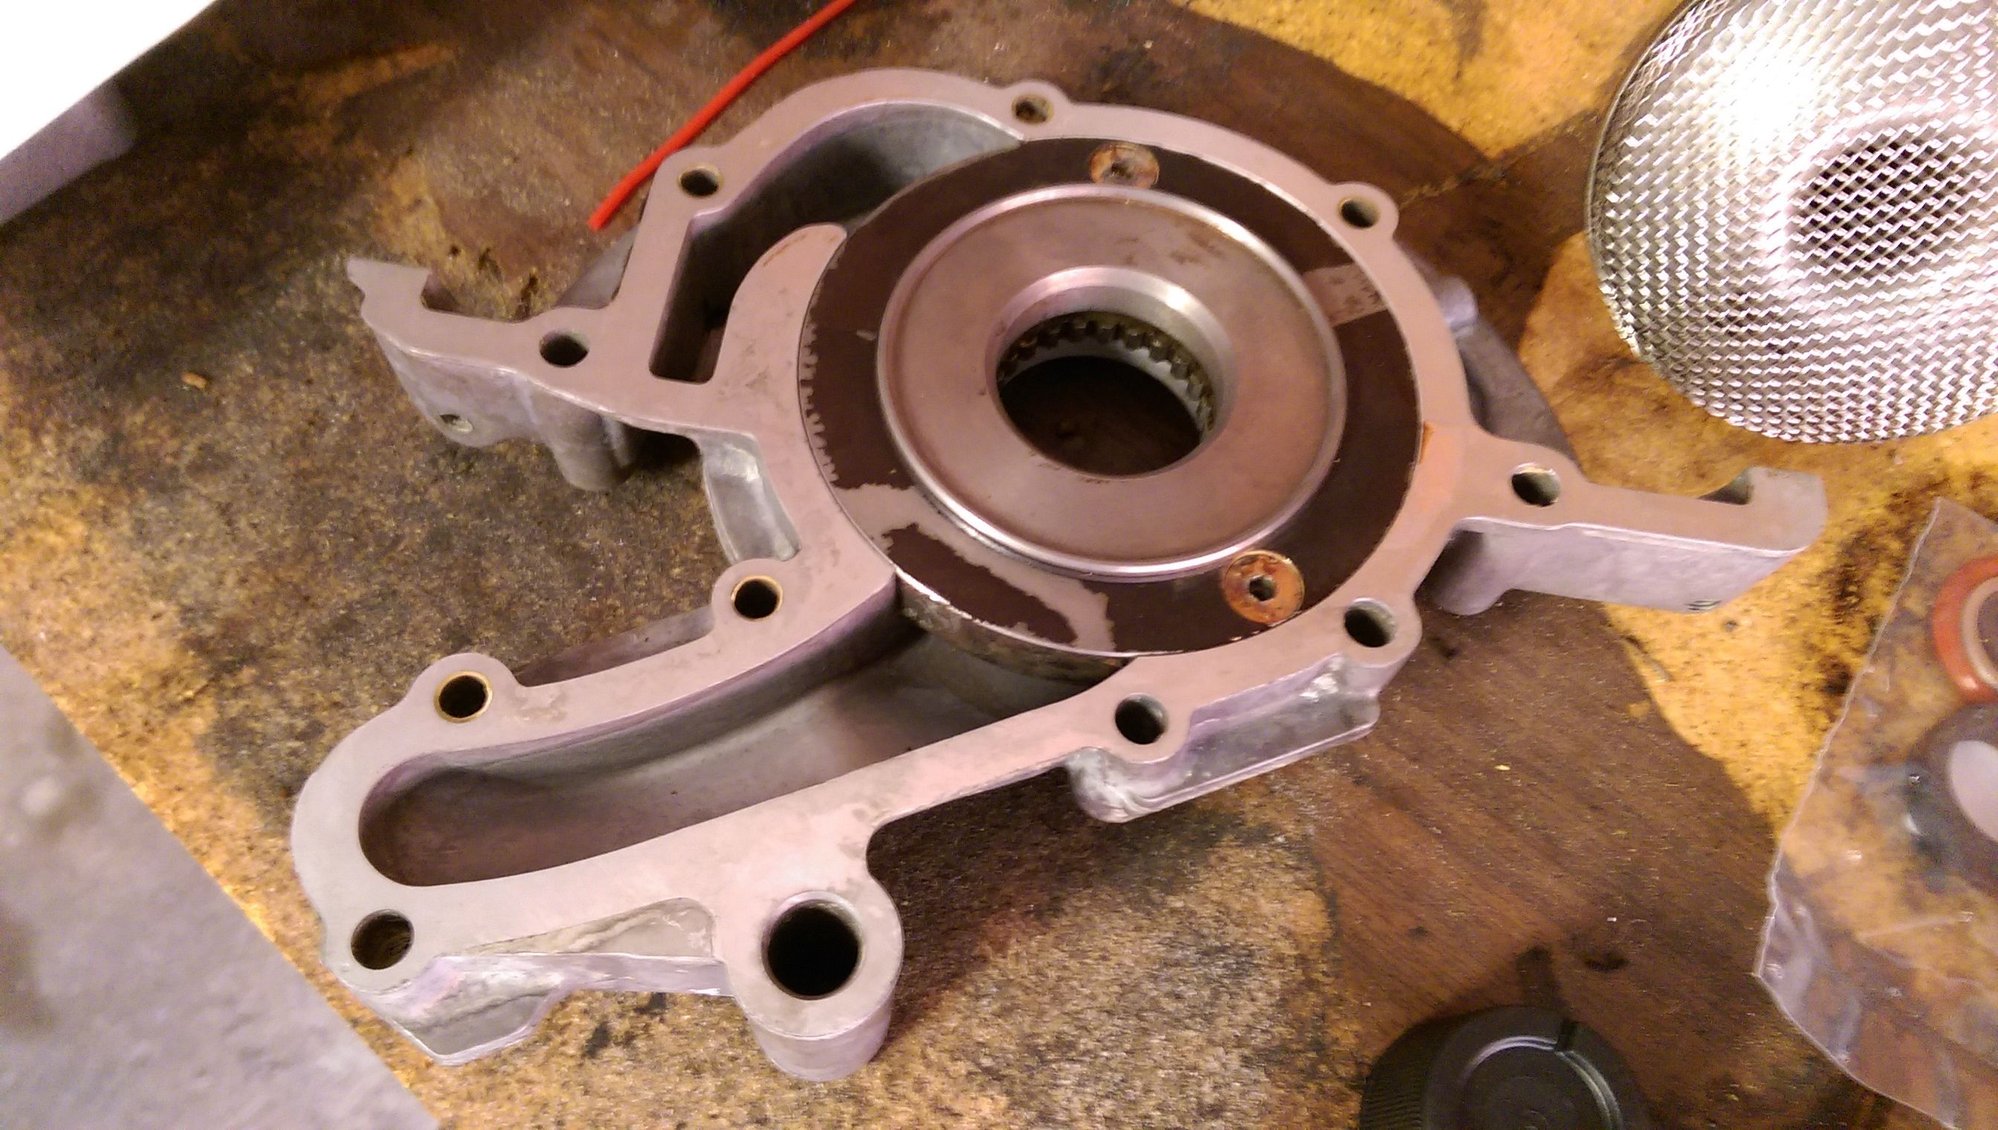
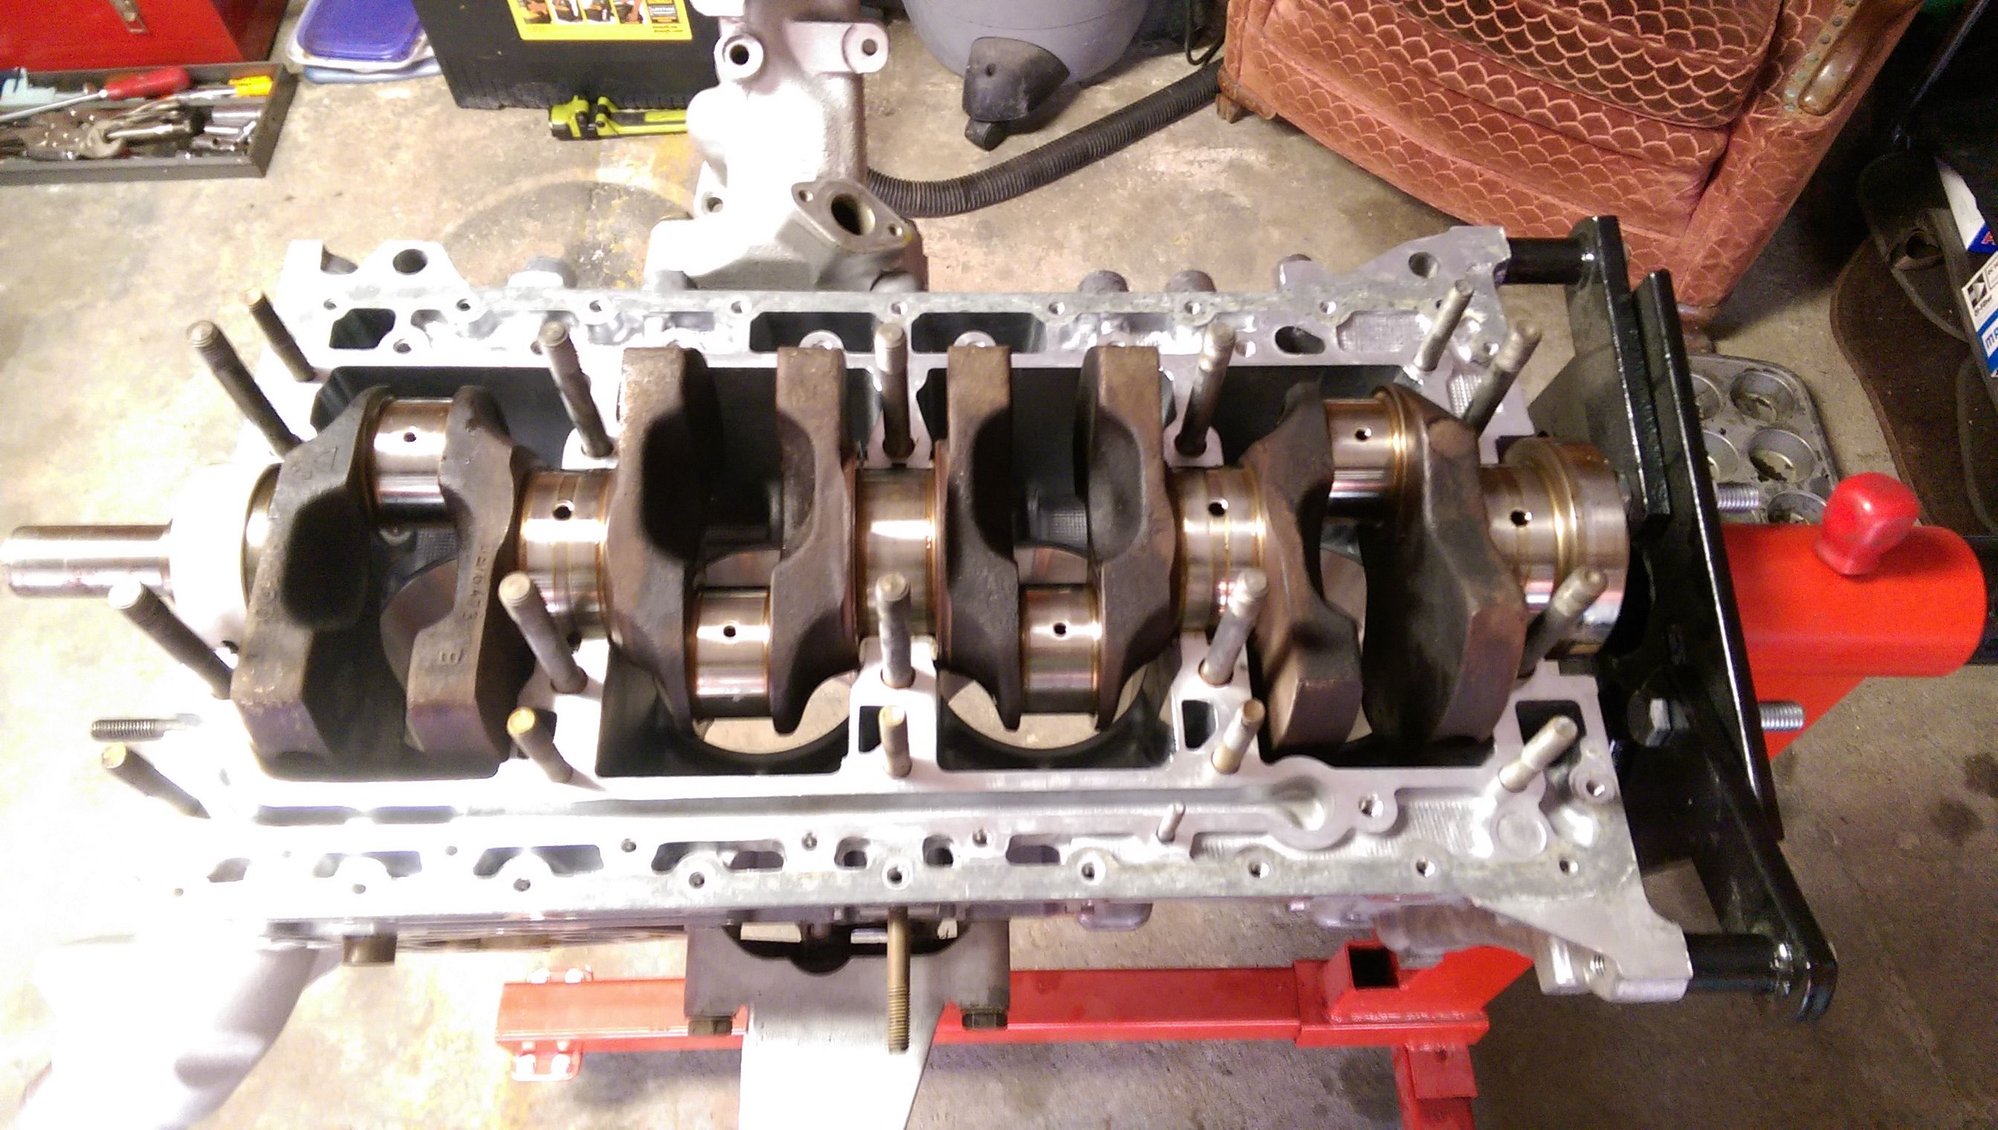
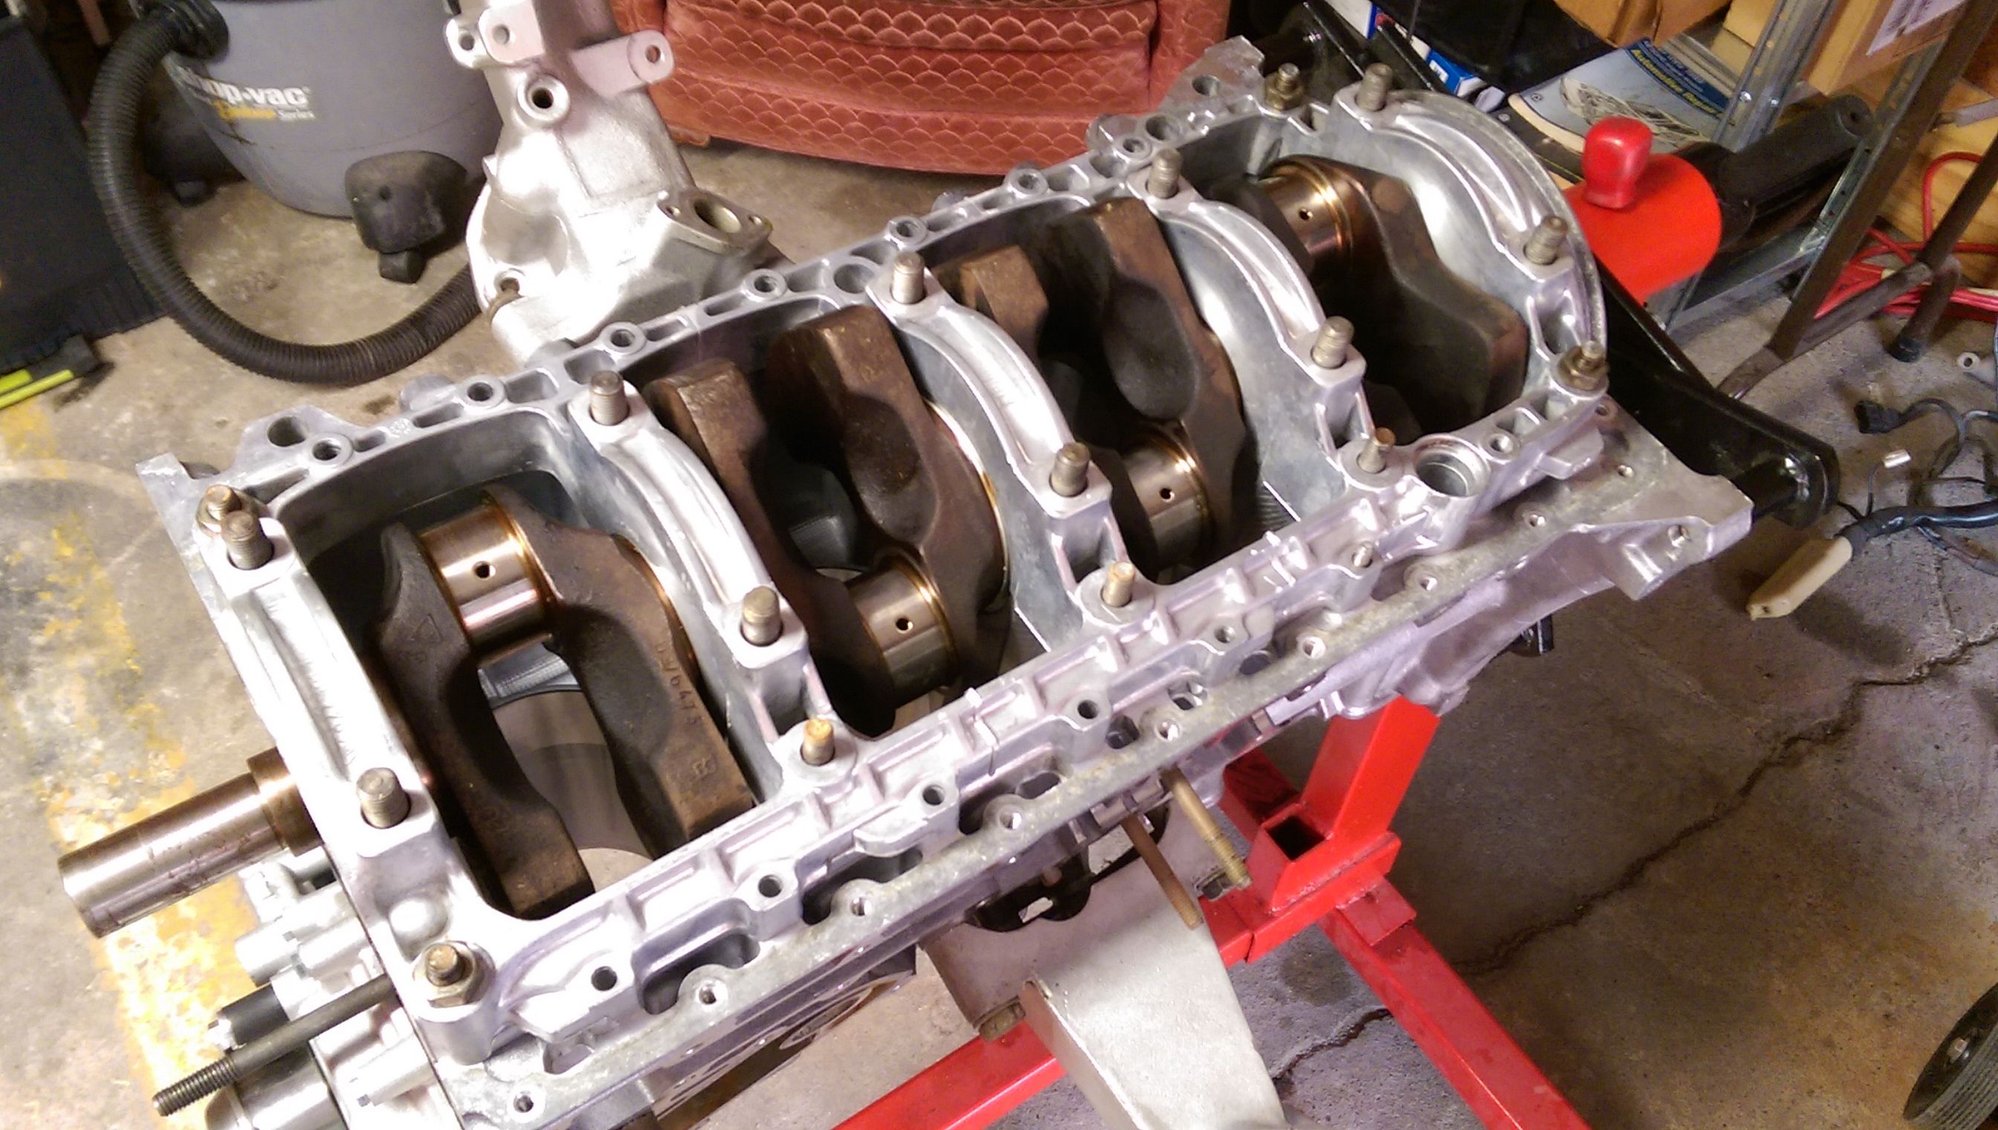
So, this morning I assembled the oil pump (using the Loctite 574) and installed the crank into the block. Went great until I finished up and wasn't happy with the offset between the girdle and the block, on the face where the oil pump is installed. The lip/offset caught a nail, despite doing my best to align it with a mallet. The WSM says to use an oil stone to get it as close as possible. I decided to just disassemble and do it again, this time using the oil pump itself as a jig to align the 2 parts. Worked great! Although I'm pissed that my clean working surfaces were compromised with semi-dry loctite 574. Hopefully there's oil pressure...
Here are some pics from today:
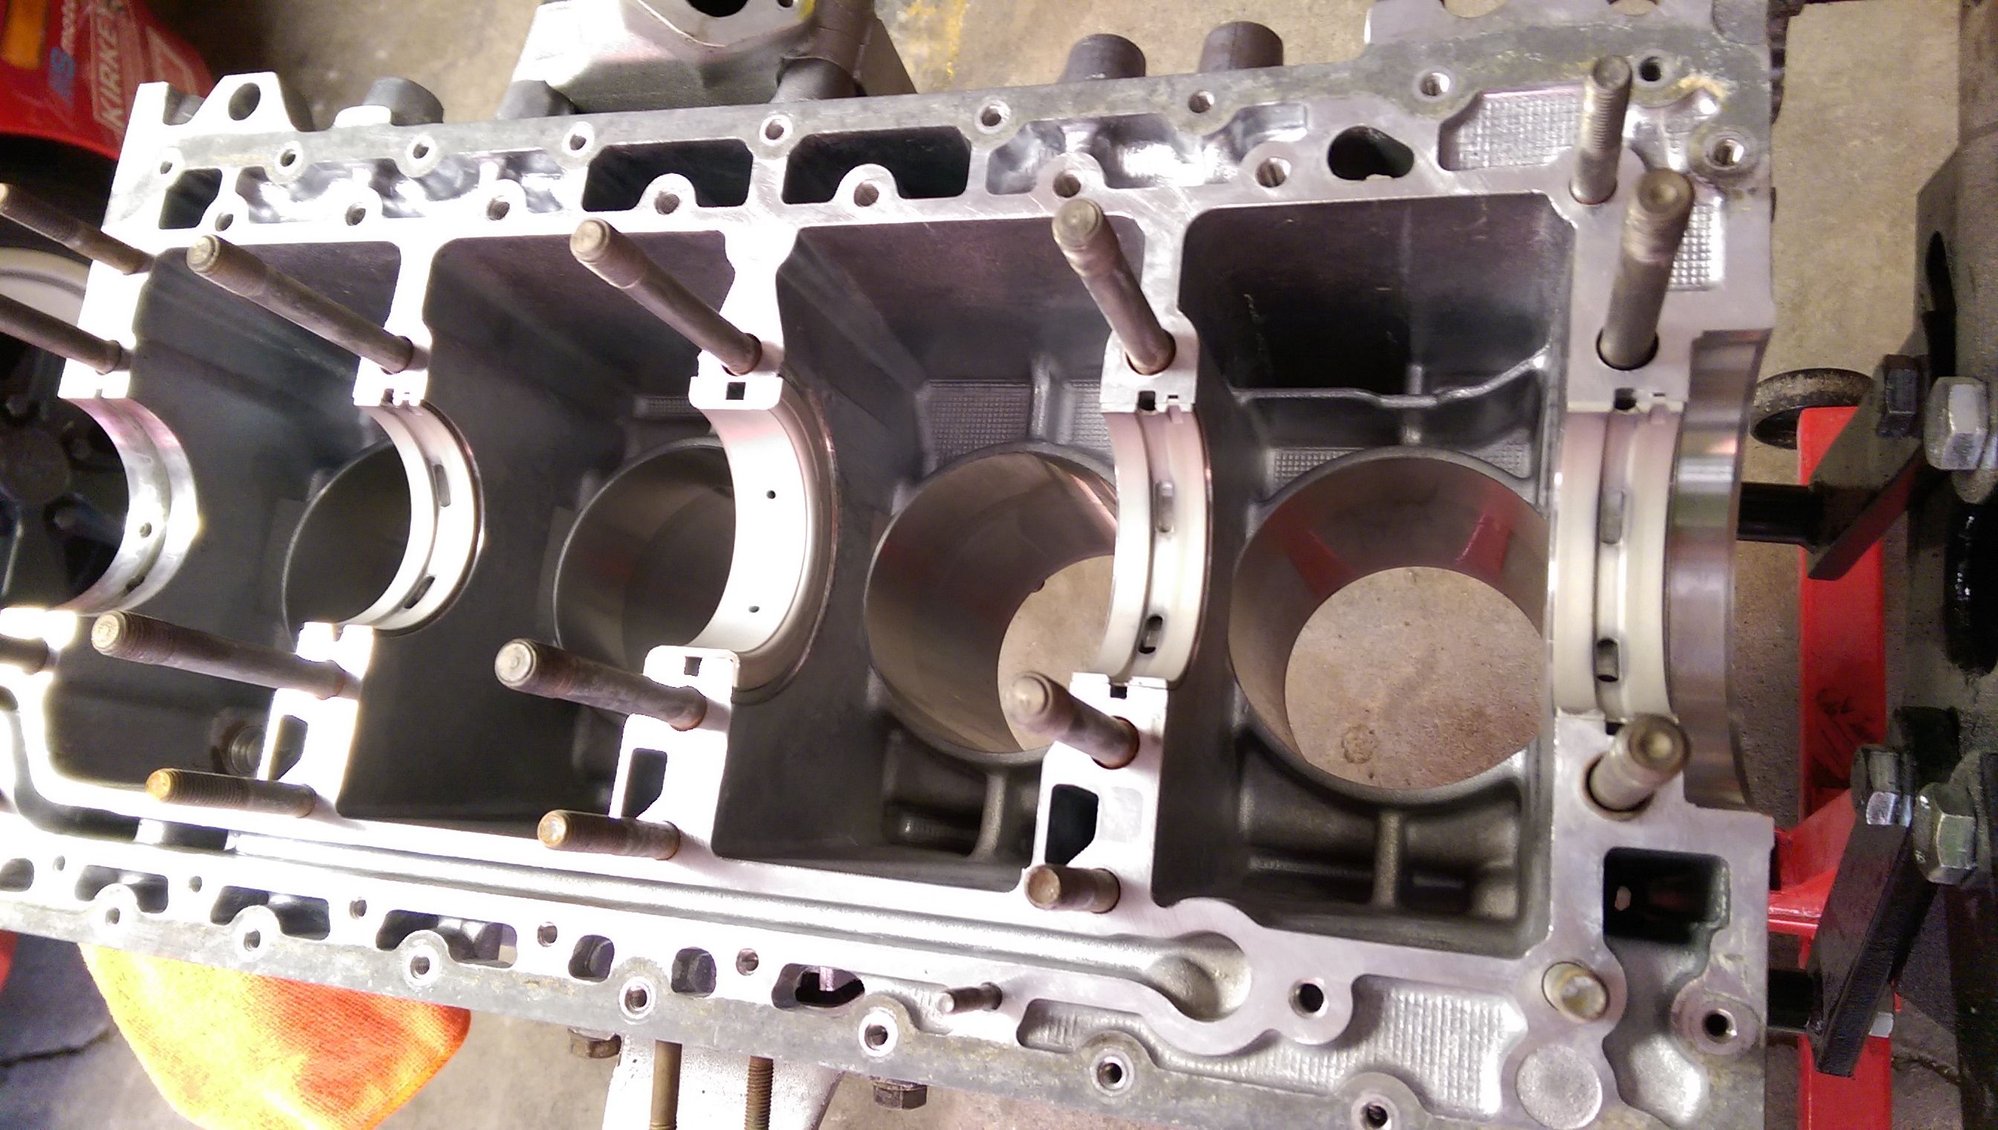
For the half-shell bearings in the block, the WSM calls for the grooved halves to be installed.
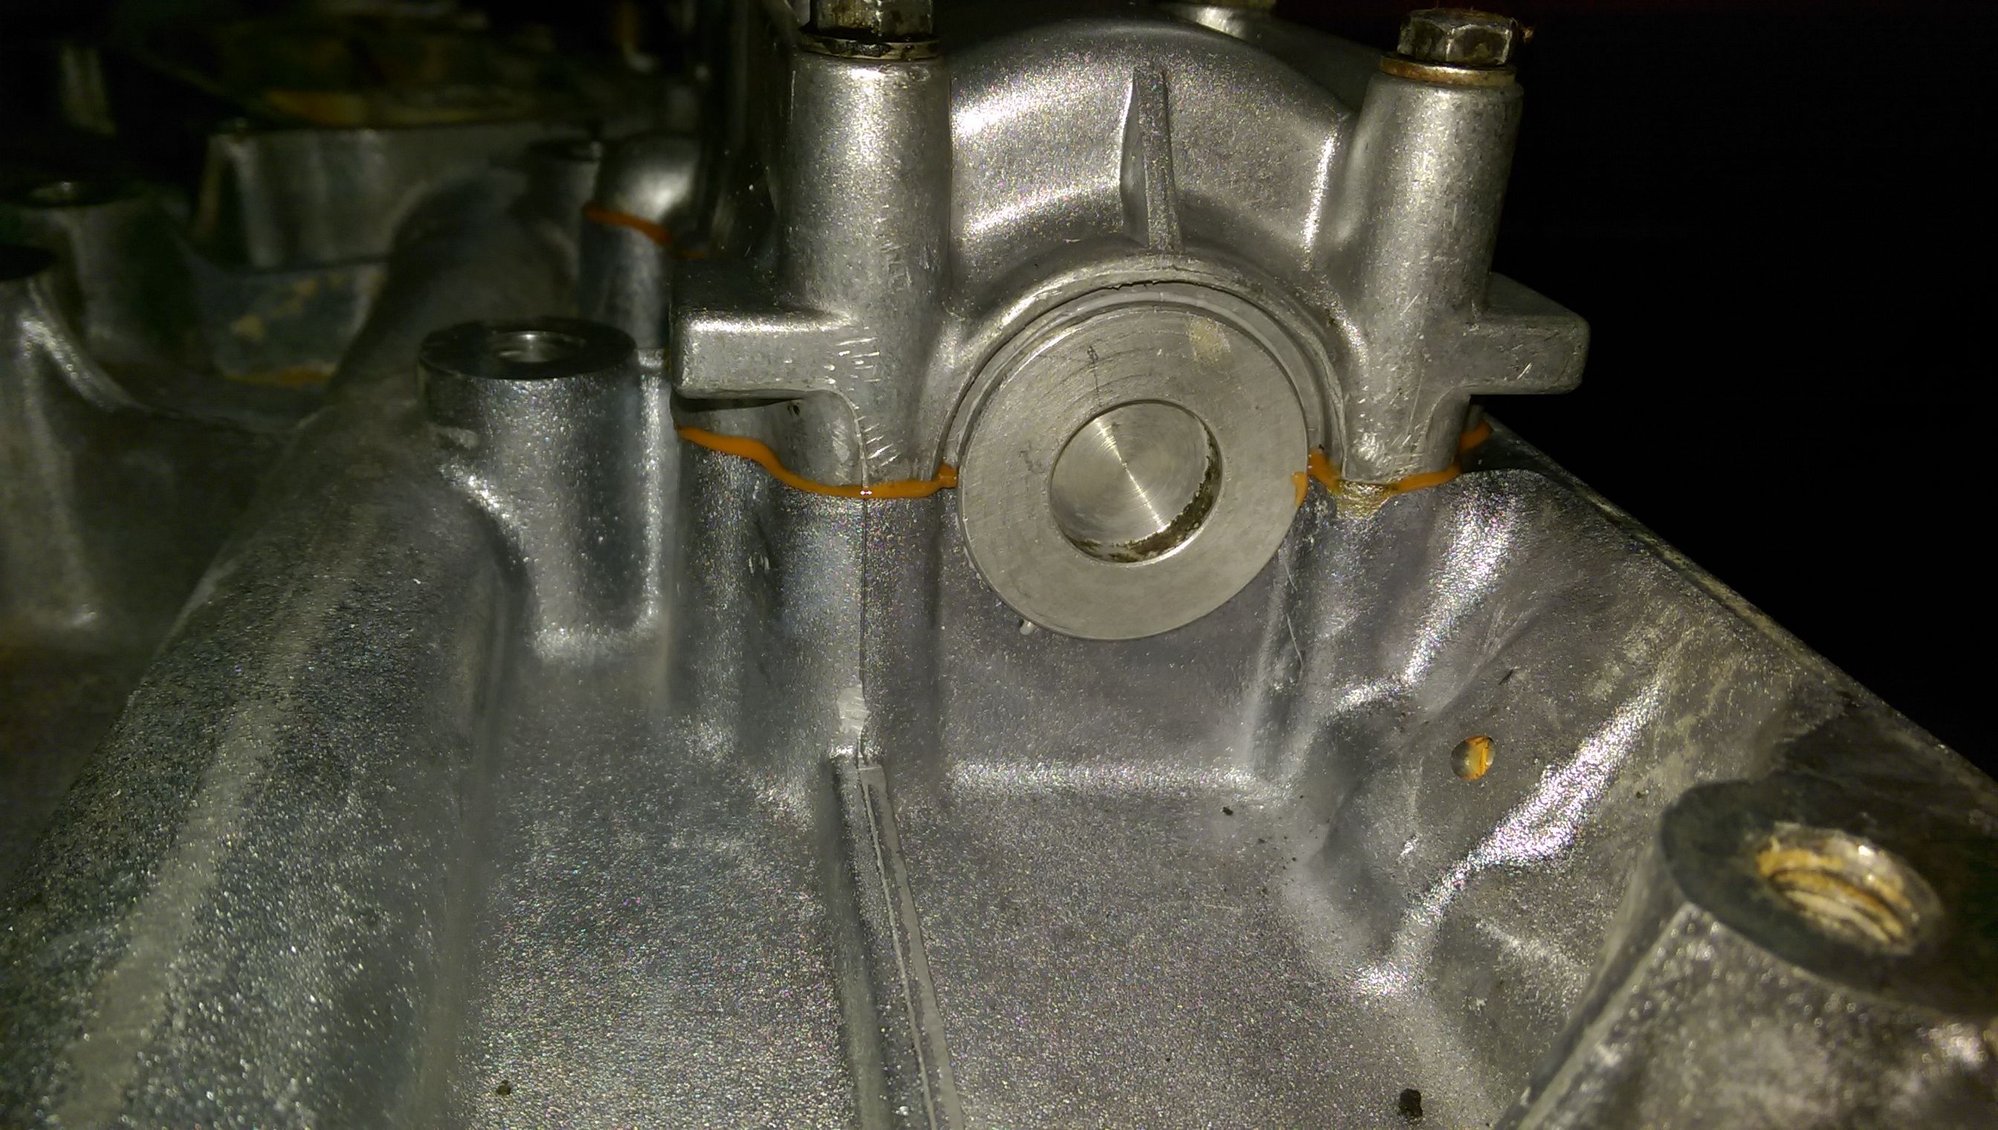
That #1 main bearing has me worried again. This is with it centered on the roll pin in the block. Is this offset of the oil passage ok?
That oil passage doesn't seem right to me, but I've never been this far in (yet). If I end up taking mine off in the next week I'll see what mine looks like. But I don't get why it would be offset like that.....
It may be to do with the '82 block being slightly different. Although the WSM says to use these bearings in '82-85 blocks explicitly. I also noticed my girdle has a 1980 date stamp on it (???) so who knows what sort of factory mutt this engine is.
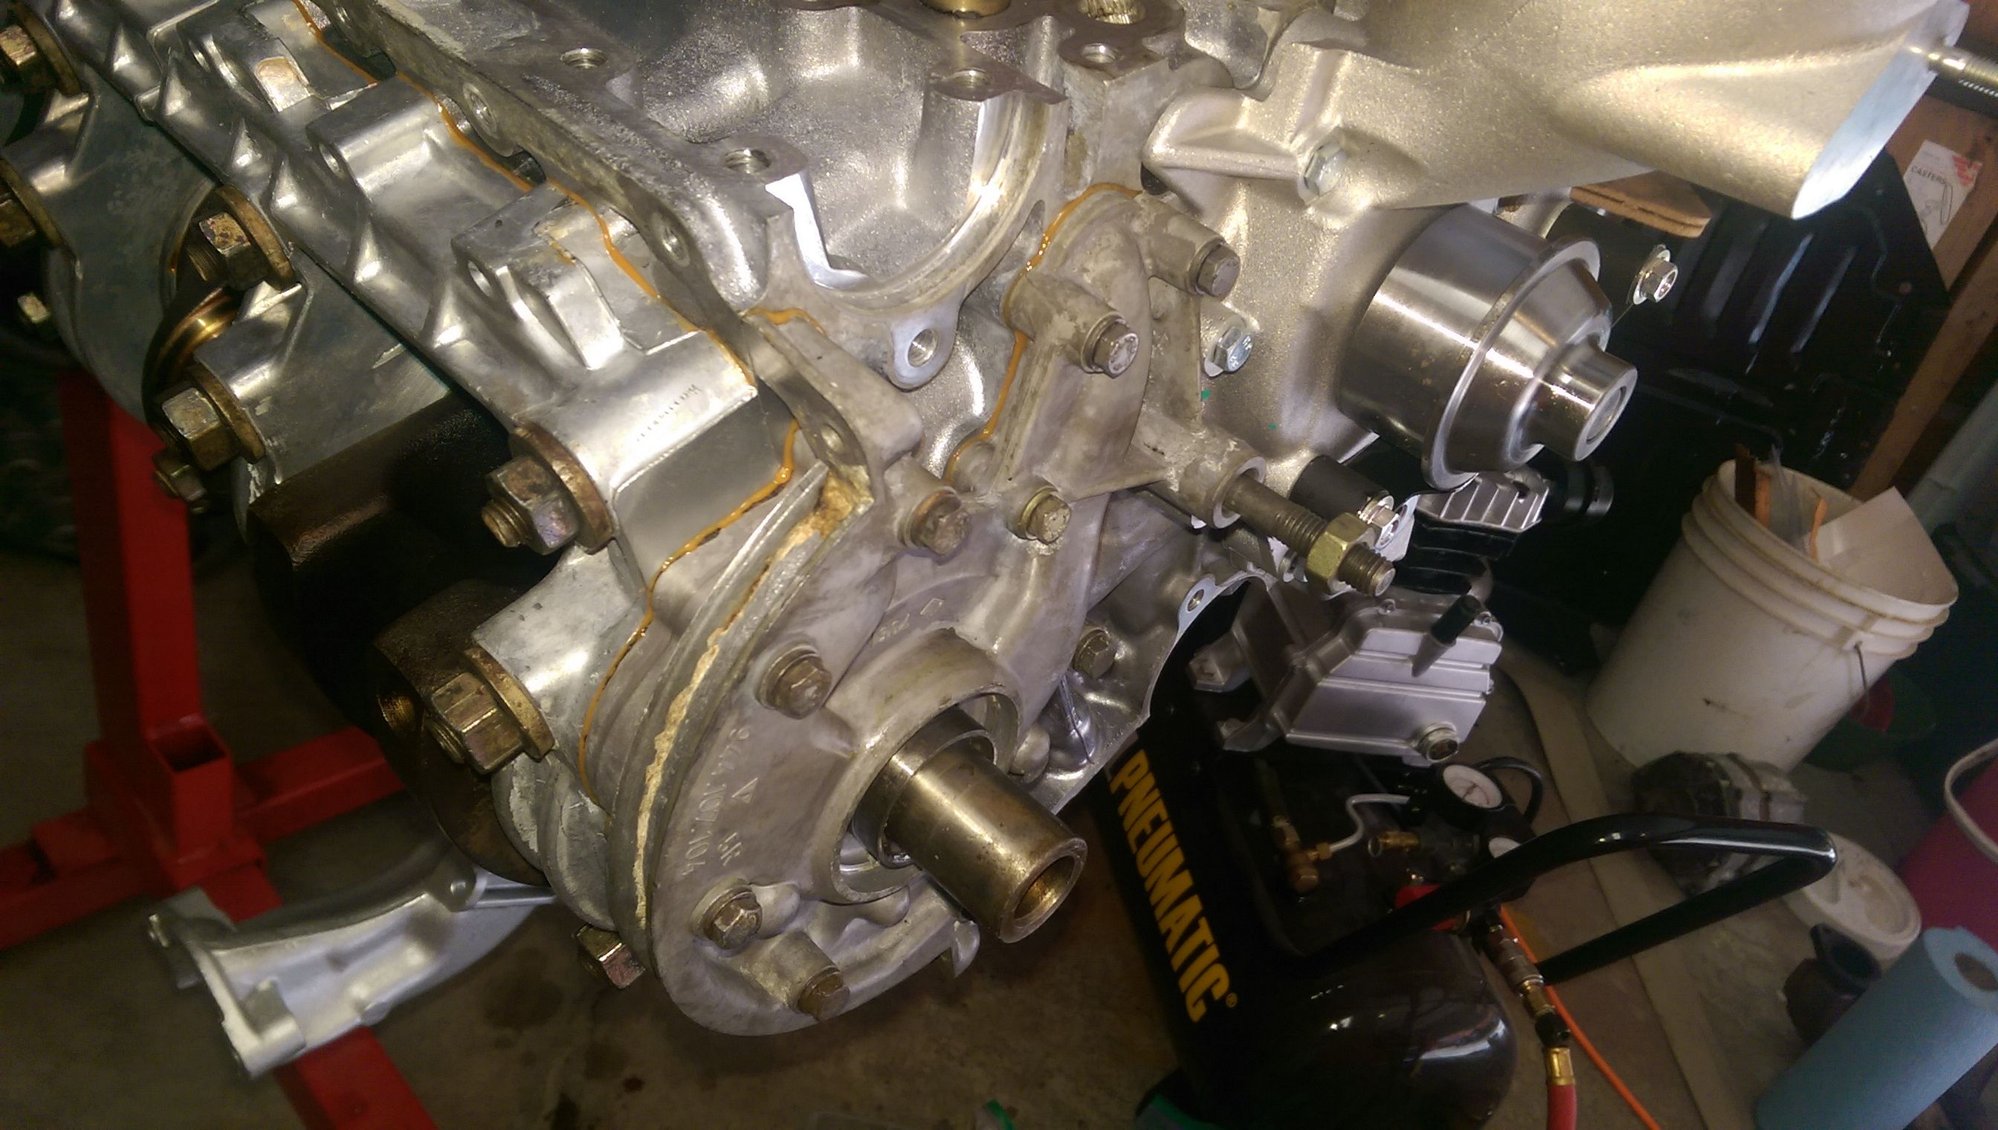
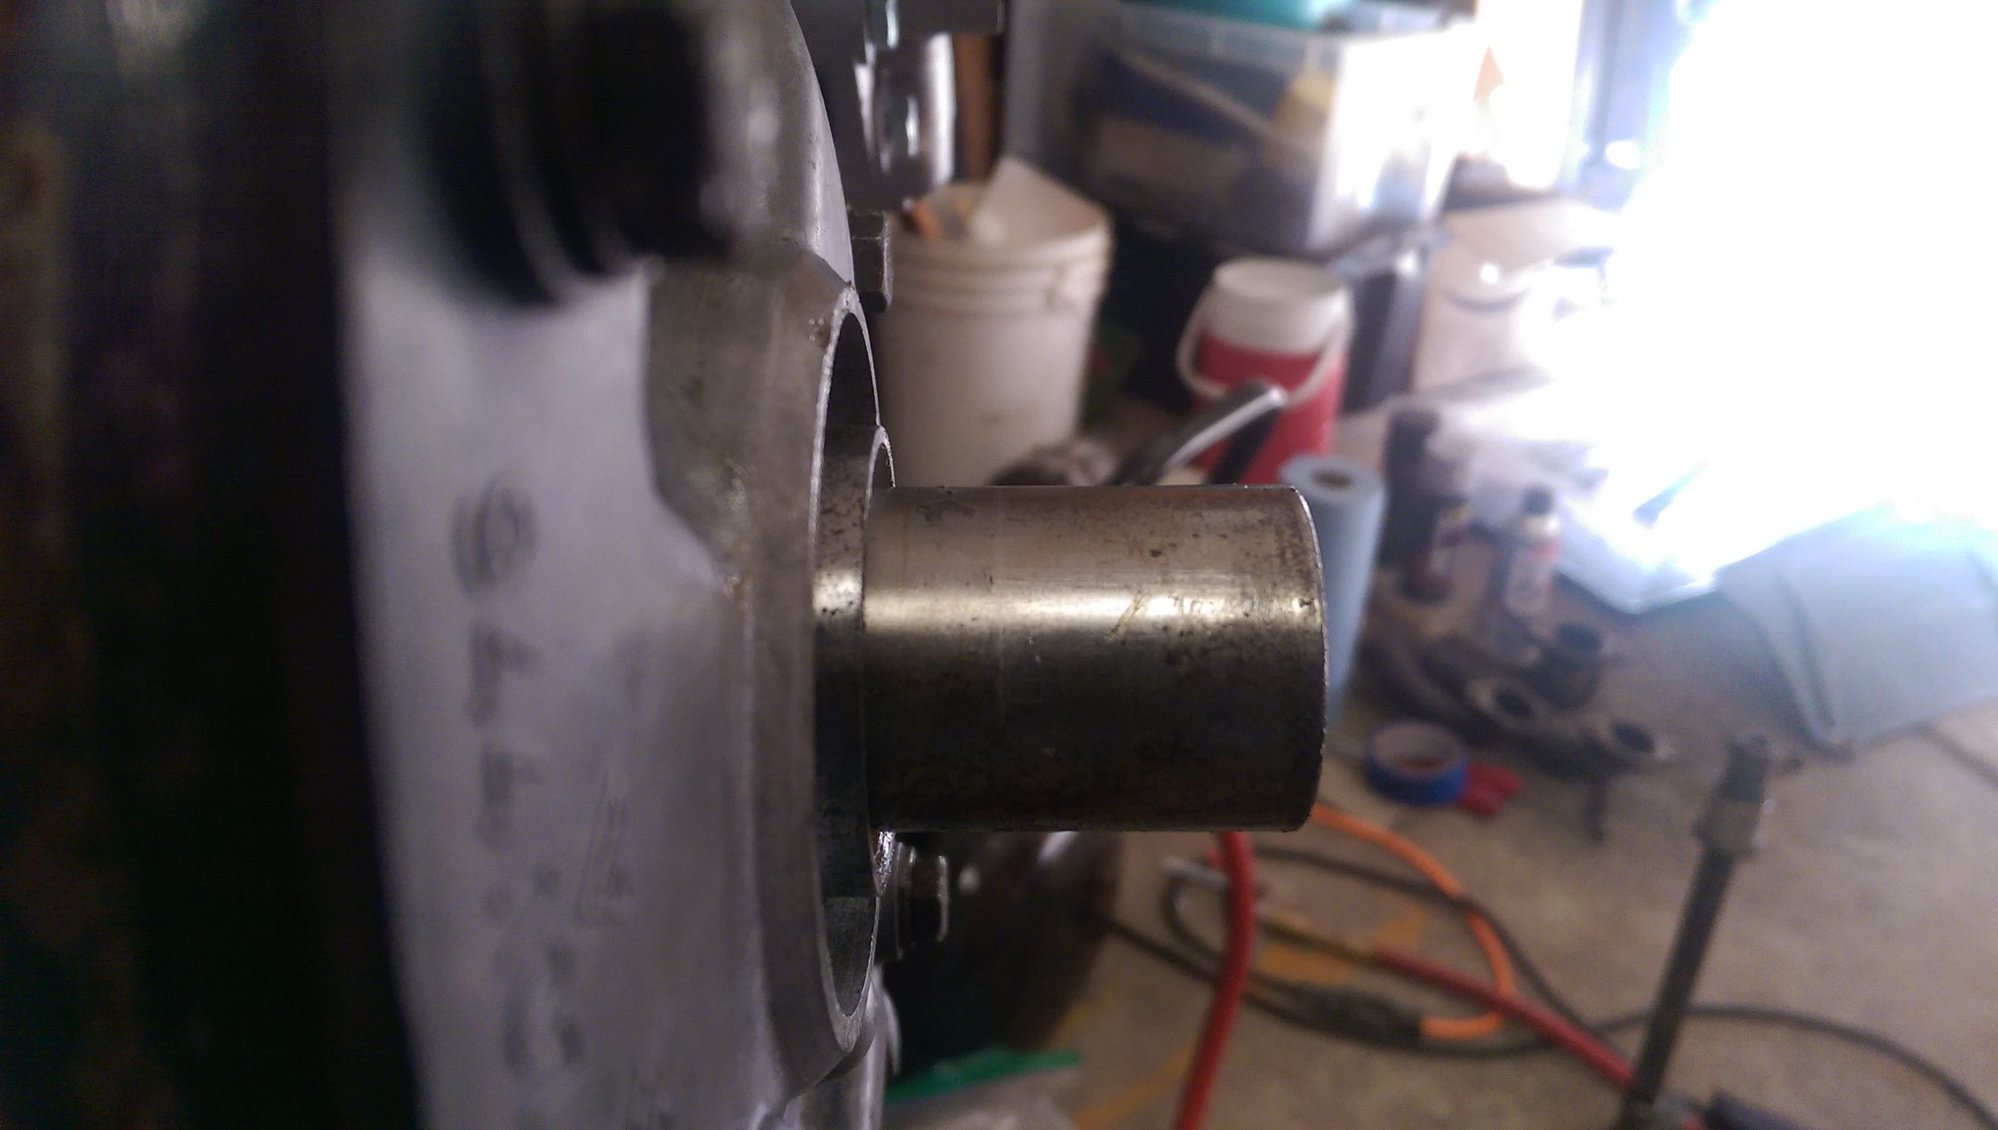
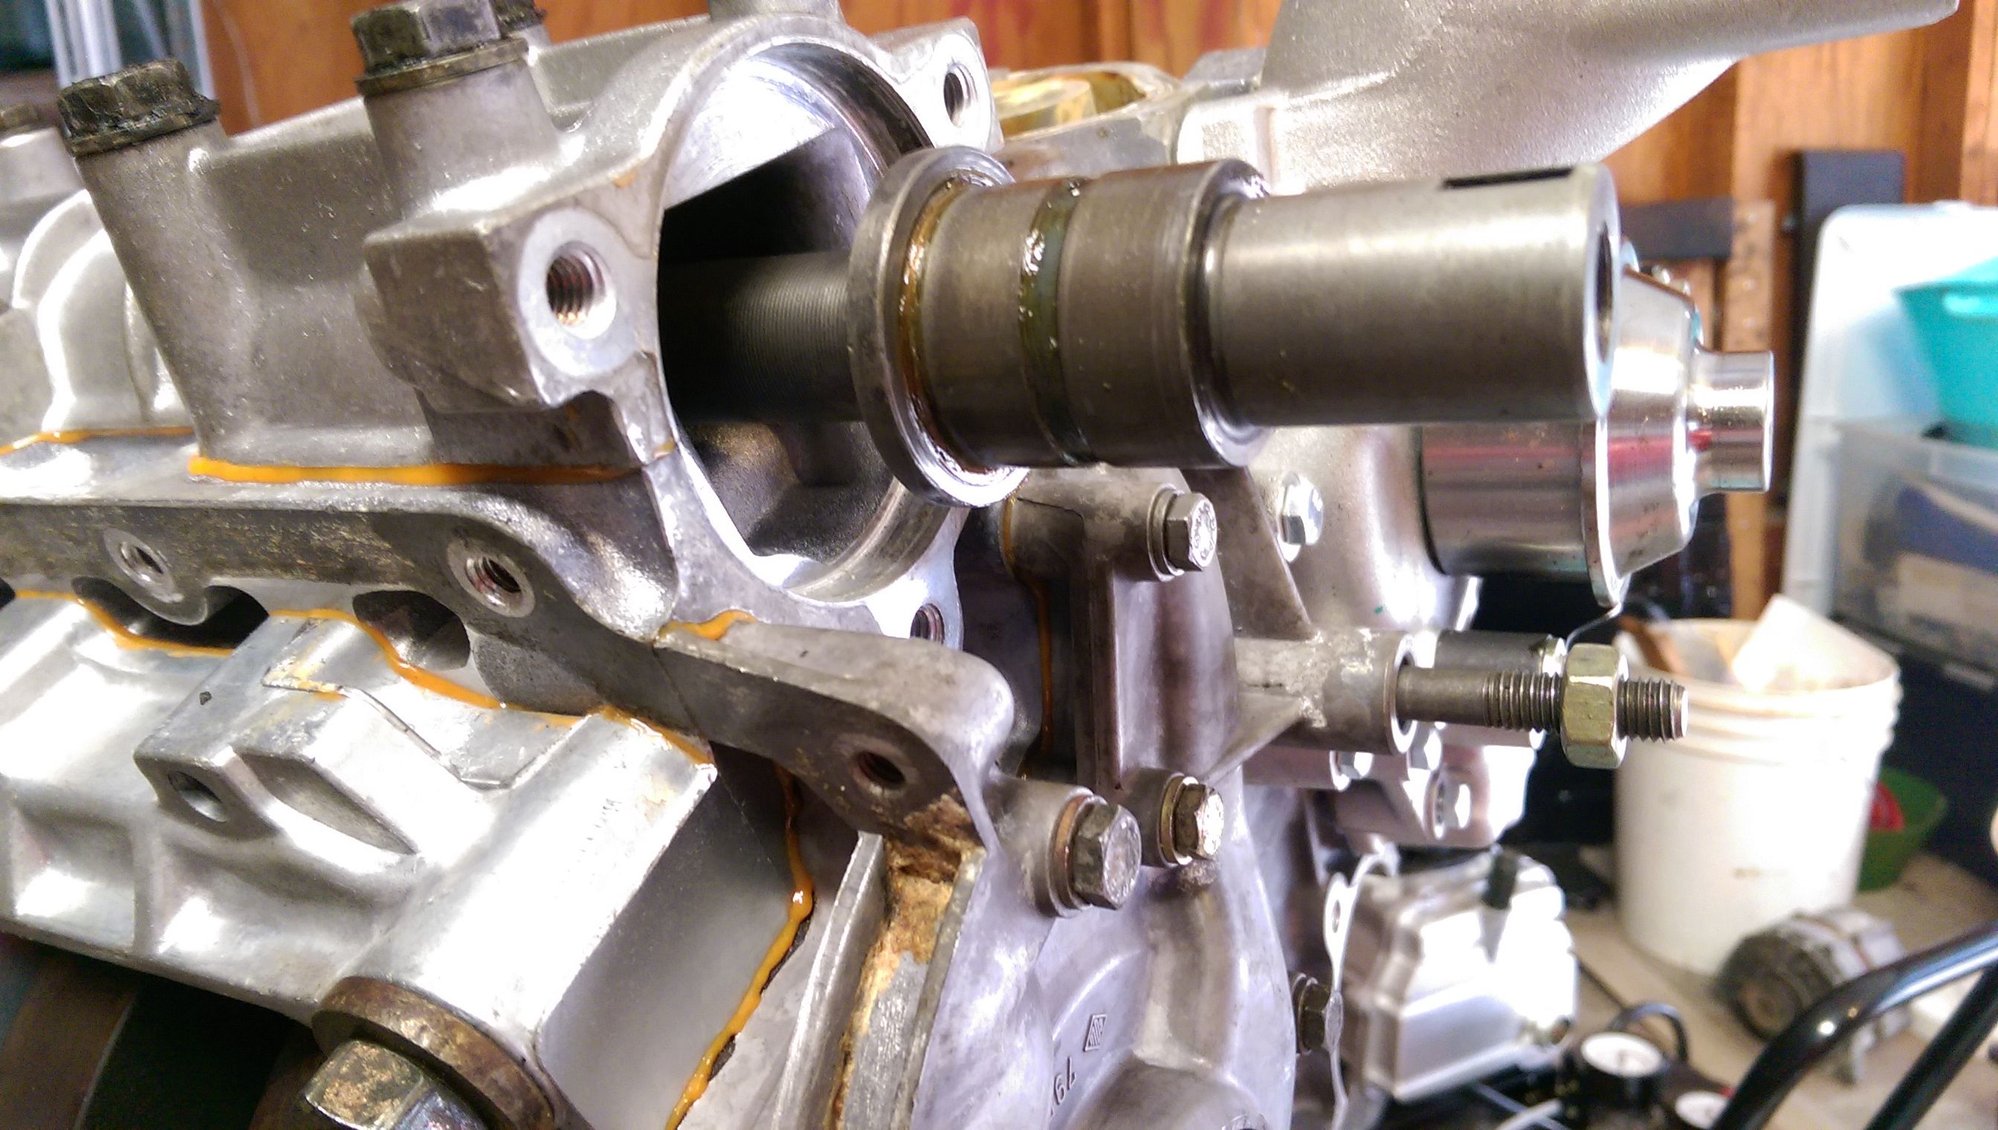
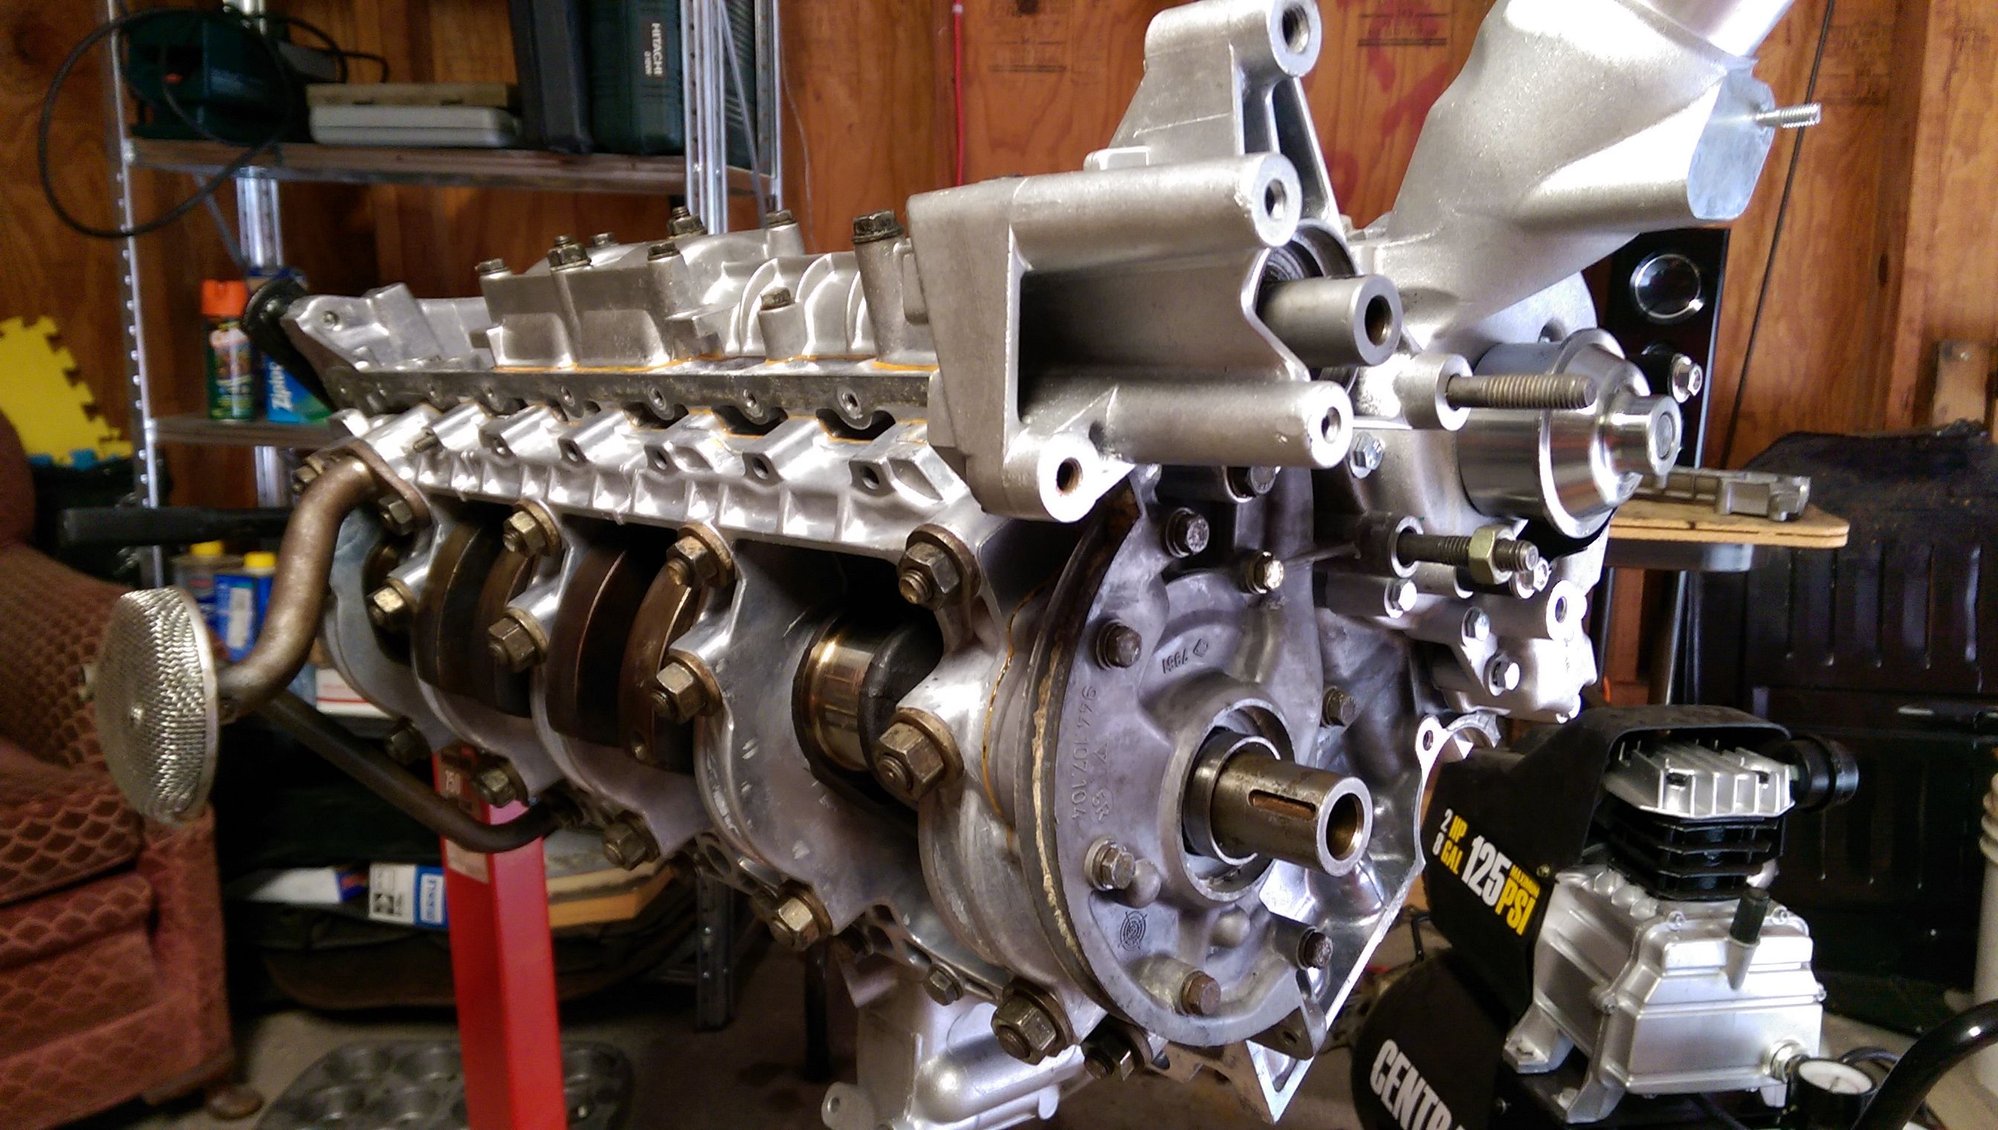
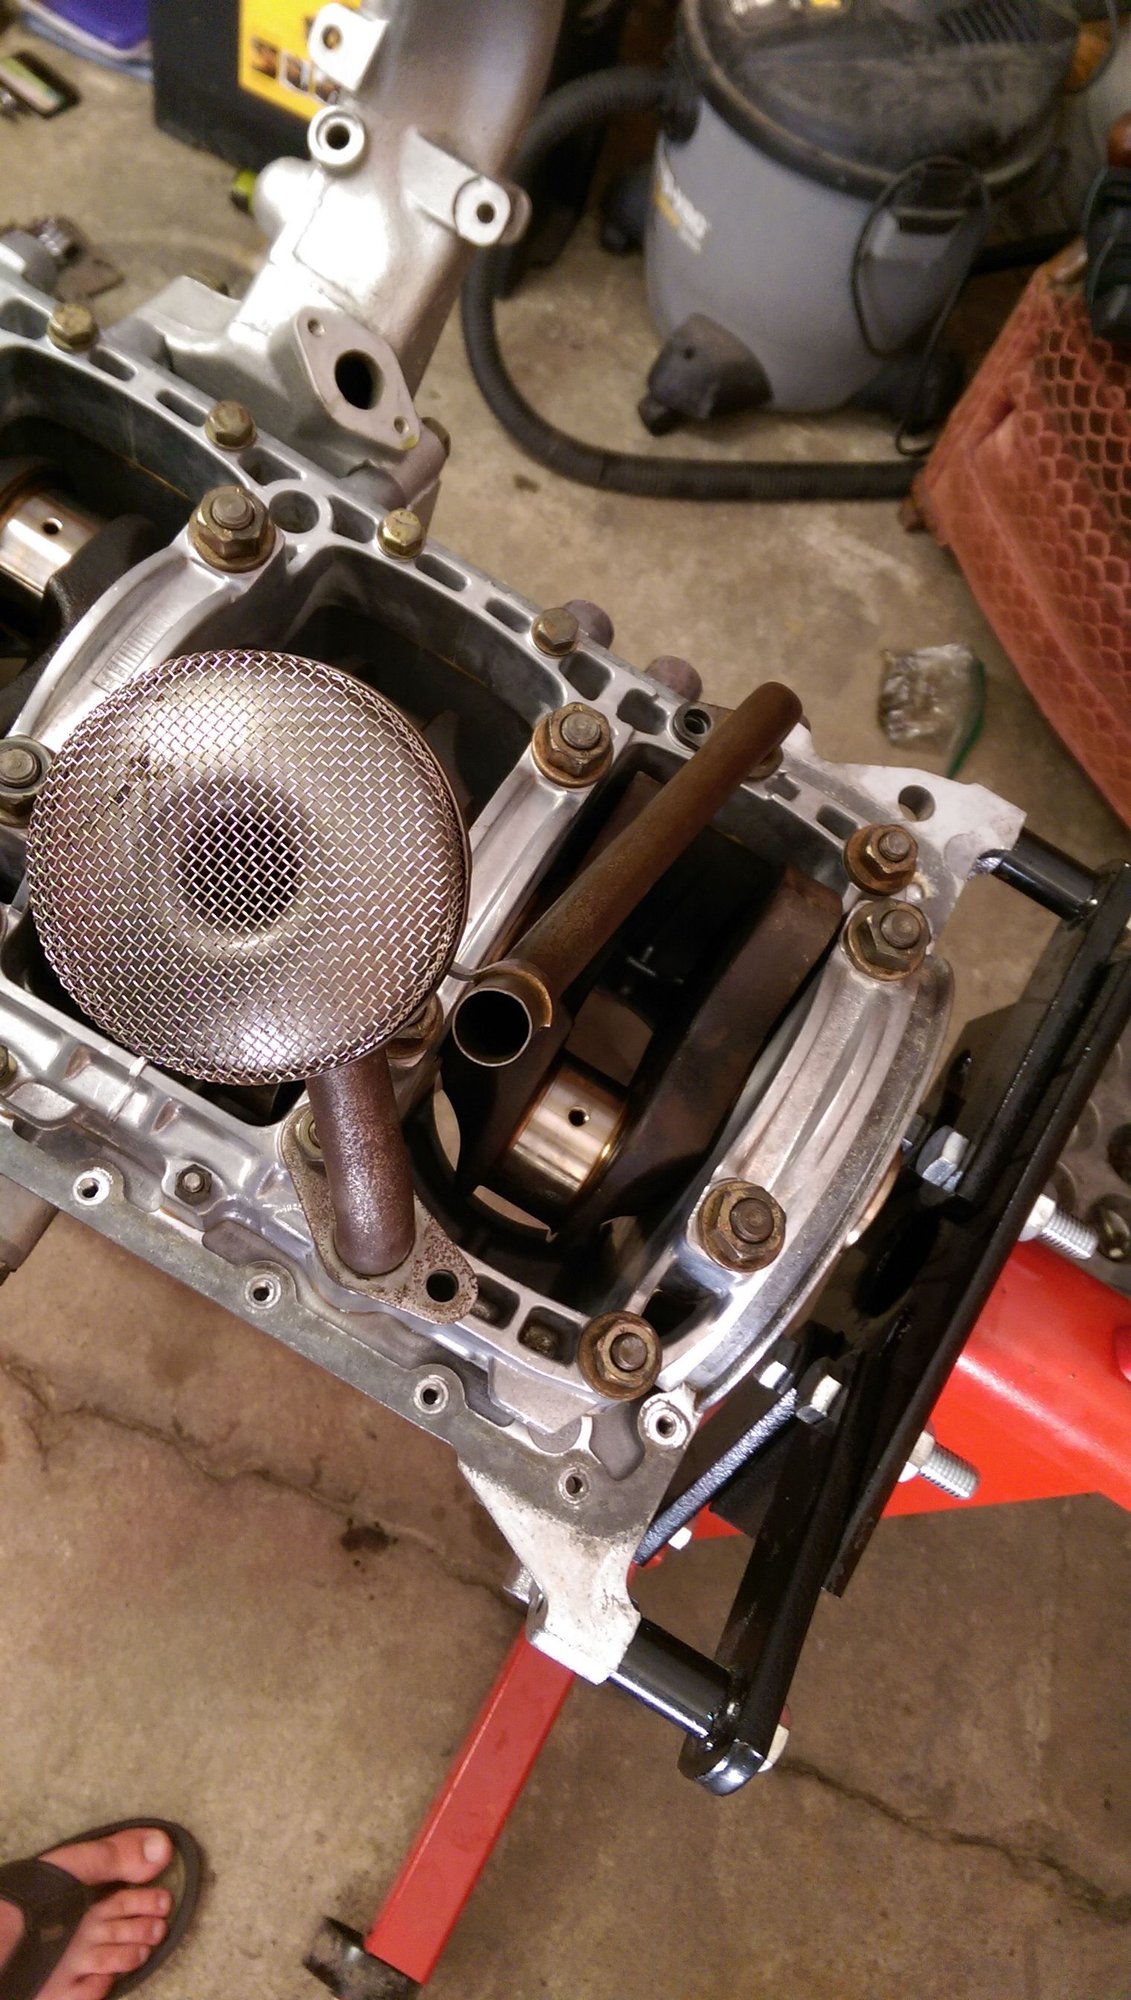
Today's work was installing the oil pump and the lower balance shaft assembly. Decided I'm going to run the balance shafts this time around.
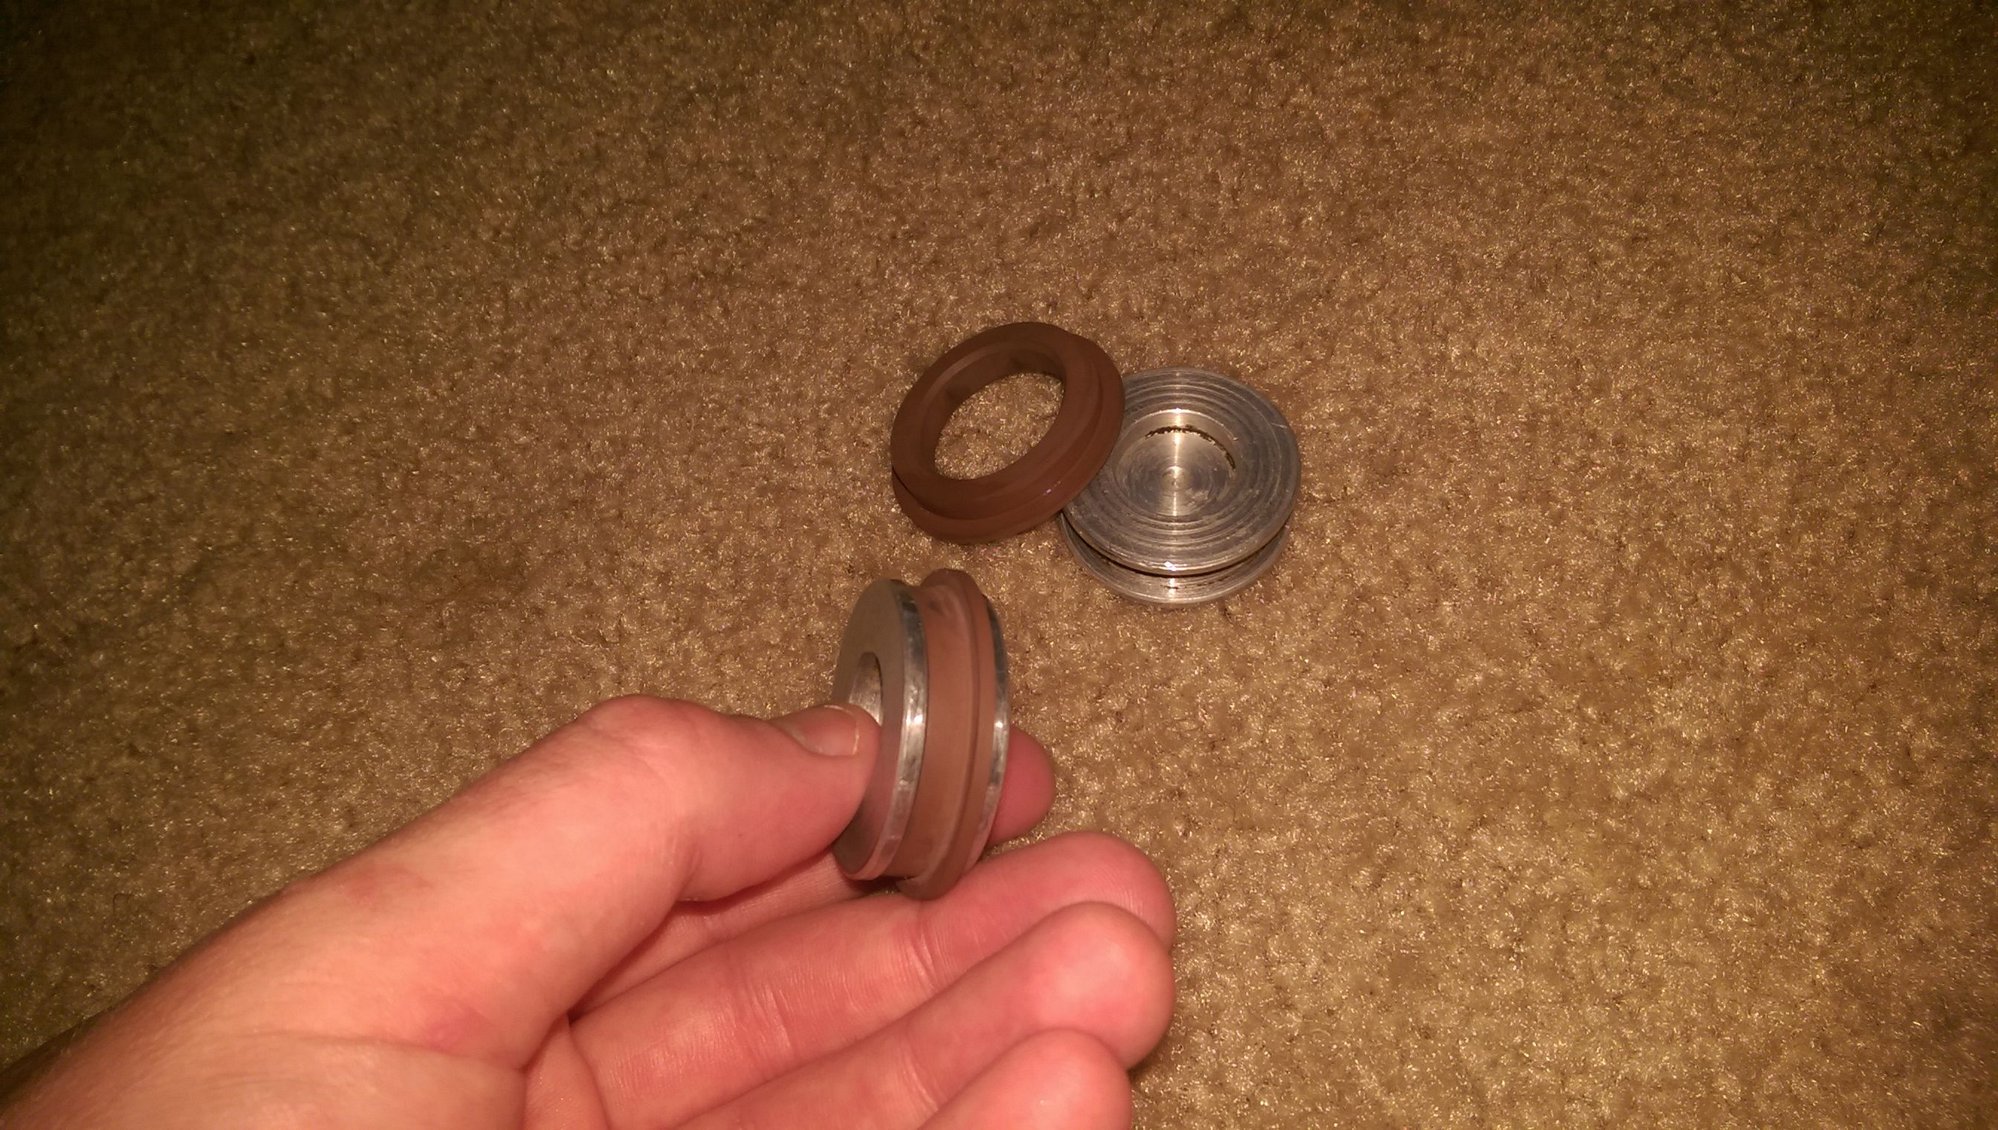
I bought a pair of Voith's seals for the rear caps of the balance shafts which I think I posted a few pages ago...tight fit, but a great part Pics below. I would have also installed the upper balance shaft assembly, but frankly my fingers are too sore and I'll have a go at it in a day or two. Seriously, getting that seal on the cap has no joke been the most intensive job to date on this build. Real workout.
Yep! I had problems with the BS seals also. I had no pblms with getting them on the aluminum button, but finally had to resort to a dremel to get them into the block. Still tight though, but they went in..Hope that the work OK. Sooo the later pumps have a higher volume than the early ones? Any idea about how much more volume? Wonder if they will bolt up without pblms. Good to know about the later pans and their differences early to late..


 05-25-2016, 07:56 AM


 this'll just be a street motor. I usually shift below 5800 rpm because of the oiling anyway (especially with the early NA oil pump being lower volume). This new engine will be getting a diet of Redline or Motul oil... I'm not a brand *****, but those are just some of the thickest xW-50 oils on the market.
 it's also decorative... to me.


 Pics below. I would have also installed the upper balance shaft assembly, but frankly my fingers are too sore and I'll have a go at it in a day or two. Seriously, getting that seal on the cap has no joke been the most intensive job to date on this build. Real workout.