When you click on links to various merchants on this site and make a purchase, this can result in this site earning a commission. Affiliate programs and affiliations include, but are not limited to, the eBay Partner Network.
If you want to make your garage feel bigger, don't have anything on the floor.
Mount your cabinets to the wall and use braces for any tables.
Makes a huge difference and easier to clean the floor.
Rod I totally agree, my cabinets will be wall mounted, still debating about the work table, but may go this route. Tool chests unfortunately I will have no choice to have these on the floor. For those cabinets with the shelving underneath, I may not use the shelving and just the cabinets and wall mount those and use the shelving for my shed instead.
And just for Sh*t and giggles here is the shed I built from scratch last year, still have to install the gutters and close off the bottom. If anyone is interested in seeing any of my little projects here and there and if you have Instagram feel free to add me: worldzlaziestninja
Thanks for the clarity on your garage code. I knew the door was for fumes, and just assumed the walls were for fire. Make sense now that you have pointed it out.
Even if you don't plan on heating the garage go crazy on the Roxul on the exterior walls. I did this in my last garage and the heat from the interior wall kept it above freezing. I could put a small heater in there for an hour and it made it comfortable enough to hang out. I would leave the interior walls as is so they heat up your garage.
The shed is to code
Ya, I might just take your advise Rod, change out the pink for the Roxul on the exterior walls. Its a cheap re/re to do anyways might as well do it.
Don't heat the garage too much. Otherwise it will be comfortable.
Comfortable = Wife visiting more = more listening = less work in the garage done = larger chore list
Don't heat the garage too much. Otherwise it will be comfortable.
Comfortable = Wife visiting more = more listening = less work in the garage done = larger chore list
LOL! I must be lucky.. my GF (looking to change that soon) stays away from me when i'm in the garage or shed as she knows that if I see her, i'm gonna ask for help on something.. hold this, move that, help me clean this etc..
LOL! I must be lucky.. my GF (looking to change that soon) stays away from me when i'm in the garage or shed as she knows that if I see her, i'm gonna ask for help on something.. hold this, move that, help me clean this etc..
And I can vouch for her after seeing her help take down the lift...she works as hard as any Man and twice as hard as me!
Rod I totally agree, my cabinets will be wall mounted, still debating about the work table, but may go this route. Tool chests unfortunately I will have no choice to have these on the floor. For those cabinets with the shelving underneath, I may not use the shelving and just the cabinets and wall mount those and use the shelving for my shed instead.
And just for Sh*t and giggles here is the shed I built from scratch last year, still have to install the gutters and close off the bottom. If anyone is interested in seeing any of my little projects here and there and if you have Instagram feel free to add me: worldzlaziestninja
nice shed.
Interesting roof line. Did you do it from a plan?
This is my 10x16' one that I built in 2009
,from scratch, no drawings,
Thanks Pete! when I designed this shed, it was a combo of looking at other peoples plans on the internet, looking at how to design the roof line/struts etc. There was no actual plan or drawings that I went from, just ACAD drawings that I drew up as I was planning and checking measurements etc. First shed I've ever built, I wouldn't say it was hard.. but it challenged me a bit in some areas.
So, you know what they say... one thing affects the next lol!
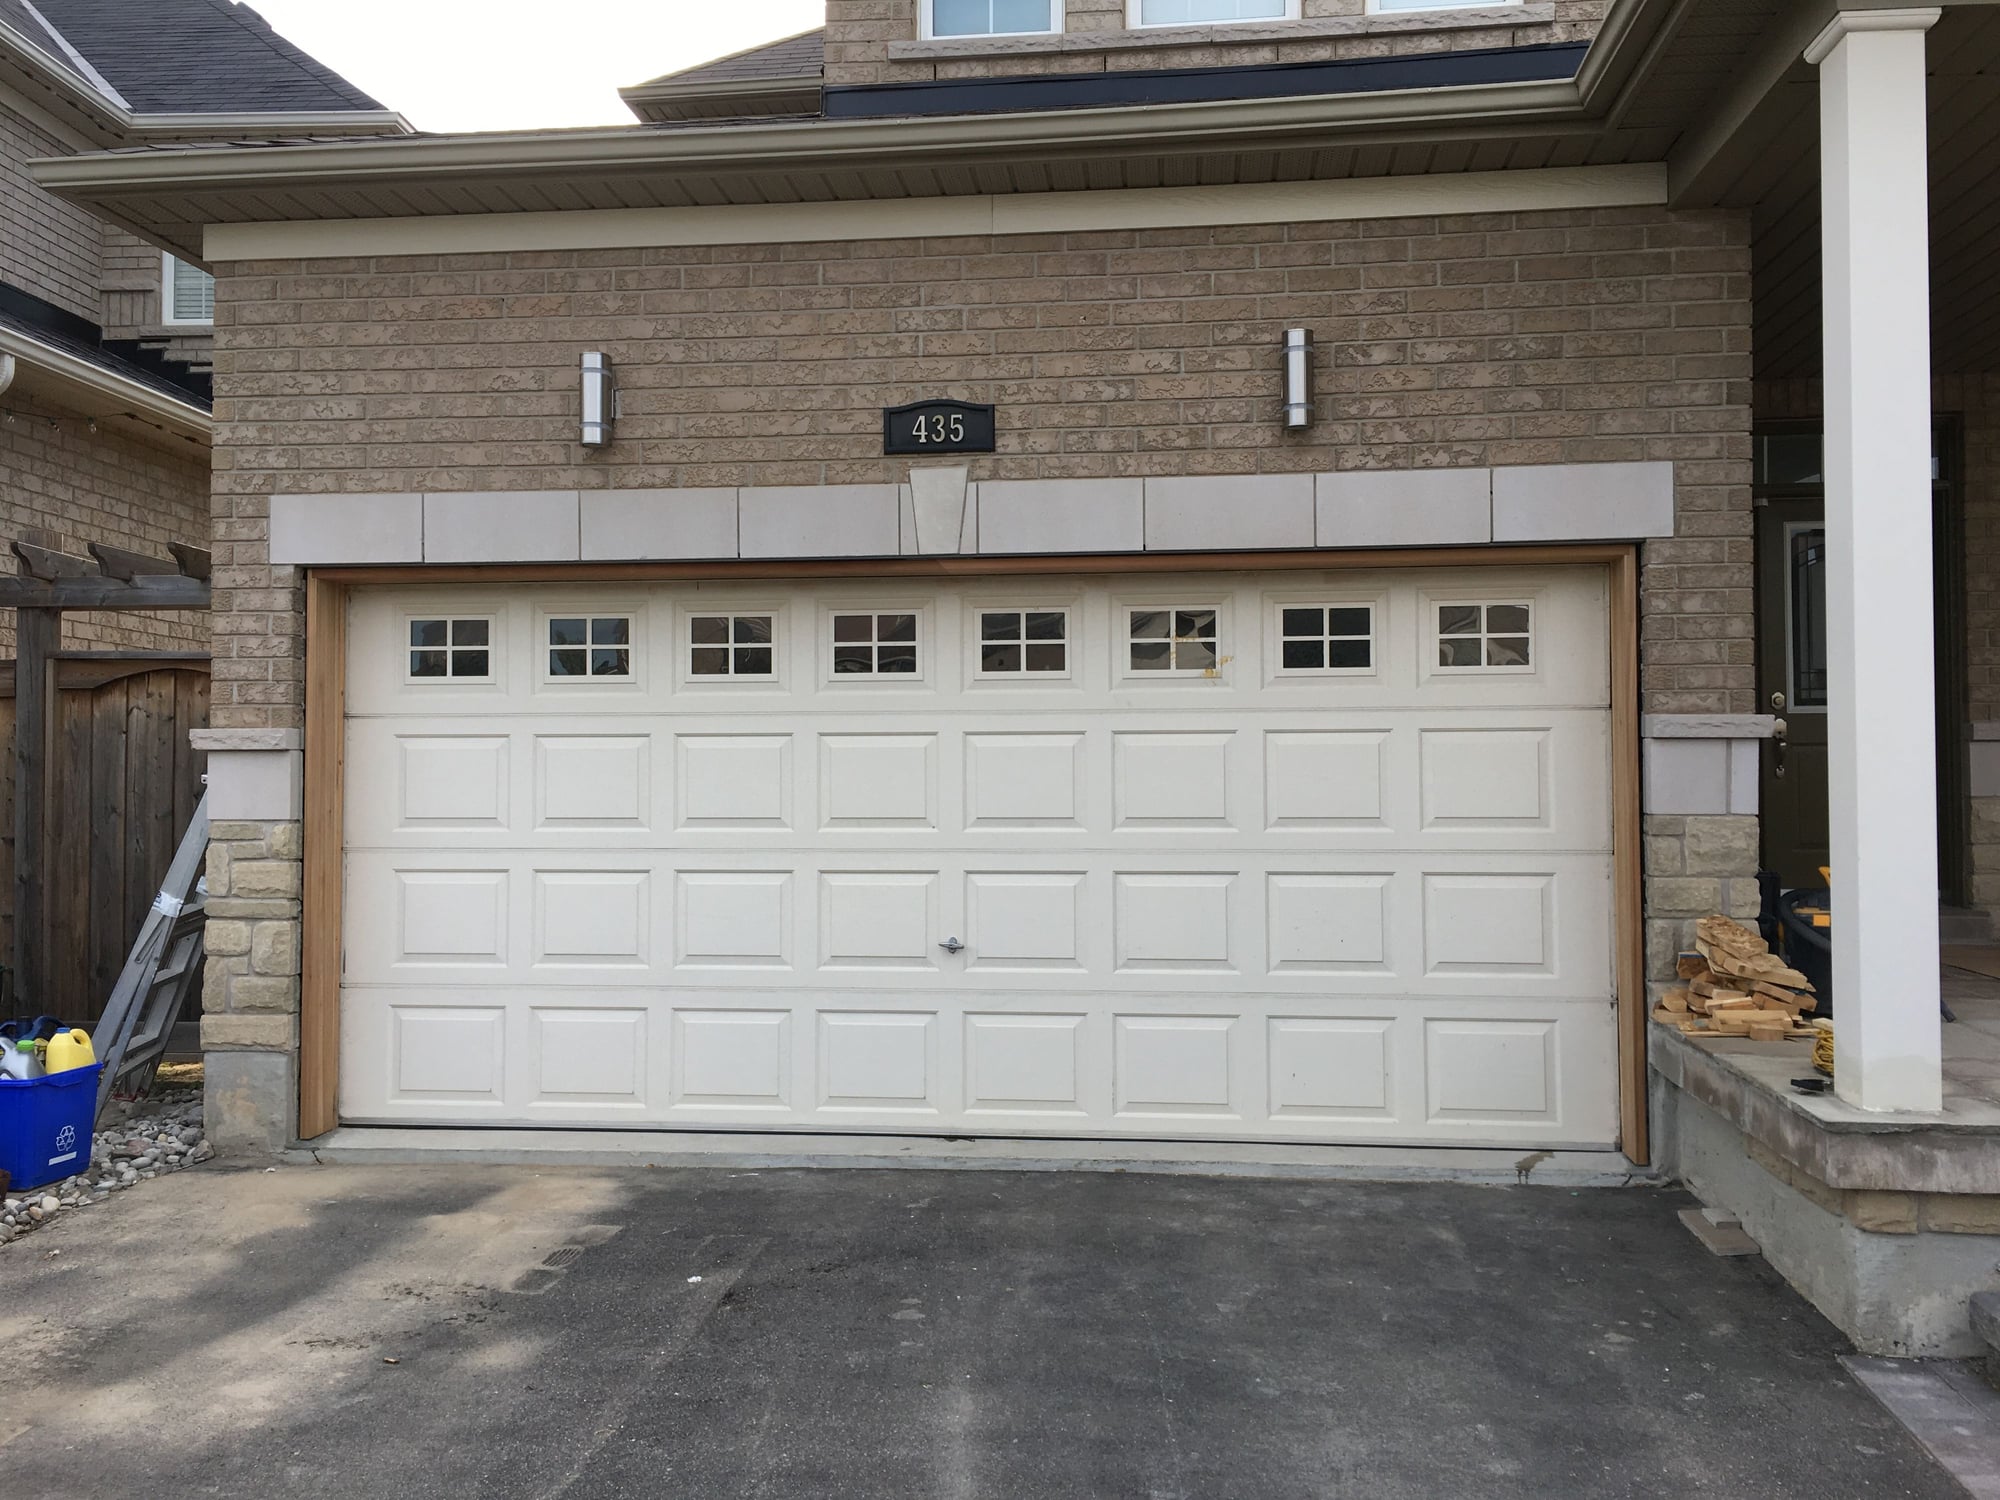
Since I am doing the high lift garage conversion and it will be a little different than the typical high lift, I've been mulling over whether or not I want to change out the existing garage door. My door is just the standard builder MDF door and its at that stage were its not falling apart, but is starting to show its age.. so the question was, keep the door and just do the high lift or high lift and new door.
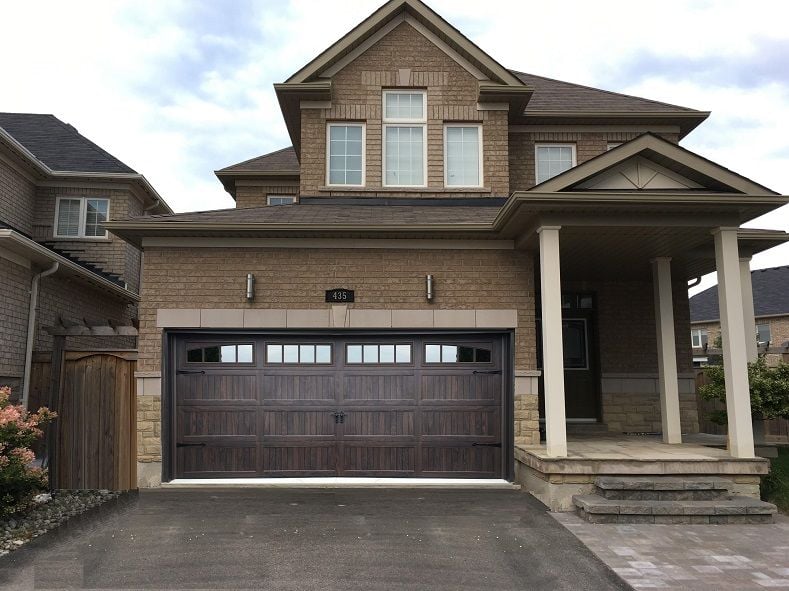
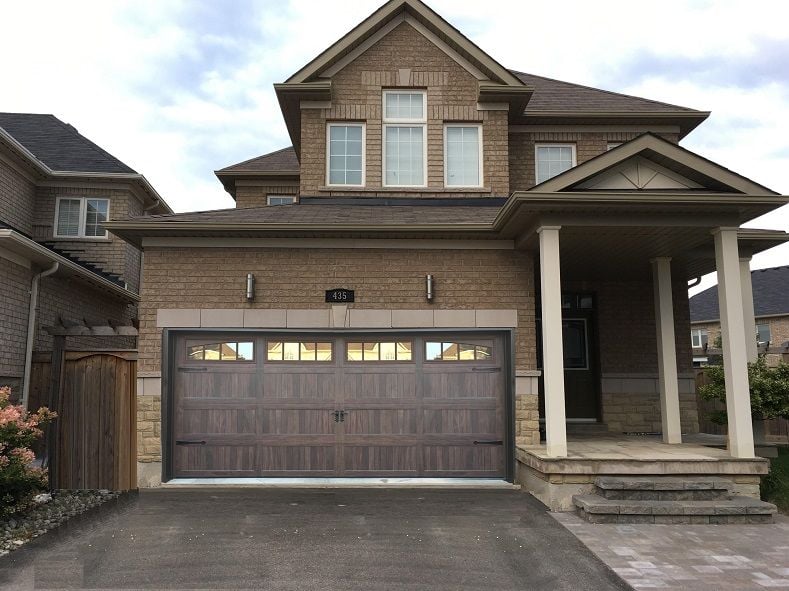
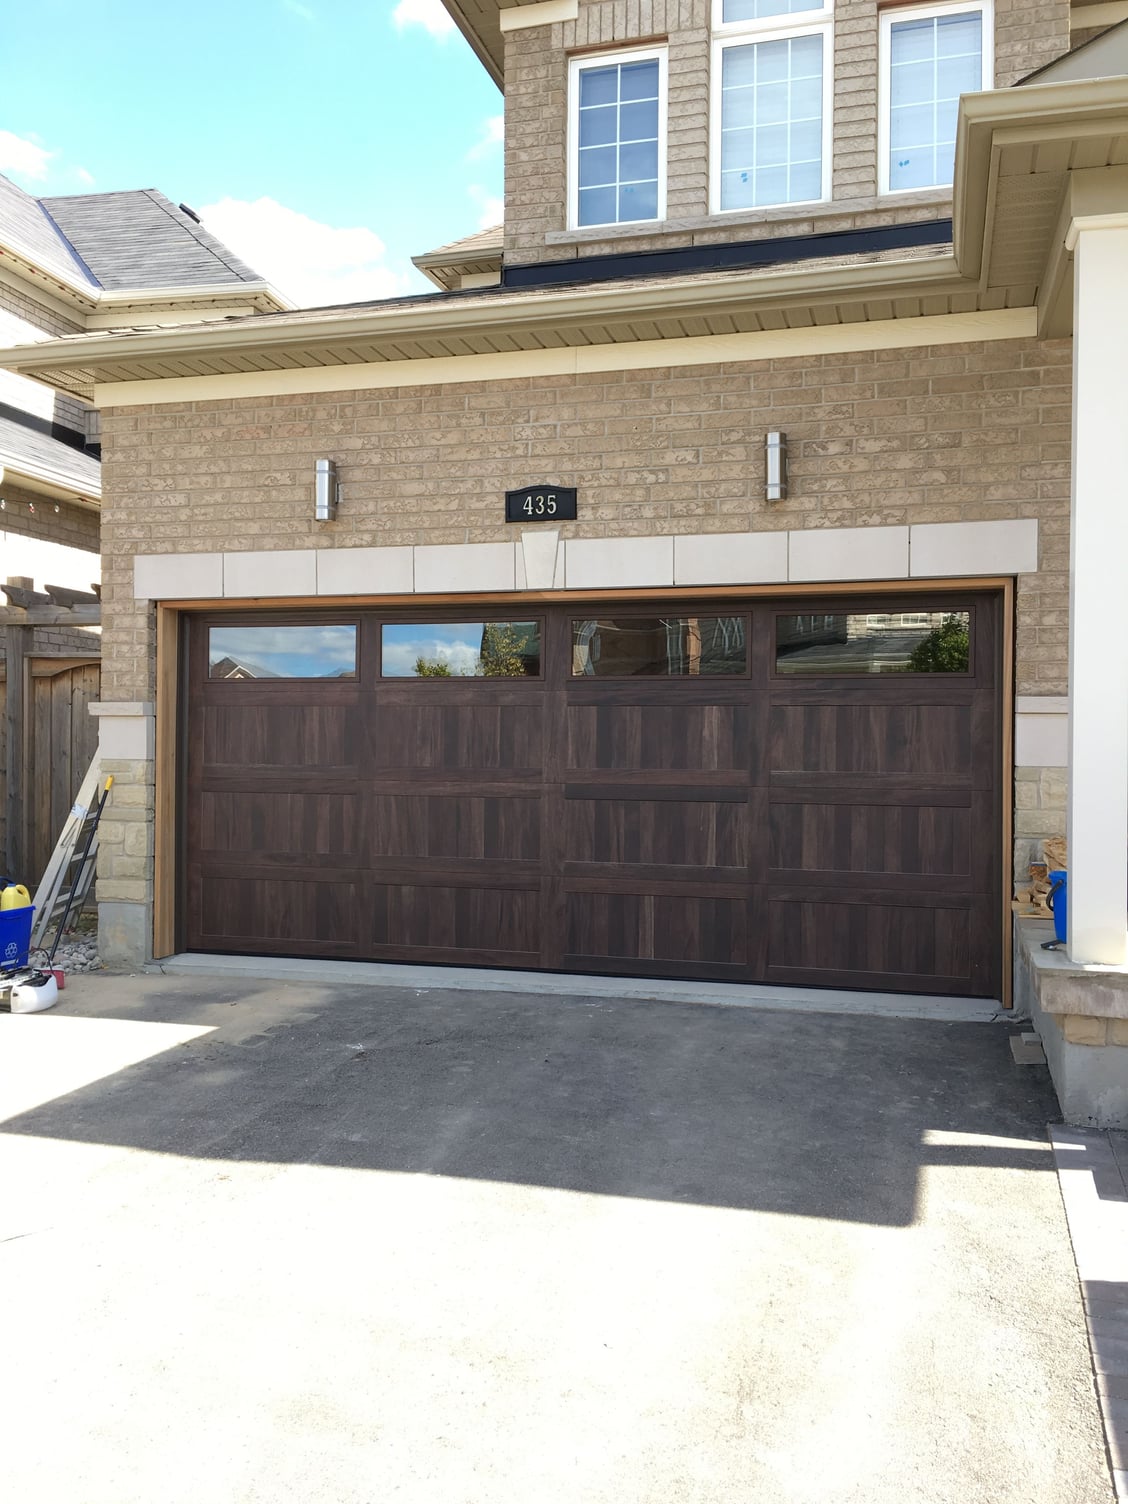
So though much debate and thought I've decided to change out the door. Below are the two doors I am considering. I reached out to a garage door company and they were kind enough to forward me the addresses of two houses that had the door styles and color choices that I wanted. Luckily enough the owners of the homes were outside so I was able to chit chat with them and take some pictures of their doors. So with my amazing MS Paint skills I was able to take their door and drop it on my garage lol!
Let em know what you guys think about the color choices, first one is Walnut and second one is Mahogany. I would be getting essentially the same door with maybe a different window style (4 lite squares or clear window with no partitions)
If you're going to sheath/drywall the walls, do yourself and put up insulation. You may not plan on heating it now but who knows in the future. Insulation is not exactly expensive.
If you're going to sheath/drywall the walls, do yourself and put up insulation. You may not plan on heating it now but who knows in the future. Insulation is not exactly expensive.
I agree, for the low cost of insulation I will be insulating the entire garage. One of the reasons why I opted for the better insulated garage door and thermal windows.
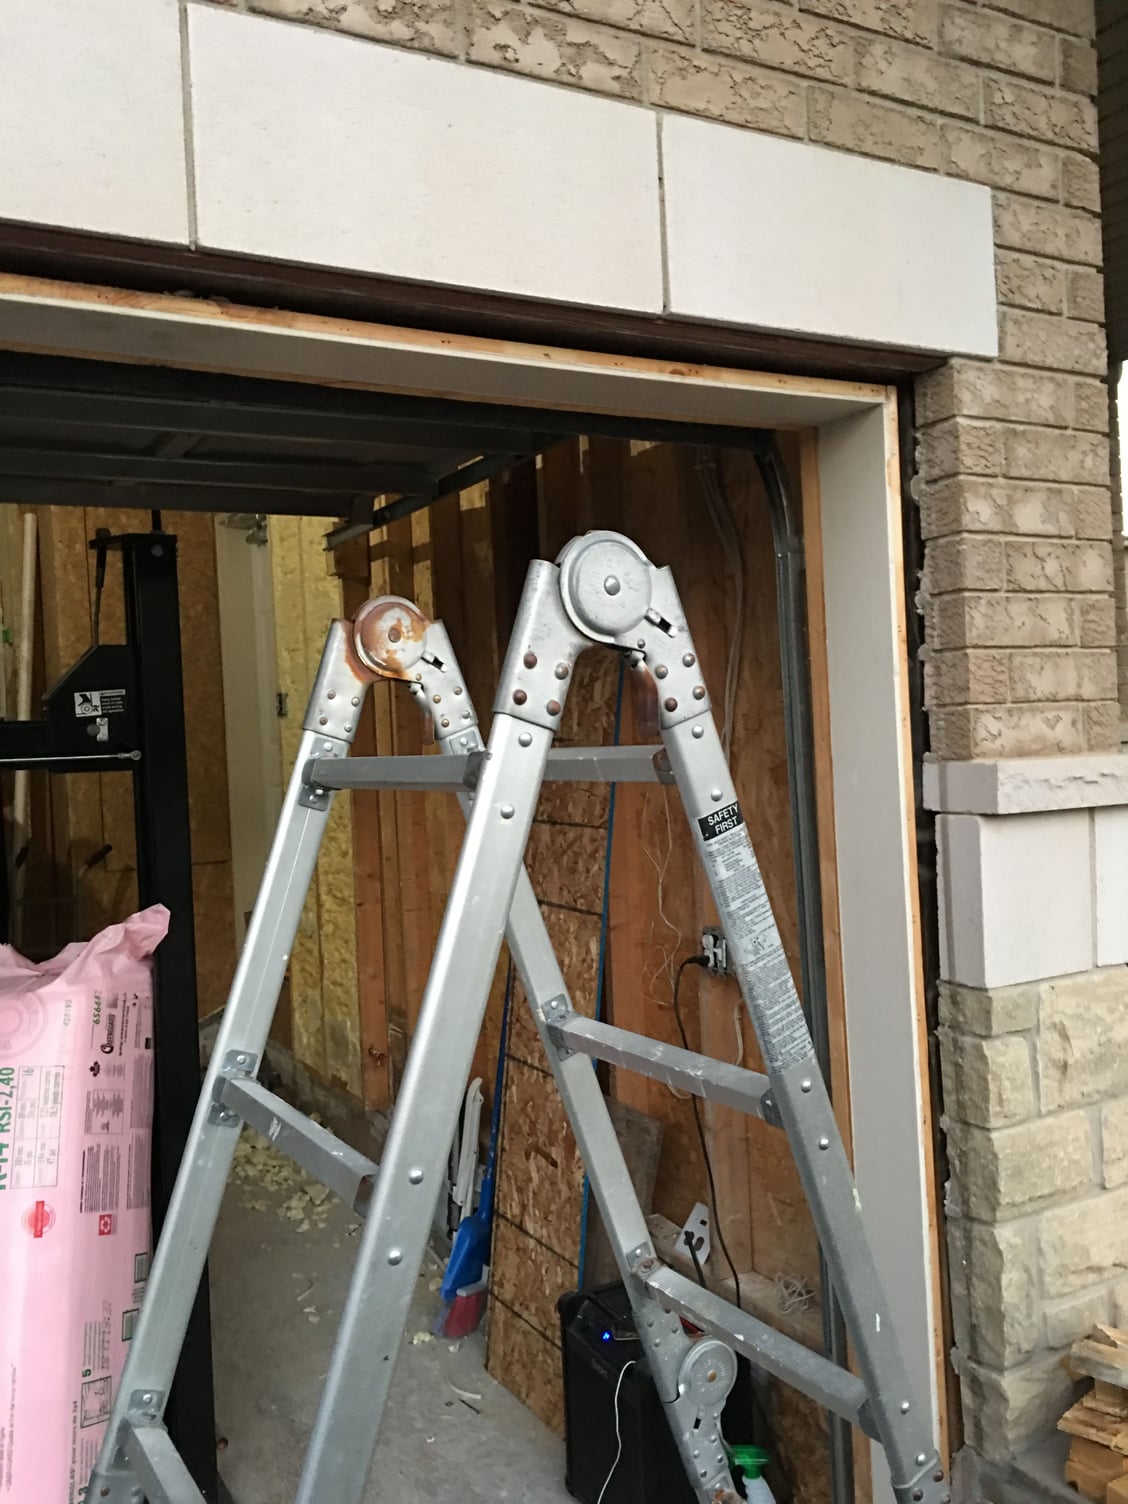
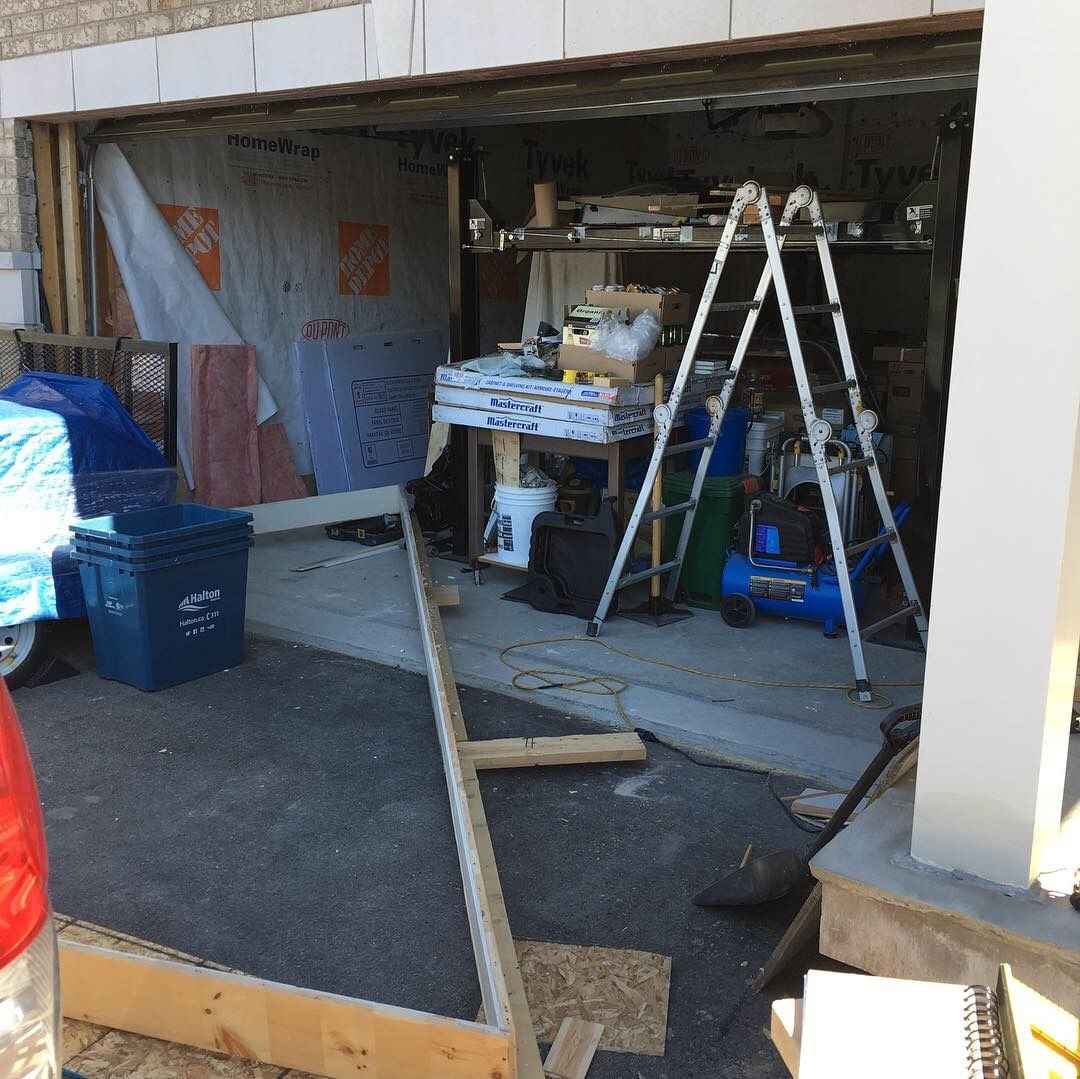
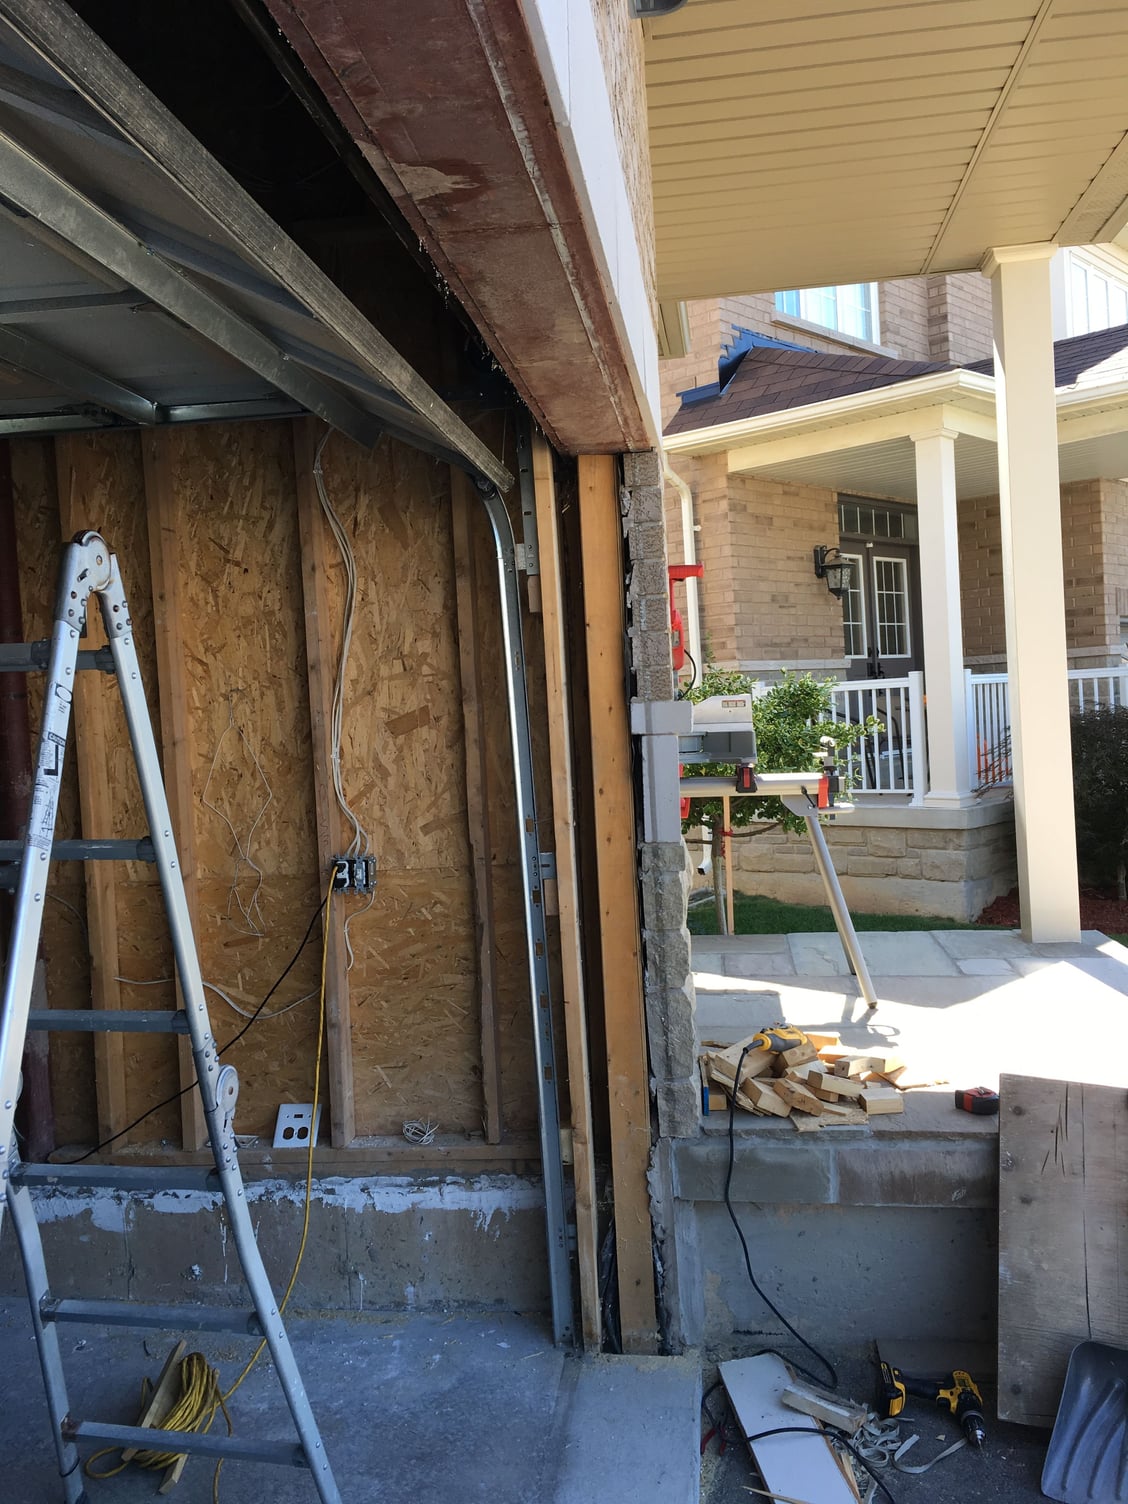
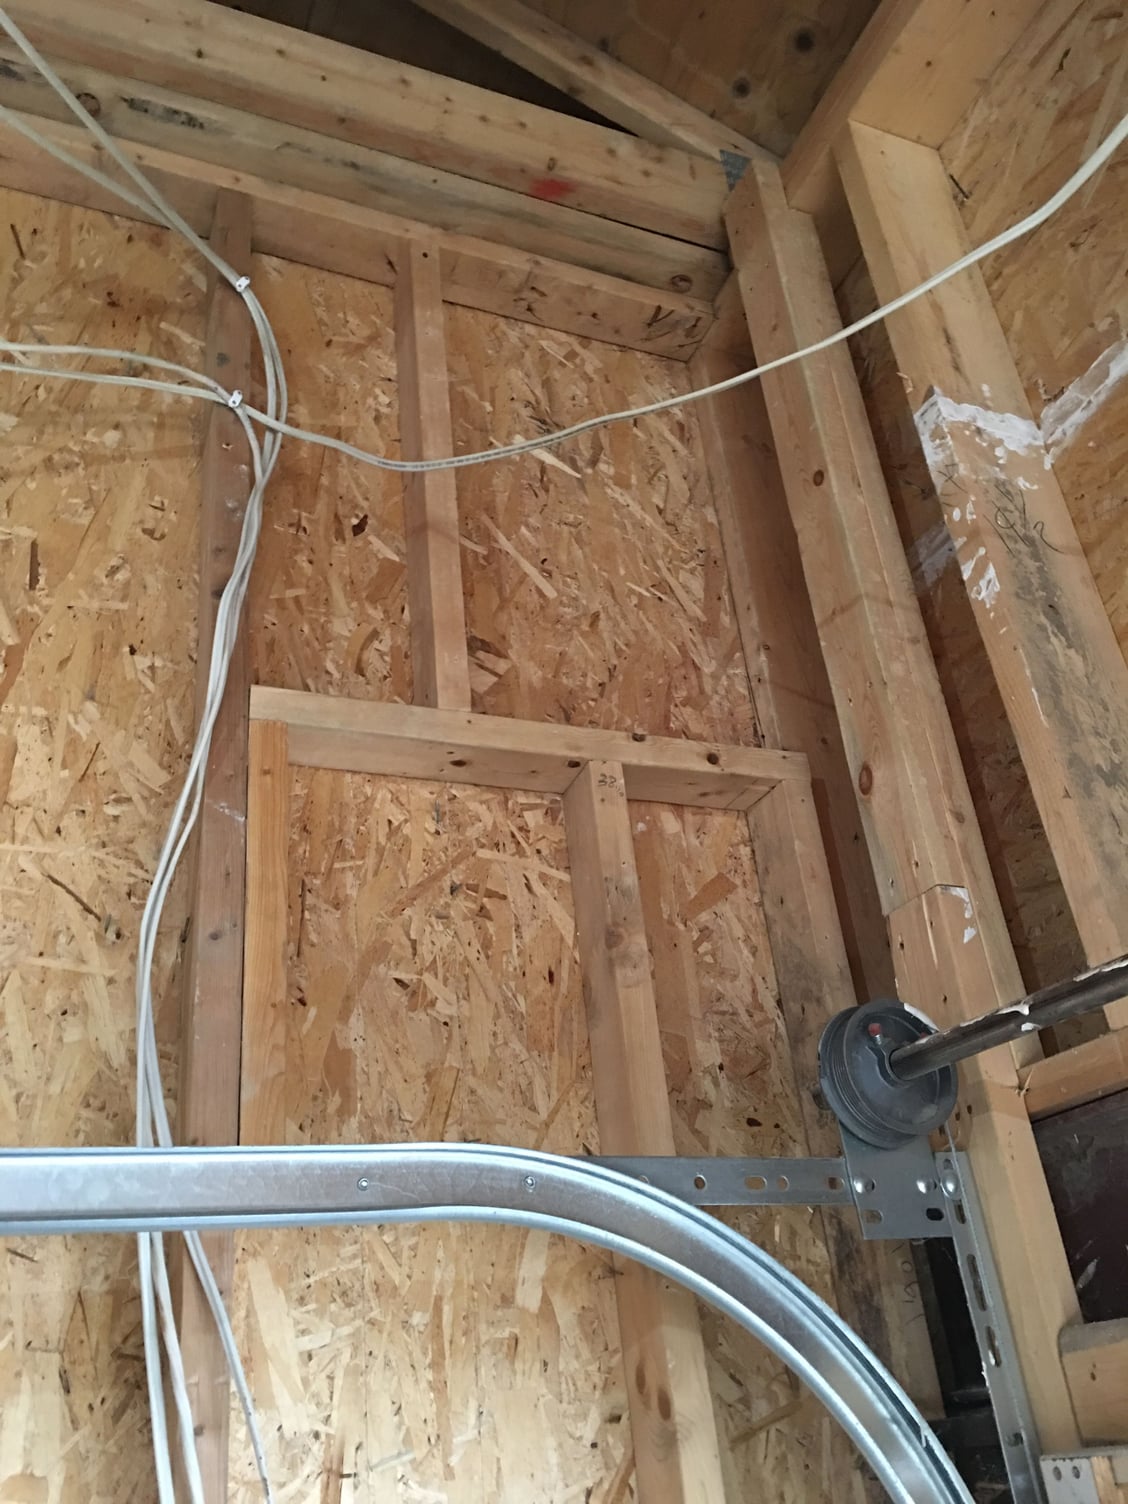
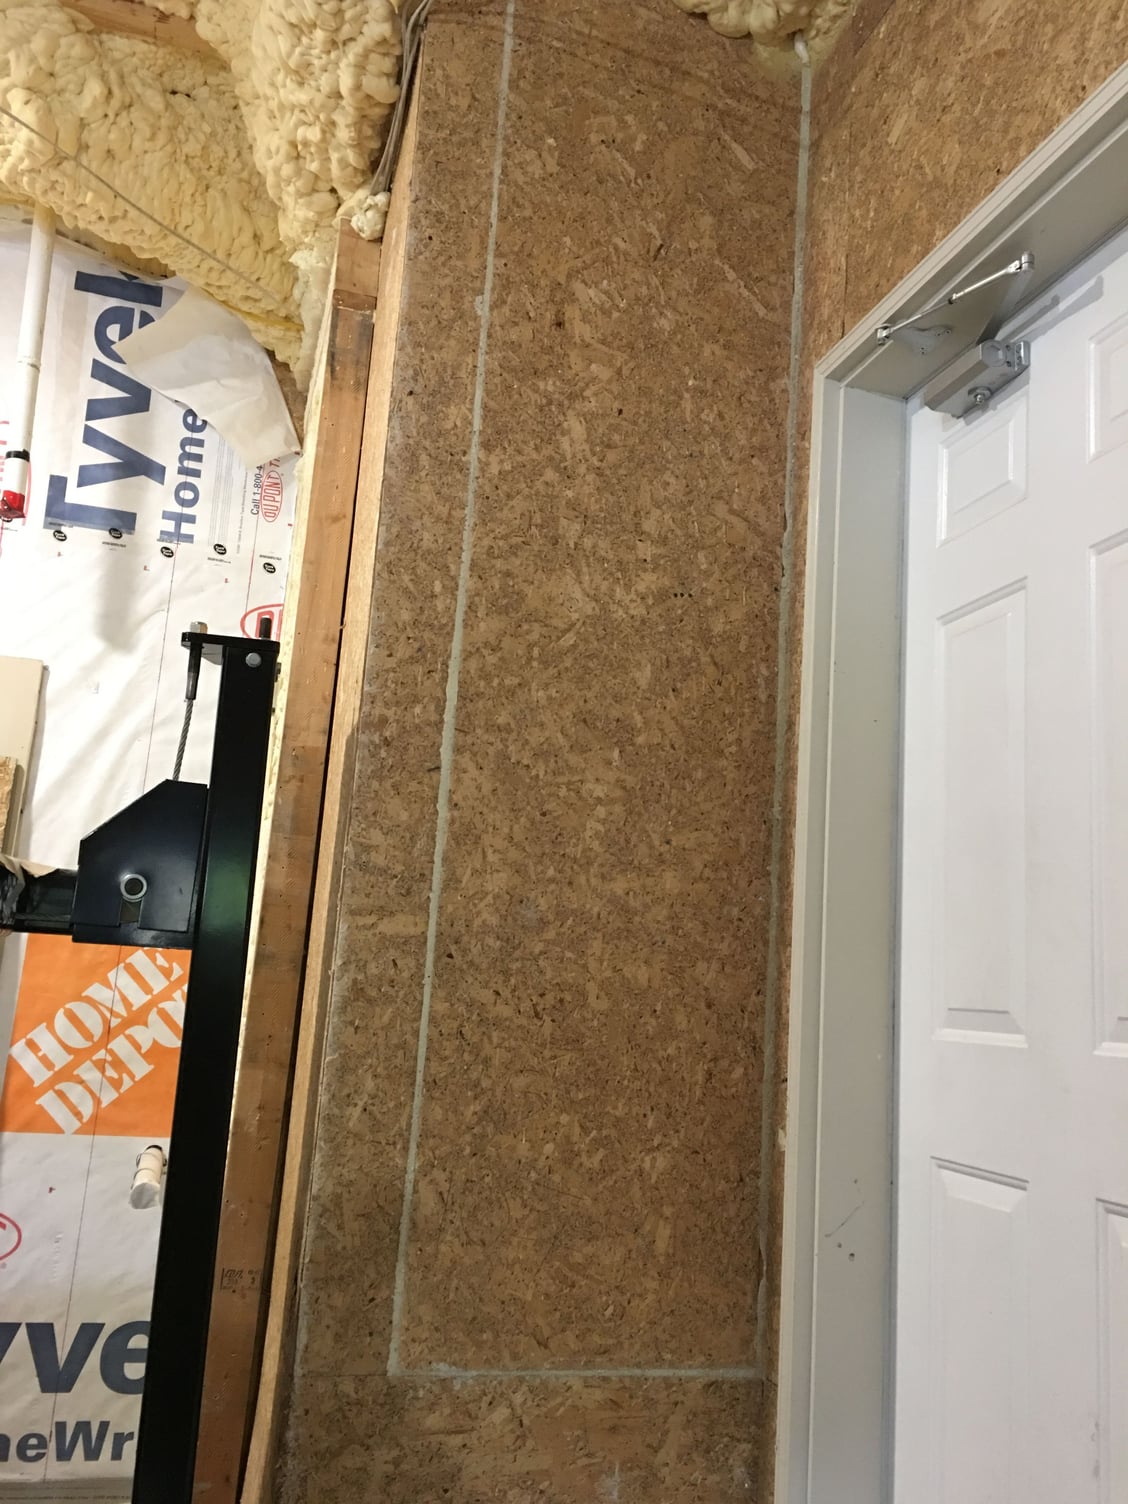
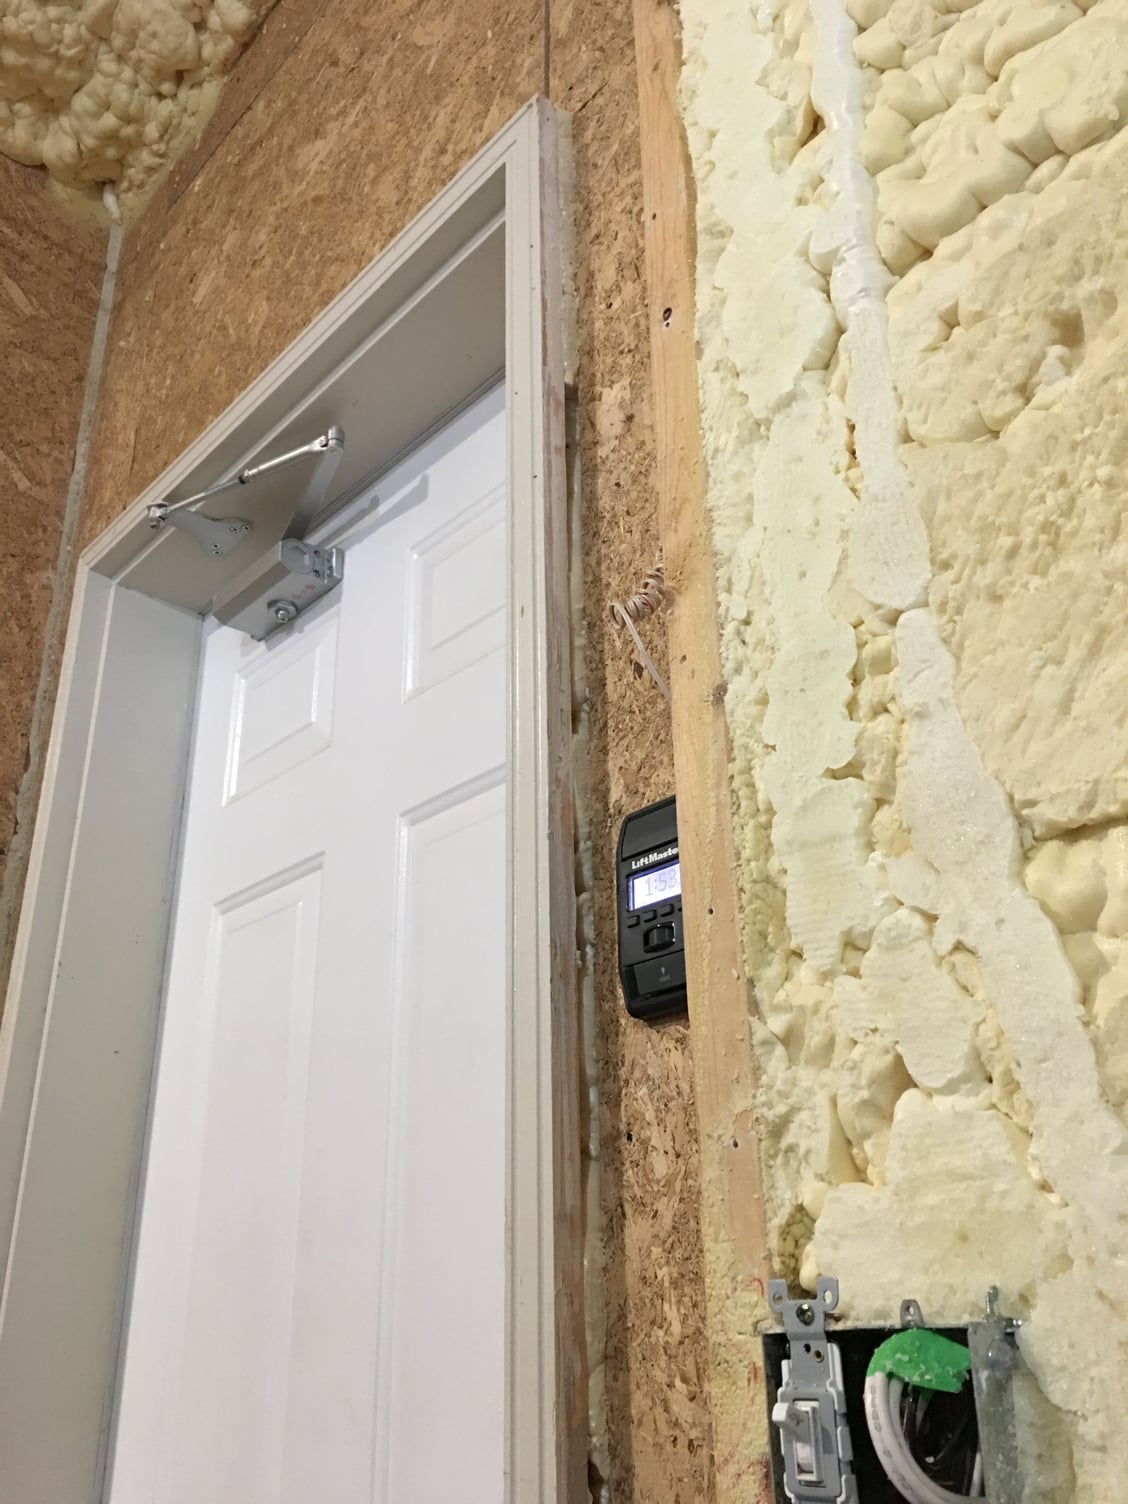
Hi guys, sorry for the long hiatus.. house stuff has had me all over the place and i've only had time to work on the garage here and there. So here is the updates so far.. without rambling on too much here are some pic's for reference. i'll do a quick summary to tally up. More to come, just had time to update these items.
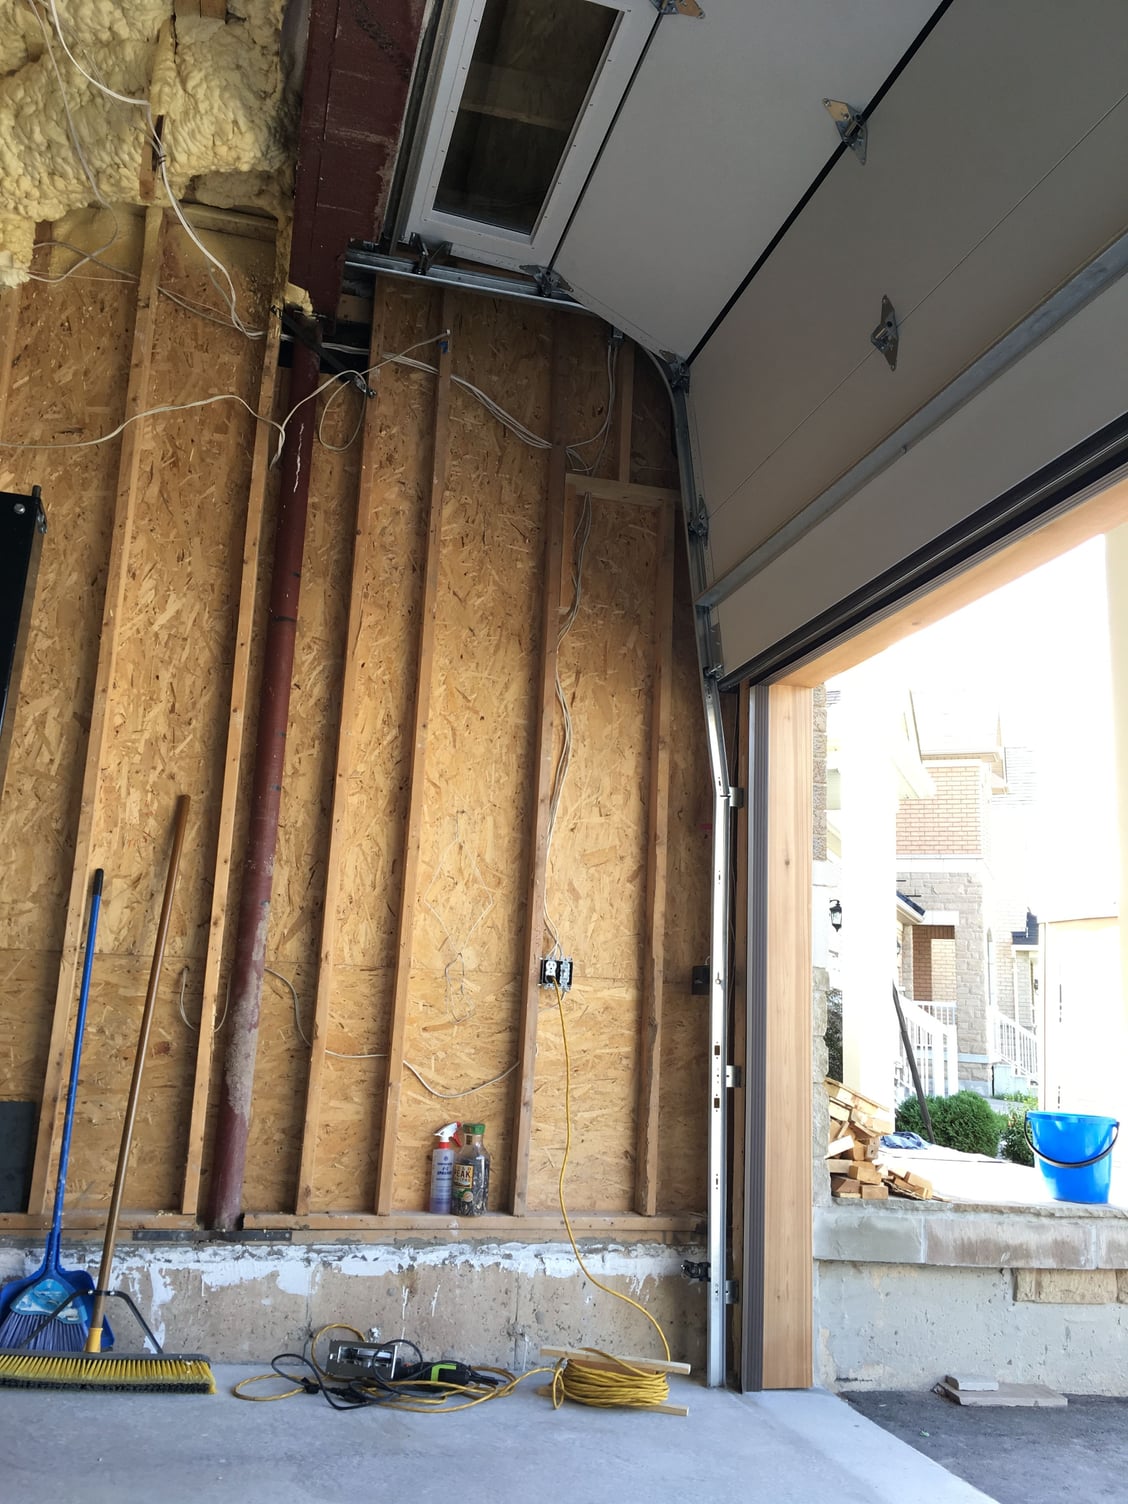
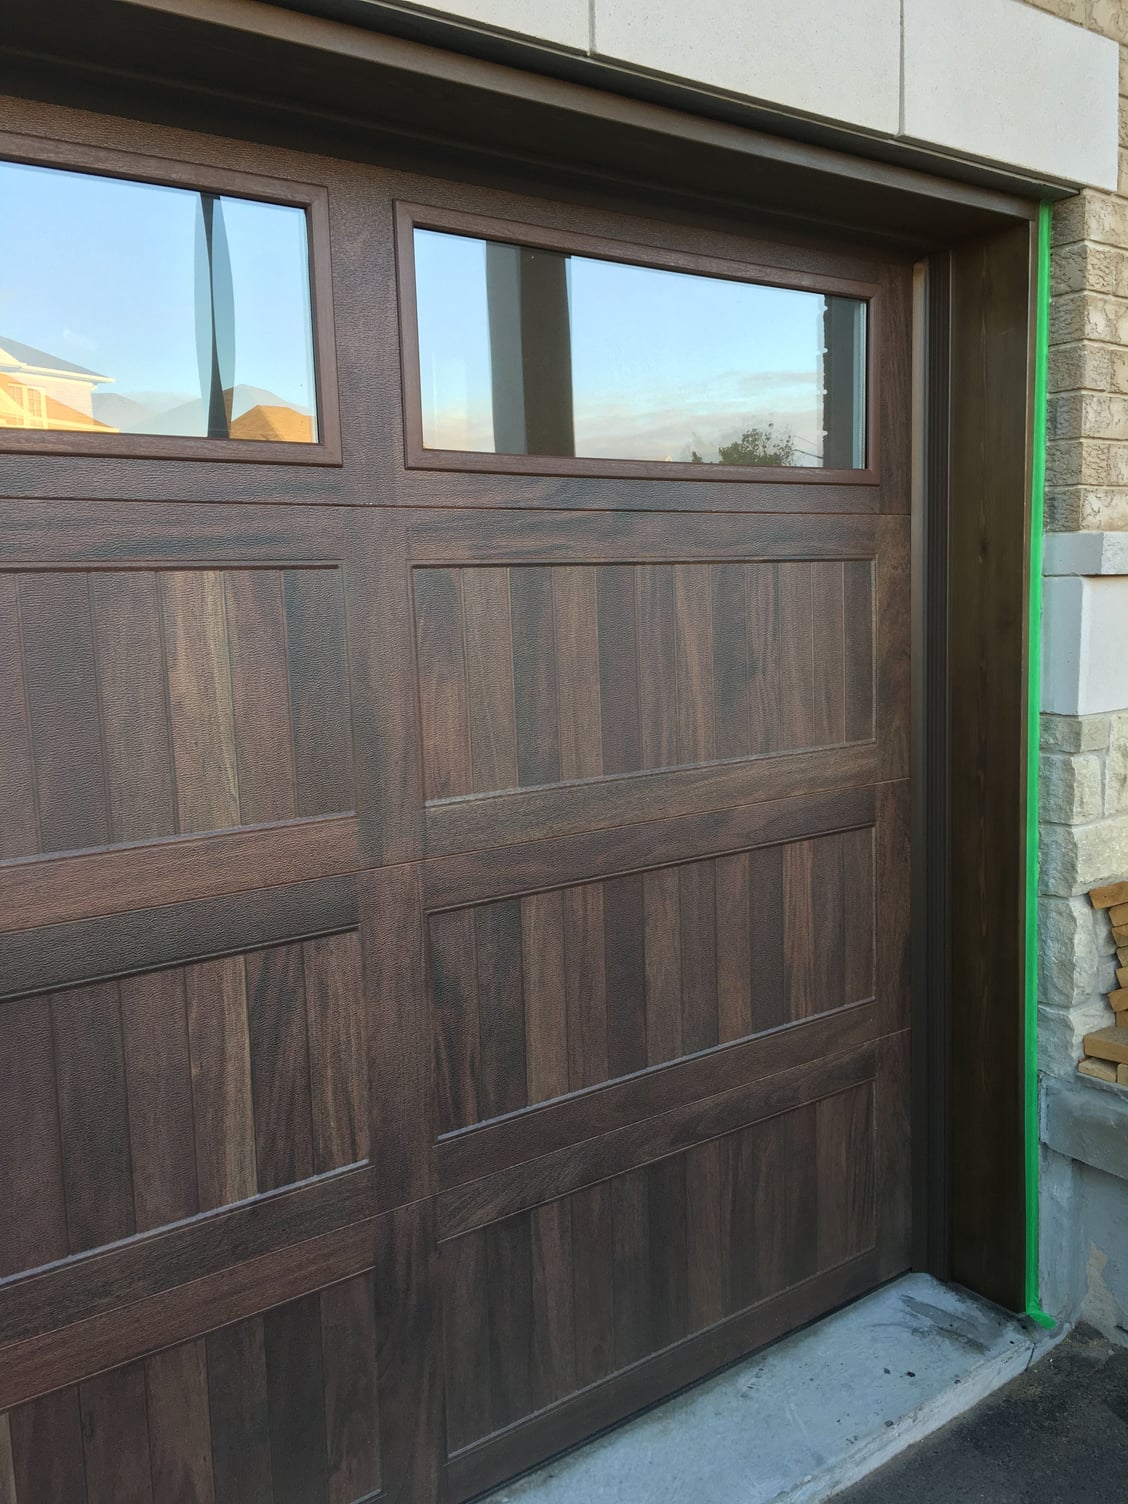
- New garage door installed
- Extended garage track mounting points
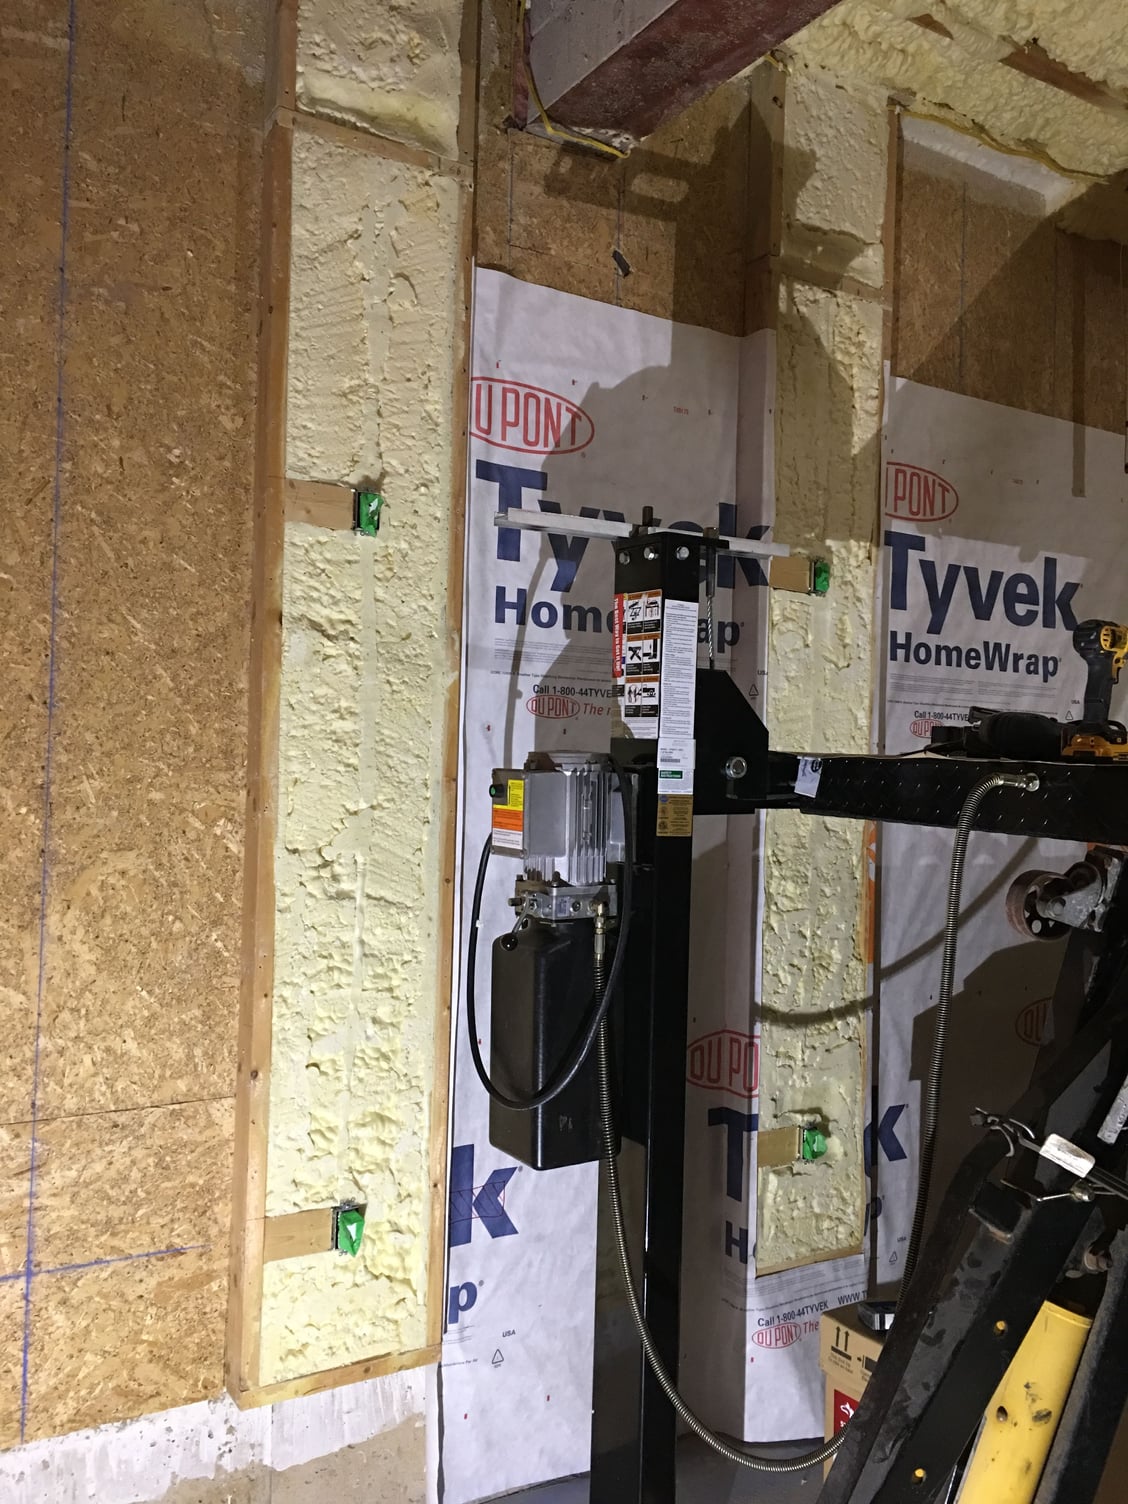
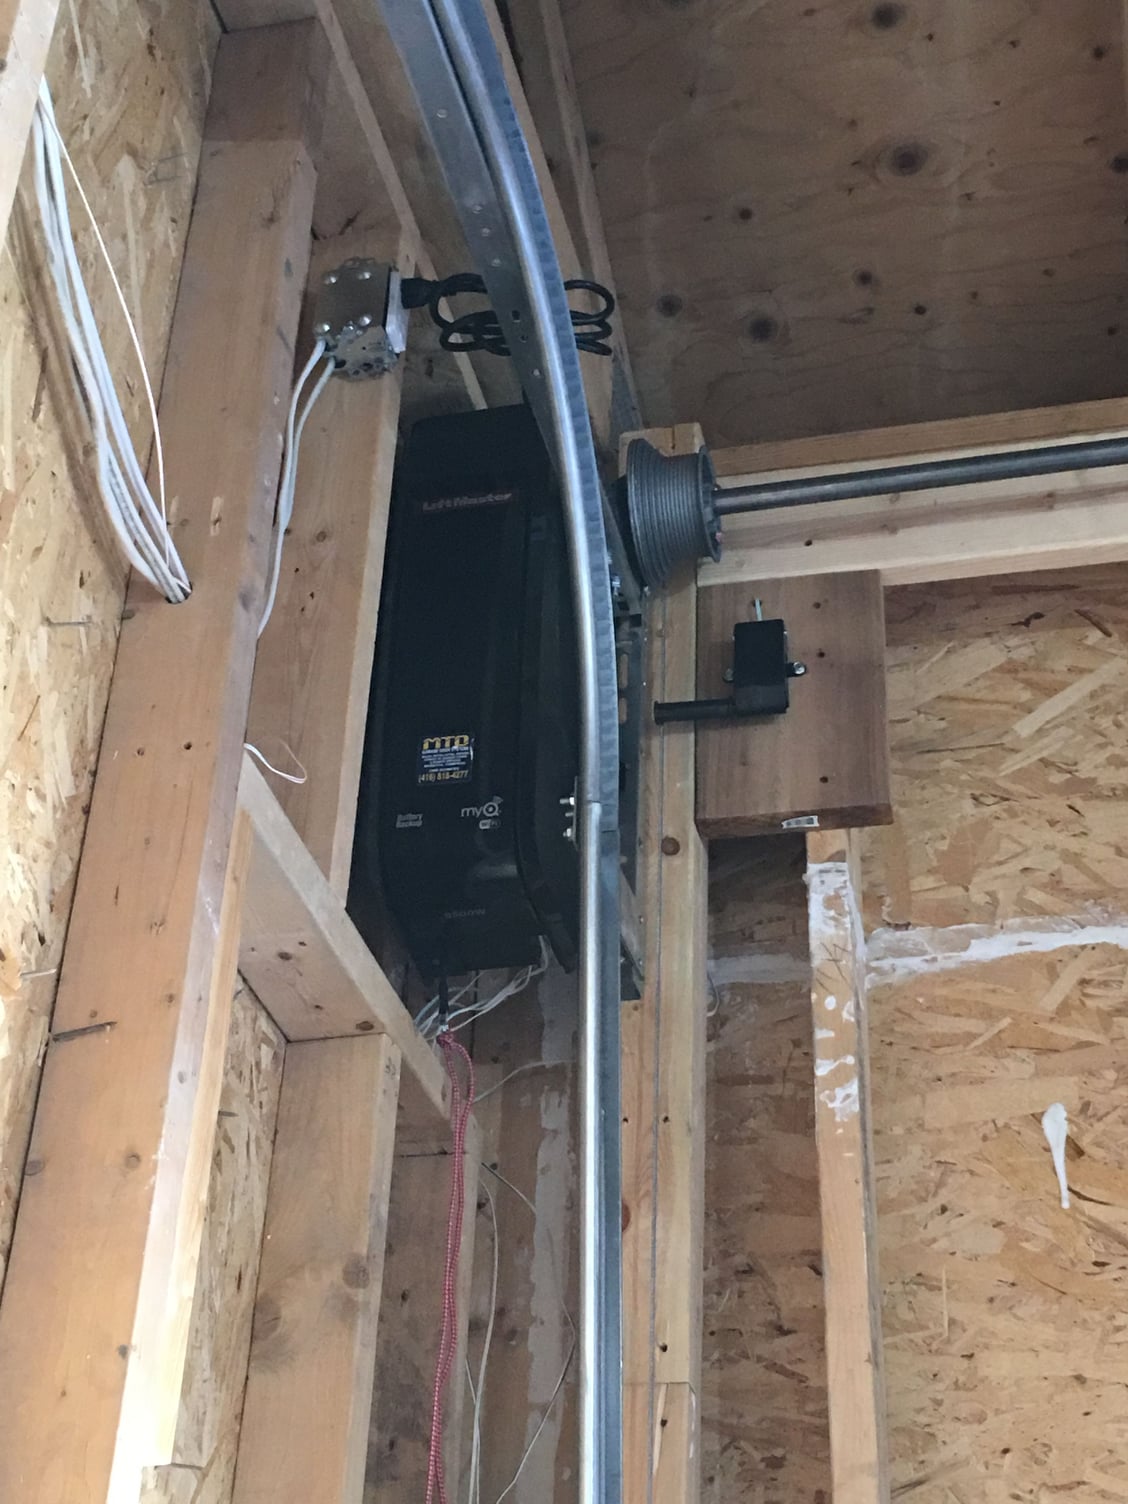
- High lift with wifi jackshaft opener completed
- Half the garage sealed with home wrap (for gas proofing) still need to do the other half
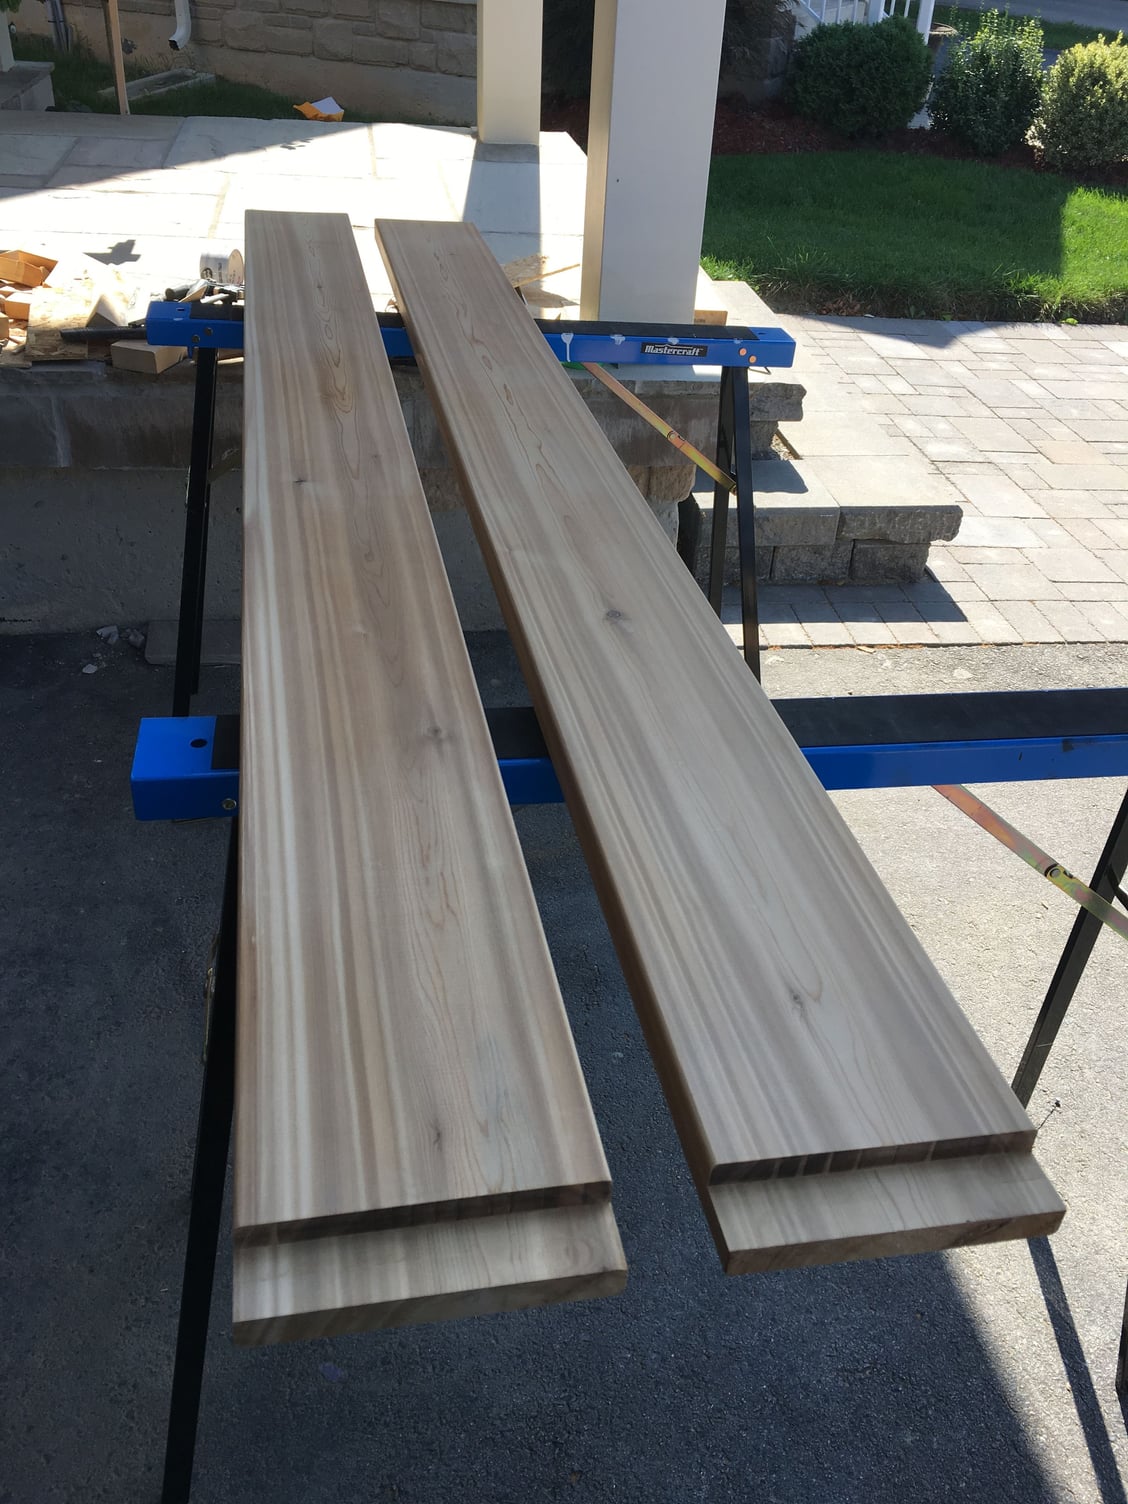
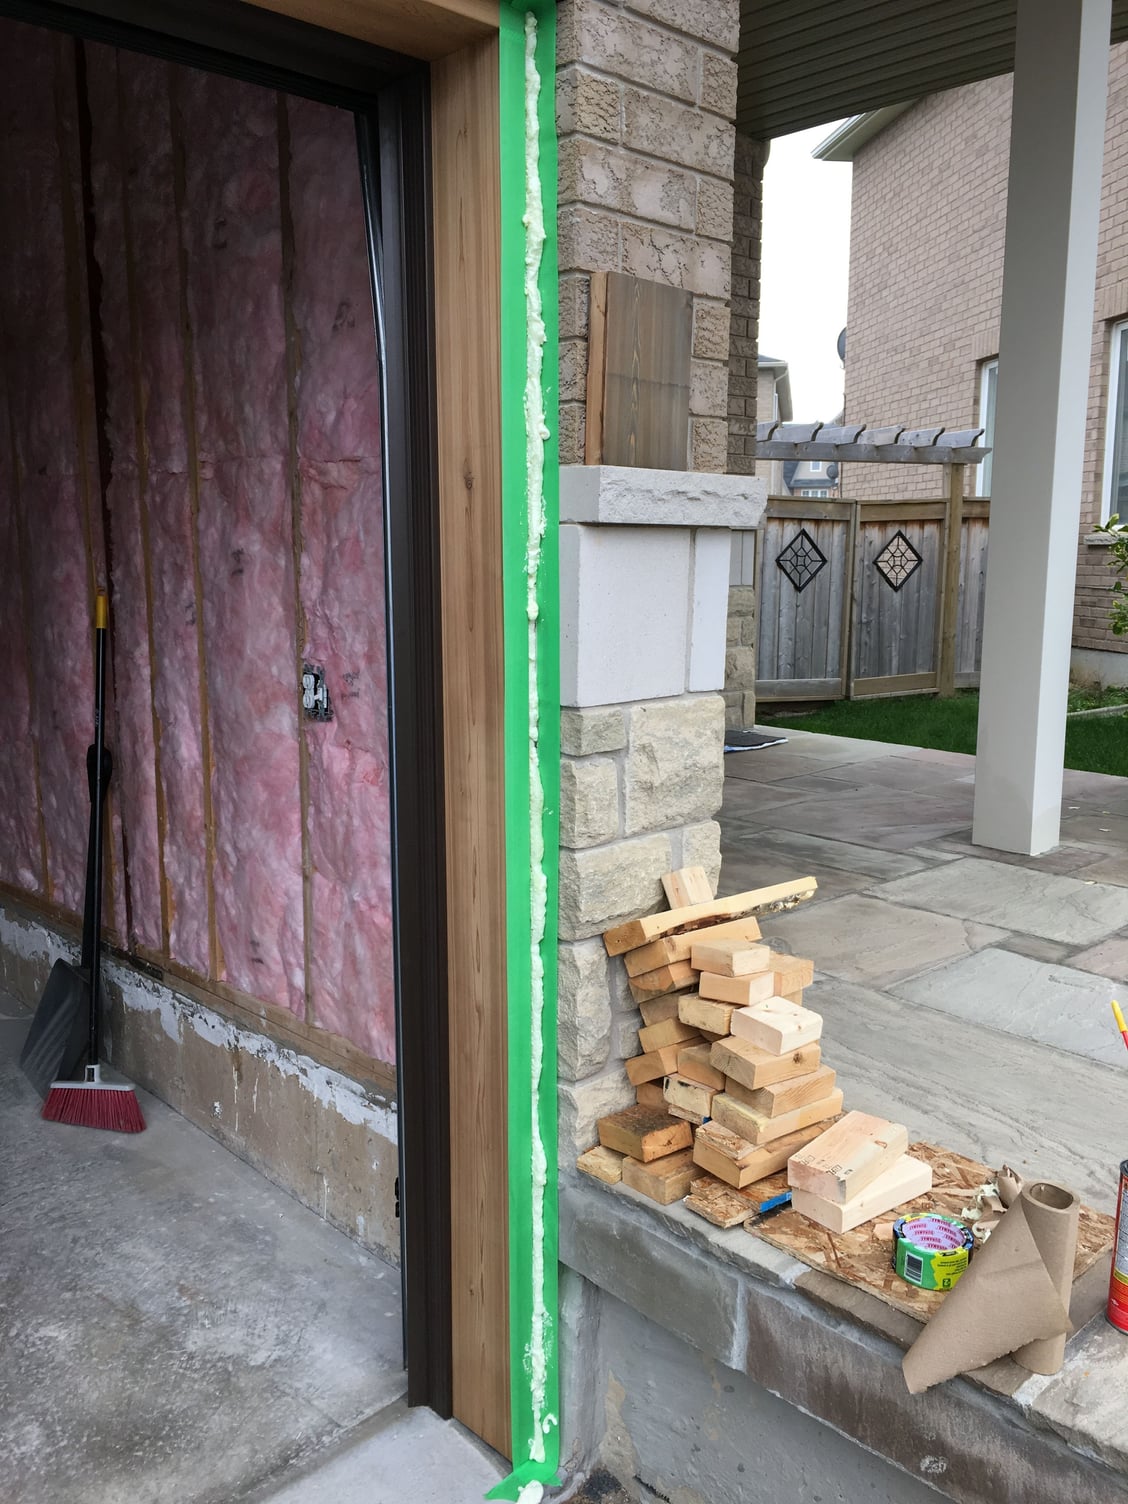
- New Cedar garage frame installed and stained, need to caulk it still
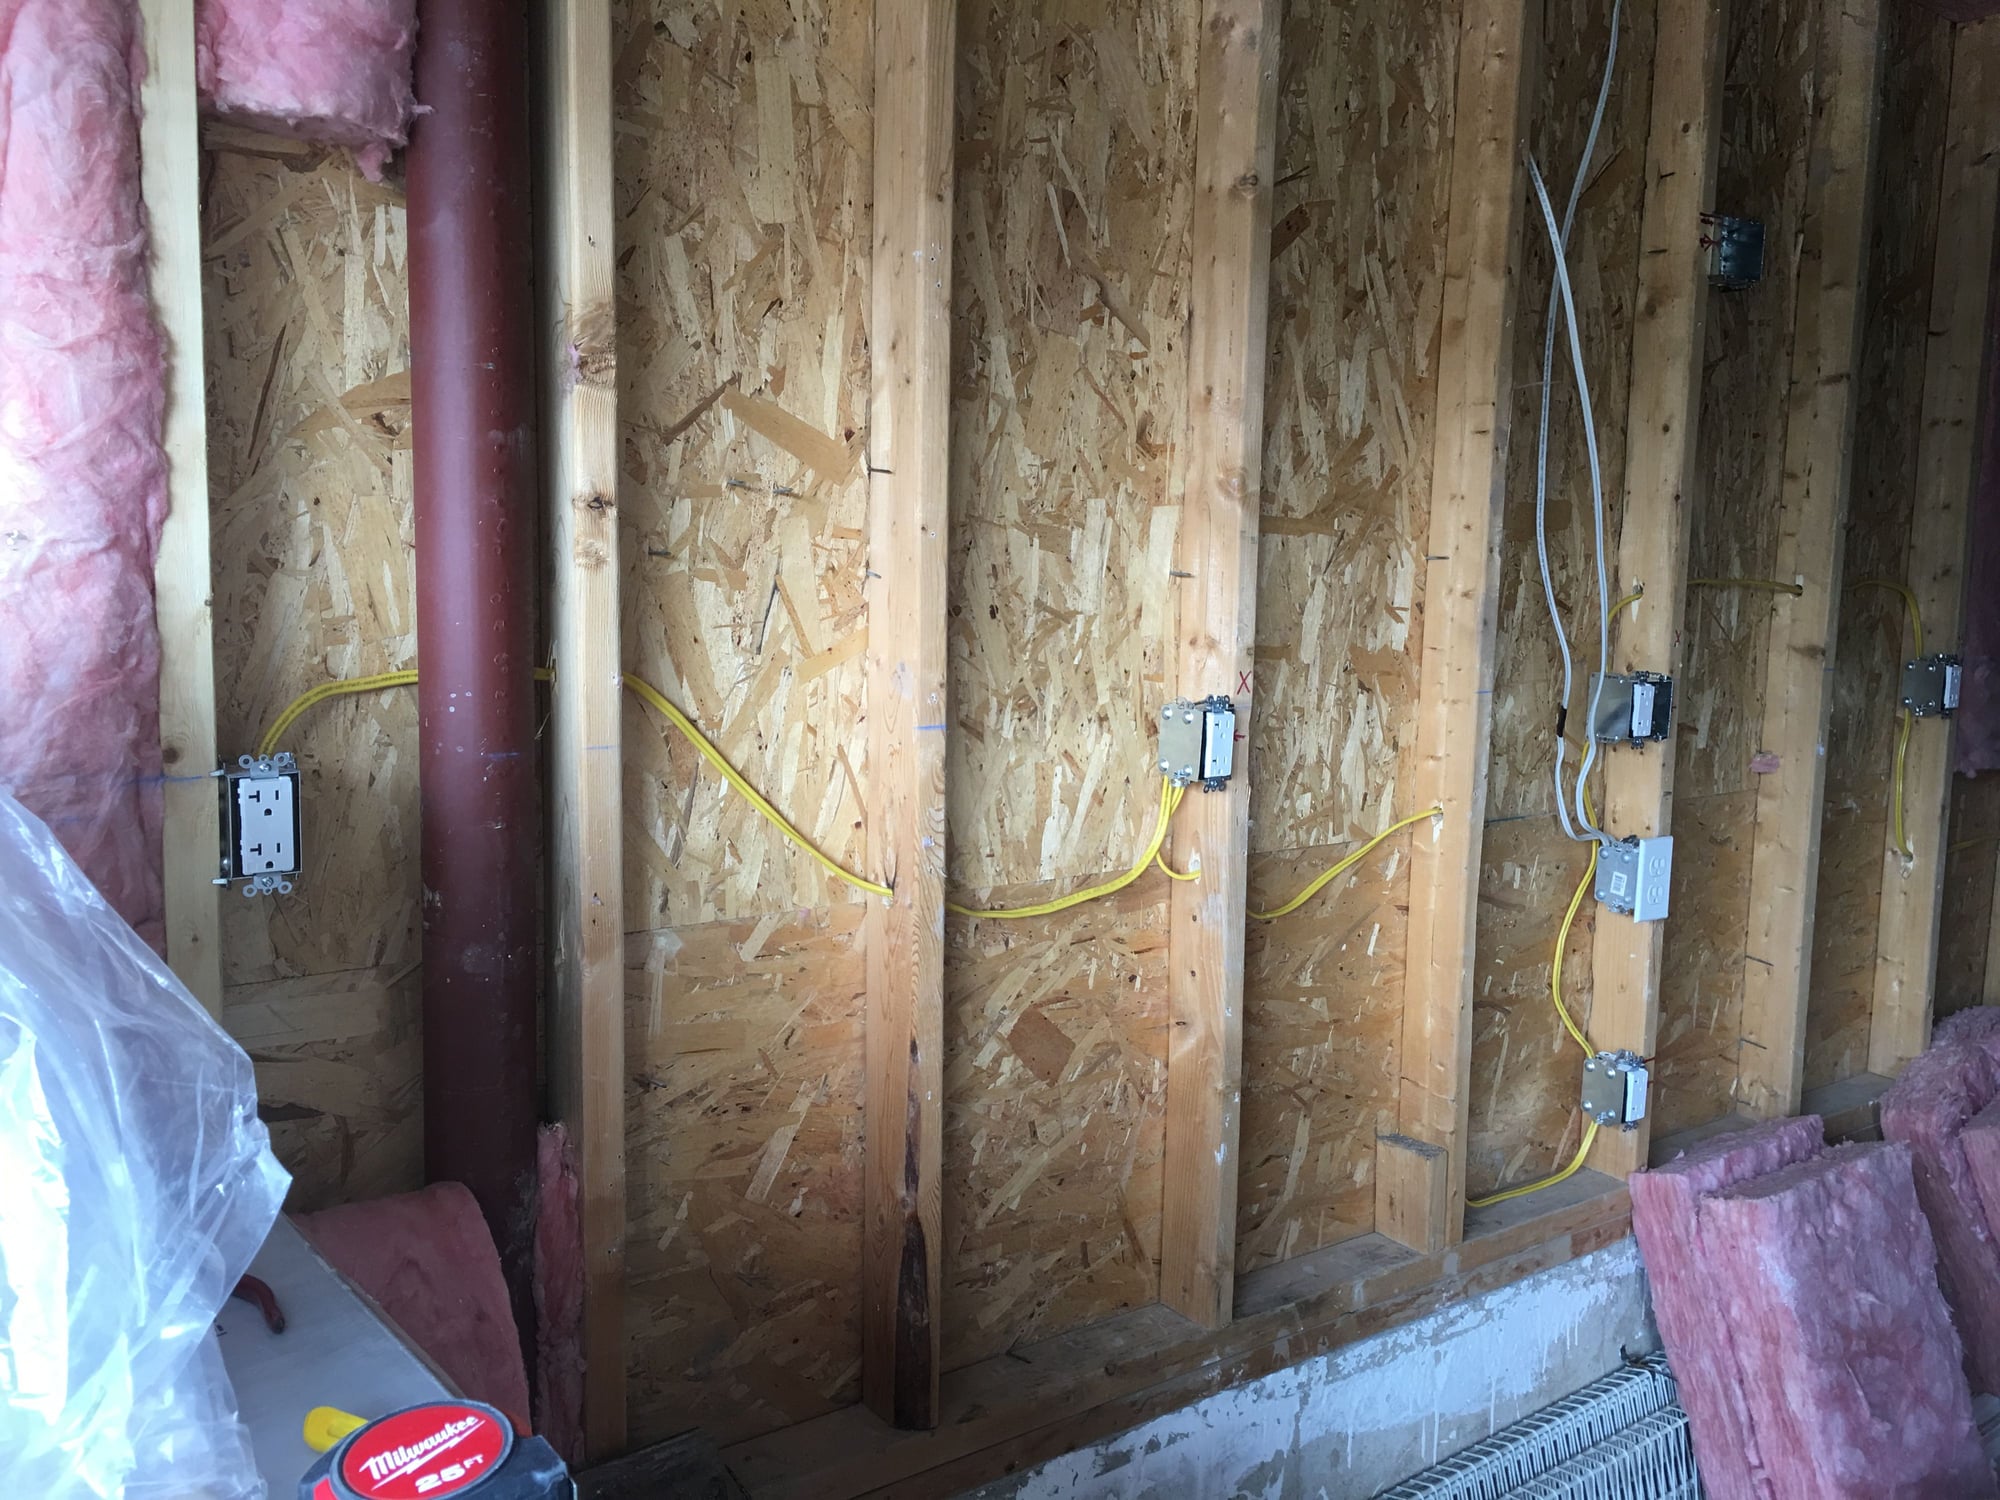
- Rough in for all electrical/data complete (receptacles - 2x circuits, data, circuit for future pot lights and extra switches)
- Insulation of garage complete
- Spray foamed all gaps/crevices around garage frame, door frame and various openings found.
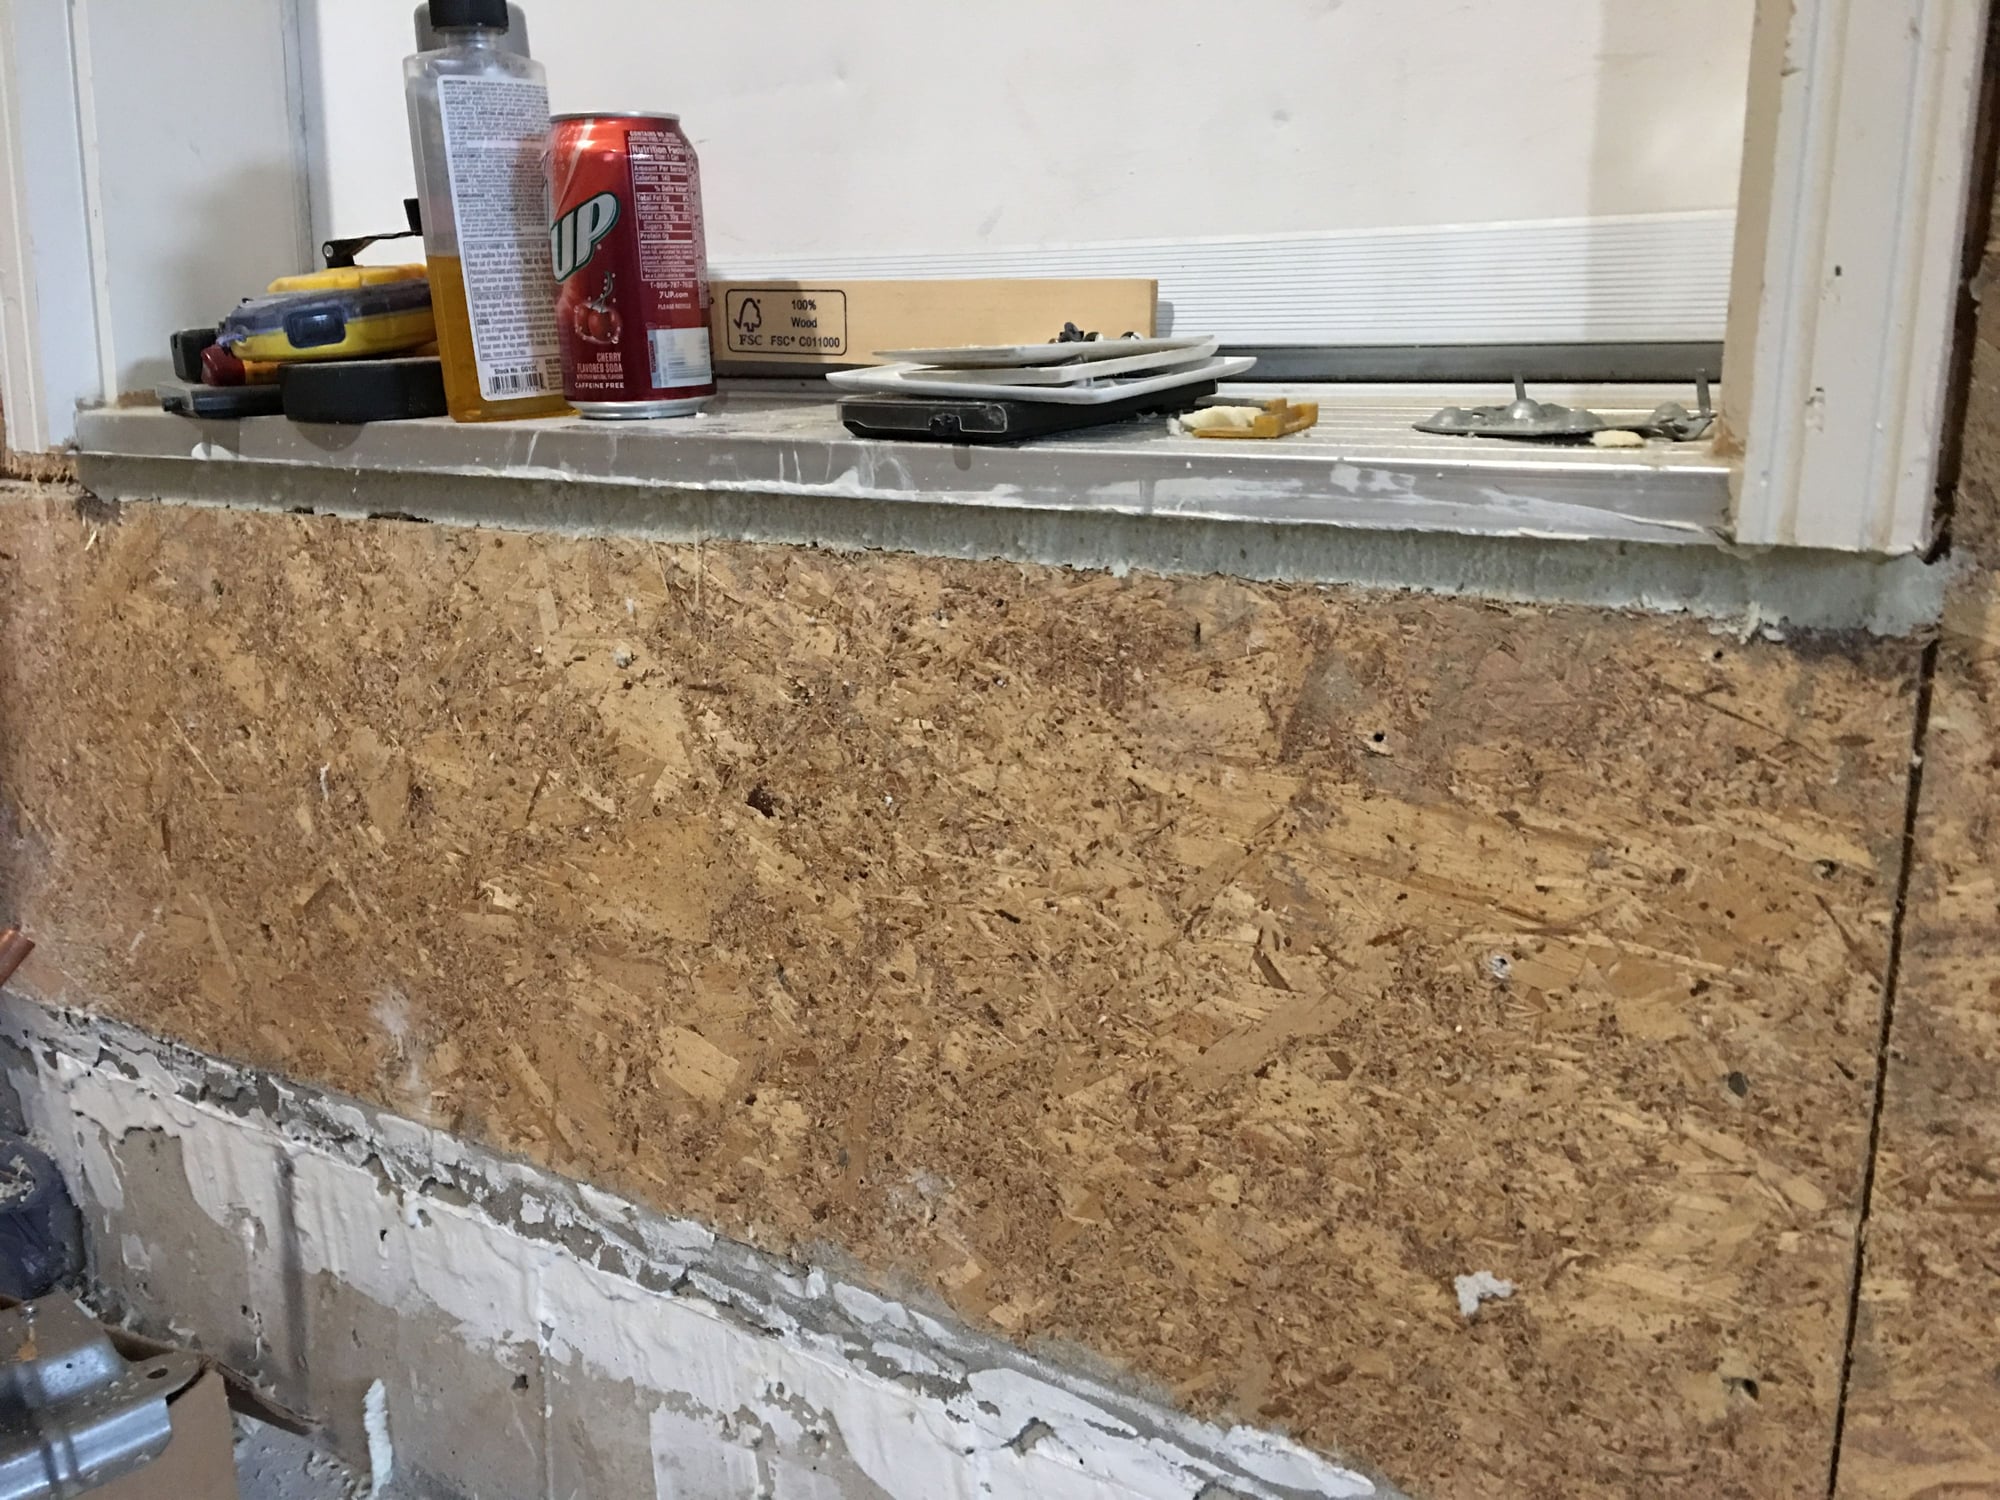
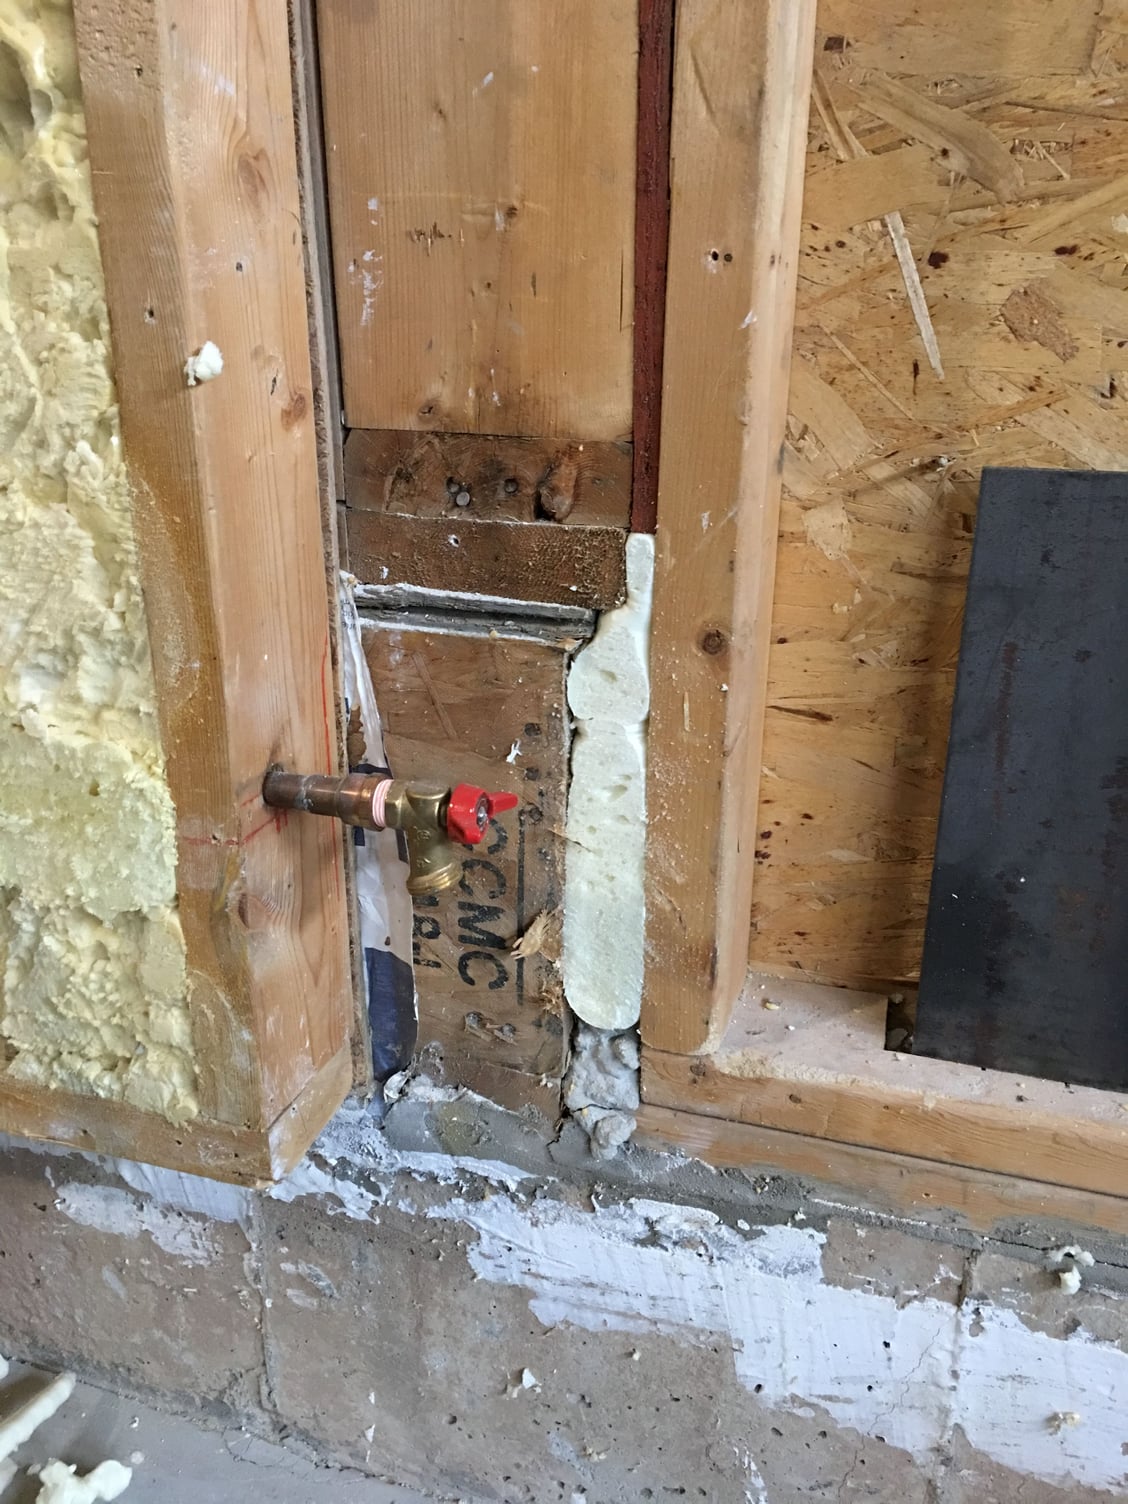
- Relocate hose bib
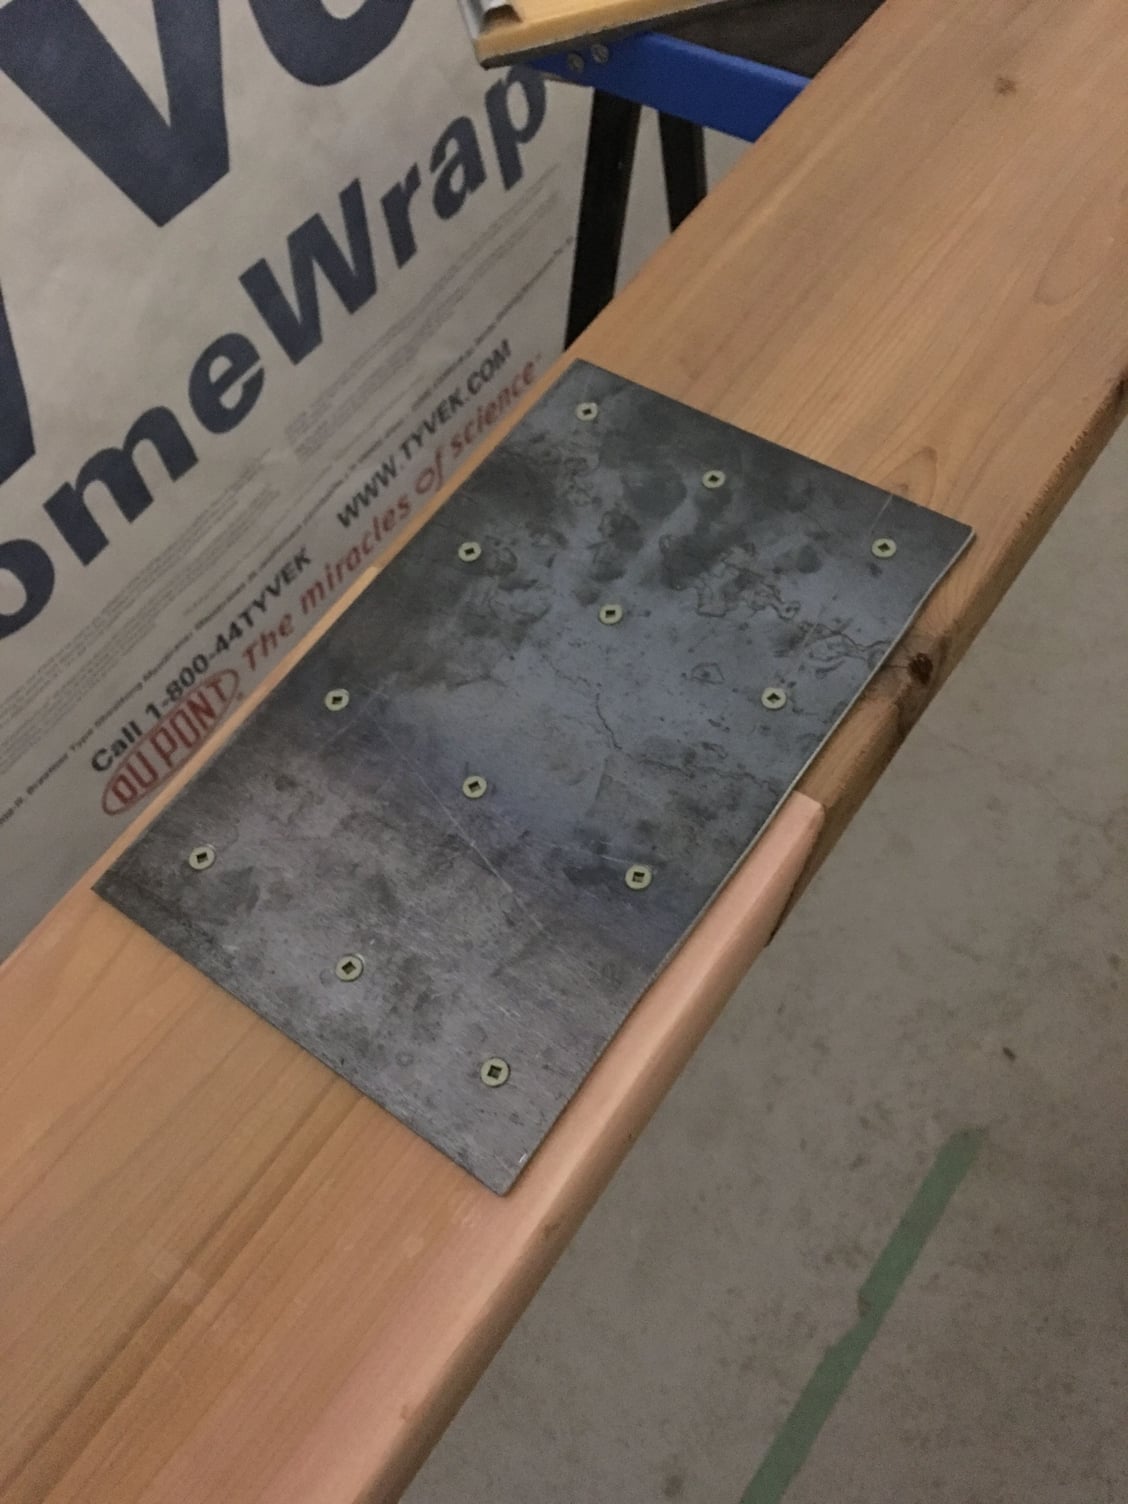
Ripping out the old frame trim and reinforcing the garage tracks before the garage frame is removed. Garage Frame removal Garage frame removed, tracked reinforced Shifting a section of wall frame to accommodate the 8500W liftmaster opener Sealing up any gaps with spray foam before home wrap is applied. Filling gaps around the door frame. More gap filling. Relocated hose Bib to a more convenient position/location. I hate running into these when they stick out away from the wall. Wiring new circuit for new 20A receptacles Adding some new 15A receptacles to the existing circuit 8500W liftmaster just fit into this space. Not ideal, would prefer it not to be recessed with in the stud wall but needed to get her in there and i will just box this out when finishing. Side shot of the high lift! Worked out perfectly barely a inch to spare while still keeping the full garage opening clear, and having enough room to complete the interior finishes. This is approx 14ft up at the highest point. Found some nice Cedar to use for the garage frame. Cedar is a great wood to use for exterior as its relatively cheap very weather resistant. So just notching out the tops for the sides of the garage frame. Since I had difficulty sourcing a 17 ft 2x8 piece of cedar, I lap jointed and glued the ends and also mechanically fastened them with a 1/8" steel plate New cedar garage frame installed, filling in the gaps with some spray foam,to be trimmed back prior to caulking. New cedar garage frame installed with old door for now. New garage door in! New frame in ready for stain and caulking Frame all stained, ready for caulking.
 07-27-2018, 12:31 PM