When you click on links to various merchants on this site and make a purchase, this can result in this site earning a commission. Affiliate programs and affiliations include, but are not limited to, the eBay Partner Network.
First of all I took delivery at work where I have a forklift for unloading. Without a forklift many choose to have it installed or have somebody with a ramp truck pick it up at your local freight terminal.
2 heaviest things are the long runners, one packed upside down at the bottom and other packed on top. They are bolted to welded shipping frames at either end.
I removed the columns and cross runners alone and took them home in my pickup. Also took all other loose parts too. Long runners stayed at work. The columns are easy enough to lift, cross runner is def a 2 man thing.
Pic 1
Read instructions first so you know what parts go where. Bendpak reccomends starting with the columns upright. Very easy to have them come crashing down when you and helper climbing ladders with the very heavy cross member.
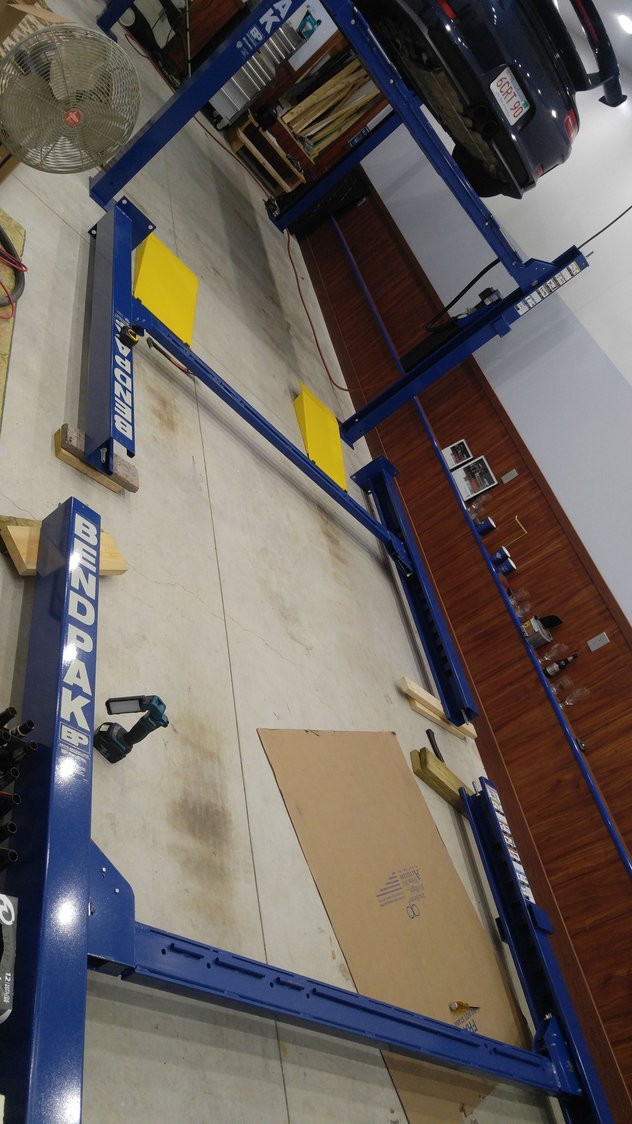
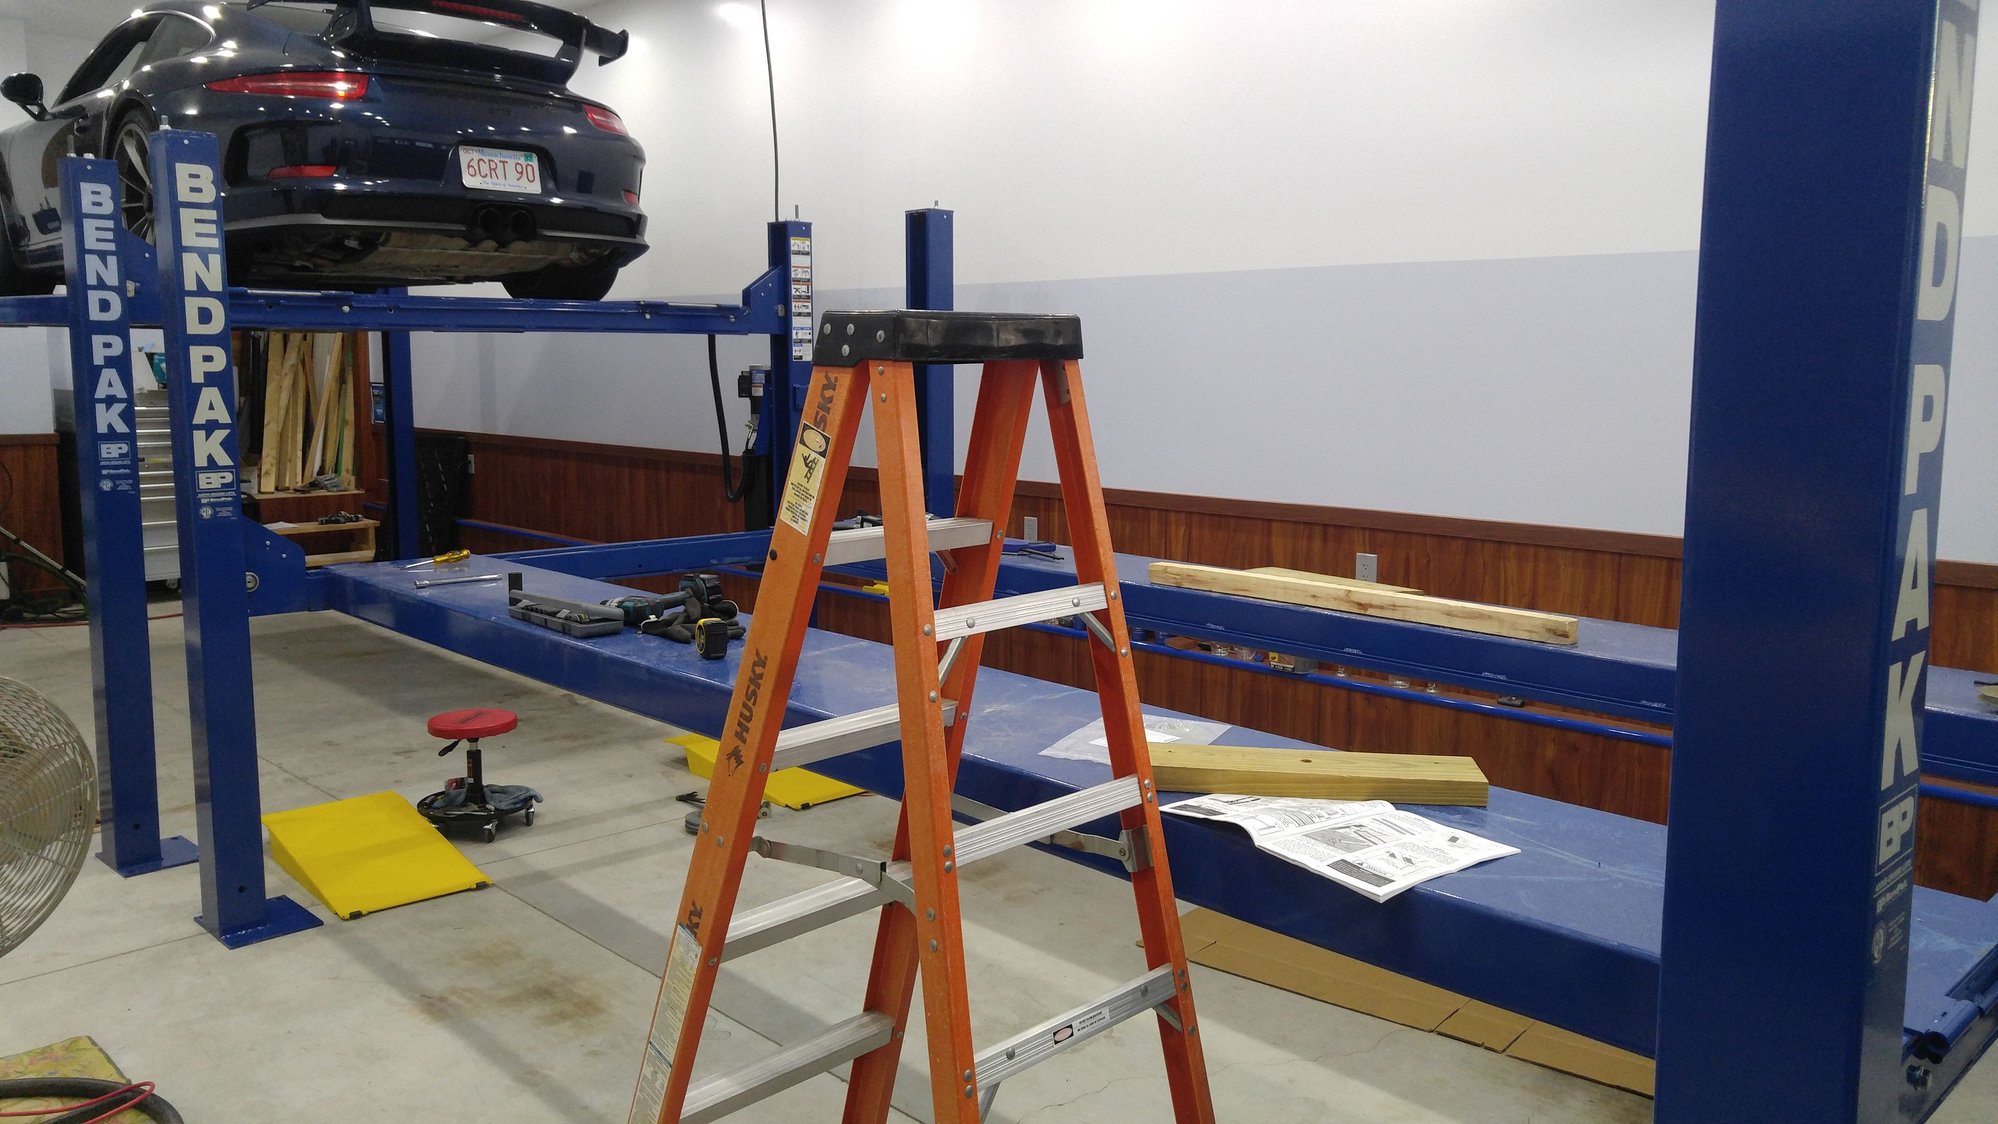
Lay the columns down as shown with the base apx where you want it. Note they are slightly offset. Slide the cross runners in and for me I slid them down so the bottom was slightly over 3 feet from the base. Next you slide the safety ladders in from the top. Count the clicks from the safety fingers as you slide them down. Maybe 6-7? Once that is done you install the column top plate and run the ladder nut down until the ladder is about a half inch from touching the bottom plate.
Pic 2
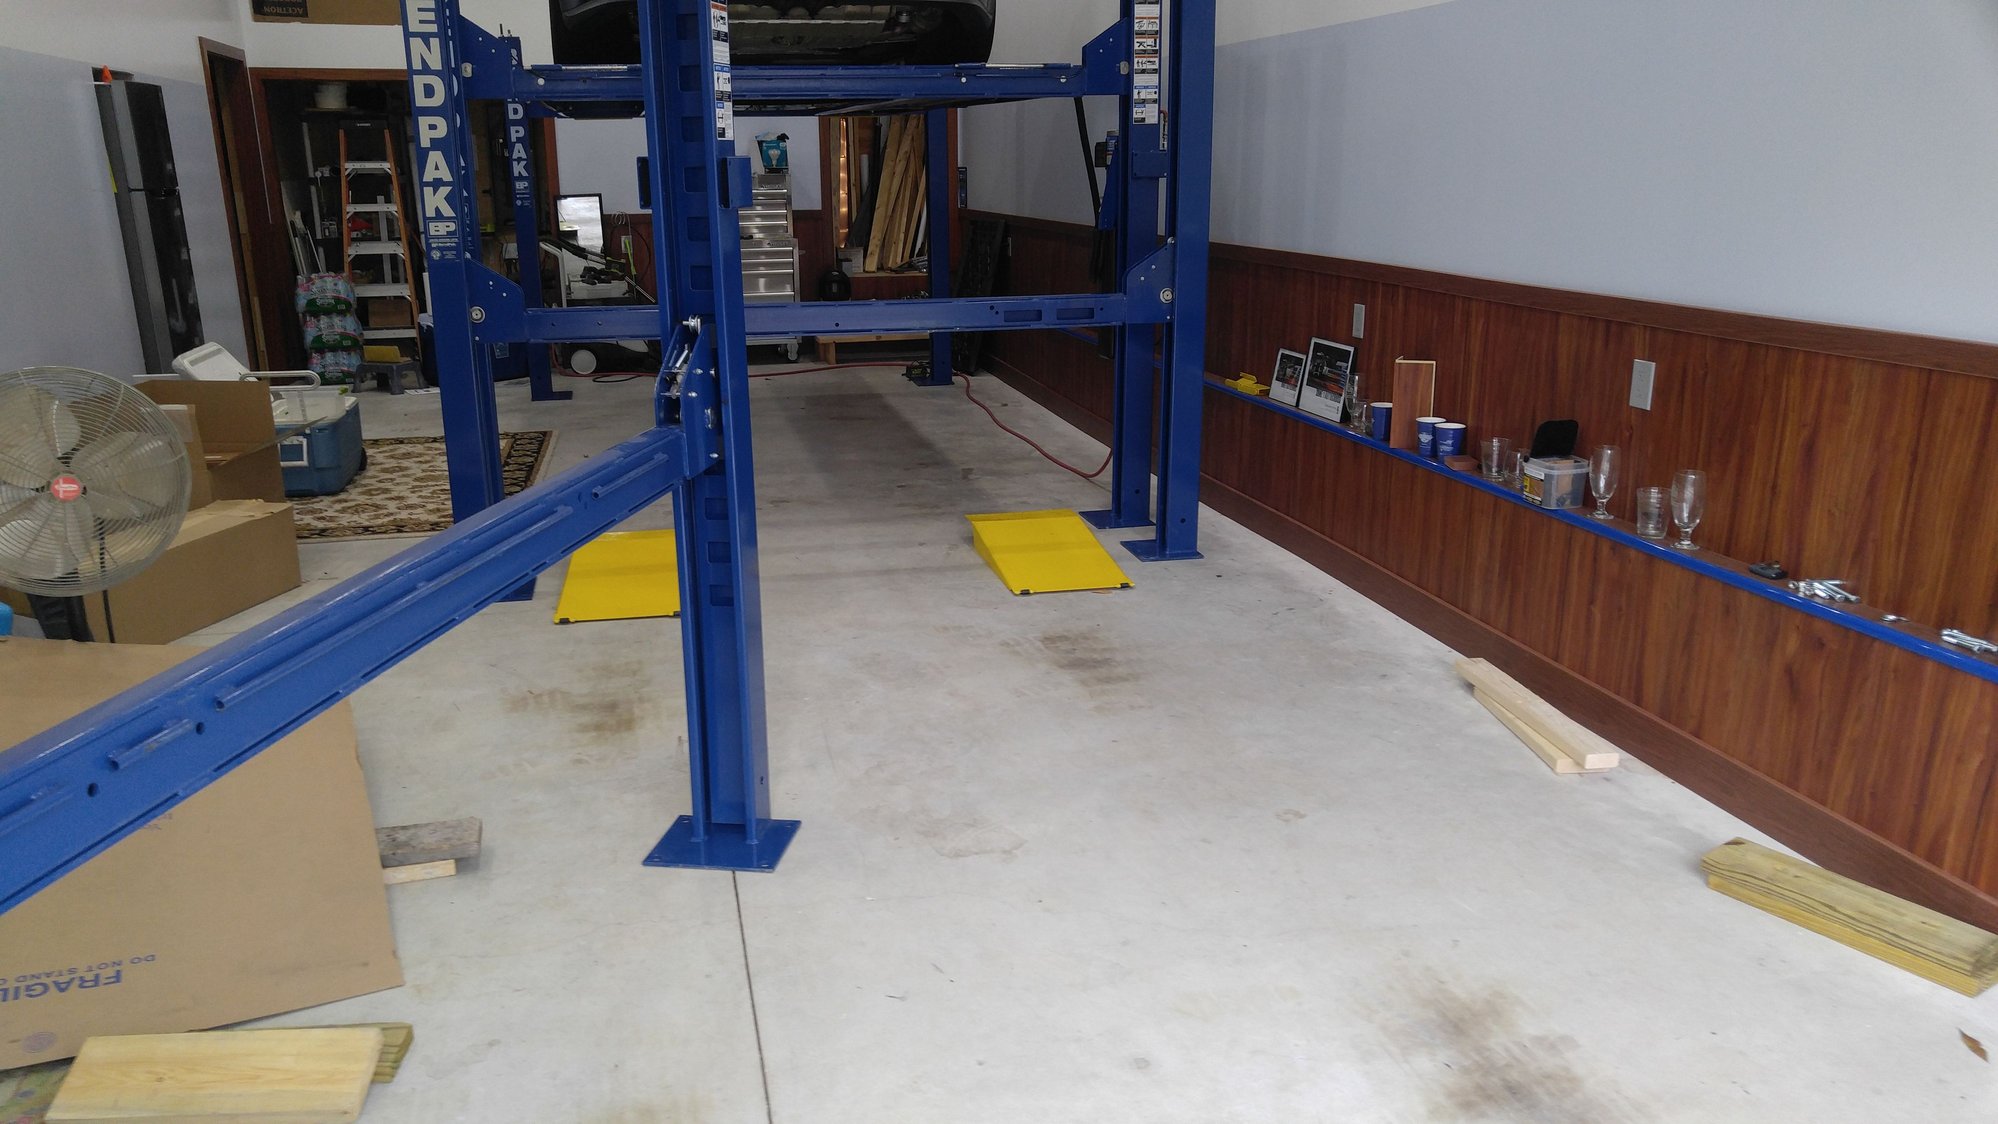
2 men can now stand up the assembled ends. Note that I have turned the pair nearest the door sideways to make it easy to bring in the long runner.
Pic 3
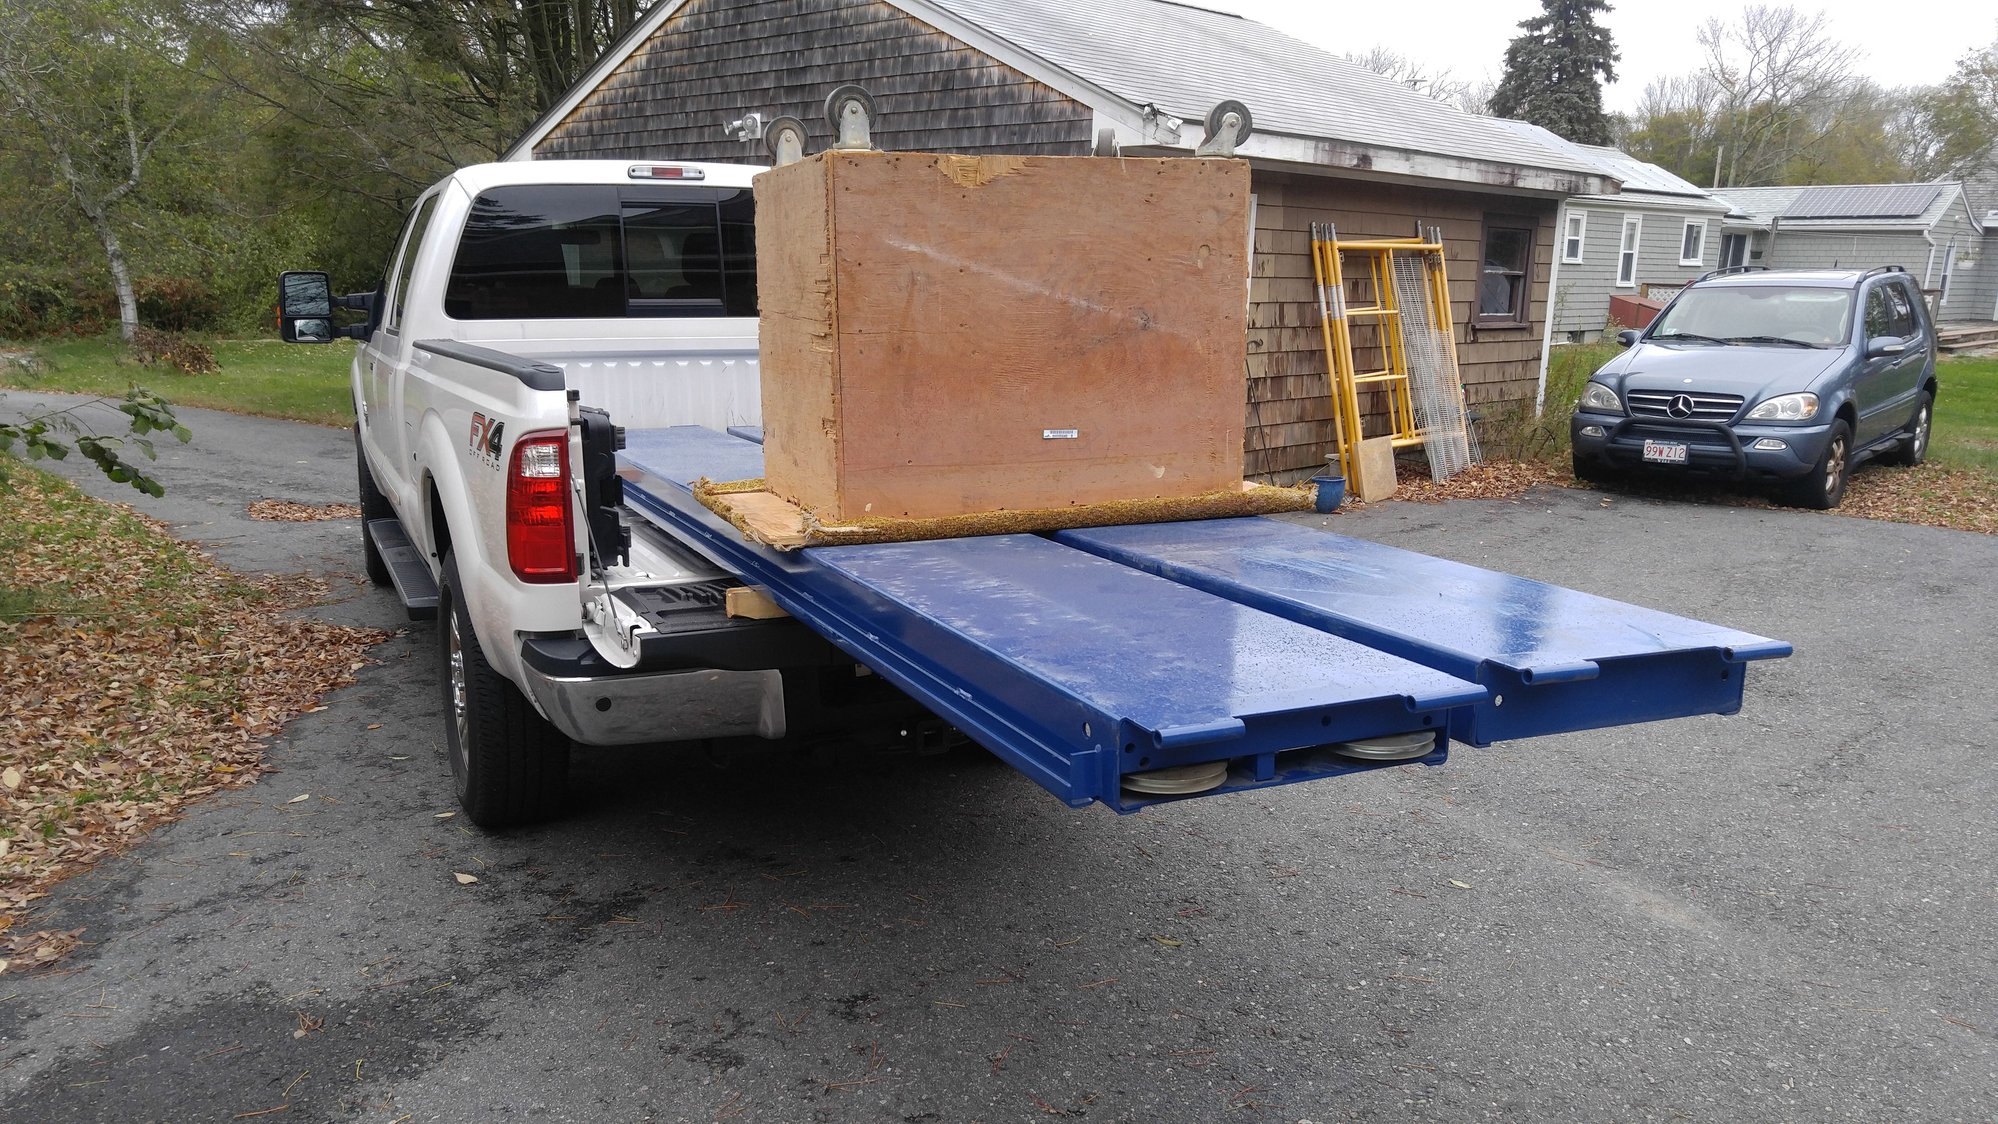
The long runners are in my pickup truck. Sitting on top is a wheeled cart. We put that cart behind the truck and dragged the first one into the garage.
Pic 4
The runner is wheeled right in and pulleys removed. Easy enough for the 2 of us to do. One end bolted at a time. Once first runner is bolted the assembly becomes stable. Also becomes much harder to move at this point so make sure it is where you want it.
Pic 5
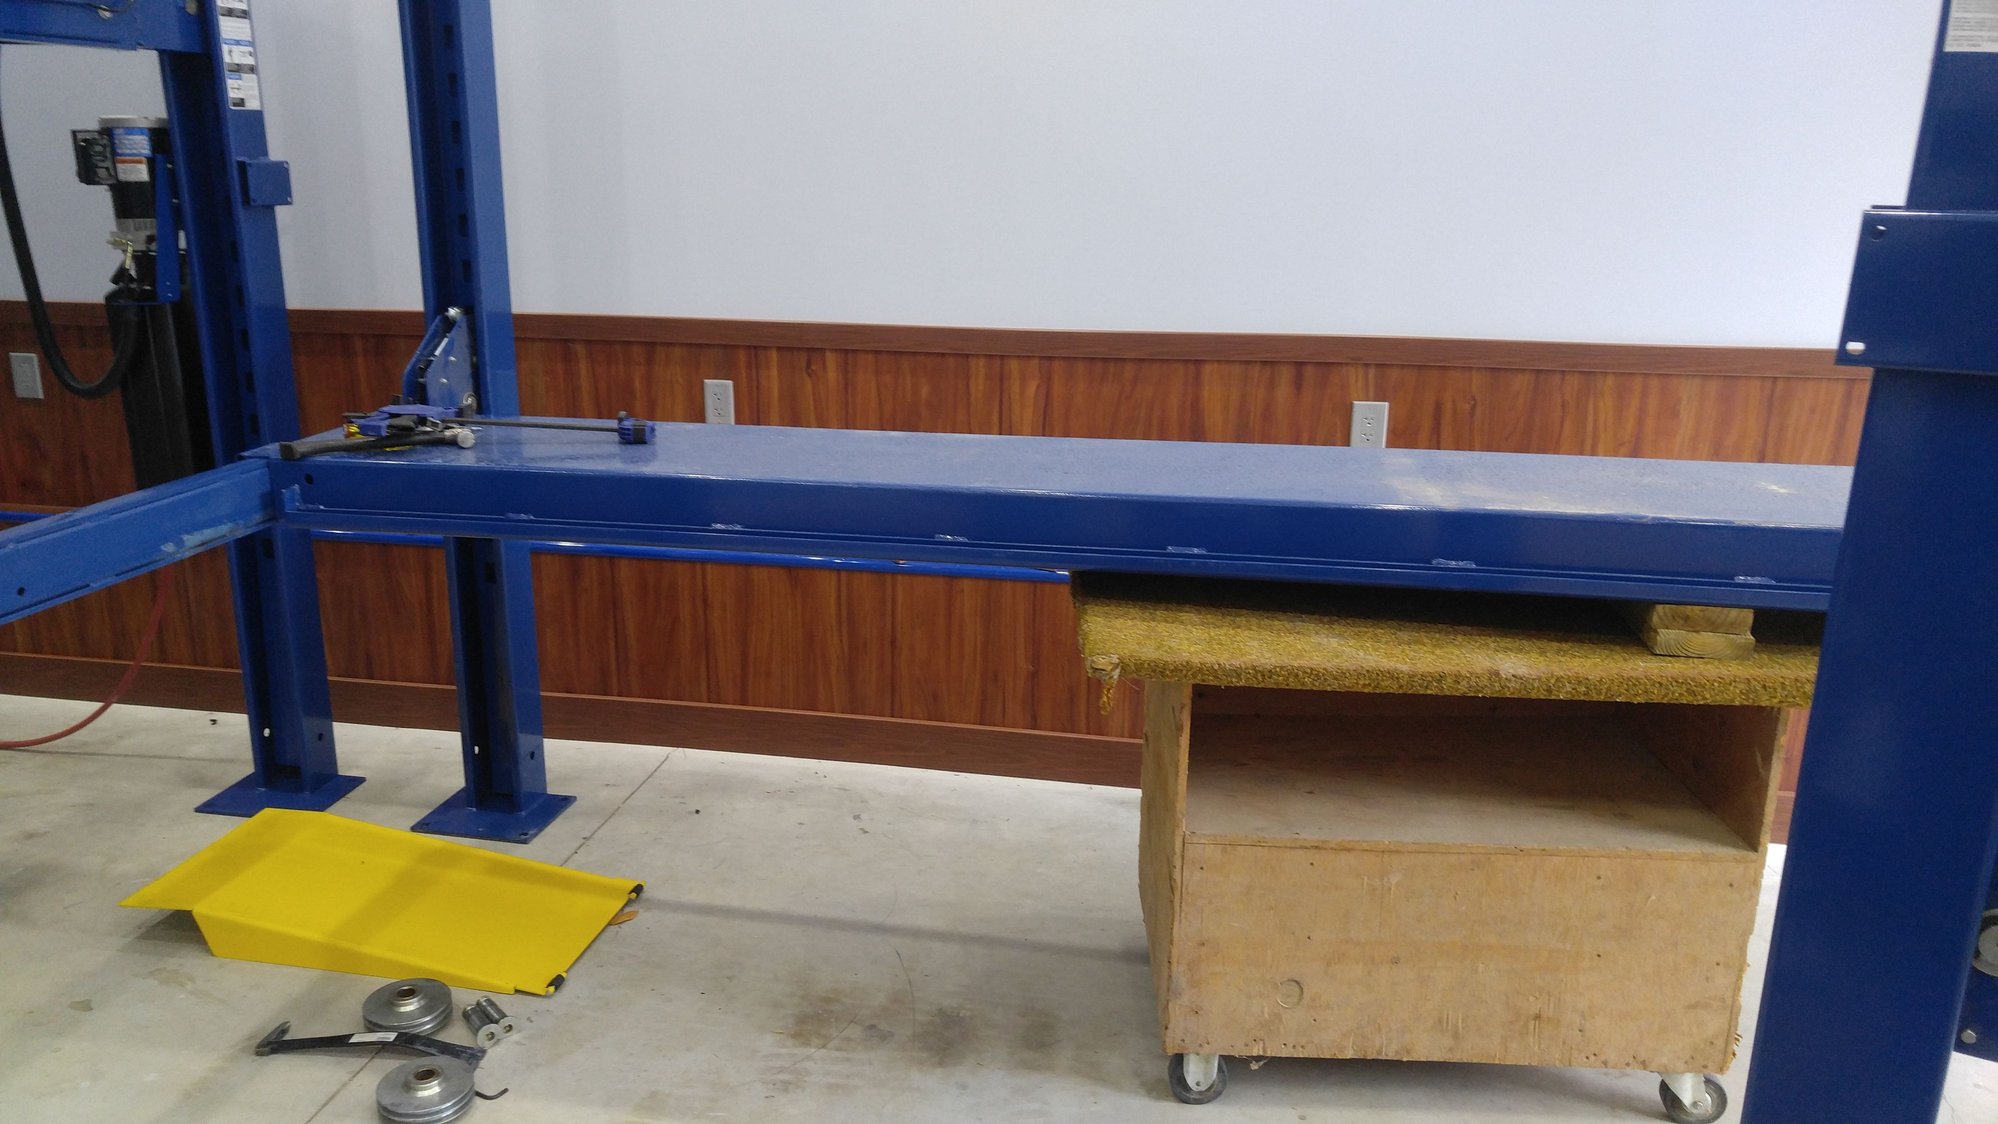
Second long runner installed and runners now become a staging bench for other parts. Important! Take your floor jack along with a piece of 2x4 and jack up each corner until you can push back the small cable safety pulley at each corner. If you don't then running the cables will suck.
One last tip. The pump will run quite a long time before the lift moves when first started. There will be a lot of air in the cylinder that needs to be compressed and when the lift first moves it will be jerky. Get it up off the safety locks and lower completely. This will bleed almost all of the air from the cylinder. There will still be a tiny bit of air in the system and things happen a bit differently when a car is loaded. Do a second adjustment with a car loaded. Mine worked perfectly empty but would not lock at the top at 2 corners with a car loaded. Few turns on the safety ladder nut and they clicked into place.
Did you not bolt down one column after erecting to stabilize? Then after set up, bolt down second column after installing the runners and making adjustments?
Also, don't see any bolts to the floor on the forward lift with the GT on it, is that correct?
Hi Scruffy,
As you probably remember, I am also in MA. Did you source your lift from Gary Bloom? I have a new shop that has some cracks in the concrete and I'm wondering if I will need to go with a 4-post lift which I'd prefer not to do.
Do you always use 4-post? If so, how easy/hard is it to use rack jacks with them so you can do brake & suspension work?
Did you not bolt down one column after erecting to stabilize? Then after set up, bolt down second column after installing the runners and making adjustments?
Also, don't see any bolts to the floor on the forward lift with the GT on it, is that correct?
It is not necessary to bolt these down to the floor and I prefer not to. Their location may change and I bought the castor kit so I can adjust location as needed. New lift may be rolled outside and put in another bay in the future. Besides that lifting the cross members high over my head seemed like a recipe for disaster.
Originally Posted by Coochas
Hi Scruffy,
As you probably remember, I am also in MA. Did you source your lift from Gary Bloom? I have a new shop that has some cracks in the concrete and I'm wondering if I will need to go with a 4-post lift which I'd prefer not to do.
Do you always use 4-post? If so, how easy/hard is it to use rack jacks with them so you can do brake & suspension work?
Best Buy Auto Equipment. They all get shipped free from California and in both cases I was informed as to the day of arrival.
I would like a 2 post unit but I have radiant heating tubes in my floor and don't want to risk hitting one of them. Bendpak also has rolling jack stands for brake work, and rolling jacks too. They ride on a runner on the inside of each long ramp. I plan on making my own as I have the equipment to do so.
Nice write up. My friend and I did something similar, but we picked up 2 lifts on an open trailex at Greg Smith's in Delaware. They put them on for us with a forklift, and we had to disassemble them in order to get them off the trailer. Thought we could just slide them off, but that didn't work First one at his house, then on to my house. Assembly was pretty straight forward, did most of it by myself, except for moving the 2 ramps into place. I use it for storing 2 cars, and working on them. Great investment.
This is how we did mine. We also used straps to hold the columns a bit more stable in case they got bumped during the move process. After that I ran the lift up and down a bunch of times to let the feet settle into their spots. Then I shimmed the columns to vertical and bolted it down. It just gave me an uneasy feeling when it is unbolted. It moves just a bit, but I didn't like the idea of even that small movement.
This is how we did mine. We also used straps to hold the columns a bit more stable in case they got bumped during the move process. After that I ran the lift up and down a bunch of times to let the feet settle into their spots. Then I shimmed the columns to vertical and bolted it down. It just gave me an uneasy feeling when it is unbolted. It moves just a bit, but I didn't like the idea of even that small movement.
Is it the lighting or do you have that ramp on backwards? Cannot see the rail for the rolling jack.
My second one was finished yesterday and both equipped with safety mirrors. Just gives me a good feeling to see where my tire is on the ramp. Curved mirror with magnetic mount and can see ramp and tire before I drive on and up to the point I stop.
Looks great!
Where did you find/get that curved mirror from?
That would make life so much easier
McMaster Carr. Use their search and put in Magnetic safety mirror. Or google same. When adjusted perfect you can see your tires from approach to parking.
McMaster Carr. Use their search and put in Magnetic safety mirror. Or google same. When adjusted perfect you can see your tires from approach to parking.
I like that too. Which mirror is it, 4" or 7"? Thanks


 11-05-2016, 10:10 AM


 First one at his house, then on to my house. Assembly was pretty straight forward, did most of it by myself, except for moving the 2 ramps into place. I use it for storing 2 cars, and working on them. Great investment.


